

Chapter 12: The War of ZanbarMinor spoilers
Move your rear line forward to escape two reinforcement waves and bring in the allies from your boat loan. Clear defenders before opening the gate, and use Anatolia if you cannot damage the boss.
Fill an open deployment slot with level 35 Tialla to give the front line another healer. Keep the rear line moving with your initial advance. When two waves of reinforcements appear behind you, move forward toward support or have Loretta turn back to engage them. If you lent the boat earlier, use the transfer circle to bring Anatolia and Sha Lan in. Let those reinforcements damage high-Defense commanders your own units cannot hurt. Use ranged attacks to thin the defenders before the inner-city gate, then prepare for Armored Knights after opening it. If attacks keep missing late in the battle, use Mars’s Blessing for physical Hit and check the forecast again afterward.
Schedule three paralogues before leaving the city
Reserve your 32 free-action turns for paralogues. Leave to complete Dietrich’s first, return to the city for Orchel’s on the 18th, then advance Cai’s. You can skip ordinary errand side quests, or their travel time will crowd out the paralogues. To recruit Tialla, finish Cai’s paralogue first, then return to negotiate and pay 3000 gold.
Finish training, weapon-upgrade checks, and license purchases before leaving. Discovering a missing license while traveling between paralogues leaves little time to buy one. The Divine Gate immediately advances your departure; do not use it to test a character’s return-to-city event. Finish paralogues, training, and shopping before entering.
Defend the lower objective for ten turns in Dietrich’s paralogue
Hold the lower destination for 10 turns. You can kill one approaching pegasus on your turn to reduce pressure. After clearing the first group, keep holding the destination. More enemies appear, and the battle does not end until all 10 turns pass.
Watch rear pegasi in Orchel’s paralogue
As Loretta advances, keep a plan to turn back and clear pegasi. Keep healers close and restore full HP: even enemies with 10 Hit can land two attacks in a row, and pegasi behind you can turn back to attack healers. When you reach the mechanisms, arrange to operate them together instead of focusing only on clearing enemies ahead.
Rush the boss or retreat left in Cai’s paralogue
Approach 1: rush the boss with your strongest unit and blessings. Check damage before sending your strongest character for a quick kill. The boss has 32 Resistance and 33 Defense, so do not charge as though facing an ordinary enemy. If you cannot deal damage, use a blessing to fix the problem before securing the kill.
Approach 2: retreat left from the start. Move left immediately. If you take the wrong route and can no longer withdraw in time, restart and go left instead.
Fill an empty slot with Tialla’s healing
If you already have 10 usable characters, there is no need for last-minute recruitment. If the final slot would otherwise go to an untrained unit in their 20s, replace them with level 35 Tialla for healing. Check her class before deployment instead of discovering in battle that she is still a Priest.
Clear both rear reinforcement waves before advancing
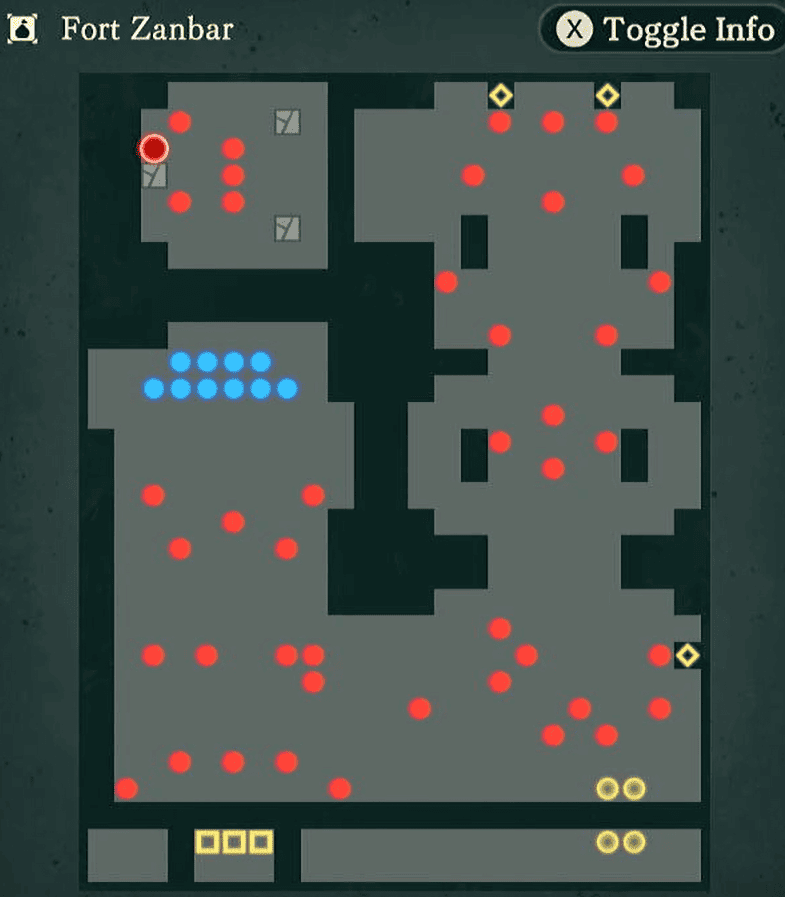
When enemies spawn behind you, move wounded rear units forward and out of the reinforcement danger zone first. There are only two waves, so you can clear them before advancing instead of leaving your rear line to trade attacks with pursuers.
Approach 1: turn Loretta back to engage. Gather rear units near your support while Loretta moves back to draw pursuers in and deal with them individually. Clear both waves before advancing; you can use these enemies to train proficiency too.
Approach 2: move forward with artillery support. When a large group arrives behind you, use the available artillery to help while the squad keeps moving forward. Consider turning back only after leaving the danger zone. This avoids keeping the whole army near the reinforcement entrance.
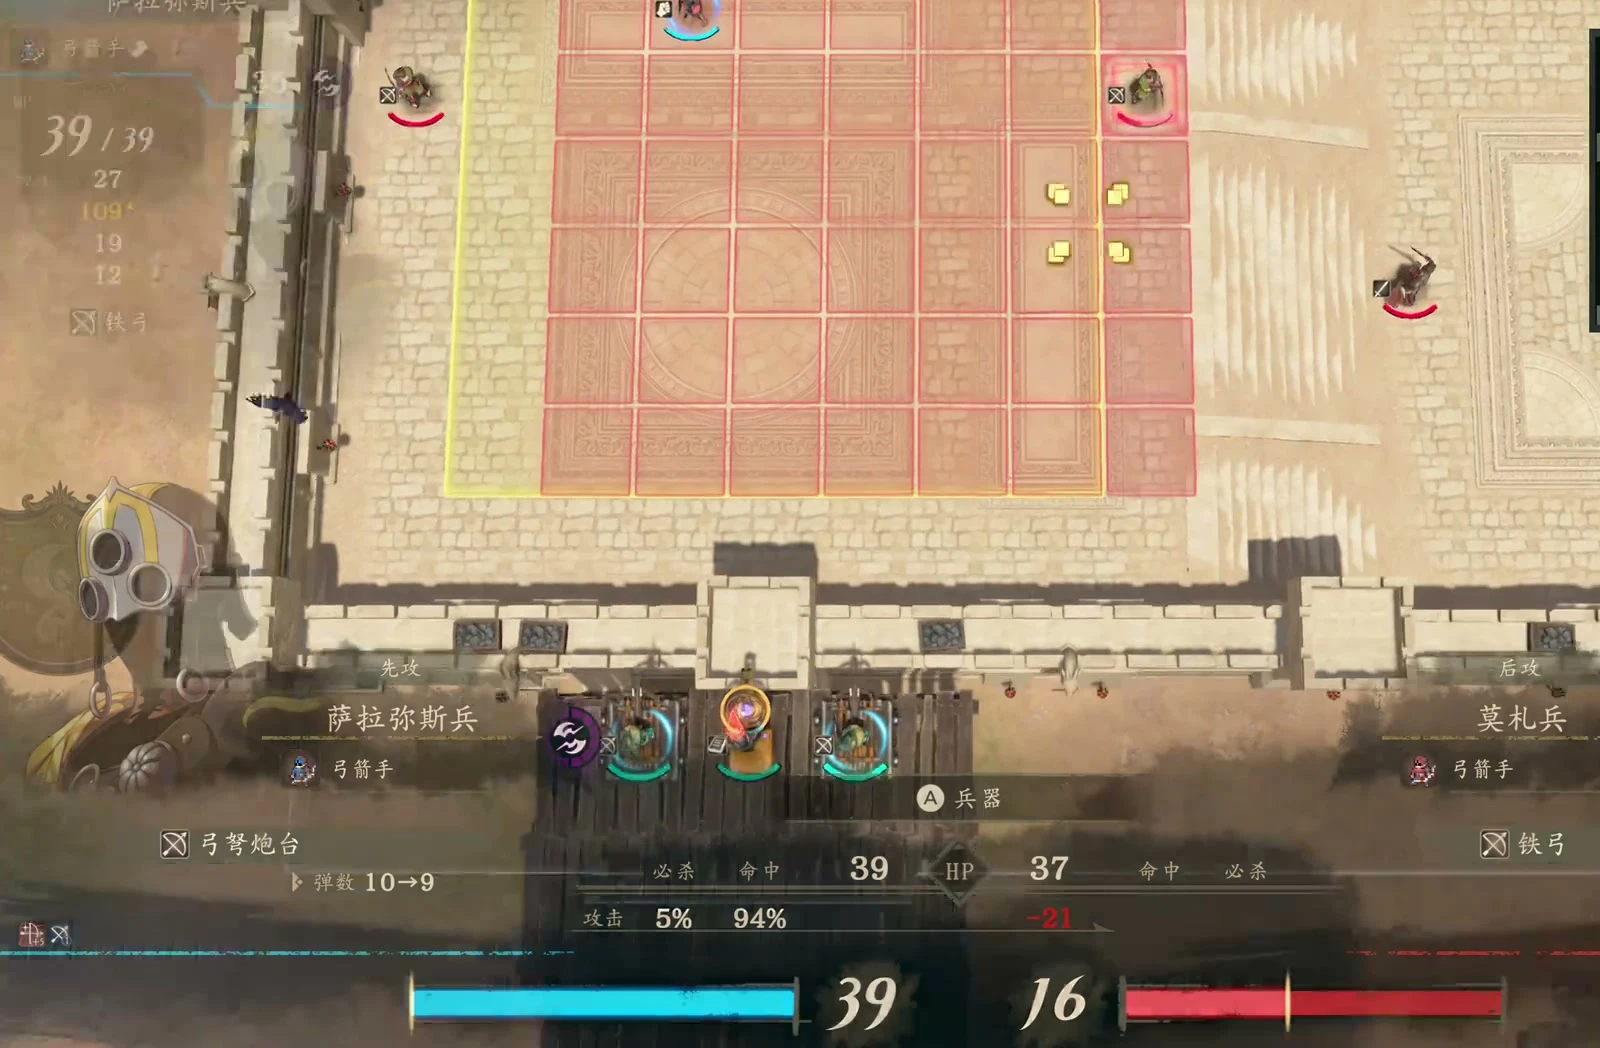
Dismount before taking horses up the stairs
Riding a horse up the stairs incurs a heavy movement penalty. Dismount first if you need to keep up with the squad. Fliers can also dismount before advancing toward the two Archers ahead instead of staying mounted under arrow fire.
When Loretta leads and takes attacks, keep healing close and restore her to full HP after damage. A spear user’s Combat Art can hit even at 23 Hit. Continuing to take attacks below full HP is more dangerous; use a blessing to protect the front line when needed. Switch to Salamander against armored enemies instead of continuing to hit for no damage with Dodge Gauntlets.
Let reinforcements handle high-Defense commanders
If you lent the boat earlier, Anatolia and Sha Lan arrive as reinforcements. Use the transfer circle to bring both in first. If your main force cannot hurt a high-Defense commander, check Anatolia’s Combat Art damage and choose an effective option. If your spear attack deals only 8 damage, let the reinforcements handle offense instead of grinding away with weak hits.
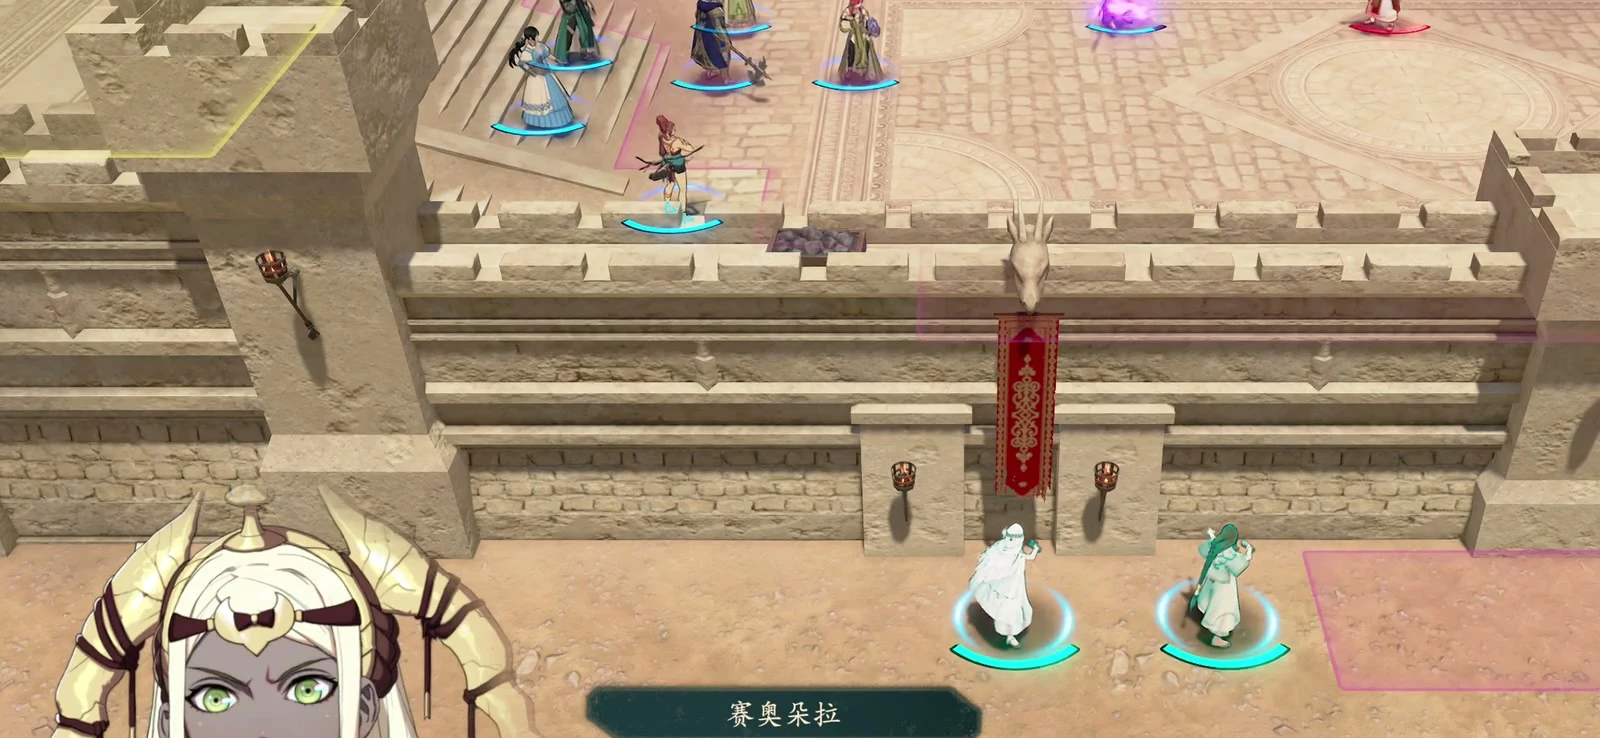
Clear inner defenders from range before opening the gate
Leave a healer beside the gate to operate the mechanism while attackers deal with the defenders inside. If enemies will not come out, pick them off with ranged Combat Arts. Remove two defenders with two arts, then deal with the mage above before opening the gate, reducing the number you face at once. The support character’s long-range skill has only two uses, so assign them by target.
Do not smash every censer on sight. Breaking one lowers Hit in the surrounding ring; if only allies are nearby, it harms your own offense. A group of Armored Knights appears after the gate opens, so prepare for them even after clearing the gate defenders. If damage suddenly drops, check your current weapon rather than continuing with the wrong one.
Use Mars’s Blessing to raise physical Hit
The late boss has 38 Attack Speed and high Avoid. After repeated misses, do not leave fragile units such as healers exposed to him. Use a blessing to survive the retaliation, then activate Mars’s Blessing for physical Hit and recheck the forecast before finishing. If you plan to follow up with a Blaze Art, check both its HP cost and Soulflame charge. Even if it shows a 21 HP cost, you may lack charge. Use it for the finish only once both conditions are met.
 Klapka
 Theodora