Each turn lasts six hours, so set return reminders early. Watch Part 1 bond conversations promptly; replaying a chapter updates later snapshots one chapter at a time.
These 13 tips cover weapons, ranges, terrain, difficulty, the four protagonists, weekly activities, recruitment, exploration, fast travel, the calendar, achievements, dungeons, and timed paralogues.
These 31 tips follow the video through rewards, routes, exploration, weekly activities, combat, and meals. Return weekly for temple service, training, and bonds.
Check Attack Speed, class growths, support, restarts, Sunday meals, cheap gifts, automatic returns, carriages, temples, and equipped skills in these ten tips.
The recommended order is Cai, Dietrich, Leda, then Theodora. Learn the world with Cai, experience changes in power and perspective, and finish with the queen’s main-story connections.
Choose your recruits and next classes first. Restore Motivation through meals, train proficiencies, and fit quests and exploration into the remaining schedule.
Saturday training is discounted, and Sunday’s reset allows another round. Train and perform Divine Service before meals restore Motivation; check deadlines early.
Finish weekly temple activities and training before exploring. Do not force high-threshold recruitment early, and check whether accessories cost you follow-up attacks before battle.
Fifteen tips in video order cover support, gifts, crates, forging, skills, leveling, income, Blessing counters, travel, Linked Attack recovery, outfits, weapons, and character choices.
Fifteen preparations in video order: Blaze and Magic, sewers, capture and feeding, requests and cultivation, transport and training, Paralogues, seals and leveling, upgrades, exploration, and recruitment.
Normal/Casual eases you in. Actions advance free time; return weekly for training, and check range, accuracy, and follow-ups before focusing on damage.
Do capital activities first each week, then unlock stations and complete requests along exploration routes. Recruit early, use spare turns for exploration income, and buy gifts for more recruits.
The six tips cover support, dungeon leveling, encounter leveling, money, restoring Linked Attack points, and original outfits. Restarting a chapter rolls back its training progress.
Check the calendar and town activities, then explore along side-quest routes and open waystations. Prepare class and recruitment requirements; restarting resets the chapter’s gains.
Track paralogues and hidden events together. Save before obtaining random chests, and prepare promotion licenses and war-campaign weapons while leveling.
Talk and give gifts to new characters, dine with the protagonist for recruitment support, check Sunday resets, train during daylight, and leave time to report quests.
Choose Cai for a gentle introduction or Theodora to explore Dagdan politics. When switching routes, balance immersion in one story against progressing together.
On Sunday, handle training, temple service, gifts, and meals first. Accept side quests before leaving and group dungeons with quests in the same direction.
Remove heavy equipment that slows fast units. Give gifts before the chapter ends, and prepare anti-Underworld tools and two ranged healers for midgame.
Accept quests, then share meals, give gifts, train, watch matches, and worship. Use automatic activities to reach the next Sunday and repeat the weekly routine.
Accept requests at chapter start, then handle weekly training, Temple Service, and meals. Sunday refreshes uses, but you must restore Motivation and condition yourself.
Growth rates set your chances of gaining stats, and Weight affects Attack Speed. Class changes do not reset levels, and learned abilities still need checking in the equipment menu.
Blue shows movement and red shows attacks. Use Range to avoid counters and terrain for better positions, then plan training and exploration around the next opponent.
Travel five years into the past to change four Warriors’ fates. Strengthen your team through training, class changes, recruitment, and exploration; Combat Arts cost durability, while Blaze Arts cost HP.
Weapons have distinct roles, while Curse Orbs and Blaze Arts share gauge management. Exploration, class changes, and support give development direction.
After reaching chapter five on all four routes, the highlight is switching perspectives before shared events. Each cast’s goals, map actions, and weekly routines also have their own rhythm.
Early enjoyment comes from mapping, recruitment, and training. The war campaign repeatedly tests your lineup. Players who enjoy characters, story, and development will find it easier to engage.
Build for the enemies in the next battle. Map space, reinforcement directions, and spreading fire determine whether to concentrate or divide your forces.
Each route has its own story and development systems. Sequential clears provide conveniences and shared rewards, while timed paralogues demand careful return planning.
Four routes share one save, with extensive development, social activity, and exploration. Set route-switching frequency and preparation pace around your own preferences.
Part 1 spends a long time on preparation. Part 2 finally demands sustained tactical decisions, and Part 3 tests your earlier training with split forces and defense.
After clearing every route on Normal, I prefer the late-game wars. The tradeoff is a delayed full ending and exploration, recruitment, and rebuilding that demand patience.
Finish one protagonist’s twelve chapters before starting the next route from the beginning. Exploration, support, quests, and Blessings reduce repeated work.
Before the war story, choose six items per character and repair and upgrade them. Check paralogue deadlines, finish recruitment, and complete route-specific quests.
Use free time to explore, duel, and farm enemies with the Ringing Blade. Keep levels low until reclassing unlocks, and build Strength, Speed, and Defense across routes.
Battalions can be assigned, gather materials, be donated, and support reconstruction. Keep the queen mobile, use Tobias as a physical tank, and assign separate healers and Avoid specialists.
Improve stats through same-route integration first and save Karma Shards for key characters. In the Promised One’s story, restore stations and temples before splitting teams for reconstruction and interception.
Judge equipment by actual Attack Speed and account for mount bonuses. Check turns spent on movement, assignments, and battles separately to plan your schedule.
Credna's Blessing improves fog vision, but scouts still need to survive. Check paralogue deadlines promptly, and plan the giant contest around kills, feed, and blocking rivals.
Seeing the queen’s route after Cai changes the crossover scenes. For battle preparation, check mechanism objectives, timed paralogues, and certification proficiency.
Speed up animations in repeated small battles, and bring enough range to chase fleeing targets. Check proficiency and usable weapons when changing classes to improve stats.
Low-level starting allies benefit from more growth under your control. Compare immediate class modifiers, growths, weapon access, and mastery, and prepare swords, healing, and magic damage first.
Spend a spell use before Feasting, then repeatedly choose HP-only meals to keep raising support. Each meal costs a turn; revisiting an old paralogue also requires replaying later chapters.
Check enemy ranges and classes, then attack from safety. Divide your limited preparation time between training, recruitment, and exploration according to what you need.
Each route has its own resource loop. Schedule training and Temple Service on the calendar, and manage labyrinth links, weapon durability, and the Blaze Gauge.
Identify which stats and skills a character develops well, then choose classes that build those strengths. Preview level-ups and adjust through exams when needed.
Switch maps by protagonist, filter uncollected locations, then search for materials and add stops to a gathering route to see the path and estimated turns.
Use the limited preparation period to train, buy equipment, recruit, and explore. In battle, terrain, support, combat arts, and class roles bring out your team’s strengths.
Choose between confronting the Demon God directly and returning to the past. Each fighter has a separate story, with preparation spent developing the team and exploring the continent.
Eight tips covering growth rerolls, Attack Speed and Build, class unlocks, recruitment, auto-leveling, paralogue deadlines, class choices, and weapon forging.
Four routes complete one another and shared progress reduces repetition. The war story focuses on tactics, while managing the merged roster and the ending leave room for disappointment.
Choose the systems you want to experience before planning recruitment. Watch the four secondary heroes’ paralogues and support carryover across routes early.
Leaving town, taking exams, and resolving story events update your save. Visit meeting points first, distinguish battle retries from chapter restarts, and replay the rest of a route after fixing missed content.
Complete requests for Renown, open routes through labyrinth exits, return to recruit with gifts, and use Pale Raven advice to prepare for the next battle.
Four characters enter the games with personal wishes. Win through range, terrain, and class coordination, then strengthen the team through training, recruitment, forging, and expeditions.
Classes determine Movement, weapon access, and growth modifiers. Class abilities require the current class; learned mastery abilities can be equipped after switching. Only one optional exam proficiency is required.
Enable the grid, HP bars, and portraits, and darken the danger overlay. Use prologue training to learn threat displays, terrain, and counterattack range.
Plan your return before setting out. Repeated attempts to gather materials and gain levels ended with the discovery that the preliminary match scene had been missed.
Gathering a few portions takes repeated crate openings and forces changes to festival and return plans. Recover before leaving and plan the return along known routes.
Prepare licenses, abilities, and battalions before a long gathering trip. Record each action when retrying in a different order, and allow time to return even if materials remain short.
A gathering pool has several possible drops, so total yield is not the amount of your target material. Reclass before leaving and reserve time for spectating and recruitment after returning.
A straight sword path can fight around critical-hit healing. With more investment, build Strength and mastery first, then make use of higher-tier growth.
Growth combines character and class rates, and mastery abilities carry into later classes. Sword paths connect critical damage and healing; bow paths improve Hit, while mounted and armored classes have weaknesses to manage.
Physical units need Strength, Speed, and Hit; mounted paths also include mount growth. Before promoting mages, check which spells they lose and whether their uses will last through long maps.
Choose mounts for team gaps, then select abilities after finding a rare variant. Supply feed through farming and shop crates, and use map unlock order to reduce travel.
Use free time to explore, duel, and farm enemies with the Ringing Blade. Keep levels low until reclassing unlocks, and build Strength, Speed, and Defense across routes.
Battalions can be assigned, gather materials, be donated, and support reconstruction. Keep the queen mobile, use Tobias as a physical tank, and assign separate healers and Avoid specialists.
Use performances and mixed drinks to stabilize resources, then add a dedicated archer and one armored unit. Train different paths across two routes, balancing merge benefits against current combat performance.
Growths set the starting point; learnable abilities and army needs set the destination. Axe cavalry saves resources for Majide, while gauntlets with Freeze and Warp require focused investment.
Prioritize the starting companions, Inyoni, Mikaela, and Catania. Keep Loretta at full HP with ranged healing, then manage equipment weight around Attack Speed.
Build around trained protagonists and companions. Give each team physical damage, magic, flying, and bows, and prioritize upgrade resources for characters who actually deploy.
Low-level starting allies benefit from more growth under your control. Compare immediate class modifiers, growths, weapon access, and mastery, and prepare swords, healing, and magic damage first.
Use swords for Dietrich and shift Leda toward support later. Train early arrivals first, then use different classes across two routes to cover weaknesses.
Cai’s story rewards mount modifiers and early recruitment. For Theodora, establish tanking, accuracy support, and healing before choosing extra recruits.
Identify which stats and skills a character develops well, then choose classes that build those strengths. Preview level-ups and adjust through exams when needed.
Mu and Leda’s extra actions strip boss health bars. Fliers hunt the back line, archers handle evasive and flying enemies, and armor plus two ranged healers hold the line.
Eight tips covering growth rerolls, Attack Speed and Build, class unlocks, recruitment, auto-leveling, paralogue deadlines, class choices, and weapon forging.
Recruit characters who fill missing roles early. Check mount compatibility when changing classes, and account for mounts’ abilities and growth effects.
Train Leda in magic early, and send physical units toward the Strength or Speed they lack. Get useful masteries without staying in the same class for every level.
Choose growth classes around actual weaknesses. Myrmidon and Shido can be mastery stops; improve armored mobility, use Io 's built-in mount, and give mages additional utility.
Gathering changes mount spawns. Confirm a target can be caught before rerolling its abilities. Feeding resets daily, and class choices need to balance growth with combat usefulness.
The queen suits the front line. Ninae and Dadao favor armor, while low-Strength archers can use a Warrior path and Hit abilities to address weaknesses.
Classes determine Movement, weapon access, and growth modifiers. Class abilities require the current class; learned mastery abilities can be equipped after switching. Only one optional exam proficiency is required.
Fill each role with eight units, then choose classes to address weaknesses: Guardian for Theodora, Tobias to tank, Strength training for Lilian and Lysander, and Dadao for ranged bows.
Build damage on Dietrich, Esmeralda, and Kiroc, while Goliath absorbs attacks and protects allies. Train proficiencies ahead of later class requirements.
Prepare mounts for Cai 's mounted units first. Guzran focuses on fast physical combat, Peter needs Strength, and support units divide the white magic roles.
Renown rises with progress, while Support can be trained beforehand. Fill the team with level-one and level-two requirements first, then prepare extra healing and tanking for later split forces.
Each turn lasts six hours, so set return reminders early. Watch Part 1 bond conversations promptly; replaying a chapter updates later snapshots one chapter at a time.
These 13 tips cover weapons, ranges, terrain, difficulty, the four protagonists, weekly activities, recruitment, exploration, fast travel, the calendar, achievements, dungeons, and timed paralogues.
Blue shows movement and red shows attacks. Use Range to avoid counters and terrain for better positions, then plan training and exploration around the next opponent.
Adjacent support strengthens corner formations, summons can lure enemies, and Divine Sand must cover Rewind and Blessings. Maps need to make those choices matter.
Check class weapon access, then accuracy, damage through defenses, and mobility. Favorite characters can change jobs; your army need not include every class.
Start with your favorite protagonist. Exploration and training from four routes ultimately converge, while one save and repeated travel introduce new trade-offs.
These 31 tips follow the video through rewards, routes, exploration, weekly activities, combat, and meals. Return weekly for temple service, training, and bonds.
Your avatar returns five years to change the four fighters’ fates. Train inside and outside town, inspect growth rates, and keep separate progress for each route.
Even three level-99 units lost the first attempt. Giving Eshmel the magic weapon and critical-hit healing, then breaking gates and attacking in the same turn, secured the clear.
Dietrich alone earns SS through fast critical hits and a healing loop. Sofia, Leda, and Eshmel offer hard-to-replace healing, extra actions, and Underworld protection.
Use mounted healing for a regular build. With heavy single-route investment, gain Defense through class changes; across routes, develop magical sword damage alongside healing.
Finish one protagonist’s twelve chapters before starting the next route from the beginning. Exploration, support, quests, and Blessings reduce repeated work.
Safe damage and reliable sustain are valuable on Hard. Dietrich excels at breaking through single targets, while Leda’s group buffs grow stronger as the team expands.
After a Hard clear, Dietrich is the most well-rounded pick and Sirocco makes an enormous contribution. Healing range, reliable accuracy, and recruitment timing all change a character's value.
For Parts 1 and 2 on Hard, prioritize what a class solves for your team. Evaluate growths with the character and mount included; even top-tier classes should not fill every slot.
Before the war story, choose six items per character and repair and upgrade them. Check paralogue deadlines, finish recruitment, and complete route-specific quests.
Check Attack Speed, class growths, support, restarts, Sunday meals, cheap gifts, automatic returns, carriages, temples, and equipped skills in these ten tips.
Cai’s area Blaze attack softens enemies and creates damage-reducing ground; Peter charges through weakened targets. Move frontliners first, heal afterward, and prioritize lance users and archers.
Choose your recruits and next classes first. Restore Motivation through meals, train proficiencies, and fit quests and exploration into the remaining schedule.
Saturday training is discounted, and Sunday’s reset allows another round. Train and perform Divine Service before meals restore Motivation; check deadlines early.
High total growths still depend on distribution. Defense, Resistance, Attack Speed, and Hit determine survival and reliability; spells, movement, and healing range can change the assessment.
Get Archer, Warrior, Shido, and Caladrius mastery early. Judge Master Combat Arts by their action value, and weigh Divine +10 bonuses against how late they arrive.
Leda, Eshmel, and Dietrich rank highest. Choose each character by recruitment timing, skill synergy, and the cost of training across at most two routes.
Finish weekly temple activities and training before exploring. Do not force high-threshold recruitment early, and check whether accessories cost you follow-up attacks before battle.
Crops mature after six turns and are harvested by walking through the field. Fertilizer favors location-specific rare crops, so leave it out when duplicating the original plant.
Fifteen tips in video order cover support, gifts, crates, forging, skills, leveling, income, Blessing counters, travel, Linked Attack recovery, outfits, weapons, and character choices.
The war story suspends shopping, upgrades, and recruitment. Finish training and supplies in Part 1, then put powerful weapons in characters’ inventories.
Fifteen preparations in video order: Blaze and Magic, sewers, capture and feeding, requests and cultivation, transport and training, Paralogues, seals and leveling, upgrades, exploration, and recruitment.
Level with support magic and pair experienced trainers with beginners. Use inn meals for recruitment requirements, then feasts to raise support across your recruited party.
Normal/Casual eases you in. Actions advance free time; return weekly for training, and check range, accuracy, and follow-ups before focusing on damage.
Improve stats through same-route integration first and save Karma Shards for key characters. In the Promised One’s story, restore stations and temples before splitting teams for reconstruction and interception.
Do capital activities first each week, then unlock stations and complete requests along exploration routes. Recruit early, use spare turns for exploration income, and buy gifts for more recruits.
Certification Exams advance level-up randomness whether passed or failed. Save at the chapter’s start, preview stat gains, then decide which level needs a return trip for an exam.
A Hard Classic ranking focused on Part 3: Unique Combat Arts and support earn high places. Early recruits can fix growth weaknesses; late recruits need immediate impact.
Give each route its own team and recruit only where there is a role. Speed training must account for weapons and abilities. Drop side trips when needed and return to reclass first.
Judge equipment by actual Attack Speed and account for mount bonuses. Check turns spent on movement, assignments, and battles separately to plan your schedule.
The six tips cover support, dungeon leveling, encounter leveling, money, restoring Linked Attack points, and original outfits. Restarting a chapter rolls back its training progress.
Labyrinths bring resources and levels back to the main story. Visible growth rates and development across routes give favorite characters more possible paths.
Track paralogues and hidden events together. Save before obtaining random chests, and prepare promotion licenses and war-campaign weapons while leveling.
Cai and allies supply extra damage until the chariot can clear the first two waves alone. Leave an enemy and retreat; build Magic and Speed on another route.
When lance repairs lack materials, rely on trained regulars. Save time to return after shopping, retreat to safety in battle, then decide whether to use a Blessing.
Credna's Blessing improves fog vision, but scouts still need to survive. Check paralogue deadlines promptly, and plan the giant contest around kills, feed, and blocking rivals.
Seeing the queen’s route after Cai changes the crossover scenes. For battle preparation, check mechanism objectives, timed paralogues, and certification proficiency.
Material lists give better direction than wandering. This expedition reaches poison areas underprepared, then runs short on turns; reserve time for training and the return trip.
Speed up animations in repeated small battles, and bring enough range to chase fleeing targets. Check proficiency and usable weapons when changing classes to improve stats.
In Part 3, rebuild the temples and complete each god’s quest first. Equipment requires a separate priest’s trial at the main temple; combine the fire quest with your visit to Jurah.
Talk and give gifts to new characters, dine with the protagonist for recruitment support, check Sunday resets, train during daylight, and leave time to report quests.
Keep each route’s starting team, then assign companions by Support requirements, joining time, and Support relationships. Wait in the capital in advance for five Paralogue-linked recruits.
Spend a spell use before Feasting, then repeatedly choose HP-only meals to keep raising support. Each meal costs a turn; revisiting an old paralogue also requires replaying later chapters.
On Sunday, handle training, temple service, gifts, and meals first. Accept side quests before leaving and group dungeons with quests in the same direction.
Check enemy ranges and classes, then attack from safety. Divide your limited preparation time between training, recruitment, and exploration according to what you need.
Use the limited preparation period to train, buy equipment, recruit, and explore. In battle, terrain, support, combat arts, and class roles bring out your team’s strengths.
The four routes build separately before bringing companions, training, and stories together. Exploration, a single save, and the theme of family all support that structure.
Give a first gift to establish a relationship, then build Support through meals. Plan exploration and route-specific activities around their action costs.
Recruit core units and reserves, prepare effective weapons, train Blessings and reduce their costs, then finish targeted training and distribute equipment from opened crates.
Four features from the video: accumulate support through chapter restarts, unlock Leda’s Dancer in Chapter 9, buy exam licenses at regional markets, and find Anna’s night shop in Chapter 10.
Remove heavy equipment that slows fast units. Give gifts before the chapter ends, and prepare anti-Underworld tools and two ranged healers for midgame.
Train levels, skills, and magic in the same protagonist’s save data. Merging across routes costs 300 Karma Shards per character; handle redeemed items before restarting a chapter.
Leaving town, taking exams, and resolving story events update your save. Visit meeting points first, distinguish battle retries from chapter restarts, and replay the rest of a route after fixing missed content.
Finish timed paralogues and obtain exclusive weapons before carryover. In Part 3, reenable Blessings, rebuild transport and temples, and switch to divine classes before using a six-unit leveling loop.
At high levels, Charioteer greatly improves HP, Strength, and Defense without a net Speed bonus. Dietrich and several healers can repeatedly control an enemy for EXP.
Catania, Ludia, and Loretta add conditional Avoid beyond raw Speed. Start physical builds in Pugilist, move to Ranger, then choose Avoid or mobility after late masteries.
Start with Speed and Avoid, then add armored durability. Leda begins toward Dancer; Lysander starts with Pugilist and Ranger before moving to Great Knight later.
Four characters enter the games with personal wishes. Win through range, terrain, and class coordination, then strengthen the team through training, recruitment, forging, and expeditions.
Choose targets within your Renown reach, then dine with the protagonist to build support. Chapter restarts retain support; Renown still requires quests.
Spare weapons do not affect Attack Speed. On Normal, defeat retries can retain EXP; for repeated feasts, use meat to restore HP while leaving spell uses below full.
Accept requests at chapter start, then handle weekly training, Temple Service, and meals. Sunday refreshes uses, but you must restore Motivation and condition yourself.
With Theodora around 80% Hit and Tobias around 70%, one miss is hard to cover. Subtract class bonuses when reading growths, and check move areas and conditions before acting.
Give gifts to unlock meals, then choose dishes and training around your targets. Check rivers and stations outside town and reserve enough turns for a weekend return.
Budget training, hot springs, shopping, and travel together. Save money for the target weapon and transport, then turns for returning, recruitment, and detours.
Prepare licenses, abilities, and battalions before a long gathering trip. Record each action when retrying in a different order, and allow time to return even if materials remain short.
Prioritize healing uses on long exploration trips. In the paralogue, pursue objectives rather than low-EXP kills, then improve movement-related proficiencies afterward.
Leda can hand the Dancer role to someone else and use bows. Sofia can immediately fill a ranged healing role, while armored units need to keep pace and hold enemies in place.
Growth rates set your chances of gaining stats, and Weight affects Attack Speed. Class changes do not reset levels, and learned abilities still need checking in the equipment menu.
Choose a matchup where you can deal damage without taking much in return. Use low-Might weapons to extend combat, retreat before defeating the enemy, and repeat.
Remove a heavy shield that lowers Attack Speed. Use Short Spears, healing, and retreating to reduce enemy numbers, then trap the boss with three units and an obstacle.
Renown rises with progress, while Support can be trained beforehand. Fill the team with level-one and level-two requirements first, then prepare extra healing and tanking for later split forces.
Use all three weekly meals, then restart the chapter. Money and progress roll back, support remains, and you can keep eating toward recruitment requirements.
Check requirements for your current route on the map’s character page and build support early. Buy cheap tavern gifts, dine at half price on Sundays, and restart chapters when needed.
Give each target one gift to unlock meals, then dine with the current protagonist and two targets. Repeat after Sunday resets and restart when chapter time runs out; support stays.
Keep each route’s starting team, then assign companions by Support requirements, joining time, and Support relationships. Wait in the capital in advance for five Paralogue-linked recruits.
Spend a spell use before Feasting, then repeatedly choose HP-only meals to keep raising support. Each meal costs a turn; revisiting an old paralogue also requires replaying later chapters.
Choose the systems you want to experience before planning recruitment. Watch the four secondary heroes’ paralogues and support carryover across routes early.
More companions give you more options for Auto-earn income and service pairings; recruitment may also require completing a character’s personal request.
Restart Yang Jie 's conversation to retry his questions. Keep telling Majide you need him, prepare gold for Jasmine, and check purchase and exchange locations for material requests.
Watch available conversations during Part 1. Replaying them in old chapters and unlocking the next conversation in the current Promised One campaign can show different menu states.
Choose targets within your Renown reach, then dine with the protagonist to build support. Chapter restarts retain support; Renown still requires quests.
Each turn lasts six hours, so set return reminders early. Watch Part 1 bond conversations promptly; replaying a chapter updates later snapshots one chapter at a time.
These 13 tips cover weapons, ranges, terrain, difficulty, the four protagonists, weekly activities, recruitment, exploration, fast travel, the calendar, achievements, dungeons, and timed paralogues.
Pre-match development, world map exploration, limited time, and battlefield mobility all affect one another. Pursue your priorities first, then explore the rest on other routes.
Weapons have distinct roles, while Curse Orbs and Blaze Arts share gauge management. Exploration, class changes, and support give development direction.
After reaching chapter five on all four routes, the highlight is switching perspectives before shared events. Each cast’s goals, map actions, and weekly routines also have their own rhythm.
These 31 tips follow the video through rewards, routes, exploration, weekly activities, combat, and meals. Return weekly for temple service, training, and bonds.
Pause between chapters to switch routes, then bring the four protagonists’ exploration and training specialties together so earlier investments have somewhere to pay off.
Early enjoyment comes from mapping, recruitment, and training. The war campaign repeatedly tests your lineup. Players who enjoy characters, story, and development will find it easier to engage.
Each route has its own story and development systems. Sequential clears provide conveniences and shared rewards, while timed paralogues demand careful return planning.
Finish one protagonist’s twelve chapters before starting the next route from the beginning. Exploration, support, quests, and Blessings reduce repeated work.
Before the war story, choose six items per character and repair and upgrade them. Check paralogue deadlines, finish recruitment, and complete route-specific quests.
Check Attack Speed, class growths, support, restarts, Sunday meals, cheap gifts, automatic returns, carriages, temples, and equipped skills in these ten tips.
Choose your recruits and next classes first. Restore Motivation through meals, train proficiencies, and fit quests and exploration into the remaining schedule.
Saturday training is discounted, and Sunday’s reset allows another round. Train and perform Divine Service before meals restore Motivation; check deadlines early.
Finish weekly temple activities and training before exploring. Do not force high-threshold recruitment early, and check whether accessories cost you follow-up attacks before battle.
Crops mature after six turns and are harvested by walking through the field. Fertilizer favors location-specific rare crops, so leave it out when duplicating the original plant.
Fifteen tips in video order cover support, gifts, crates, forging, skills, leveling, income, Blessing counters, travel, Linked Attack recovery, outfits, weapons, and character choices.
The war story suspends shopping, upgrades, and recruitment. Finish training and supplies in Part 1, then put powerful weapons in characters’ inventories.
Fifteen preparations in video order: Blaze and Magic, sewers, capture and feeding, requests and cultivation, transport and training, Paralogues, seals and leveling, upgrades, exploration, and recruitment.
Level with support magic and pair experienced trainers with beginners. Use inn meals for recruitment requirements, then feasts to raise support across your recruited party.
Normal/Casual eases you in. Actions advance free time; return weekly for training, and check range, accuracy, and follow-ups before focusing on damage.
Improve stats through same-route integration first and save Karma Shards for key characters. In the Promised One’s story, restore stations and temples before splitting teams for reconstruction and interception.
Do capital activities first each week, then unlock stations and complete requests along exploration routes. Recruit early, use spare turns for exploration income, and buy gifts for more recruits.
Give each route its own team and recruit only where there is a role. Speed training must account for weapons and abilities. Drop side trips when needed and return to reclass first.
The six tips cover support, dungeon leveling, encounter leveling, money, restoring Linked Attack points, and original outfits. Restarting a chapter rolls back its training progress.
Check the calendar and town activities, then explore along side-quest routes and open waystations. Prepare class and recruitment requirements; restarting resets the chapter’s gains.
Even after 180 hours across all four routes, some Support events remain unseen. The biggest frustrations are rushed character conclusions and high Renown requirements that delay favorite recruits.
Track paralogues and hidden events together. Save before obtaining random chests, and prepare promotion licenses and war-campaign weapons while leveling.
Material lists give better direction than wandering. This expedition reaches poison areas underprepared, then runs short on turns; reserve time for training and the return trip.
Talk and give gifts to new characters, dine with the protagonist for recruitment support, check Sunday resets, train during daylight, and leave time to report quests.
On Sunday, handle training, temple service, gifts, and meals first. Accept side quests before leaving and group dungeons with quests in the same direction.
Check enemy ranges and classes, then attack from safety. Divide your limited preparation time between training, recruitment, and exploration according to what you need.
Each route has its own resource loop. Schedule training and Temple Service on the calendar, and manage labyrinth links, weapon durability, and the Blaze Gauge.
Use the limited preparation period to train, buy equipment, recruit, and explore. In battle, terrain, support, combat arts, and class roles bring out your team’s strengths.
Give a first gift to establish a relationship, then build Support through meals. Plan exploration and route-specific activities around their action costs.
Four features from the video: accumulate support through chapter restarts, unlock Leda’s Dancer in Chapter 9, buy exam licenses at regional markets, and find Anna’s night shop in Chapter 10.
Remove heavy equipment that slows fast units. Give gifts before the chapter ends, and prepare anti-Underworld tools and two ranged healers for midgame.
Eight tips covering growth rerolls, Attack Speed and Build, class unlocks, recruitment, auto-leveling, paralogue deadlines, class choices, and weapon forging.
Accept quests, then share meals, give gifts, train, watch matches, and worship. Use automatic activities to reach the next Sunday and repeat the weekly routine.
Goliath needs three portions of Giants’ Meat. The giant in the Desert Fortress drops it; return during free time in the next chapter after clearing it.
After roughly 175 hours, repeated early sections and fixing missed content were hardest to accept. Enjoying late-game freedom does not mean wanting several more runs for unlocks.
Finish timed paralogues and obtain exclusive weapons before carryover. In Part 3, reenable Blessings, rebuild transport and temples, and switch to divine classes before using a six-unit leveling loop.
Complete requests for Renown, open routes through labyrinth exits, return to recruit with gifts, and use Pale Raven advice to prepare for the next battle.
The opening compass suggests stories for four more characters. Choose Yang Jie’s preferred answers during negotiations and speak again after a mistake.
Spare weapons do not affect Attack Speed. On Normal, defeat retries can retain EXP; for repeated feasts, use meat to restore HP while leaving spell uses below full.
Accept requests at chapter start, then handle weekly training, Temple Service, and meals. Sunday refreshes uses, but you must restore Motivation and condition yourself.
Give gifts to unlock meals, then choose dishes and training around your targets. Check rivers and stations outside town and reserve enough turns for a weekend return.
Gathering a few portions takes repeated crate openings and forces changes to festival and return plans. Recover before leaving and plan the return along known routes.
Prioritize healing uses on long exploration trips. In the paralogue, pursue objectives rather than low-EXP kills, then improve movement-related proficiencies afterward.
A gathering pool has several possible drops, so total yield is not the amount of your target material. Reclass before leaving and reserve time for spectating and recruitment after returning.
Build damage on Dietrich, Esmeralda, and Kiroc, while Goliath absorbs attacks and protects allies. Train proficiencies ahead of later class requirements.
These 13 tips cover weapons, ranges, terrain, difficulty, the four protagonists, weekly activities, recruitment, exploration, fast travel, the calendar, achievements, dungeons, and timed paralogues.
Adjacent support strengthens corner formations, summons can lure enemies, and Divine Sand must cover Rewind and Blessings. Maps need to make those choices matter.
These 31 tips follow the video through rewards, routes, exploration, weekly activities, combat, and meals. Return weekly for temple service, training, and bonds.
Each route has its own story and development systems. Sequential clears provide conveniences and shared rewards, while timed paralogues demand careful return planning.
After clearing every route on Normal, I prefer the late-game wars. The tradeoff is a delayed full ending and exploration, recruitment, and rebuilding that demand patience.
Finish one protagonist’s twelve chapters before starting the next route from the beginning. Exploration, support, quests, and Blessings reduce repeated work.
Before the war story, choose six items per character and repair and upgrade them. Check paralogue deadlines, finish recruitment, and complete route-specific quests.
Check Attack Speed, class growths, support, restarts, Sunday meals, cheap gifts, automatic returns, carriages, temples, and equipped skills in these ten tips.
Saturday training is discounted, and Sunday’s reset allows another round. Train and perform Divine Service before meals restore Motivation; check deadlines early.
Finish weekly temple activities and training before exploring. Do not force high-threshold recruitment early, and check whether accessories cost you follow-up attacks before battle.
The war story suspends shopping, upgrades, and recruitment. Finish training and supplies in Part 1, then put powerful weapons in characters’ inventories.
Normal/Casual eases you in. Actions advance free time; return weekly for training, and check range, accuracy, and follow-ups before focusing on damage.
Do capital activities first each week, then unlock stations and complete requests along exploration routes. Recruit early, use spare turns for exploration income, and buy gifts for more recruits.
When lance repairs lack materials, rely on trained regulars. Save time to return after shopping, retreat to safety in battle, then decide whether to use a Blessing.
Credna's Blessing improves fog vision, but scouts still need to survive. Check paralogue deadlines promptly, and plan the giant contest around kills, feed, and blocking rivals.
Talk and give gifts to new characters, dine with the protagonist for recruitment support, check Sunday resets, train during daylight, and leave time to report quests.
On Sunday, handle training, temple service, gifts, and meals first. Accept side quests before leaving and group dungeons with quests in the same direction.
Each route has its own resource loop. Schedule training and Temple Service on the calendar, and manage labyrinth links, weapon durability, and the Blaze Gauge.
Recruit core units and reserves, prepare effective weapons, train Blessings and reduce their costs, then finish targeted training and distribute equipment from opened crates.
Accept quests, then share meals, give gifts, train, watch matches, and worship. Use automatic activities to reach the next Sunday and repeat the weekly routine.
Finish timed paralogues and obtain exclusive weapons before carryover. In Part 3, reenable Blessings, rebuild transport and temples, and switch to divine classes before using a six-unit leveling loop.
More companions give you more options for Auto-earn income and service pairings; recruitment may also require completing a character’s personal request.
Accept requests at chapter start, then handle weekly training, Temple Service, and meals. Sunday refreshes uses, but you must restore Motivation and condition yourself.
Finish one protagonist’s twelve chapters before starting the next route from the beginning. Exploration, support, quests, and Blessings reduce repeated work.
Identical actions repeat the result. After failure, load the autosave from entering or leaving a cave, then use Explore or Wait to change the sequence.
Crops mature after six turns and are harvested by walking through the field. Fertilizer favors location-specific rare crops, so leave it out when duplicating the original plant.
Level with support magic and pair experienced trainers with beginners. Use inn meals for recruitment requirements, then feasts to raise support across your recruited party.
Certification Exams advance level-up randomness whether passed or failed. Save at the chapter’s start, preview stat gains, then decide which level needs a return trip for an exam.
Cai and allies supply extra damage until the chariot can clear the first two waves alone. Leave an enemy and retreat; build Magic and Speed on another route.
If you know a request’s place name but cannot find it, jump there from the location list. Filter the points you need, read their details, then mark them.
Switch maps by protagonist, filter uncollected locations, then search for materials and add stops to a gathering route to see the path and estimated turns.
Four features from the video: accumulate support through chapter restarts, unlock Leda’s Dancer in Chapter 9, buy exam licenses at regional markets, and find Anna’s night shop in Chapter 10.
Train levels, skills, and magic in the same protagonist’s save data. Merging across routes costs 300 Karma Shards per character; handle redeemed items before restarting a chapter.
Goliath needs three portions of Giants’ Meat. The giant in the Desert Fortress drops it; return during free time in the next chapter after clearing it.
Leaving town, taking exams, and resolving story events update your save. Visit meeting points first, distinguish battle retries from chapter restarts, and replay the rest of a route after fixing missed content.
At high levels, Charioteer greatly improves HP, Strength, and Defense without a net Speed bonus. Dietrich and several healers can repeatedly control an enemy for EXP.
Spare weapons do not affect Attack Speed. On Normal, defeat retries can retain EXP; for repeated feasts, use meat to restore HP while leaving spell uses below full.
Choose a matchup where you can deal damage without taking much in return. Use low-Might weapons to extend combat, retreat before defeating the enemy, and repeat.
Each turn lasts six hours, so set return reminders early. Watch Part 1 bond conversations promptly; replaying a chapter updates later snapshots one chapter at a time.
These 13 tips cover weapons, ranges, terrain, difficulty, the four protagonists, weekly activities, recruitment, exploration, fast travel, the calendar, achievements, dungeons, and timed paralogues.
Pre-match development, world map exploration, limited time, and battlefield mobility all affect one another. Pursue your priorities first, then explore the rest on other routes.
Blue shows movement and red shows attacks. Use Range to avoid counters and terrain for better positions, then plan training and exploration around the next opponent.
Travel five years into the past to change four Warriors’ fates. Strengthen your team through training, class changes, recruitment, and exploration; Combat Arts cost durability, while Blaze Arts cost HP.
Weapons have distinct roles, while Curse Orbs and Blaze Arts share gauge management. Exploration, class changes, and support give development direction.
Use all three weekly meals, then restart the chapter. Money and progress roll back, support remains, and you can keep eating toward recruitment requirements.
Check class weapon access, then accuracy, damage through defenses, and mobility. Favorite characters can change jobs; your army need not include every class.
Use the lower-left platform and narrow entrance to block golems and let enemies approach. Keep the protagonist alive and clear reinforcements before pressuring the boss again.
Start with your favorite protagonist. Exploration and training from four routes ultimately converge, while one save and repeated travel introduce new trade-offs.
After reaching chapter five on all four routes, the highlight is switching perspectives before shared events. Each cast’s goals, map actions, and weekly routines also have their own rhythm.
These 31 tips follow the video through rewards, routes, exploration, weekly activities, combat, and meals. Return weekly for temple service, training, and bonds.
Pause between chapters to switch routes, then bring the four protagonists’ exploration and training specialties together so earlier investments have somewhere to pay off.
Build for the enemies in the next battle. Map space, reinforcement directions, and spreading fire determine whether to concentrate or divide your forces.
Your avatar returns five years to change the four fighters’ fates. Train inside and outside town, inspect growth rates, and keep separate progress for each route.
Even three level-99 units lost the first attempt. Giving Eshmel the magic weapon and critical-hit healing, then breaking gates and attacking in the same turn, secured the clear.
Each route has its own story and development systems. Sequential clears provide conveniences and shared rewards, while timed paralogues demand careful return planning.
Four routes share one save, with extensive development, social activity, and exploration. Set route-switching frequency and preparation pace around your own preferences.
After clearing every route on Normal, I prefer the late-game wars. The tradeoff is a delayed full ending and exploration, recruitment, and rebuilding that demand patience.
A straight sword path can fight around critical-hit healing. With more investment, build Strength and mastery first, then make use of higher-tier growth.
Use mounted healing for a regular build. With heavy single-route investment, gain Defense through class changes; across routes, develop magical sword damage alongside healing.
Growth combines character and class rates, and mastery abilities carry into later classes. Sword paths connect critical damage and healing; bow paths improve Hit, while mounted and armored classes have weaknesses to manage.
For Parts 1 and 2 on Hard, prioritize what a class solves for your team. Evaluate growths with the character and mount included; even top-tier classes should not fill every slot.
Check Attack Speed, class growths, support, restarts, Sunday meals, cheap gifts, automatic returns, carriages, temples, and equipped skills in these ten tips.
Check requirements for your current route on the map’s character page and build support early. Buy cheap tavern gifts, dine at half price on Sundays, and restart chapters when needed.
Cai’s area Blaze attack softens enemies and creates damage-reducing ground; Peter charges through weakened targets. Move frontliners first, heal afterward, and prioritize lance users and archers.
Choose your recruits and next classes first. Restore Motivation through meals, train proficiencies, and fit quests and exploration into the remaining schedule.
Physical units need Strength, Speed, and Hit; mounted paths also include mount growth. Before promoting mages, check which spells they lose and whether their uses will last through long maps.
High total growths still depend on distribution. Defense, Resistance, Attack Speed, and Hit determine survival and reliability; spells, movement, and healing range can change the assessment.
Get Archer, Warrior, Shido, and Caladrius mastery early. Judge Master Combat Arts by their action value, and weigh Divine +10 bonuses against how late they arrive.
Choose mounts for team gaps, then select abilities after finding a rare variant. Supply feed through farming and shop crates, and use map unlock order to reduce travel.
Use free time to explore, duel, and farm enemies with the Ringing Blade. Keep levels low until reclassing unlocks, and build Strength, Speed, and Defense across routes.
Battalions can be assigned, gather materials, be donated, and support reconstruction. Keep the queen mobile, use Tobias as a physical tank, and assign separate healers and Avoid specialists.
Use performances and mixed drinks to stabilize resources, then add a dedicated archer and one armored unit. Train different paths across two routes, balancing merge benefits against current combat performance.
Finish weekly temple activities and training before exploring. Do not force high-threshold recruitment early, and check whether accessories cost you follow-up attacks before battle.
Fifteen tips in video order cover support, gifts, crates, forging, skills, leveling, income, Blessing counters, travel, Linked Attack recovery, outfits, weapons, and character choices.
The war story suspends shopping, upgrades, and recruitment. Finish training and supplies in Part 1, then put powerful weapons in characters’ inventories.
Fifteen preparations in video order: Blaze and Magic, sewers, capture and feeding, requests and cultivation, transport and training, Paralogues, seals and leveling, upgrades, exploration, and recruitment.
Normal/Casual eases you in. Actions advance free time; return weekly for training, and check range, accuracy, and follow-ups before focusing on damage.
Improve stats through same-route integration first and save Karma Shards for key characters. In the Promised One’s story, restore stations and temples before splitting teams for reconstruction and interception.
Growths set the starting point; learnable abilities and army needs set the destination. Axe cavalry saves resources for Majide, while gauntlets with Freeze and Warp require focused investment.
After an 85-hour clear, the biggest frustration is how travel and battle time keep adding up. The cast and flexible class changes still provide a reason to keep playing.
A Hard Classic ranking focused on Part 3: Unique Combat Arts and support earn high places. Early recruits can fix growth weaknesses; late recruits need immediate impact.
Give each route its own team and recruit only where there is a role. Speed training must account for weapons and abilities. Drop side trips when needed and return to reclass first.
Judge equipment by actual Attack Speed and account for mount bonuses. Check turns spent on movement, assignments, and battles separately to plan your schedule.
The six tips cover support, dungeon leveling, encounter leveling, money, restoring Linked Attack points, and original outfits. Restarting a chapter rolls back its training progress.
Check the calendar and town activities, then explore along side-quest routes and open waystations. Prepare class and recruitment requirements; restarting resets the chapter’s gains.
Labyrinths bring resources and levels back to the main story. Visible growth rates and development across routes give favorite characters more possible paths.
Prioritize the starting companions, Inyoni, Mikaela, and Catania. Keep Loretta at full HP with ranged healing, then manage equipment weight around Attack Speed.
Build around trained protagonists and companions. Give each team physical damage, magic, flying, and bows, and prioritize upgrade resources for characters who actually deploy.
Track paralogues and hidden events together. Save before obtaining random chests, and prepare promotion licenses and war-campaign weapons while leveling.
Talk and give gifts to new characters, dine with the protagonist for recruitment support, check Sunday resets, train during daylight, and leave time to report quests.
Give each target one gift to unlock meals, then dine with the current protagonist and two targets. Repeat after Sunday resets and restart when chapter time runs out; support stays.
Low-level starting allies benefit from more growth under your control. Compare immediate class modifiers, growths, weapon access, and mastery, and prepare swords, healing, and magic damage first.
Spend a spell use before Feasting, then repeatedly choose HP-only meals to keep raising support. Each meal costs a turn; revisiting an old paralogue also requires replaying later chapters.
Use swords for Dietrich and shift Leda toward support later. Train early arrivals first, then use different classes across two routes to cover weaknesses.
Check enemy ranges and classes, then attack from safety. Divide your limited preparation time between training, recruitment, and exploration according to what you need.
Spend weapon durability on combat arts and use normal attacks for routine fights. Commands, follow-ups, and class weapon access make positioning and training choices more important.
Each route has its own resource loop. Schedule training and Temple Service on the calendar, and manage labyrinth links, weapon durability, and the Blaze Gauge.
Identify which stats and skills a character develops well, then choose classes that build those strengths. Preview level-ups and adjust through exams when needed.
Use the limited preparation period to train, buy equipment, recruit, and explore. In battle, terrain, support, combat arts, and class roles bring out your team’s strengths.
Choose between confronting the Demon God directly and returning to the past. Each fighter has a separate story, with preparation spent developing the team and exploring the continent.
The four routes build separately before bringing companions, training, and stories together. Exploration, a single save, and the theme of family all support that structure.
Give a first gift to establish a relationship, then build Support through meals. Plan exploration and route-specific activities around their action costs.
Recruit core units and reserves, prepare effective weapons, train Blessings and reduce their costs, then finish targeted training and distribute equipment from opened crates.
Remove heavy equipment that slows fast units. Give gifts before the chapter ends, and prepare anti-Underworld tools and two ranged healers for midgame.
Eight tips covering growth rerolls, Attack Speed and Build, class unlocks, recruitment, auto-leveling, paralogue deadlines, class choices, and weapon forging.
Four routes complete one another and shared progress reduces repetition. The war story focuses on tactics, while managing the merged roster and the ending leave room for disappointment.
Choose the systems you want to experience before planning recruitment. Watch the four secondary heroes’ paralogues and support carryover across routes early.
Finish timed paralogues and obtain exclusive weapons before carryover. In Part 3, reenable Blessings, rebuild transport and temples, and switch to divine classes before using a six-unit leveling loop.
Compare the four fighters through the city, weapon screens, and Blaze Arts, then examine the story questions and route possibilities raised by the reveal.
Complete requests for Renown, open routes through labyrinth exits, return to recruit with gifts, and use Pale Raven advice to prepare for the next battle.
More companions give you more options for Auto-earn income and service pairings; recruitment may also require completing a character’s personal request.
Watch available conversations during Part 1. Replaying them in old chapters and unlocking the next conversation in the current Promised One campaign can show different menu states.
Gathering changes mount spawns. Confirm a target can be caught before rerolling its abilities. Feeding resets daily, and class choices need to balance growth with combat usefulness.
Four characters enter the games with personal wishes. Win through range, terrain, and class coordination, then strengthen the team through training, recruitment, forging, and expeditions.
Choose targets within your Renown reach, then dine with the protagonist to build support. Chapter restarts retain support; Renown still requires quests.
Classes determine Movement, weapon access, and growth modifiers. Class abilities require the current class; learned mastery abilities can be equipped after switching. Only one optional exam proficiency is required.
Accept requests at chapter start, then handle weekly training, Temple Service, and meals. Sunday refreshes uses, but you must restore Motivation and condition yourself.
With Theodora around 80% Hit and Tobias around 70%, one miss is hard to cover. Subtract class bonuses when reading growths, and check move areas and conditions before acting.
Give gifts to unlock meals, then choose dishes and training around your targets. Check rivers and stations outside town and reserve enough turns for a weekend return.
Budget training, hot springs, shopping, and travel together. Save money for the target weapon and transport, then turns for returning, recruitment, and detours.
Prepare licenses, abilities, and battalions before a long gathering trip. Record each action when retrying in a different order, and allow time to return even if materials remain short.
Growth rates set your chances of gaining stats, and Weight affects Attack Speed. Class changes do not reset levels, and learned abilities still need checking in the equipment menu.
Prepare mounts for Cai 's mounted units first. Guzran focuses on fast physical combat, Peter needs Strength, and support units divide the white magic roles.
Follow the trailer through motives, recruitment viewpoints, new mounts, exploration, and group attacks, preserving the reasoning behind its prerelease theories.
Read the levels and dates alongside the crisis five years later and the explanation of time travel. Area attacks and preparation activities also suggest how battles may flow.
Use the lower-left platform and narrow entrance to block golems and let enemies approach. Keep the protagonist alive and clear reinforcements before pressuring the boss again.
Even three level-99 units lost the first attempt. Giving Eshmel the magic weapon and critical-hit healing, then breaking gates and attacking in the same turn, secured the clear.
Cai’s area Blaze attack softens enemies and creates damage-reducing ground; Peter charges through weakened targets. Move frontliners first, heal afterward, and prioritize lance users and archers.
Catania, Ludia, and Loretta add conditional Avoid beyond raw Speed. Start physical builds in Pugilist, move to Ranger, then choose Avoid or mobility after late masteries.
Start with Speed and Avoid, then add armored durability. Leda begins toward Dancer; Lysander starts with Pugilist and Ranger before moving to Great Knight later.
Eshmel holds the line with lances, Hong Hua deals ranged damage, and Troy handles the flank and healing. Prepare the levels, weapons, and positions needed for both boss battles.
Renown rises with progress, while Support can be trained beforehand. Fill the team with level-one and level-two requirements first, then prepare extra healing and tanking for later split forces.
Adjacent support strengthens corner formations, summons can lure enemies, and Divine Sand must cover Rewind and Blessings. Maps need to make those choices matter.
Check class weapon access, then accuracy, damage through defenses, and mobility. Favorite characters can change jobs; your army need not include every class.
Build for the enemies in the next battle. Map space, reinforcement directions, and spreading fire determine whether to concentrate or divide your forces.
A straight sword path can fight around critical-hit healing. With more investment, build Strength and mastery first, then make use of higher-tier growth.
Use mounted healing for a regular build. With heavy single-route investment, gain Defense through class changes; across routes, develop magical sword damage alongside healing.
Safe damage and reliable sustain are valuable on Hard. Dietrich excels at breaking through single targets, while Leda’s group buffs grow stronger as the team expands.
After a Hard clear, Dietrich is the most well-rounded pick and Sirocco makes an enormous contribution. Healing range, reliable accuracy, and recruitment timing all change a character's value.
Growth combines character and class rates, and mastery abilities carry into later classes. Sword paths connect critical damage and healing; bow paths improve Hit, while mounted and armored classes have weaknesses to manage.
For Parts 1 and 2 on Hard, prioritize what a class solves for your team. Evaluate growths with the character and mount included; even top-tier classes should not fill every slot.
Physical units need Strength, Speed, and Hit; mounted paths also include mount growth. Before promoting mages, check which spells they lose and whether their uses will last through long maps.
Choose mounts for team gaps, then select abilities after finding a rare variant. Supply feed through farming and shop crates, and use map unlock order to reduce travel.
The war story suspends shopping, upgrades, and recruitment. Finish training and supplies in Part 1, then put powerful weapons in characters’ inventories.
Growths set the starting point; learnable abilities and army needs set the destination. Axe cavalry saves resources for Majide, while gauntlets with Freeze and Warp require focused investment.
Prioritize the starting companions, Inyoni, Mikaela, and Catania. Keep Loretta at full HP with ranged healing, then manage equipment weight around Attack Speed.
Build around trained protagonists and companions. Give each team physical damage, magic, flying, and bows, and prioritize upgrade resources for characters who actually deploy.
Cai and allies supply extra damage until the chariot can clear the first two waves alone. Leave an enemy and retreat; build Magic and Speed on another route.
Assess each route's threats. Send mobile units early if the lower route is understaffed, and check what lies behind a blocking enemy before defeating them.
Cai’s story rewards mount modifiers and early recruitment. For Theodora, establish tanking, accuracy support, and healing before choosing extra recruits.
Mu and Leda’s extra actions strip boss health bars. Fliers hunt the back line, archers handle evasive and flying enemies, and armor plus two ranged healers hold the line.
Recruit core units and reserves, prepare effective weapons, train Blessings and reduce their costs, then finish targeted training and distribute equipment from opened crates.
Four features from the video: accumulate support through chapter restarts, unlock Leda’s Dancer in Chapter 9, buy exam licenses at regional markets, and find Anna’s night shop in Chapter 10.
Recruit characters who fill missing roles early. Check mount compatibility when changing classes, and account for mounts’ abilities and growth effects.
Finish timed paralogues and obtain exclusive weapons before carryover. In Part 3, reenable Blessings, rebuild transport and temples, and switch to divine classes before using a six-unit leveling loop.
At high levels, Charioteer greatly improves HP, Strength, and Defense without a net Speed bonus. Dietrich and several healers can repeatedly control an enemy for EXP.
Choose growth classes around actual weaknesses. Myrmidon and Shido can be mastery stops; improve armored mobility, use Io 's built-in mount, and give mages additional utility.
Leda can hand the Dancer role to someone else and use bows. Sofia can immediately fill a ranged healing role, while armored units need to keep pace and hold enemies in place.
Fill each role with eight units, then choose classes to address weaknesses: Guardian for Theodora, Tobias to tank, Strength training for Lilian and Lysander, and Dadao for ranged bows.
Prepare mounts for Cai 's mounted units first. Guzran focuses on fast physical combat, Peter needs Strength, and support units divide the white magic roles.
Remove a heavy shield that lowers Attack Speed. Use Short Spears, healing, and retreating to reduce enemy numbers, then trap the boss with three units and an obstacle.
Follow the divine family, powerful relics, and resurrection plan to connect Cai’s effort to save his father, Leda’s revenge, and the history of the queen’s people.
Begin with the three nations and Officers Academy, trace the Crest system to the truth of Heroes’ Relics, and see why the three house leaders go to war.
This prerelease analysis begins with the blood and Crests of a long-lived people, then uses twenty-two tarot cards to trace clues about the game’s gods.
Anatolia resembles a vessel for divine power, while Orchel seems closer to an automaton. The body’s origin and the soul’s identity may be separate questions.
Starting with a tournament meant to awaken the emperor, follow divine offerings, funeral games, and underground logistics to ask where the ritual might be altered.
The opening compass suggests stories for four more characters. Choose Yang Jie’s preferred answers during negotiations and speak again after a mistake.
Check class weapon access, then accuracy, damage through defenses, and mobility. Favorite characters can change jobs; your army need not include every class.
Start with your favorite protagonist. Exploration and training from four routes ultimately converge, while one save and repeated travel introduce new trade-offs.
Get to know the cast through their identities and interests. The Promised One travels into the past with the goddess of fate, while the other companions bring their own histories to the Heroic Games.
The recommended order is Cai, Dietrich, Leda, then Theodora. Learn the world with Cai, experience changes in power and perspective, and finish with the queen’s main-story connections.
All four stories follow the same Heroic Games. Alternating routes helps you remember details, while weekly city activities can support a lighter approach to exploration.
Even after 180 hours across all four routes, some Support events remain unseen. The biggest frustrations are rushed character conclusions and high Renown requirements that delay favorite recruits.
Choose Cai for a gentle introduction or Theodora to explore Dagdan politics. When switching routes, balance immersion in one story against progressing together.
Spend weapon durability on combat arts and use normal attacks for routine fights. Commands, follow-ups, and class weapon access make positioning and training choices more important.
The four routes build separately before bringing companions, training, and stories together. Exploration, a single save, and the theme of family all support that structure.
Compare the four fighters through the city, weapon screens, and Blaze Arts, then examine the story questions and route possibilities raised by the reveal.
Follow the trailer through motives, recruitment viewpoints, new mounts, exploration, and group attacks, preserving the reasoning behind its prerelease theories.
Read the levels and dates alongside the crisis five years later and the explanation of time travel. Area attacks and preparation activities also suggest how battles may flow.
Before the war story, choose six items per character and repair and upgrade them. Check paralogue deadlines, finish recruitment, and complete route-specific quests.
The war story suspends shopping, upgrades, and recruitment. Finish training and supplies in Part 1, then put powerful weapons in characters’ inventories.
Improve stats through same-route integration first and save Karma Shards for key characters. In the Promised One’s story, restore stations and temples before splitting teams for reconstruction and interception.
Give each route its own team and recruit only where there is a role. Speed training must account for weapons and abilities. Drop side trips when needed and return to reclass first.
Judge equipment by actual Attack Speed and account for mount bonuses. Check turns spent on movement, assignments, and battles separately to plan your schedule.
When lance repairs lack materials, rely on trained regulars. Save time to return after shopping, retreat to safety in battle, then decide whether to use a Blessing.
Credna's Blessing improves fog vision, but scouts still need to survive. Check paralogue deadlines promptly, and plan the giant contest around kills, feed, and blocking rivals.
Assess each route's threats. Send mobile units early if the lower route is understaffed, and check what lies behind a blocking enemy before defeating them.
Seeing the queen’s route after Cai changes the crossover scenes. For battle preparation, check mechanism objectives, timed paralogues, and certification proficiency.
Material lists give better direction than wandering. This expedition reaches poison areas underprepared, then runs short on turns; reserve time for training and the return trip.
Speed up animations in repeated small battles, and bring enough range to chase fleeing targets. Check proficiency and usable weapons when changing classes to improve stats.
In Part 3, rebuild the temples and complete each god’s quest first. Equipment requires a separate priest’s trial at the main temple; combine the fire quest with your visit to Jurah.
Recruit core units and reserves, prepare effective weapons, train Blessings and reduce their costs, then finish targeted training and distribute equipment from opened crates.
Finish timed paralogues and obtain exclusive weapons before carryover. In Part 3, reenable Blessings, rebuild transport and temples, and switch to divine classes before using a six-unit leveling loop.
Complete requests for Renown, open routes through labyrinth exits, return to recruit with gifts, and use Pale Raven advice to prepare for the next battle.
Watch the May 7 deadline and the fortress ruins west of town. Keep all five units together, with Buccar taking contact and ranged allies finishing enemies.
Complete Dietrich’s Part 1 hidden events by chapter date, time, and conversation order, especially Fabio’s prerequisite chain from Chapter 5 to Chapter 10.
Enable the grid, HP bars, and portraits, and darken the danger overlay. Use prologue training to learn threat displays, terrain, and counterattack range.
With Theodora around 80% Hit and Tobias around 70%, one miss is hard to cover. Subtract class bonuses when reading growths, and check move areas and conditions before acting.
Plan your return before setting out. Repeated attempts to gather materials and gain levels ended with the discovery that the preliminary match scene had been missed.
Give gifts to unlock meals, then choose dishes and training around your targets. Check rivers and stations outside town and reserve enough turns for a weekend return.
Gathering a few portions takes repeated crate openings and forces changes to festival and return plans. Recover before leaving and plan the return along known routes.
Budget training, hot springs, shopping, and travel together. Save money for the target weapon and transport, then turns for returning, recruitment, and detours.
Prepare licenses, abilities, and battalions before a long gathering trip. Record each action when retrying in a different order, and allow time to return even if materials remain short.
Prioritize healing uses on long exploration trips. In the paralogue, pursue objectives rather than low-EXP kills, then improve movement-related proficiencies afterward.
A gathering pool has several possible drops, so total yield is not the amount of your target material. Reclass before leaving and reserve time for spectating and recruitment after returning.
Remove a heavy shield that lowers Attack Speed. Use Short Spears, healing, and retreating to reduce enemy numbers, then trap the boss with three units and an obstacle.
Defeat marked sandworms to clear nearby enemies, control the treasure match’s artillery, split the semifinal by Resistance and Defense, and finish October’s Paralogues before the final chapter.
Use the lower-left platform and narrow entrance to block golems and let enemies approach. Keep the protagonist alive and clear reinforcements before pressuring the boss again.
Even three level-99 units lost the first attempt. Giving Eshmel the magic weapon and critical-hit healing, then breaking gates and attacking in the same turn, secured the clear.
After an 85-hour clear, the biggest frustration is how travel and battle time keep adding up. The cast and flexible class changes still provide a reason to keep playing.
Eshmel holds the line with lances, Hong Hua deals ranged damage, and Troy handles the flank and healing. Prepare the levels, weapons, and positions needed for both boss battles.
Pre-match development, world map exploration, limited time, and battlefield mobility all affect one another. Pursue your priorities first, then explore the rest on other routes.
Four contenders head to the Heroic Games. Training, recruitment, and exploration make up preparation, while Range and positioning shape battlefield choices.
Blue shows movement and red shows attacks. Use Range to avoid counters and terrain for better positions, then plan training and exploration around the next opponent.
Travel five years into the past to change four Warriors’ fates. Strengthen your team through training, class changes, recruitment, and exploration; Combat Arts cost durability, while Blaze Arts cost HP.
The Expansion Pass releases in three waves. Each of four warriors receives a Heroes’ Relic-inspired weapon, alongside four outfits, divine allies, and story chapters.
Adjacent support strengthens corner formations, summons can lure enemies, and Divine Sand must cover Rewind and Blessings. Maps need to make those choices matter.
Weapons have distinct roles, while Curse Orbs and Blaze Arts share gauge management. Exploration, class changes, and support give development direction.
Check class weapon access, then accuracy, damage through defenses, and mobility. Favorite characters can change jobs; your army need not include every class.
Start with your favorite protagonist. Exploration and training from four routes ultimately converge, while one save and repeated travel introduce new trade-offs.
After reaching chapter five on all four routes, the highlight is switching perspectives before shared events. Each cast’s goals, map actions, and weekly routines also have their own rhythm.
Pause between chapters to switch routes, then bring the four protagonists’ exploration and training specialties together so earlier investments have somewhere to pay off.
Early enjoyment comes from mapping, recruitment, and training. The war campaign repeatedly tests your lineup. Players who enjoy characters, story, and development will find it easier to engage.
Build for the enemies in the next battle. Map space, reinforcement directions, and spreading fire determine whether to concentrate or divide your forces.
Get to know the cast through their identities and interests. The Promised One travels into the past with the goddess of fate, while the other companions bring their own histories to the Heroic Games.
Your avatar returns five years to change the four fighters’ fates. Train inside and outside town, inspect growth rates, and keep separate progress for each route.
Each route has its own story and development systems. Sequential clears provide conveniences and shared rewards, while timed paralogues demand careful return planning.
Four routes share one save, with extensive development, social activity, and exploration. Set route-switching frequency and preparation pace around your own preferences.
Part 1 spends a long time on preparation. Part 2 finally demands sustained tactical decisions, and Part 3 tests your earlier training with split forces and defense.
After clearing every route on Normal, I prefer the late-game wars. The tradeoff is a delayed full ending and exploration, recruitment, and rebuilding that demand patience.
All four stories follow the same Heroic Games. Alternating routes helps you remember details, while weekly city activities can support a lighter approach to exploration.
After an 85-hour clear, the biggest frustration is how travel and battle time keep adding up. The cast and flexible class changes still provide a reason to keep playing.
Labyrinths bring resources and levels back to the main story. Visible growth rates and development across routes give favorite characters more possible paths.
Even after 180 hours across all four routes, some Support events remain unseen. The biggest frustrations are rushed character conclusions and high Renown requirements that delay favorite recruits.
Check enemy ranges and classes, then attack from safety. Divide your limited preparation time between training, recruitment, and exploration according to what you need.
Check the upgraded weapons' Weight, range, and Crit. Playable gods and new stories for four important characters are the highlights of the next two waves.
Spend weapon durability on combat arts and use normal attacks for routine fights. Commands, follow-ups, and class weapon access make positioning and training choices more important.
Each route has its own resource loop. Schedule training and Temple Service on the calendar, and manage labyrinth links, weapon durability, and the Blaze Gauge.
Leda’s and Dietrich’s flaws and desires make the story engaging. Town activities, exploration, and combat create a rhythm that keeps you wanting to do one more thing.
Use the limited preparation period to train, buy equipment, recruit, and explore. In battle, terrain, support, combat arts, and class roles bring out your team’s strengths.
Choose between confronting the Demon God directly and returning to the past. Each fighter has a separate story, with preparation spent developing the team and exploring the continent.
The four routes build separately before bringing companions, training, and stories together. Exploration, a single save, and the theme of family all support that structure.
Give a first gift to establish a relationship, then build Support through meals. Plan exploration and route-specific activities around their action costs.
Four routes complete one another and shared progress reduces repetition. The war story focuses on tactics, while managing the merged roster and the ending leave room for disappointment.
The game opened at 89 on embargo day, with praise for intertwined protagonists, characters, and tactical freedom. The story starts slowly, and some activities feel ordinary.
After roughly 175 hours, repeated early sections and fixing missed content were hardest to accept. Enjoying late-game freedom does not mean wanting several more runs for unlocks.
Compare the four fighters through the city, weapon screens, and Blaze Arts, then examine the story questions and route possibilities raised by the reveal.
Four characters enter the games with personal wishes. Win through range, terrain, and class coordination, then strengthen the team through training, recruitment, forging, and expeditions.
Follow the trailer through motives, recruitment viewpoints, new mounts, exploration, and group attacks, preserving the reasoning behind its prerelease theories.
Read the levels and dates alongside the crisis five years later and the explanation of time travel. Area attacks and preparation activities also suggest how battles may flow.
Use Red Meganius for early Strength, borrow Dragoon mastery for accuracy, then move through Orichaldia to The Cavalier. Lances lead, with Levin Sword and Blaze Arts adding magic damage.
His horse adds durability and mobility, and The Cavalier removes cavalry weaknesses. The finished build can fight and tank, but training is unremarkable and its strongest phase comes late.
Dietrich alone earns SS through fast critical hits and a healing loop. Sofia, Leda, and Eshmel offer hard-to-replace healing, extra actions, and Underworld protection.
Use mounted healing for a regular build. With heavy single-route investment, gain Defense through class changes; across routes, develop magical sword damage alongside healing.
Safe damage and reliable sustain are valuable on Hard. Dietrich excels at breaking through single targets, while Leda’s group buffs grow stronger as the team expands.
After a Hard clear, Dietrich is the most well-rounded pick and Sirocco makes an enormous contribution. Healing range, reliable accuracy, and recruitment timing all change a character's value.
For Parts 1 and 2 on Hard, prioritize what a class solves for your team. Evaluate growths with the character and mount included; even top-tier classes should not fill every slot.
High total growths still depend on distribution. Defense, Resistance, Attack Speed, and Hit determine survival and reliability; spells, movement, and healing range can change the assessment.
Get Archer, Warrior, Shido, and Caladrius mastery early. Judge Master Combat Arts by their action value, and weigh Divine +10 bonuses against how late they arrive.
Leda, Eshmel, and Dietrich rank highest. Choose each character by recruitment timing, skill synergy, and the cost of training across at most two routes.
A Hard Classic ranking focused on Part 3: Unique Combat Arts and support earn high places. Early recruits can fix growth weaknesses; late recruits need immediate impact.
Leda can hand the Dancer role to someone else and use bows. Sofia can immediately fill a ranged healing role, while armored units need to keep pace and hold enemies in place.
Use swords for Dietrich and shift Leda toward support later. Train early arrivals first, then use different classes across two routes to cover weaknesses.






 Cai
 Theodora












 Dietrich


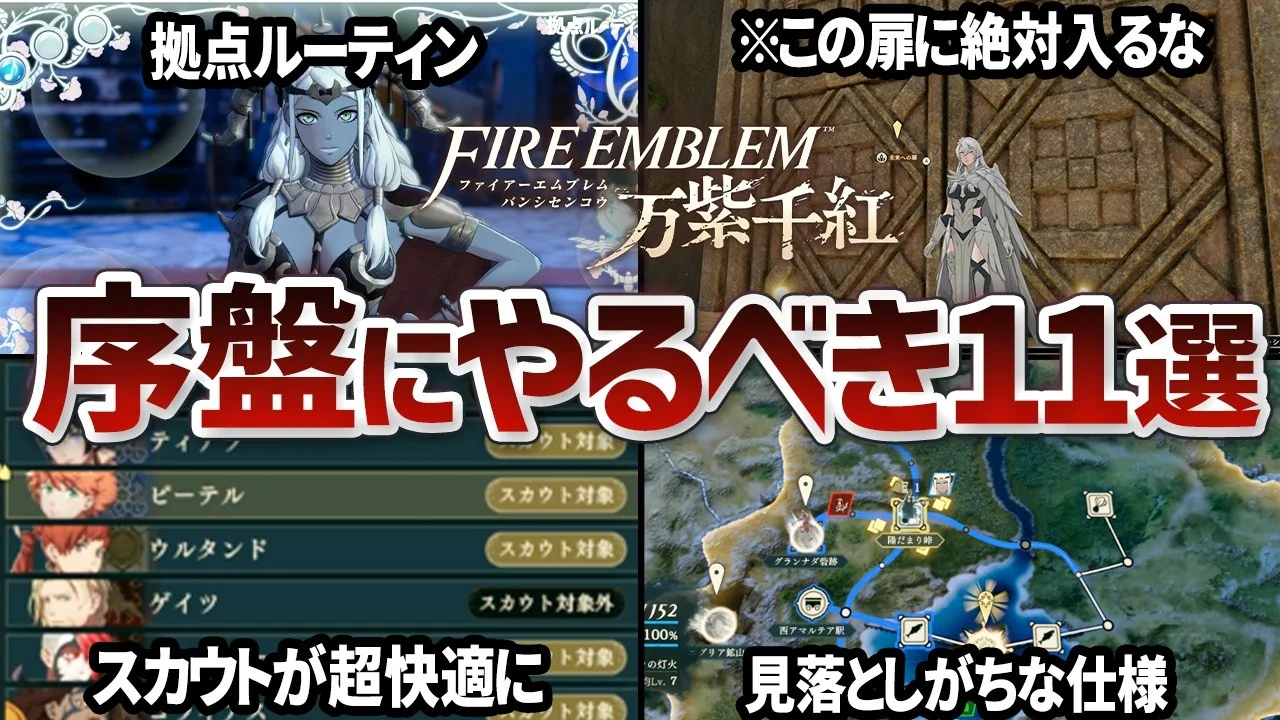
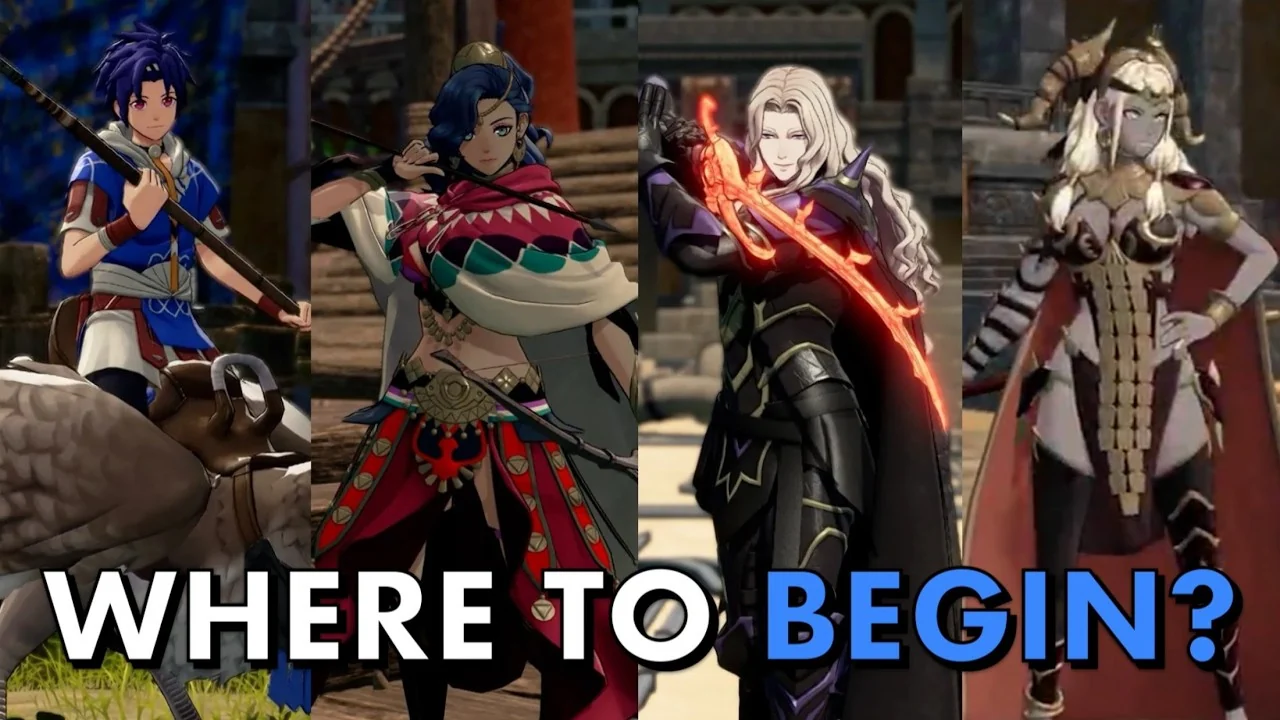



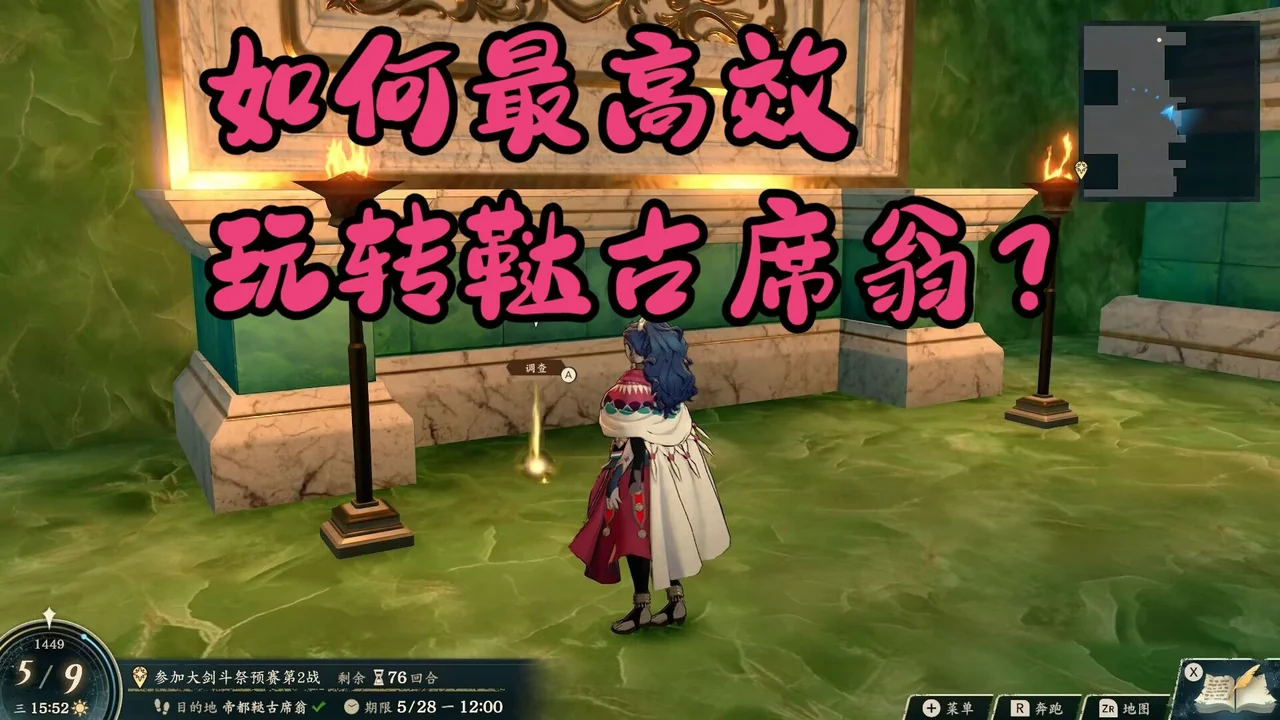



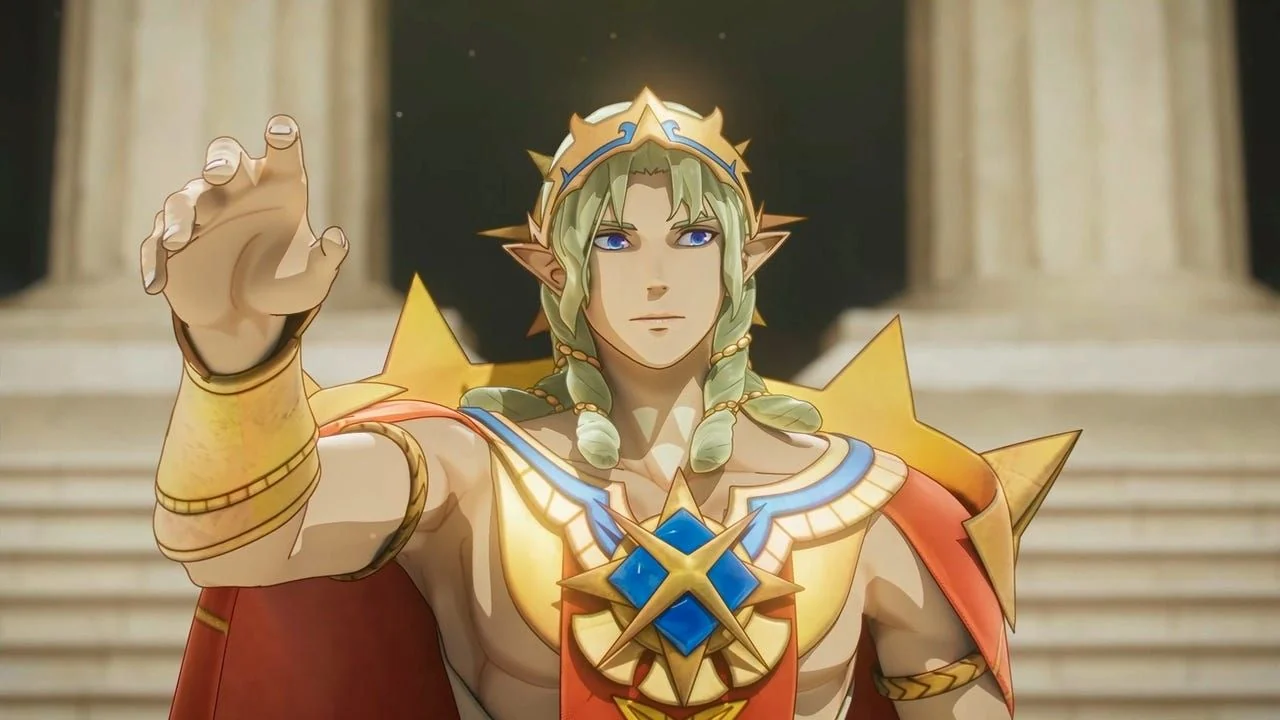


 Leda






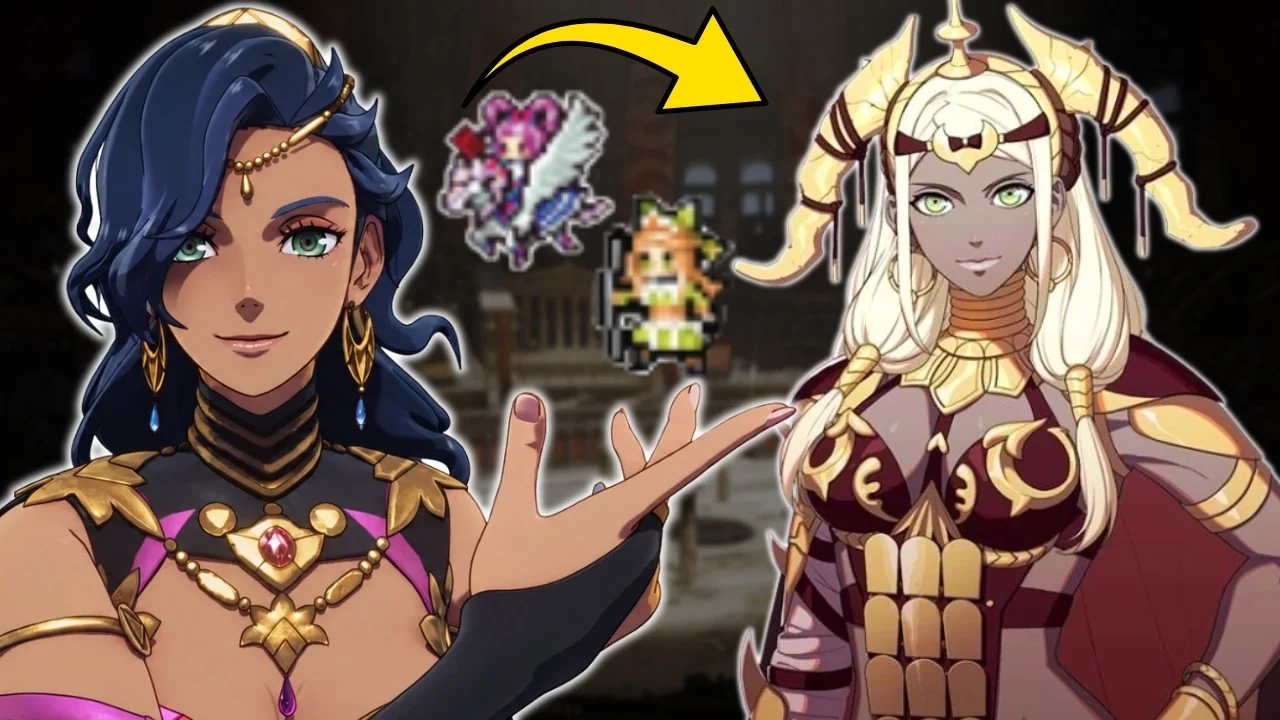

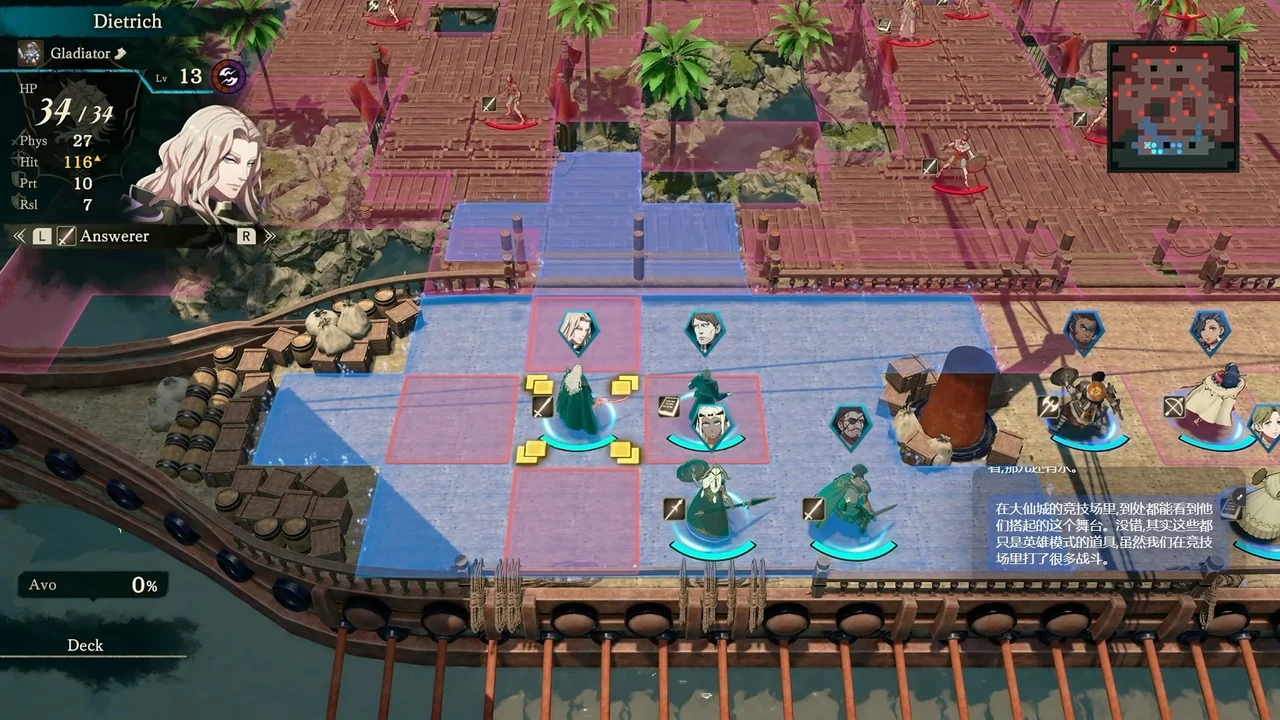





























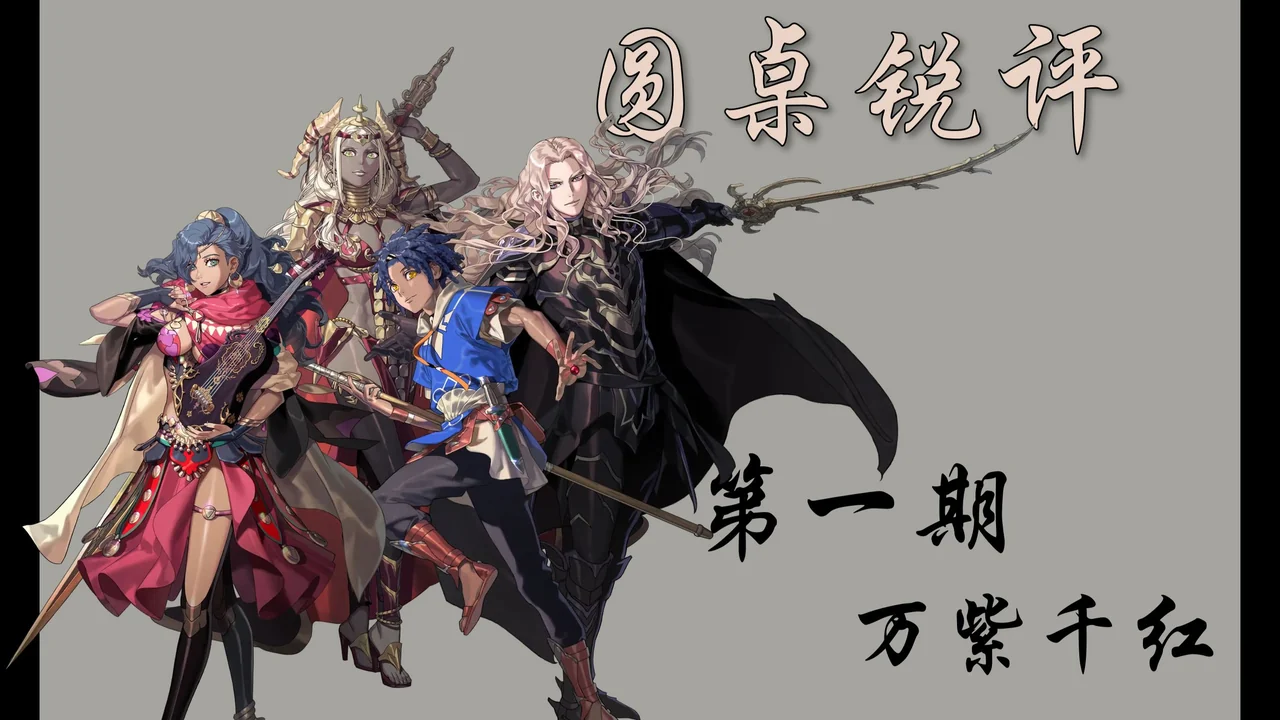




 Guzran

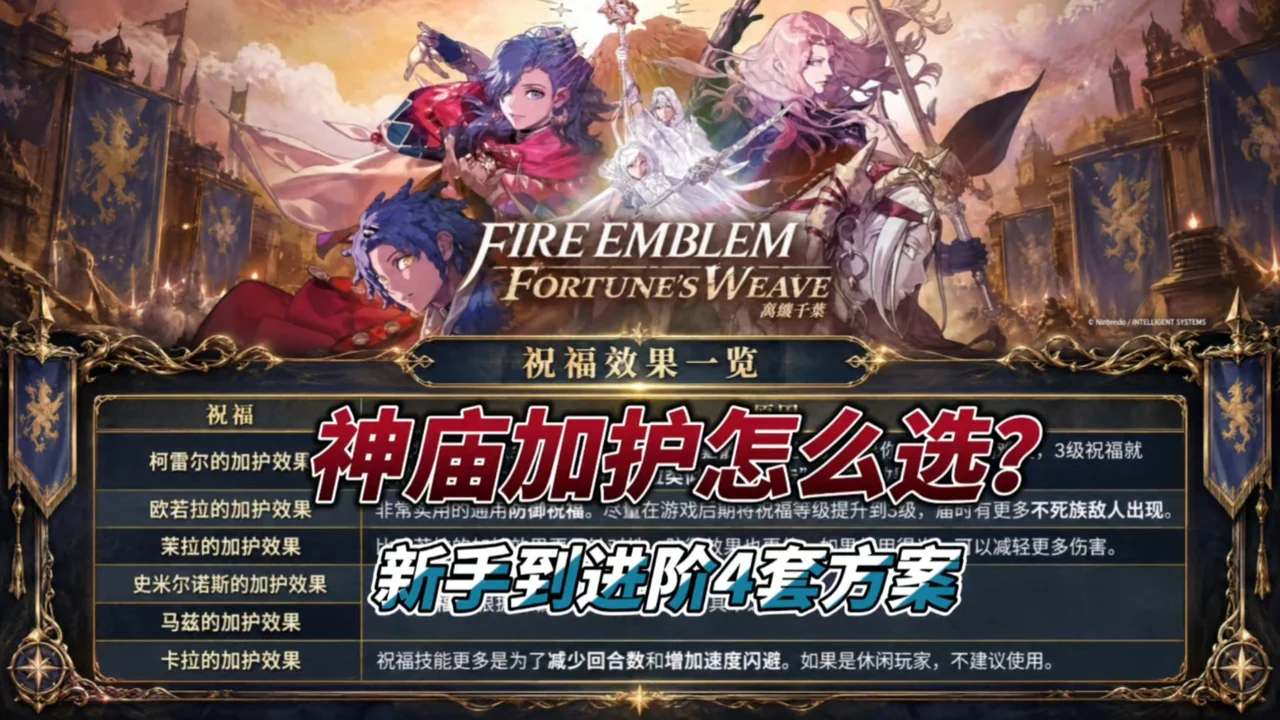









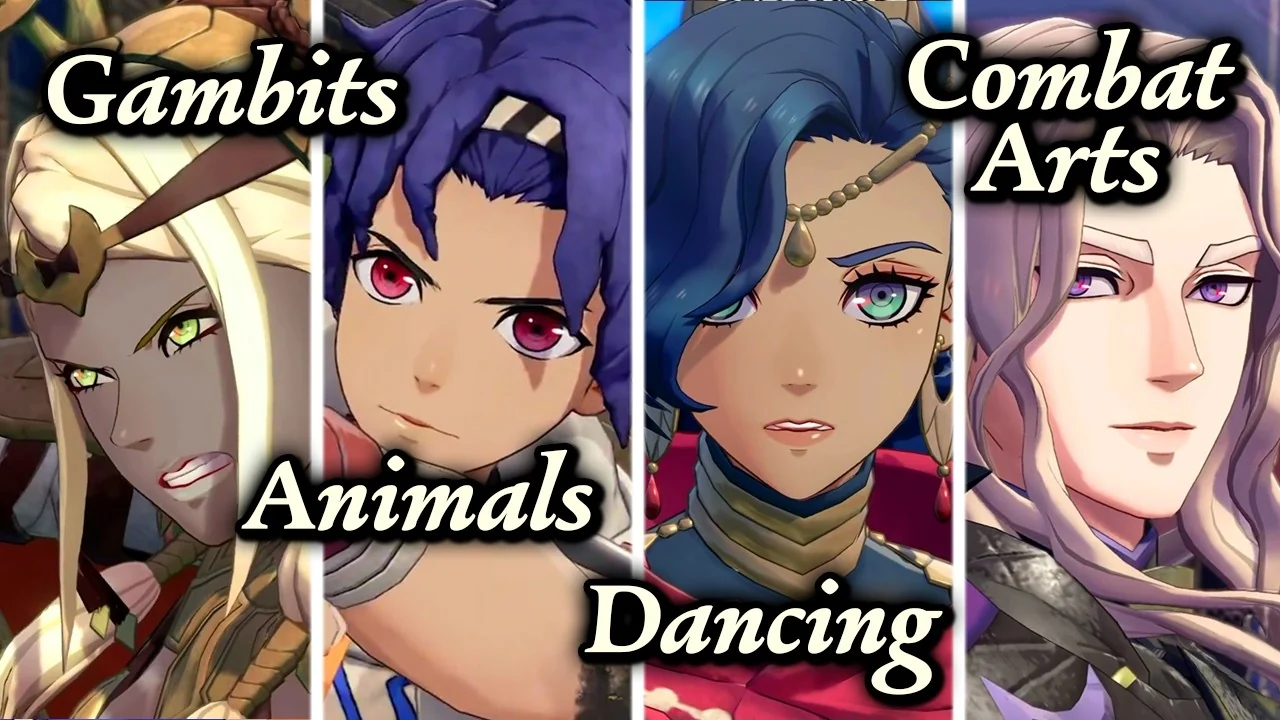



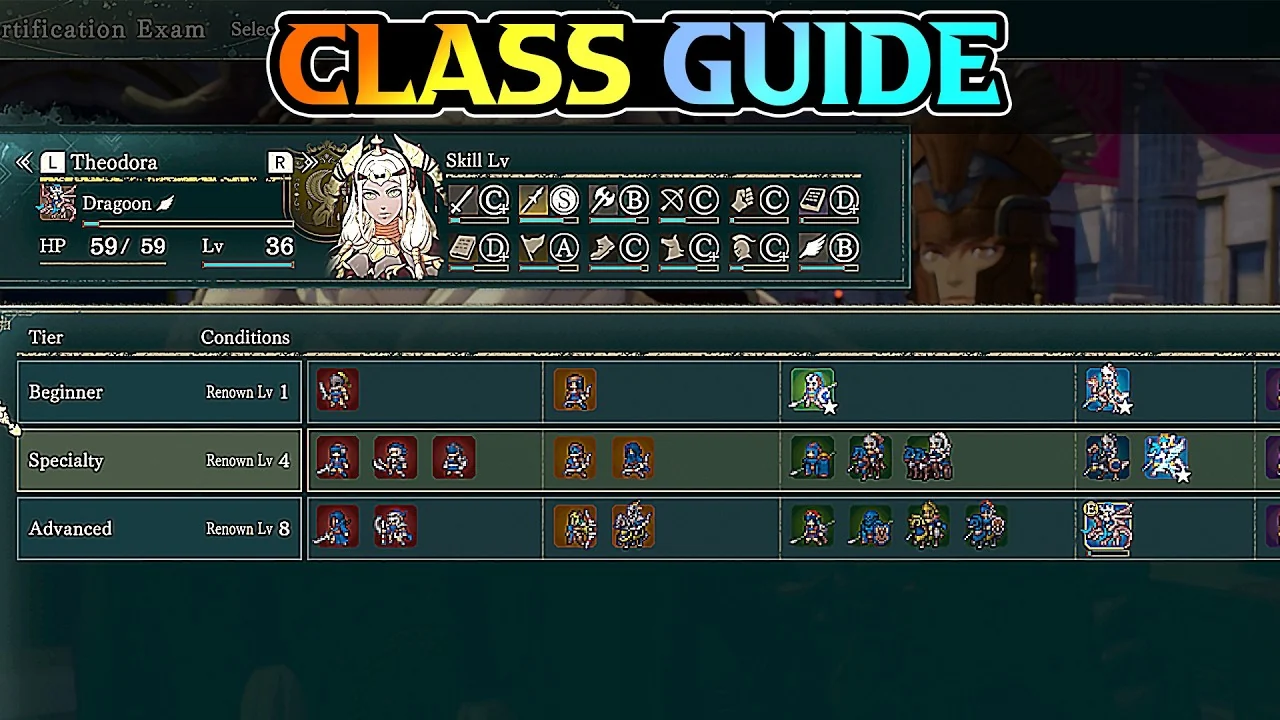
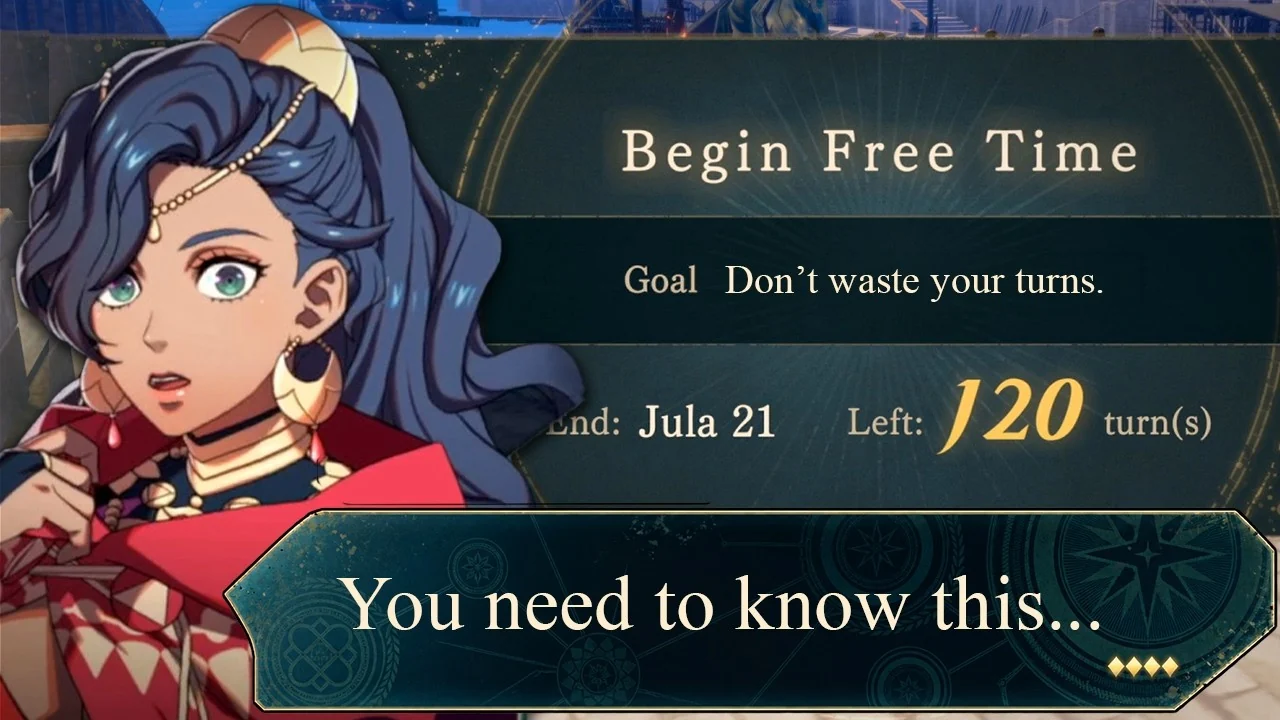



 Eshmel
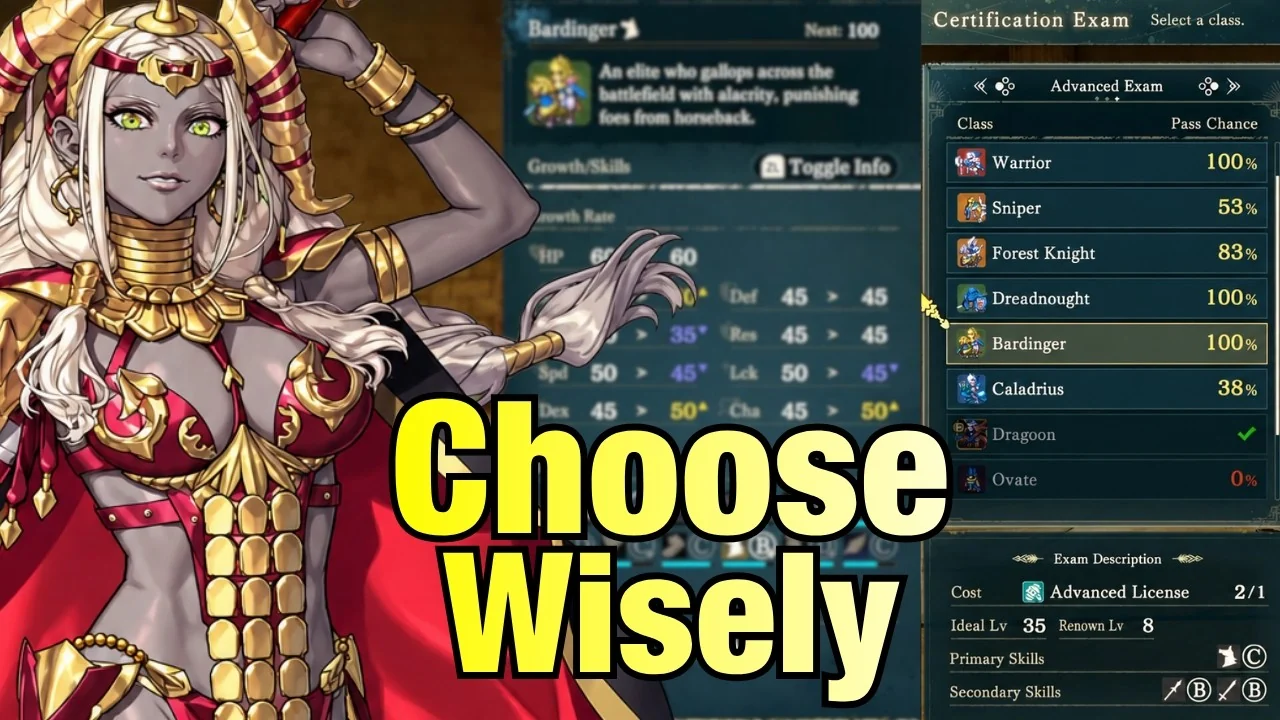





 Majide
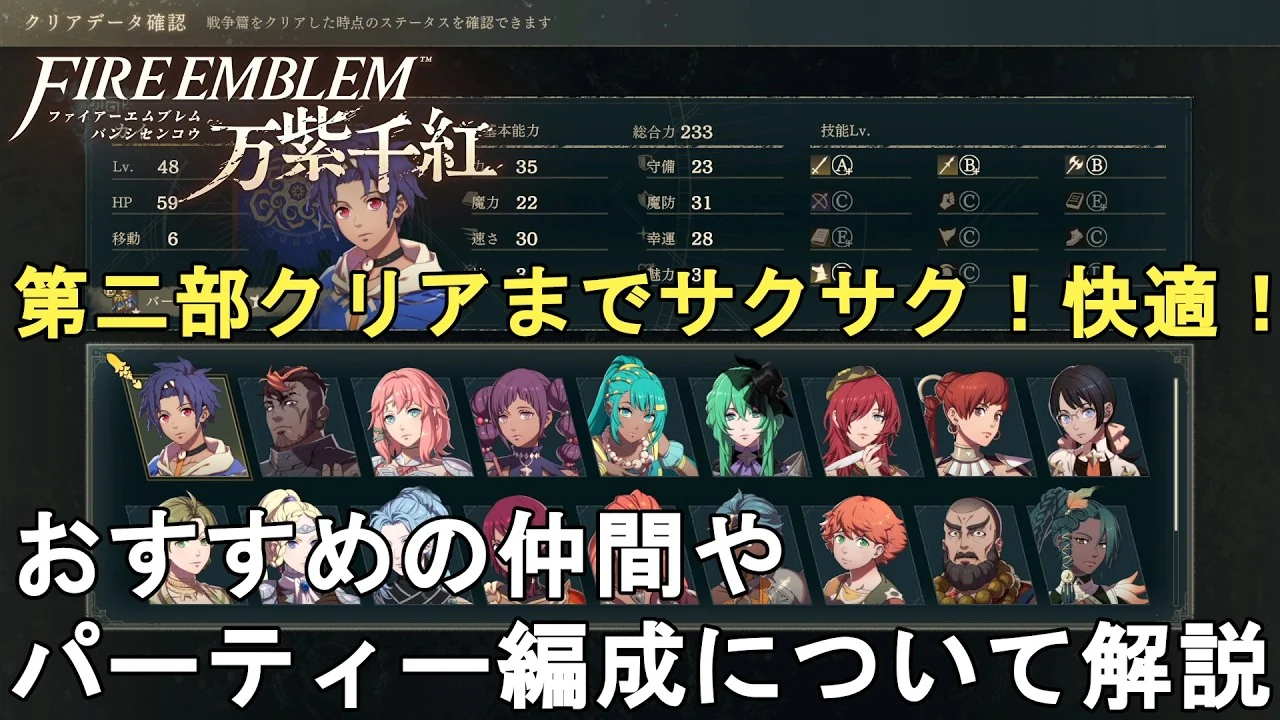
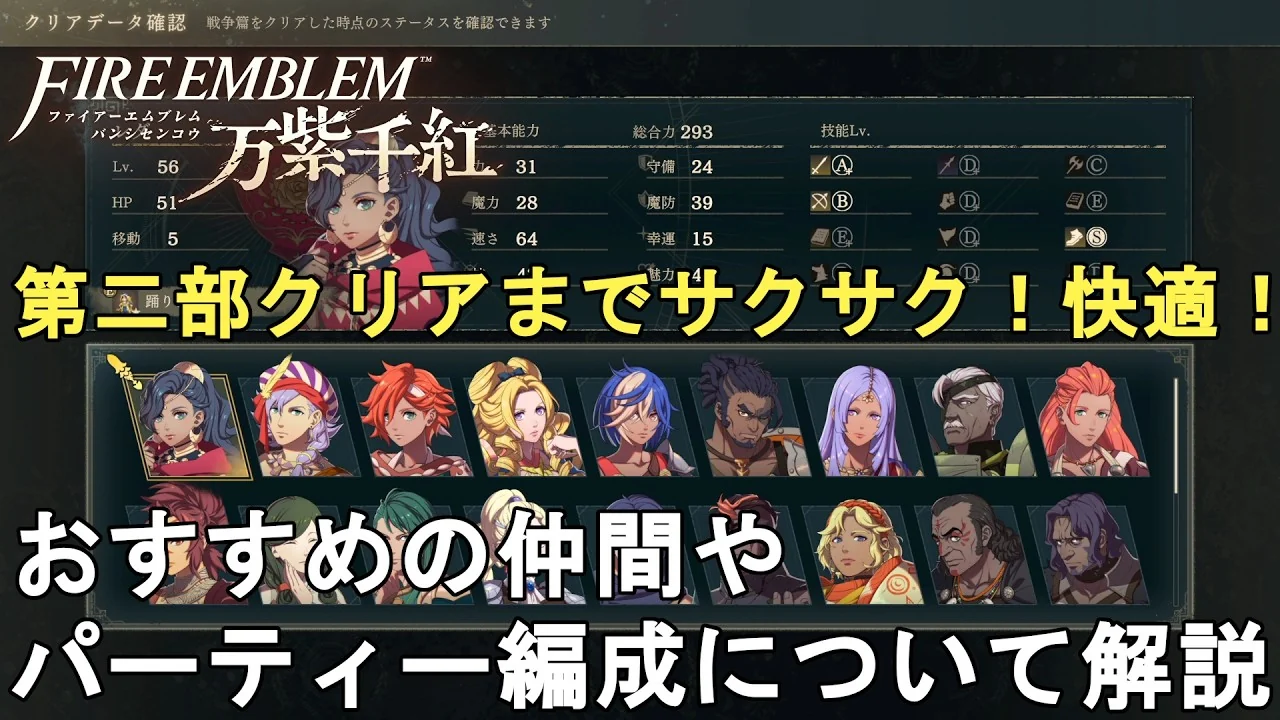
 Mu
 Creek
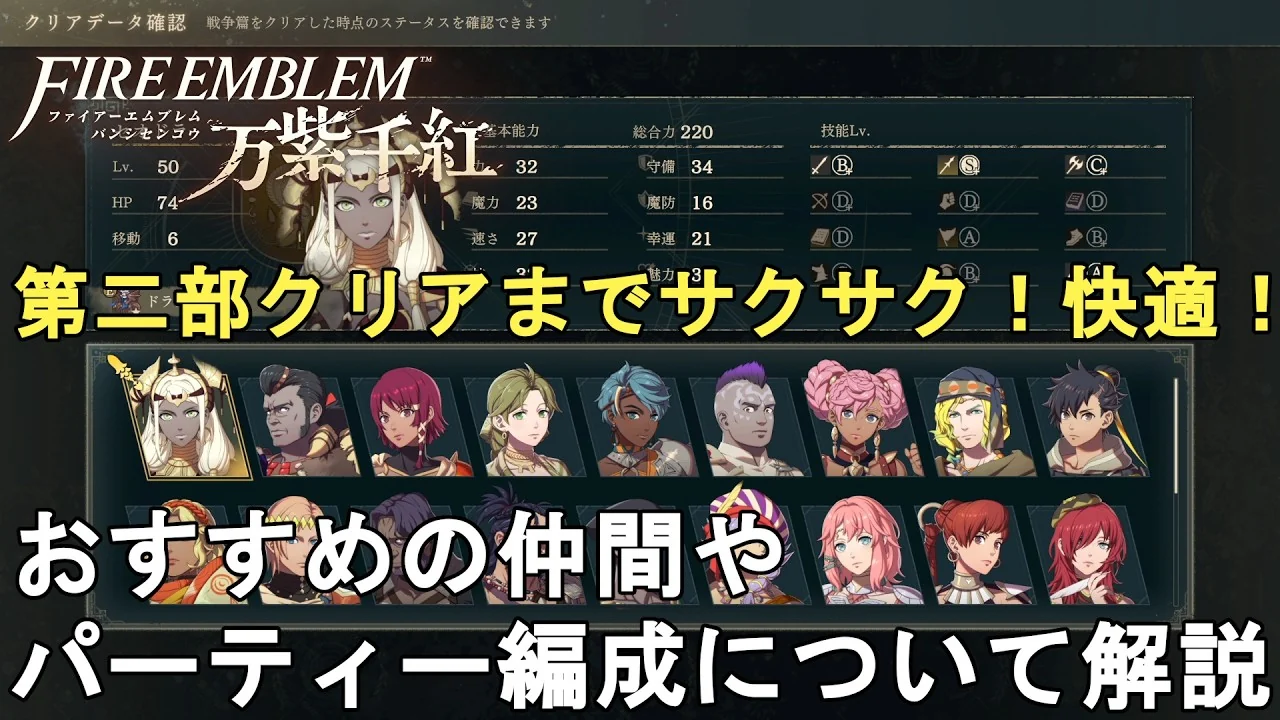
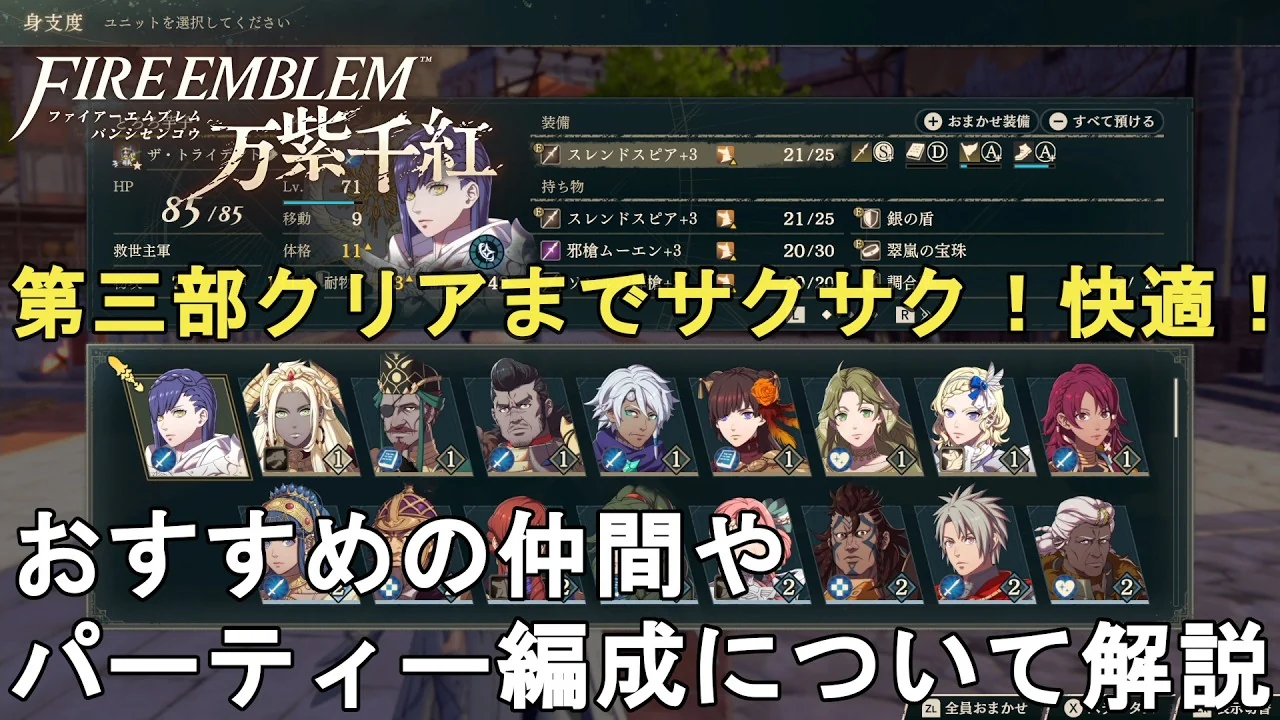


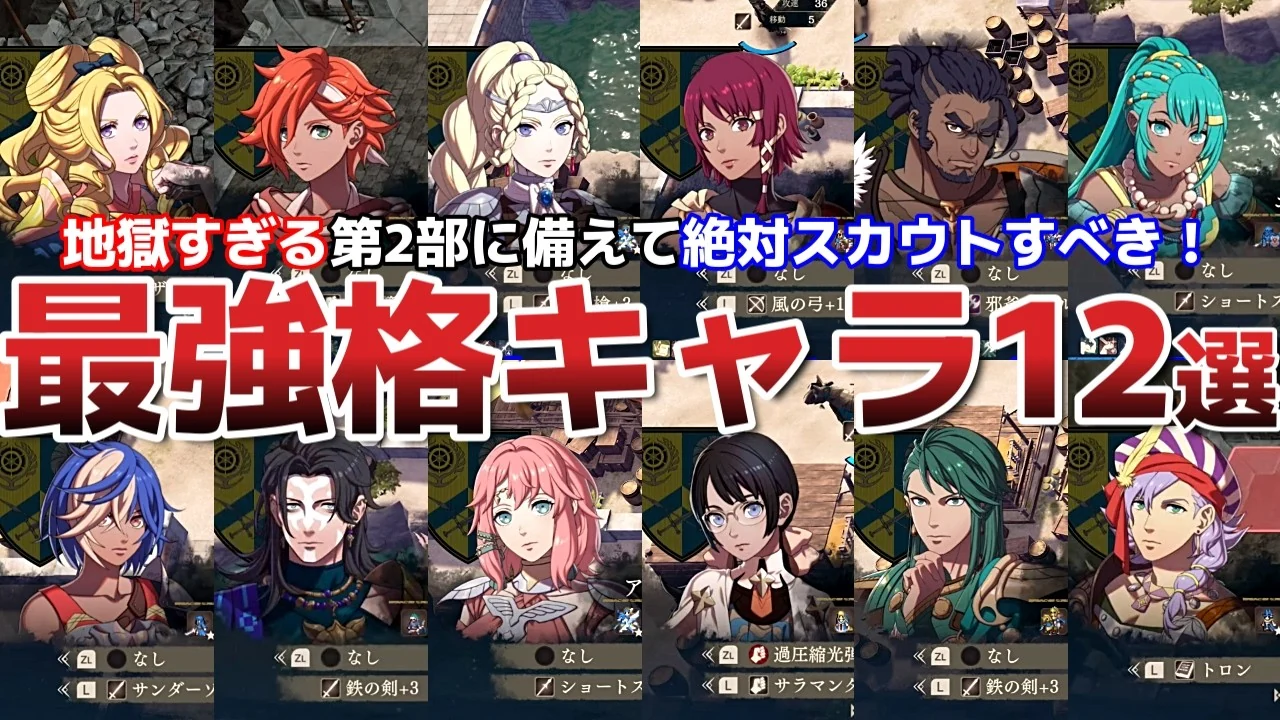



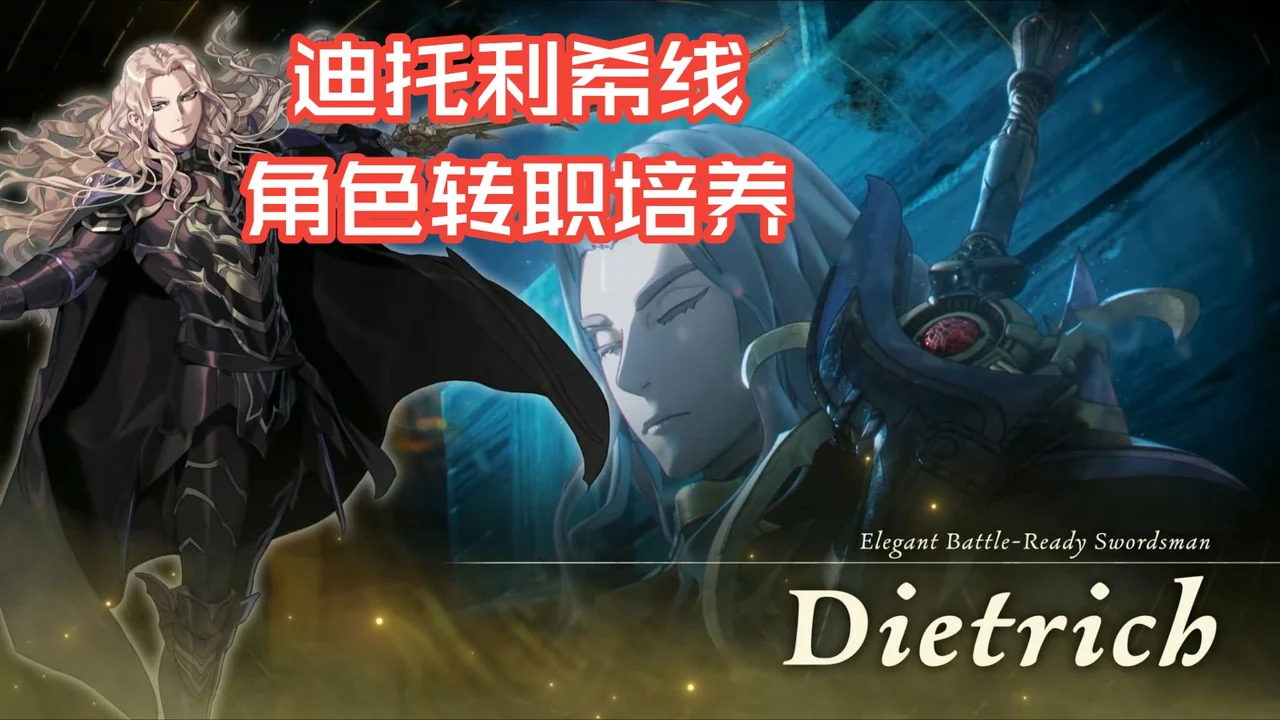





 Goliath








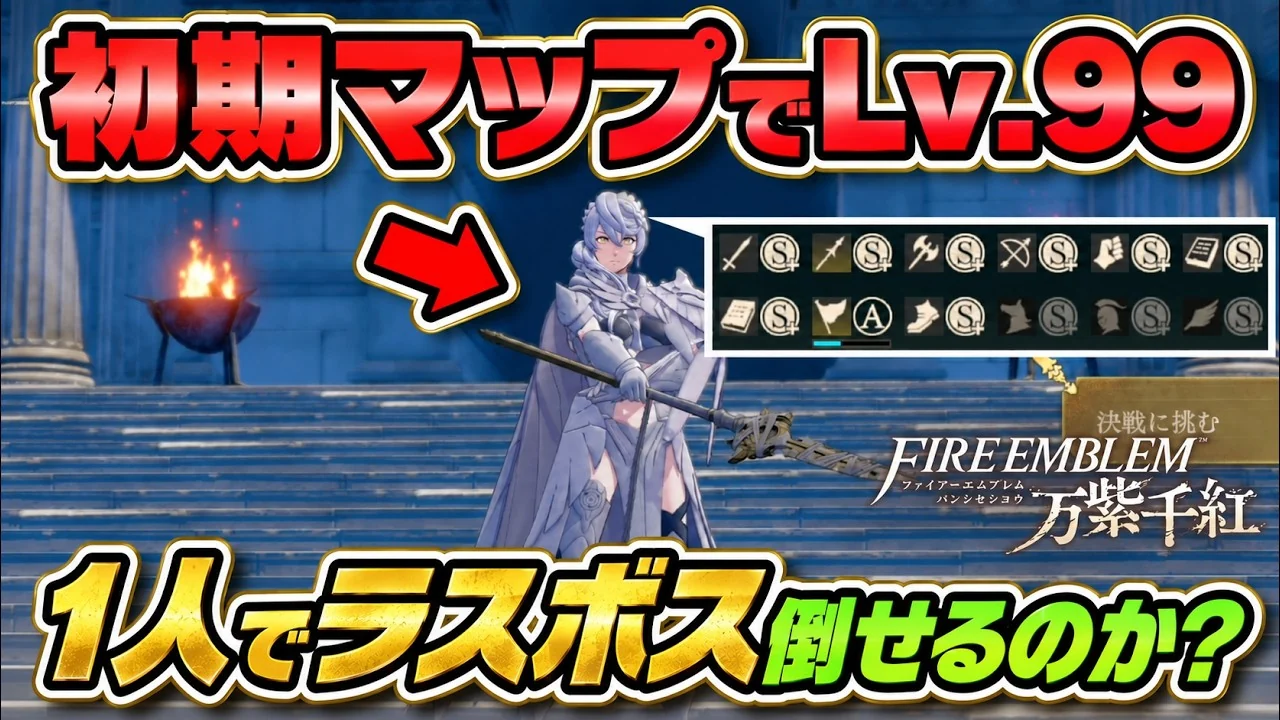



 Fianna


 Sirocco
 Sofia
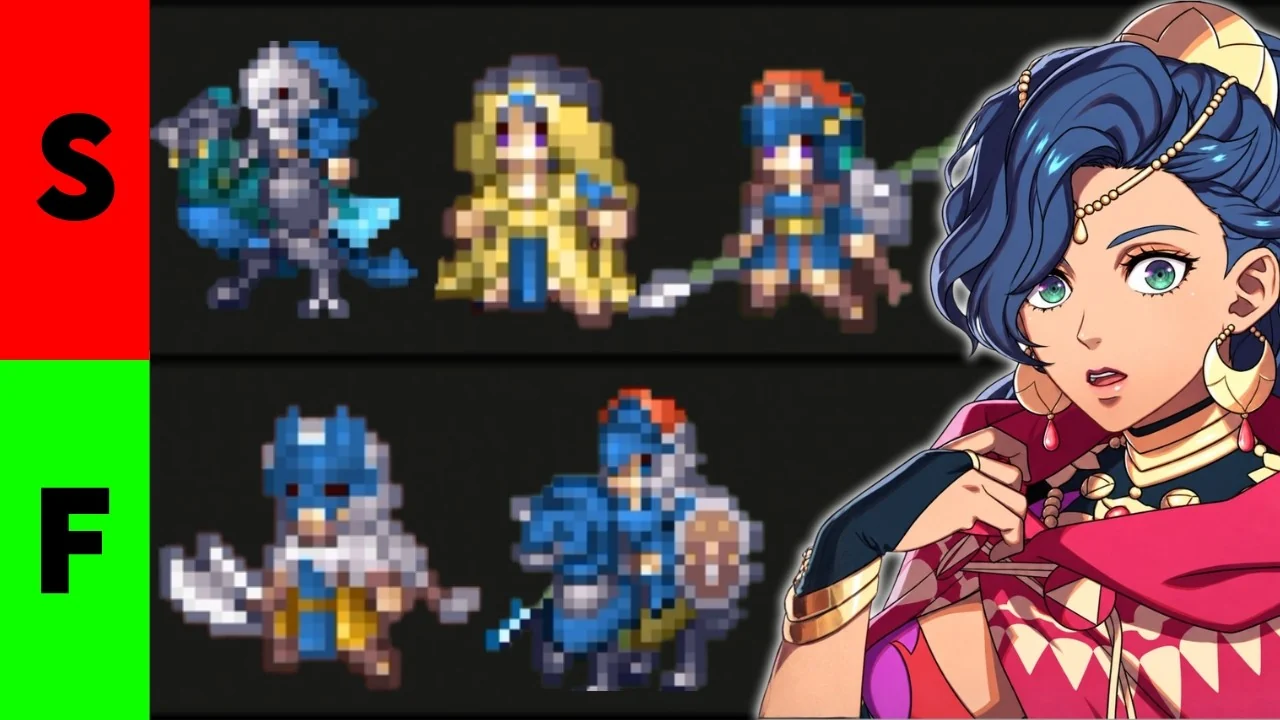


 Peter
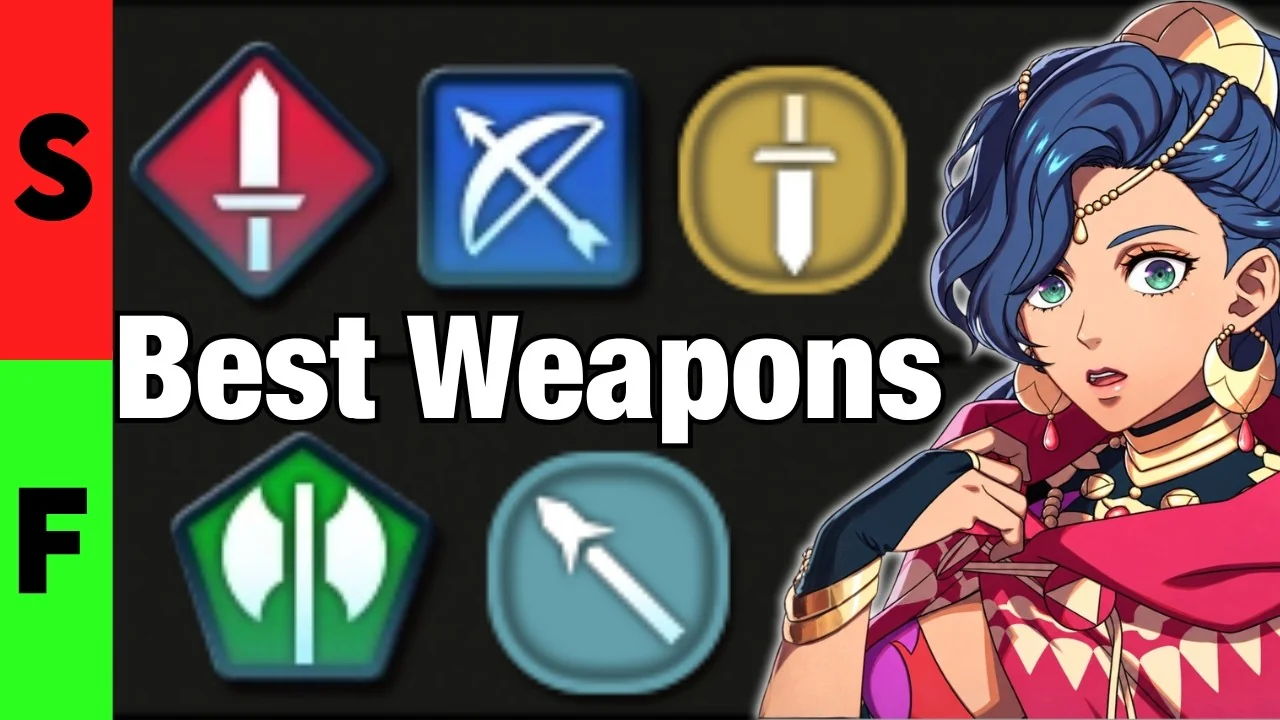

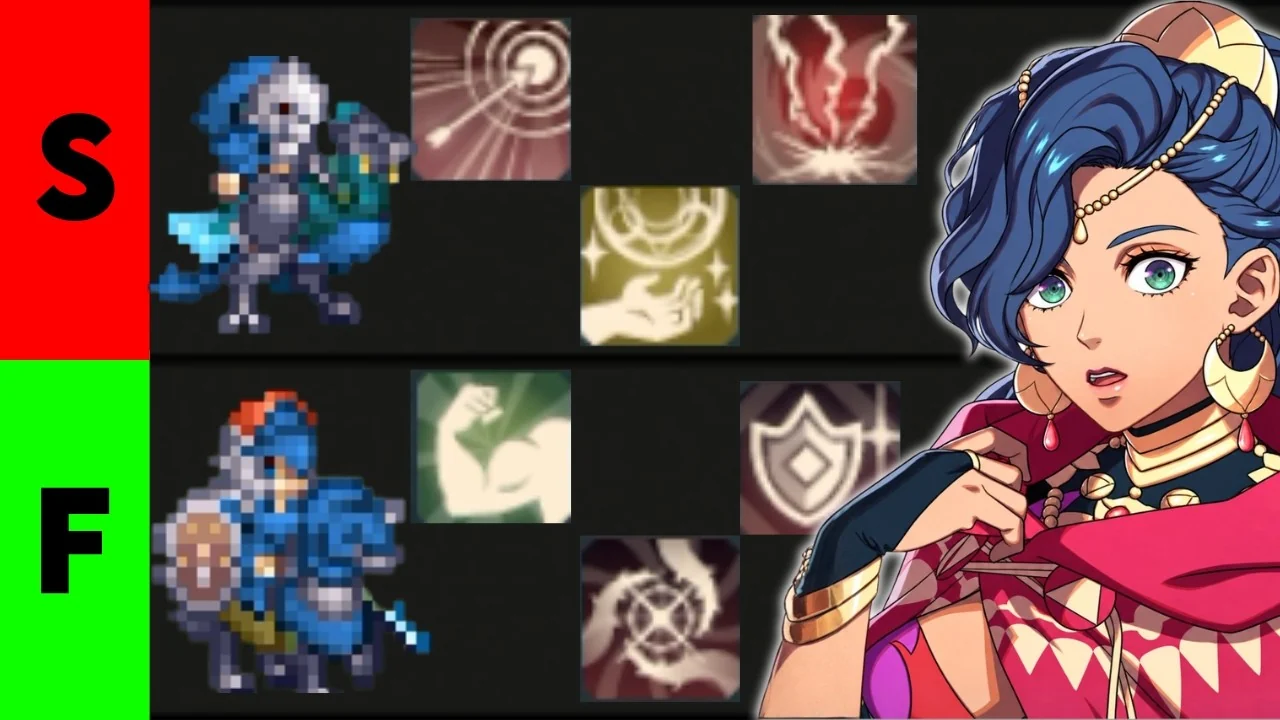

 Troy

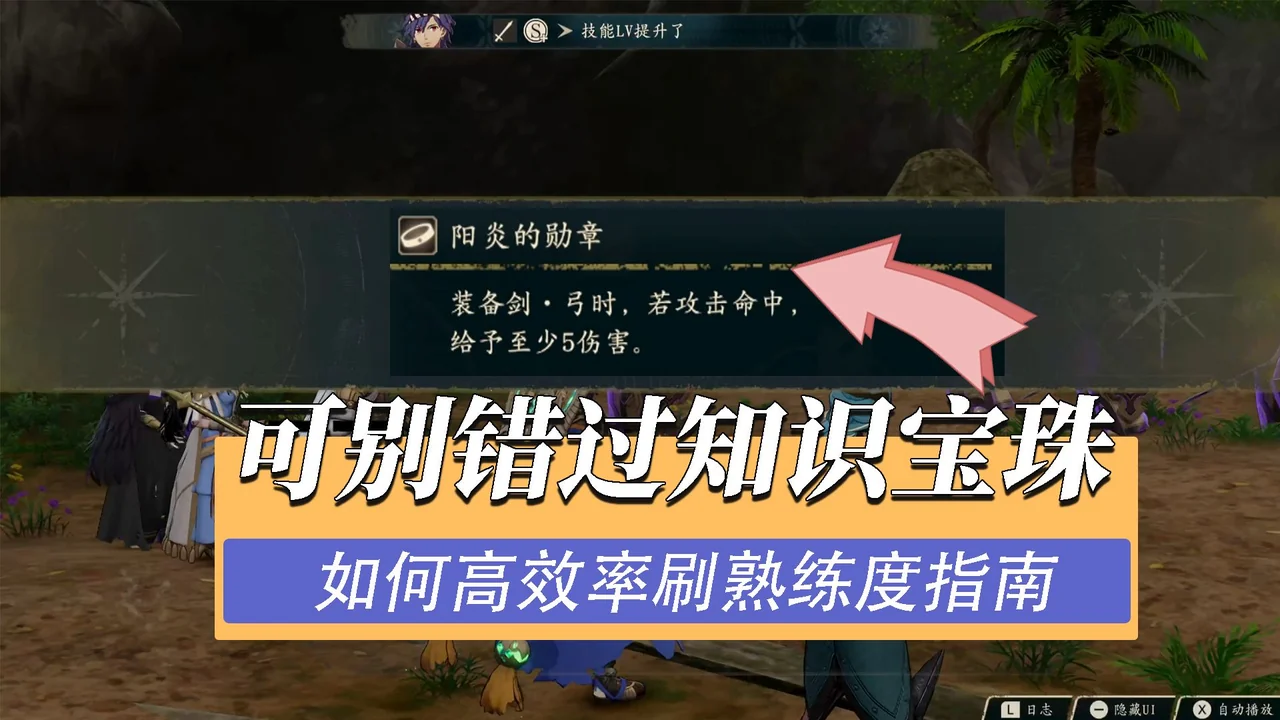
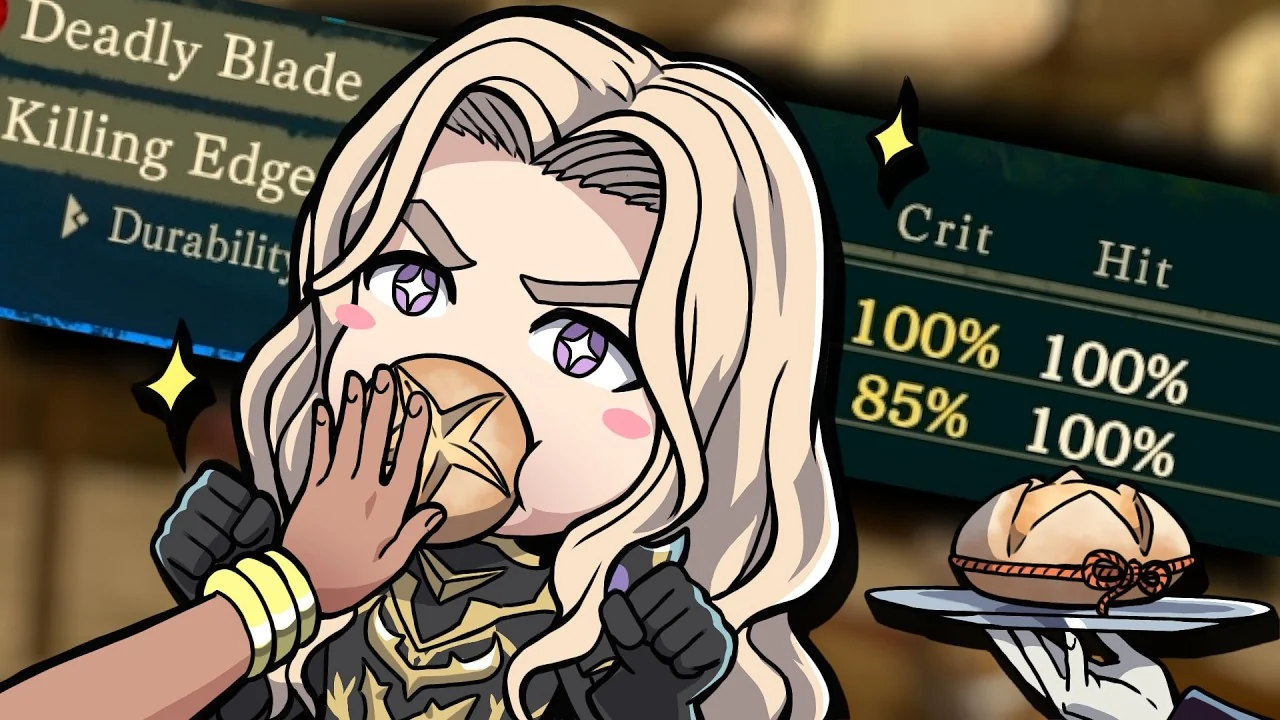




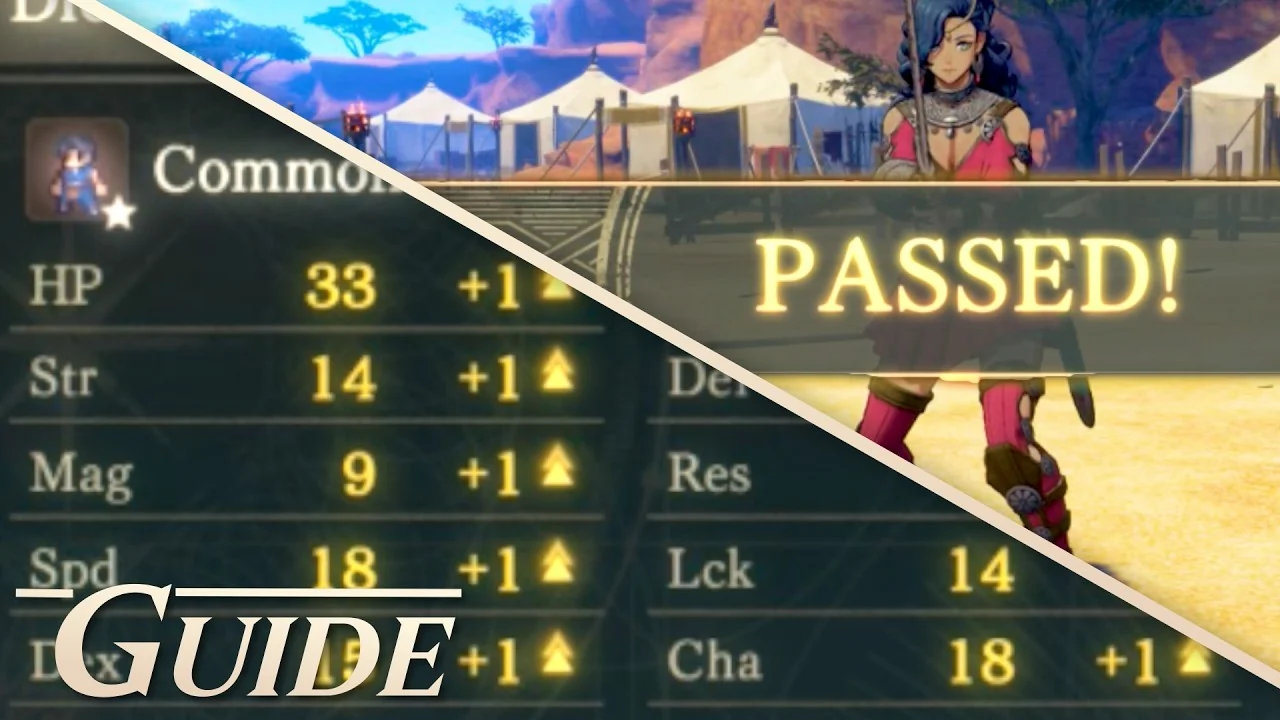


















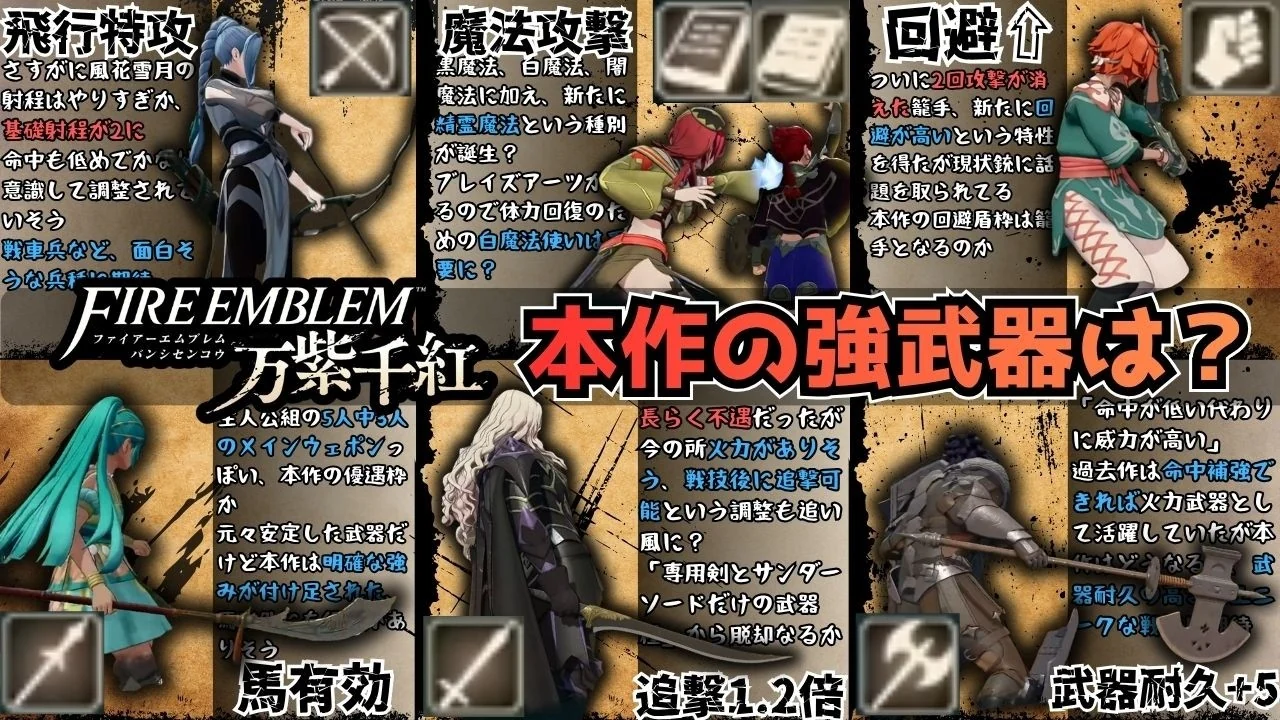

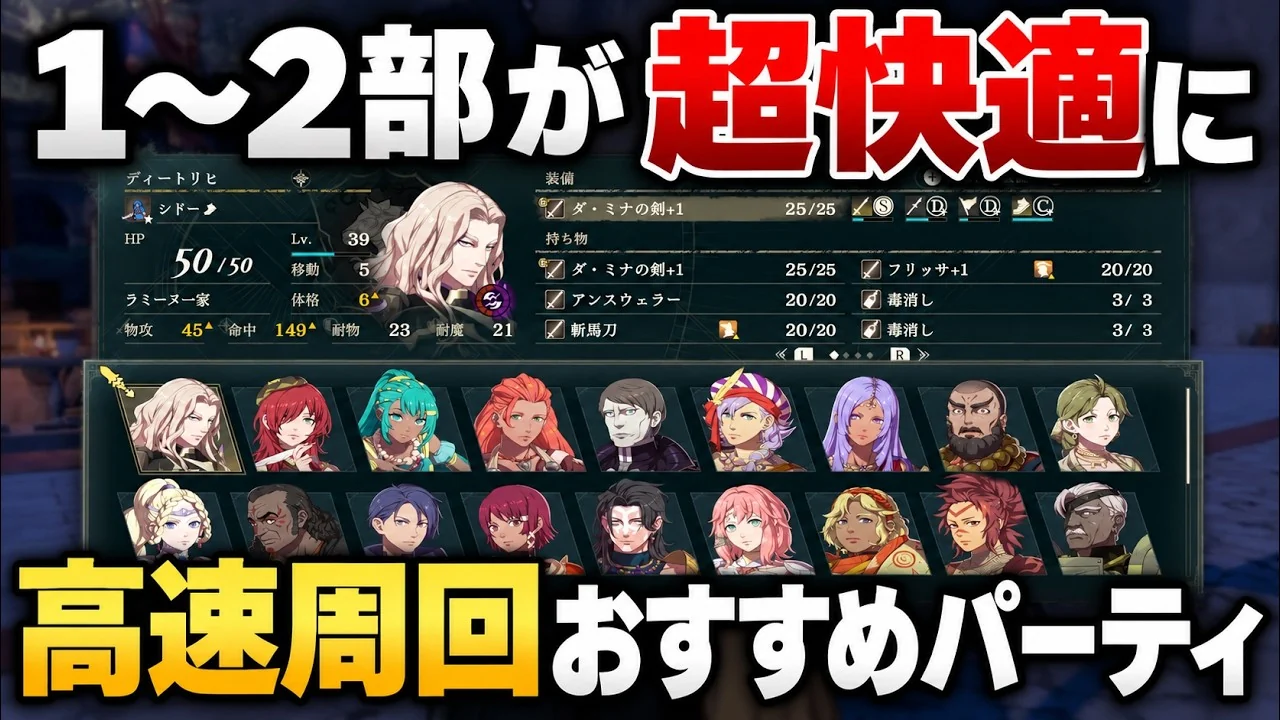

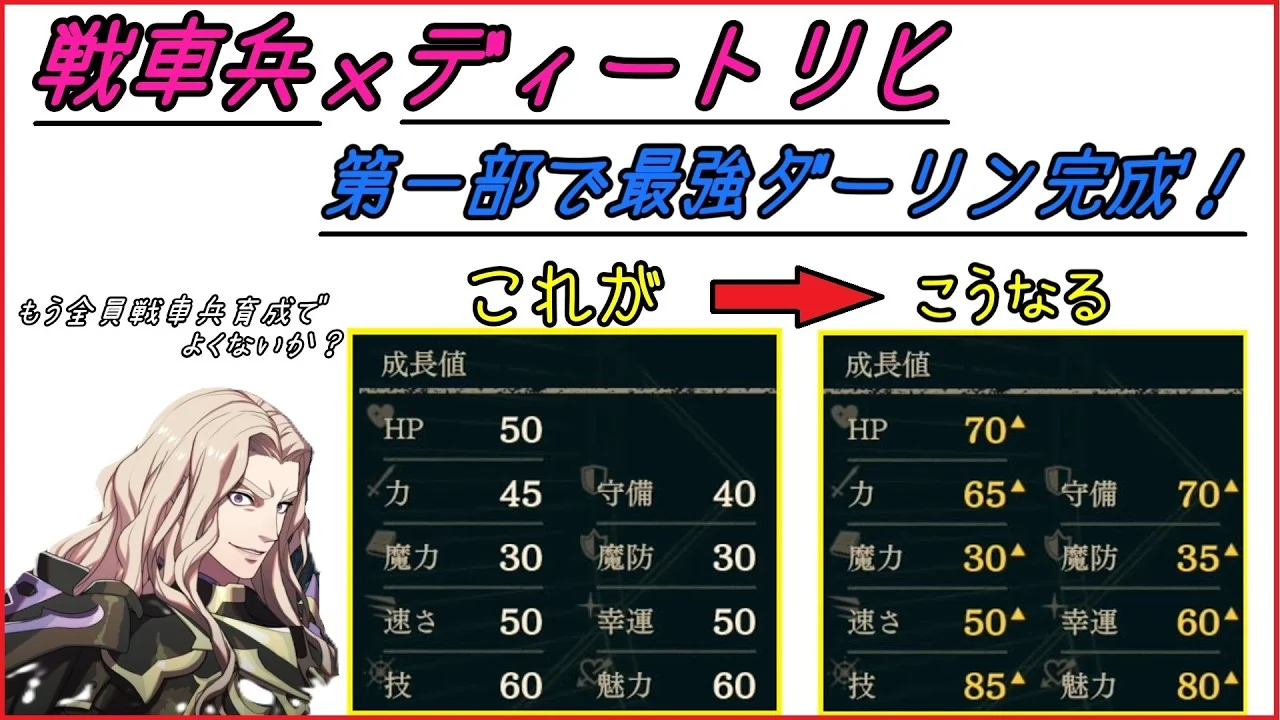

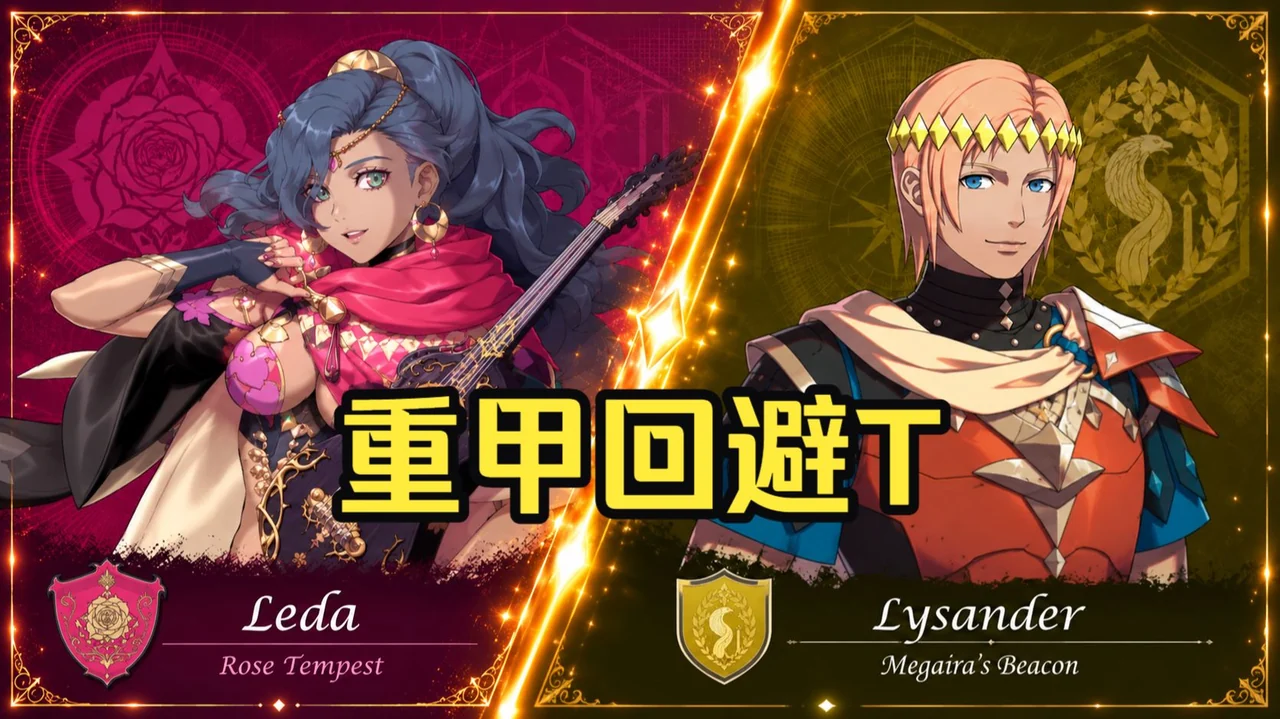
 Lysander








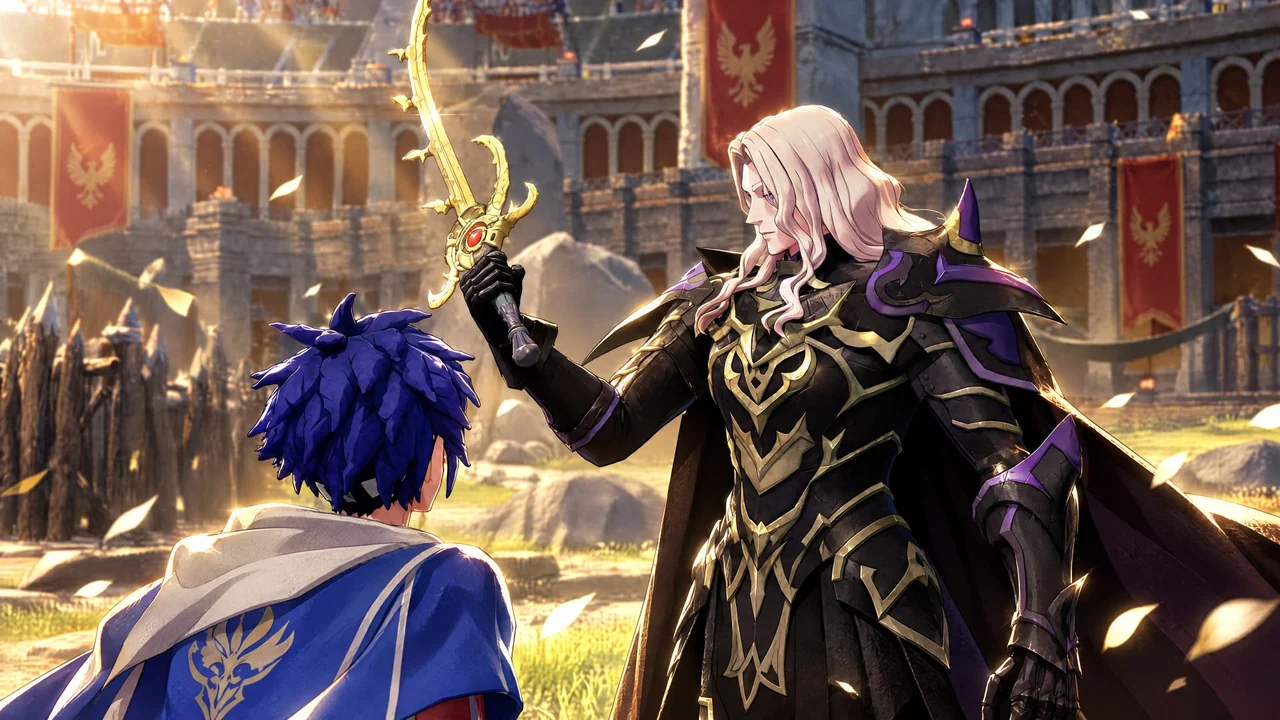

 Bertrand
 Talimun
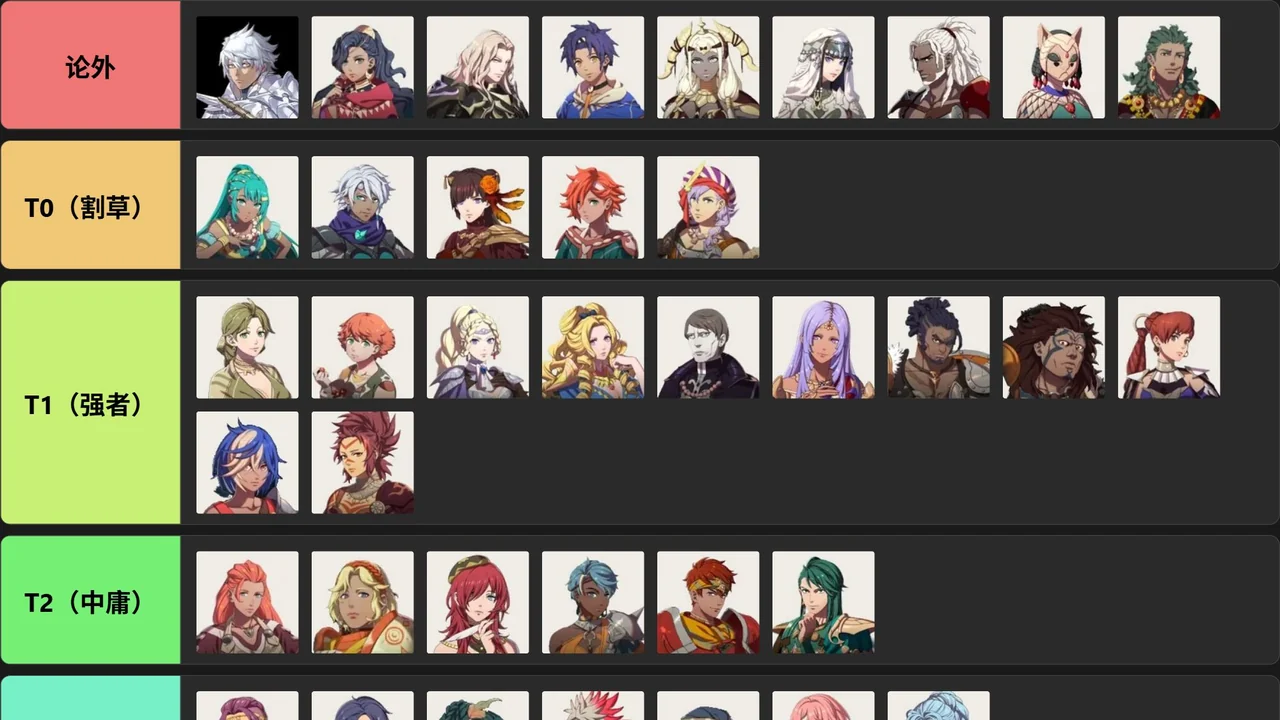
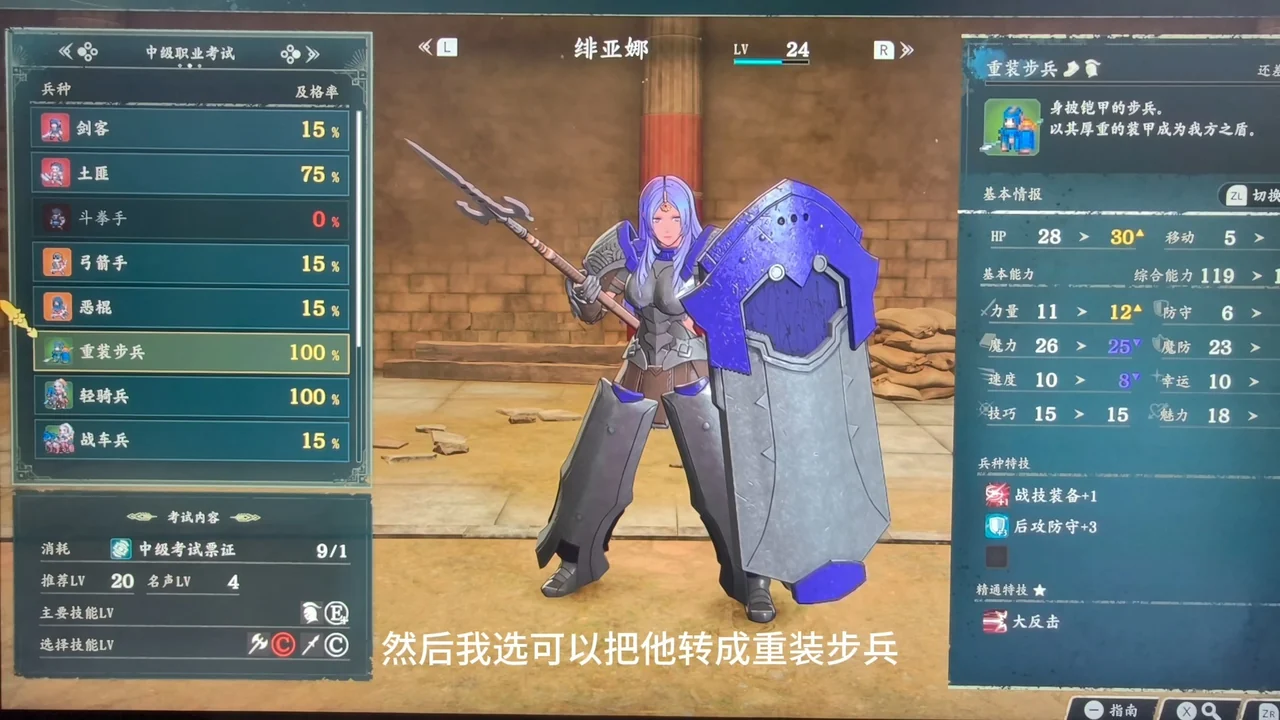



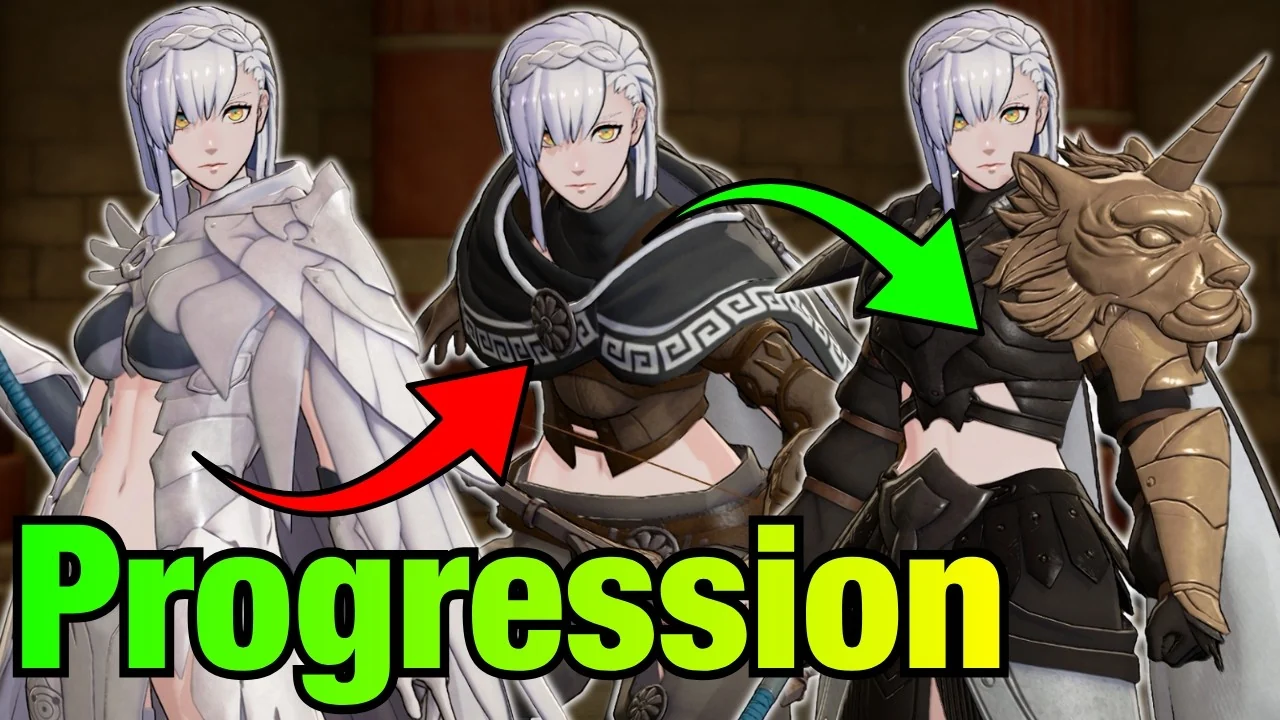


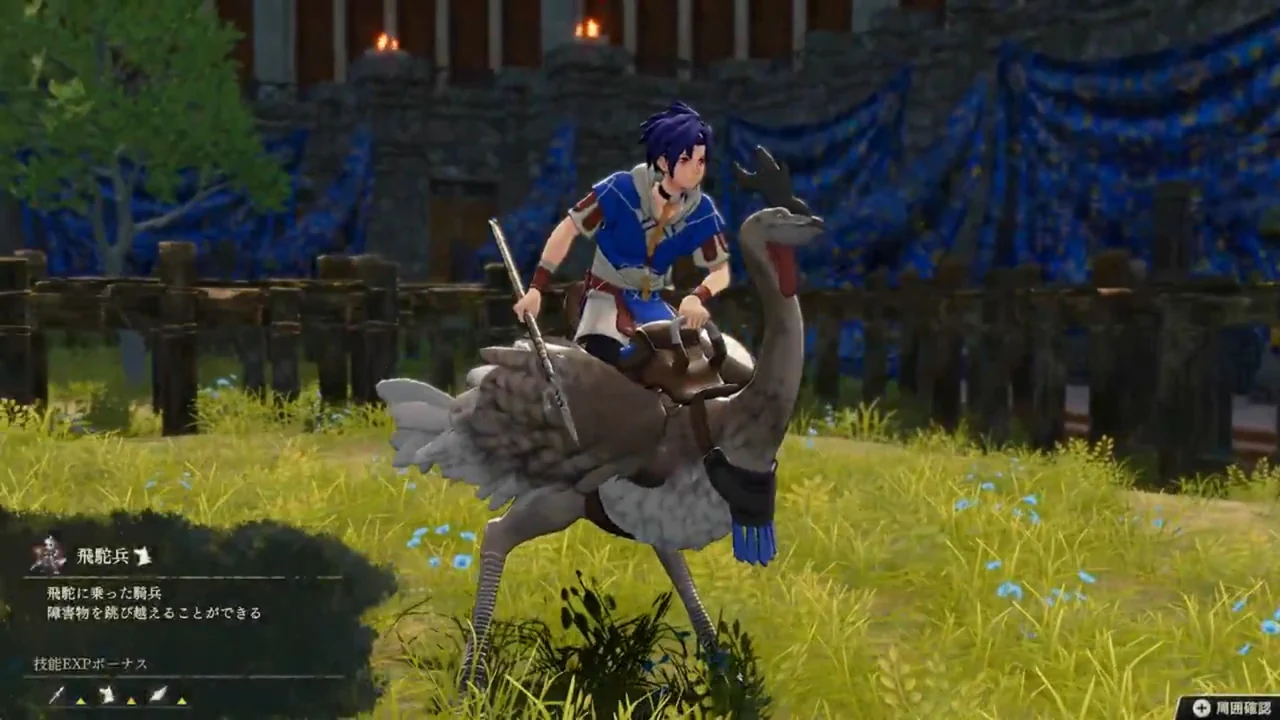

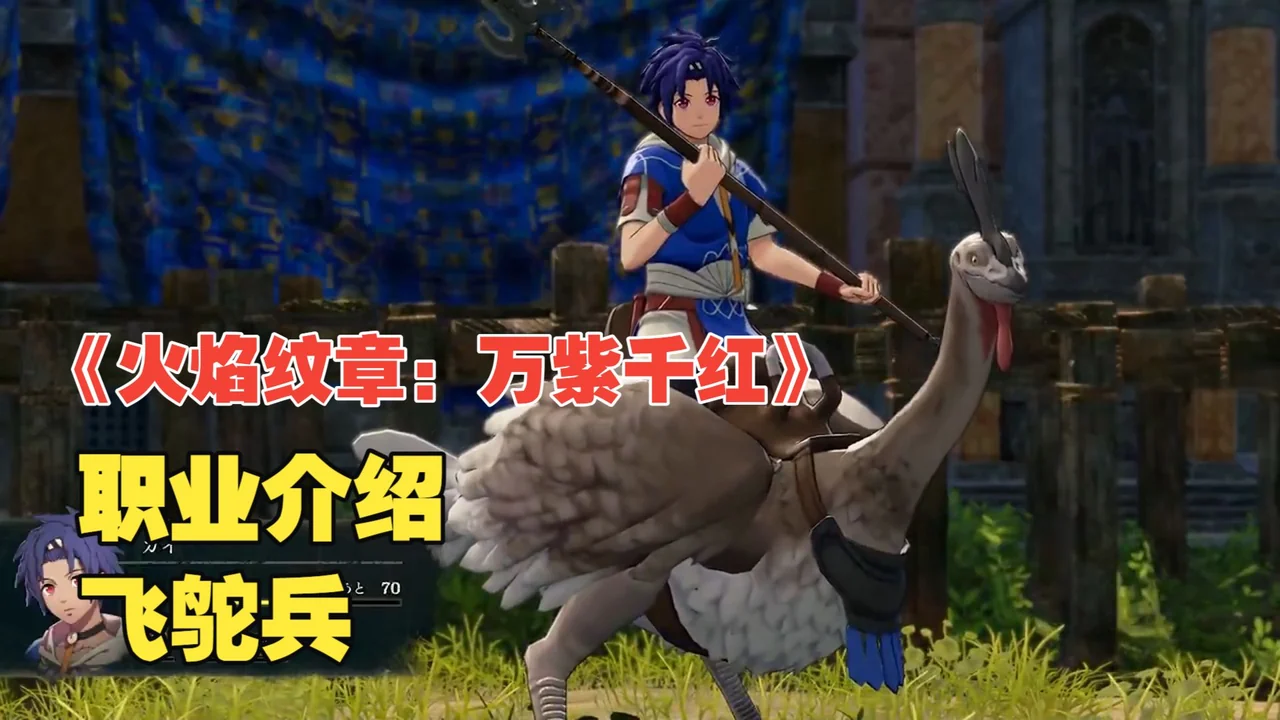






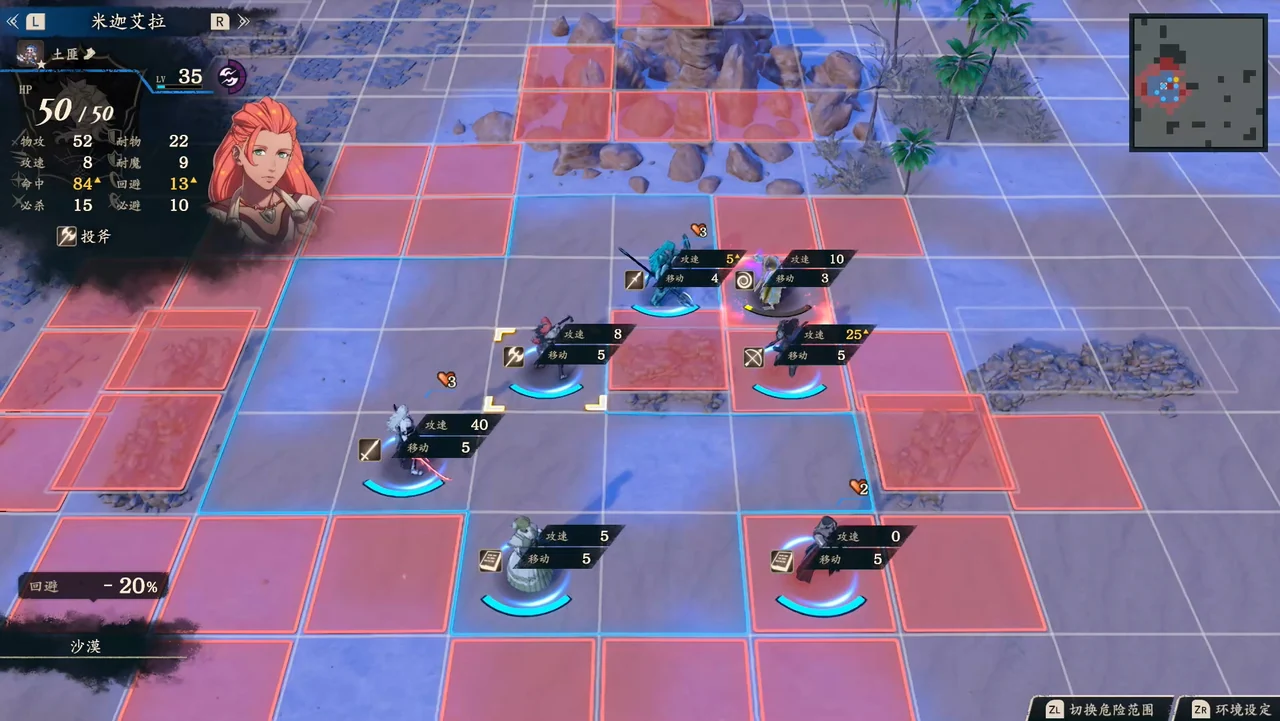

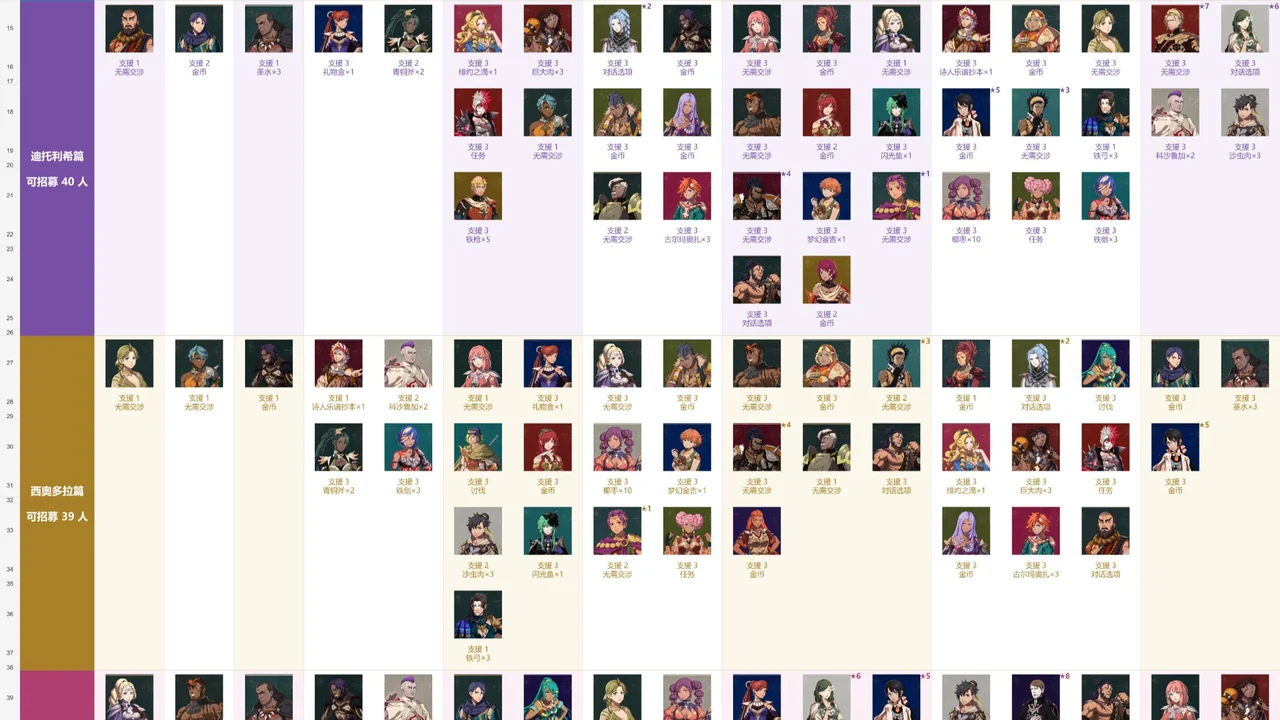

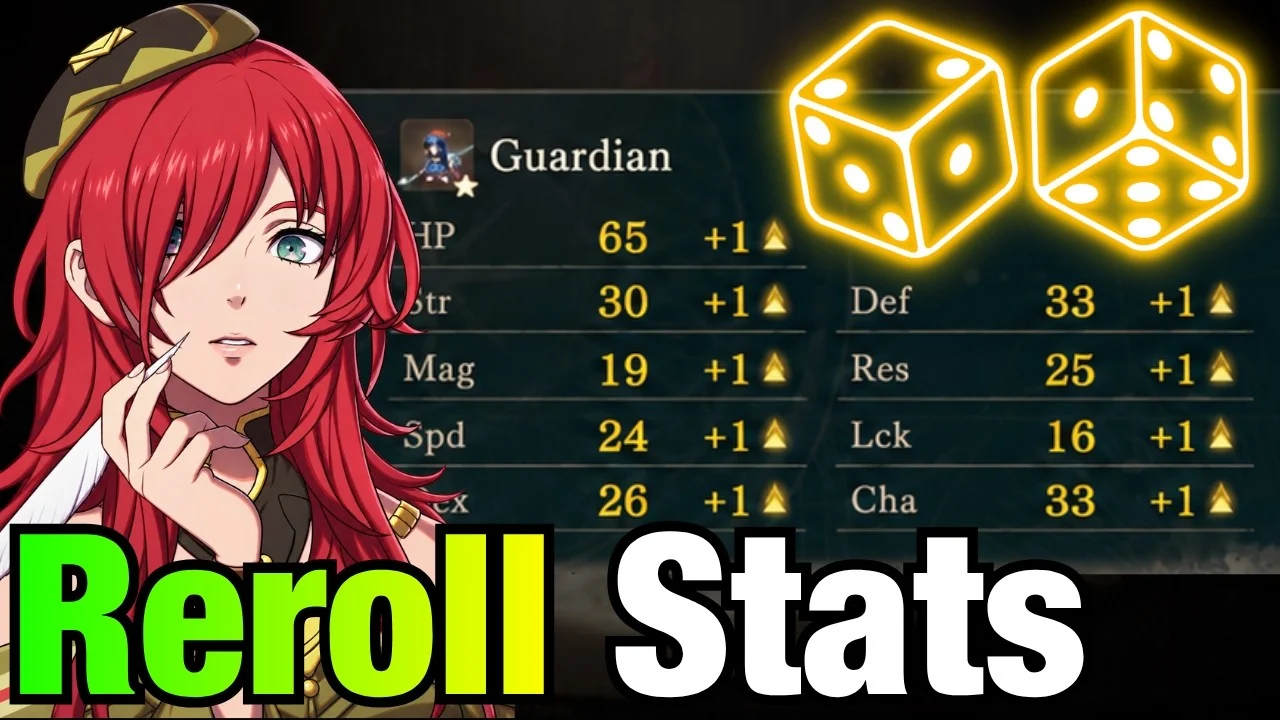

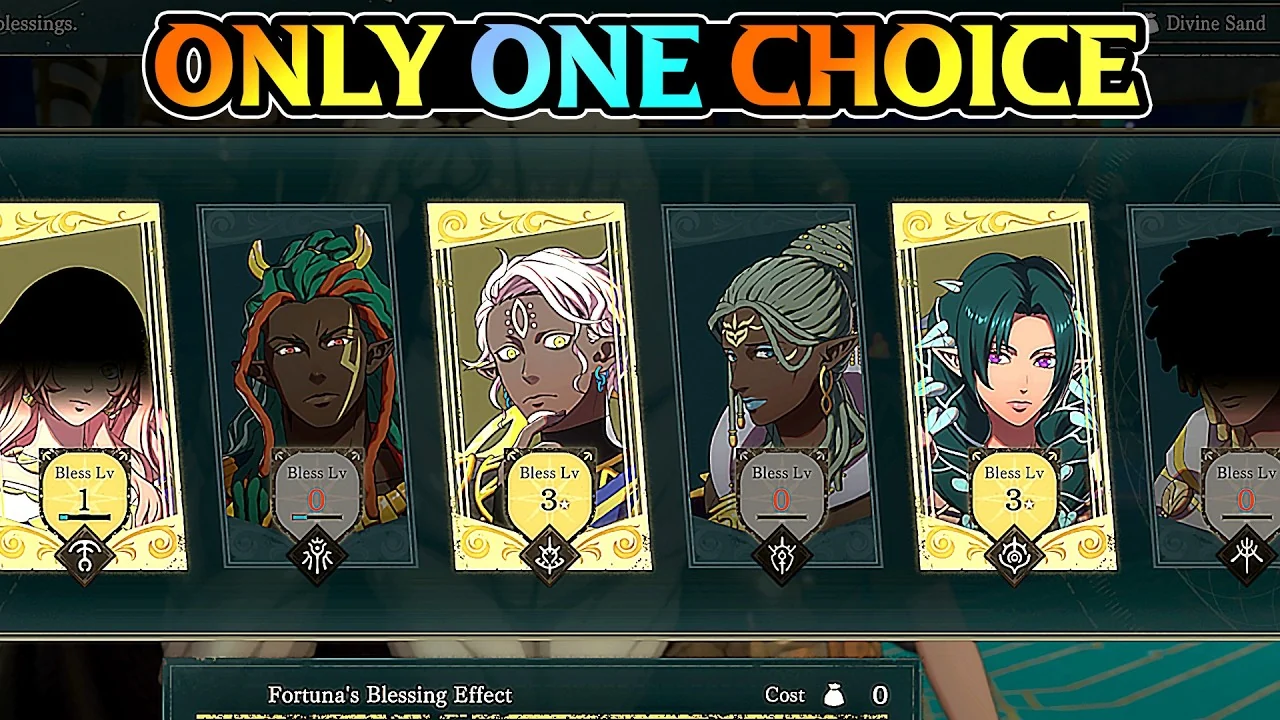


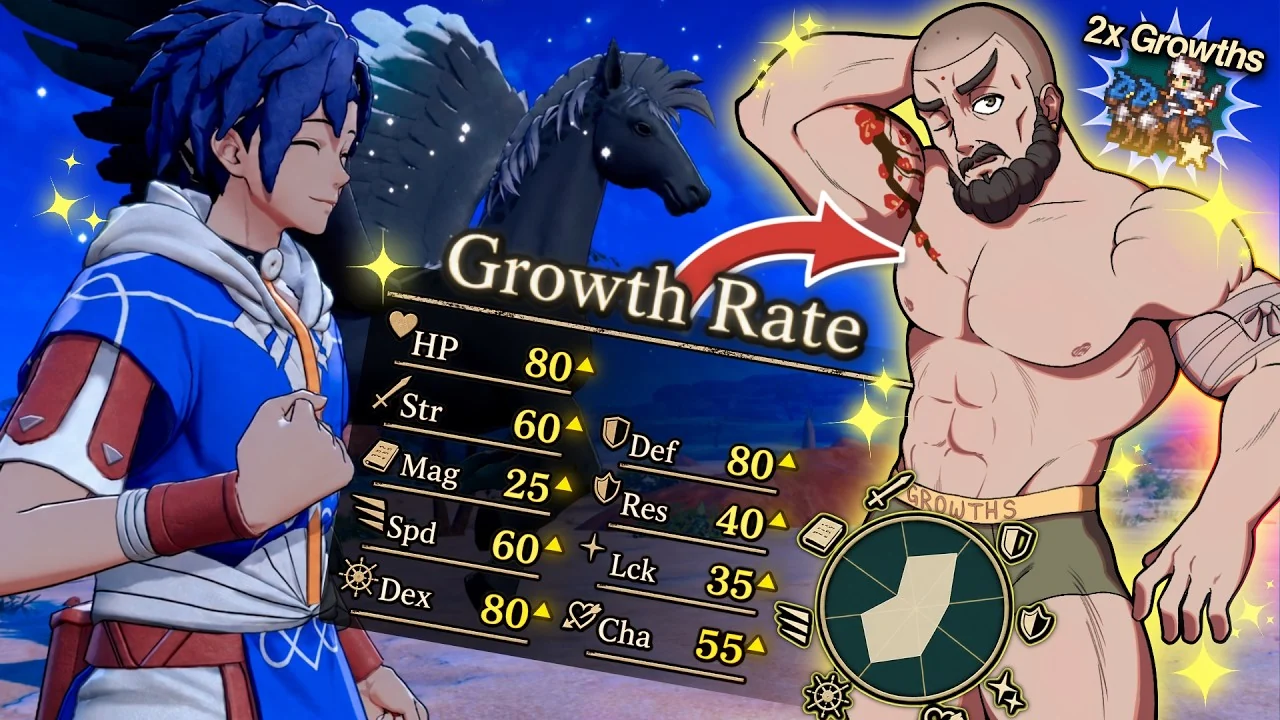


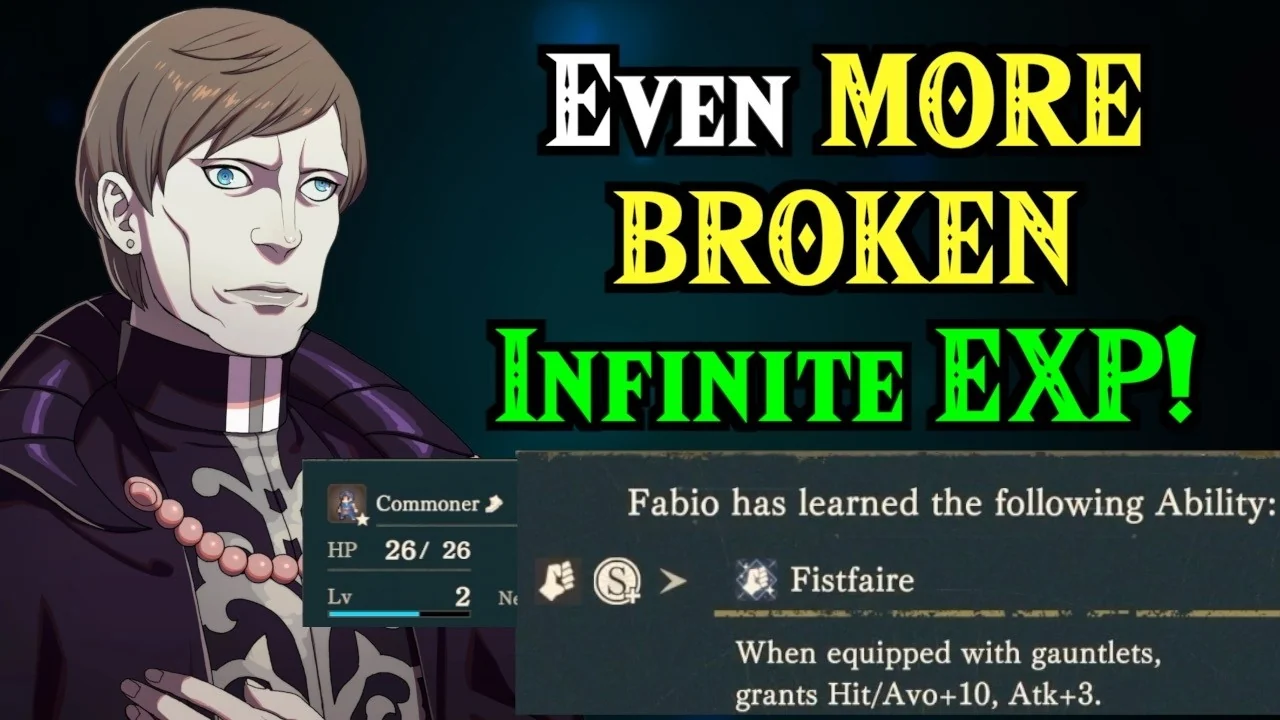




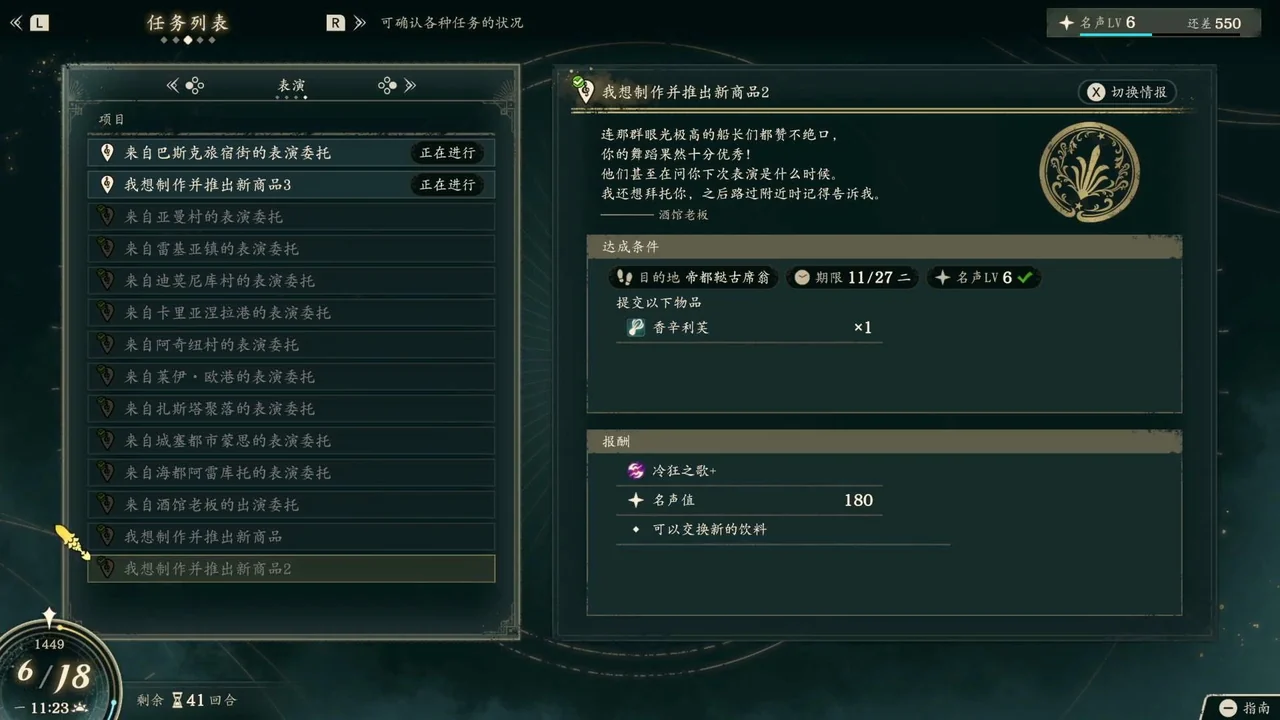


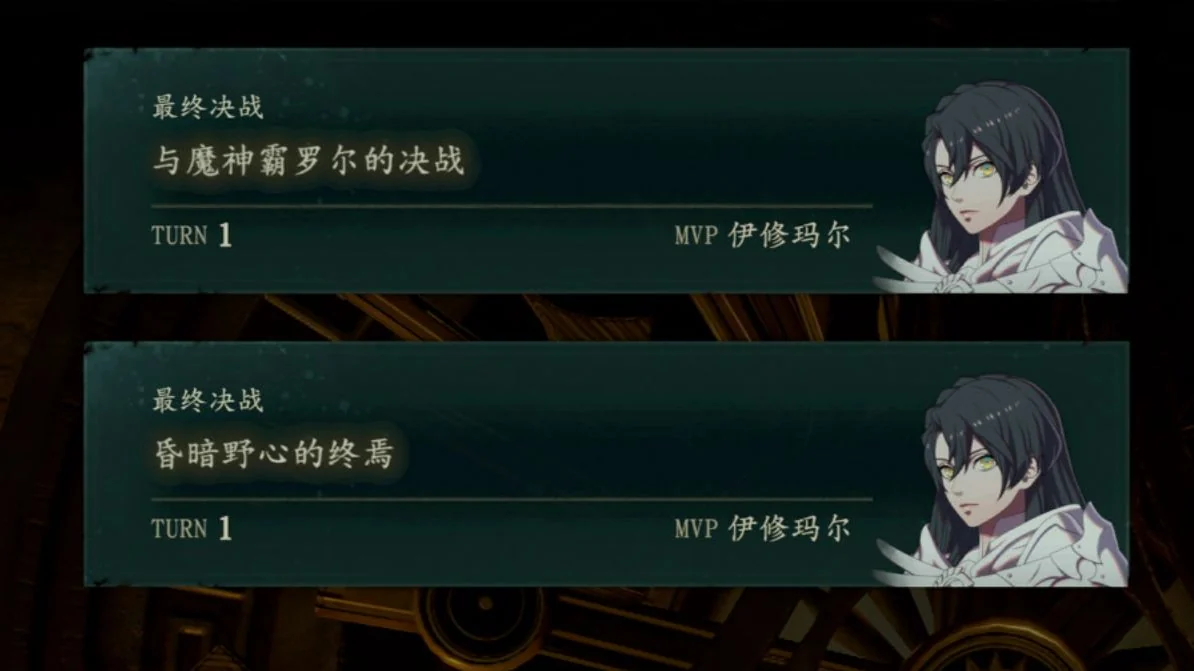
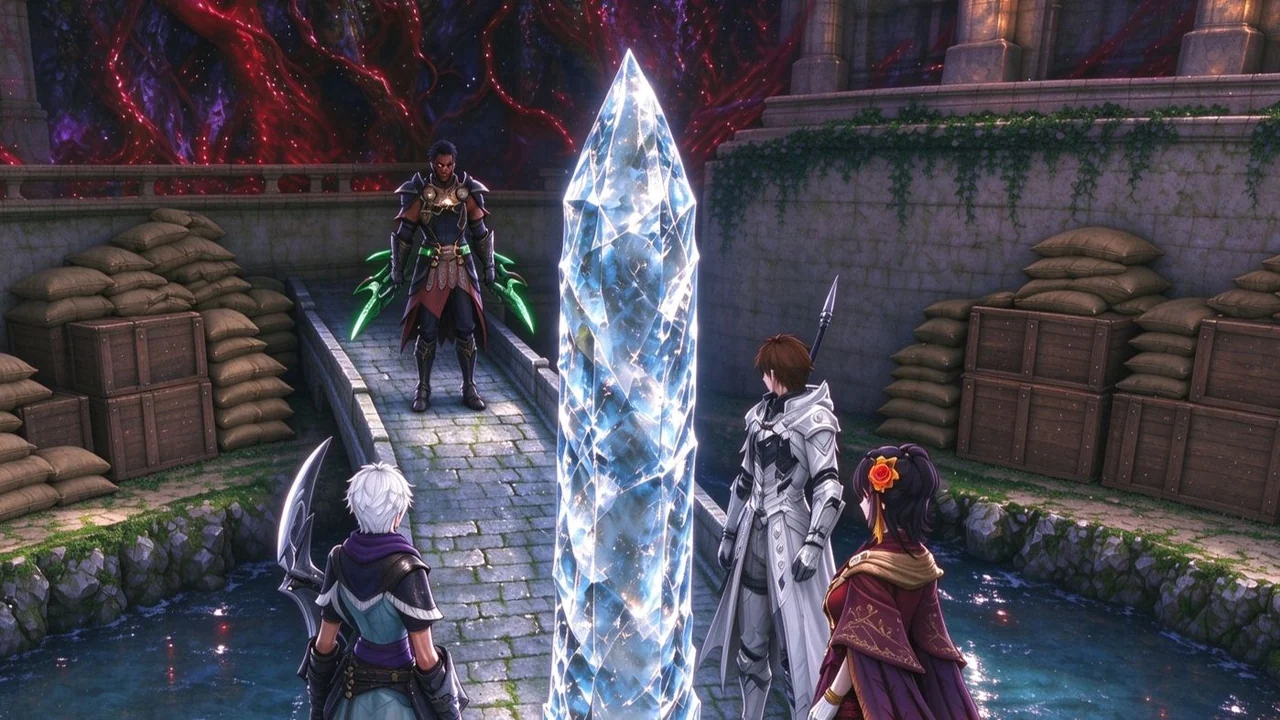





 Gaitz
 Seteth

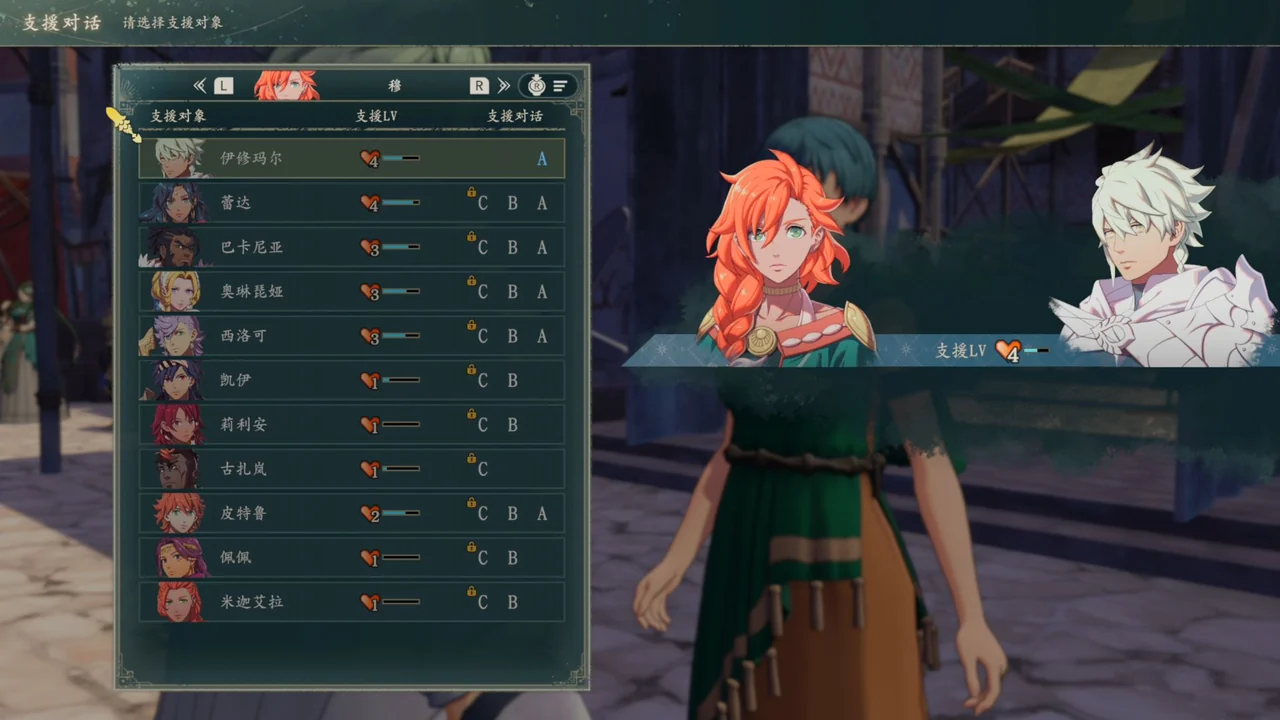








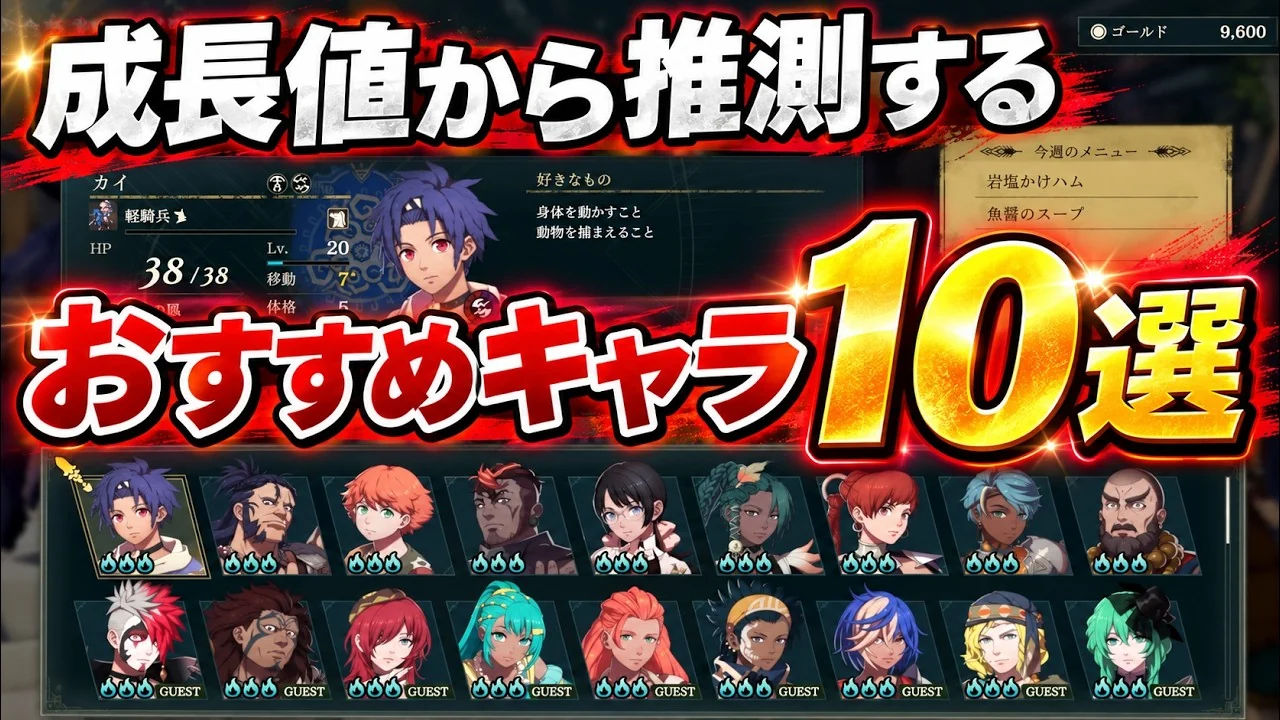

 Yang Jie
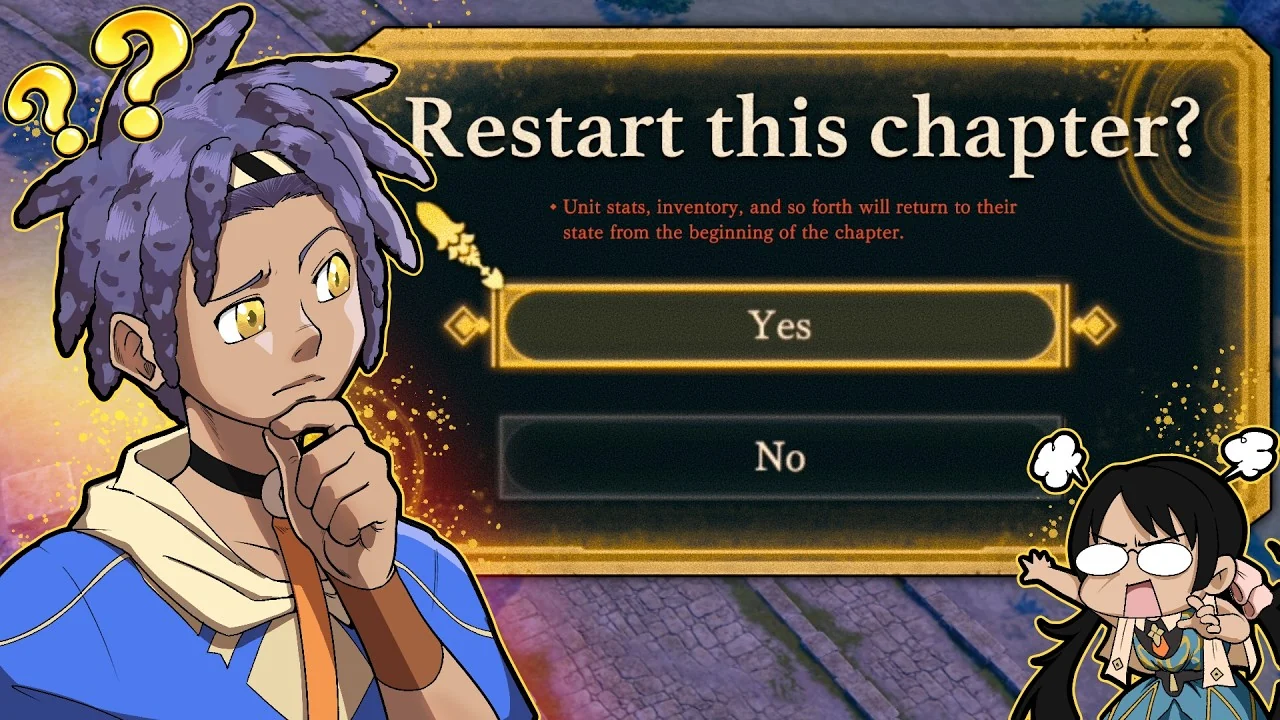

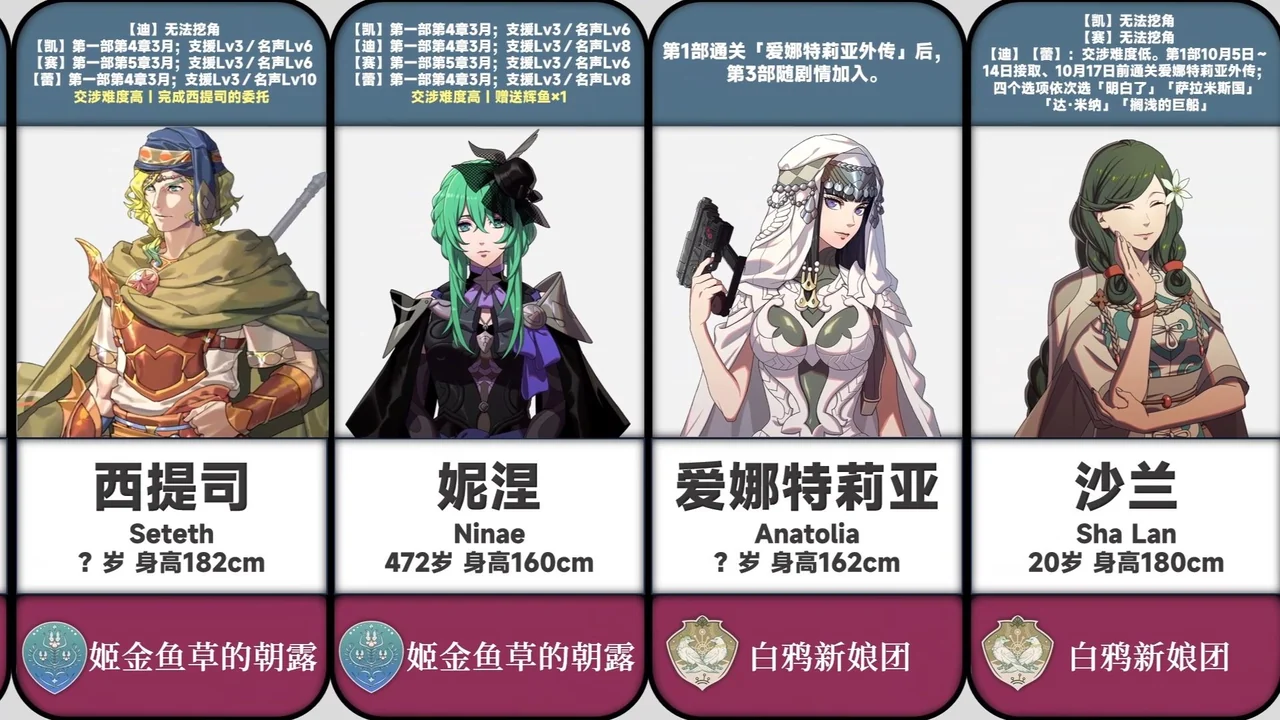
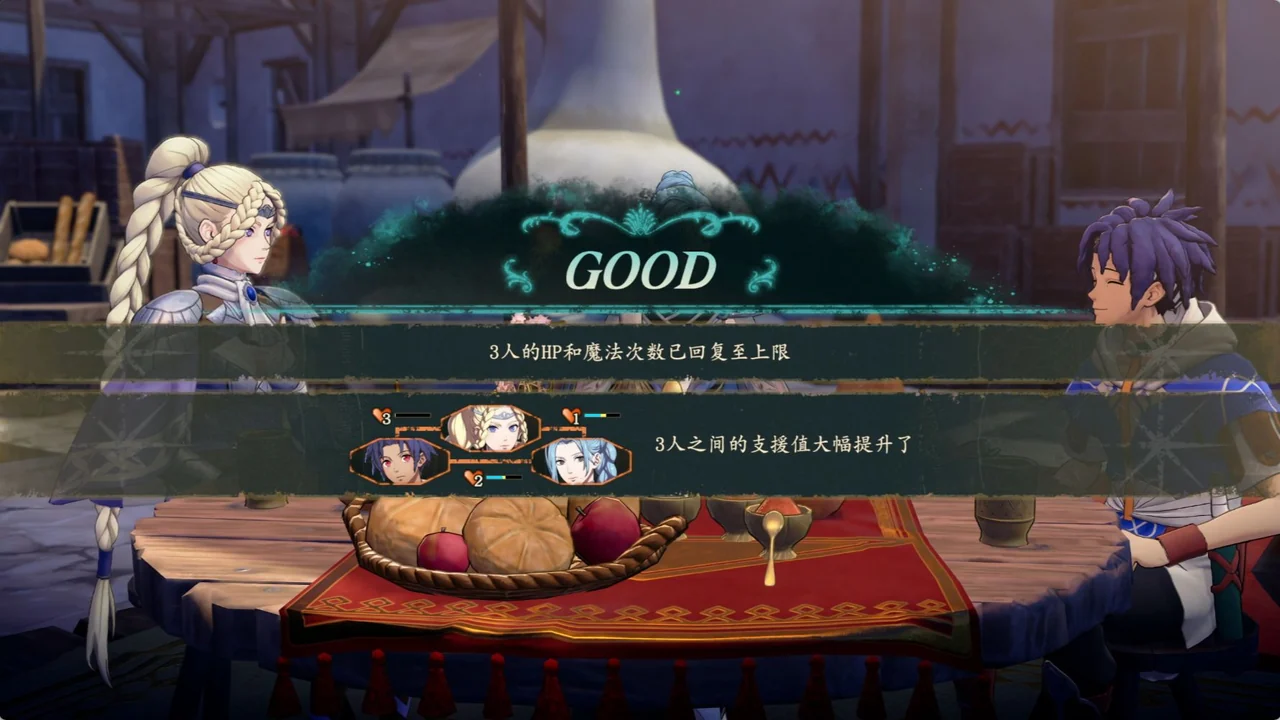
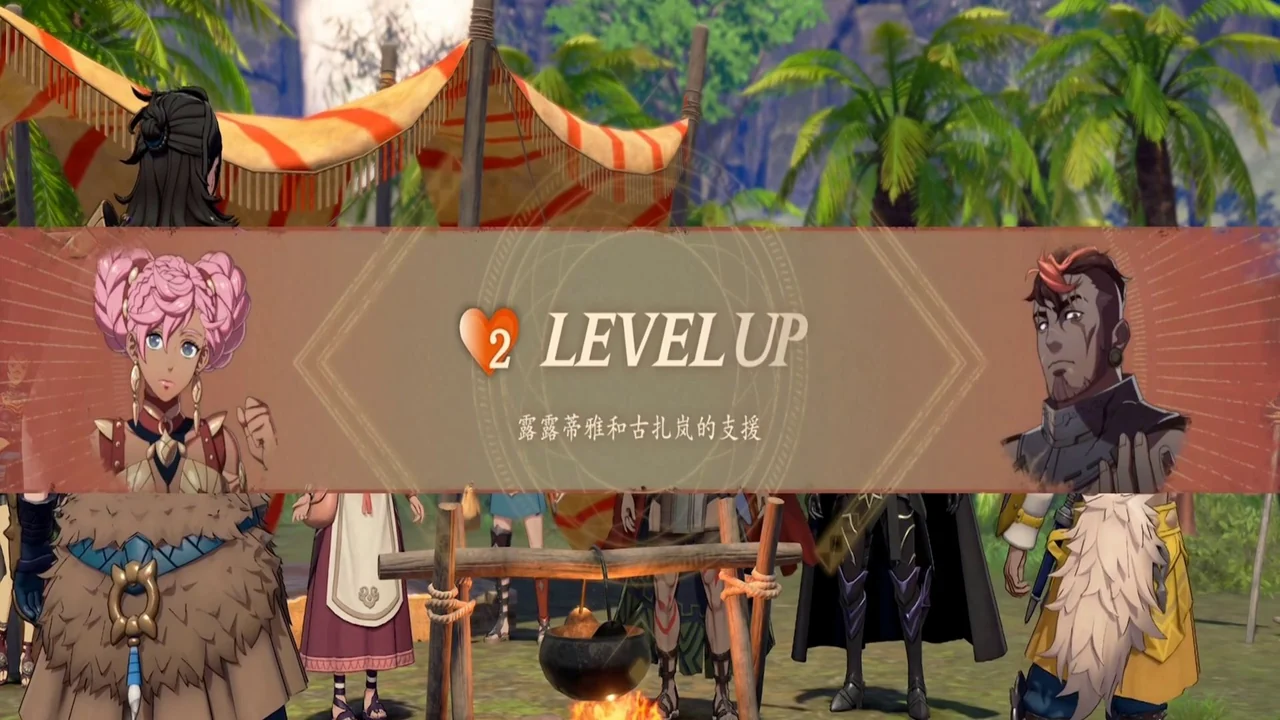







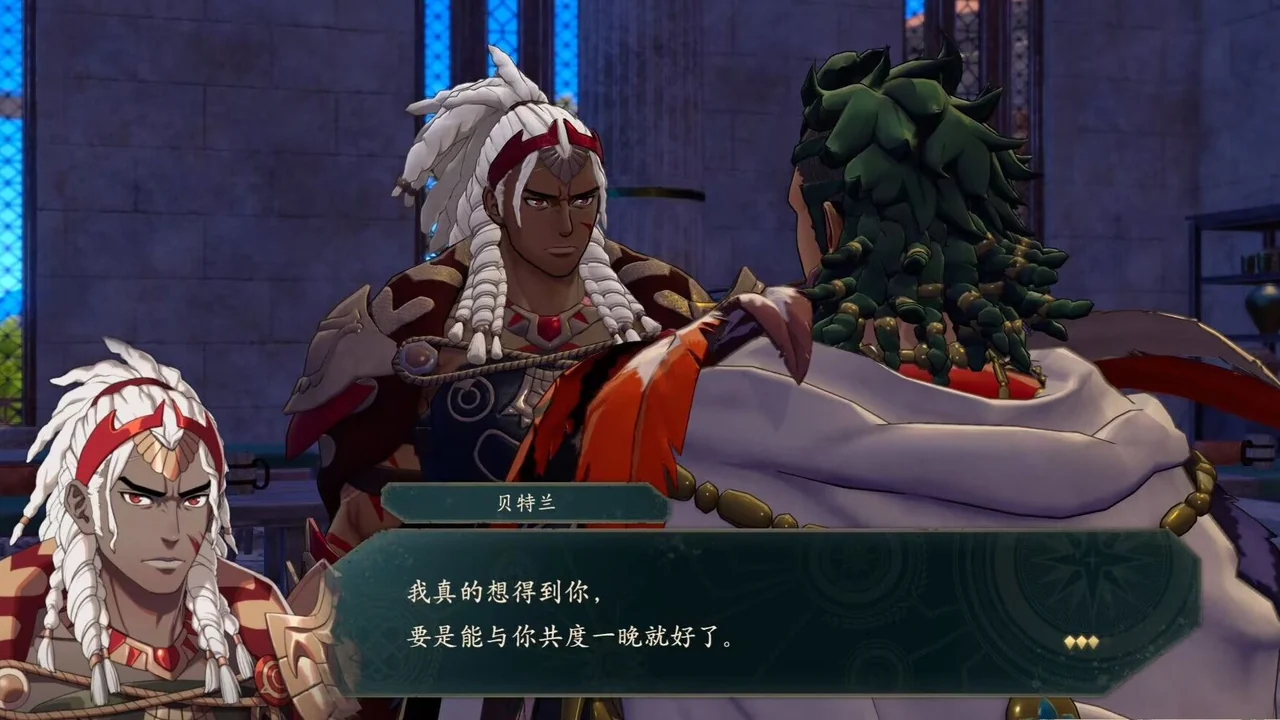

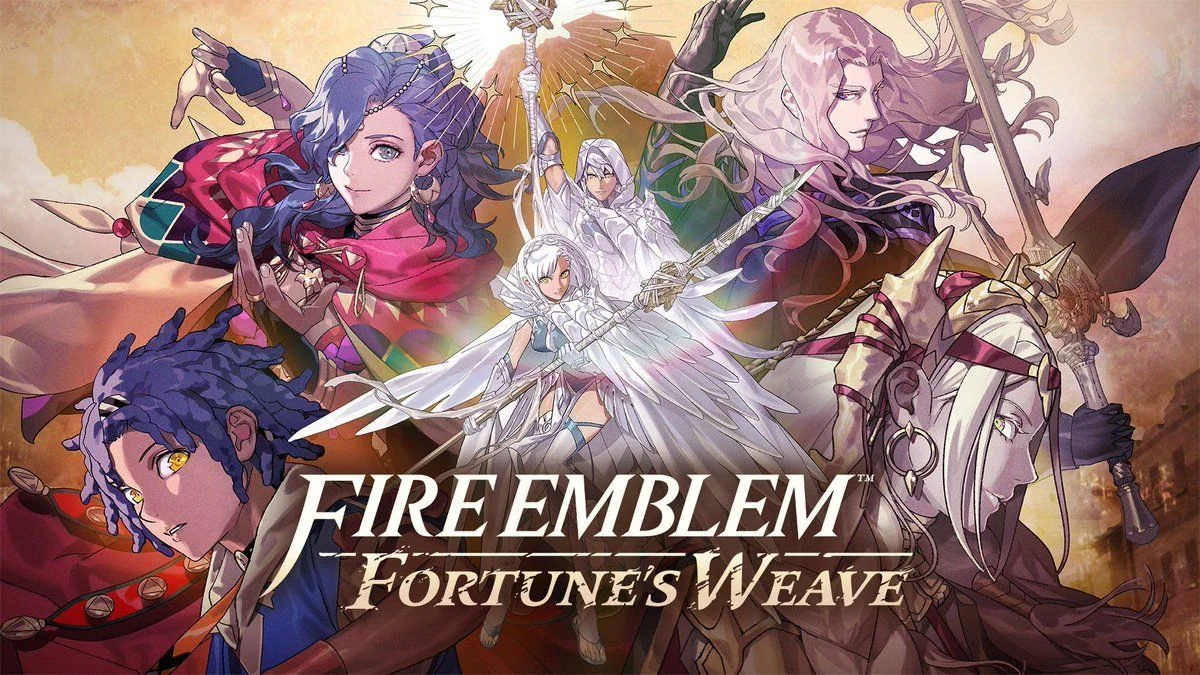
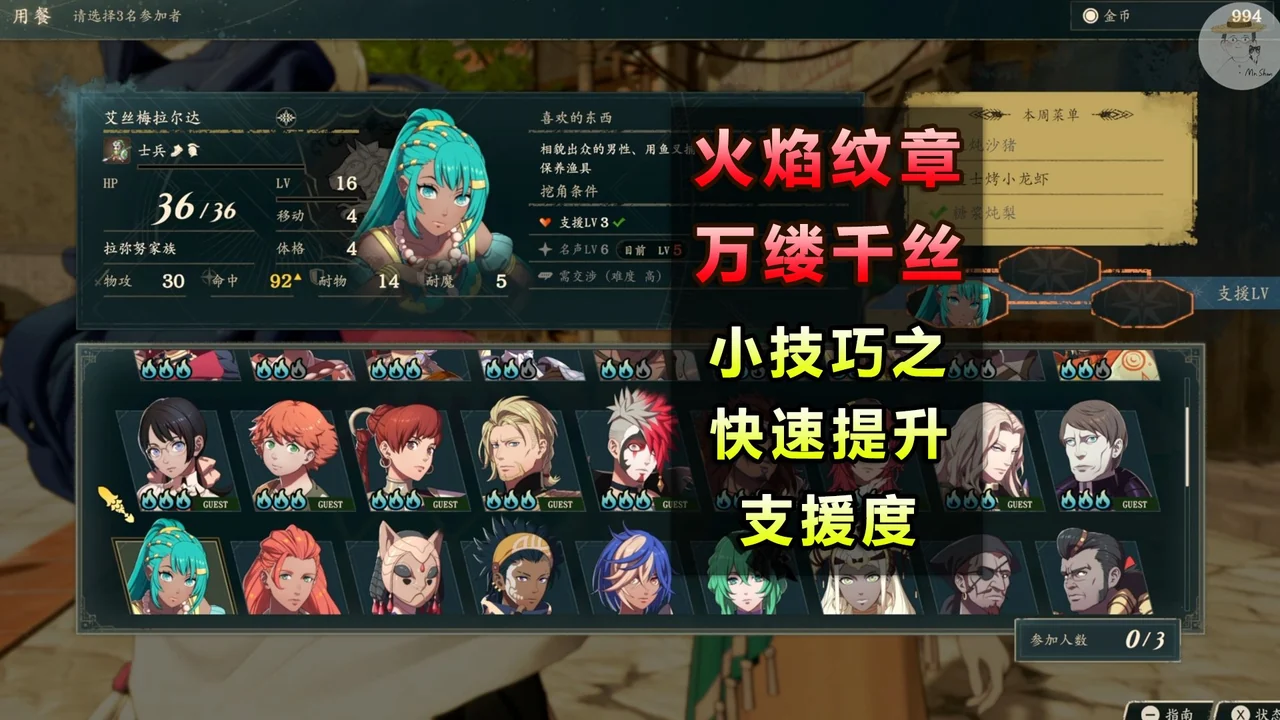

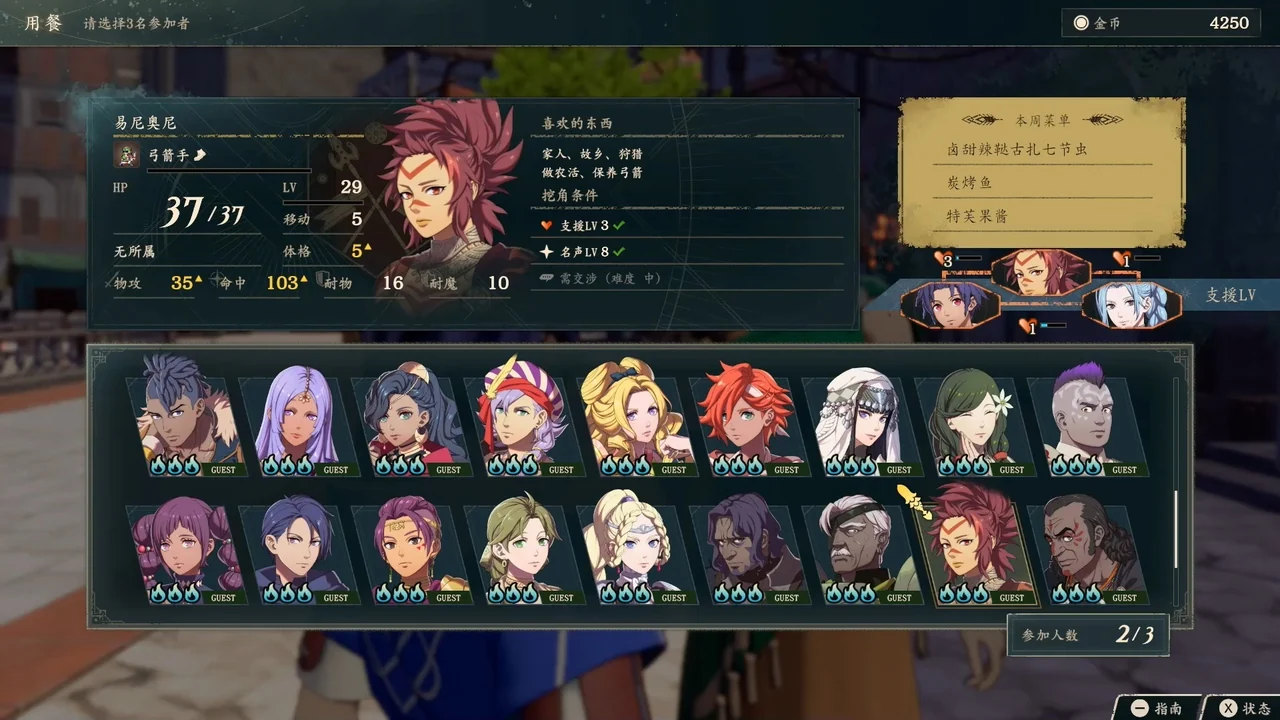
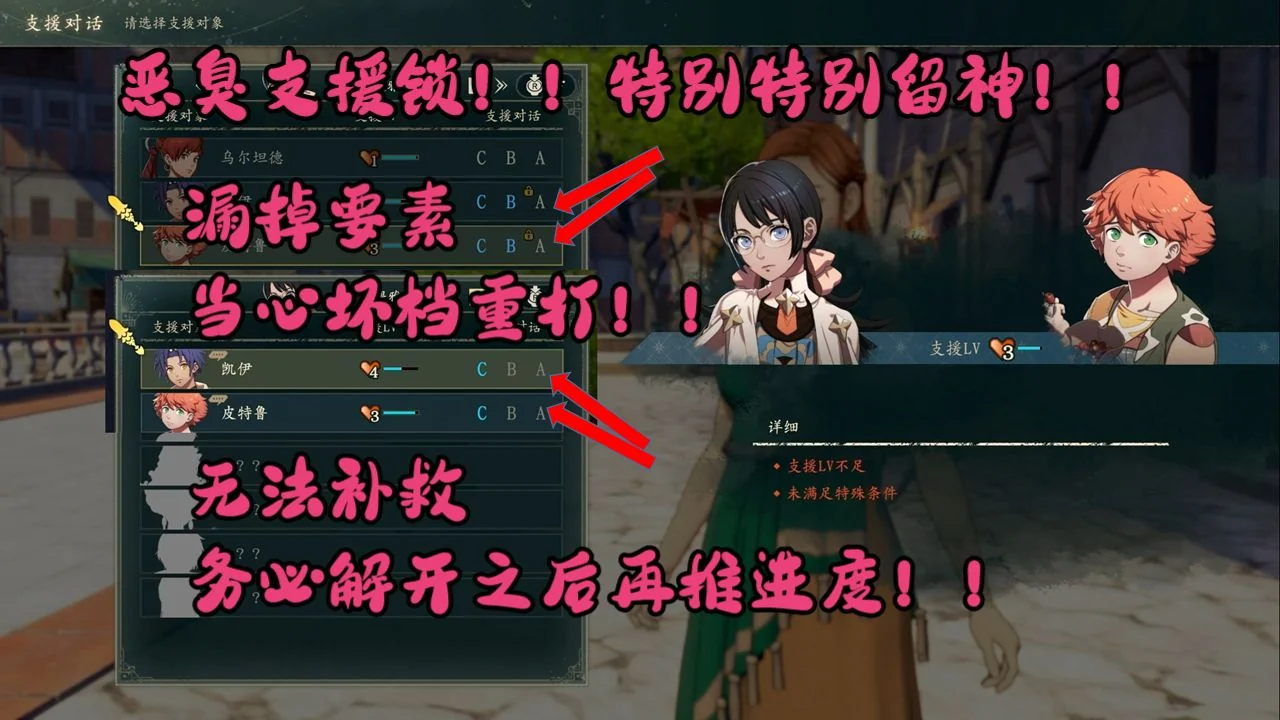
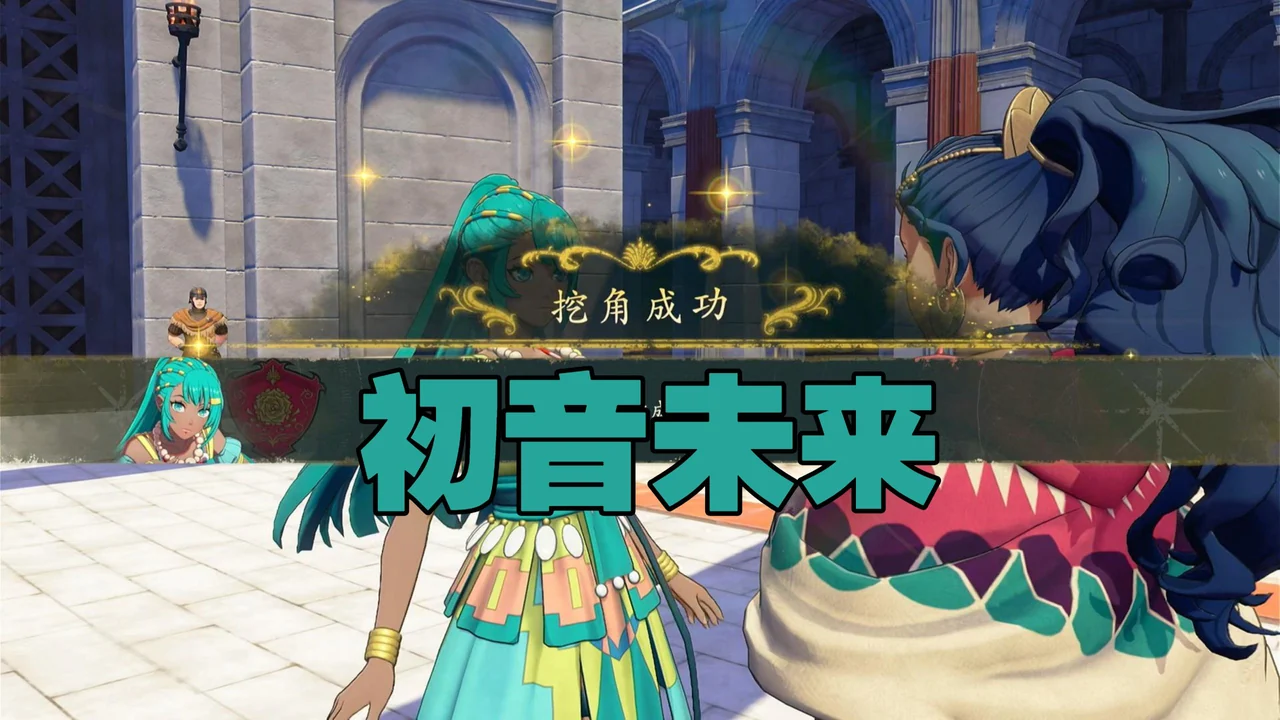
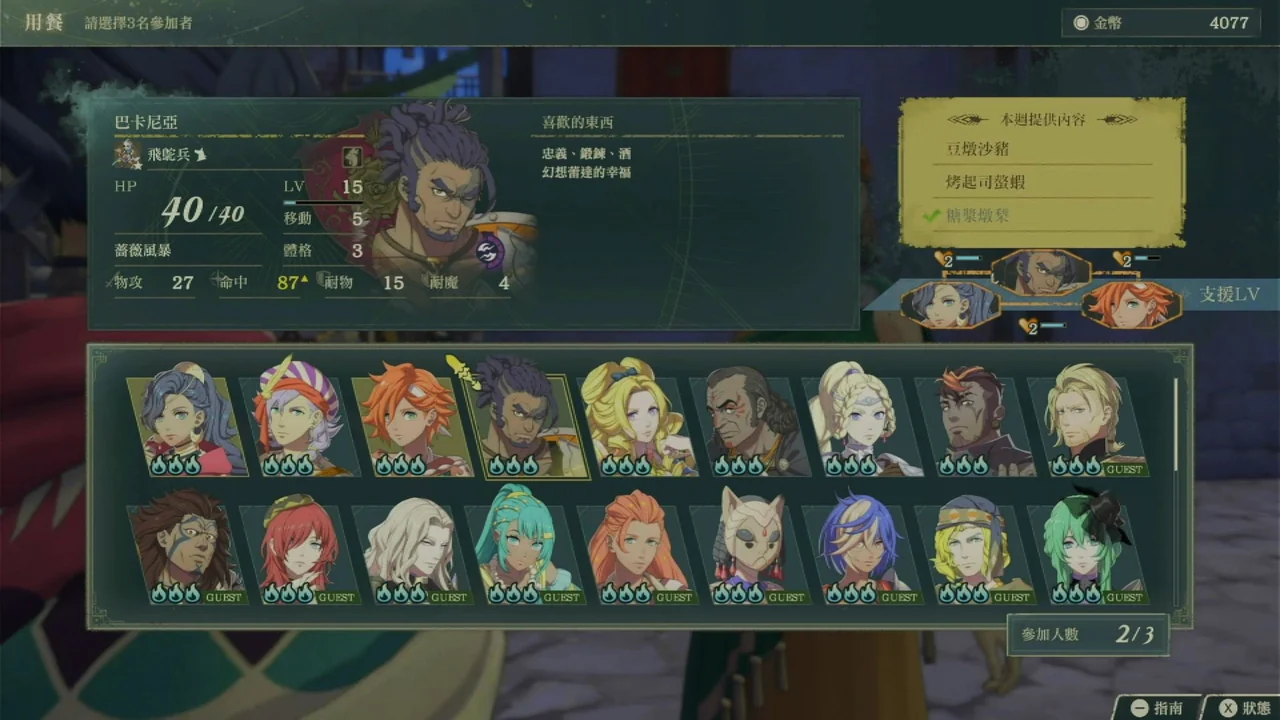
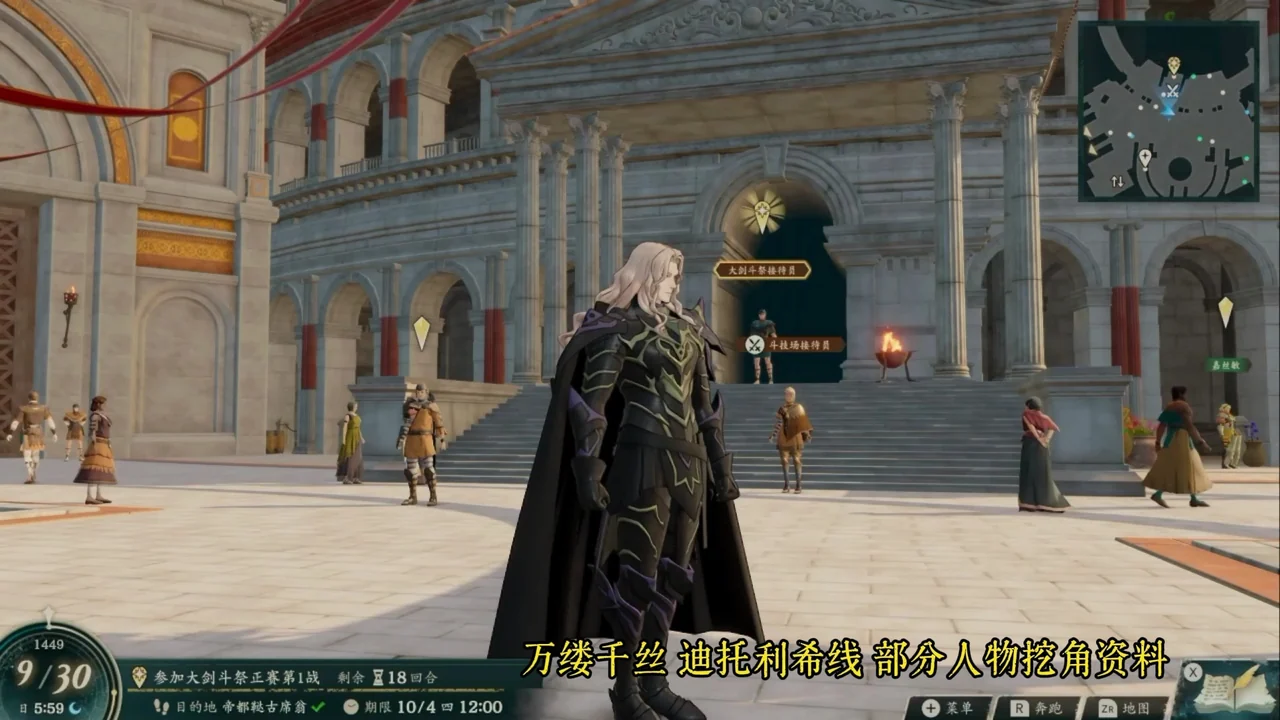
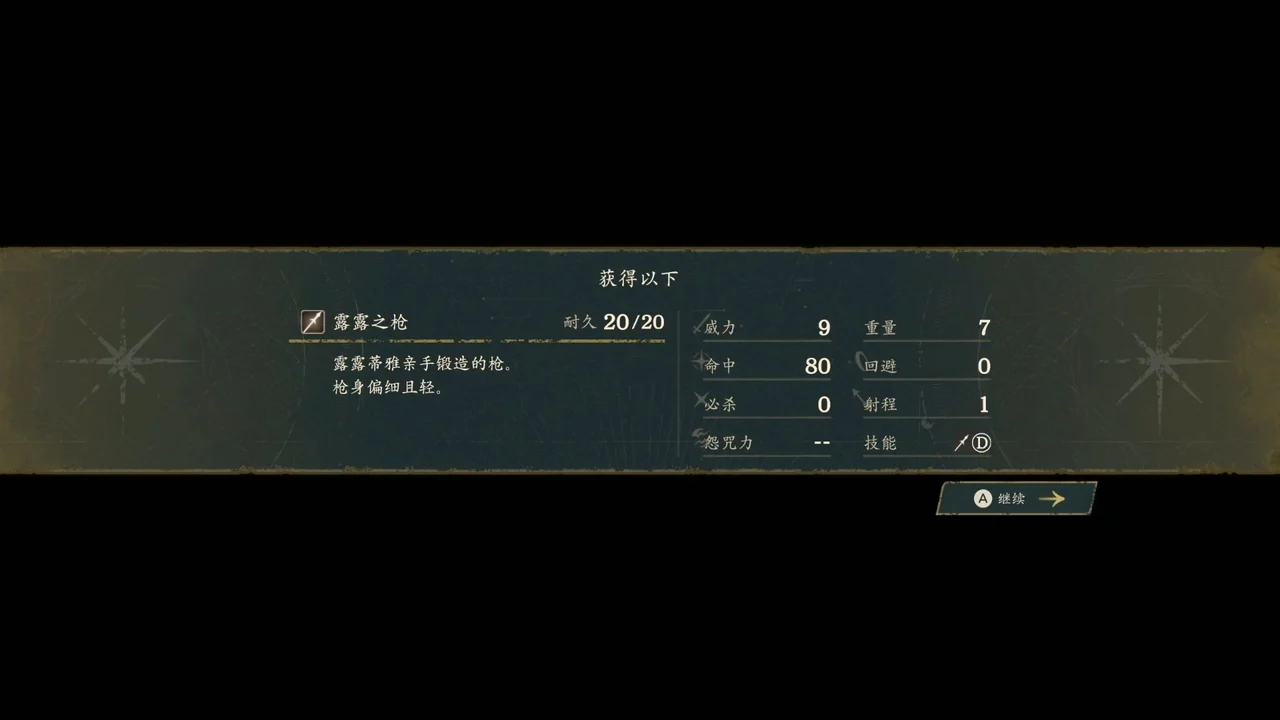





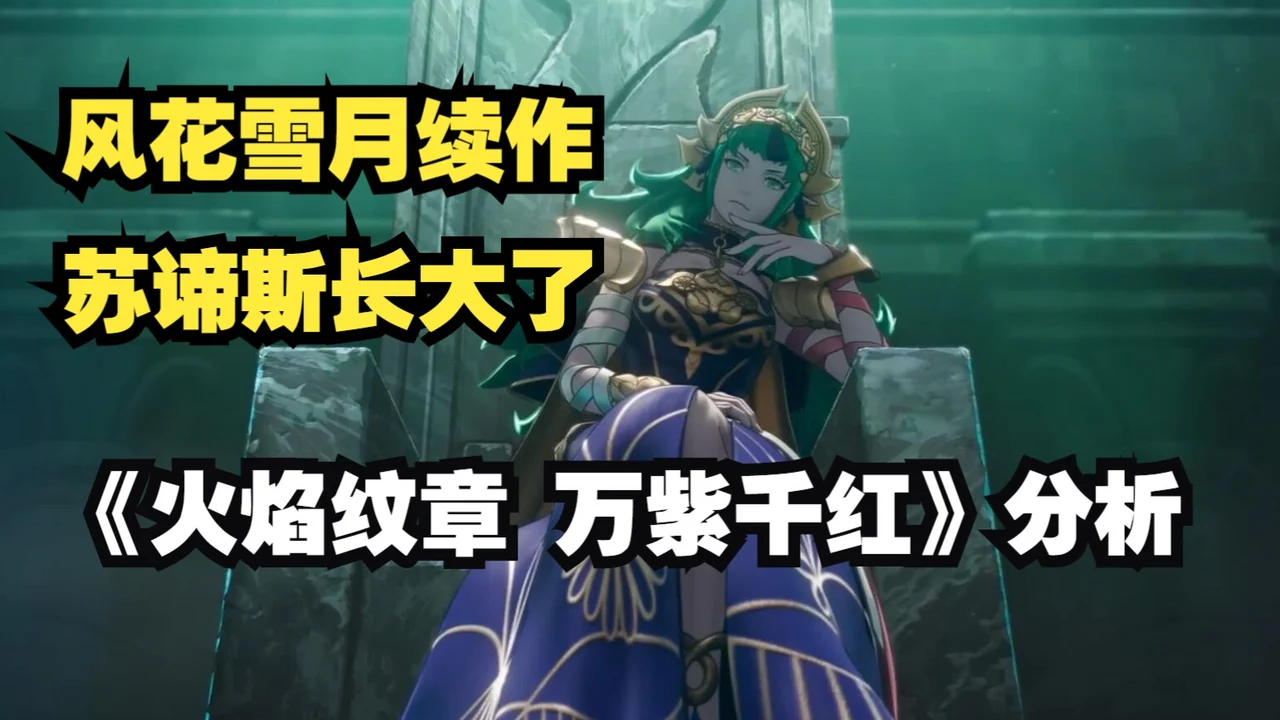
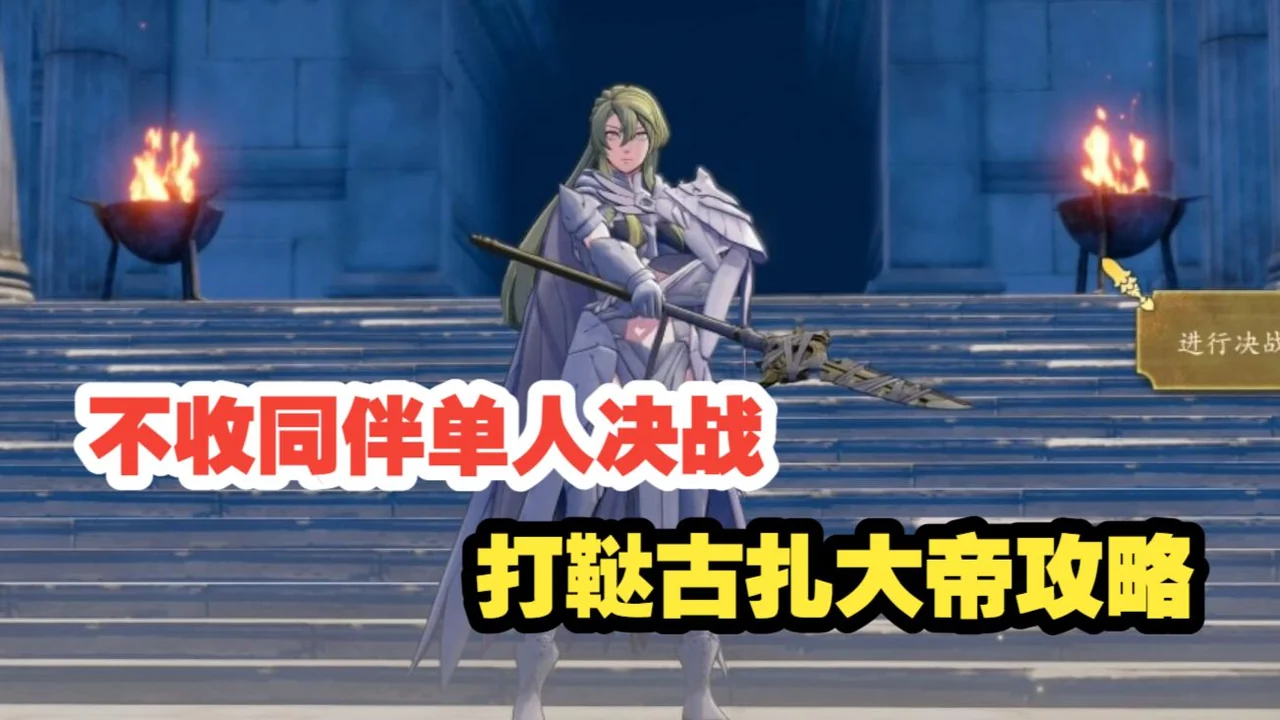










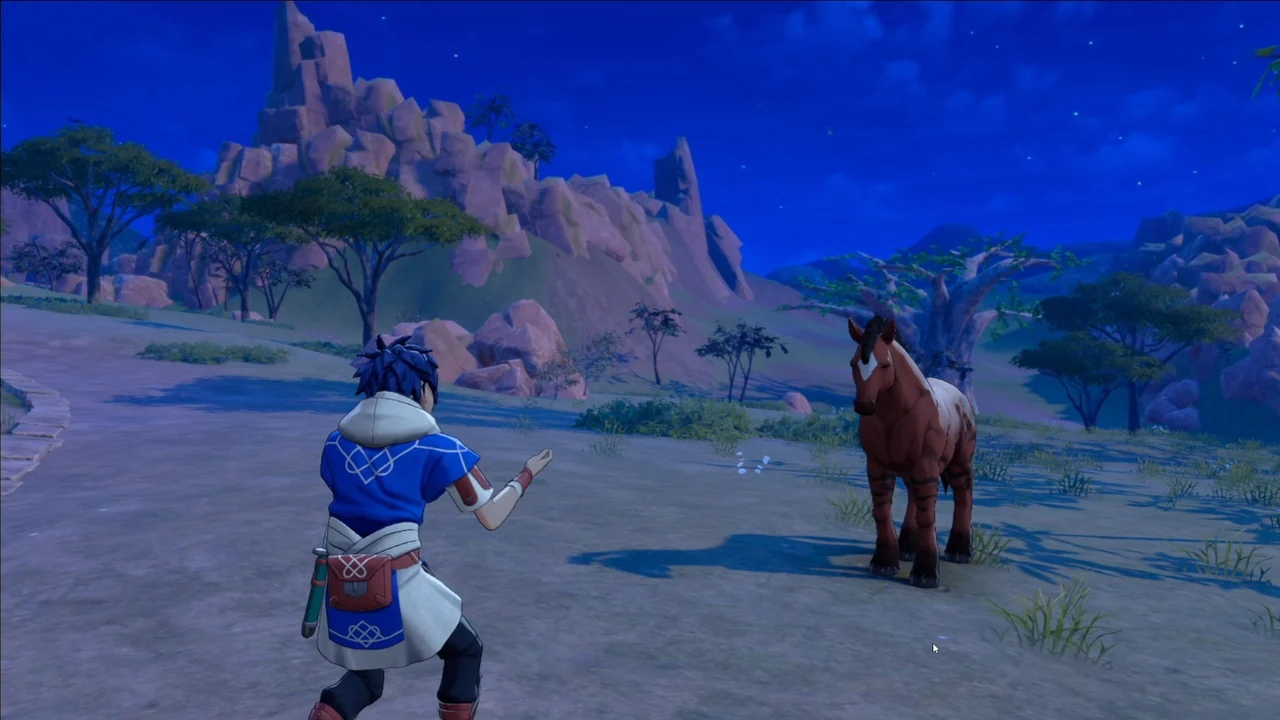
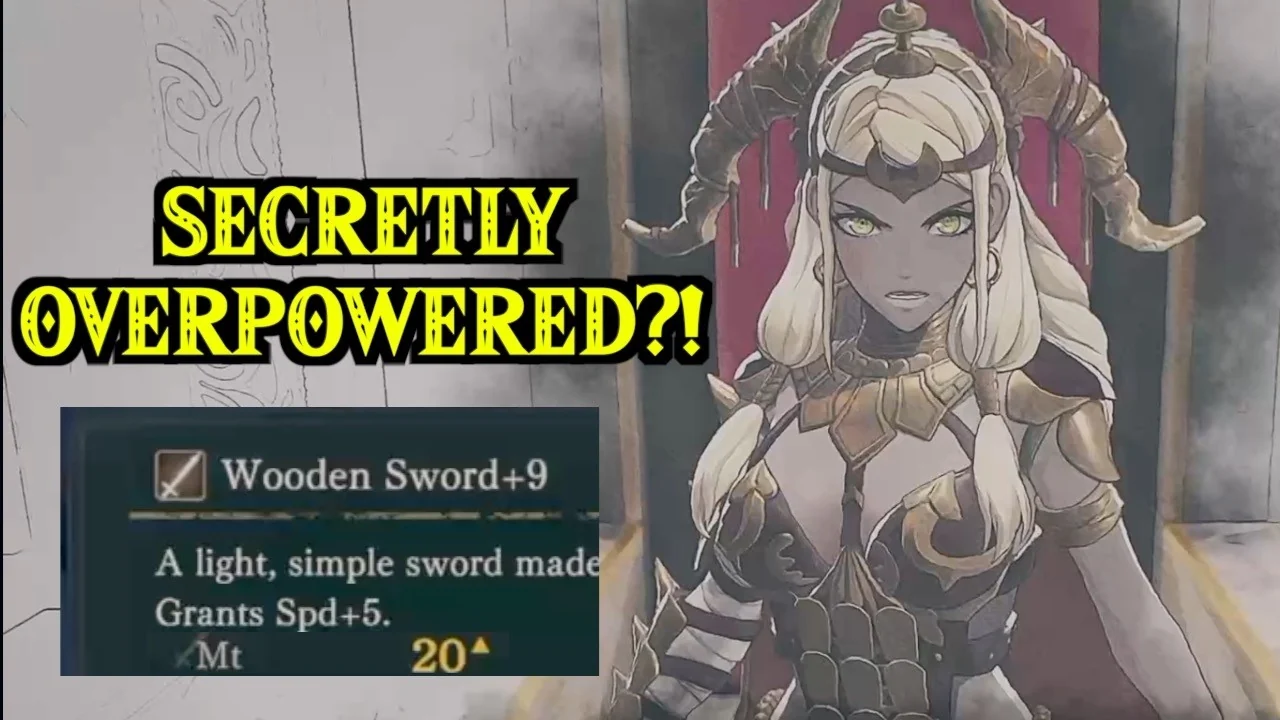
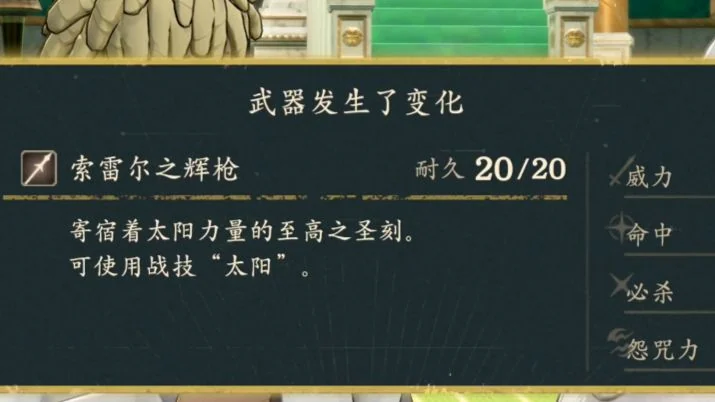
 The Nameless



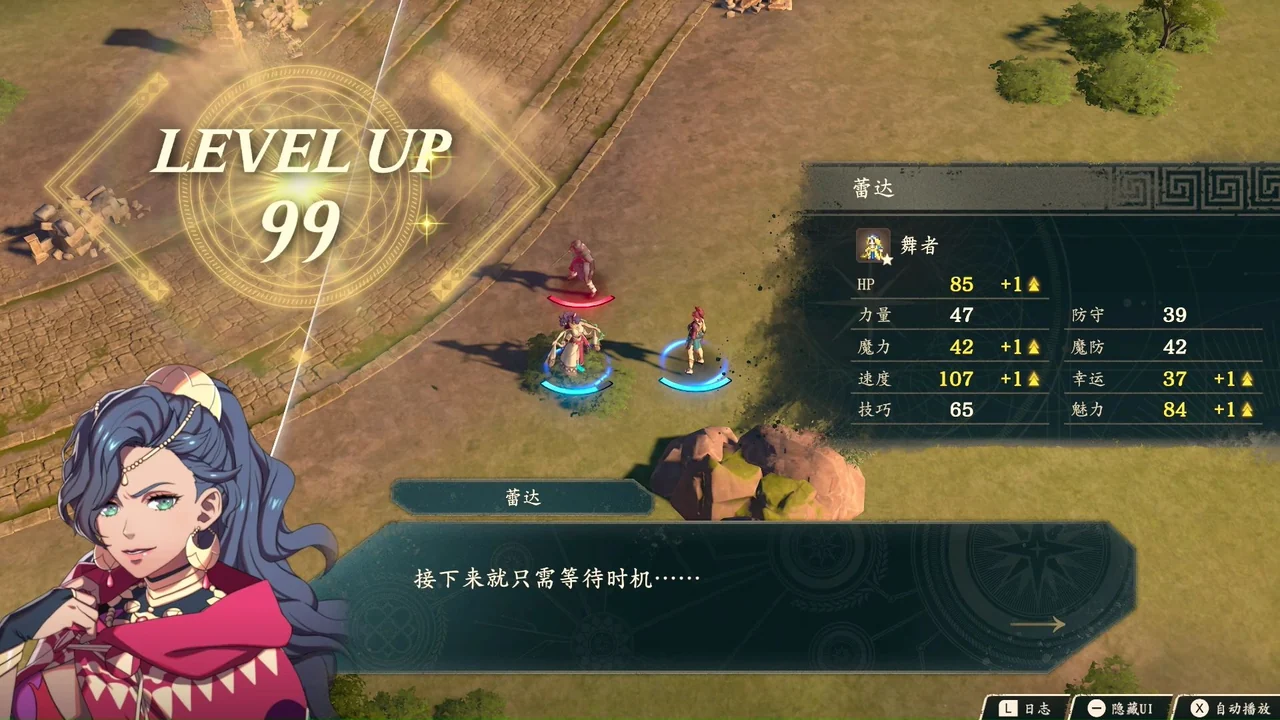
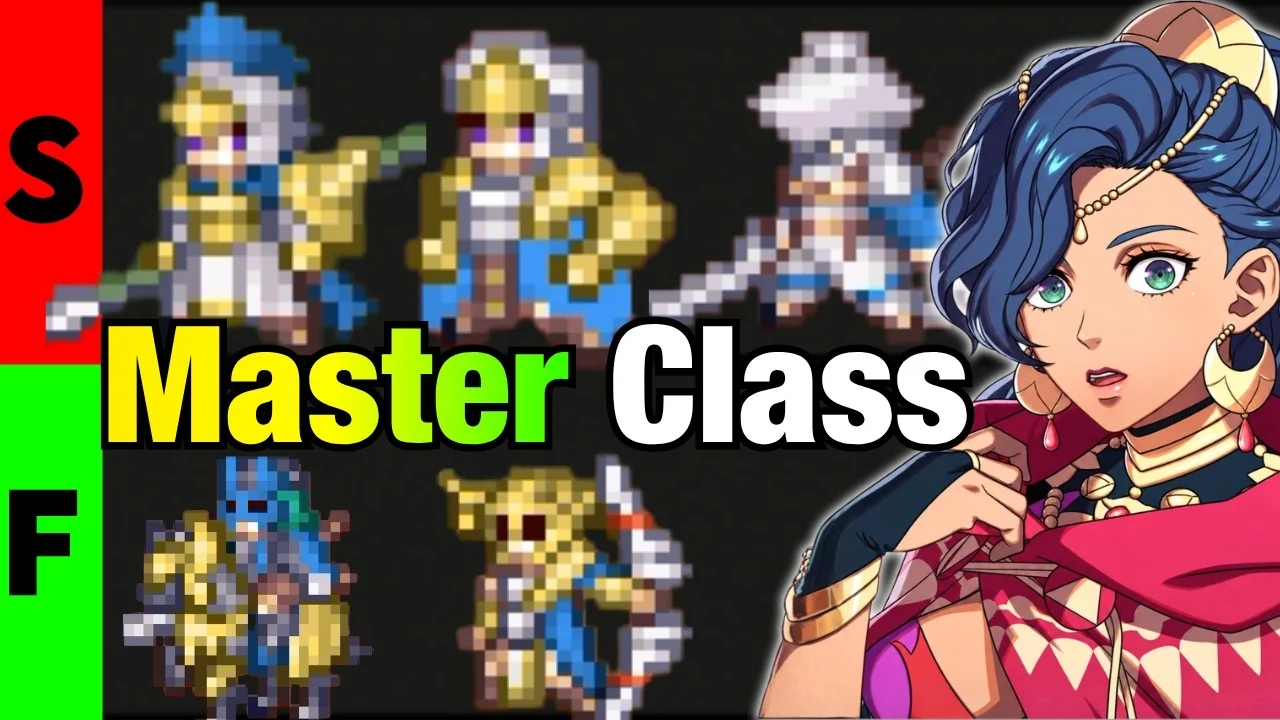

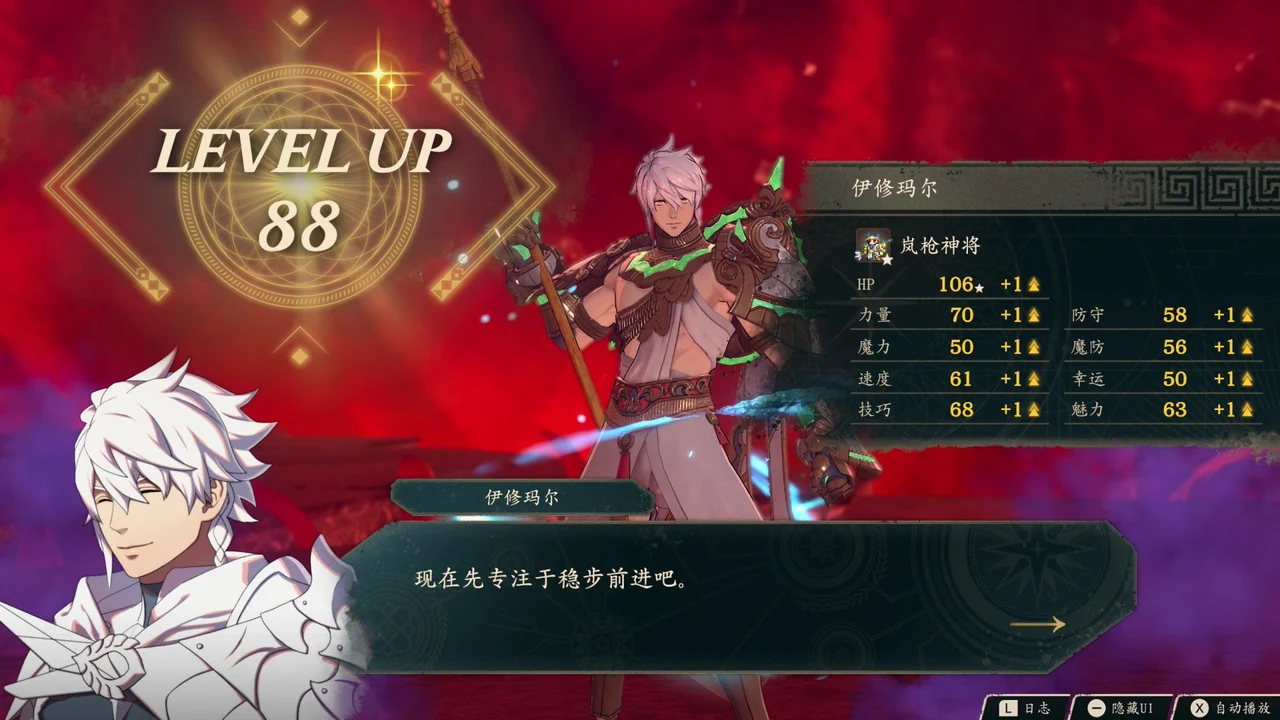


 Hong Hua
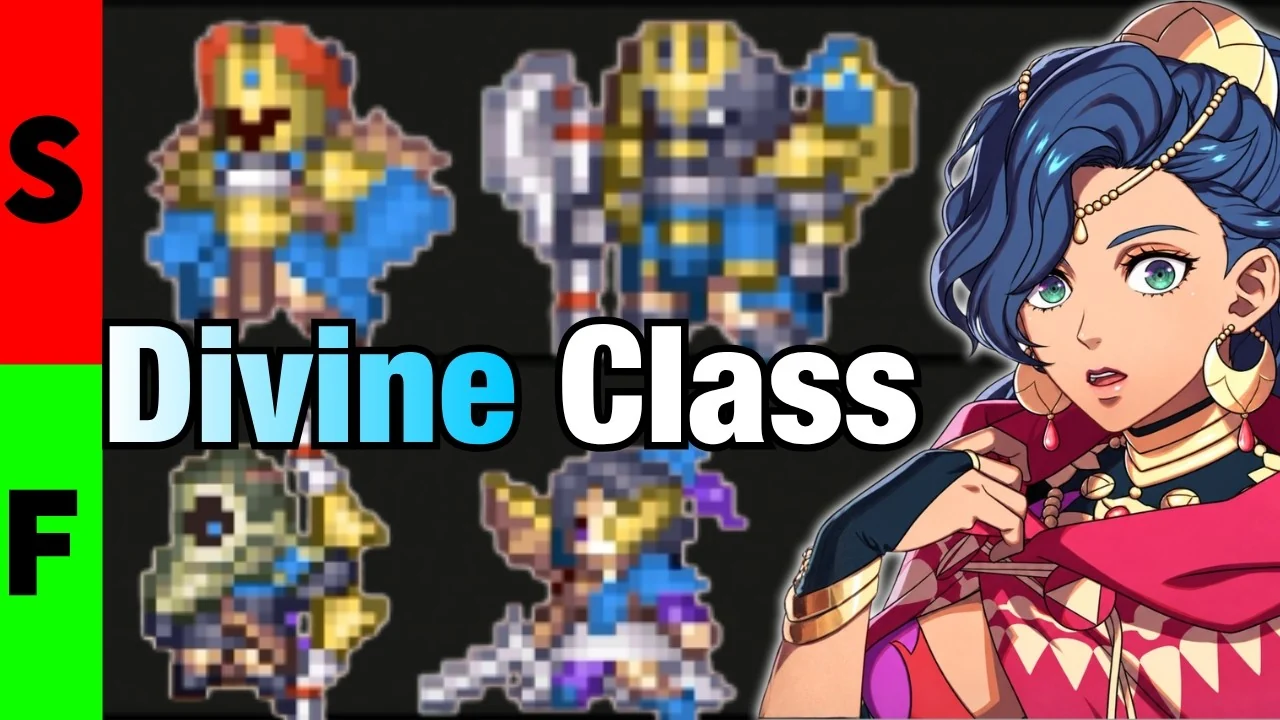

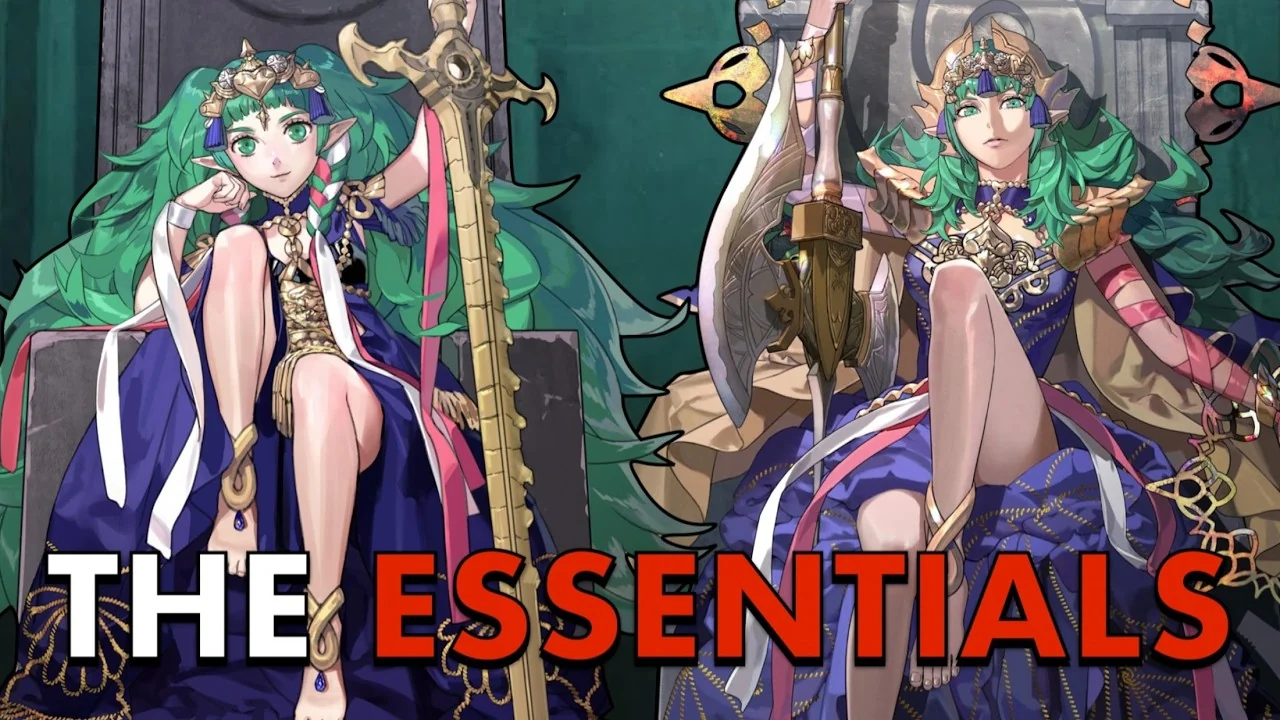
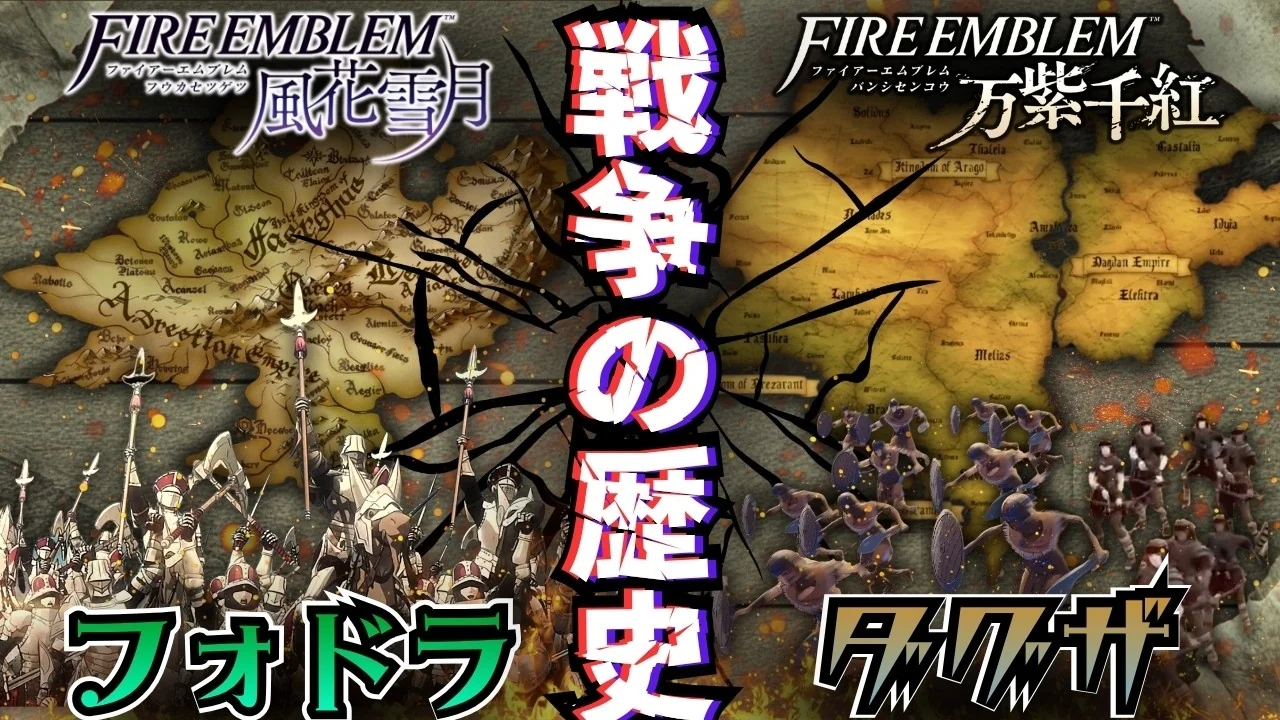
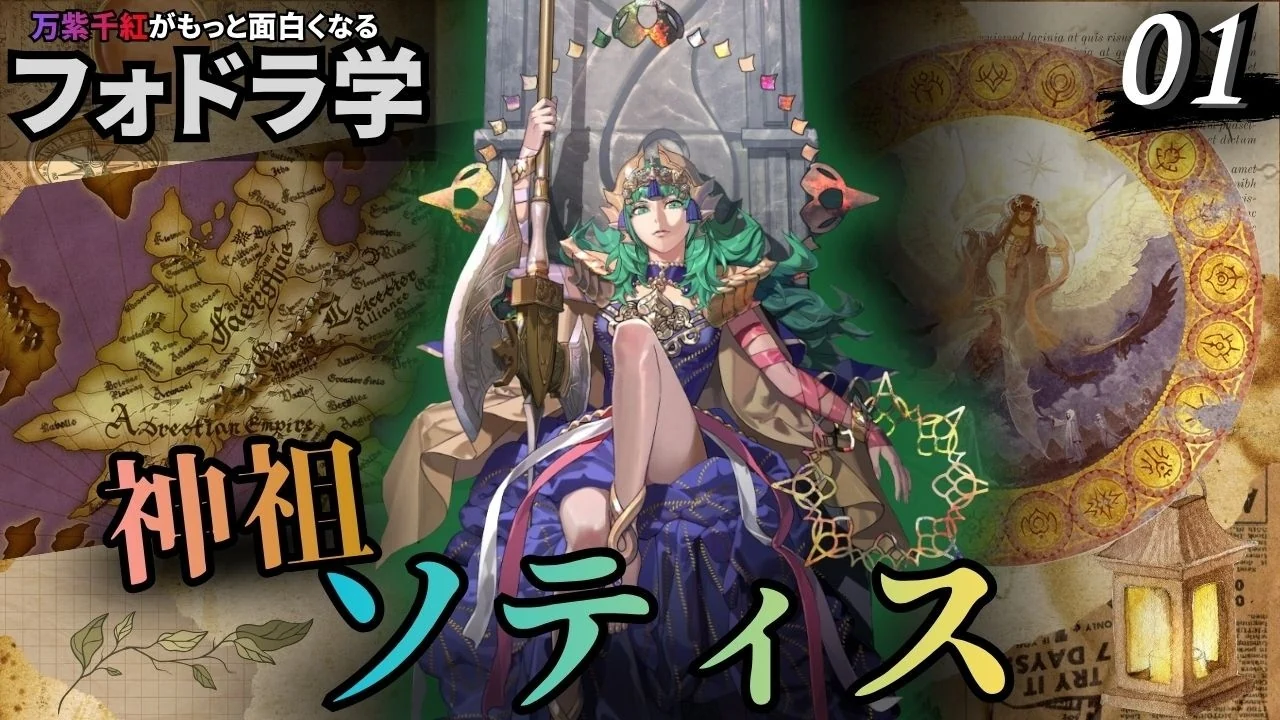





 Anatolia
 Orchel









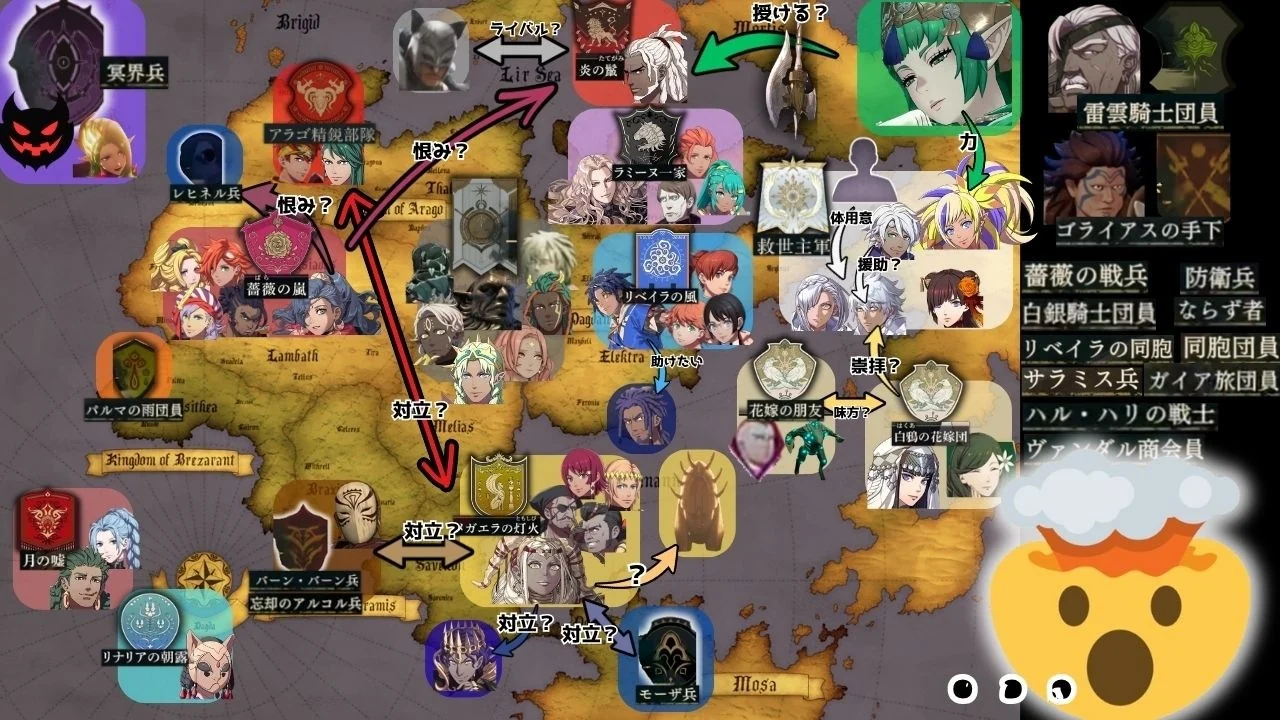




 Fabio









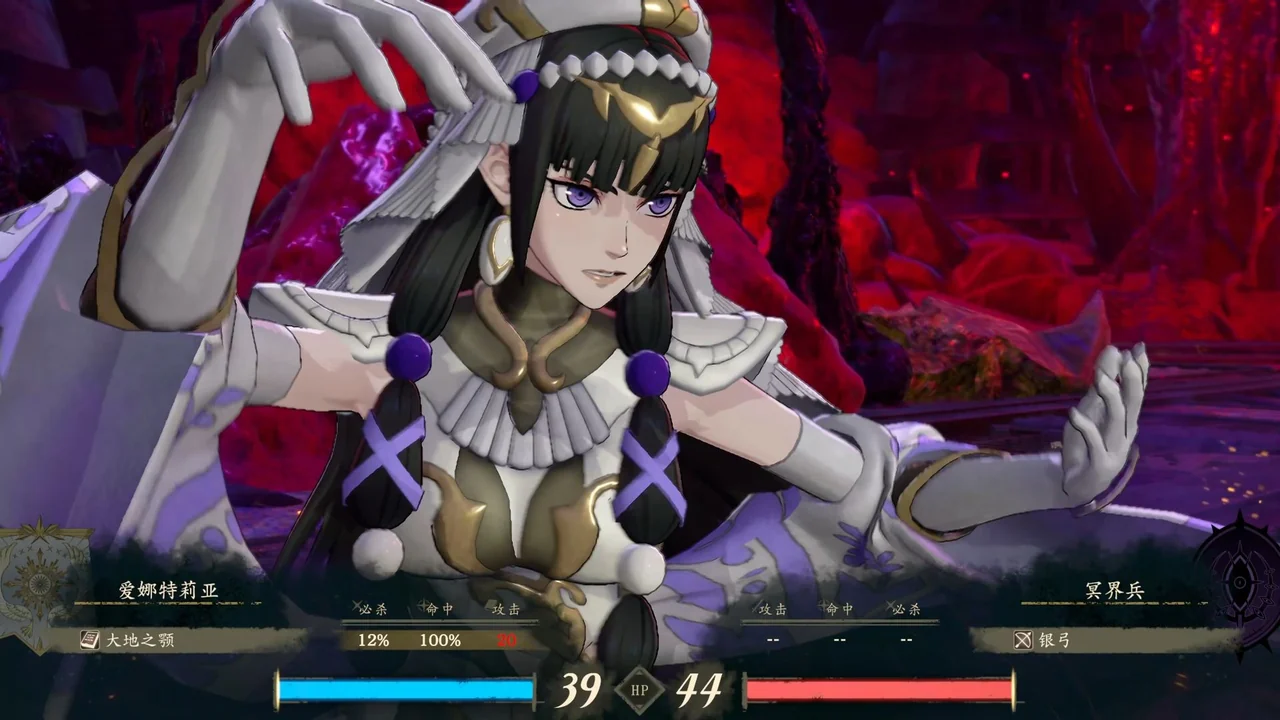
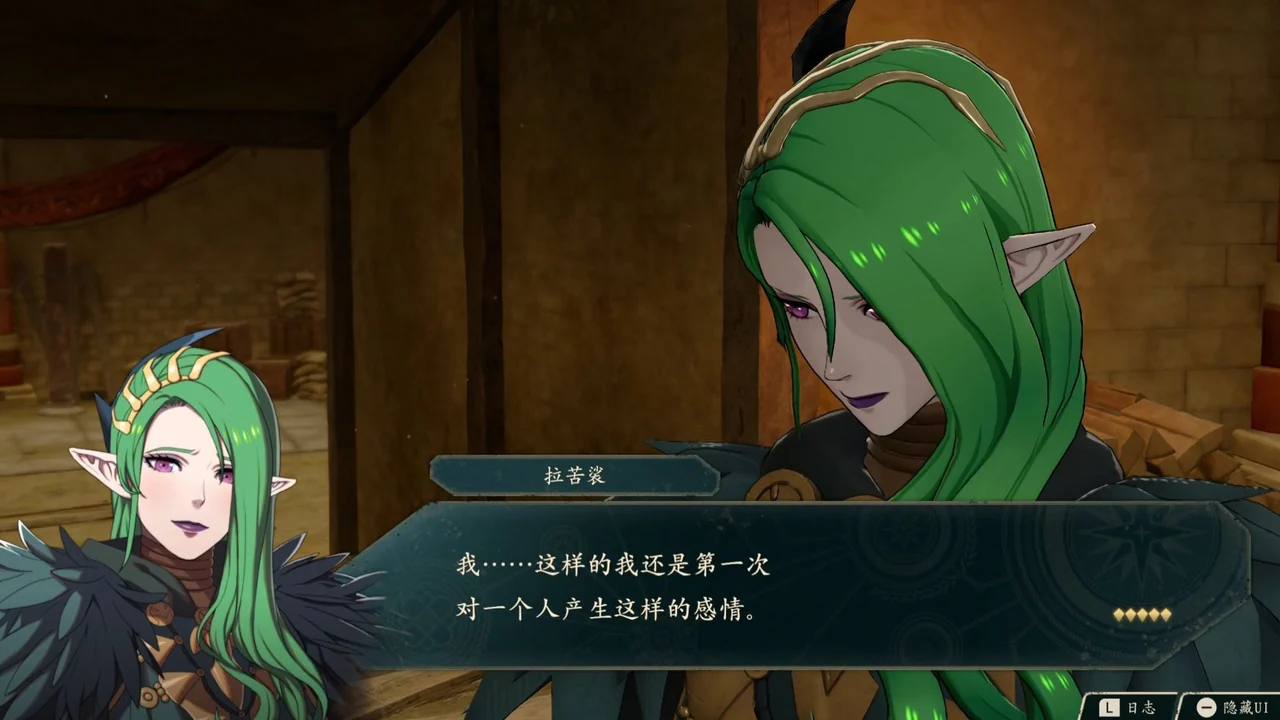
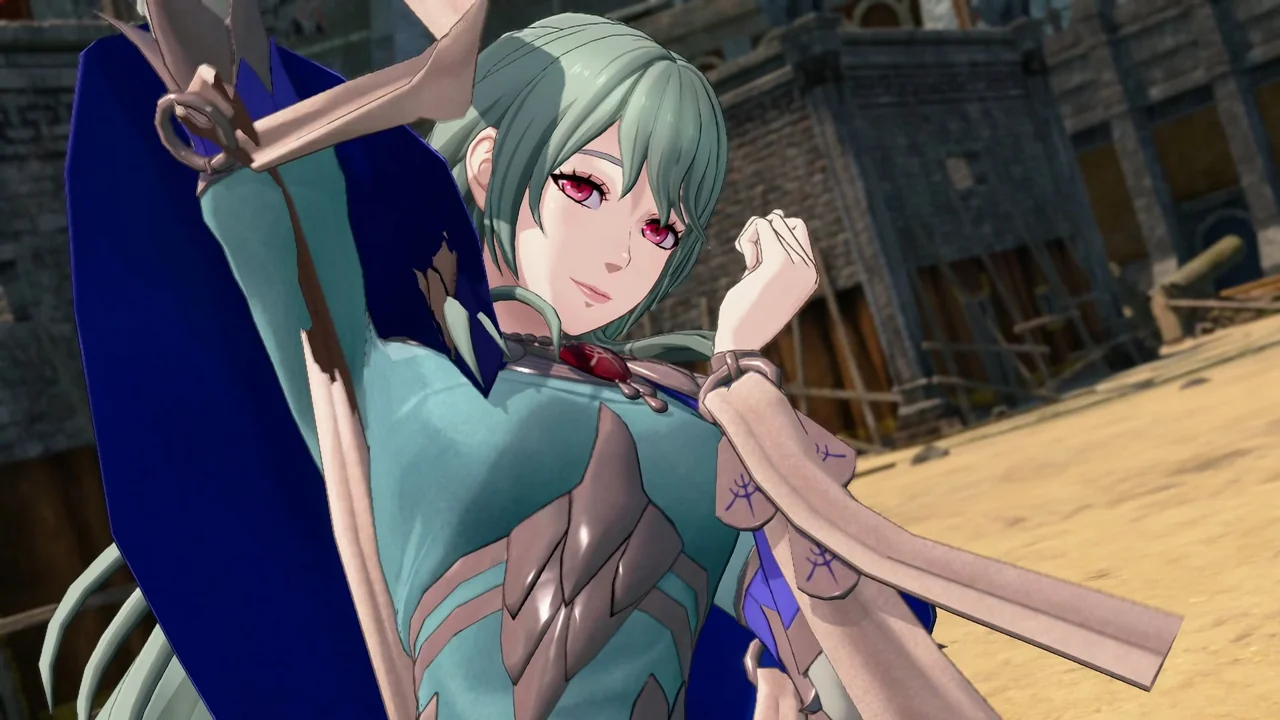
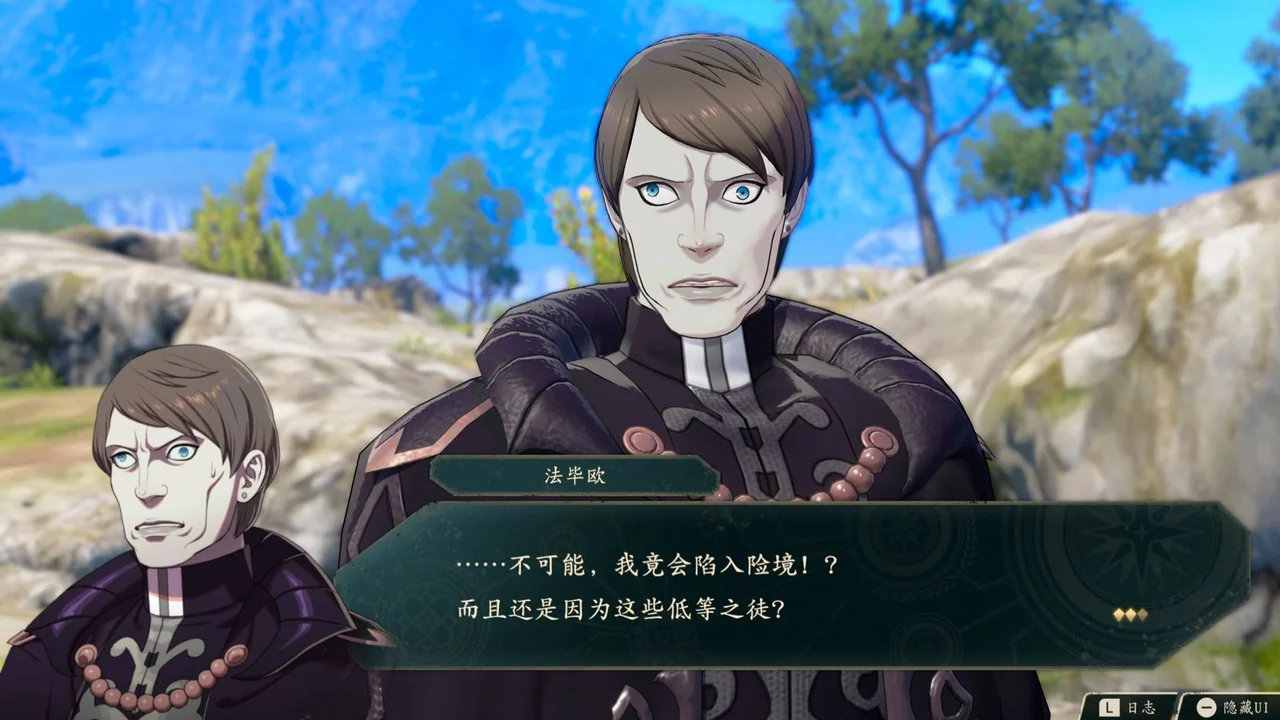
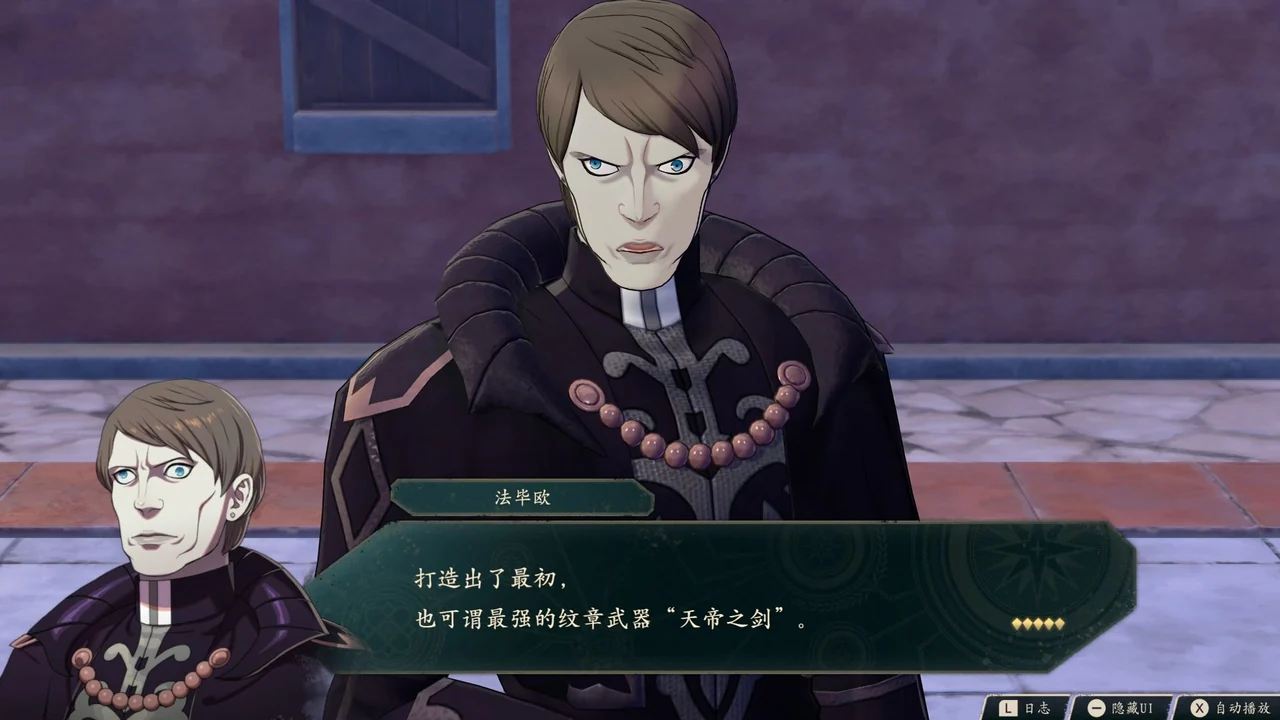
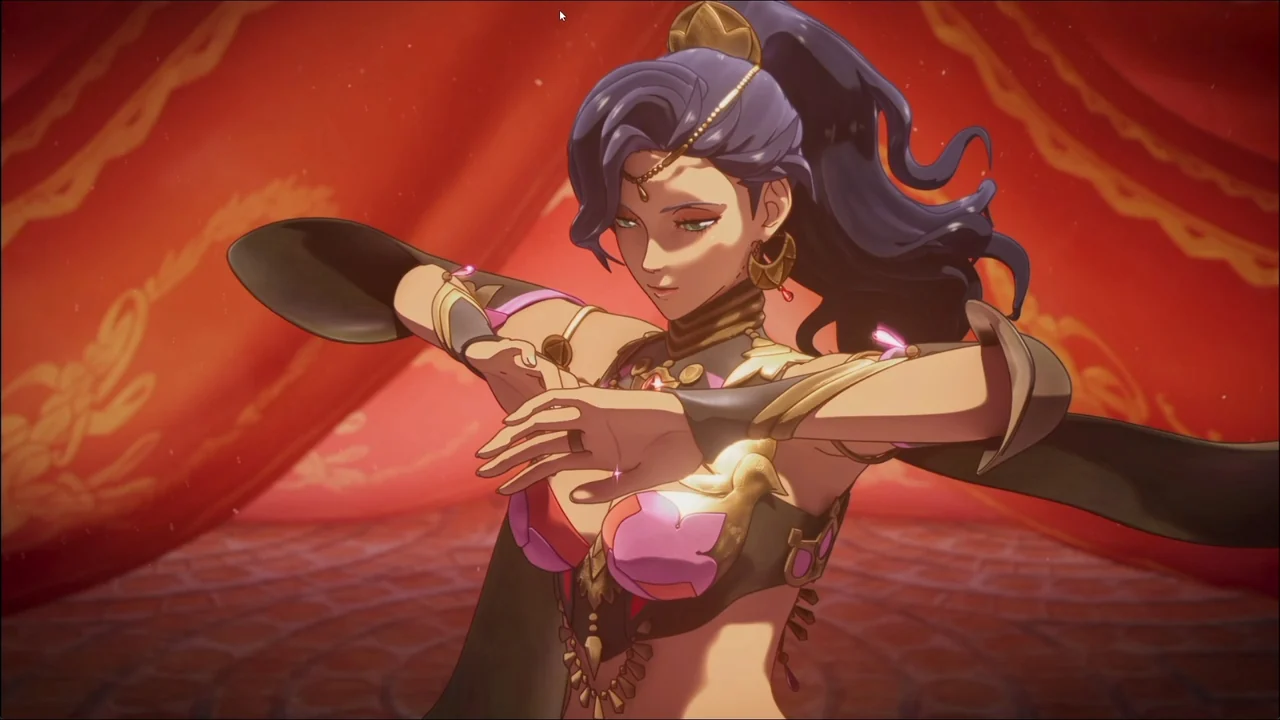

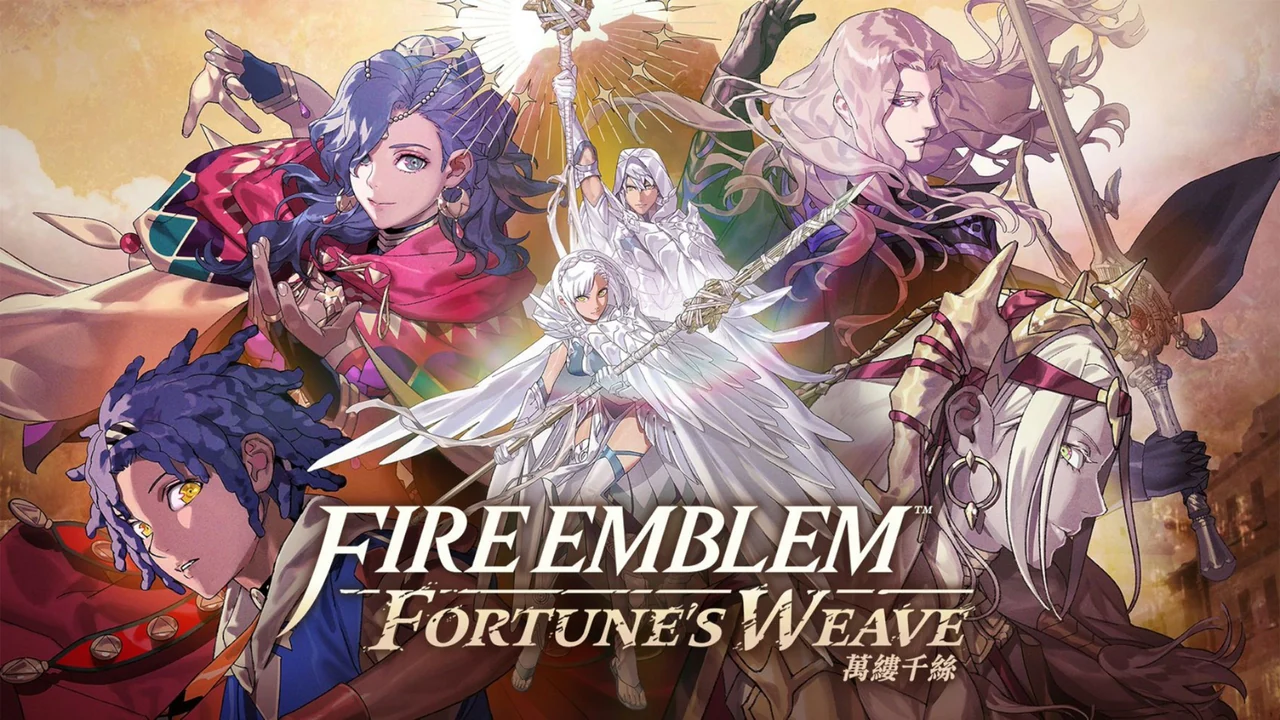



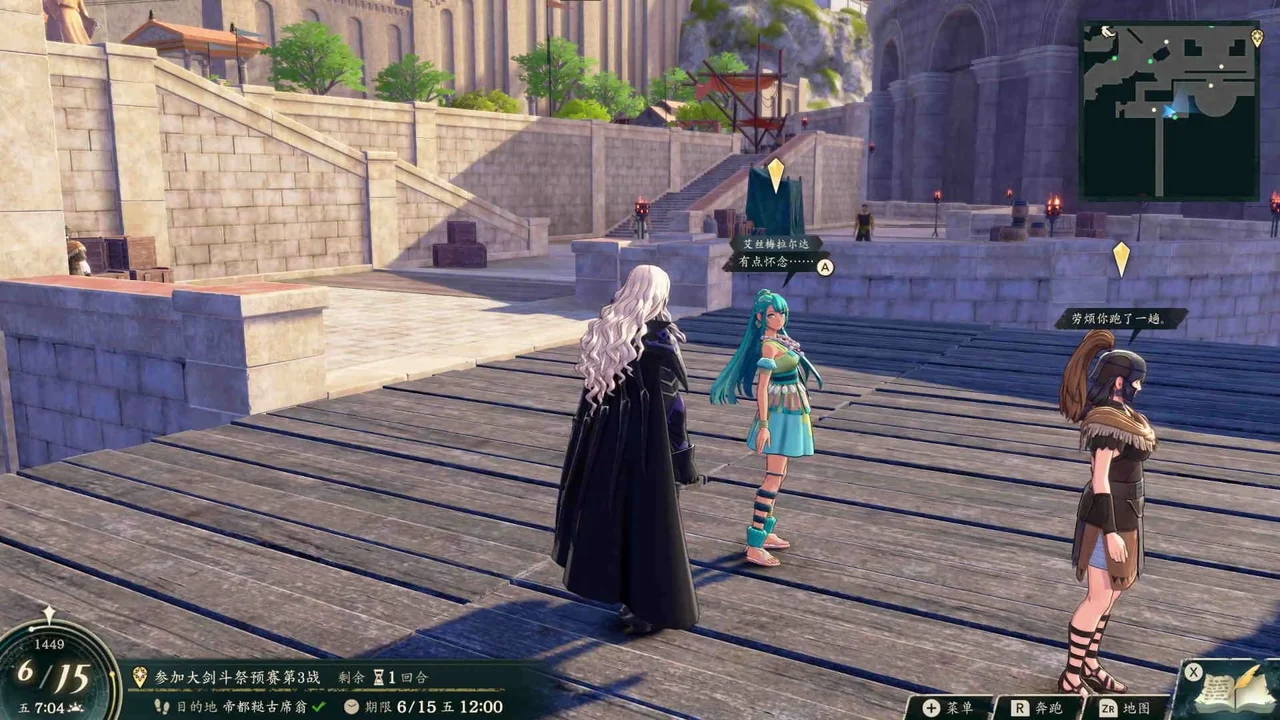
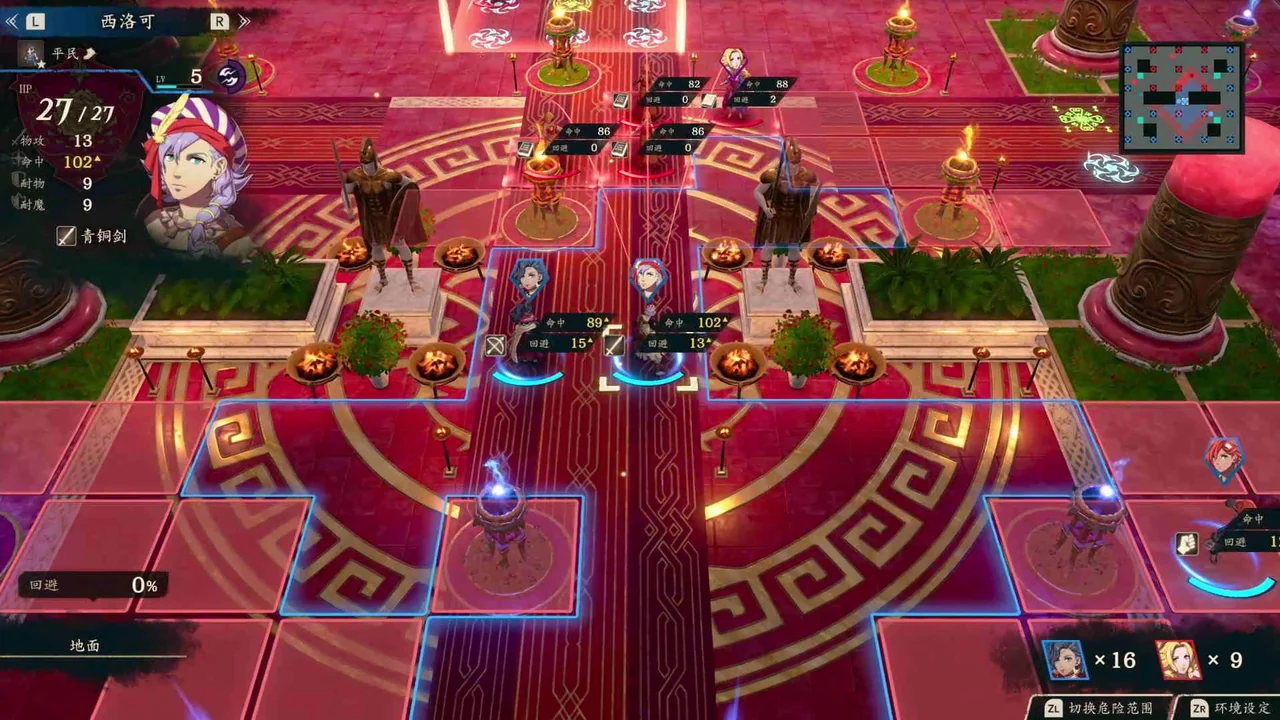
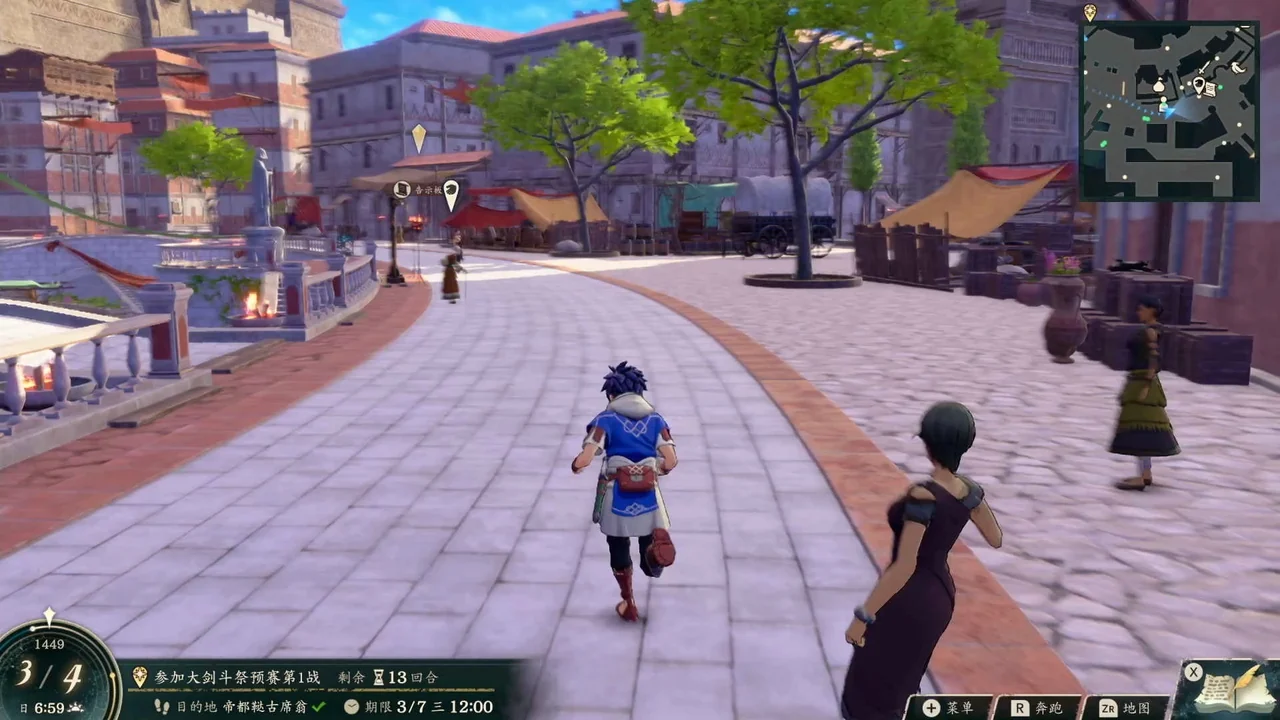
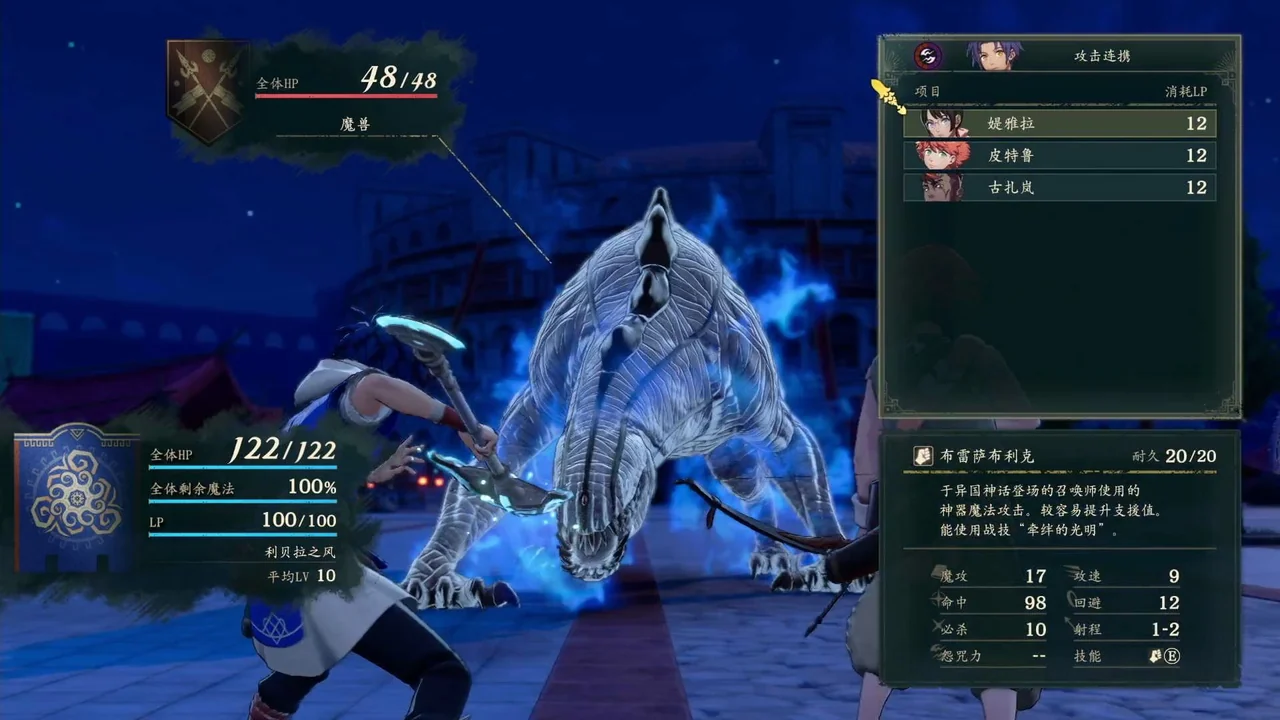
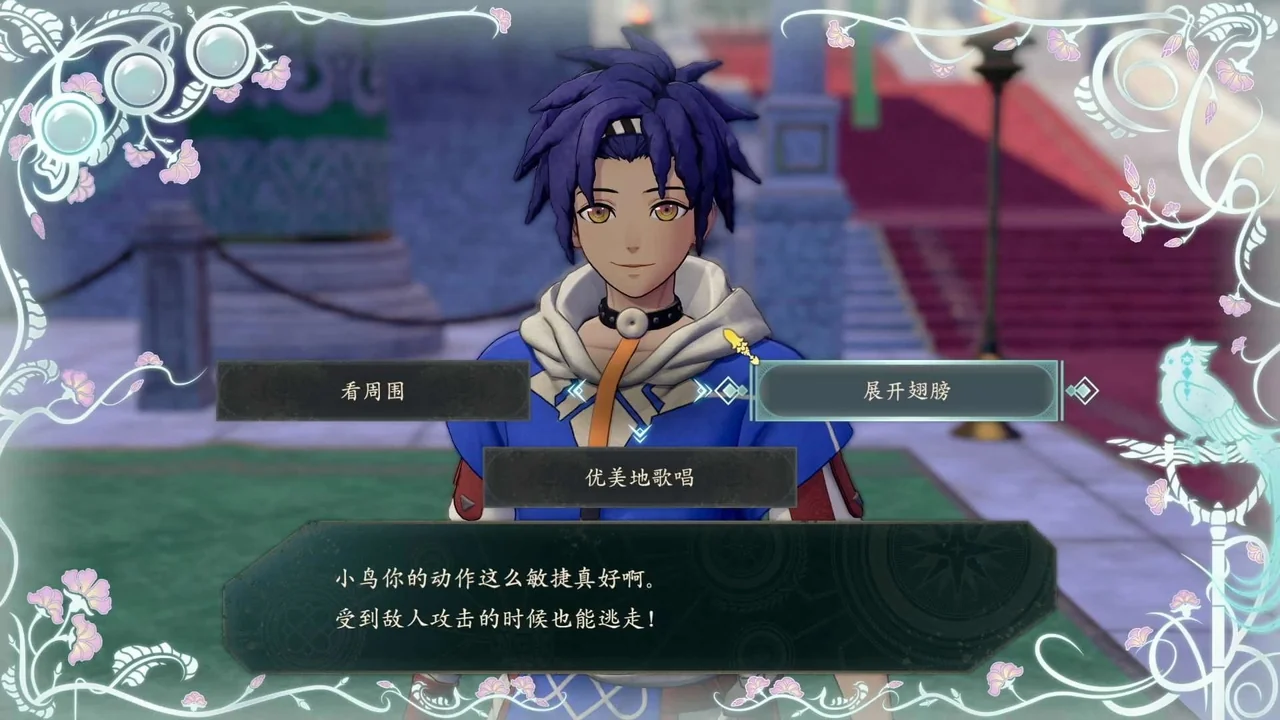
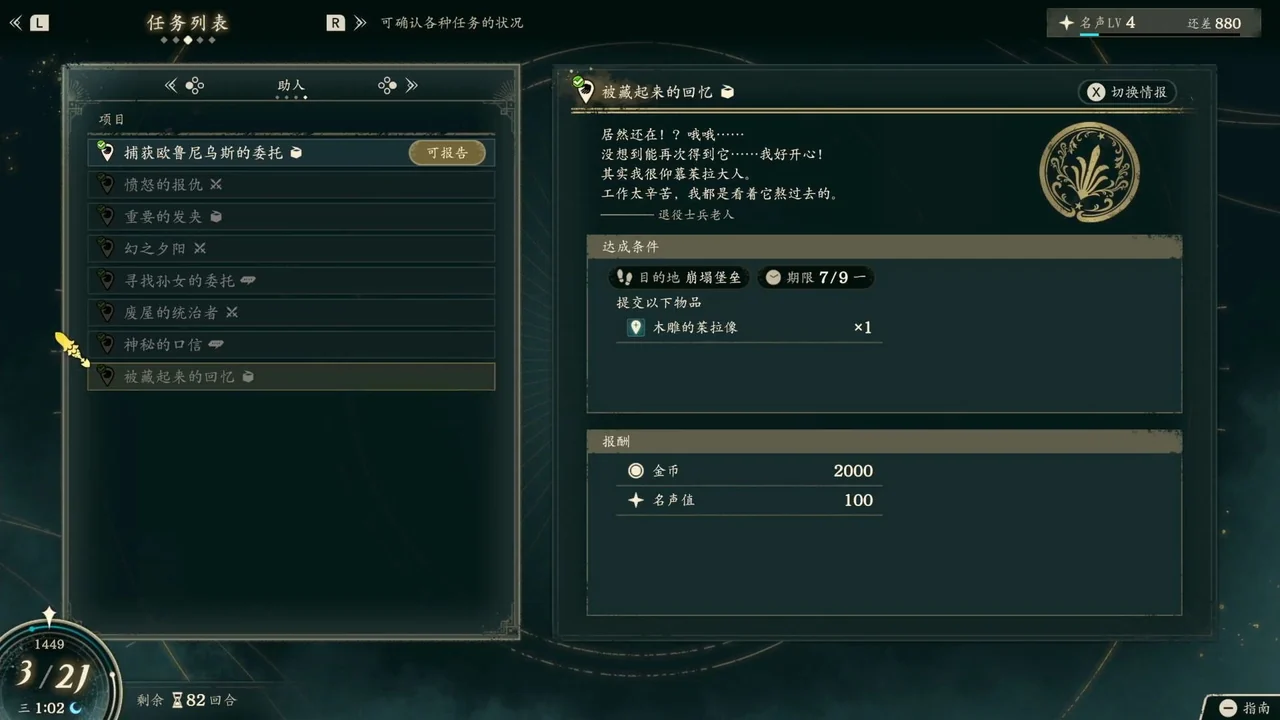
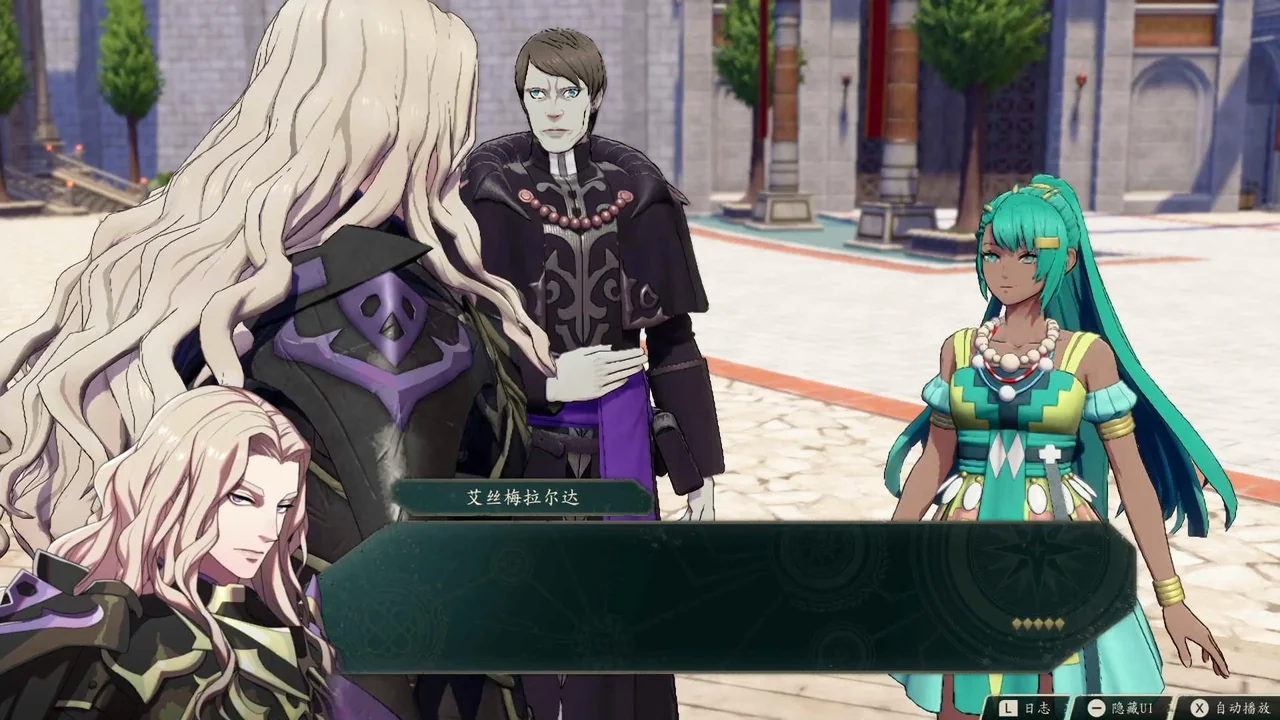
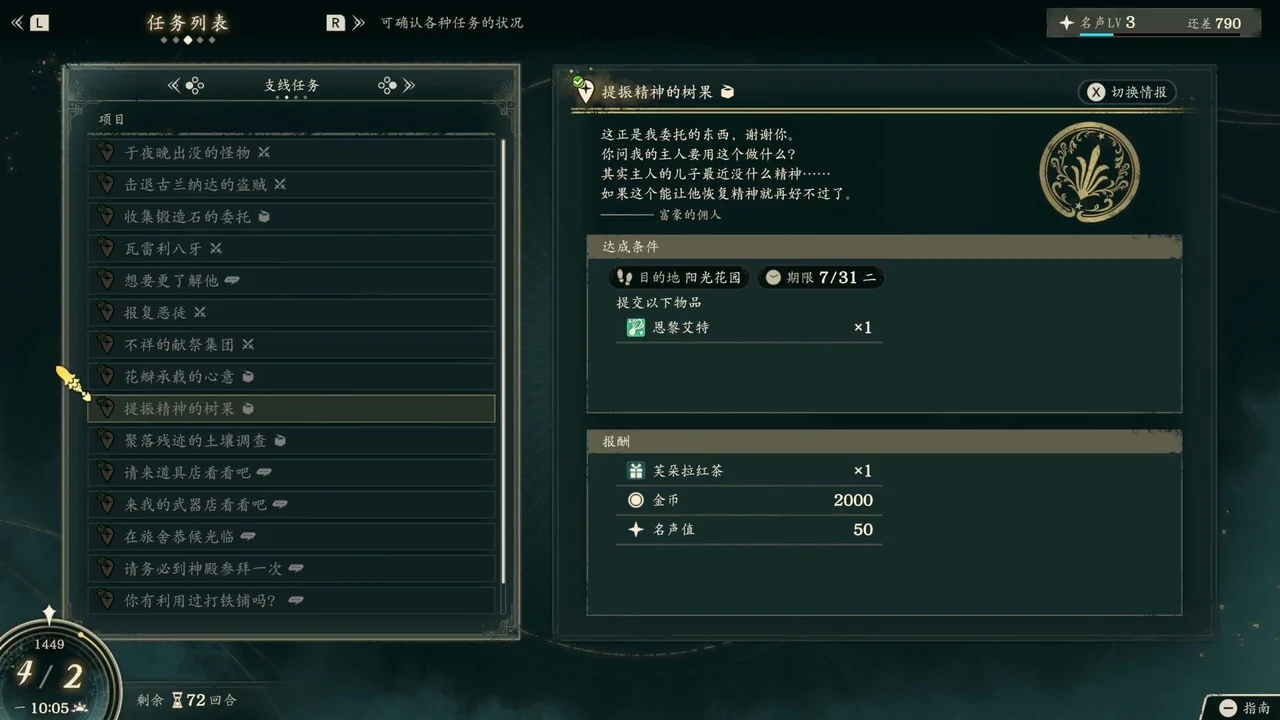
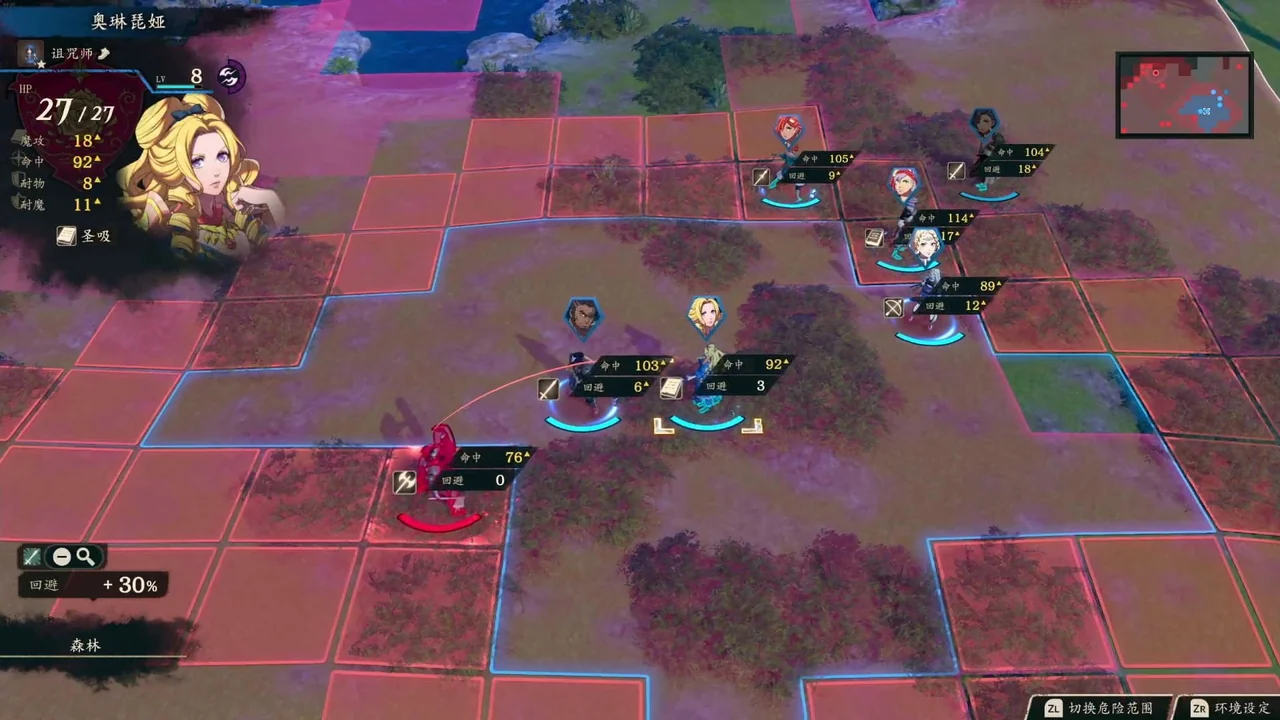
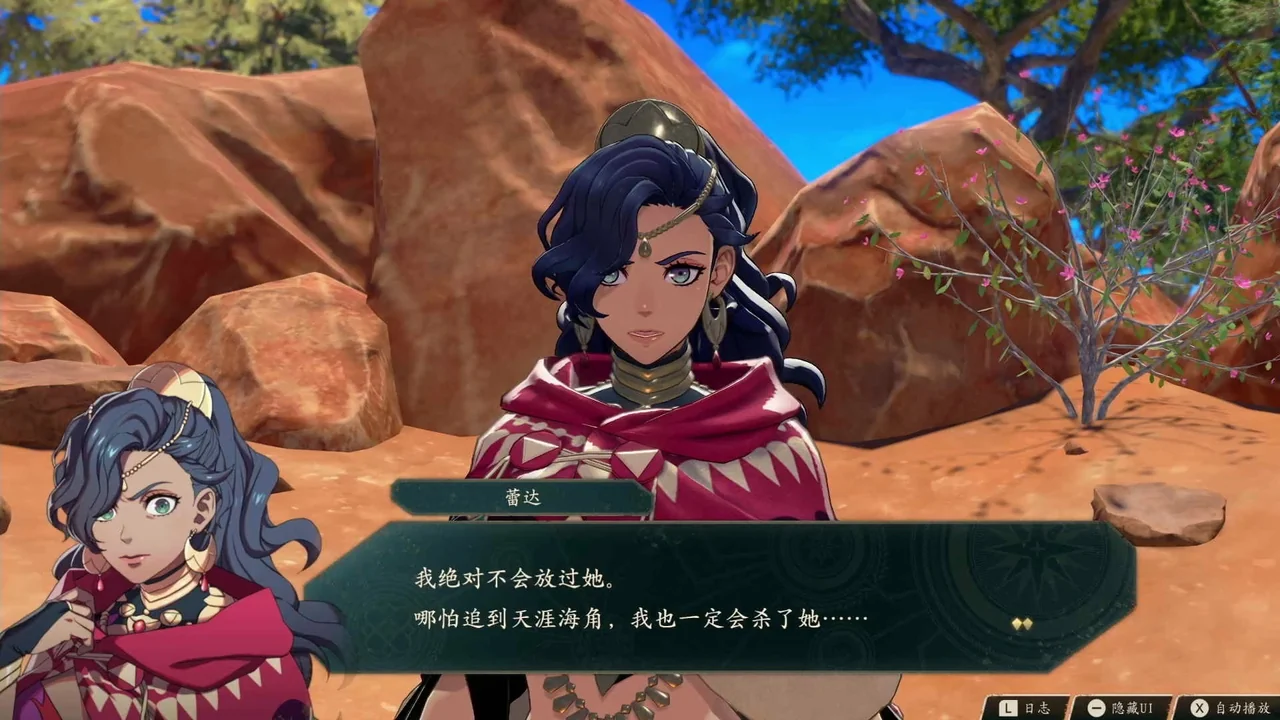
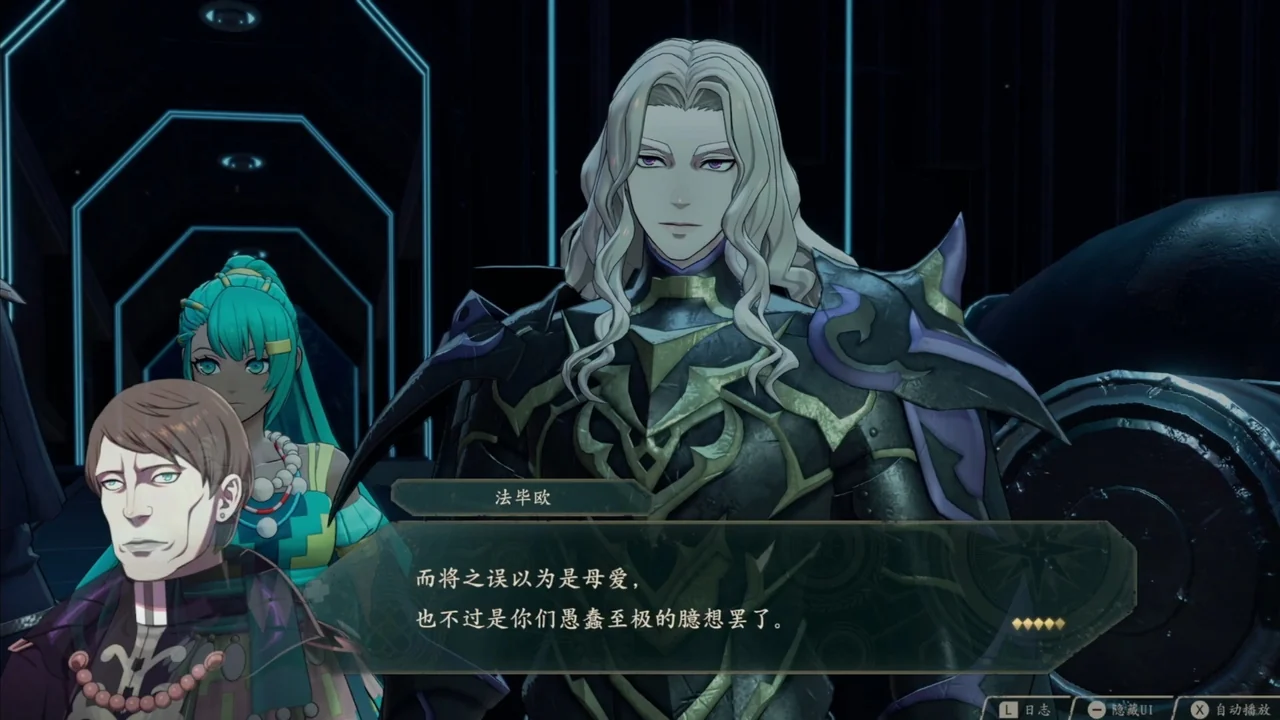
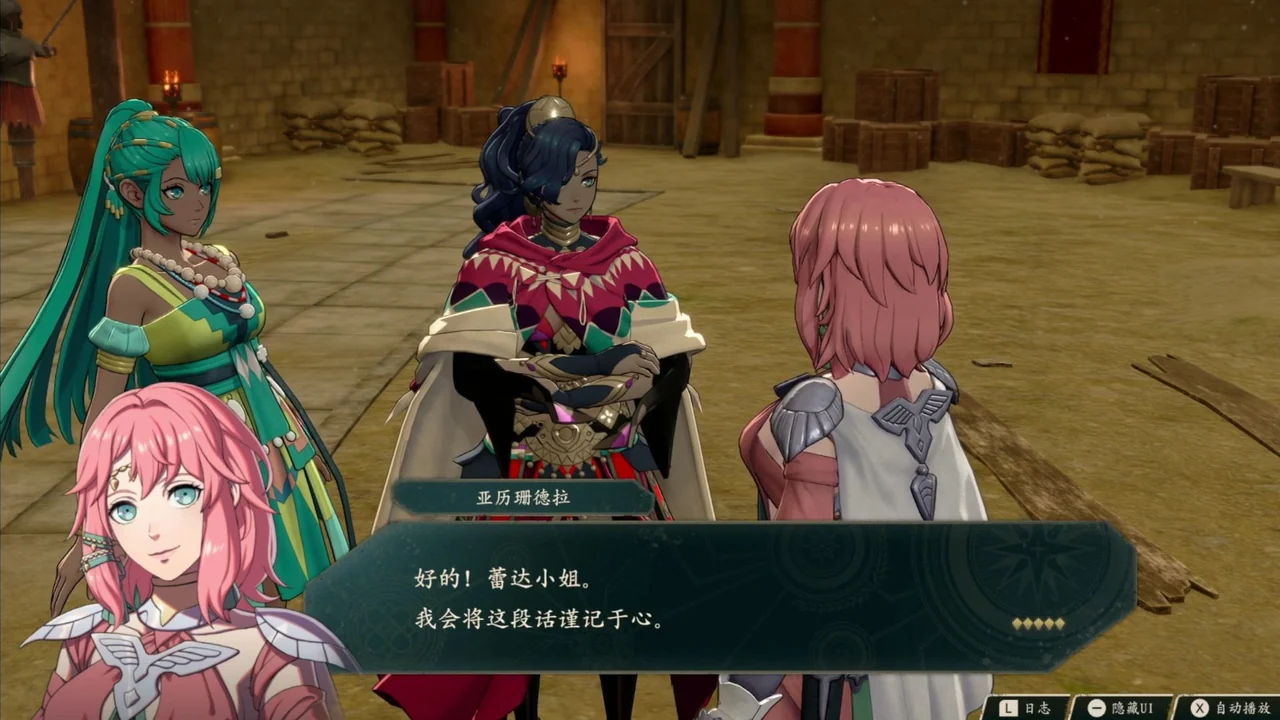
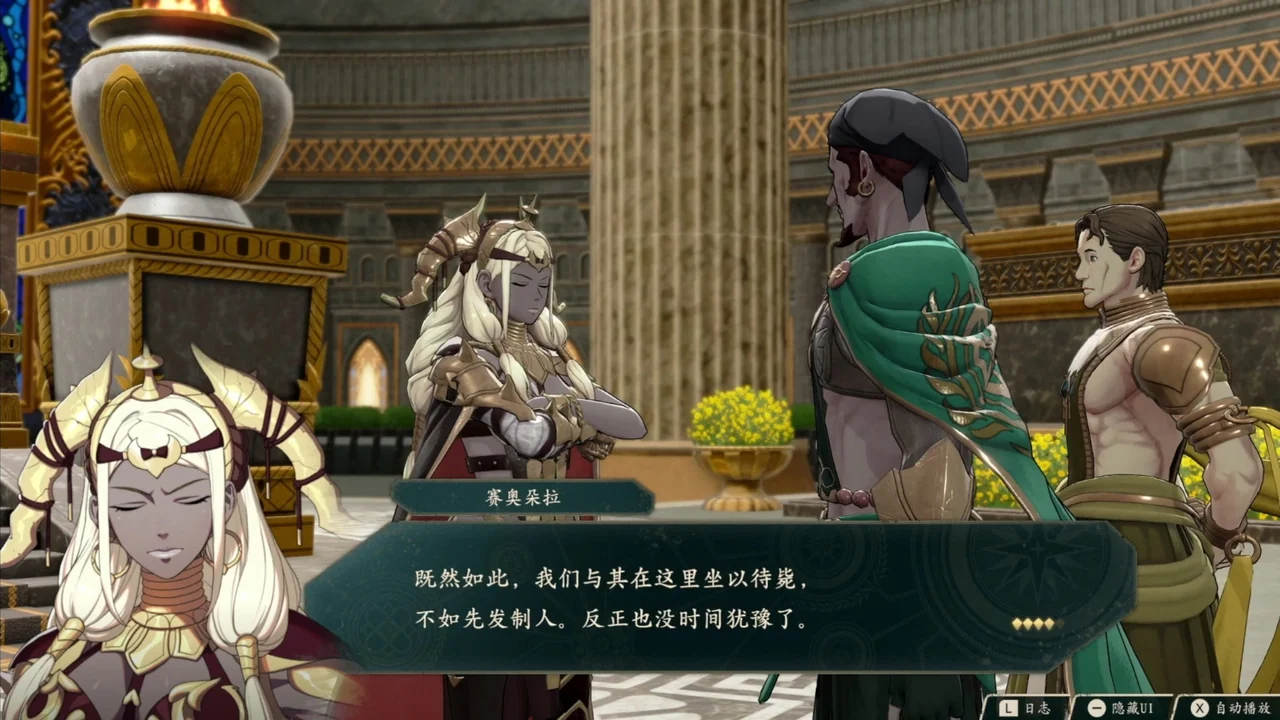
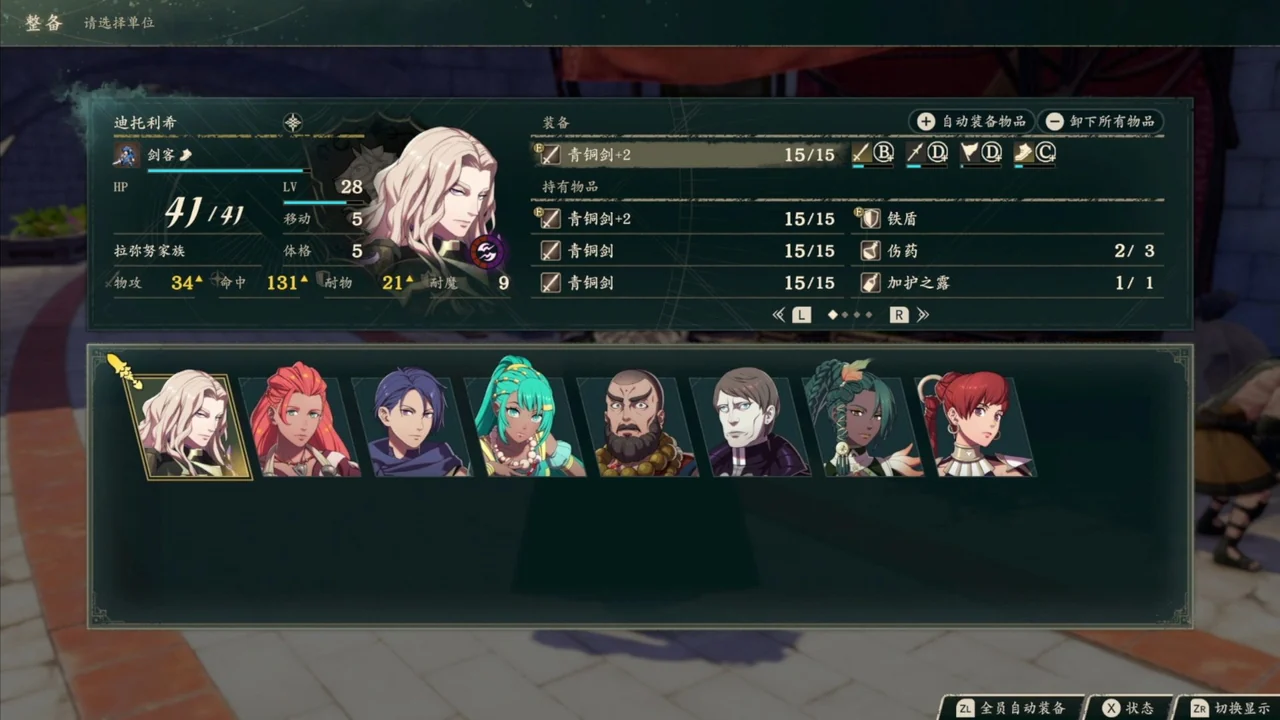
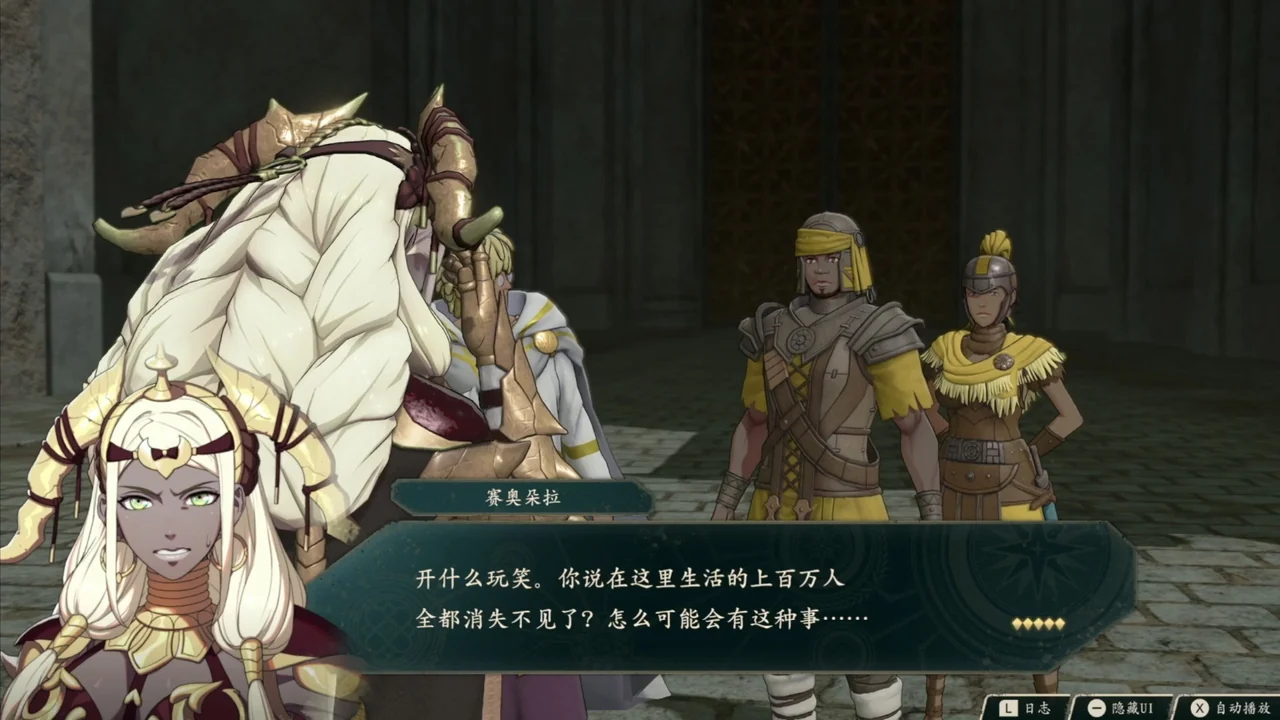





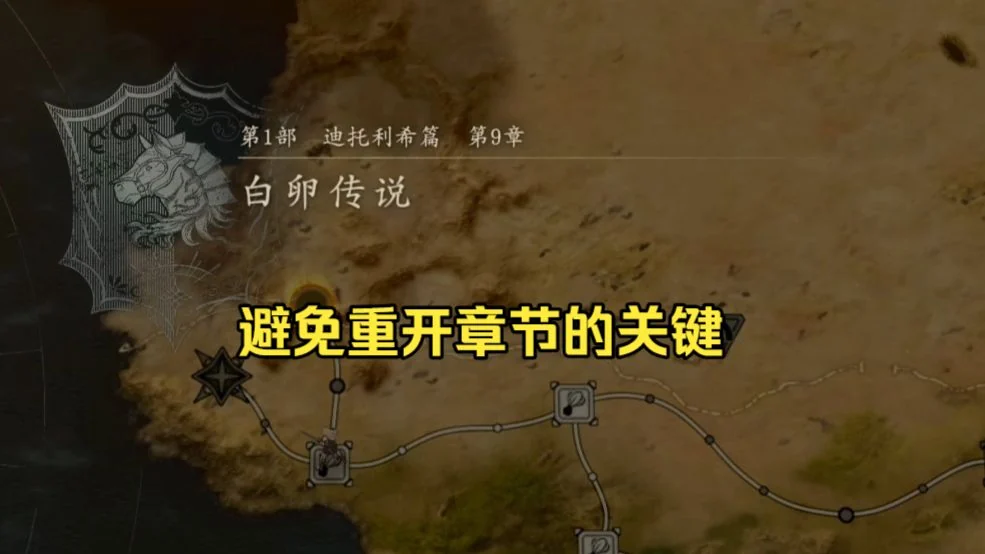
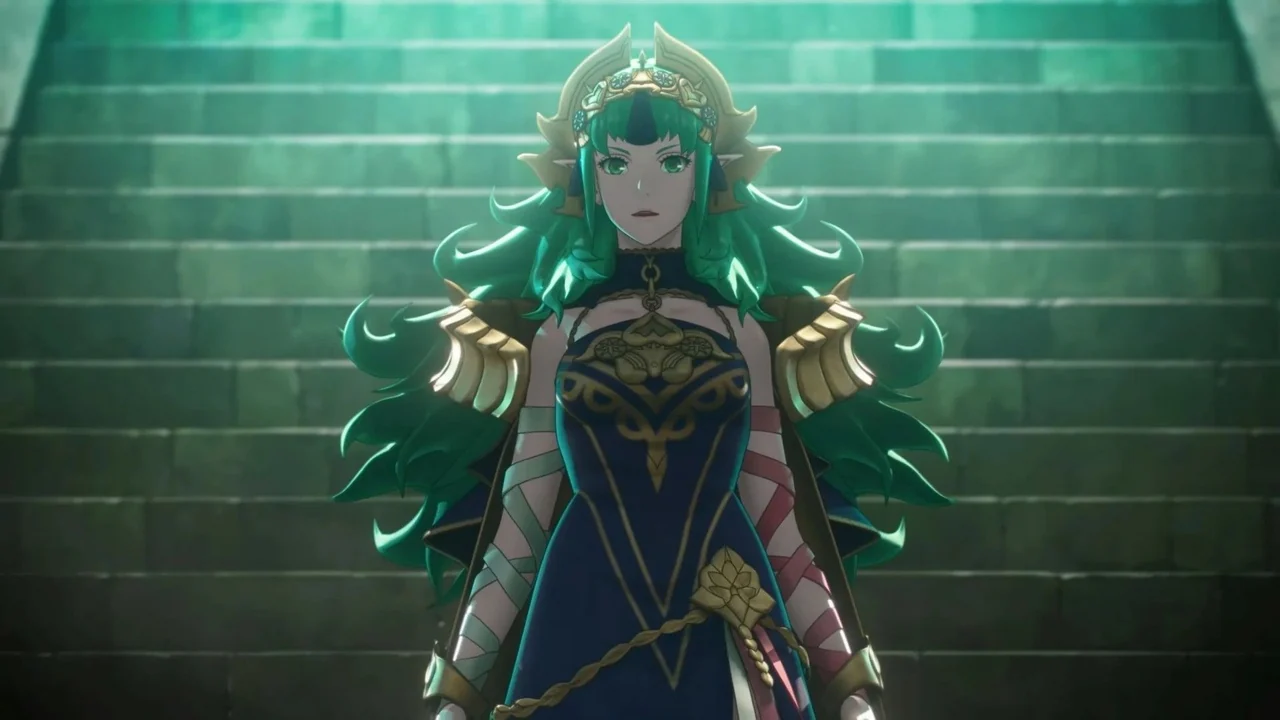
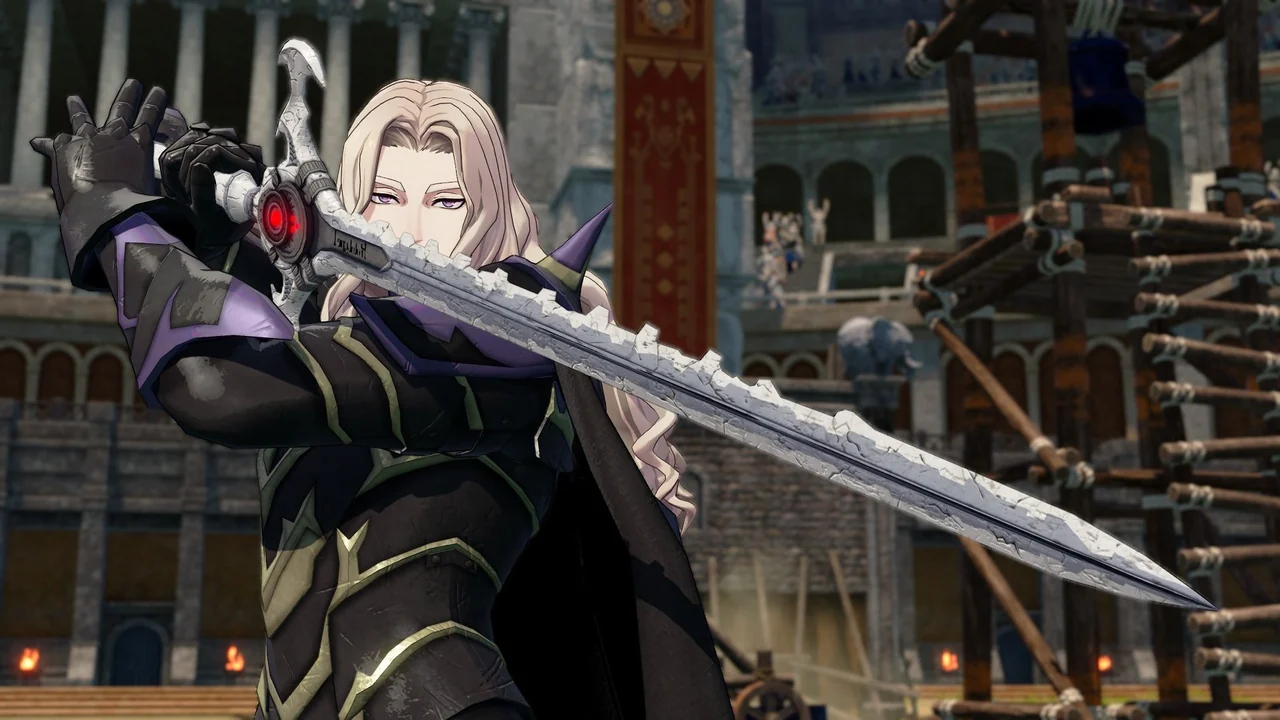





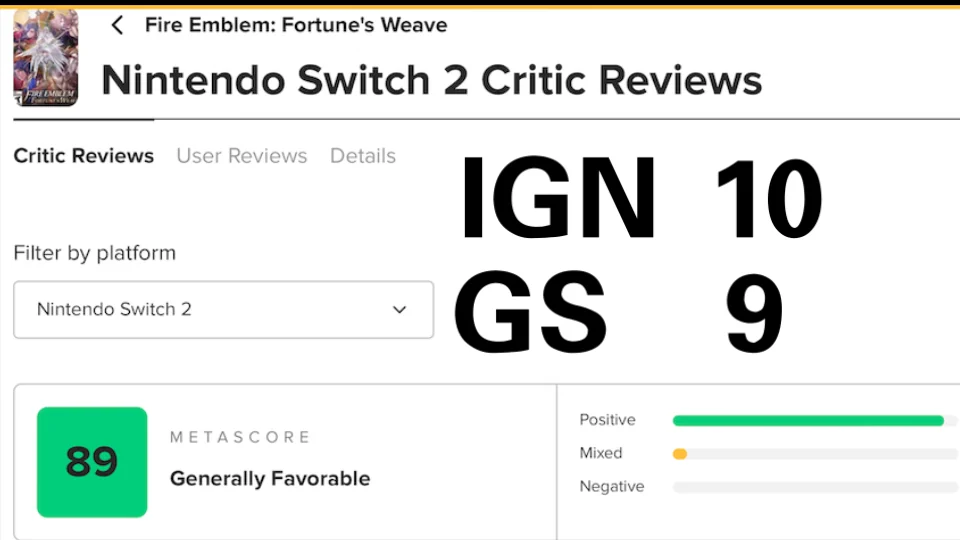









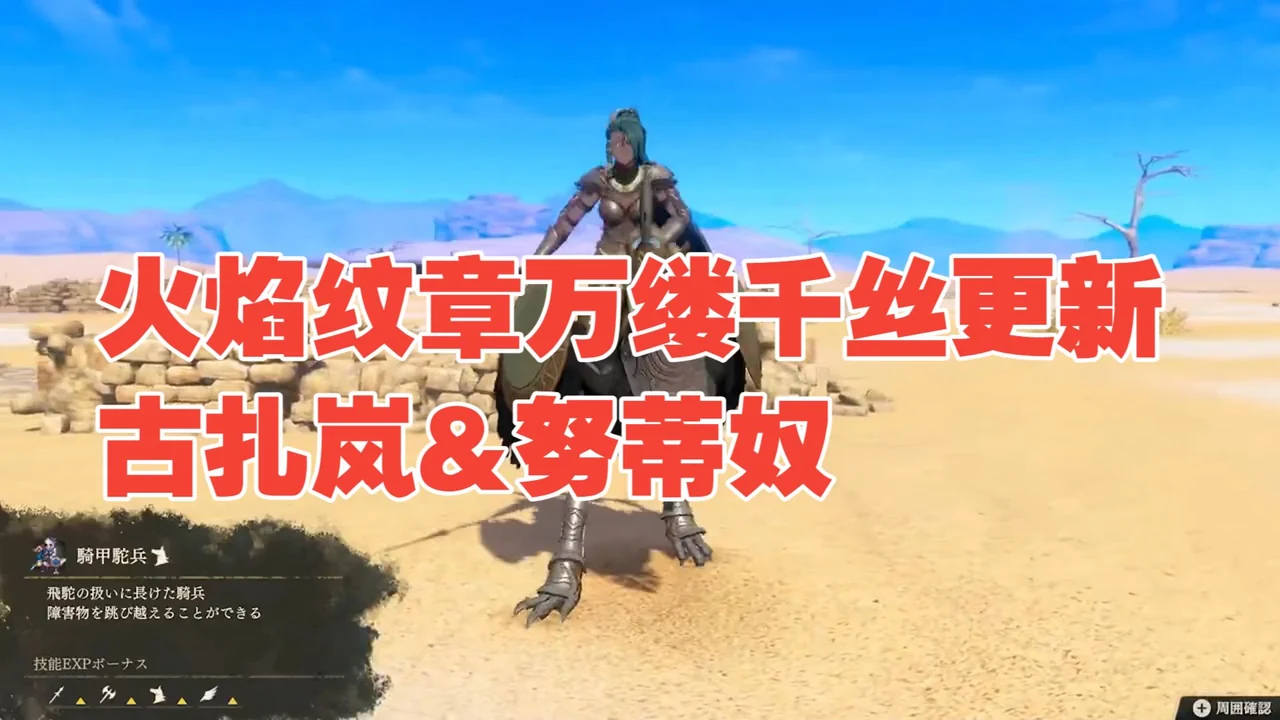




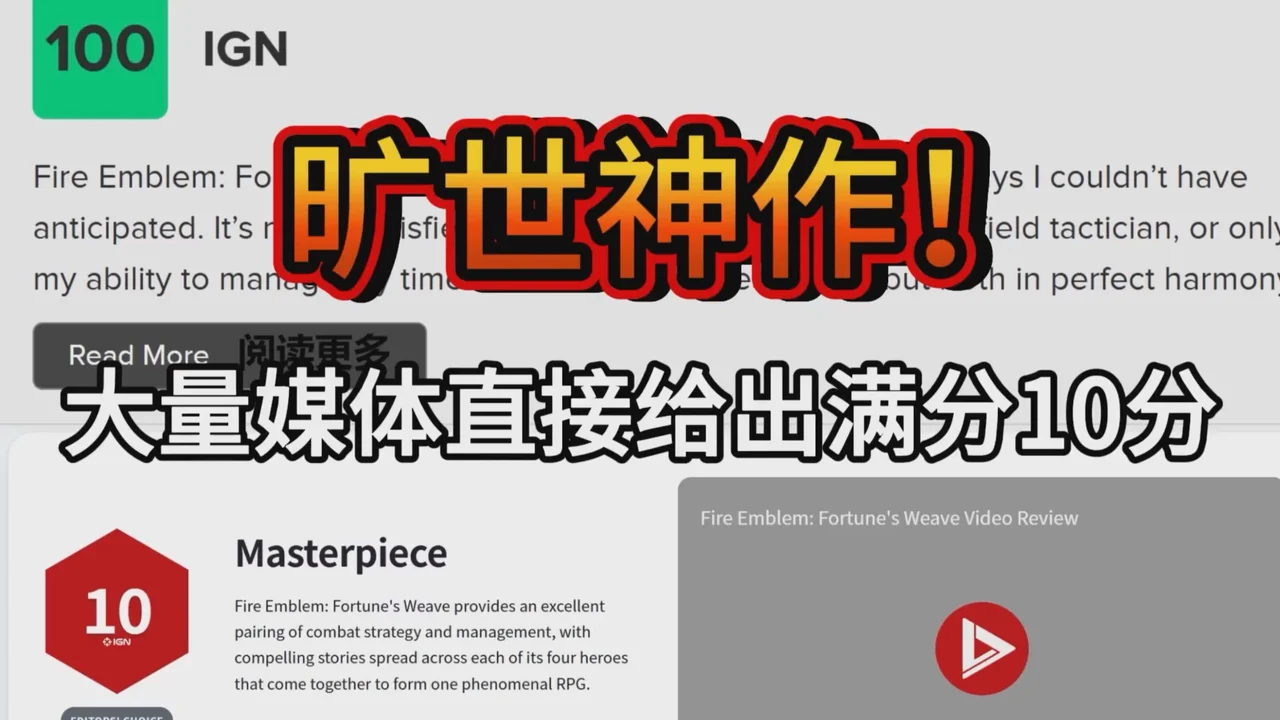


 Esmeralda
 Io