

Do not drown in daily activities: Weekly planning, recruitment, Divine Sand, and accessory Weight
Finish weekly temple activities and training before exploring. Do not force high-threshold recruitment early, and check whether accessories cost you follow-up attacks before battle.
Original video: “Advice after 100 hours of Fortune’s Weave,” English-language gaming channel Faerghast. Watch the original video.
Each week, check the calendar, complete Temple Service and training, restore Motivation through meals or lodging, then leave town to explore. Prioritize recruits whose requirements fit the current route, and check whether equipment Weight would cost a follow-up.
Finish weekly training before leaving town
When the market, inn, temples, arena, and exam official all open together, it is easy to feel lost. Establish a routine for activities that refresh weekly. Finish your town business before leaving, and exploration becomes easier to schedule.
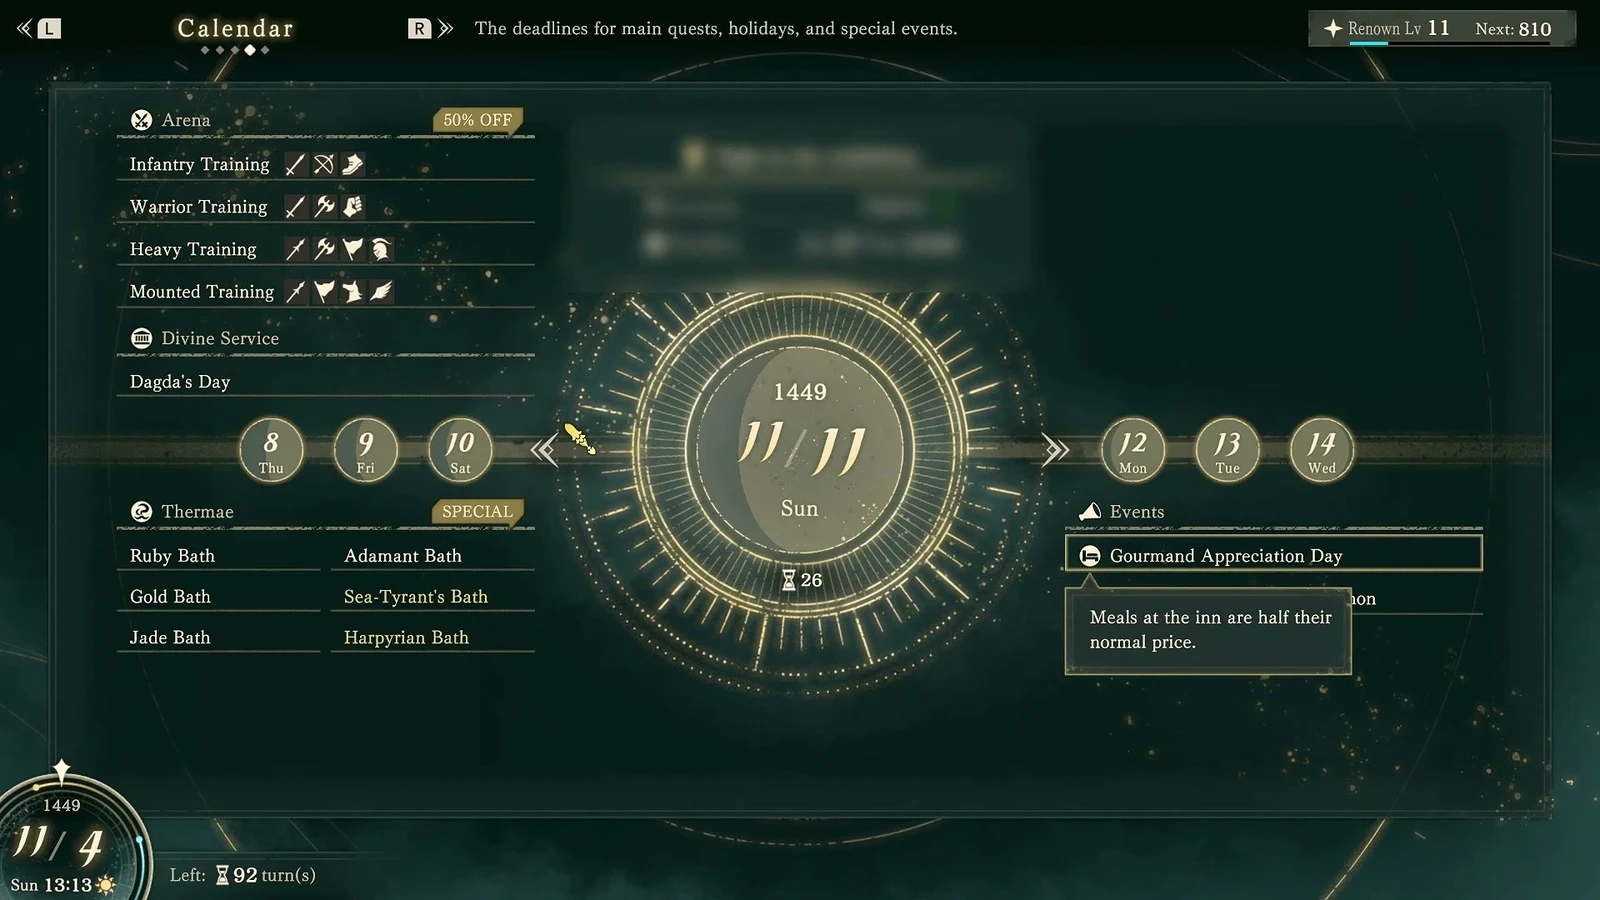
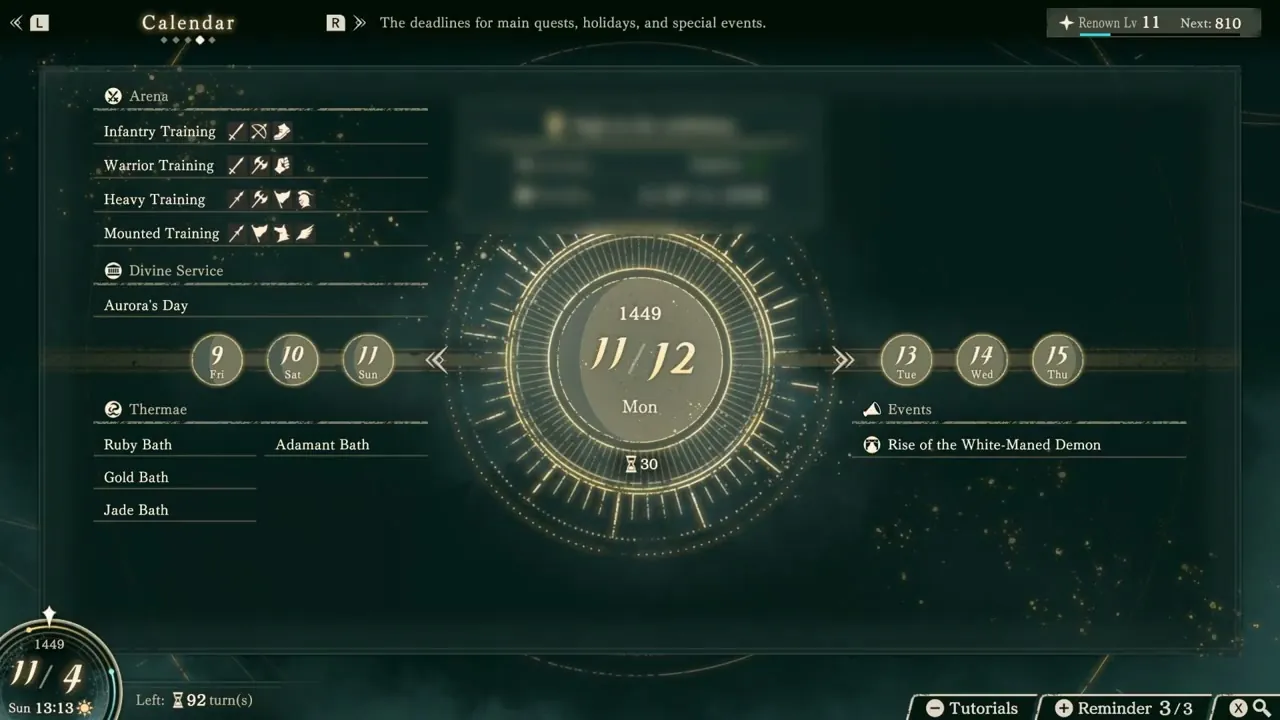
Press X to check the calendar first. Note matches, lucky harvest days, holidays, meal discounts, and training discounts, then press + to set a reminder for that day or the day before. Spectating is particularly easy to miss. It costs nothing and grants weapon and movement proficiency experience associated with the winning team’s leader. Watching a match led by  Cai gives Spear and Riding experience.
Next, perform Temple Service. Monday through Saturday correspond to Aurora, Mars, Smyrnos, Jurah, Kalla, and Credna. On Sunday, every temple offers bonus experience. Service costs 1 Motivation, but if the selected character does not dislike the activity, they can usually recover it afterward.
Then train weapon and movement proficiencies at the arena. You need these proficiencies for class changes, and training raises them quickly. Four types of training are offered each week, with some rotating. Each session costs 1 Motivation; a perfect score returns Motivation and grants extra rewards.
Eat and rest before scheduling exploration
You can eat up to three meals a week, raising Support and restoring Motivation spent on training. Choosing a meal the other person likes gives better value. The theater and hot springs add more options once unlocked. Guests can watch plays with you, while full party members can also perform for Support, Renown, and gifts. Hot springs grant temporary stats until the current chapter’s main story ends, with the best effects on Sunday.
If you have reserved meals for characters whose Support you want to raise, send teammates short on Motivation to the inn. A few hundred gold and 1 turn fully restore HP, spell uses, and Motivation.
After finishing in town, take requests, explore labyrinths, and gather materials, using the protagonist’s own map actions along the way. If you finish before the weekly refresh, return to the inn and assign searching, training, or fighting. Without an urgent proficiency target, you can assign everyone to fight and skip the remaining turns. Do not do this in Part 1 chapters 9 and 10, when many Paralogues appear.
Set return reminders before Paralogue dates
Part 1 chapters 9 and 10 have many Paralogues. Check dates before skipping the remaining turns.  Dietrich’s September 17 Paralogue in chapter 9 is available for only one day.
These paralogues unlock later allies and factions, so reserve time for both returning to town and fighting.
Return to the capital on the relevant date and set a reminder for the day before the deadline to avoid missing route-exclusive recruitment.
Use accumulated Support for recruitment across routes
On a first playthrough, it is easy to rush Renown, repeatedly doing requests, temple visits, and blade challenges until every chapter drags. But from chapters 5 and 6 onward, the main story itself grants plenty of Renown. Many recruitment thresholds rise alongside the chapters. You do not need to recruit every later character at the start.
The same character’s requirements also change by route.  Halvin needs Renown 9 on Dietrich’s route but only 5 on Cai’s.
 Tialla needs Renown 9 on Dietrich’s route but starts in the party on Cai’s. If a desired recruit requires 8 to 10, consider saving them for a better-suited route and trying early recruits on this one.
Support progress carries across routes and survives restarting the current chapter. You cannot recruit  Seteth in Dietrich’s Part 1, but Support built through meals remains available when you switch to Cai’s route.
For characters you have not recruited, find them and give one cheap gift to establish a bond and add them to the guest list. The first gift need not be a favorite. Use a cheap gift from the lower-city tavern to open the relationship, then invite them to meals and plays before giving expensive gifts that suit their tastes. For characters such as  Jester and
 Ninae, whose preferences are harder to find, this is easier than chasing gifts across the map.
Split Divine Sand between Blessings and Rewind
Divine Sand returns to 100 when you enter a main-story battle or Paralogue. Near the end of free time, use what remains to handle difficult encounters instead of saving it all until the next main-story battle.
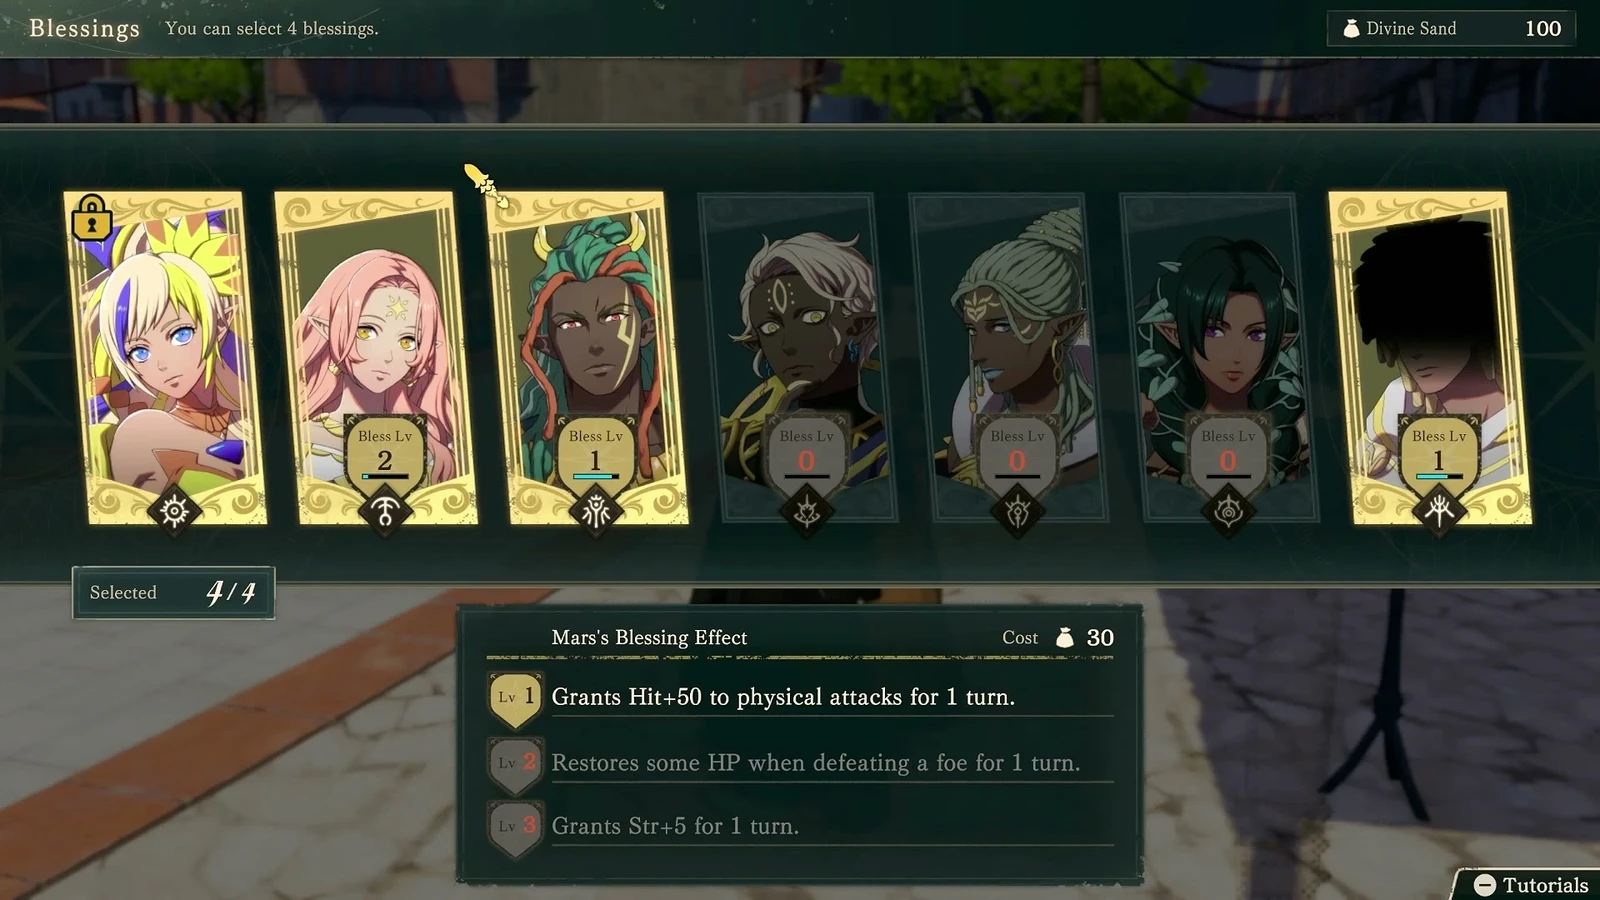
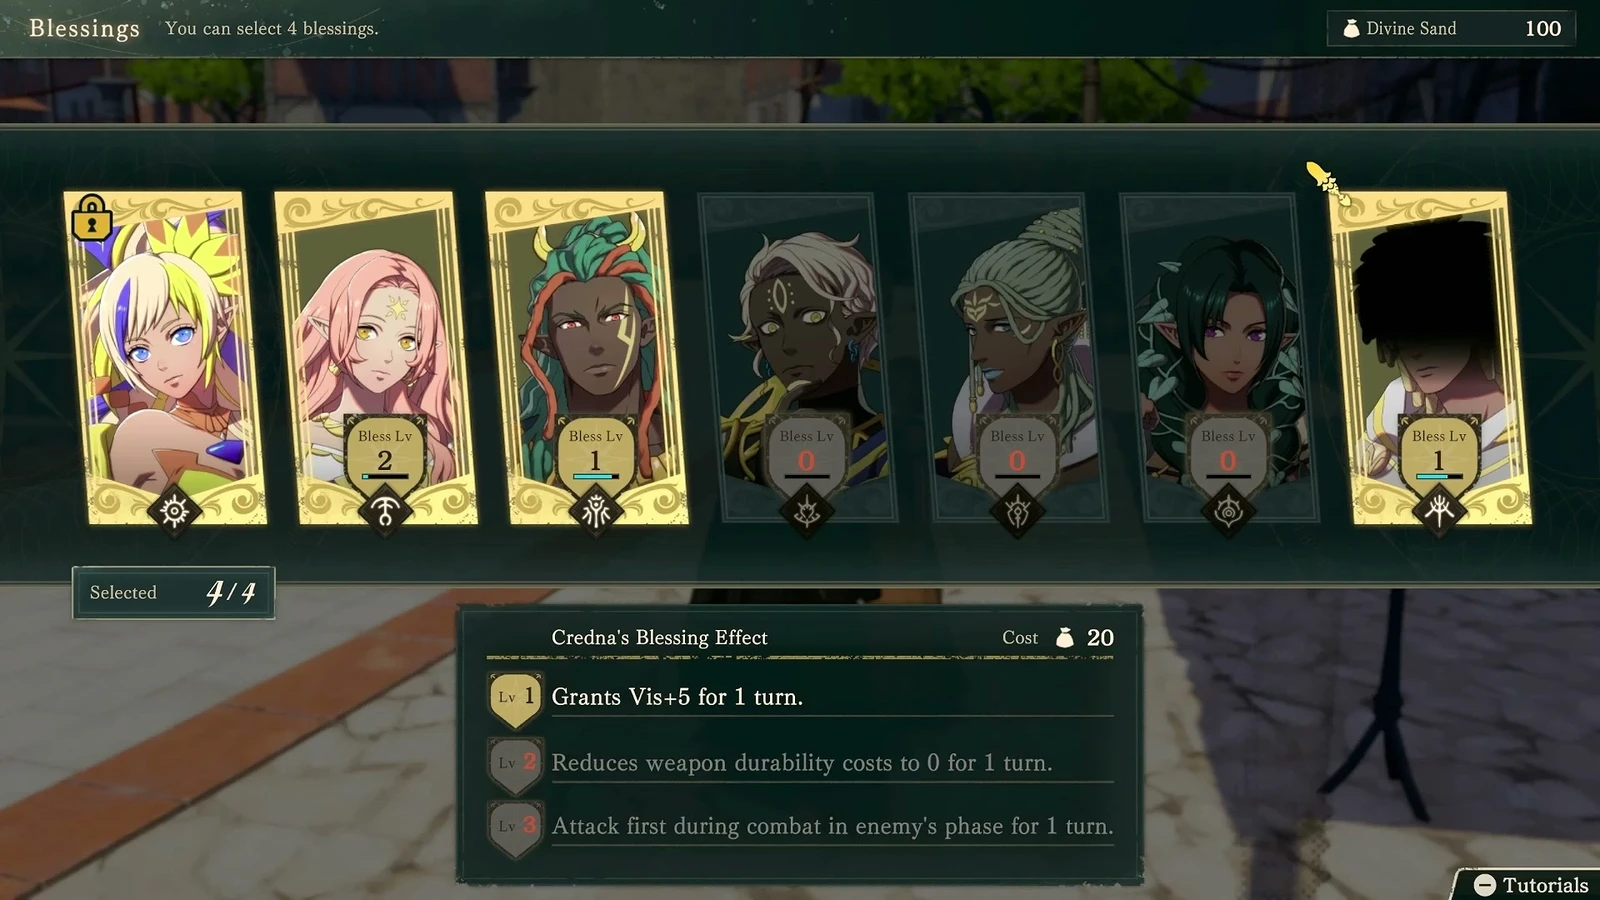
On Hard, one Rewind costs 5, giving you 20 attempts if you spend it only on Rewind. Blessings draw from the same resource. Each god’s effects stack across levels. Whether Aurora's Blessing is only level one or fully trained to level three, it costs 20 sand on Hard. Part 1 has many physical enemies, and even level-one physical damage reduction can save a unit who otherwise could not survive.
The Hit bonuses from Mars's Blessing and Smyrnos's Blessing suit high-Avoid enemies in forests. Level-one Credna's Blessing is worth getting too: the whole party gains +5 vision, and newly revealed enemies become confused. Fog maps shift from cautious movement to active advancement.
Do not let accessory Weight cost you follow-ups
Shields, staves, and rings have Weight too. Count them alongside the current weapon or spell.
Attack Speed = Speed - max(0, total equipped Weight - Build)
Weight within Build causes no extra Attack Speed penalty and does not increase Attack Speed. You need at least 4 more Attack Speed than the enemy to follow up.
Give Tialla a Magic Staff and Archer’s Ring, weighing 6 together, plus the Weight-8  Bolganone, and the total reaches 14.
| Tialla’s equipment | Attack Speed |
|---|---|
| Spell, Magic Staff, Archer’s Ring | 8 |
| Both accessories removed | 14 |
Without the accessories, she may follow up against enemies she could not before. Enemies that previously doubled her may also lose their follow-up.
If damage is already sufficient for a kill, you do not need to keep a damage-boosting staff equipped. If Hit is already high enough, you do not need to keep carrying a Hit ring. Ask of each accessory: is its benefit in this battle worth the Speed it costs?
Some shops and dungeons are accessible even at low Renown; do not wait until late game to look for equipment. Good early weapons can last a long time. Prepare an armored unit that can survive counters before seeking treasure in high-level dungeons.
Let low-level allies lead Linked Attacks to level
Clashes can be handled automatically at the cost of link points and magic uses. They will not randomly spend weapon durability or Combat Arts. Manual control is more useful for leveling. Put a low-level character in a higher-level team, enter a labyrinth 10 to 15 levels above them, and let them lead Linked Attacks. The team’s HP is pooled, so strong teammates can keep them alive through the fight while they gain substantial experience and authority experience.
Give a high-Defense, high-Resistance teammate stones that restore link points. Have that unit use items and take counterattacks so the low-level character can keep leading Linked Attacks. You cannot access the convoy inside a labyrinth, so put the items on characters before entering.
Armored units work comfortably here too. They move slowly on full maps, but their high Defense lets them take counterattacks reliably in Clashes. Give  Buccar or
 Esmeralda a shield, prepare
 Bronze Axe and
 Iron Axe, and combine Combat Arts with Linked Attacks. You can fight once or twice in a higher-level labyrinth, claim the treasure, and leave.