
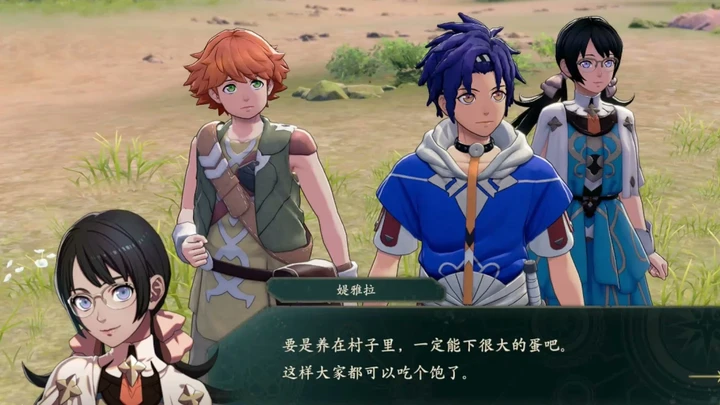
 Chapter 1: Uproar in RibeiraMinor spoilersBreak the fence to recover the jewel. Use Lend Strength before hitting three enemies with Underworld Burst. Recheck Tialla’s forecast before a finishing blow, and distribute EXP around your training goals.
 Chapter 2: Road to the CapitalMinor spoilersCastor can hold one side alone, and EXP from guest kills is shared after the battle. Watch for enemies circling toward the wagon.
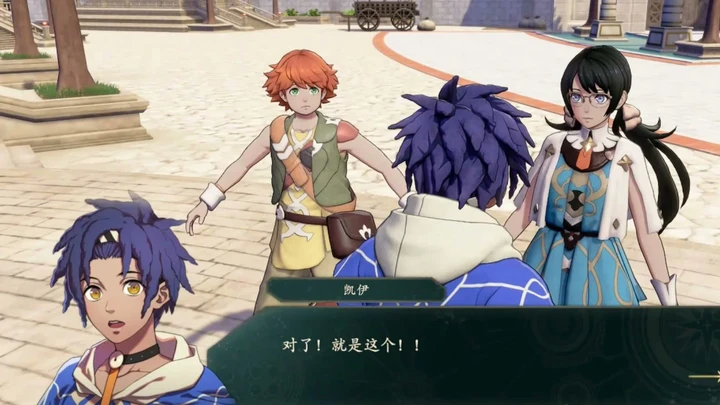 Chapter 3: Partings and HopesMinor spoilersRecruit Guzran for more firepower. Have Peter shoot through walls and Cai clear enemies with Blaze Arts, supported by two healers. Clear the right-side soldiers first near the end.
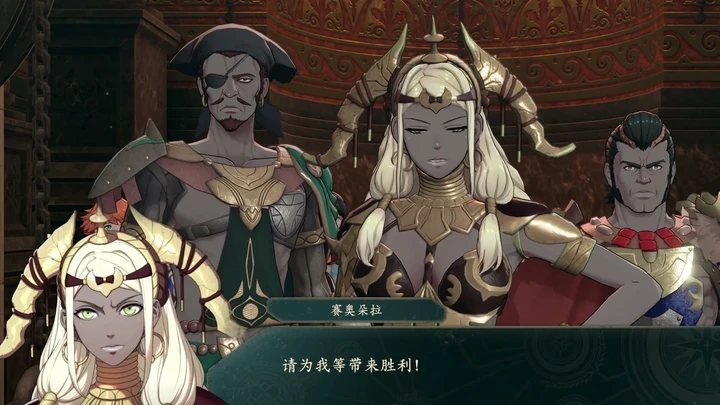 Chapter 4: Festival of the StrongMinor spoilersBring both groups together through the center and approach the boss carefully. Fall back to the grass if HP is low, then have Theodora lead with Earthen Throw.
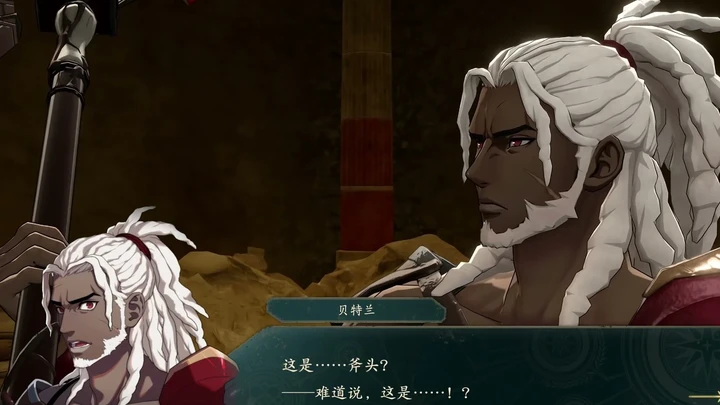 Chapter 5: Cai’s BattleMinor spoilersClear chariots with Blaze Arts at the start. Send mages and Dietrich against the upper armored enemies, heal before chasing chest thieves, and save the Zanbato for the boss.
 Chapter 6: To the Land of CybeleMinor spoilersKeep your five chosen units behind a durable front line. Switch defenders against mages, draw enemies out of grass, and check Nuzzuo’s bow counters and low Hit forecasts.
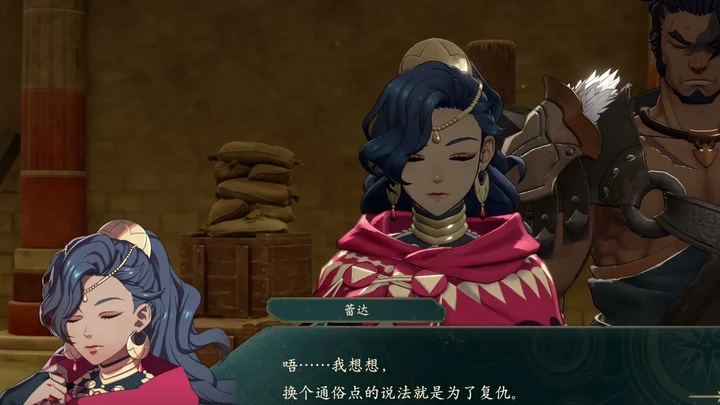 Chapter 7: Opposed AgendasMinor spoilersKeep the pegasus grounded against numerous Archers. Let allies catch up before engaging Hong Hua, summon a beast if advancing is unsafe, and finish Inyoni without delaying for EXP.
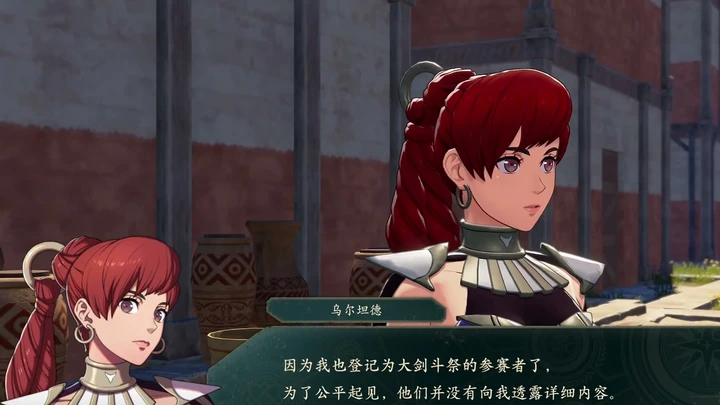 Chapter 8: Unyielding FeelingsMinor spoilersWait in the grass until enemies approach the braziers, then detonate them. Compare Cleansing Blade counter forecasts against Leda; explosive kills award no EXP.
 Chapter 9: Mystery at Aurora’s TempleMinor spoilersProtect your mage in the fog and clear enemies below first. Remove Cai’s heavy accessory to preserve follow-ups. Clear adds before Zenzele, or finish him with a chariot Shove.
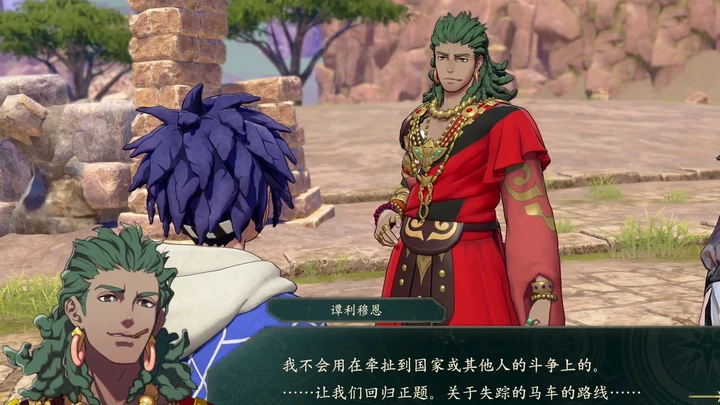 Chapter 10: Precious TimeMinor spoilersHold the starting area and lure enemies one at a time, then regroup after clearing one side. Use the Hammer and Levin Sword against Theodora, followed by a Clash.
 Chapter 11: Dagda’s CauldronMinor spoilersRetreat toward the center to draw enemies off Avoid tiles. Use Cai to lure them, clear the final cluster with an area attack, and save Aurora’s action for a finishing blow.
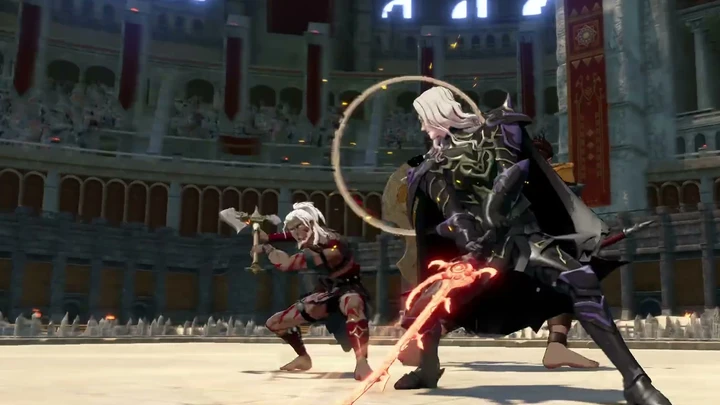 Chapter 12: Just One WishMinor spoilersDismount Cai and use the Levin Sword against Castor, retreating when HP is low. Clear both sides after breaking the barrier, then defeat Bertrand last to end the battle.
 Chapter 1: A Stranger Comes to DagdaMinor spoilersPlace Fabio beside the target to lower Dodge, then initiate with Dietrich’s Murderous Intent. Keep inherited EXP bonuses off until after changing class.
 Chapter 2: Sacrifice and StrifeShare kills in the sea-beast battle and give Esmeralda a level. Redears summons more enemies; afterward, you receive Sinza’s Trident with range 1–2.
 Chapter 3: The Grand MegalithAnatolia starts moving after you disable the second device. Prepare to engage or kite around her, and account for counters even when using a high-Hit Combat Art to finish.
 Chapter 4: Brute ForceWatch weapon durability in the tavern duel. Get the key and both chests in the preliminaries, keep Fabio available to heal, then focus on Benditz’s two health bars.
 Chapter 5: The Essence of a WarriorMinor spoilersSend Io to the mechanisms and heal before moving. Activate both devices within ten turns, then use the Zanbato and Io to finish the battle.
 Chapter 6: Instinct and ReasonSupport the right with Dietrich’s Killing Edge and time the Priest kills. Pull Theodora back at 16 maximum HP, then focus the boss after she dismounts and summons reinforcements.
 Chapter 7: Gazing at the Rose MoonSend extra magic left against armor and use the Zanbato against cavalry. Do not judge elephant melee by rock damage; a counter can defeat the last boss and end the map early.
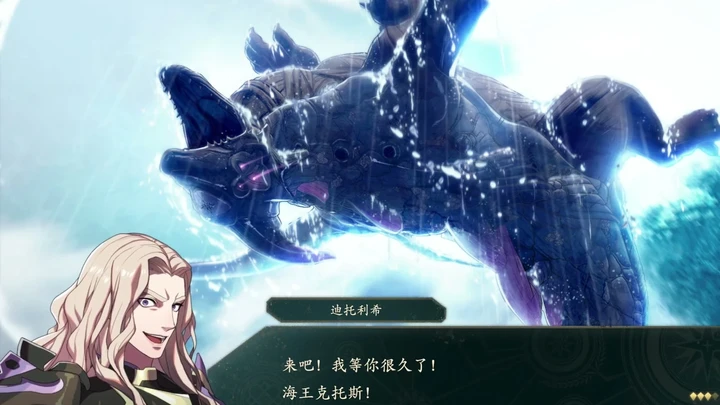 Chapter 8: Cetus, the Sea TyrantSet your classes and bring a ranged axe before sailing. Escape the central nine leap tiles and attack during the trap’s one-turn pause. After armor repairs, you can skip the full break and kill Cetus.
 Chapter 9: The Legend of the White EggVisit the story destination early and schedule September’s paralogues. Advance through the desert with Dietrich and Guardian Esmeralda, heal at range with Sofia, and protect the rear.
 Chapter 10: The Mediator of NuwaMinor spoilersAdvance with two front-line units and keep Sofia behind to heal. Avoid two mages near the switch, then rush the boss with high Hit or halve damage against long-range magic.
 Chapter 11: Twisted LoveMinor spoilersClear mages first. A trained chariot Archer can take the left ballista, but cannot dismount after Shove. Clear nearby enemies before luring the upper group, and withdraw low-Resistance units when the full army advances.
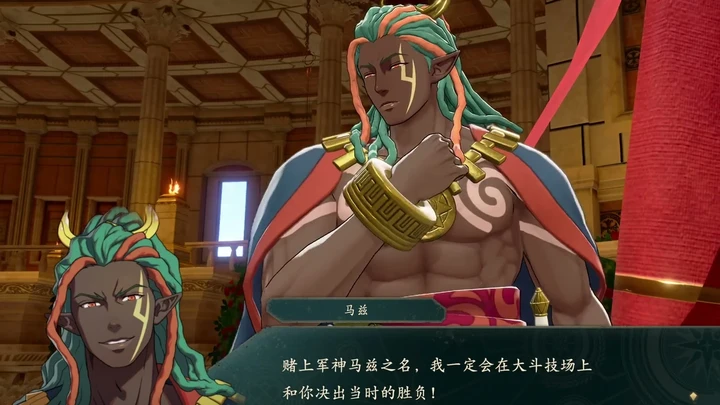 Chapter 12: Mars, Bringer of WarMinor spoilersSend Dietrich into the central mages, Esmeralda down the left, and enough strength to the right. After Mars transforms, let Dietrich duel while allies survive with retreats, healing, and damage reduction.
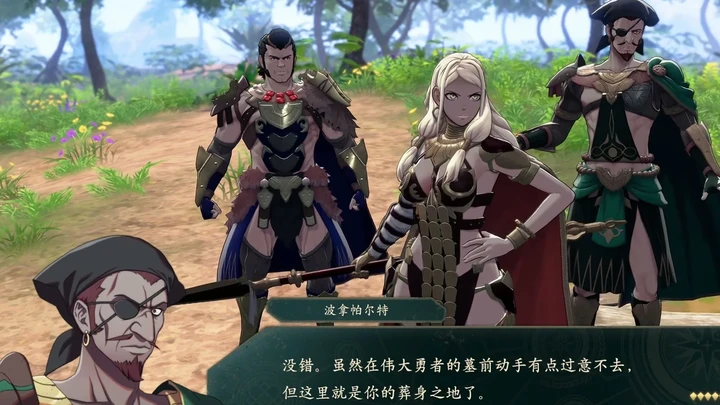 Chapter 1: Theodora, the Iron BastionMinor spoilersAdvance after your companions arrive and have the queen claim the objective herself. In the second half, check Earthen Throw’s line of fire and conserve durability when choosing combat arts.
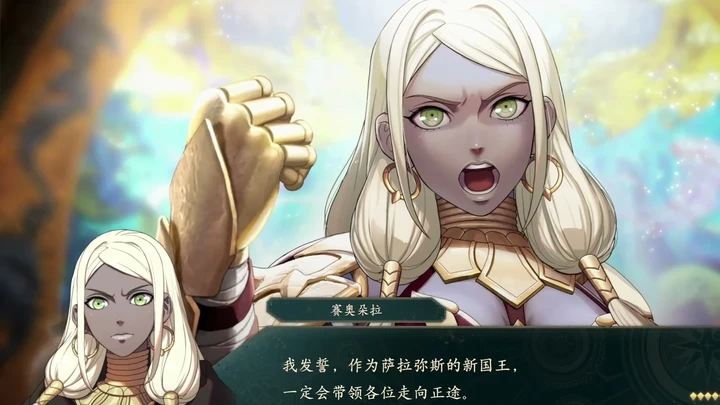 Chapter 2: Dyan's UprisingMinor spoilersFight from Avoid tiles. Against the early general, compare counter damage before entering melee. Use Earthen Throw once per turn against Dyan, and prioritize a Vulnerary after a miss.
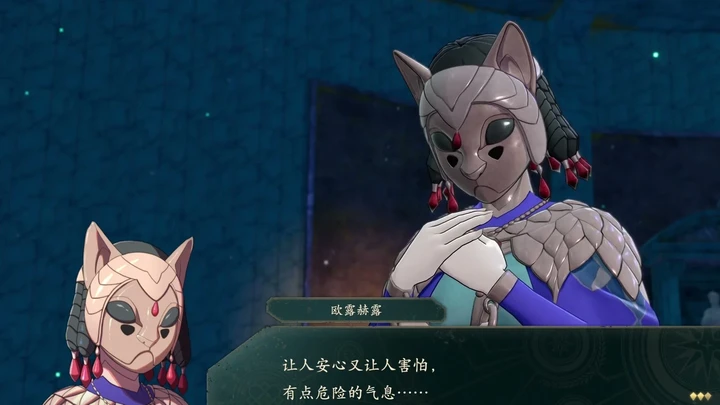 Chapter 3: Tumult at the Imperial CapitalMinor spoilersGuest kills also share experience. Throw stones to catch thieves and reduce enemy numbers, but revise your attacks when obstacles block the line.
 Chapter 4: Unlikely AllegiancesMinor spoilersLet guests secure kills and leave targets behind fences to Cai. Zarcone has two HP bars; check level 10 certifications after the battle.
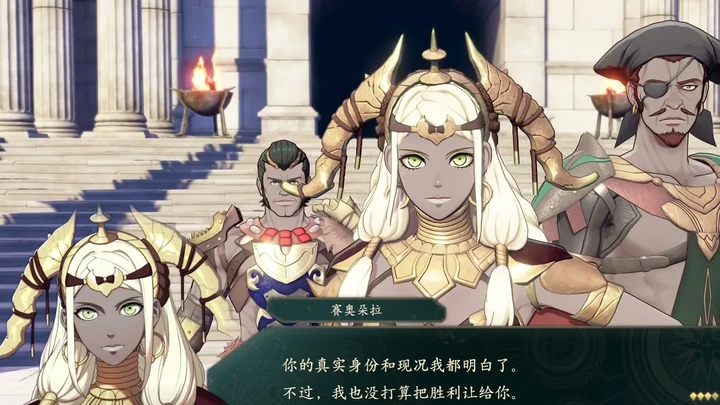 Chapter 5: An Ominous ClashMinor spoilersAdvance through barricades while rain disables ballistae. Both flanks remain under ballista threat when it stops. Block the passage with a durable unit once the boss advances.
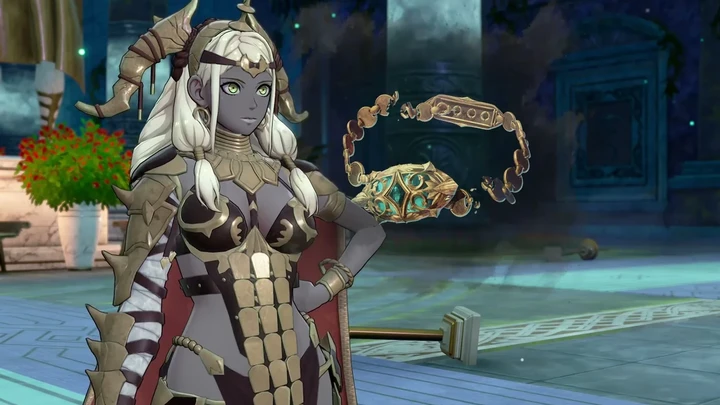 Chapter 6: The Treasure HunterMinor spoilersEquip Aurora’s Blessing before battle and throw stones at the boss. Wear Bertrand down with magic in the April 6 duel at 18:00.
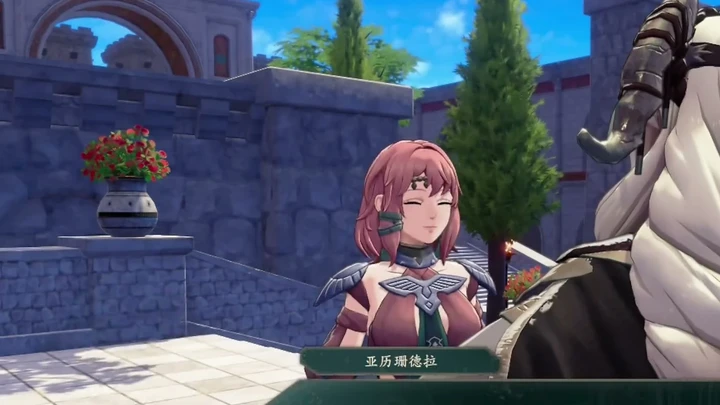 Chapter 7: A Voice From the DarknessMinor spoilersSend the four guests left and prioritize the Priest on the right. Protect the left-side mage with the Avoid buff against Wing Soldiers; finish the boss once reinforcements yield no experience.
 Chapter 8: Rendezvous With TroyMinor spoilersClear fog and prioritize mages, with Loretta holding the front. Take ranged shots as Nuzzuo approaches. Afterward, follow butterfly counts through the Lost Forest.
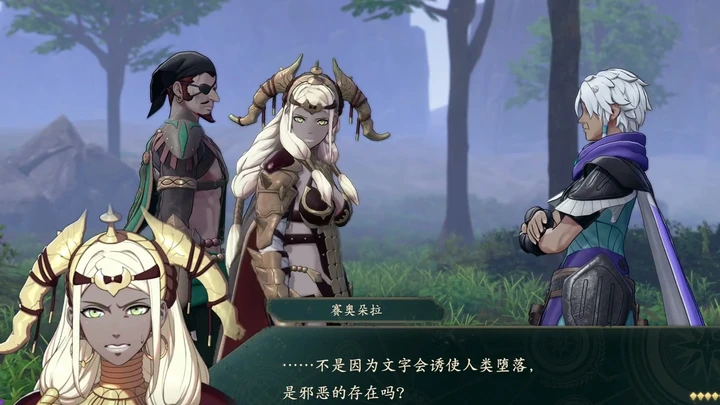 Chapter 9: To the Forbidden LandMinor spoilersDeploy seven units and collect dungeon chests first. Chain kills clear insects quickly but cost experience. Check boss range before finishing; a full clear is unnecessary.
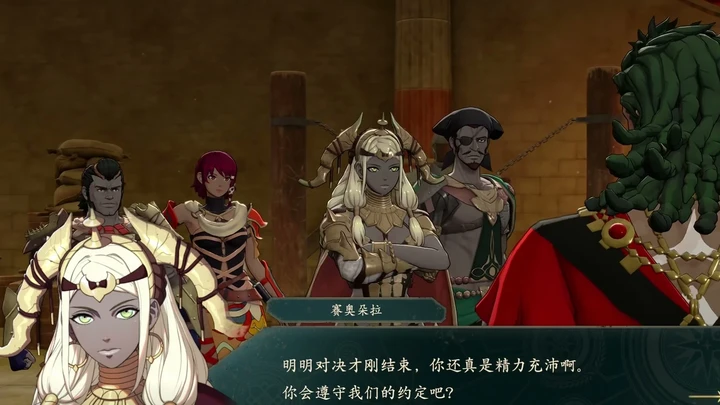 Chapter 10: The Queen and the MerchantMinor spoilersBlock with Theodora while she carries no orb and advance with Loretta’s Avoid. Withdraw orb carriers, hold the central catapult, and retain an orb lead at the end of your actions on turn 12.
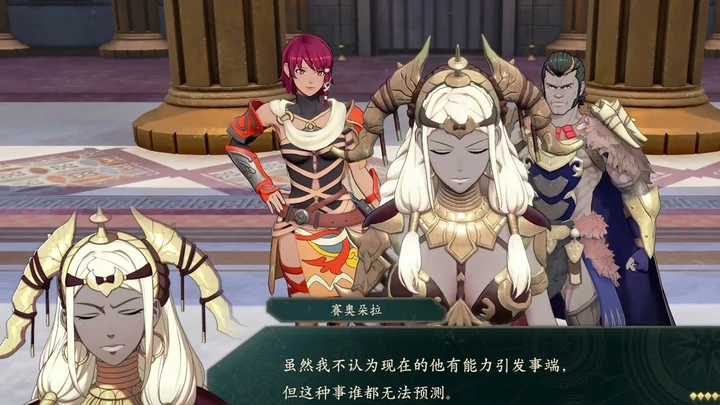 Chapter 11: A Sudden TurnMinor spoilersSplit nine units to handle ballistae. Clear enemies before opening walls and leave guards at devices. Retreat from Cai’s telegraphed attack, then lure him away from healing before finishing.
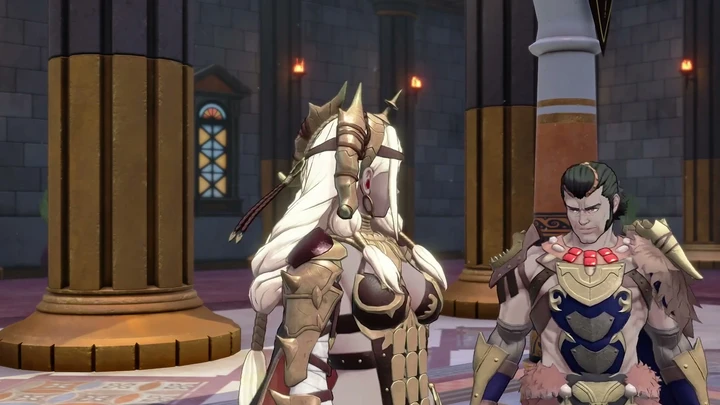 Chapter 12: The War of ZanbarMinor spoilersMove rear units forward to escape two reinforcement waves and bring in the boat-loan allies. Clear defenders before opening the inner gate; let Anatolia handle bosses your army cannot damage.
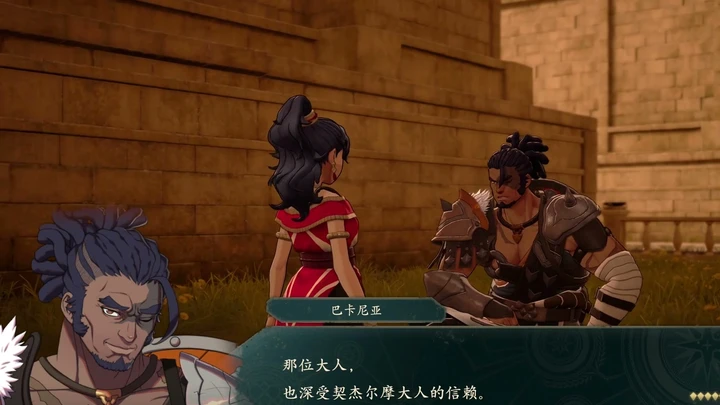 Chapter 1: The Vengeful DancerLeda cannot heal, and high Critical does not guarantee a kill. Save Buccar for follow-up attacks, then advance toward enemies who refuse to approach.
 Chapter 2: Battle at Coris MineMinor spoilersCollect exploration chests first. On the battlefield, get the key, circle behind the fence, and break through to collect the Mini Bow before finishing the boss.
 Chapter 3: The Rose of CaelusUse your four units to suppress enemy respawn points, then reserve actions to relight flames. Leave room for follow-ups and check horizontal, vertical, and diagonal captures.
 Chapter 4: The Indelible PastTake the grass at the start and focus on the boss once reinforcements arrive. You must still escape after the kill, so equip Blessings early and leave allies to cover the retreat.
 Chapter 5: Women at BattleMinor spoilersEquip Armored Move at the start. Remove enemy Pure Water buffs with the device, collect Orchel’s Hammer, and leave Sirocco an attack position for the finish.
 Chapter 6: The Soaring MaidenUse armor to withstand Alexandra and add a finisher when a unit cannot beat a Priest. Pull Theodora out of attack range once her HP drops to 16.
 Chapter 7: Rose of RetributionSkip weak catapult damage and advance with your main fighters, or stop to lure enemies closer. Kill the healer on the right first at the end, and save follow-ups for low-Hit attacks.
 Chapter 8: Shape of the ConspiracyMinor spoilersKeep HP safe when Deadeye is telegraphed. Check whether Buccar can take one hit from Hong Hua, and finish Inyoni as soon as you can.
 Chapter 9: DiscordanceMake Leda a Dancer and keep enough healing before battle. Stabilize when the beast turns hostile, then clear threats below-left before finishing Cai.
 Chapter 10: A Father’s Request and a Daughter’s WishMinor spoilersClear enemies outside both barriers, then activate devices as attacks are telegraphed. Regroup behind Mu and defeat Theodora together or with one durable fighter.
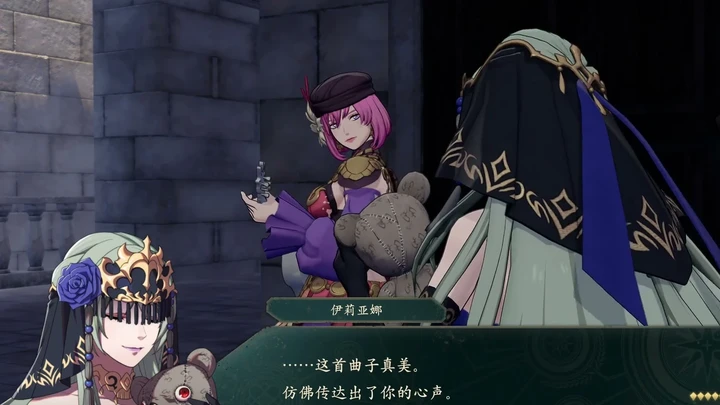 Chapter 11: Banquet of the Risen DeadMinor spoilersConcentrate on one side, block the passage, and clear with Cleansing Blades. Use fliers or the one-turn frozen route when terrain blocks you, and protect healers from flanking pegasus units.
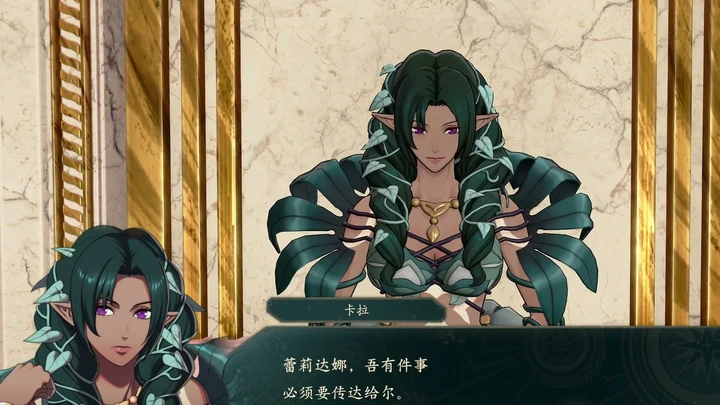 Chapter 12: Revenge’s EndTake side routes around central artillery and stop for Gaitz’s advancing group. Collect the chest, regroup through warp circles, and cancel attacks that expose you to a lethal 49-damage counter.
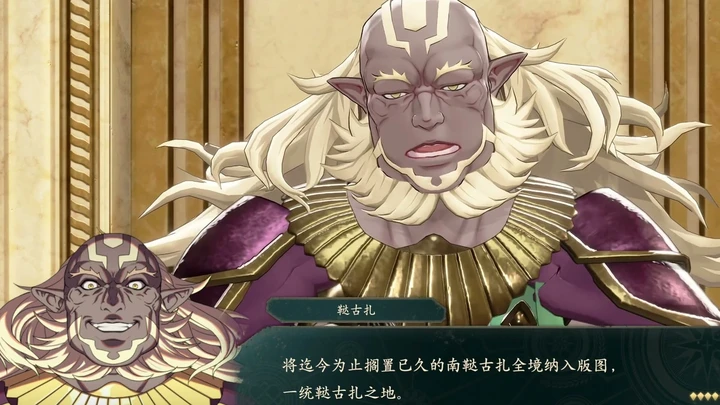 Chapter 1: The Battle of Klytius PlainsMajor spoilersOn Cai’s route, counter from grass; on Dietrich’s, stagger engagements on each flank. Avoid Bolting mid-battle and clear surrounding enemies before the bosses.
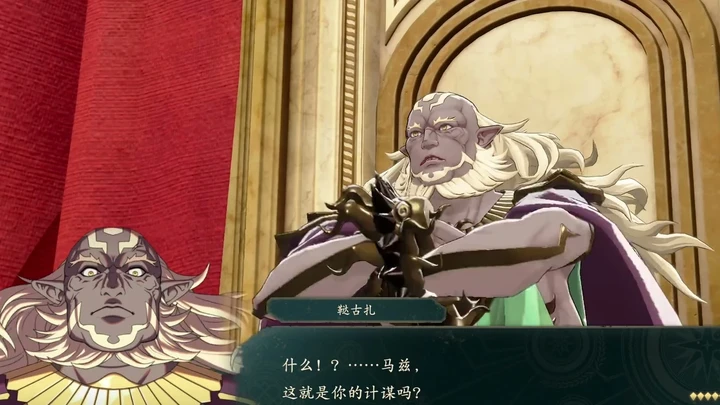 Chapter 2: Showdown at Agris StrongholdMajor spoilersUse archers against wyverns and exhaust artillery one emplacement at a time. Give the right route enough attackers at deployment, and combine overlapping enemy ranges before approaching the bosses.
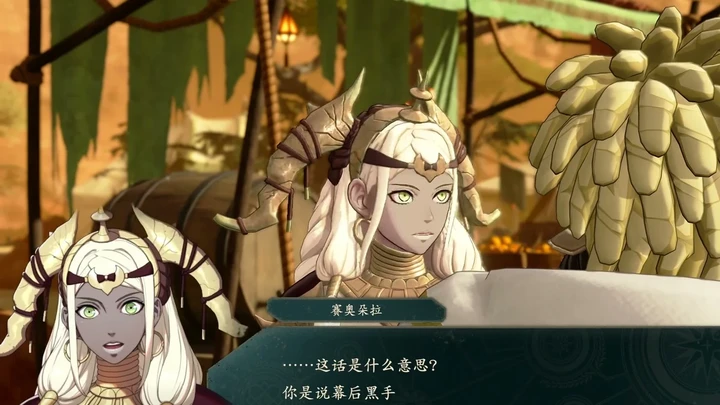 Chapter 3: Beyond the Salt RoadMajor spoilersHave Bertrand take control of the two allies and leave Nathan to Creek. Hold a choke against reinforcements or break through on the right, prioritizing Bolting once fire spreads.
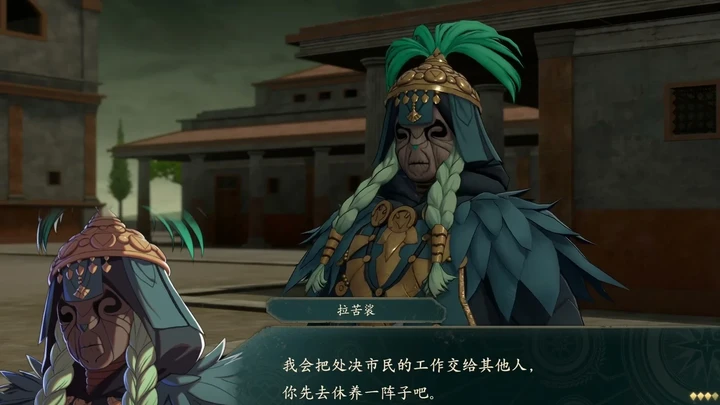 Chapter 4: The Storming of DagsionMajor spoilersMeet flier waves with two archers and your own fliers, and exhaust Bolting with a high-Resistance unit. If elephants keep reinforcing, use a Blessing and switch to killing Lind.
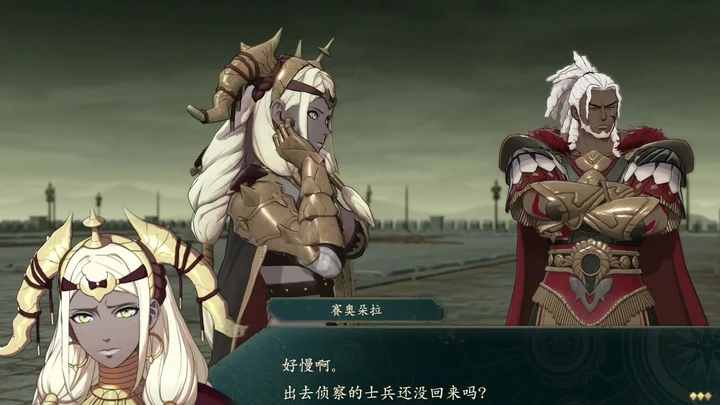 Chapter 5: Divine Emperor DagdaMajor spoilersBring enough healing uses. Wait out three artillery shots if needed, heal on the heights, then wait for the story to break the dragon form’s shield and reserve a finisher.
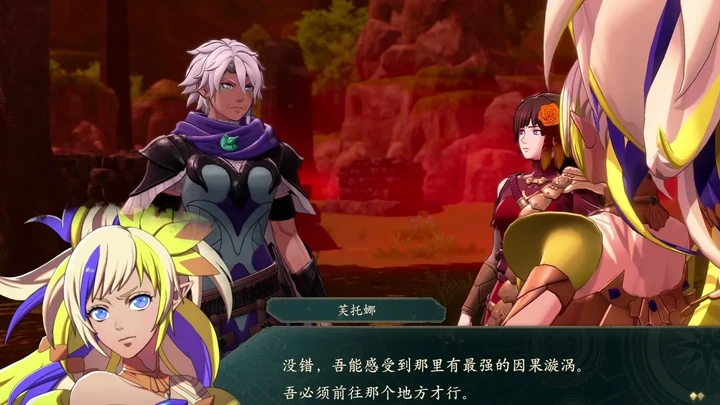 Chapter 6: The Underworld IncarnateMajor spoilersWait out Bolting on healing tiles in the first battle and reserve ranged attacks for the central barrier row. Reorganize the right-side escape group, activate Kalla before moving Cai, and select Escape at the destination.
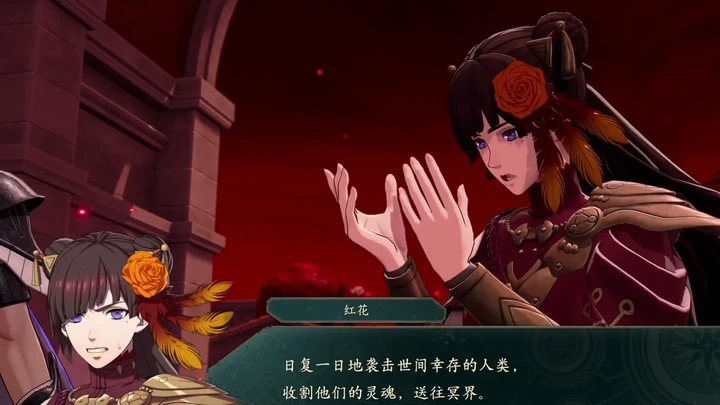 Chapter 1: The Liberation of DagsionMajor spoilersOpen with Eshmel’s ranged attacks and use healing tiles to sustain the party. Check reinforcements’ gear, bring enemies within his two-tile nullification range, then break barriers and attack.
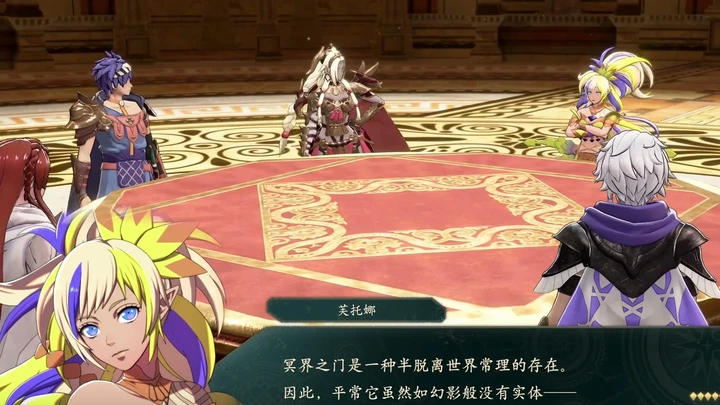 Chapter 2: True StrengthMajor spoilersKeep training candidates and healers in the capital, restore transport, then clear world-map miasma. At the gate, use the War Elephant against physical attacks and Eshmel to clear the way; protect the rear from fliers and clear miasma before engaging Breza.
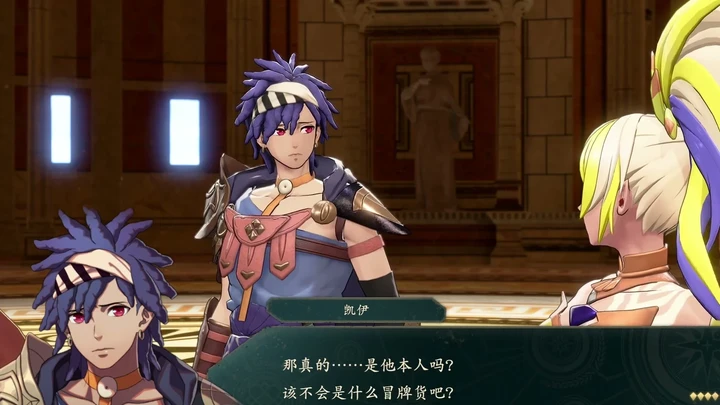 Chapter 3: The InheritorsMajor spoilersConcentrate your strongest units for the gate while keeping city defenders and clearing miasma. Use Pilums outside miasma, finish enemies before they retreat to heal, and leave melee space beside the boss.
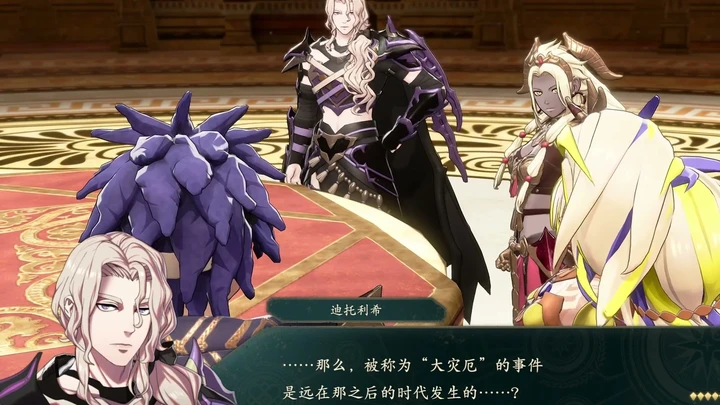 Chapter 4: The Hopes of Monarchs and the PeopleMajor spoilersProtect both rear lines against Hanno and attack from outside the heights. Against Baozi, clear accuracy-reducing miasma first; break all four golem shields to obtain Battle Spirit Stones.
 Chapter 5: Song of the LivingMajor spoilersSplit your main attackers at the fortress, collect the miasma-proof treasure first in Death Valley, and rescue Klapka quickly in the ruins. Send city defenders outside to intercept enemies.
 Chapter 6: To the Edge of TwilightMajor spoilersPursue Lyrah with fliers after she relocates. Against Balor, position mages and main attackers before breaking gates and barriers, and save emergency actions for the final HP bar.
 Anatolia’s Paralogue: Queen of the ErasedMajor spoilersLead the residents around the right with Anatolia and defeat one red monster per turn to disable the boss. Do not teleport her away from the residents.
 Anna’s Paralogue: Golden SecretMajor spoilersLet Solel hold the giant while others destroy ore piles. Every 5 of the 10 piles triggers heavy damage; time the key explosions around health bars and remaining actions.
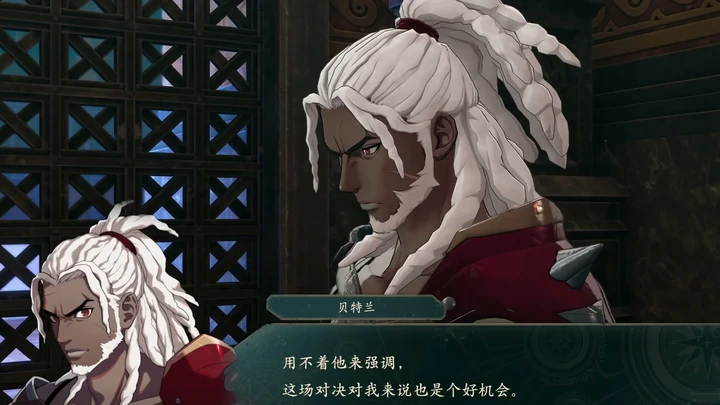 Bertrand’s Paralogue: Friendly Match with Brigid’s KingMajor spoilersRace to defeat four giants. Feed them at the end of your turn to deny enemy finishing blows, and preserve Dietrich’s one-day window on September 17.
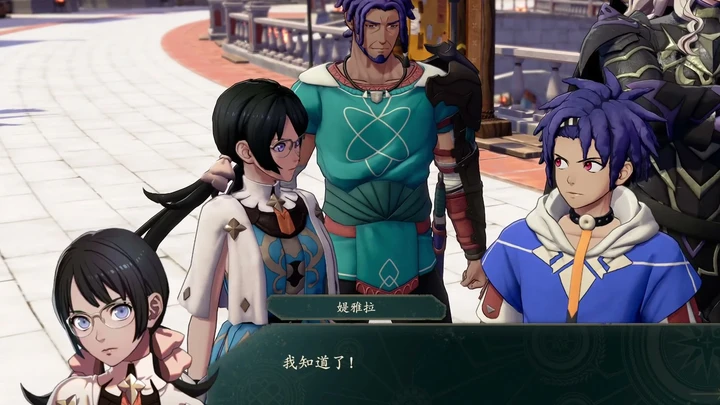 Cai’s Paralogue: Great EscapeMajor spoilersGuard the yellow area in the lower left, use incense burners to slow enemies for 1 turn, then focus on Centurio. Do not advance the date before leaving time for Orchel’s paralogue.
 Dietrich’s Paralogue: Sealed-Off PastMajor spoilersUse ranged attacks left, lances center, and bows right. Clear the three large central enemies first, then hold all three lanes for 10 turns instead of chasing a rout.
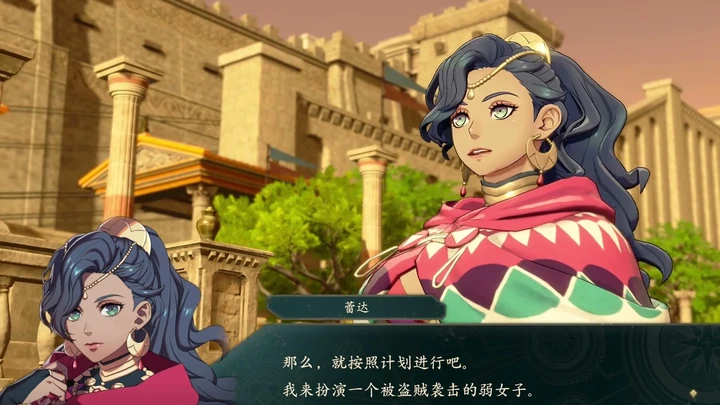 Leda’s Paralogue: Diversionary TacticsMajor spoilersAccept both early-September paralogues before advancing through Leda’s conversation. Bring poison cures, and wait for turn-6 reinforcements if your damage is insufficient.
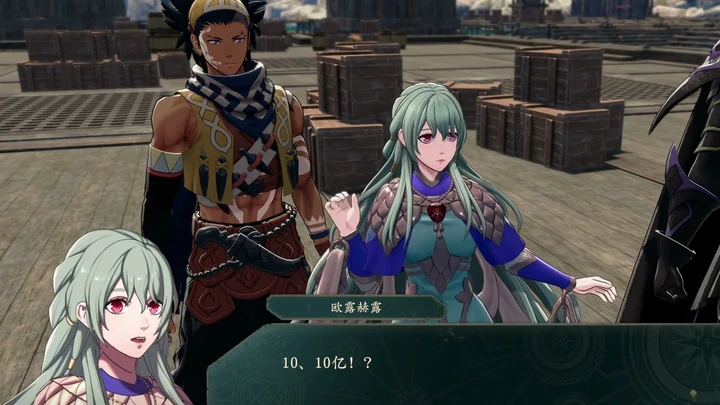 Orchel’s Paralogue: Orchel’s RegretMajor spoilersSplit toward the north and south devices and activate both in the same phase. Stabilize before triggering reinforcements; both Chest Keys are carried by southern enemies.
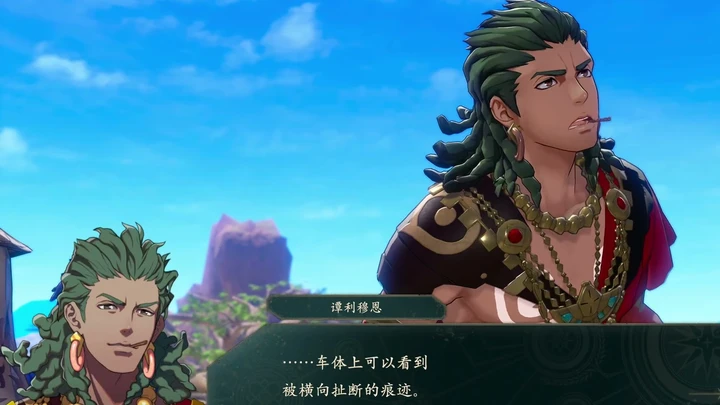 Talimun's Paralogue: Secret of the Vanished CarriageMajor spoilersSpread out in front of the exit to stop cargo carriers, then recover all cargo or defeat every enemy. If you miss September, you can accept it again October 1–10.
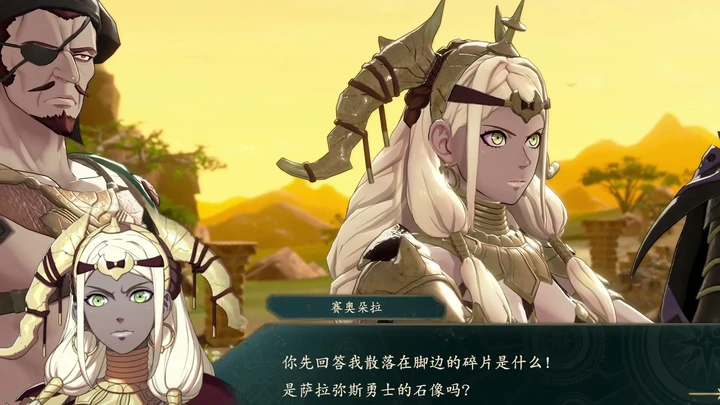 Theodora's Paralogue: Missing Brave-Warrior StatueMajor spoilersLocate all three devices, then stay together through the fog and clear blocking golems. Accept the quests in early September on Dietrich’s route and allow time to return to Leda.

 Prologue Chapter 1: The White BirdMinor spoilersHave Hong Hua weaken enemies for Eshmel to finish. Leave armored enemies to Hong Hua, and clear the cross-shaped reinforcements with Purifying Flash.
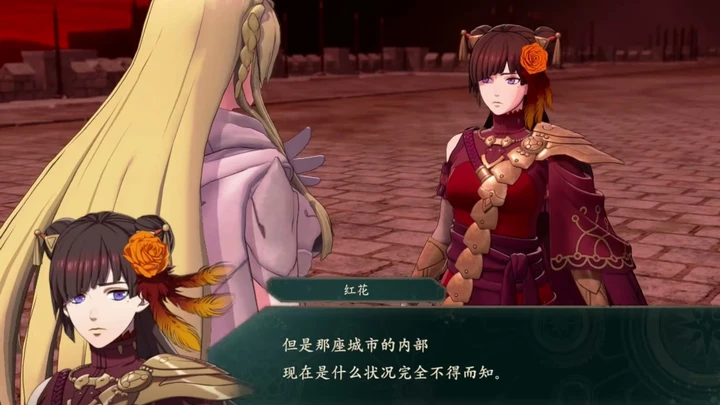 Prologue Chapter 2: The Ruined LandMinor spoilersFocus all three units on approaching enemies. If a target on a healing tile reduces damage, give up the finishing-blow experience rather than let it recover 30 HP. Clear the enemies you want before killing Lind.