

Chapter 5: Song of the LivingMajor spoilers
Split your main attackers in the fortress, collect the miasma-proof treasure first in the Valley of Death, and reach Klapka quickly in the ruins. Send your defending squad outside to intercept enemies.
In the fortress battle, send  Eshmel and
 Dietrich along separate routes and split your Cleansing Blades between them. Keep at least two healers in each expedition squad. In the Valley of Death, collect Pirate's Riches first, then bring both sides together. Watch for enemies warping wyverns toward you. In the ruins, reach
 Klapka quickly and limit his advance. Enemies also have high Critical, so activate a blessing when you need an emergency save. Finish the boss as soon as your main attackers arrive. Leave one squad on the world map to intercept enemies outside the city. After the battle, send a squad back to the imperial capital to trigger Klapka’s recruitment conversation.
Re-equip mastery skills before leaving
After mastering a Divine class, check that its new skill is equipped before switching back to your combat class. When rotating units through the Blade and the Eternal for Speed and Strength, manually relinquish their certifications. Merely changing class does not free the slot. Recheck skills you have already learned, such as Divine Might, too.
Finish any necessary training before squads leave the city and keep enough money for travel. If everyone who needs training is already away, an unexpected return trip delays the march. Once your expedition squads are formed, count their healers one squad at a time. Bring at least two before setting out.
Send the fifth squad out to intercept siege forces
Your defending squad needs to intercept enemies outside the imperial capital. Once enemies enter the city, the units remaining inside must fight them. If your main force is away and only weak units remain, rescuing them becomes difficult. Keep the fifth squad mobile around the city and send it to engage approaching enemies.
Give each fortress route a main attacker
From the start, have Eshmel and Dietrich lead separate routes, and divide Cleansing Blade users between both sides too. Putting both main attackers and every Cleansing Blade on the upper route leaves the lower route unable to damage enemies with Underworld Boon until Dietrich comes around to help. Send Leda along whichever route lacks a way to break through their defenses, and use her singing to negate Underworld Boon.
Before attacking in Lust Miasma, compare Charm. If the enemy has higher Charm, your Hit and Avoid are both halved. High Attack Speed cannot fix low Hit; switch attackers if you cannot land hits. If a gambit damages Loretta, heal her fully before she engages again. She relies on full HP to maintain her Avoid.
Assign units early to chase item carriers
Approach 1: open both routes first. Give each route enough offensive strength that Dietrich does not have to rush from the upper route to rescue the lower one. When focusing the boss, use units with higher Hit to chip away in turn. Pull Aswan back promptly when enemy reinforcements appear behind you. Do not leave your Dancer alone in the rear.
Approach 2: chase item carriers from the start. If you want items carried by fleeing enemies, assign pursuers early. Waiting until they are far away can cost you the rewards. Eshmel can chase them along the lower route, but leave another strong unit above who can handle combat without waiting for him to return and rescue that side.
Until the Bolting mage is dealt with, do not casually leave Catania in range: Bolting can show 70 Hit against her. You can send Eshmel forward to kill the mage, or wait for both Bolting uses to run out before easing off the pursuit. If the mage still has Thoron, however, keep treating it as a threat. Check Hit again before approaching high-Charm targets near the boss. A target with 75 Charm and group confusion can both derail a direct assault.
Take the miasma-proof treasure first in the Valley of Death
Start with the accessible treasure on the left. You cannot immediately collect treasure from a tile occupied by an enemy. Once you obtain Pirate’s Riches, give it to the unit who needs protection from miasma. Collecting every treasure on the map takes several turns. Two Dancers cannot Dance for each other, so you cannot use that trick for unlimited actions to collect treasure.
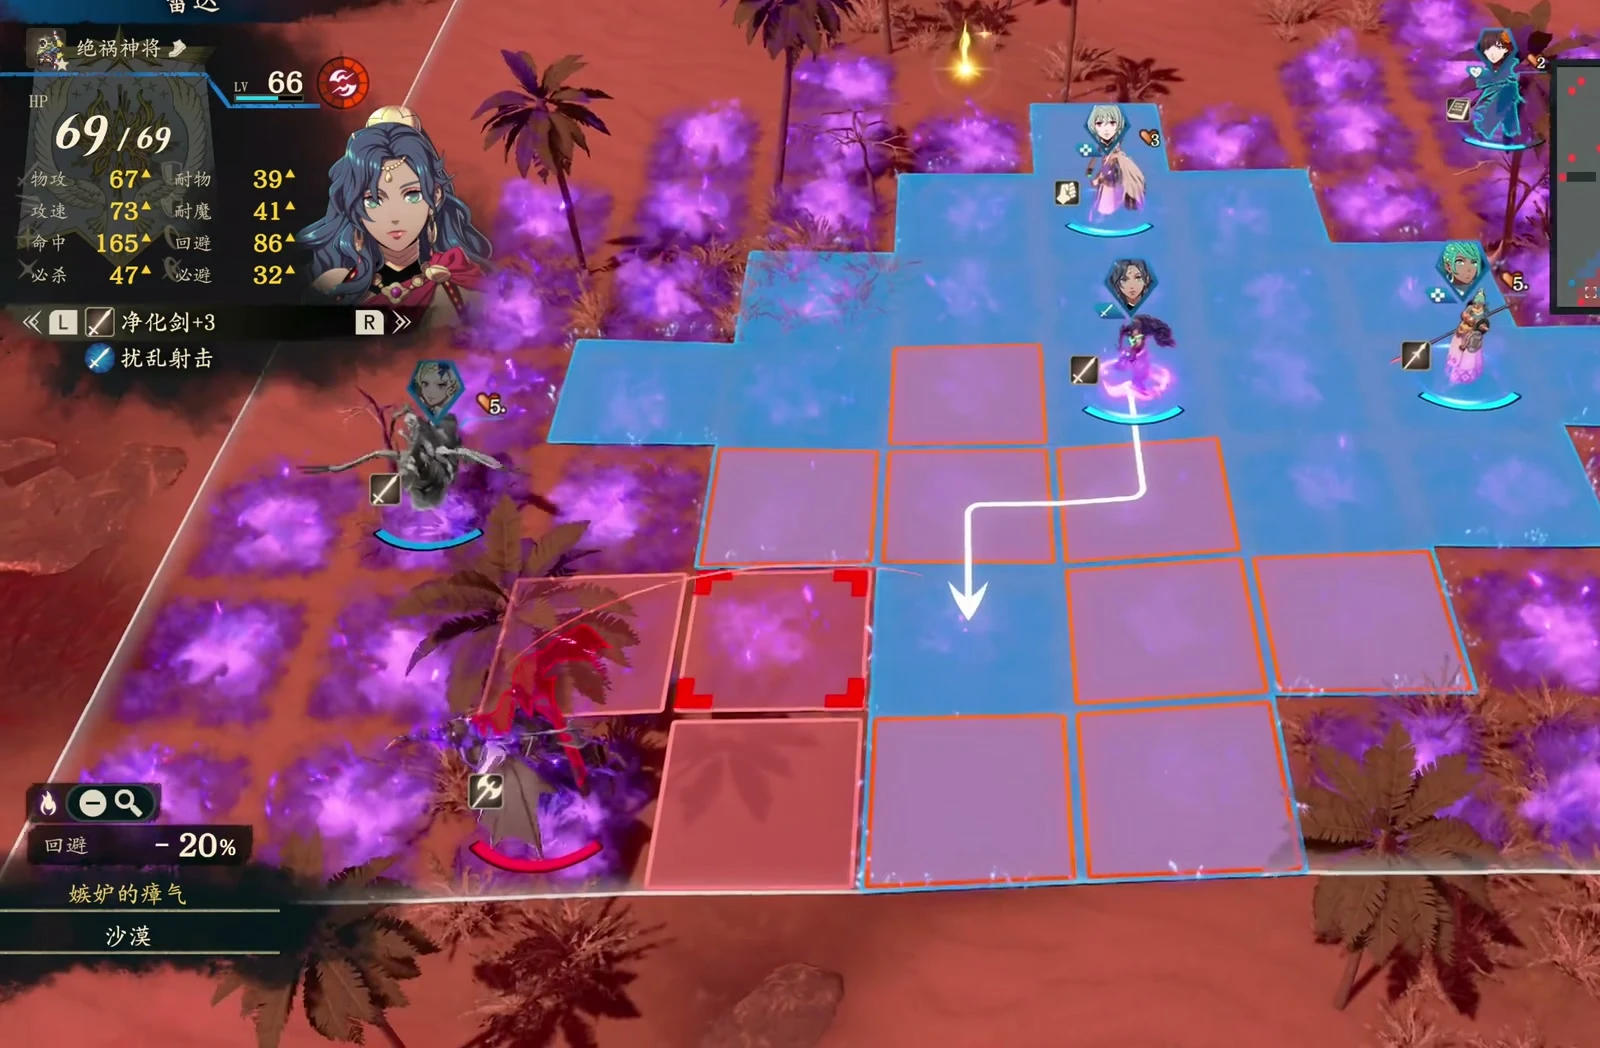
Defeated enemies leave Envy Miasma behind. When you stand in it and fight a higher-level enemy, your Hit doubles and your Avoid becomes zero. Do not keep relying on the fortress tactic of charging in with high Avoid. Regroup after both sides act, and watch for warped wyverns. Enemies can approach from places other than their starting positions and suddenly pressure your rear line.
Approach 1: send your main units straight for the boss. If minor enemies keep appearing and infantry take too long to cross the desert, let Eshmel, Dietrich, and your healers advance instead of making everyone chase stragglers. Even with Aurora active, recheck the magic damage forecast during a direct assault. If you would still take over sixty damage, do not take the hit head-on.
Approach 2: keep your main units to collect all treasures. Once most minibosses are down, have Eshmel switch to collecting treasure. When the boss starts charging, check the remaining treasure before ending the battle. Calculate damage before engaging: 84 Attack against 46 Defense still leaves a large gap. Do not send a wounded unit to take that hit.
Reach Klapka quickly in the ruins
The ruins allow only 9 deployed units. If you want Theodora’s conversation involving her ancestor, reserve a slot for her before deployment. Remembering after battle starts is too late.
Klapka advances on his own, so move toward the allied units from the start. If you have been clearing enemies above, bring Eshmel down to help. Prioritize saving Klapka; do not hold back your main attackers just to save every allied unit. Rescue him even though he is not listed in the defeat conditions.
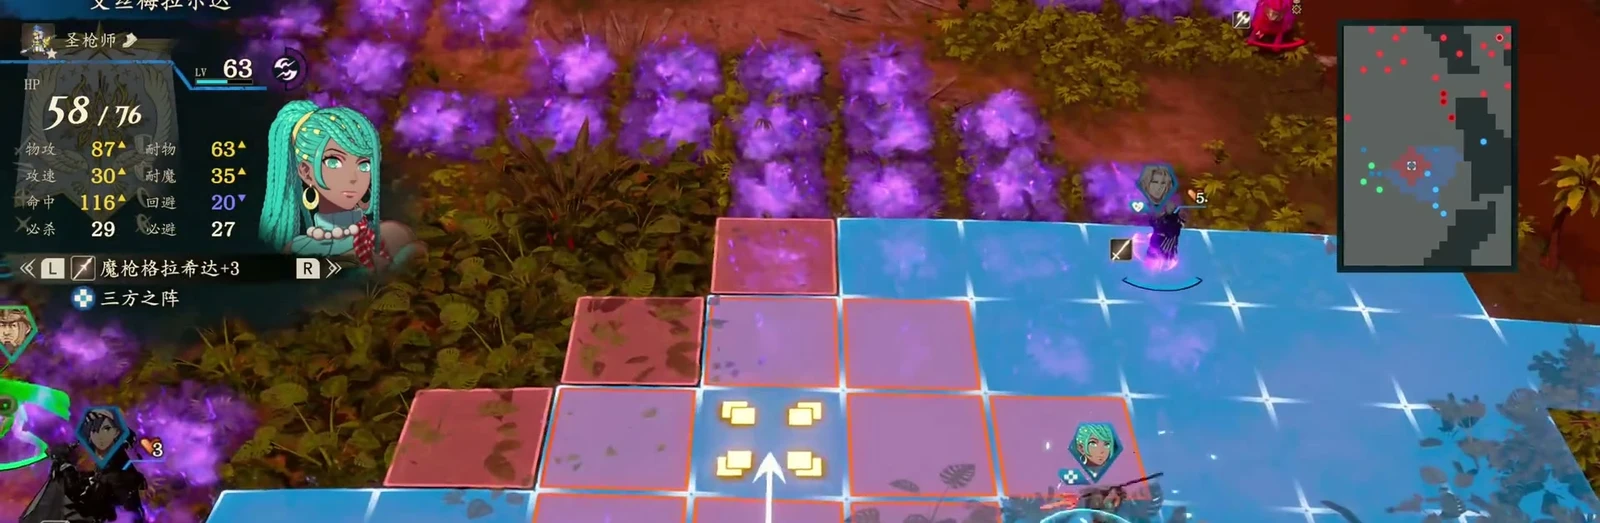
Approach 1: draw enemies away with Catania. Have her attract enemies to relieve pressure on the allied side. If she cannot survive, Rewind and activate Kalla. Dietrich can use Wrath Miasma’s doubled Critical while on the ground; flying units do not receive this bonus.
Approach 2: occupy the path to slow allied units. Put your units in Klapka’s way and try blocking the bridge to keep him from rushing farther ahead. Blocking may fail, so finish the boss quickly once your main attackers are in place. After activating a blessing for your army, keep checking whether Klapka is safe.
Wrath Miasma also halves Defense. Check enemy Critical and counterattack damage before entering it. Enemies with 34 Critical can still kill your units, while your own 89 Critical can fail to trigger. Activate a shield first if you cannot survive. Check the counterattack forecast before finishing the boss: Dietrich faced 100 Hit, so if his opening attack does not crit, he must take the counterattack.
Send a squad back to the imperial capital afterward
After the ruins battle, send a squad back to the city to trigger Klapka’s recruitment conversation. You do not need to wait for the next chapter. As you continue reorganizing, save proficiency books for units just short of a class requirement. Spending them all early can leave too few for everyone else.
 Aswan
 Tahonia