

Chapter 6: To the Edge of TwilightMajor spoilers
Chase Lyrah with fliers after she relocates. Against Balor, position mages and main attackers before breaking gates and stripping barriers, and save emergency actions for the final HP bar.
Bring Eshmel, Dietrich, fliers, and a Dancer and healers who can support your main attackers. Chase Lyrah with fliers once she returns to human form, and use an extra action to finish her when you can. Against Balor, divide your strongest units among the three deployment areas. Move ranged mages into range first, then break the gate and attack the boss in the same turn. The barriers reset with each new HP bar, including the last one. If your main attackers have already acted, leave the gate until the next turn. If you restarted this chapter, trigger your unlocked support conversations again before the final battle so you do not lose character choices at the ending.
Finish supports and mounts before departing
Use your final training sessions only on goals close to completion. Prioritize proficiencies near S+ and allow time to return to the city and travel to the objective. Check mount star ratings while preparing. A unit whose horse still needs feeding but whose wyvern is fully fed can switch to the trained wyvern; do not discover an unfinished setup after battle begins.
After restarting the chapter, go through the support conversations again in your current save before departing. Viewing them and replaying the final battle increases the character choices available at the ending.
Reserve an extra-action slot against Lyrah
Approach 1: assign Sirocco to group healing. With only 17 deployment slots available, bring only one Dancer and give the other slot to Sirocco. Use Fortify when reinforcements wound several units. Have spear users wear down Lyrah’s monster form, then grant another action with your Dancer.
Approach 2: let Leda attack and Sirocco grant extra actions. If Leda is already strong enough to fight, put her on the front line. Make Sirocco a Dancer with a Levin Sword so your strong attacker can keep using her actions to deal damage. If you lack healing, bring Fabio to fill that role.
Chase Lyrah with fliers after she relocates
Move your pursuit units forward before the monster phase ends. Lyrah relocates when she returns to human form, so do not leave your main attackers far away. Catch her with fliers, attack, then withdraw. Accelerate can help you reach her, but check whether your Combat Art will deal enough damage before attacking.
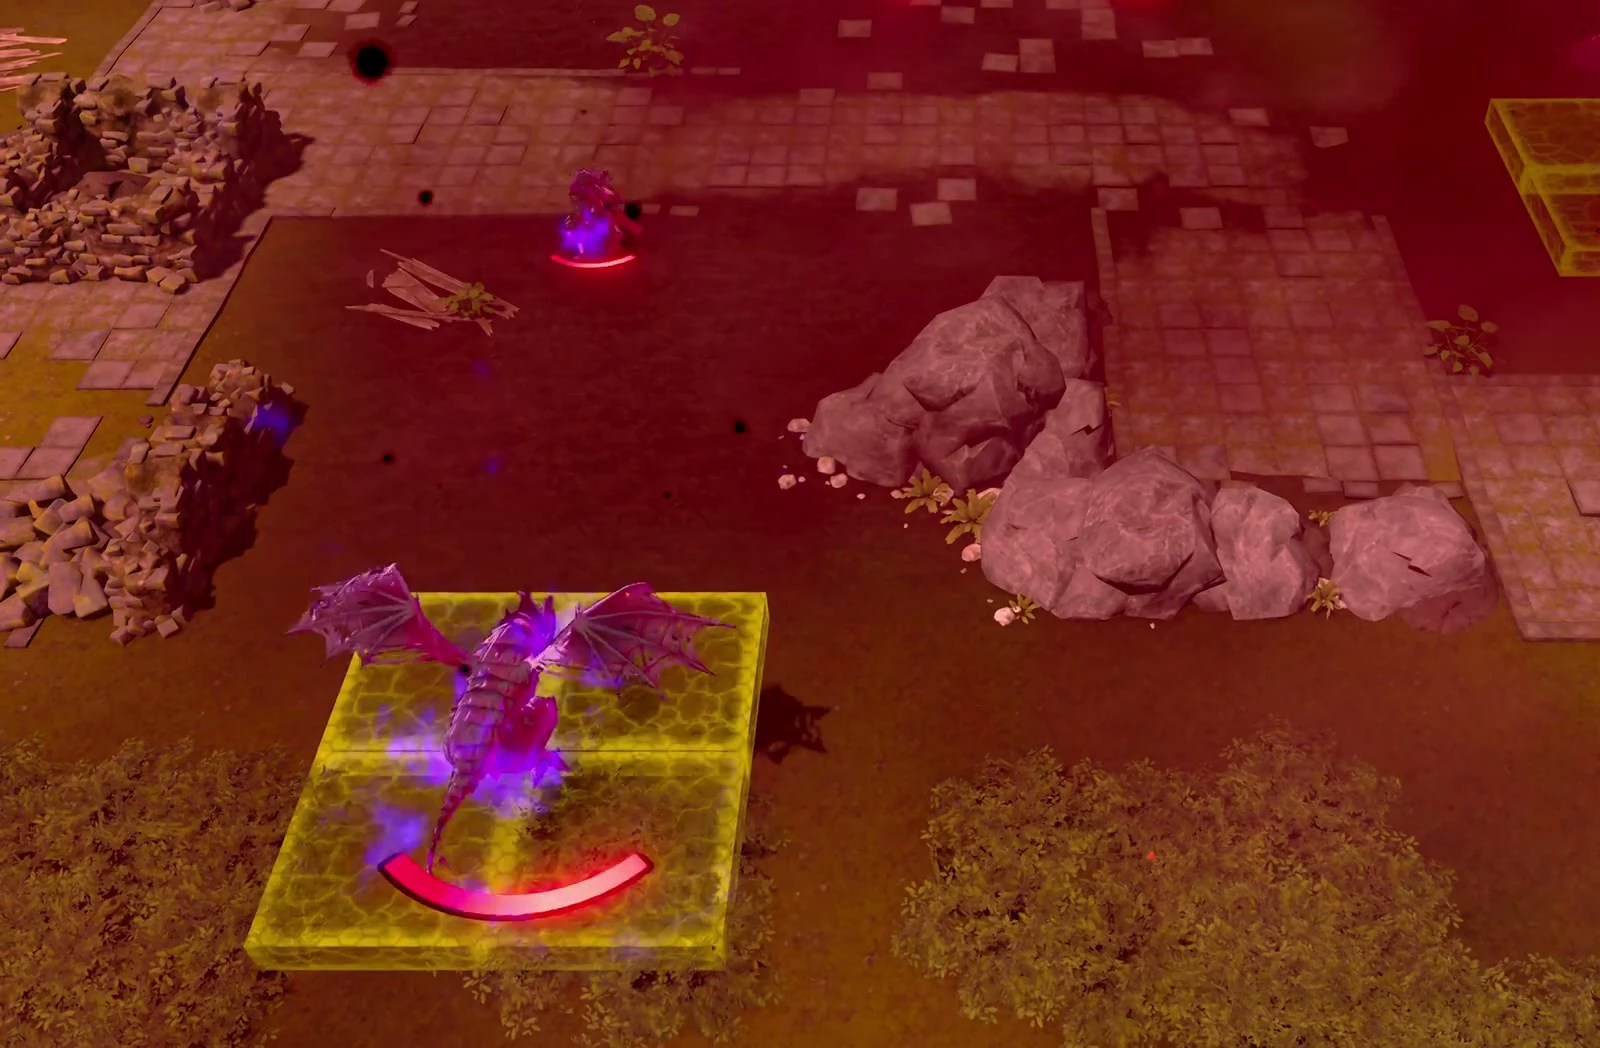
Check the Bolting and follow-up forecasts before taking Lyrah’s attacks. Her human form can have three Bolting uses, and slow units may die to a follow-up. Check the counterattack even when Dietrich moves in for the finish. If he dies unless he crits, do not gamble on it. Keep second-string units behind instead of taking attacks for your main force.
Account for where enemies spread miasma as you move. Both enemy movement and waiting can change the ground, and stepping into it removes your chance to counterattack. Do not leave ground units in miasma expecting them to clear enemies with counters.
Once you can kill Lyrah, use your Dancer to grant the finishing action. You do not need to clear all reinforcements first.
Spread your strongest units across the three groups
After Lyrah’s battle, collect the labyrinth chests before distributing stat boosters. If Eshmel will be your main attacker in the final battle, you can concentrate them on him.
When deploying against Balor, place Dietrich on the right rather than in the same group as Eshmel. Give Eshmel’s group a Dancer and healing. Do not fill the right side entirely with fragile units, or move Dietrich into danger early just to get one extra Dance.
Deal with Bolting enemies at the start. Use your Dancer to help Eshmel approach and kill them, reducing the number of long-range attacks you take. Withdraw second-string units if they cannot deal damage. They cannot endure hits like your main units and may fall after just two.
Position mages before breaking Underworld Gates
Move Bolting users and other ranged mages within actual attack range before preparing to break a gate. Even with Accelerate, they may still fall one tile short. Gates repair themselves after breaking, so wait until your main attackers are ready.
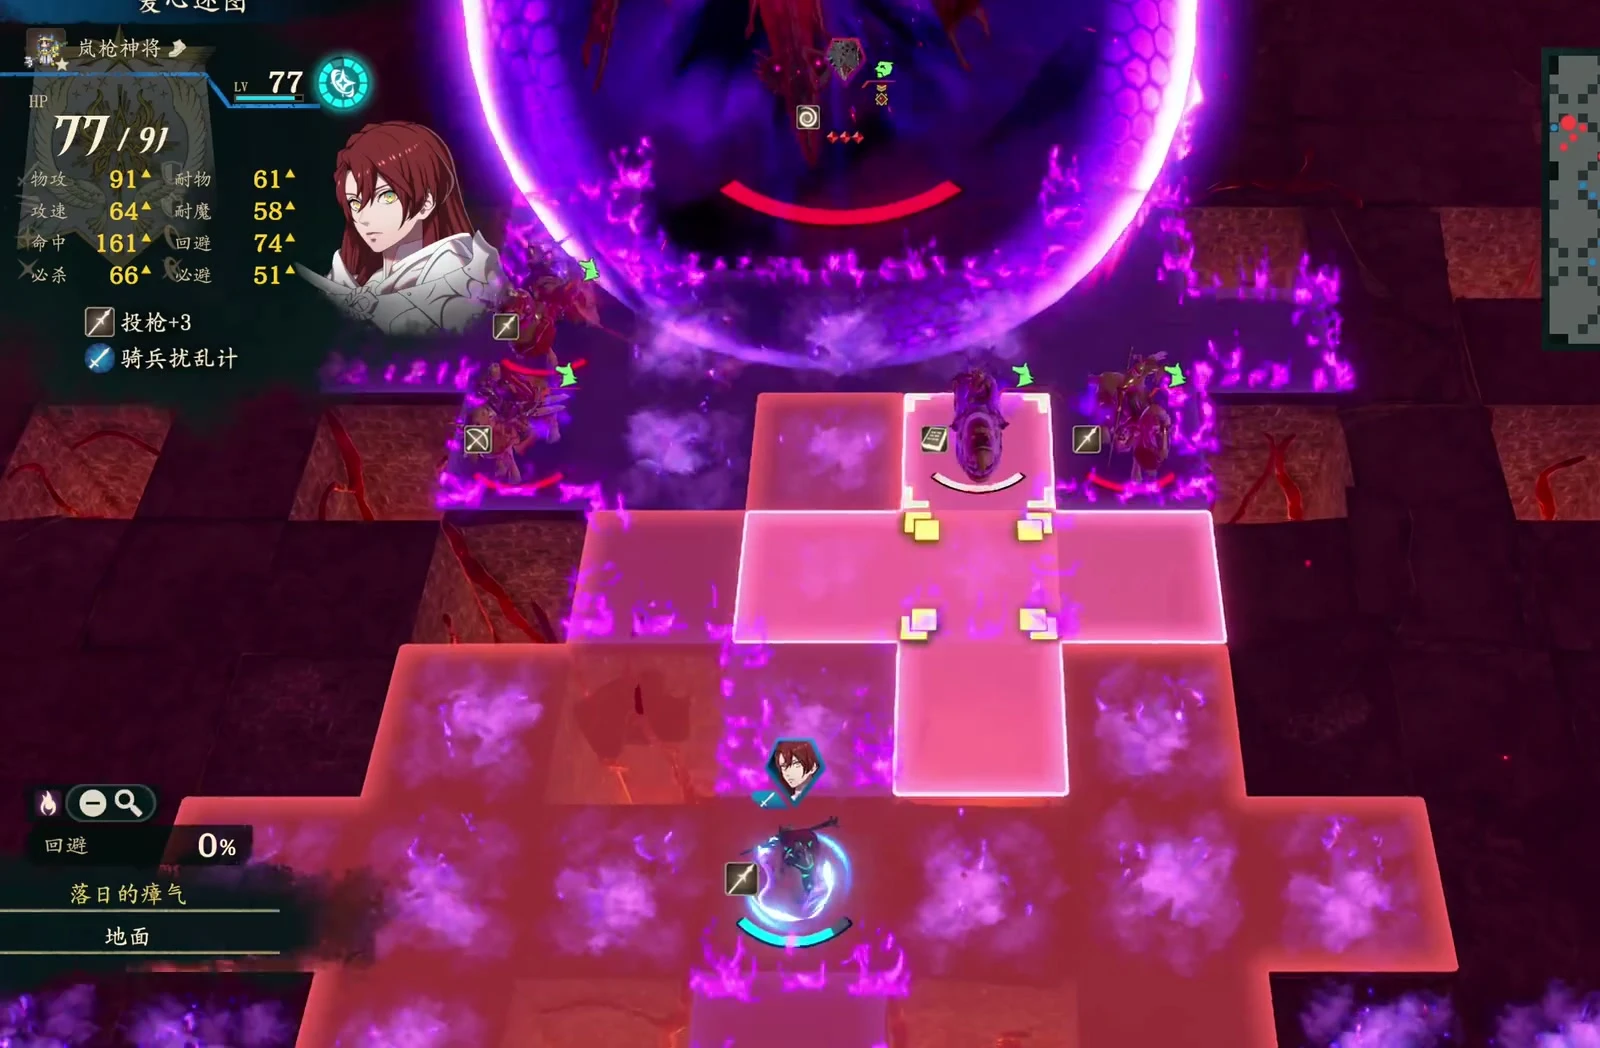
Each turn, check which gate is active before sending units toward it. Your planned target may already have become inactive. If the next gate is in the lower left, leave units to handle it instead of surrounding the boss with everyone. Leave a gate intact if no one can attack the boss after it breaks this turn.
Break the barriers again after each HP bar
Balor has eight barrier layers, and breaking one gate removes four. You can strip the remaining layers by attacking the boss directly. Have each Bolting mage attack once before your main attackers, such as Dietrich, deal damage. This keeps your strongest hits from being wasted on a full barrier. Recheck the barriers after removing each HP bar. They also recover every turn, so strip them and commit your main attacks in the same turn.
Approach 1: focus damage after breaking a gate. Have outer units break gates while your main attackers save their actions for the boss. Organize the next round after each HP bar; do not break gates before you can use them.
Approach 2: strip barriers directly with high-Resistance units. Units who can survive the boss’s magical counterattack can move close and take turns stripping barriers, avoiding the wait for a gate to become active. The cost is taking cross-shaped counterattacks and losing maximum HP. Individual hits in a multi-hit attack do not each remove a separate barrier layer.
Protect the outer units on the final HP bar
Check damage again on the last HP bar. Do not spend everyone’s actions assuming it will fall as quickly as the earlier bars. If you cannot finish the boss, have Cai clear enemies threatening the outer units first. If all your main attackers have acted, save the gate for next turn so you do not break it with no one left to deal damage.
On the next turn, break the gate, heal with Fortify, then use Leda’s extra actions to let your main attackers finish the boss. Save this turn’s actions for units who can secure the kill instead of letting outer units keep dealing scattered chip damage.
A duel follows the boss’s defeat
After Balor falls, continue farther inside. Eshmel still has one final duel. Ordinary spear attacks are enough and work better than Combat Arts.
Choosing another ending requires another battle
To view another character’s ending, you can resume from before Balor’s battle, but you still need to replay the final battle before choosing again. Complete your current save’s support conversations before your first departure to avoid another replay solely because you missed them.
Actions and new recruits this chapter
| Category | Details |
|---|---|
| Free actions | 84 turns |
| Joins this chapter |  Klapka |
| Return restriction | You cannot return to the city after entering the Temple of Balor |