

Chapter 5: Divine Emperor DagdaMajor spoilers
Bring enough healing uses. You can wait out three artillery shots before advancing; heal on the high ground, then wait for the story to break the dragon form’s shield and save a finisher for its last HP.
Bring  Sofia. You can replace one wyvern-mounted unit with another healer, since this long battle can exhaust your healing uses. The opening Warriors hit hard, and human-form Dagda advances too. Afterward, handle the artillery with a high-Resistance unit and wait out its three shots before advancing. Wyvern reinforcements still appear on the way to the high ground. Heal your squad once you reach the healing tiles, and dismount mounted units to cross the stairs. Wait for the story to break dragon-form Dagda’s shield before focusing attacks. Check counterattacks before committing, save someone to finish low HP, and keep Luna Λ for the final blow.
Bring one fewer wyvern unit and another healer
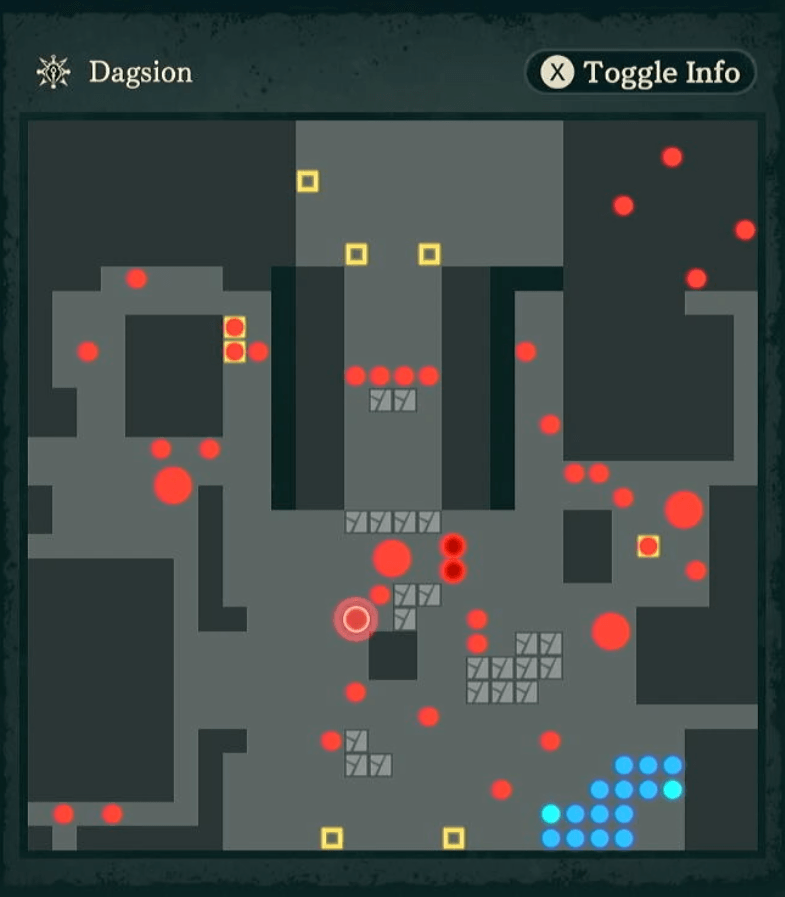
If you have several wyvern-mounted units, leave one out for an extra healer. Bring Sofia. One or two healers may not have enough uses for the whole map. Discovering that healing is almost gone only near the high ground makes the later artillery and reinforcements harder to handle.
Warriors hit hard and Dagda advances
Check the combat forecast before taking attacks from the opening Warriors. Even 38 Protection may not be enough. Human-form Dagda moves forward while you are still clearing minor enemies. Reserve units to handle him instead of planning everyone’s actions around a stationary boss.
After defeating his human form, clear the remaining minor enemies before advancing toward the dragon form.
Clear the left artillery or wait out three shots
Use a high-Resistance unit against the magical artillery. Check remaining uses after each shot and wait until it is empty before moving the rear line through. A pegasus can also take this magical artillery fire.
Approach 1: actively clear the left side. Before advancing toward the center, remove the two bow emplacements on the left instead of leaving them firing. Fliers can approach the artillery by flying up the side of the high ground; the whole squad does not need to crowd the stairs.
Approach 2: wait out three shots before advancing. Instead of rushing the artillery, exhaust its 3 shots first. When you reach the other emplacement above, wait for its 3 shots too before climbing. This means taking artillery fire first. Wait until the upper emplacement also runs dry before moving your main force in.
Wyvern reinforcements continue near the high ground
Four wyverns appear on the right. Keep units ready for reinforcements even after clearing the current wave: more come after a wait, including as you approach the high ground. Your advancing squad cannot focus only on the artillery ahead.
Heal above, then dismount for the stairs
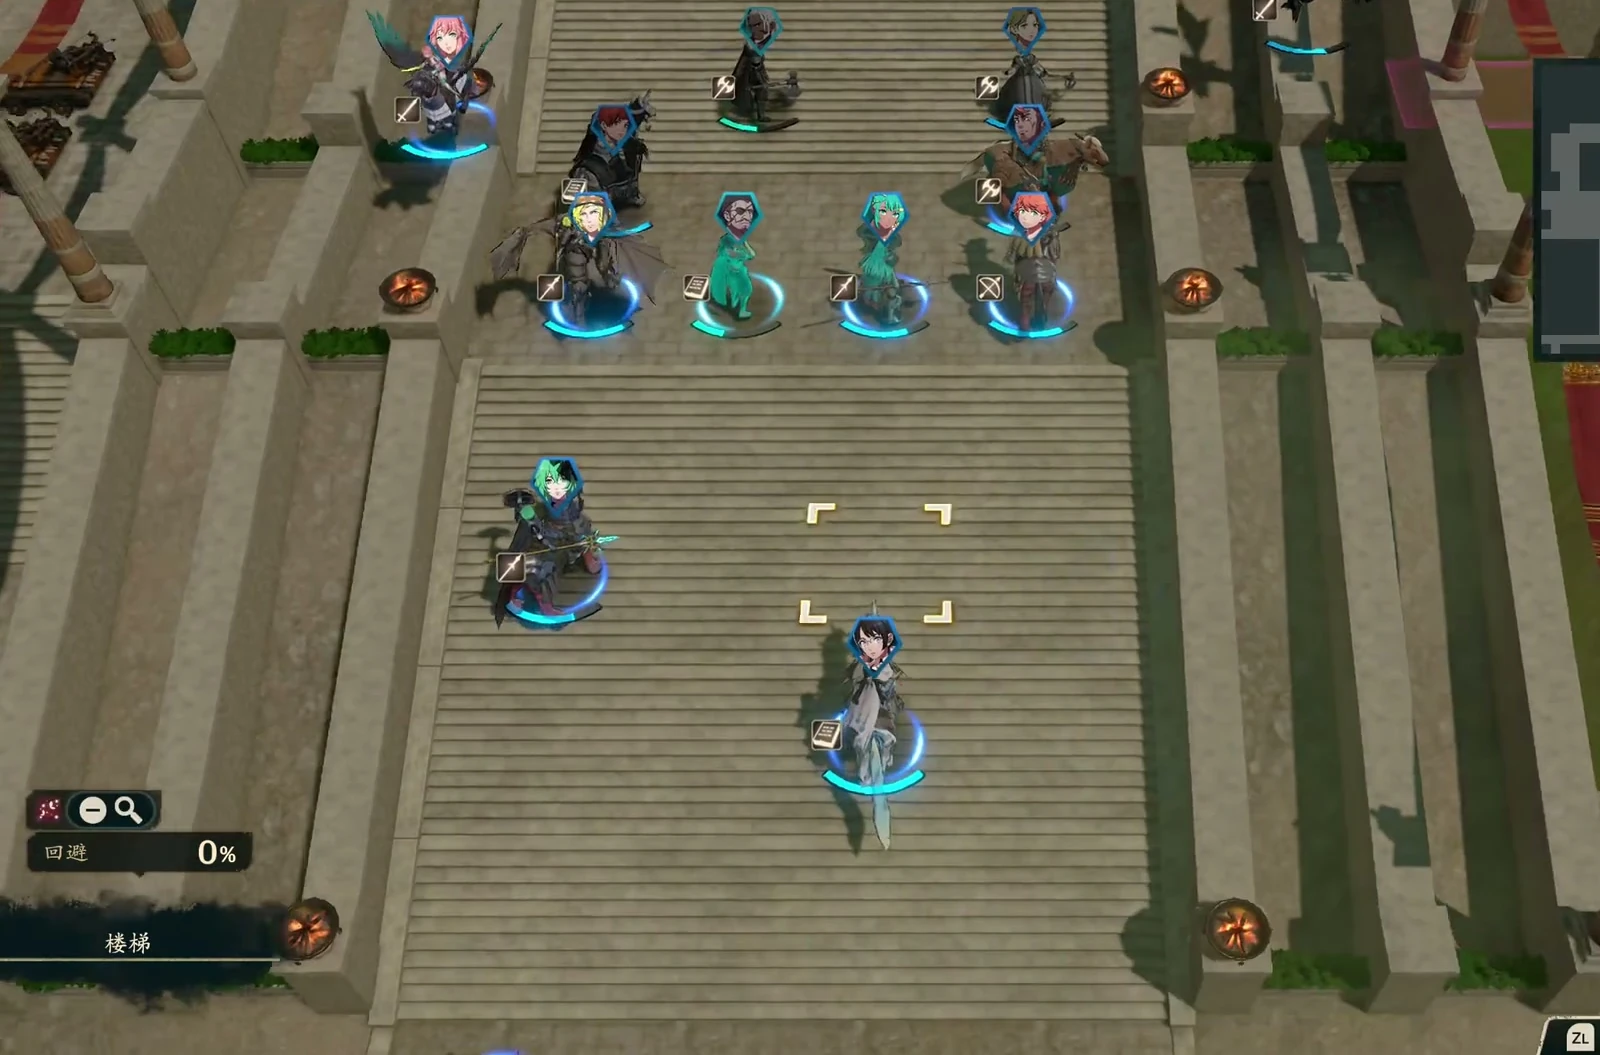
Once you reach the upper healing tiles, stop to restore your squad’s HP and ease pressure on healing uses before facing the dragon boss. If mounted units cannot move along the stairs, dismount to cross them. Fliers can go up along the sides instead.
Wait for the story to break the dragon form’s shield
When you first approach dragon-form Dagda, his invincibility shield prevents damage. After engaging him, wait for Eshmel’s aid in the story to remove it, then focus your offense. More normal attacks cannot substitute for the story event that breaks the shield.
Even after the shield breaks, check each attacker’s counterattack forecast. A single counter from Dagda can kill the attacking unit. Cutting Gale is effective against his dragon form’s flying trait and is an attack option, but check whether its actual damage can secure the kill.
During the phase when his HP cannot fall below a threshold, save another unit for a finishing blow and keep  Luna Λ for the last hit. Even after reducing him to 3 HP, you still need someone else to finish. If you cannot complete it this turn, continue next turn. Do not spend everyone’s actions because one forecast shows lethal damage.
Recheck damage when switching weapons for the finish. Even The Nameless may deal almost nothing. If your protagonist still has an action for the final hit, you can give them the boss experience.
Chapter objective and boss
| Category | Details |
|---|---|
| Victory condition | Defeat Dagda |
| Boss | Dagda |