

Chapter 6: The Underworld IncarnateMajor spoilers
Exhaust Bolting from a Healing Circle in the first battle and save ranged attacks for the central barrier row. Reorganize the right squad for the escape, activate Kalla before Cai moves, and select Escape at the destination.
In the first battle, have a mage take Bolting from a Healing Circle and advance only after its uses run out. If Cai is already strong enough to fight independently, let him lead the offense. Clear reinforcements before approaching Lyrah and save ranged units for the central row of barriers. Fabio with Resistance in the 40s and chariot units can help break the shields. Before the escape, check healing and Cleansing Blades in Bertrand’s group on the right. Removing allies fills their slots with NPCs, so deploying fewer units does not let you skip that route. Activate Kalla’s Blessing before moving Cai, then use Canto after attacking to cover distance. Clear enemies blocking the destination and select Escape once you arrive.
Exhaust Bolting from a Healing Circle

The opening enemies are tough. Activate a blessing if normal attacks struggle to deal with them. If you need ranged damage, check counterattacks first; ranged attackers can still face counterattacks. Let a mage take Bolting while standing on a Healing Circle, and advance after the enemy runs out of uses.
Recheck Bolting users after each section of the advance. Using up one mage’s Bolting casts does not account for another caster farther back. An enemy carrying Bolting may also choose not to use it for a turn. Do not move fragile units into range just because it was not cast this round.
Draw enemies off Avo Spots before attacking
If an enemy stands on an Avo Spot, check its terrain before attacking. These tiles grant 40 Avoid, and repeated low-Hit attacks can be stalled further by enemy healing. Before ground units cross rubble, check their destination: some open tiles can hold only fliers.
Approach 1: wear enemies down from a Healing Circle. If enemies refuse to come out, have Theodora throw stones near a Healing Circle and retreat afterward. If you keep making no progress, reposition around the Healing Circle to draw enemies off their Avo Spots.
Approach 2: advance with Dietrich alone. If you already have a setup that heals on critical hits, let Dietrich focus on clearing enemies. Include smaller heals on critical hits to cover gaps when the major heal fails to trigger. This approach depends on healing from crits; without a critical hit, he may not survive.
After reinforcements appear, place a defending unit on a tile that restores 30 HP each turn to take attacks. If Bolting remains, hold position instead of rushing forward.
When you find the enemy carrying a Cleansing Blade, prioritize taking the Cleansing Blade +1 for the later escape battle.
Break Lyrah’s central barrier row from range
Confirm that reinforcements have stopped before gathering near Lyrah. Even if a chariot can charge right up to the boss, check whether it survives after attacking. Diving in risks an immediate death. Merely chipping away with low damage is not enough either; she may heal more than you deal.
Fabio, with Resistance in the 40s, can break shields. His 3-tile Range magic lets him join this round of attacks. Leave room for chariot units to break through and check their remaining uses first. Melee positions along the central row are awkward, so reserve ranged attacks for it. Check that later spells can actually be cast from their planned tiles too.
Keep fighting after defeating the earlier form: three more HP bars remain. Reinforcements also spawn in this phase, so do not focus everyone on the boss while ignoring surrounding enemies.
Give the right escape squad healing and damage
In escape preparations, check Bertrand on the right first. You cannot remove him, and other empty slots are filled with NPCs. Trying to run with only the protagonist leaves the right side with an even harder-to-protect squad. Give that group healing and check which units can use Cleansing Blades. Do not make all its damage depend on one Cleansing Blade attack landing; a miss may leave it unable to hurt the enemies.
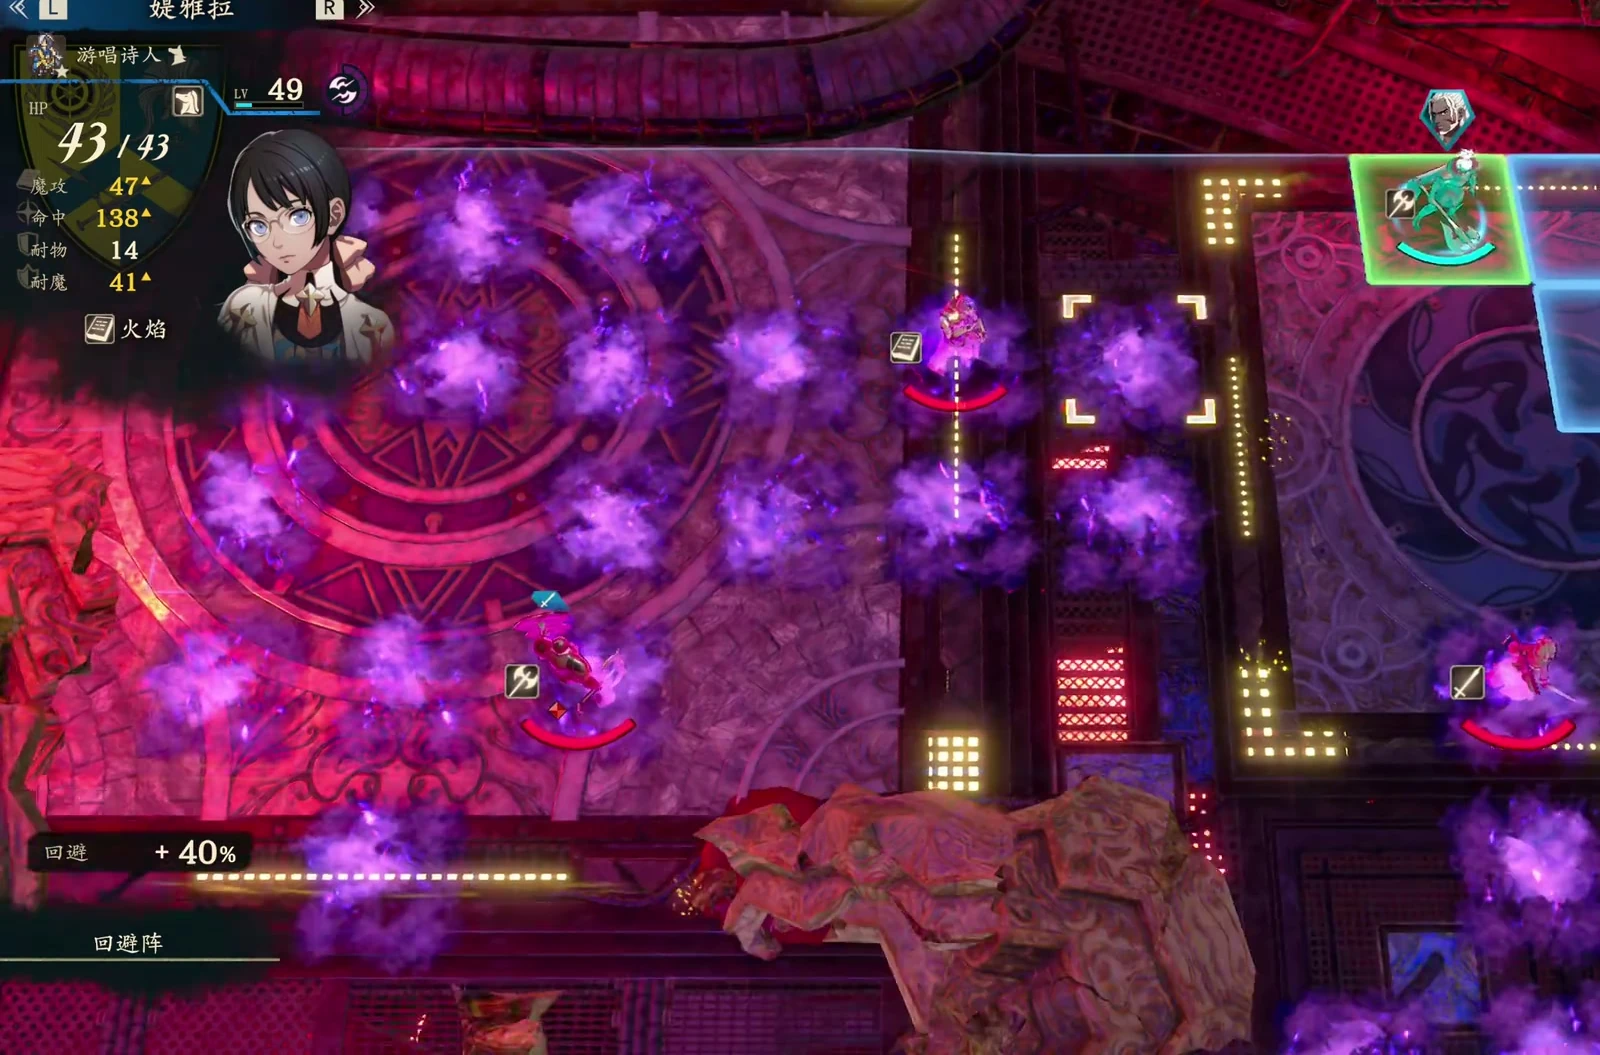
The right side can hold an Avo Spot and activate Kalla’s Blessing, but enemies can still show 26% Hit afterward and may hit. Recheck skills before battle instead of carrying the previous fight’s setup straight into the escape.
Activate Cai’s blessing before moving
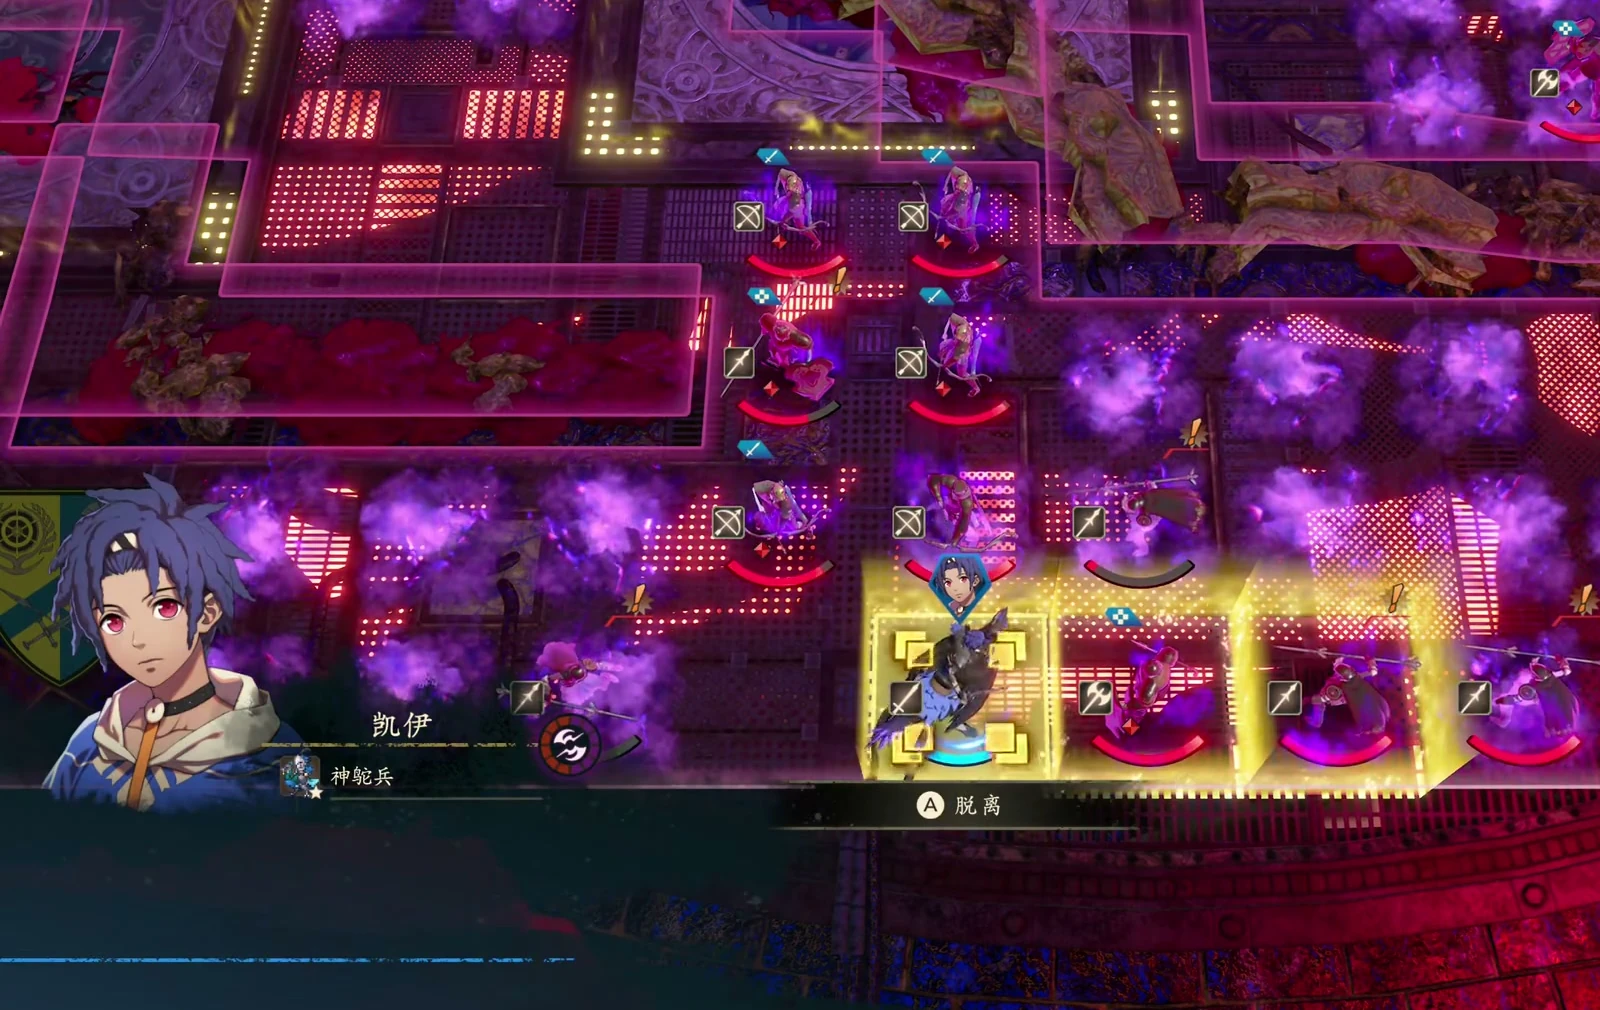
Activate Kalla’s Blessing before Cai moves so he can cover more ground. Use Canto after attacks to extend his travel, and plan your route so you have a target to attack along the way. Miasma removes half your HP, so do not calculate routes from enemy damage alone. Avoid those tiles even when rushing.
Prioritize the Cleansing Blade for damage during the escape; the Levin Sword struggles to hurt these enemies. Even the Cleansing Blade has trouble with the escape battle’s armored enemies. Clear anyone blocking the destination entrance before entering.
After the protagonist reaches the objective tile, select Escape. Merely standing on the tile does not end the battle automatically.
Defeat Lyrah in the first battle
| Battle | Victory condition | Boss |
|---|---|---|
| First battle | Defeat Lyrah | Lyrah |