

Chapter 1: The Liberation of DagsionMajor spoilers
Open at range with Eshmel and sustain on healing tiles. Check reinforcements’ equipment, move enemies within his two-tile nullification range, then break the barrier and focus the boss.
Of the opening trio,  Eshmel handles the main offense,
 Hong Hua avoids boss counters, and
 Troy heals. The others rely on the healing tiles behind them for sustain. The barrier, miasma, and encirclement after you deplete the first life bar mark the key transition. Do not leave all three in the middle of the surrounding enemies. When reinforcements arrive, check weapons and orbs first, then position Eshmel within two tiles of your targets to remove Underworld Boon's effects. Against Dagda, have Cai break the barrier with a Blaze Art and withdraw. Eshmel deals the main damage and takes hits; heal him before continuing when HP is low.
Keep the opening trio safe from counters
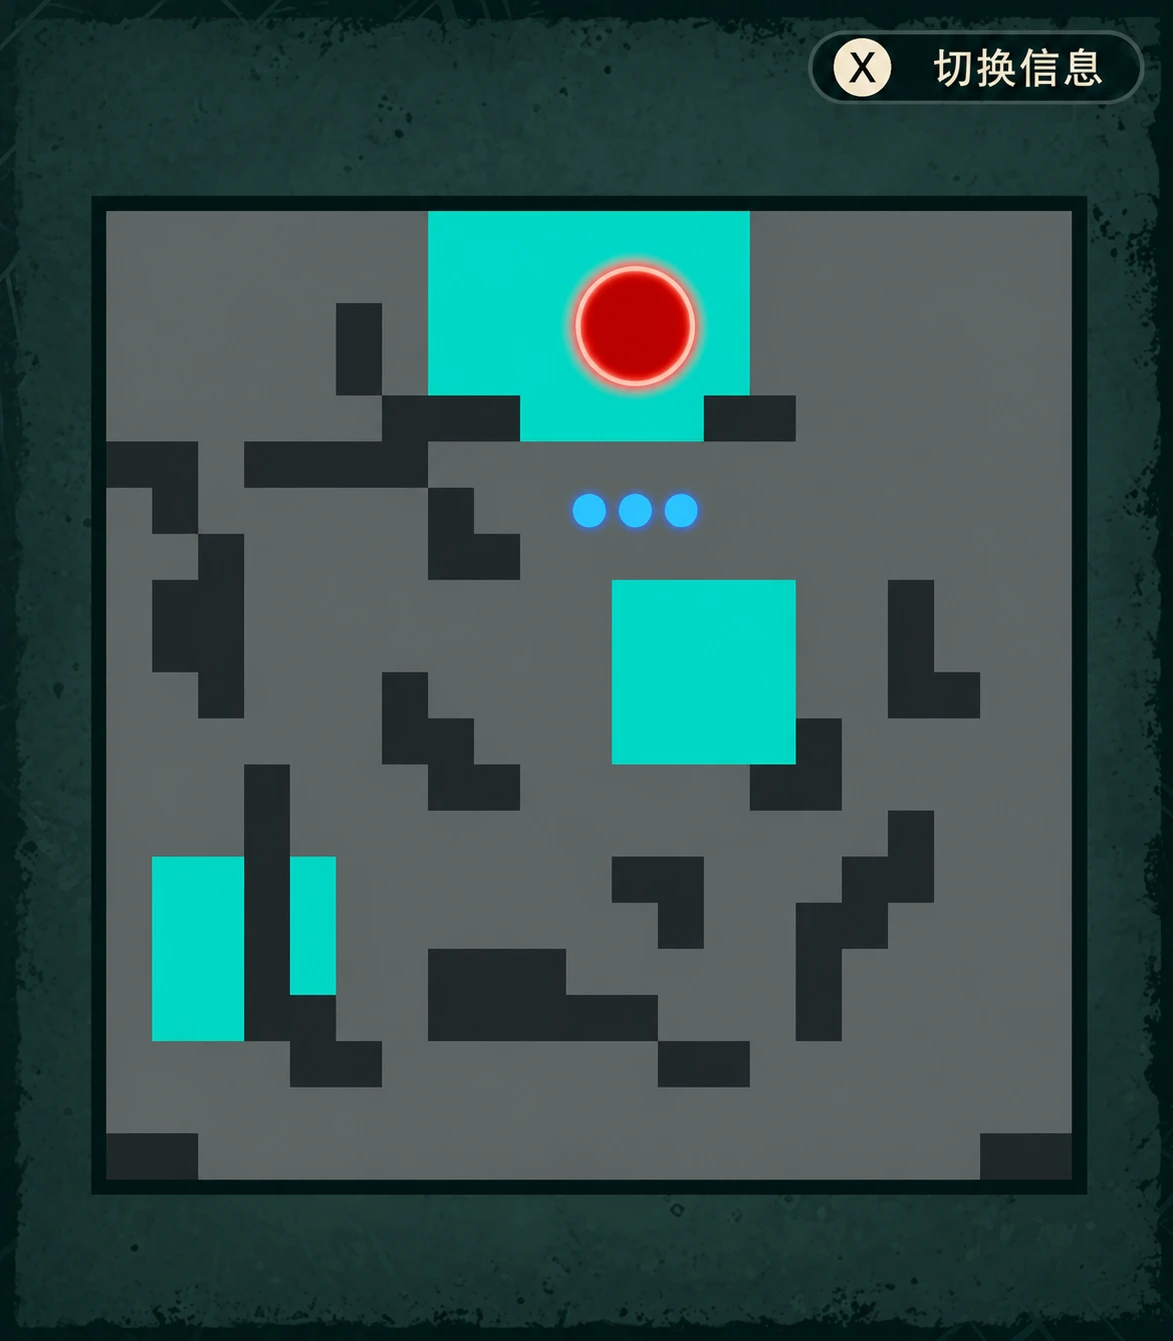
Check that your Blessings are equipped before starting. Eshmel uses a long-range Blaze Art from outside Dagda's attack range. Do not bring Hong Hua up with him: the forecast shows her dying to a counterattack. Even if Troy survives a counter, another boss hit kills her, so keep her healing. Hong Hua has no White Magic; have others retreat to the rear healing tiles when they need HP.
Dagda's HP is locked at the start, so you cannot kill him this round. His second life bar brings a barrier and many enemies that fill the available spaces. Find a sustainable position by the healing tiles before dealing with the encirclement. Miasma prevents follow-ups, so keep dealing damage with Eshmel's Blaze Arts instead of counting normal-attack follow-ups toward a kill.
Check reinforcements' weapons and orbs first
Check the reinforcements' equipment when they appear to see what they can do. Their previous Levin Swords did not carry over, so do not assign roles using Part 2 ranges and damage. An ally who relied on critical-hit healing cannot keep pushing forward with the old recovery loop if their original orb is missing. If flank enemies cannot hurt  Theodora, let her handle that side alone. Troy keeps healing those who need it, while others recover on healing tiles.
Move enemies within the two-tile radius
Before allies attack flank enemies, move Eshmel so the target is within Light of Salvation's two-tile radius. The enemy's position matters. An ally beside Eshmel may still deal little damage if the enemy is more than two tiles away. Do not send a flanking group so far away that the main party cannot reach it. Include archers when calculating incoming damage before ending actions, especially if HP is low and no ranged healing is available.
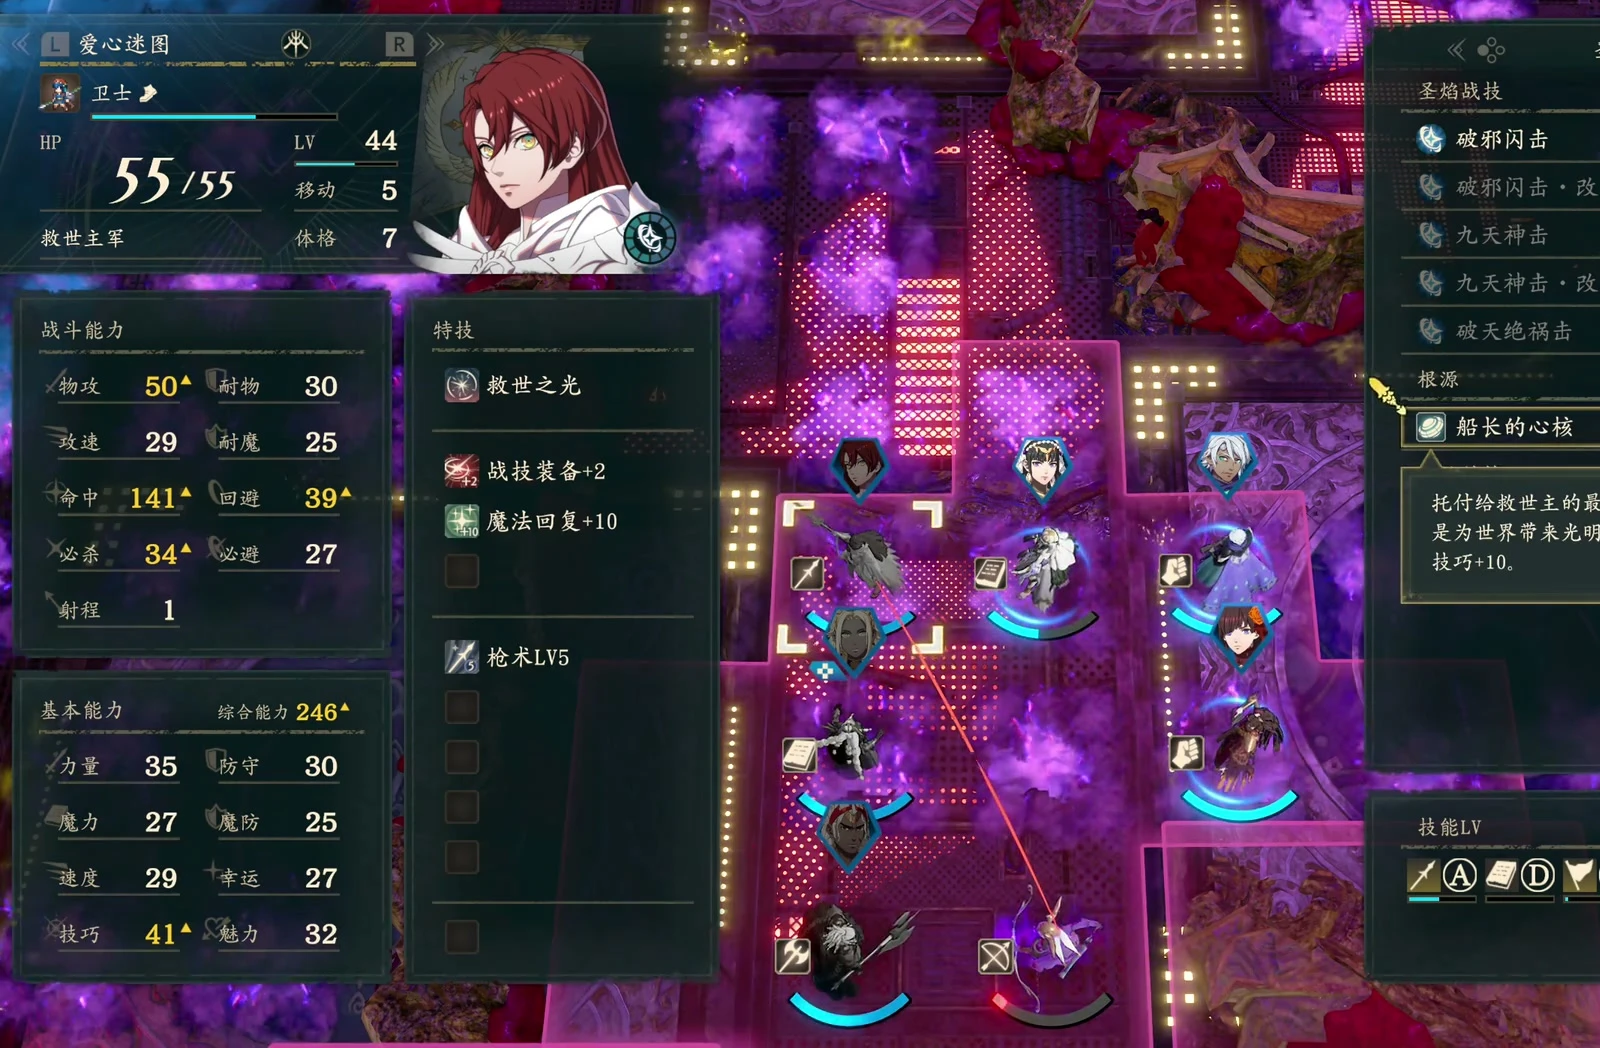
Before attacking an enemy above, check whether it stands on an Avo Spot. Land the hit before sending later units deeper. Have Eshmel talk to arriving allies as you clear enemies, and check afterward for anyone he has not spoken to.
Break the barrier before attacking Dagda
Clear the surrounding burning terrain before approaching the boss, then check each unit's counterattack forecast. Hong Hua and other attackers should not take lethal counters for extra damage. If the forecast shows 73 damage, enough to kill the current unit in one hit, cancel the attack and leave the main offense to Eshmel, who can survive.
Move Eshmel farther forward and confirm Dagda is within two tiles. Have  Cai break the barrier with a Blaze Art, then use Canto to withdraw after throwing a stone. Cai deals very little damage when attacking the boss directly, so leave that to Eshmel. If the barrier remains and you cannot hurt the boss this turn, handle it next turn.
Eshmel's Blaze Arts do not reduce maximum HP, allowing him to keep leading the offense, but they still cost current HP. One long-range move consumes 33 HP per use. Have Troy heal him before attacking again. Even if he can still act after a Blaze Art, check whether he can use another this turn before planning the kill order.
Retrieve allies before comparing merges after battle
At the start of True Strength's free time, recruit your allies again in town and check for any remaining green character icons. Then compare merges in the Obelisk Hall. Include mounts when choosing a version. You can choose Nezha's mounted version from Cai's route; confirm he still has the mount when retrieving him. Reassign Levin Swords and other weapons afterward instead of keeping the temporary reinforcement loadouts.
Compare stat gains from a merge first, then how much it raises the level. You can skip a Nezha merge that adds only 1 Speed for now. If a merge raises the level by 4, check whether the added stats are worth it rather than spending points just because the preview numbers increase.
Allies arriving this chapter
| Category | Allies |
|---|---|
| Protagonist guests |  Cai,  Theodora,  Leda,  Dietrich |
| Paralogue guests |  Bertrand,  Anatolia,  Orchel,  Talimun |