

Talimun's Paralogue: Secret of the Vanished CarriageMajor spoilers
Spread out in front of the exit to stop cargo carriers, then recover all cargo or defeat every enemy. If you miss September, you can accept it again October 1–10.
Return to All nine paralogues; full walkthroughs for eligible routes: Cai, Dietrich, and Theodora.
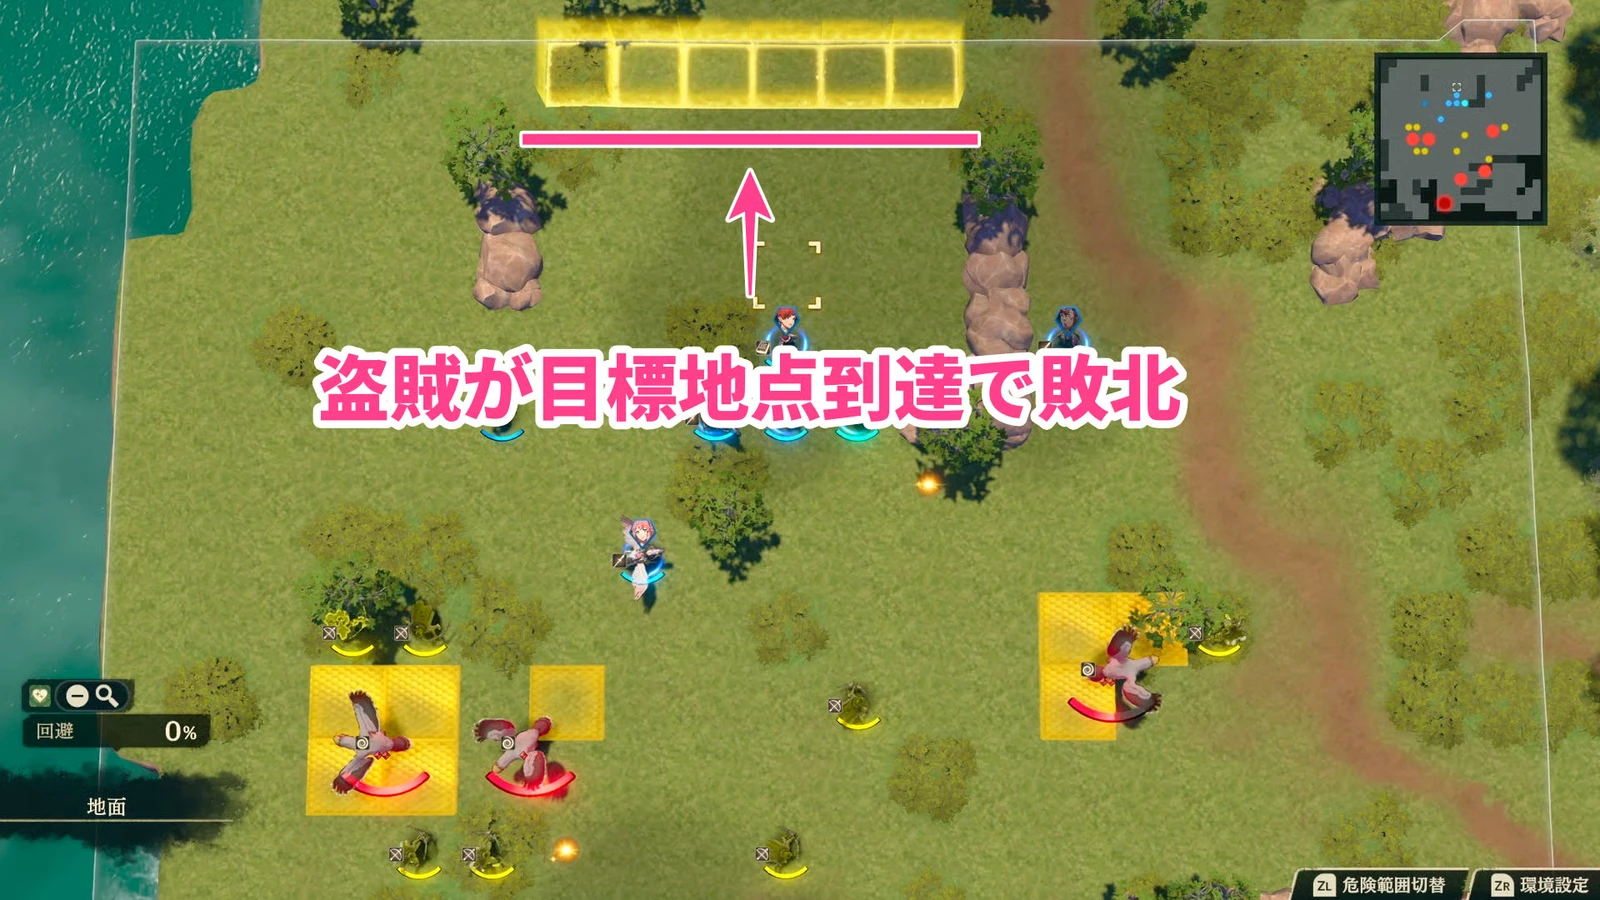
- Block the cargo carriers before choosing how to win. Recovering every shipment or defeating every enemy will clear the map, but you lose if a carrier reaches the exit.
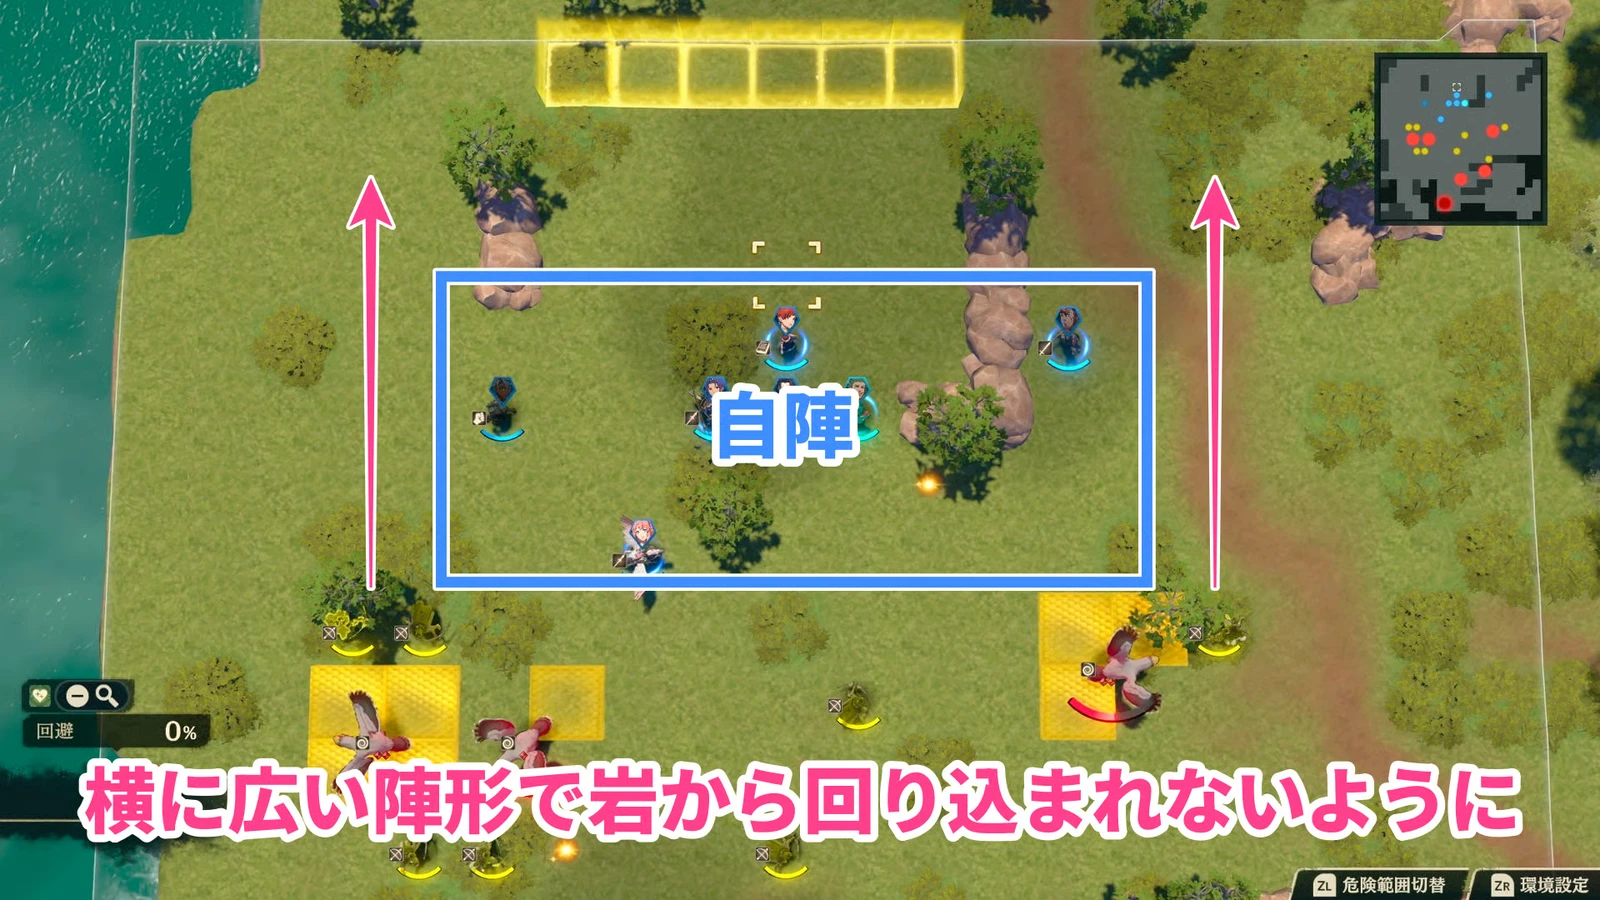
- Spread out across the approach to the exit and cover the paths behind the rocks on both sides. Sending everyone after the birds can let human enemies escape on the other flank.
- Missing September does not mean you need to restart immediately. A second acceptance window runs October 1–10. The quest is not continuously available between the two windows.
Victory conditions and map
Recover all cargo or defeat all enemies to win. You lose if a cargo carrier reaches its destination, or if your current protagonist or Talimun falls.
Accept the quest from Talimun near the Vandal Trading Company in Dagsion's lower harbor, then travel to Dragdon Ridge .
| Route | First acceptance window | Second acceptance window | Completion deadline |
|---|---|---|---|
 Cai Chapter 10 | September 17–22 | October 1–10 | October 12 |
 Dietrich Chapter 9; Chapters 10–11 | September 17–19 | October 1–10 | October 12 |
 Theodora Chapter 11 | September 17–22 | October 1–10 | October 12 |
 Leda | Unavailable | — | — |
On Dietrich's route, plan to accept the quest by September 19 during the first window. If you miss it, check the second window in October first.
Enemies and boss
| Name | Class | Abilities or behavior to watch | |
|---|---|---|---|
| Cargo carrier | Exact class unconfirmed | Highly mobile; carries goods toward the exit | |
| Large bird | Flying monster | Two HP bars; fights human enemies and competes for cargo |
Boss: Harpiya, a flying monster. Its exact class, attack weapon, and ability names remain unconfirmed. Even if ordinary birds deal little damage, check the boss’s damage separately.
Leave interceptors on both sides of the exit
Bring bows and combat arts effective against flying units, and leave interceptors near the exit. Giant birds have two HP bars, so wearing them down with basic attacks takes time. Effective attacks shorten those fights and leave you free to catch the carriers.
Stage 1: Set the defensive line first. Spread across the exit and cover routes around rocks on both sides. Each turn, select cargo carriers and inspect their movement range for ways around the line before assigning other attacks. Holding the center can still leave gaps on either side.
Phase 2: Use enemy infighting to soften targets, but keep intercepting. Birds and human enemies attack each other, letting you finish off weakened targets. Their fighting reduces HP; it does not guard the exit for you. Defeated carriers drop their cargo where they fall. Have an allied unit act on the cargo tile to recover it.
Stage 3: Choose the shorter of the two victory routes. Collecting all cargo early reduces fighting with birds. Alternatively, defend the exit and defeat every enemy without splitting formation for pickups. The latter suits teams that can clear birds quickly; decide from your own damage forecasts. If only one cargo item remains, collect it nearby rather than insist on a full clear.
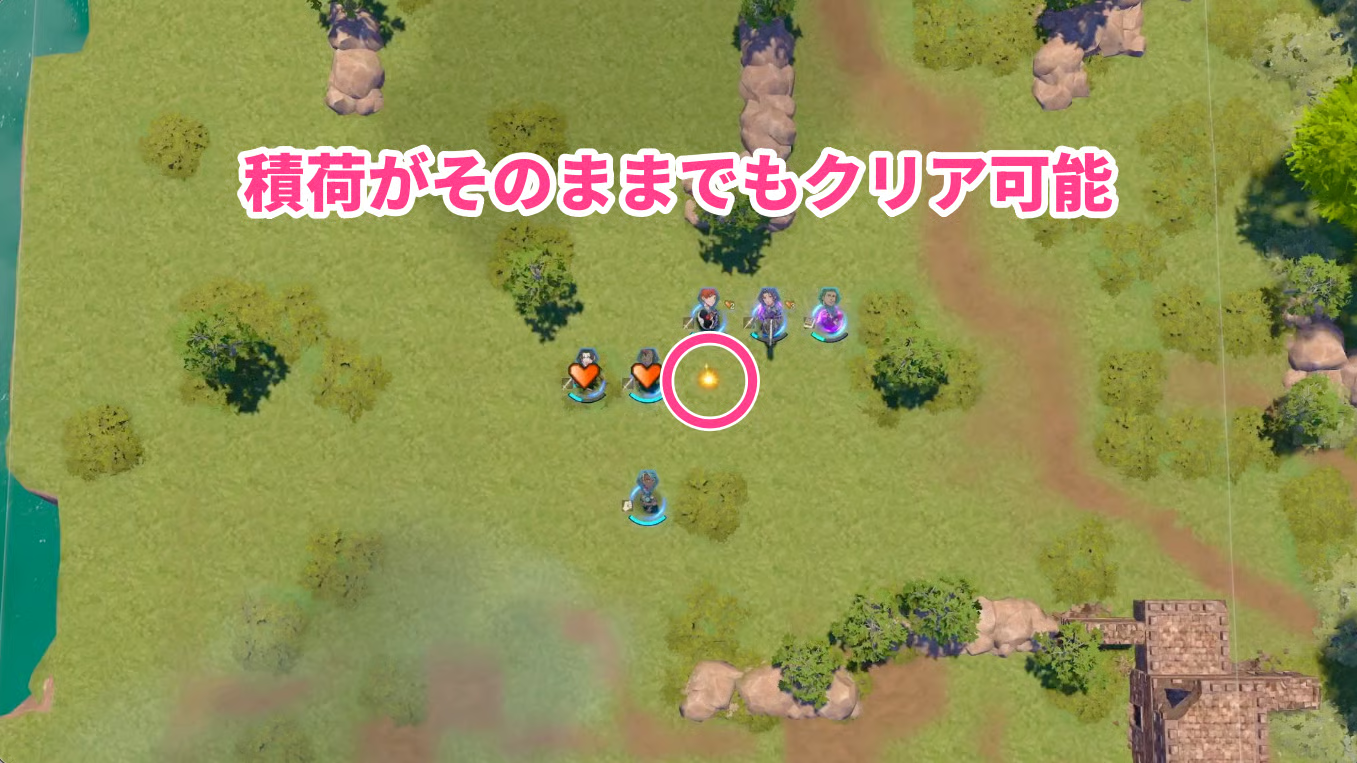
Prioritize interception and recovery if your damage is low; choose a full clear when you can do it reliably. Check the current enemies' combat forecasts before assigning cargo runners and healing.
Available rewards
| Item | Details |
|---|---|
| Base rewards |  Cleansing Blade ×1, 20,000 gold, 150 Renown |
 Ursula | Clears one recruitment prerequisite; check Support, Renown, and negotiation separately |
 Talimun | Linked to joining in Part 3 segment 1; he is a guest here and cannot permanently join in Part 1 |
| Chests, drops, stealing, battlefield recruitment | Full table unconfirmed; do not confuse quest cargo with settlement rewards |
Accept by the 10th and finish by the 12th in the second window
Keep watching the exit even when enemies attack each other. The likeliest defeat is a carrier slipping behind the rocks, rather than birds remaining alive. Keep the dates straight too: October 10 is the last day to accept the second window, while October 12 is the completion deadline. You still need time to travel from town to the battlefield.
Ursula still needs the remaining negotiation requirements
For  Ursula, check the recruitment entry before progressing further. Other recruitment conditions still apply after this battle. If doing it on September 17 on Dietrich’s route, confirm that day’s Bertrand's Paralogue: Friendly Match with Brigid's King is already handled. If doing it in October, check route availability and windows for Anna's Paralogue: Golden Secret and Anatolia's Paralogue: Queen of the Erased. Do not let a plan to finish the cargo battle on the 12th displace an earlier acceptance deadline.