Dietrich Part 1 walkthrough: Chapters 1–12 and eight paraloguesMinor spoilers
Watch Fabio’s Chapter 5 event, return on 9/17 for Bertrand’s paralogue, and finish Orchel before advancing Cai in October. Find Fabio during the final chapter’s free time to unlock Answerer Arisen.

Schedule timed paralogues before advancing the main story. In particular, leave time to return to town during the day on September 17 so you do not miss Bertrand’s paralogue.
Build four core roles and protect paralogue dates
Develop four roles first: main attacker, long-range damage, ranged healing, and physical tank.  Dietrich engages up front,
 Fabio casts outside counter range,
 Yang Jie trains White Magic for ranged healing, and
 Esmeralda absorbs physical pressure. Fill remaining deployment slots with fliers or a second mage according to archers, mages, and terrain. Fabio has long-range offense but no Physic. Keeping him beside allies to heal every turn leaves the front line short on both damage and ranged healing.
| Chapters | Before battle | Key points |
|---|---|---|
| 1–4 | Keep  Fabio; follow Chapter 4’s tutorial to recruit  Yang Jie and upgrade regular combat arts | Stop three devices in Chapter 3; avoid the chariots’ purple lanes in Chapter 4 |
| 5–8 | Leave 5 turns to reach the story objective from Mars’s branch temple in Chapter 5; bring bows or anti-flier arts for Chapter 8 | Early trial has a 10-turn limit, bell-tower confusion lasts 3 turns, and each naval trap works once |
| 9 | Accept  Leda’s quest on 9/2 and the warrior statue quest on 9/3; do  Bertrand’s paralogue during the day on 9/17 | Finish the statue search before advancing Leda; reserve at least 10 turns for the out-of-town story trip |
| 10–11 | Watch Fabio’s night event first on 9/29; take  Orchel first on 10/18, then advance  Cai after returning | Chapter 10 has only 20 free turns; fast-forward dialogue can consume paralogue travel time |
| 12 | Find Fabio first on 11/4, then negotiate with  Gaitz and upgrade equipment | Obtain  Answerer Arisen in the main battle; put an artillery operator and healer on each wing |
Give everyone recovery items and heal the protagonist promptly after movement Blaze Arts spend HP. When splitting up, let Yang Jie cover distant units and place Esmeralda near the front. Otherwise, mobile units may already be fighting while your armor is still catching up.
Free-time schedule · Certification exams · Recruitment · Quests and deadlines
Chapter 1: A Stranger Comes to Dagda
A Stranger Comes to Dagda | Victory: rout the enemy | Fixed party of 2 | Main concern: when shrubs block Fabio, do not move the protagonist beyond his support range.
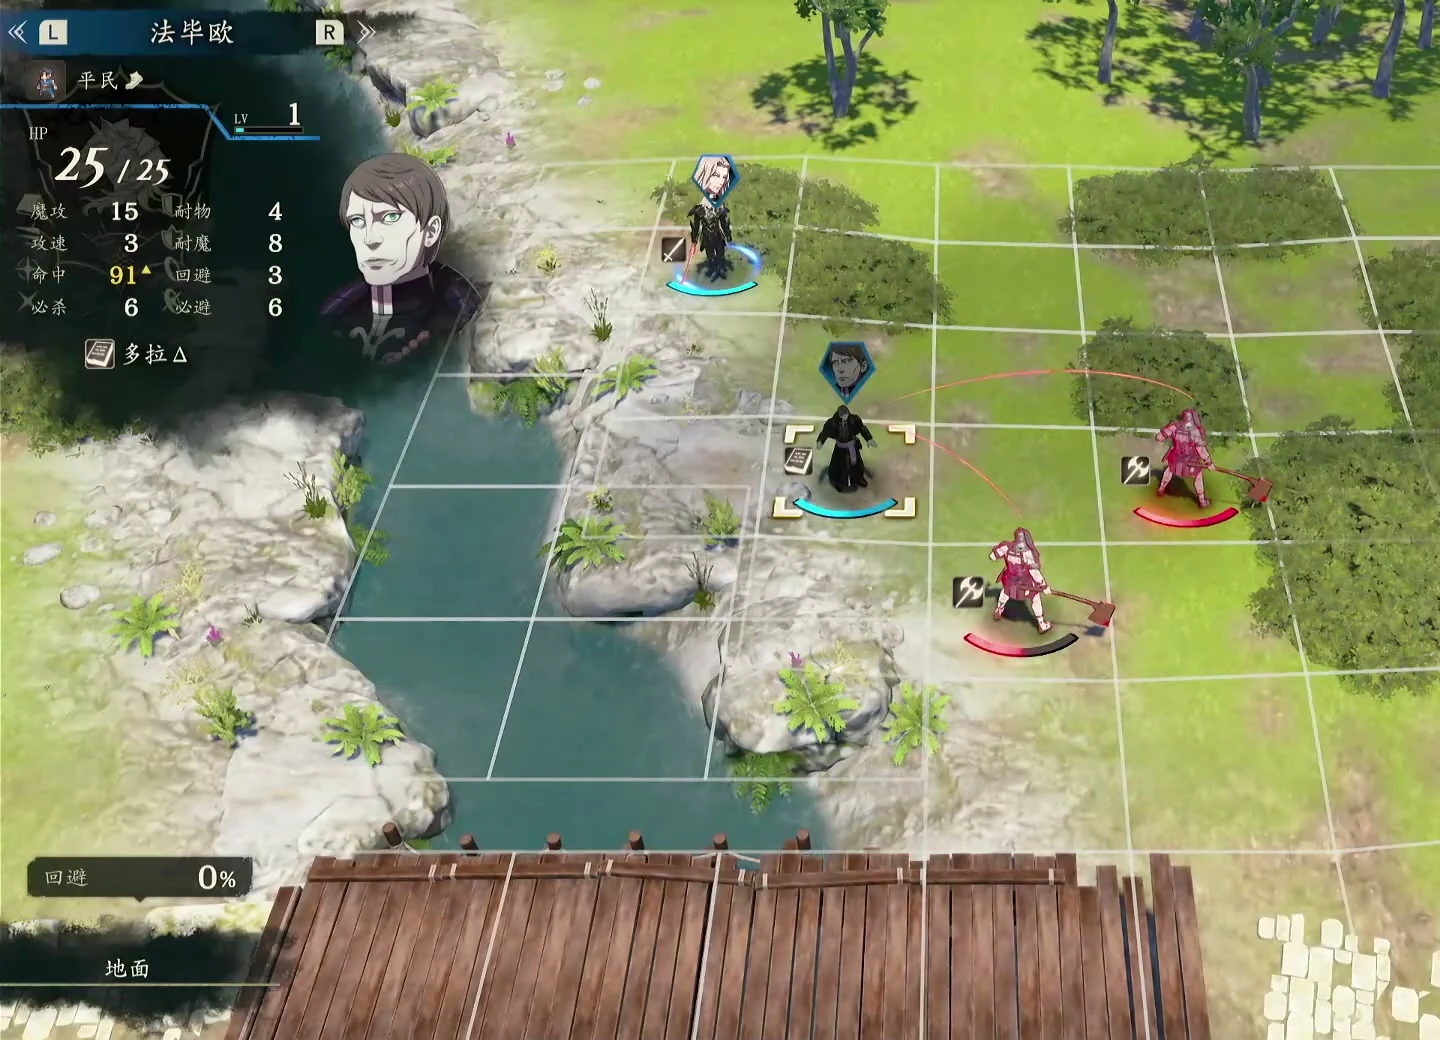
Make the first battle safe with your two units. Dietrich and Fabio join through the story; recruitment can wait. In the coastal brigand battle, clear the first two enemies, then stand in grass to receive the axe user on the right before clearing southward. If Fabio cannot yet kill in one cast, let Dietrich take kills normally. Do not waste turns insisting that every point of experience go to the mage.
Clear along the south before engaging the final boss. Shrubs on the right impede Fabio, so wait for enemies to approach. Have Fabio weaken at range, then Dietrich defeat the enemy in front and block the next melee unit’s path. Keeping that order prevents the mage from taking an axe directly.
You lose if either Dietrich or Fabio falls in this battle.
| Item/unit | Location and handling |
|---|---|
| Fabio | Joins through the story; his defeat or the protagonist’s causes failure |
Chapter 2: Sacrifice and Strife
Sacrifice and Strife | Victory: defeat the sea-beast boss | Fixed party of 3 | Main concern: the boss keeps summoning enemies; do not delay the main target to grind.
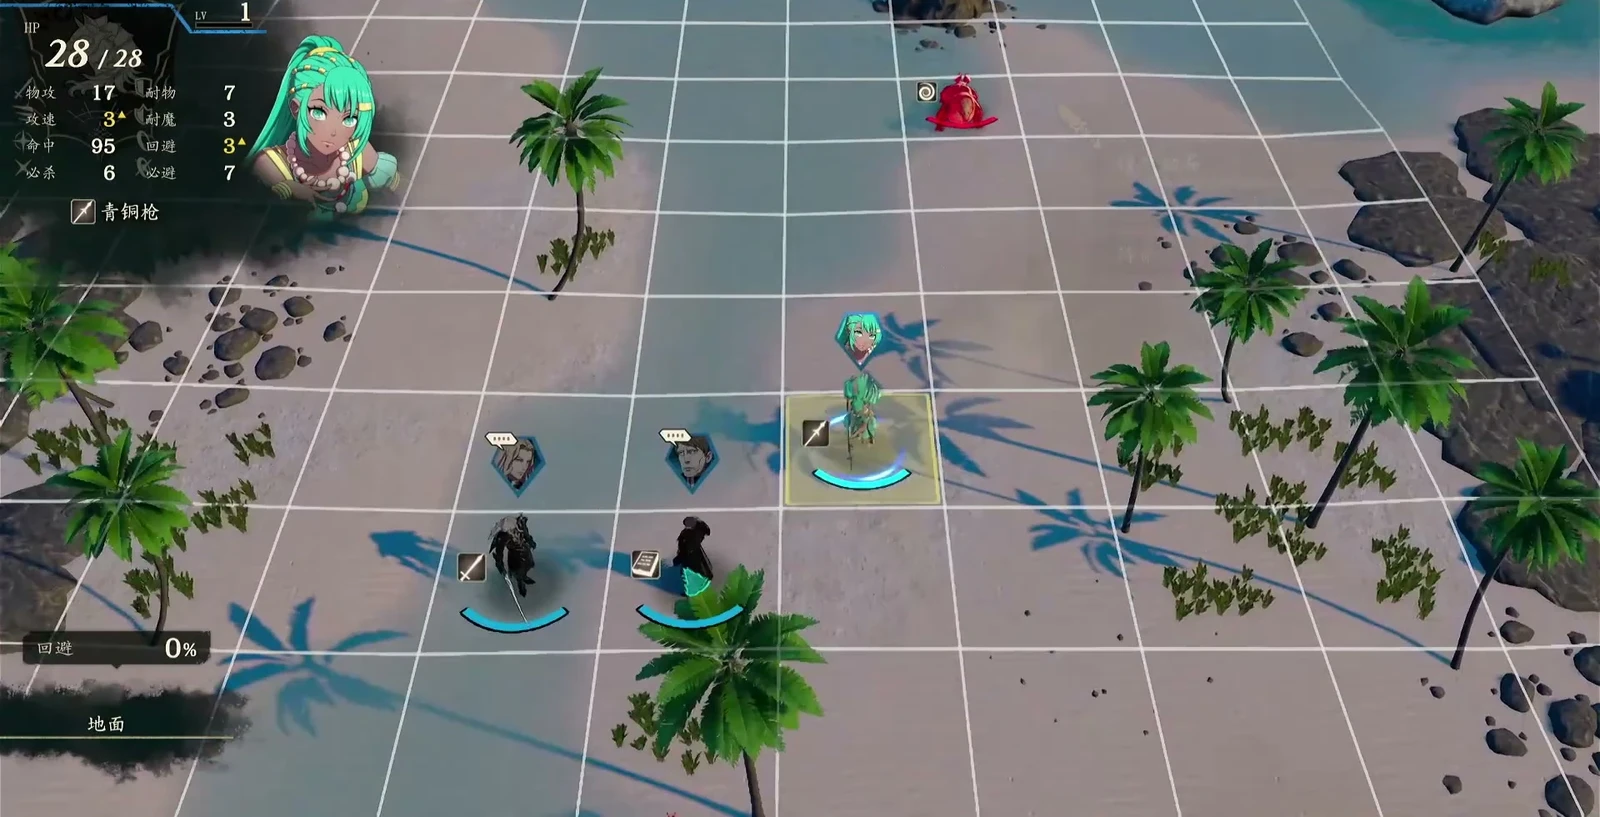
Let your new ally contribute, then reunite in the center. Esmeralda joins through the story. Give her extra experience, while the protagonist removes threats and Fabio finishes surviving smaller enemies. This is smoother than forcing equal kill counts. Send Esmeralda north with spear combat arts against weak sea beasts, and the other two south, then meet in the middle.
Put the protagonist in front and let the boss approach. After it summons two more enemies, finish it in one turn if your damage is sufficient instead of dragging things out. Once you reach the center, calculate Dietrich and Esmeralda’s combined damage and leave Fabio available to heal later. End the fight if you can; do not expose a fragile unit to the boss for a stray enemy.
Failure risk: Besides the protagonist, losing Esmeralda also loses this battle. Restore her HP before engaging when she is low. Trigger ally conversations along the way, then continue fighting. Do not focus so much on the newly unlocked rewind that you forget victory and defeat conditions.
Receive  Sinza's Trident after winning, then complete the townspeople’s Clash and exploration tutorials. Esmeralda joins permanently. Keep Fabio for ranged attacks and healing.
| Item/unit | Location and handling |
|---|---|
| Sinza's Trident | Obtained after defeating the sea-beast boss |
 Esmeralda | Joins permanently after the subsequent Clash and tutorials |
Chapter 3: The Grand Megalith
The Grand Megalith | Victory: clear early enemies, then defeat  Anatolia | Fixed party of 3 | Main concern: check devices, boss reach, and attack ranges in stages instead of rushing to the back.
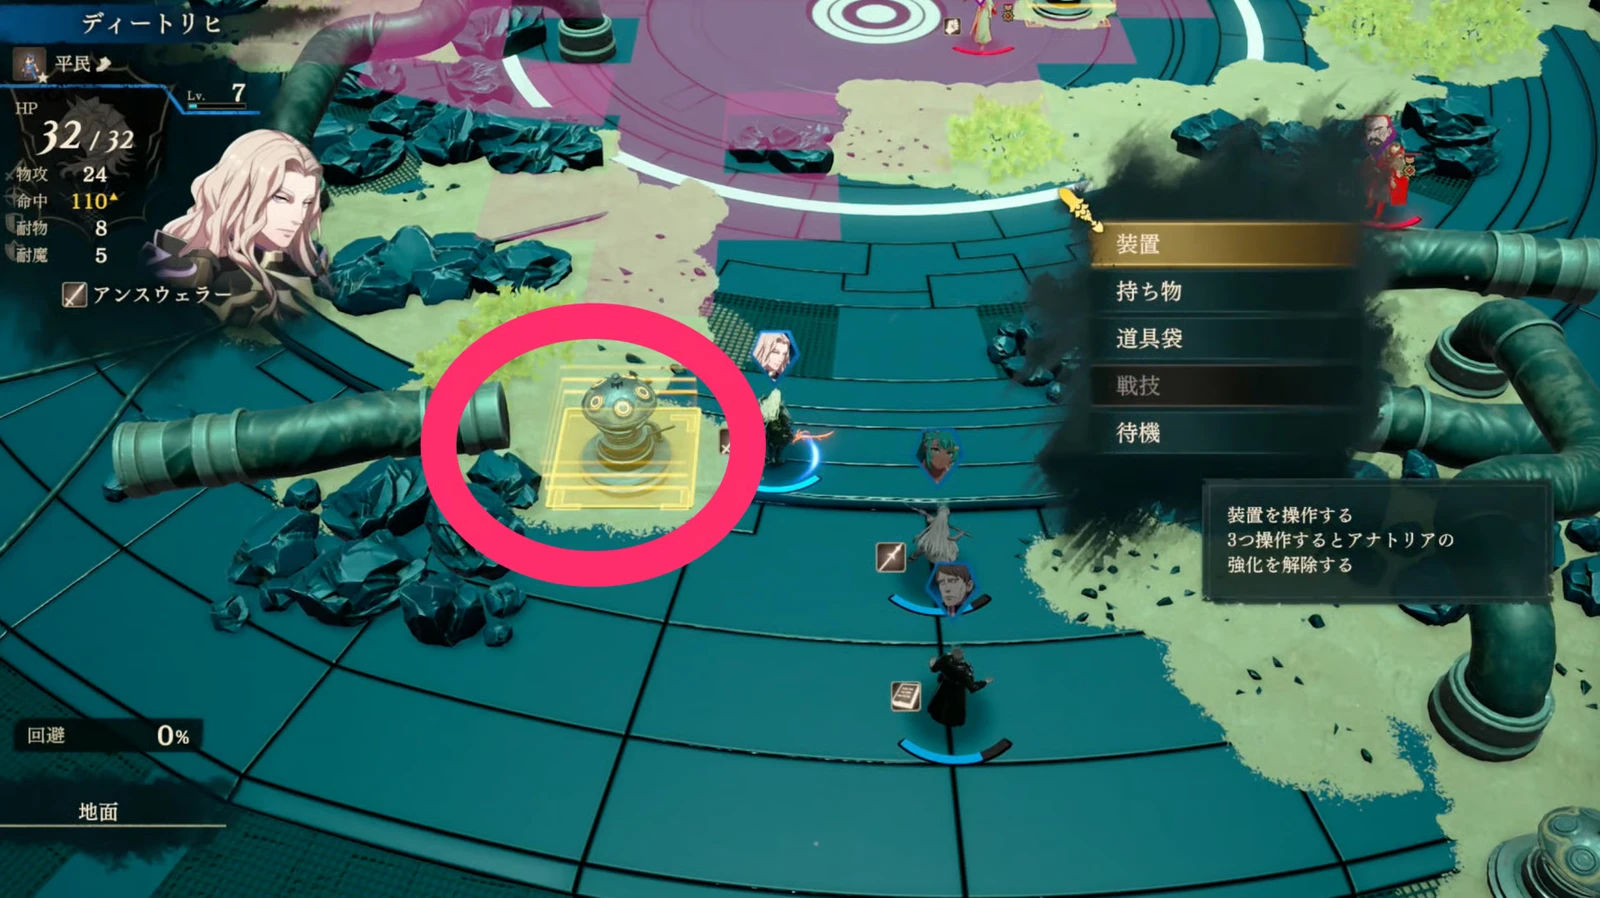
Clear reinforcements and use devices before entering boss range. Collect the two supply chests first. Once combat begins, handle reinforcements to the right, then return to the devices. Heal before operating one. Prepare the protagonist to move right and move Fabio out of the northern boss’s attack range. Count movement tiles, send the protagonist to the device on the other side, then finish the boss with concentrated combat arts.
Stop all three devices before focusing Anatolia. 4 enemies start on the map; 6 reinforcements, including Anatolia, arrive after one turn. Receive them near the start, clear a path, then head north. The northernmost device lies within boss range, so heal first and keep someone who can take the next hit up front. Stopping devices weakens her damage and durability; rushing past them makes the fight harder. Once reinforcements arrive, the target changes to Anatolia, so do not stop after clearing the opening guards.
There are two ways to bait her. Fabio can use his relatively high Resistance to enter boss range before the protagonist finishes, or Fabio can avoid the attack lane while the tougher protagonist moves in. The former depends on Resistance; the latter on current Attack Speed and whether a follow-up occurs. Read your own forecast and choose someone who survives the hit. Neither “mages are always fragile” nor “high Resistance always lets a mage tank” is a universal rule.
There is no full free-time phase this chapter. Collect  Vulnerary before advancing. Next chapter,
 Mikaela already has a class and can receive some experience; the protagonist need not keep taking every enemy.
| Item/unit | Location and handling |
|---|---|
| Vulnerary | Heretics’ cave chest; search side paths before leaving |
| Three devices | Clear starting reinforcements before going north; stop all three to weaken the boss |
Chapter 4: Brute Force
Brute Force | Victory: defeat  Majide first, then
 Benditz in the preliminary | Up to 5 selected units in the preliminary | Main concerns: purple chariot lanes, two-lane advance;
 Cai or Anatolia falling also causes defeat.
Use the 56 turns to establish contacts before deciding whether to grind Renown. Mikaela joins through the story, and Yang Jie through the recruitment tutorial. Prioritize experience for Mikaela, who is already a Gladiator. Train Fabio in Black Magic and Yang Jie in White Magic for damage and healing. Start by opening character conversations, accepting quests, and giving intended recruits a first gift for later meal invitations.
Enemies forced out through Bladesong provide Renown and Magic Resonance Stones for combat art upgrades. Fight them while doing quests, then return to the temple to improve regular arts. After the tavern event battle, watch  Talimun’s hidden event on the lower level before visiting the arena on the middle level. Continuing the story closes that conversation.
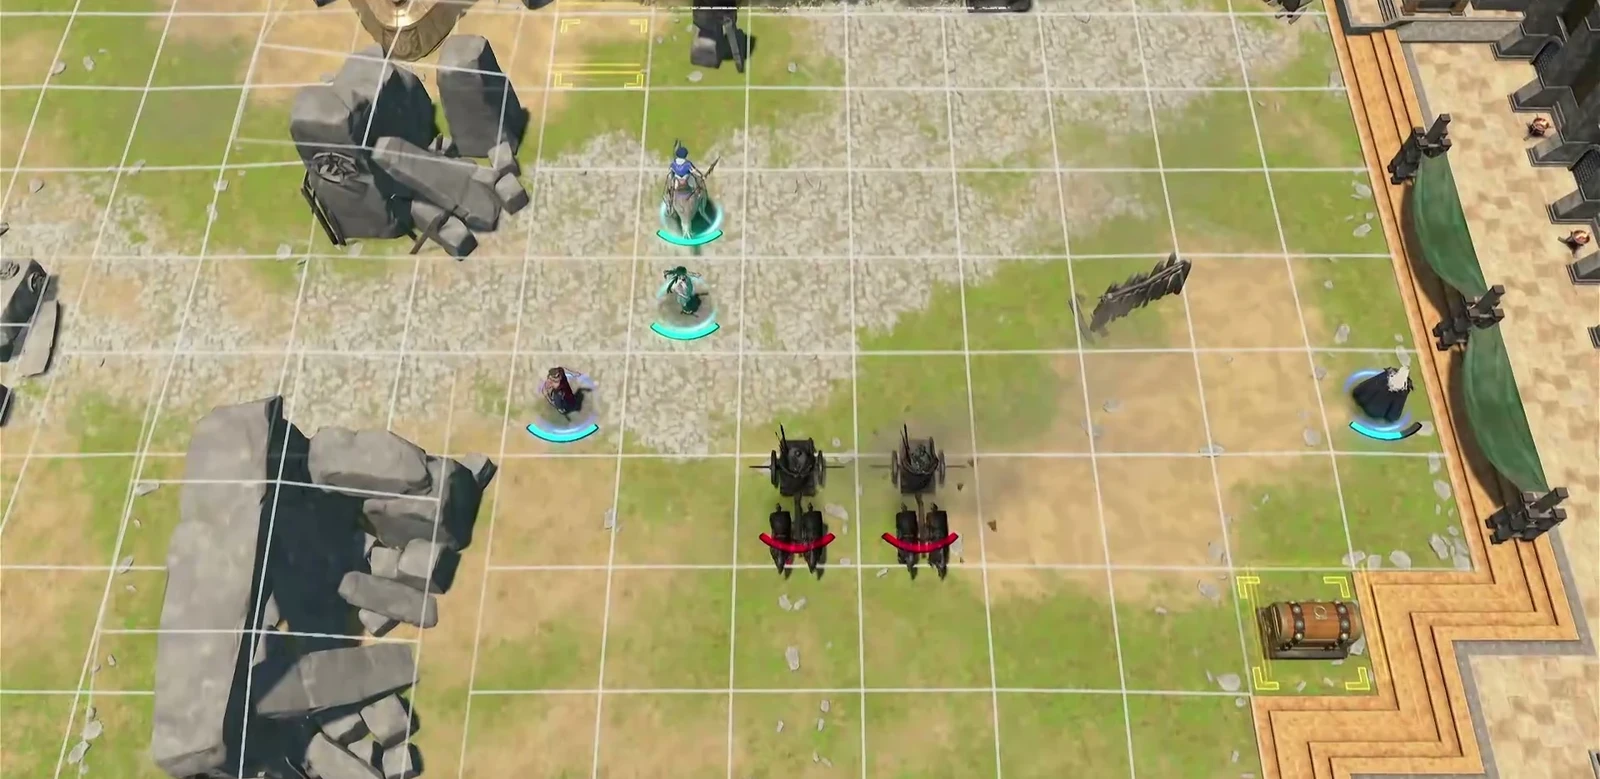
In the preliminary, split into two routes to intercept chariots. The protagonist works with Cai and  Tialla below, while
 Sha Lan’s side handles the upper lane. Have a free unit push pillars and leave nobody in purple lanes. Use magic against armor rather than grinding with physical attacks. Bait multi-bar enemies with someone durable, then focus them down. Tialla has low HP; do not put her in two archers’ ranges for a finishing blow.
Take  Zanbato from the southeast chest and
 Iron Shield from the northwest after defeating key holders. Zanbato can immediately counter chariots. If an enemy opens a chest first, defeat the carrier to recover its item. Exams unlock next chapter; plan long-term classes then.
| Item/unit | Location and handling |
|---|---|
 Mikaela, Yang Jie | Mikaela joins through the story; Yang Jie through the gifting/recruitment tutorial |
| Zanbato, Iron Shield | Southeast and northwest chests; give Zanbato to someone who can approach chariots |
Chapter 5: The Essence of a Warrior
The Essence of a Warrior | Victory: activate the trial’s switches, then defeat the trial opponent; the opening fight with Mars is interrupted by the story | Up to 5 selected units; Beginner classes and bronze weapons recommended | Main concerns: 10-turn limit in the early trial, plus separate travel to the story objective.
Use the 76 turns to certify, watch Fabio’s event, then assemble a mobile team. Follow the tutorial to make Dietrich a  Gladiator. Give Fabio a magic class; Esmeralda can become an Ornius Rider for switches. Recruit
 Io if you want ready-made cavalry: Renown 3, Bond Level 2, and 800G. The story does not start in town. Leave at least 5 turns from Mars’s branch temple; add earlier travel if starting farther away.
Speak to Fabio in the temple district first, then trigger the hidden event in the eastern city alley. The Chapter 10 night event requires this Chapter 5 scene. If missed, restart Chapter 5 at the obelisk, watch it, then clear Chapters 5–9 continuously to reach a new Chapter 10. Opening old Chapters 5 and 10 separately does not give the latter the new prerequisite.
If Mikaela lacks damage or mobility now, do not force her to chase the protagonist as a Gladiator. Start with  Ornius Rider to keep up, then take
 Armored Ornius Rider before
 Wing Soldier. Armored Ornius Rider mastery grants Avoid +20 against effective attacks, addressing bow danger after switching to flight. Wing Soldier’s Resistance +3 helps her fight mages. For Chapter 5 switches, use the already-mobile Io and Esmeralda. Master Armored Ornius Rider during free time before changing to Wing Soldier. Without arrow protection, continue avoiding archers’ ranges.
For the trial, send Dietrich and Fabio right. The protagonist uses a repositioning Blaze Art to reach switches, with Fabio following to heal. Send Io and Esmeralda left, with Io reaching mechanisms while the other clears a path. Keep Yang Jie central to use magic against charging armor. Leave Mikaela out for this battle because her current class lacks mobility; use her after reclassing.
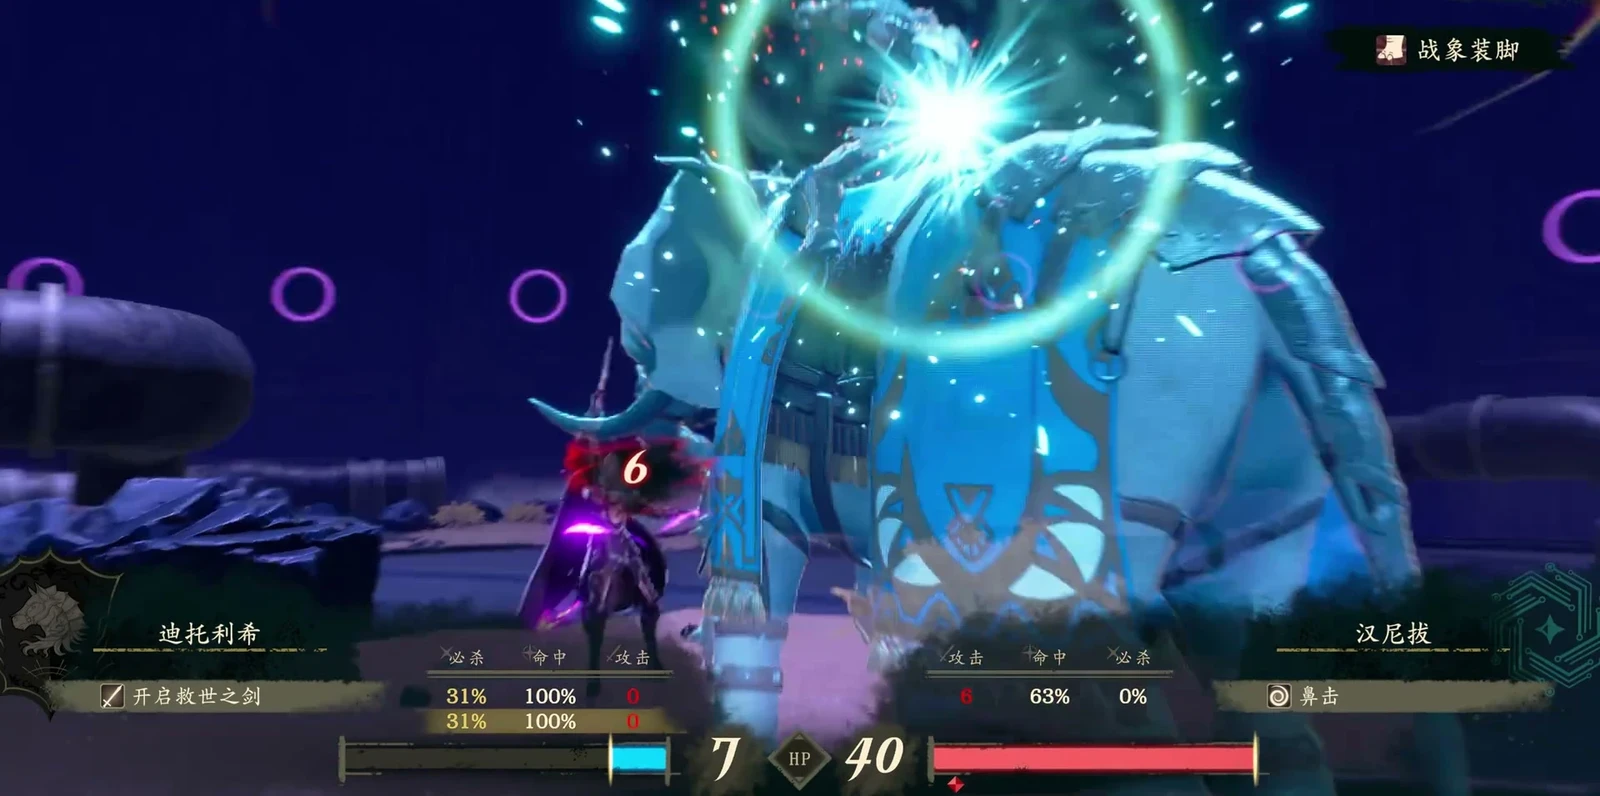
Switches stun war elephants for 1 turn. Focus damage during that opening to lift restrictions on the later trial opponent. That opponent approaches the western lane, so the left group should preserve medicine and healing after operating devices. The later phase does not retain the early 10-turn limit. If Yang Jie is endangered in the center, Fabio should help before chasing the protagonist for damage. Movement costs the protagonist HP; ensure enough carried medicine or healing remains.
Afterward, complete newly unlocked challenge letters as Renown rises. The chapter list’s “Defeat Mars” does not mean you must reduce the god to zero HP in the opening.
| Item/unit | Location and handling |
|---|---|
 Io | Renown 3, Bond Level 2, plus 800G; useful for western switches |
| Fabio’s hidden event | Find him at free-time start, then continue at the alley’s glowing point |
Chapter 6: Instinct and Reason
Instinct and Reason | Victory: defeat  Alexandra | Up to 6 selected units; Beginner classes and iron weapons | Main concerns: priests protect the boss; battlefield events affect
 Theodora’s maximum HP.
Use the 96 turns to add bows and healing for both lanes. Once exploration, the merchant association, and blacksmith open, improve regular weapons’ Hit and durability instead of pouring everything into the protagonist. Dietrich has few early archers, so anti-flier arts can cover the gap. Mikaela can also take a mobile anti-mage role. This is a long-term roster direction; use currently deployable units first for this battle.
At Renown 5, check  Nydine with Bond Level 2 and 2 Bronze Axes, and
 Ultand with Bond Level 3 plus his special quest. Until you meet the requirements, use your existing two mages. Finish quests ready to report, and keep your current roster if Renown is short. During free time, speak to Fabio and Alexandra, then inspect the glowing point in the slums.
Advance this way: use  Leda’s Blaze Art to buff your main units before moving each turn. Send Theodora and
 Bonaventure west, the protagonist and Fabio east, and keep Leda central with a protecting frontliner. Clear the three priests guarding Alexandra. After two fall, she advances; protection fully ends only after the third, so have a receiver ready.
Defeating priests forcibly triggers Theodora’s Burst and lowers her maximum HP for this map. Do not keep tanking with her as though she still has the opening HP cap. After losing one HP bar, the boss dismounts and summons reinforcements. Confirm enough combined damage before the second phase. You lose if Dietrich, Theodora, or Leda falls; reread conditions at the start.
| Item/unit | Location and handling |
|---|---|
| Sinza's Trident | Upgrade once the blacksmith opens; restore durability on your main spear |
 Ultand | Renown 5, Bond Level 3; finish his special quest before returning to negotiate |
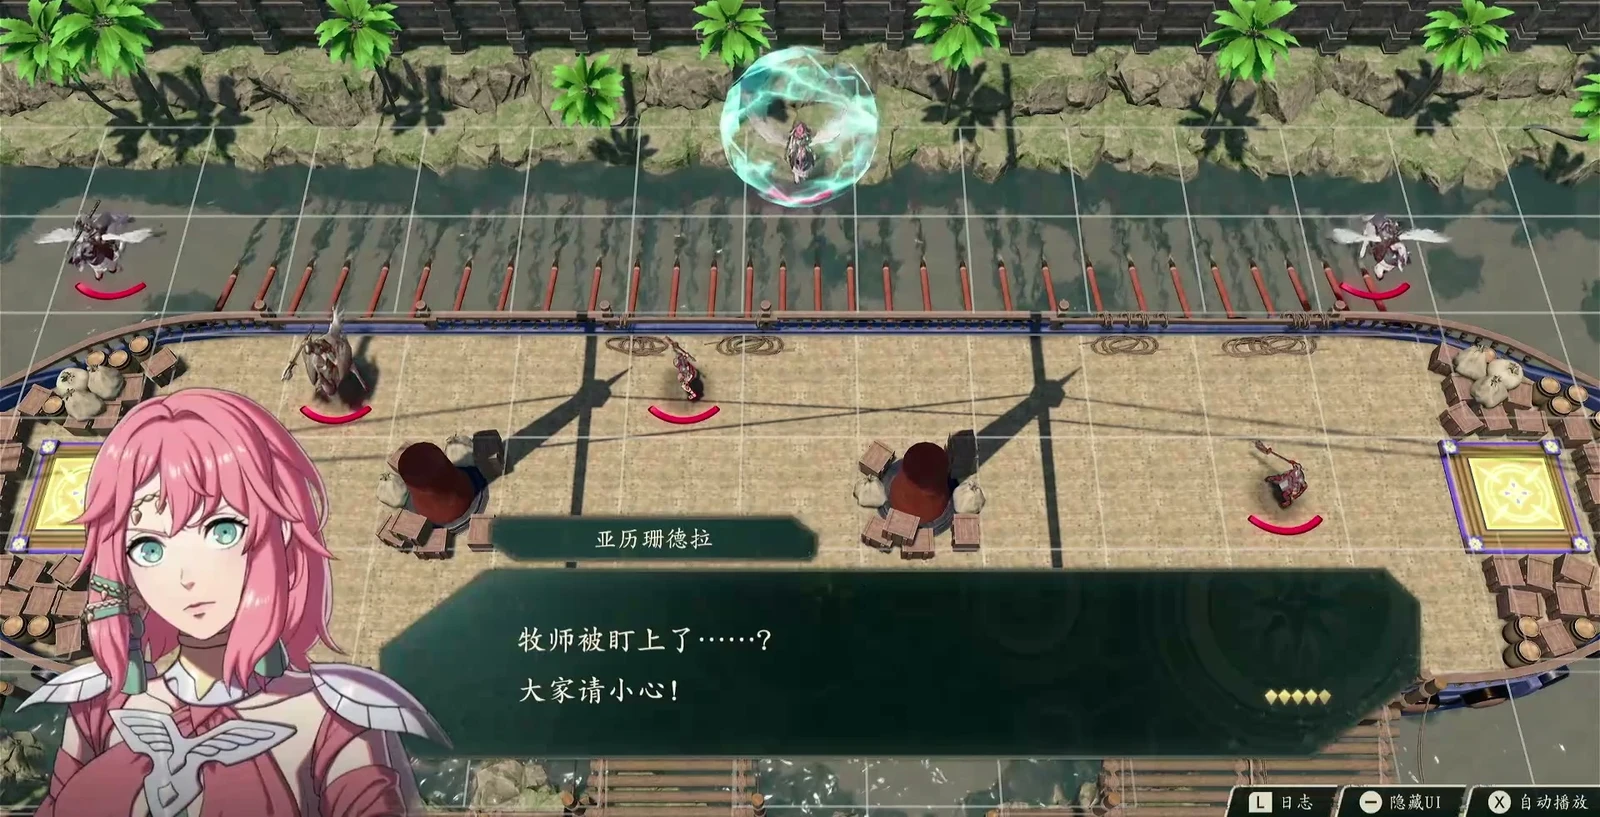
Chapter 7: Gazing at the Rose Moon
Gazing at the Rose Moon | Victory: defeat  Nathan and
 Creek | Up to 6 selectable units; iron weapons and magic recommended | Main risk: war-elephant confusion lasts only three turns before hostility returns.
Use the 64 turns to develop mages and esoteric arts instead of filling every slot with swords. Esoteric art teaching opens here. Keep Yang Jie and Fabio as priorities; recruit Ultand if possible for another caster/healer. Fabio excels at longer attack range, while Yang Jie better handles distant healing. Do not tie Fabio to close-range healing every turn while everyone else lacks magic damage.
The first half has many armored enemies. Clear with magic and advance toward the bell tower. Leave some obstacles intact to block enemies temporarily; the elephant will destroy them later. Destroying the tower turns the elephant yellow and makes it prioritize nearby red units, but it still attacks your army if none are nearby. It becomes hostile again after three turns. Use the window to weaken northern cavalry or kill the elephant. Keep the back line outside its attack range throughout and treat it as hostile again after three turns.
Talimun’s Blaze Art suppresses enemy stats but spends substantial HP, so heal afterward. The protagonist lures northern cavalry down, while  Orchel and Talimun add magic damage against bosses. Send mobile units for spectator-thrown weapon boxes only when the main front has enough people. Do not let both bosses cross the center while chasing boxes.
After battle:  Seteth cannot be recruited on this route; meeting his cameo does not make him a Chapter 7 recruit. For another frontliner,
 Noctula requires Renown 6 and Bond Level 1. Before sailing next chapter, give anti-large-enemy and anti-flier arts to your intended crew.
| Item/unit | Location and handling |
|---|---|
| Magic Resonance Stones ×50 | Esoteric art teaching tutorial reward; prioritize regular anti-large-enemy moves |
| Spectator weapon boxes | Collect along the way with mobile units once the central battle line has enough support |
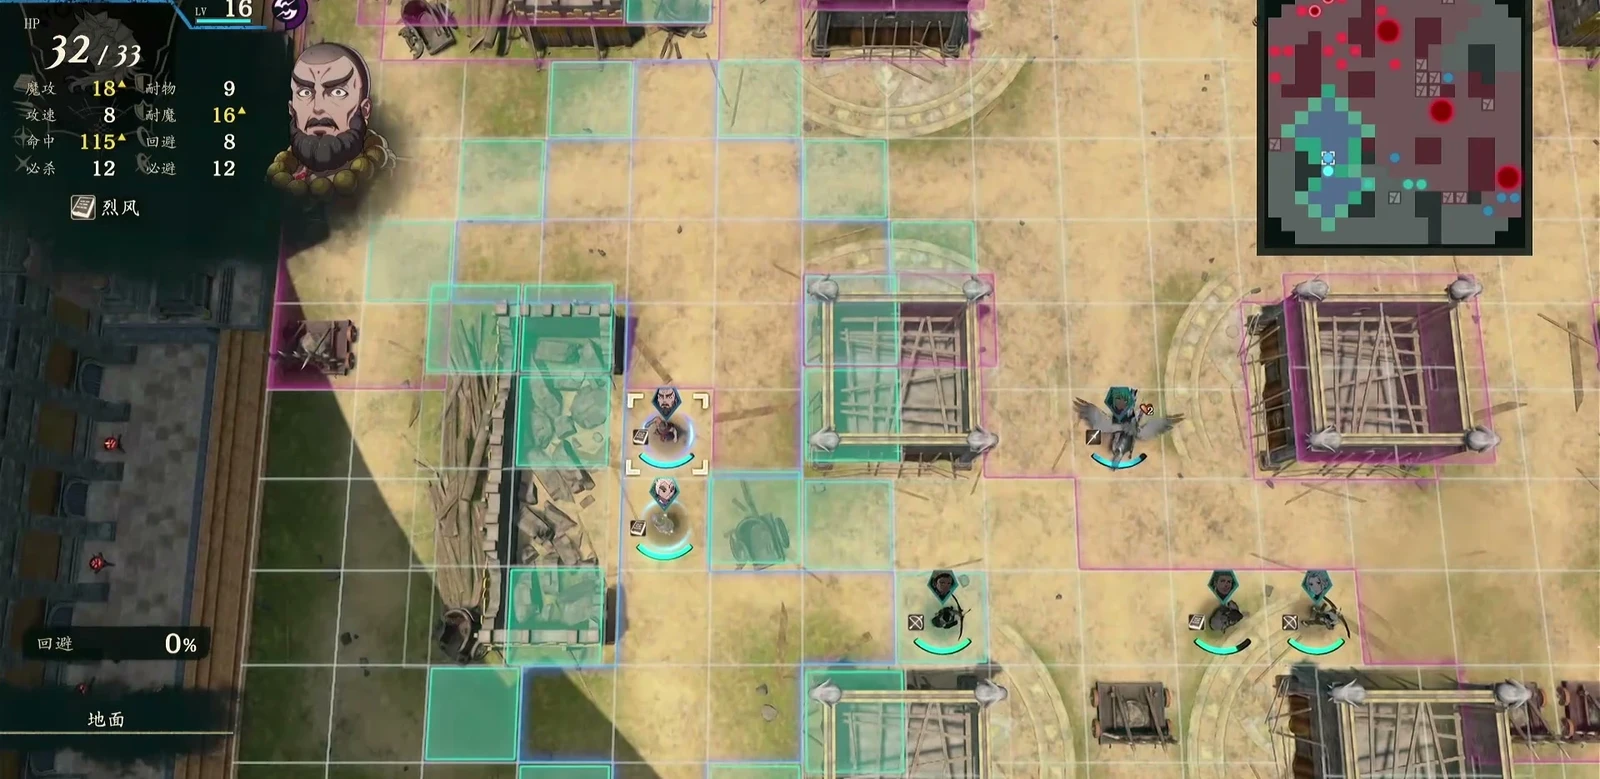
Chapter 8: Cetus, the Sea Tyrant
Cetus, the Sea Tyrant | Victory: defeat Cetus | Main units around level 20 with Specialty qualifications recommended; up to 6 selected units | Main concern: each trap works once, and a crowded team may miss the next trap.
Use the 120 turns to finish class changes and assign naval roles. Prepare effective weapons such as  Hunter's Bow and complete challenge letters available from Chapter 7 for anti-large-enemy esoteric arts. At Renown 6, the Dione fortress challenge unlocks
 Guardian; check it now if still locked. Possible new units include
 Olympia and Noctula, but Olympia has three additional quest prerequisites. Choose the role you need before spending time recruiting.
Sea exploration has a separate 40 turns. Bladesong point toward the objective, while whirlpools alter your route. Do not mechanically copy the shortest land route.
Each trap works once. Use the stun turn to break a complete set of armor. Place units near unused traps in different sections, with Dietrich central. When Cetus marks a purple landing zone, move your units out before using the matching trap to stun it. Yellow armor tiles need at least two successful hits to break fully. Melee units attack the outer edge while ranged units reach inner and rear tiles. Do not crowd every melee unit on one side and leave an unreachable piece at the back.
A landing in an already-used trap area will not stun it again. Unfinished yellow armor also recovers. Move out of the purple landing zone, handle flying reinforcements, and keep an operator ready at the next unused trap. Damage reachable armor in advance, then finish during the stun. Cetus’s landing also damages fliers: lure them into the purple zone and move your own units out.
Use archers or effective Combat Arts against flying reinforcements. The protagonist need not cross narrow paths to chase the boss out at sea; concentrate attacks once it returns to the main ship. Dietrich’s route needs its own anti-air role. Until an archer joins, equip anti-flier arts.
The glowing slum event appears at night and is invisible by day. Check the nighttime map before sailing if you want the scene. Next is Chapter 9’s dense paralogue schedule; mark 9/2, 9/3, and 9/17 now.
| Item/unit | Location and handling |
|---|---|
 Grasitha | Esmeralda receives it after battle; requires Spear B to equip |
| Nighttime slum event | Check the glowing point on the night map before sailing |
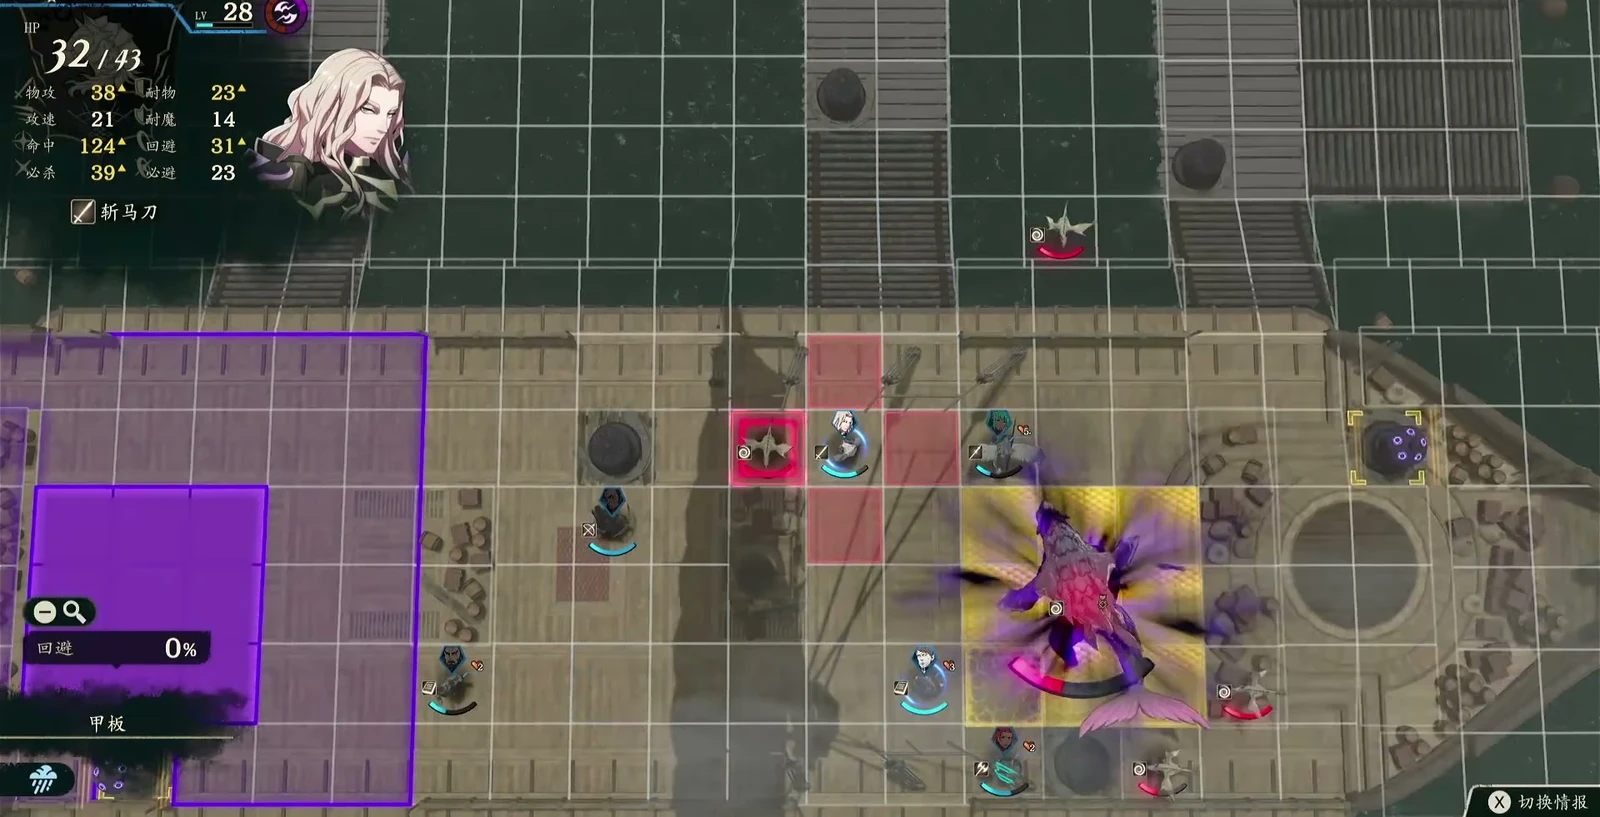
Chapter 9: The Legend of the White Egg
The Legend of the White Egg | Victory: defeat the desert boss | Up to 7 selected units; Specialty classes recommended | Main concerns: sandstorms and ongoing reinforcements; paralogue fast-forwards or travel delays can force this long chapter to restart.
Divide the 160 turns into deadline-based blocks first. A large total is not permission to wander everywhere. Preserve this order.
- 1Accept Leda on September 2:StartLeda’s paralogue first.
- 2Accept the warrior-statue quest on September 3:Speak toBonaventure for Theodora’s paralogue and finish the statue search outside town before September 7.
- 3Return to advance Leda:Speak toLeda to advance to September 9. Fast-forwarding first skips the entry point.
- 4
Actually visit the story destination and confirm the green check before leaving. Reserve at least 10 travel turns before heading to Kunlun. At the story node, choose to continue moving or wait even if Fabio advises returning. Canceling with B does not register the visit. Once the green check appears, use remaining free time and automatic arrival at the deadline. The initial visit must be made in person.
On the battlefield, ordinary cavalry can dismount to avoid the sand movement penalty; Ornius mounts are an exception. Prioritize the three summoning mages in the north, central west, and central east. Have a flier scout over the central buildings while the main group follows. The brief stun when the sandstorm clears creates an opening, but do not reveal the upper-left boss area while still far away. Finally break the pale green stones protecting the boss and focus your finish.
During free time, complete and report Creek’s “My Late Sister’s Accessory.” Dietrich’s listed deadline is 10/4; collecting without reporting is insufficient. It leads to later recruitment; see difficult recruits for the complete chain. Renown 7 opens options such as Benditz.  Gaitz is still unavailable; his original team must be eliminated in Chapter 11 before Chapter 12 recruitment.
| Item/unit | Location and handling |
|---|---|
| My Late Sister’s Accessory | Return to report  Creek’s quest after retrieving it; deadline 10/4 on this route |
| Gaitz prerequisite | Complete Bertrand’s paralogue on 9/17 itself; recruitment occurs in Chapter 12 |
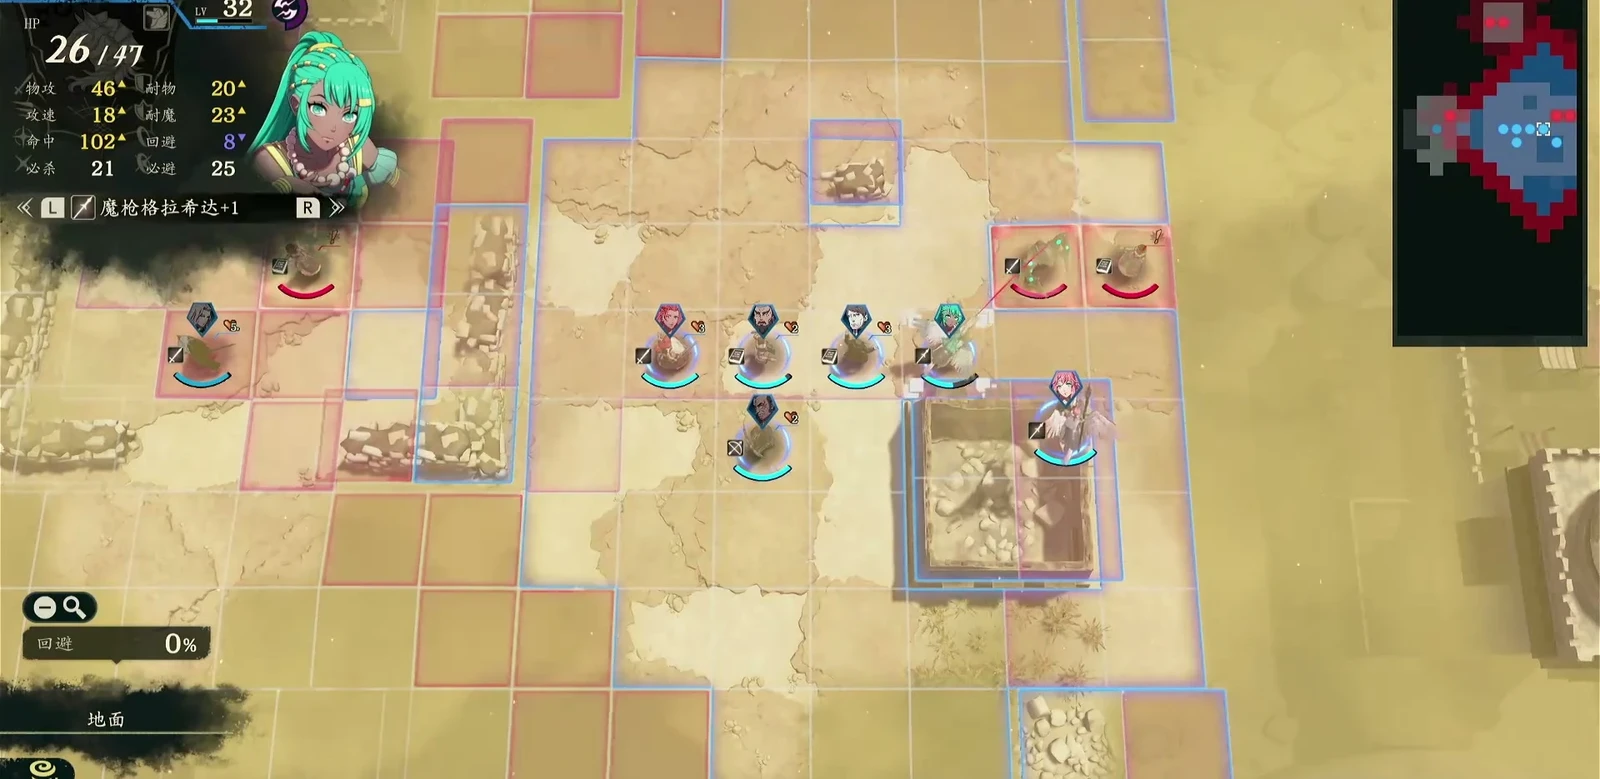
Chapter 10: The Mediator of Nuwa
The Mediator of Nuwa | Victory: defeat Anatolia | Up to 8 selected units; Specialty classes recommended | Main concerns: only 20 free turns, and an already-active giant after the boss returns to her starting position.
Watch the night event first, then visit  Anna. Leave long trips and grinding until afterward. Stay on 9/29 and follow Fabio’s direction near the ticket merchant at night to trigger the event before finding Anna, since Anna’s paralogue also consumes time. Fabio’s scene needs the Chapter 5 prerequisite and triggers in Chapter 10 southwest in the upper temple district at . It does not appear by day. Anna’s window here is 9/29–10/5, not Cai’s 9/24 opening.
At Renown 8, recruit  Catania with only Support 1 for a flier who takes relatively little calendar time.
 Guzran, Alexandra, and others need Support 3. Deploy units already prepared instead of trying to train six more just because you have 20 turns.
In battle, send mobile groups for the upper-left and lower-right switches. Activating them yourself weakens the giants’ offense; waiting for Anatolia to do it means facing full strength. Keep the main group south and lure  Dadao,
 Halvin,
 Nezha, and Sha Lan down in groups rather than sending everyone deep at once. When enemies switch to magic and Nezha equips Levin Sword, your receiver must check Resistance rather than only Defense.
Move Dietrich north toward the boss by a safe route, checking Sha Lan’s position and whether she can be handled first. After the first reserve HP bar falls, Anatolia returns to the start and summons reinforcements. An extra giant is already active; the earlier devices will not necessarily stop it. Preserve movement and healing for pursuit or withdrawal. Do not end everyone’s actions just after removing the first bar and leave low-Resistance allies facing fresh enemies.
Afterward, Chapter 11 lets you continue ordinary recruitment left unfinished in this short chapter. Fabio’s timed event and Anna’s entry must be checked separately; not everything can wait.
| Item/unit | Location and handling |
|---|---|
| Fabio’s event, Anna’s paralogue | On 9/29, reach night and watch Fabio first, then accept Anna’s quest |
 Catania | Negotiation needs Renown 8 and Bond Level 1; useful if the short chapter lacks mobility |
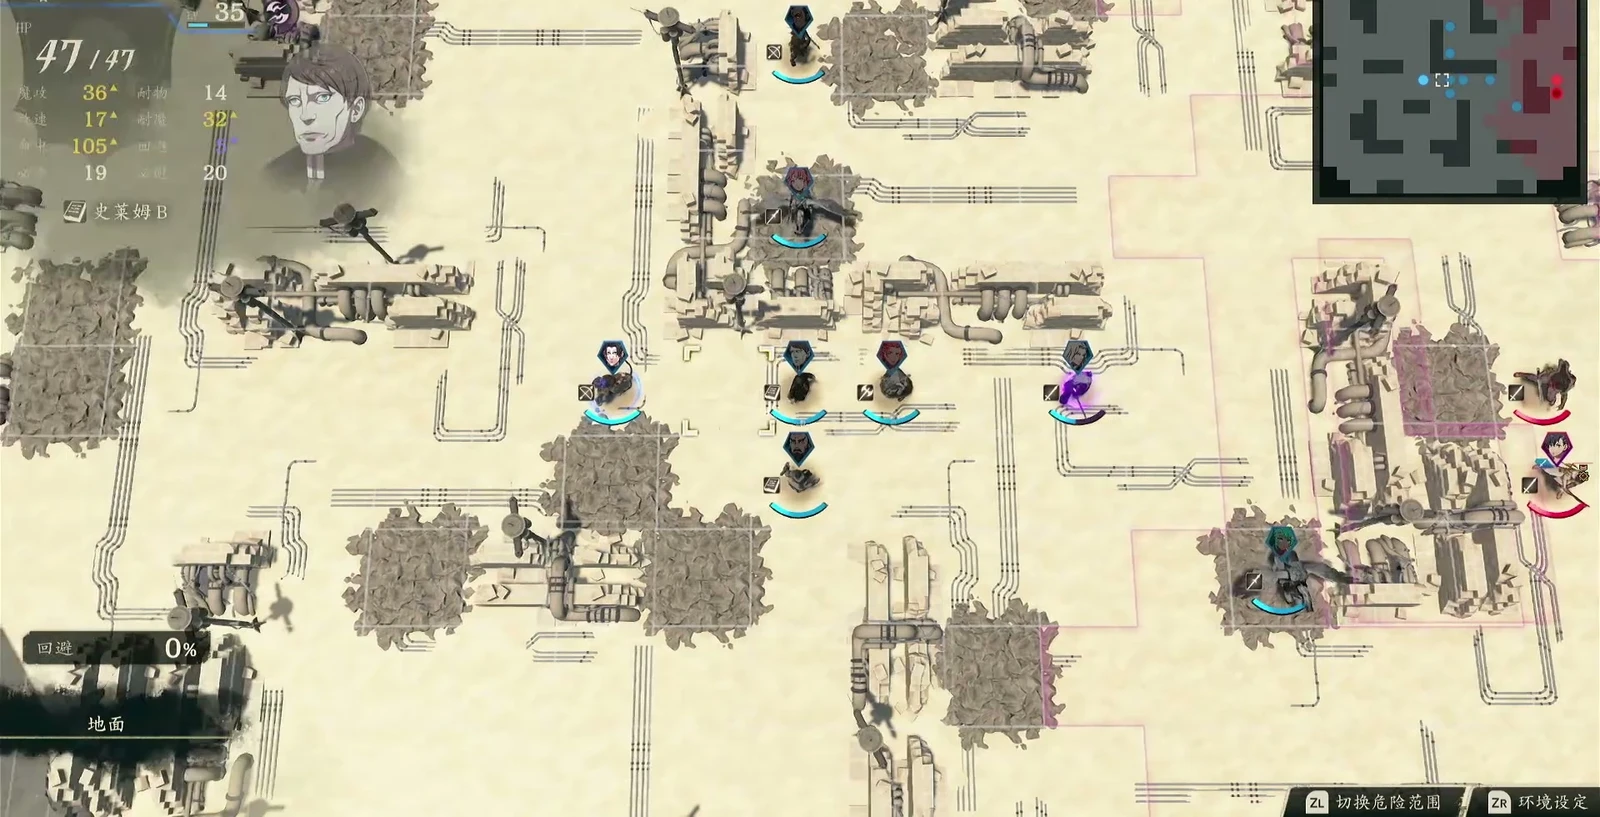
Chapter 11: Twisted Love
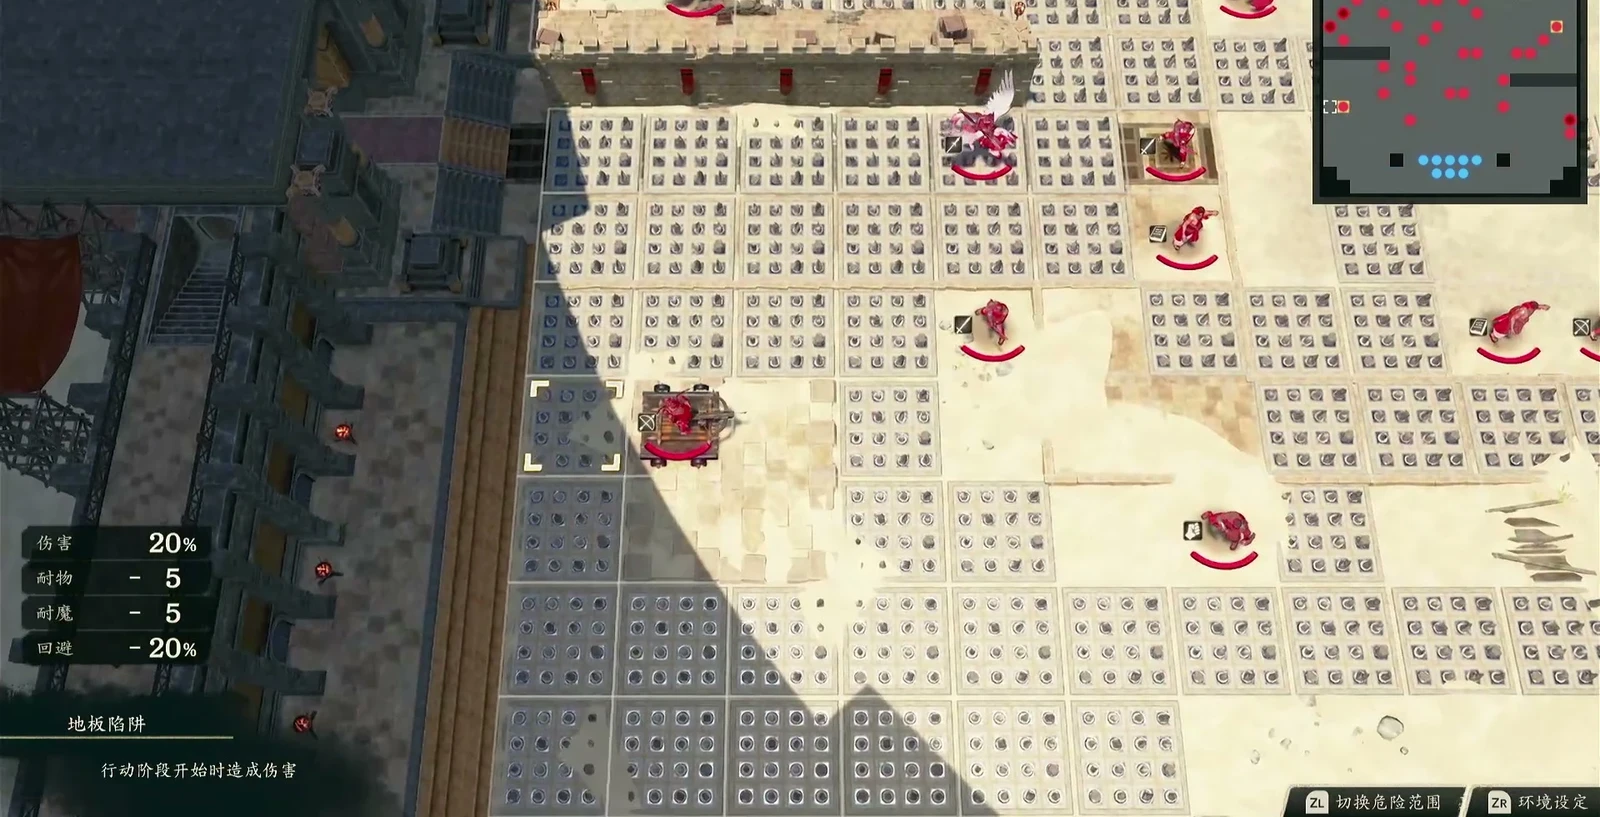
Twisted Love | Victory: defeat Bertrand | Up to 8 selected units; Specialty classes and Da Mina-tier main weapons recommended | Main concerns: damaging traps, the boss’s Avoid boost, and the order of three paralogue fast-forwards rather than total turns.
Use the 116 turns for Anatolia first, Orchel second, and Cai’s time advance last. Start with the escort paralogue at the western silver platform. Do not rush Cai’s dialogue. Accept Orchel on 10/18, travel three turns out of town, finish the fortress that night, return on 10/19, then advance Cai. Cai’s conversation jumps to 10/23 and can consume the margin needed outside town. Accept Cai’s quest on 10/16, but continue his dialogue only after finishing Orchel and returning.
After the paralogues, negotiate with each recruit. Sha Lan requires Renown 10, Support 3, and Anatolia’s paralogue;  Diego requires Renown 9, Support 3, and Orchel’s; Tialla requires Renown 9, Support 3, Cai’s paralogue, and 3000G. Negotiate separately after winning all three. If Support is short, return to dining.
On the story map, most ground has damaging traps. Hold the main group on safe southern tiles while a flier or the protagonist’s movement reaches Bertrand and triggers trap removal. Bring ranged healing for the advance unit. Do not force slow armor to lose HP every step just so everyone advances together. Without a flying group, use the protagonist’s Blaze Art to cross, leaving Esmeralda for southern enemies where possible.
When Bertrand activates his Avoid awakening, clear attendants and heal, then attack after it expires. Gambling on Hit during the buff risks extra counters and depleted supplies. On Hard, keep healing within reach when the protagonist leads, especially during the boss section.
Victory eliminates Bertrand’s team. Check Gaitz in Chapter 12 rather than declaring him recruited here.
| Item/unit | Location and handling |
|---|---|
 Sha Lan /  Diego /  Tialla | Finish their matching paralogues, then negotiate at Renown 10 / 9 / 9 and Bond Level 3; Tialla also needs 3000G |
 Dante,  Jester,  Goliath | Units recruited before battle do not appear as enemies here |
Chapter 12: Mars, Bringer of War
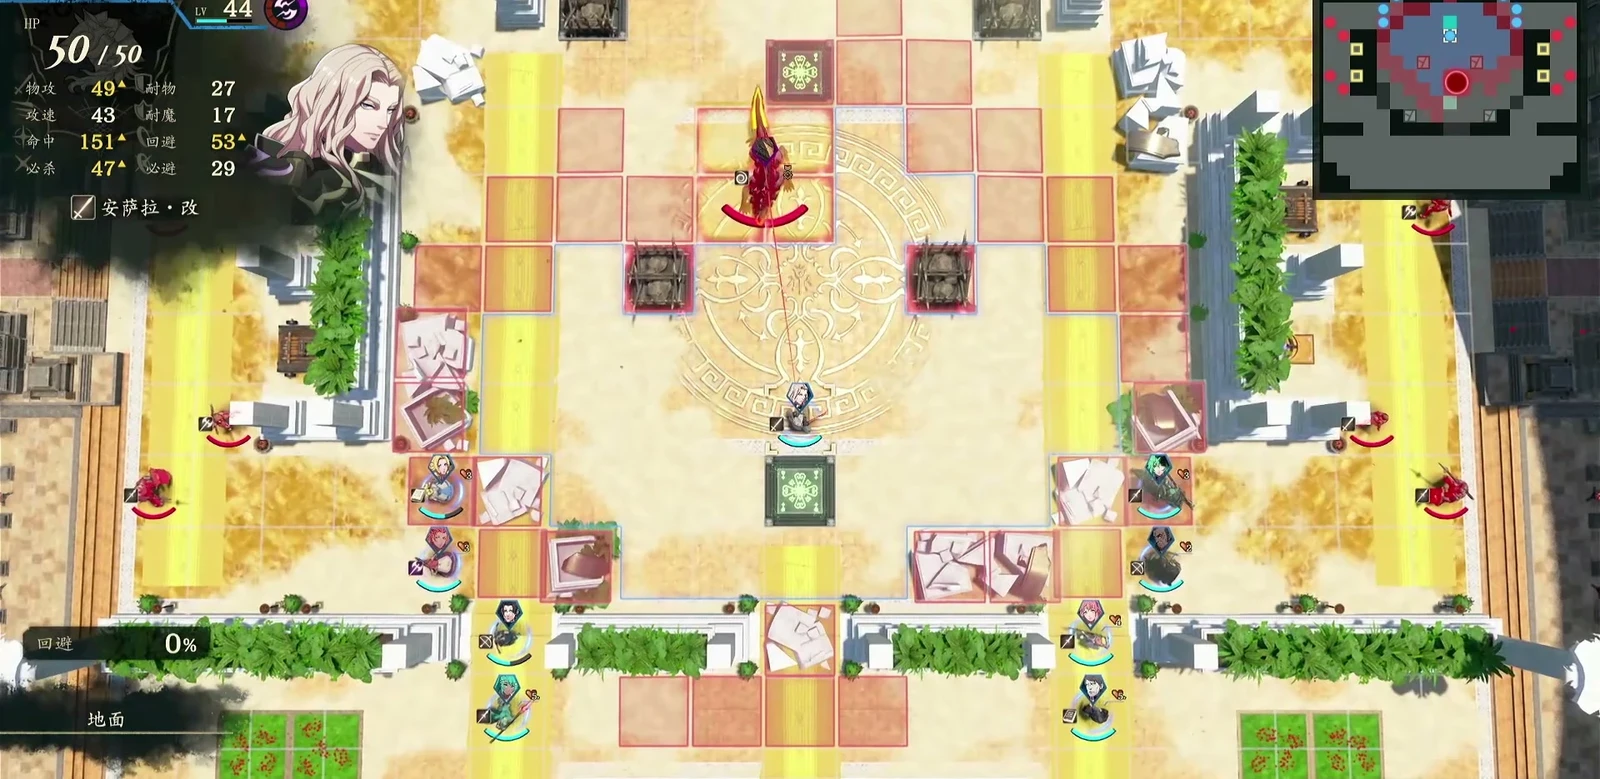
Mars, Bringer of War | Victory: defeat Mars | Up to 9 selected units; prepare Advanced classes and Da Mina-tier weapons | Main concerns: artillery on both wings, the central blockade, and a forced duel later; intervening summons extra enemies.
Your first task with 92 turns is to find Fabio on November 4. Take the stairs behind and to the right outside the Roost to reach Fabio. After the scene, the main battle upgrades the weapon into Answerer Arisen; you must fight that battle after the conversation to obtain it. Play the Chapter 5 and Chapter 10 hidden scenes continuously through their prerequisites. Check this Chapter 12 conversation separately before the main battle because it directly controls the upgrade.
Gaitz can now actually be recruited: Dietrich’s 9/17 Bertrand paralogue complete, original team eliminated in Chapter 11, Renown 10, and Bond Level 3. If Gaitz’s paralogue condition remains incomplete, Renown grinding and gifts will not fix it. Restart Chapter 9 at the obelisk, finish Bertrand’s paralogue on 9/17, then continue the new progression through Chapters 9–11 to negotiate in Chapter 12. Do not finish only the paralogue and jump back to the old Chapter 12 snapshot. To bring the new recruit into War, you must finish this new Chapter 12 too. Complete other recruitment and upgrades before the story battle. If short on archers, recruit Halvin or  Nuzzuo. Nuzzuo needs Renown 9, Bond Level 1, and 2 Iron Bows here. If a late recruit lacks levels or proficiency, changing an existing unit into a class that operates artillery is more reliable than judging the newcomer by starting equipment.
Send a frontliner plus an archer or mage down each wing to seize artillery. The right has many archers, so lead with physical durability. The left has more mages and fewer bows, favoring the protagonist and a high-Resistance flier. Do not put every artillery operator on the same side. Clear central priests with mobile units, recover on green tiles, then approach Mars. Block the three chokepoints with separate units and heal from the rear at range.
Later, the protagonist remains in the center to duel Mars while everyone else returns to the sides. Clear your own enemies and heal one another. Do not intervene in the duel: doing so summons extra enemies. Give the protagonist enough medicine; side teams prioritize their own reinforcements.
See the missables checklist for equipment carrying, mounts, and cross-part inheritance before Part 1 ends. Obtaining Answerer Arisen does not resolve missing recruits or the rest of your team’s durability and medicine needs.
| Item/unit | Location and handling |
|---|---|
| Answerer Arisen | Trigger Fabio’s event on 11/4; the upgrade occurs in the following main battle |
| Gaitz | Negotiate after the 9/17 paralogue, Bertrand’s team elimination, Renown 10, and Bond Level 3 |
Schedule the eight paralogues before fast-forwarding
Dietrich can do eight paralogues: Leda, Theodora, Talimun, Bertrand, Anna, Anatolia, Cai, and Orchel. Other protagonists accept Dietrich's Paralogue: Sealed-Off Past, “Sealed-Off Past.”
| Paralogue | Acceptance window | Progression and completion deadline |
|---|---|---|
| Leda's Paralogue: Diversionary Tactics | From 9/2 | Accept on 9/2 and return by 9/7; advance to battle through Leda’s dialogue |
| Theodora's Paralogue: Missing Brave-Warrior Statue | From 9/3 | Accept from  Bonaventure on 9/3, search for the statue outside town, then return to Leda; finish by 9/15 |
| Bertrand's Paralogue: Friendly Match with Brigid's King | Daytime on 9/17 only | Find Gabriel at the arena entrance and finish that day; register Fezzan Pass beforehand |
| Talimun's Paralogue: Secret of the Vanished Carriage | 9/17–9/19; 10/1–10/10 | Two windows; reach and finish the battlefield by 10/12 |
| Anna's Paralogue: Golden Secret | 9/29–10/5 | Watch Fabio’s evening event on 9/29 before entering through Anna |
| Anatolia's Paralogue: Queen of the Erased | 10/5–10/14 | Do it first in Chapter 11; finish by 10/17 |
| Orchel's Paralogue: Orchel's Regret | 10/18–10/25 | Leave town after accepting on 10/18; finish by 10/27 |
| Cai's Paralogue: Great Escape | 10/16–10/22 | Accept on 10/16; return after Orchel, then advance through Cai by 10/21; do not fast-forward to the deadline yourself |
Accepting, completing, and permanently recruiting are three steps. See the paralogue list for Part 3 connections. Recruiting a character after clearing still depends on this route’s recruitment conditions.
Find the statue before letting Leda advance the date
Accept Theodora's Paralogue: Missing Brave-Warrior Statue from Bonaventure and travel through Mars’s sacred-road gate to the altar. Stay together in the fog, clear blockers, then activate all three mechanisms. Defeating the first visible enemies is not enough. Rewards are Pilum, 20,000G, and 150 Renown points. Doing this trip first leaves time to find Leda back in town.
Accept Leda's Paralogue: Diversionary Tactics on 9/2, then advance into battle through Leda after returning; do not fast-forward to the deadline yourself. Bears inflict poison, so bring  Antitoxin. Adjacent obstacles break together; open connected paths to save actions. If your force is weak, maintain formation for the first 5 turns. Allied reinforcements arrive on turn 6 and Leda leaves, then continue clearing bears. Rewards are Silver Shield, 20,000G, and 150 Renown points. This is
 Buccar’s recruitment prerequisite.
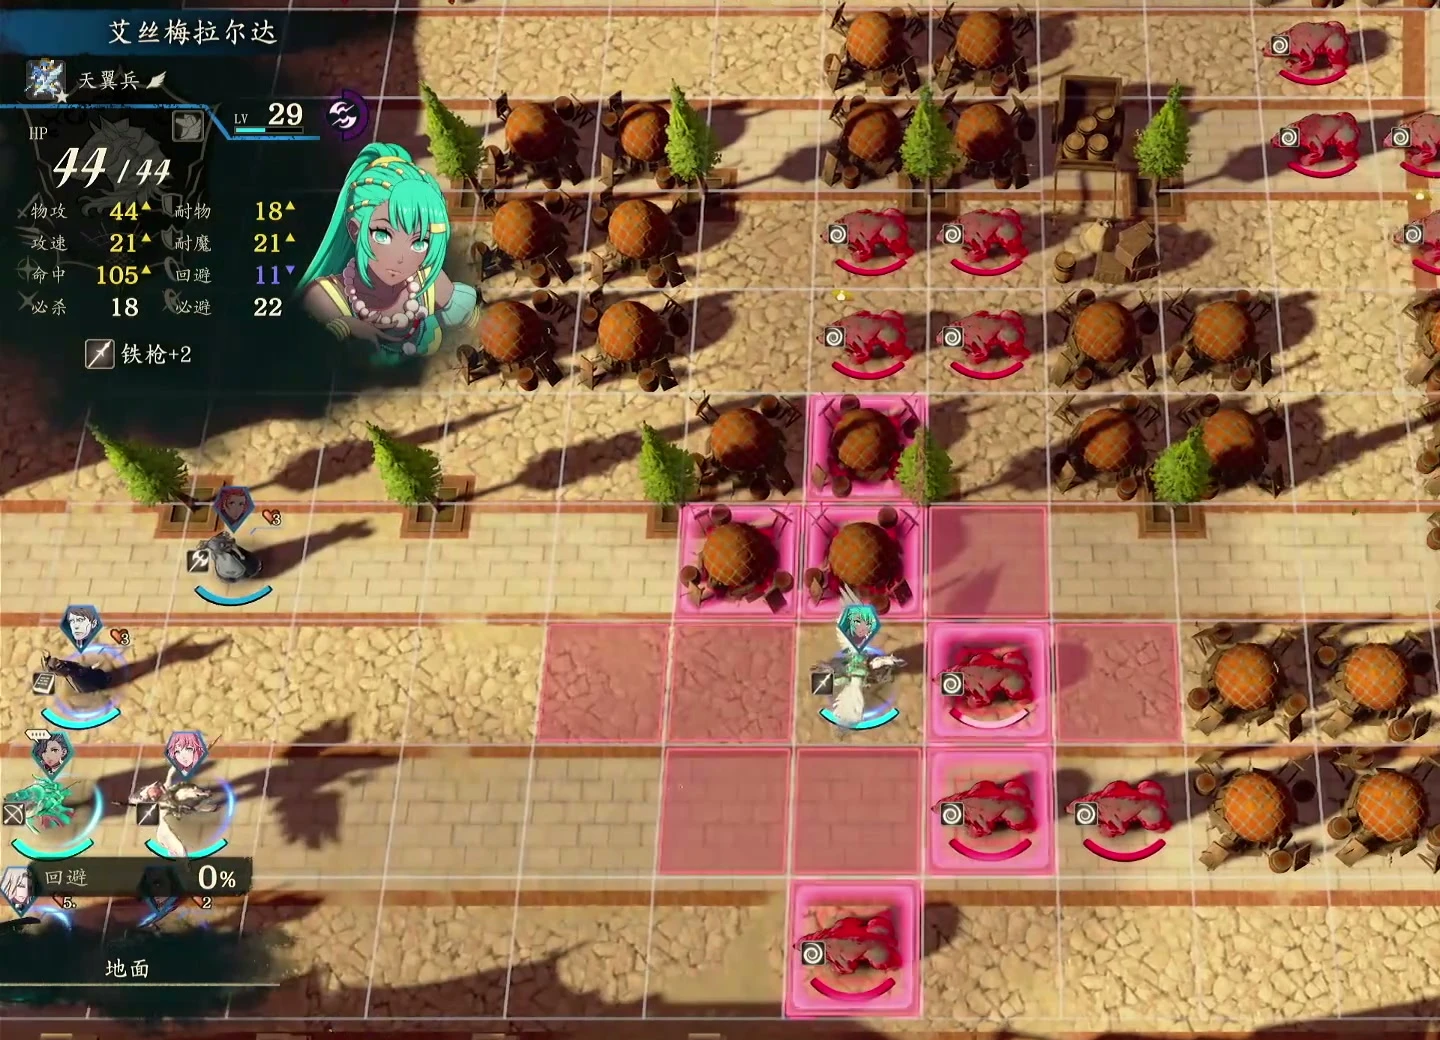
Secure the finishing blow in Bertrand’s 9/17 battle
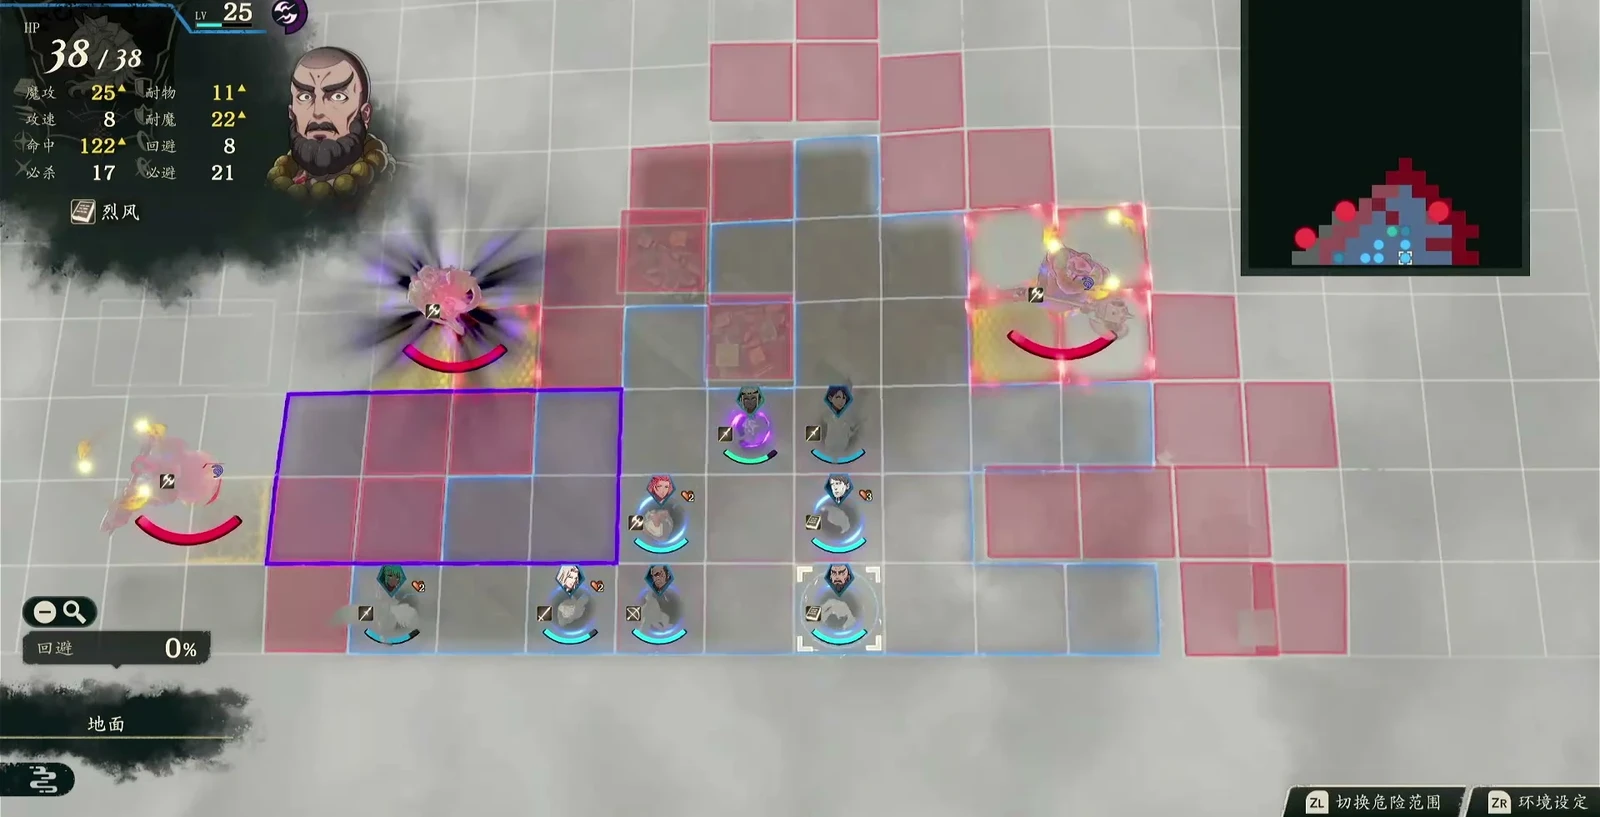
In Bertrand's Paralogue: Friendly Match with Brigid's King, defeat four giants before the opposing team. Find Gabriel outside the grand arena during the day on 9/17 and finish that day. Register Fezzan Pass beforehand. Have Bertrand’s team focus one giant while a mobile group limits enemy scoring. Do not spend all your effort chasing  Peppe.
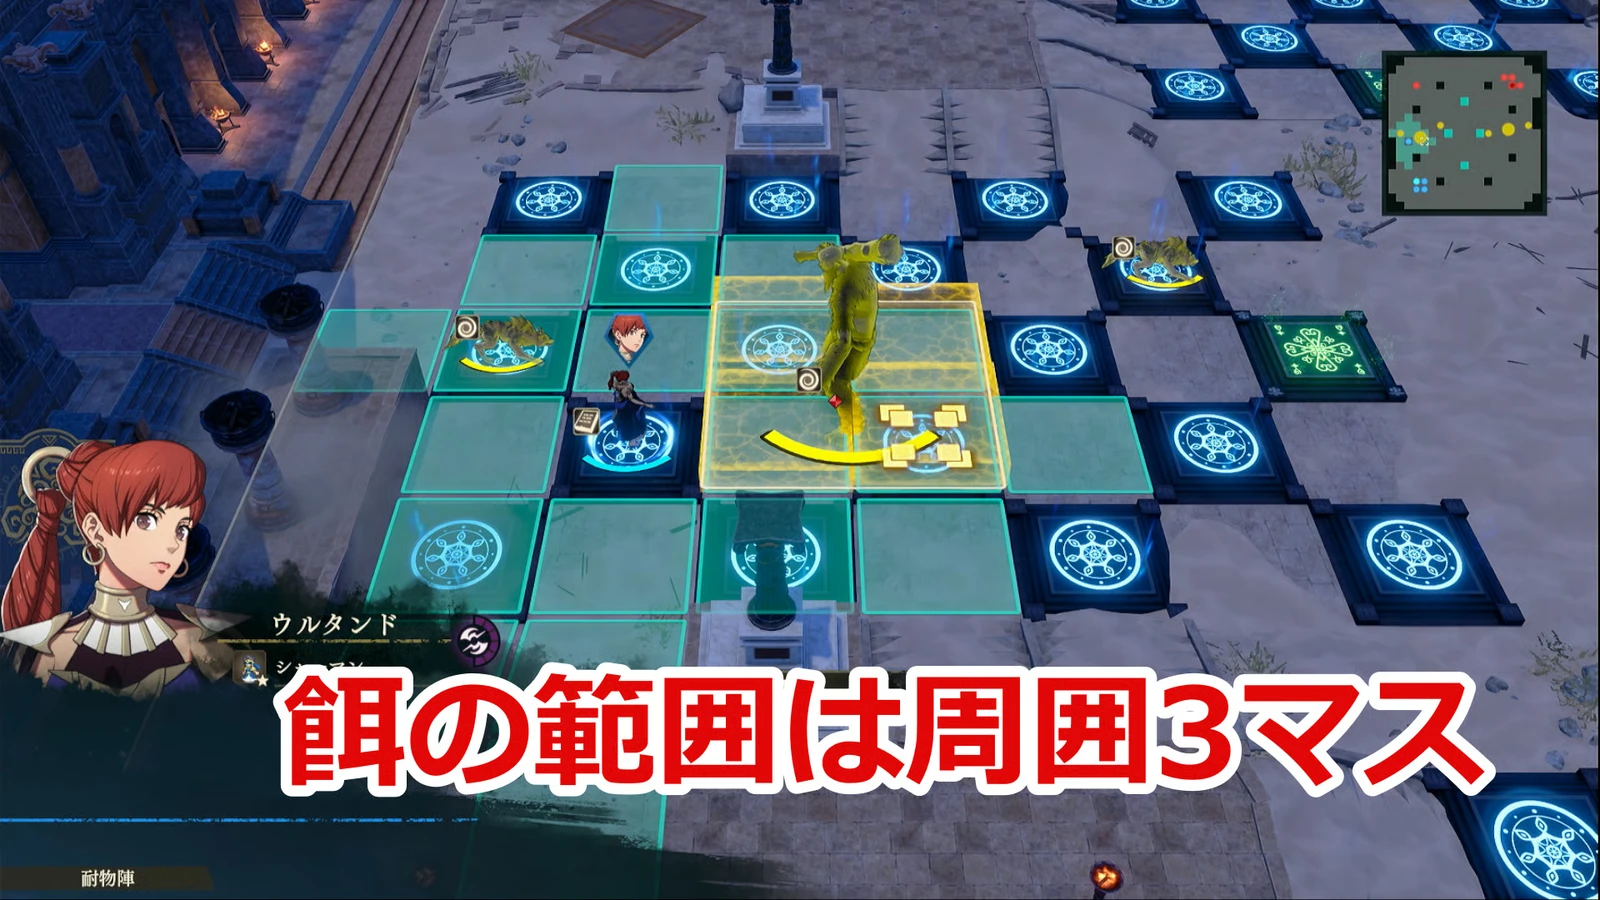
Calculate whether you can remove the giant’s remaining bars this turn before attacking; do not hand the last hit to the opponent. At the end of your turn, use feed on the giant they are surrounding. Until your next turn, it neither takes damage nor attacks your side, denying their finishing opportunity. Attack giant parts outside physical-resistance formations. Stand in those formations when tanking, then return to a healing formation after losing HP.
After completion, Peppe still needs Renown 8 and Bond Level 3. Gaitz must wait for Bertrand’s elimination in Chapter 11, then negotiate in Chapter 12 at Renown 10 and Bond Level 3. Winning does not automatically recruit both.
Intercept cargo thieves first in Talimun’s battle
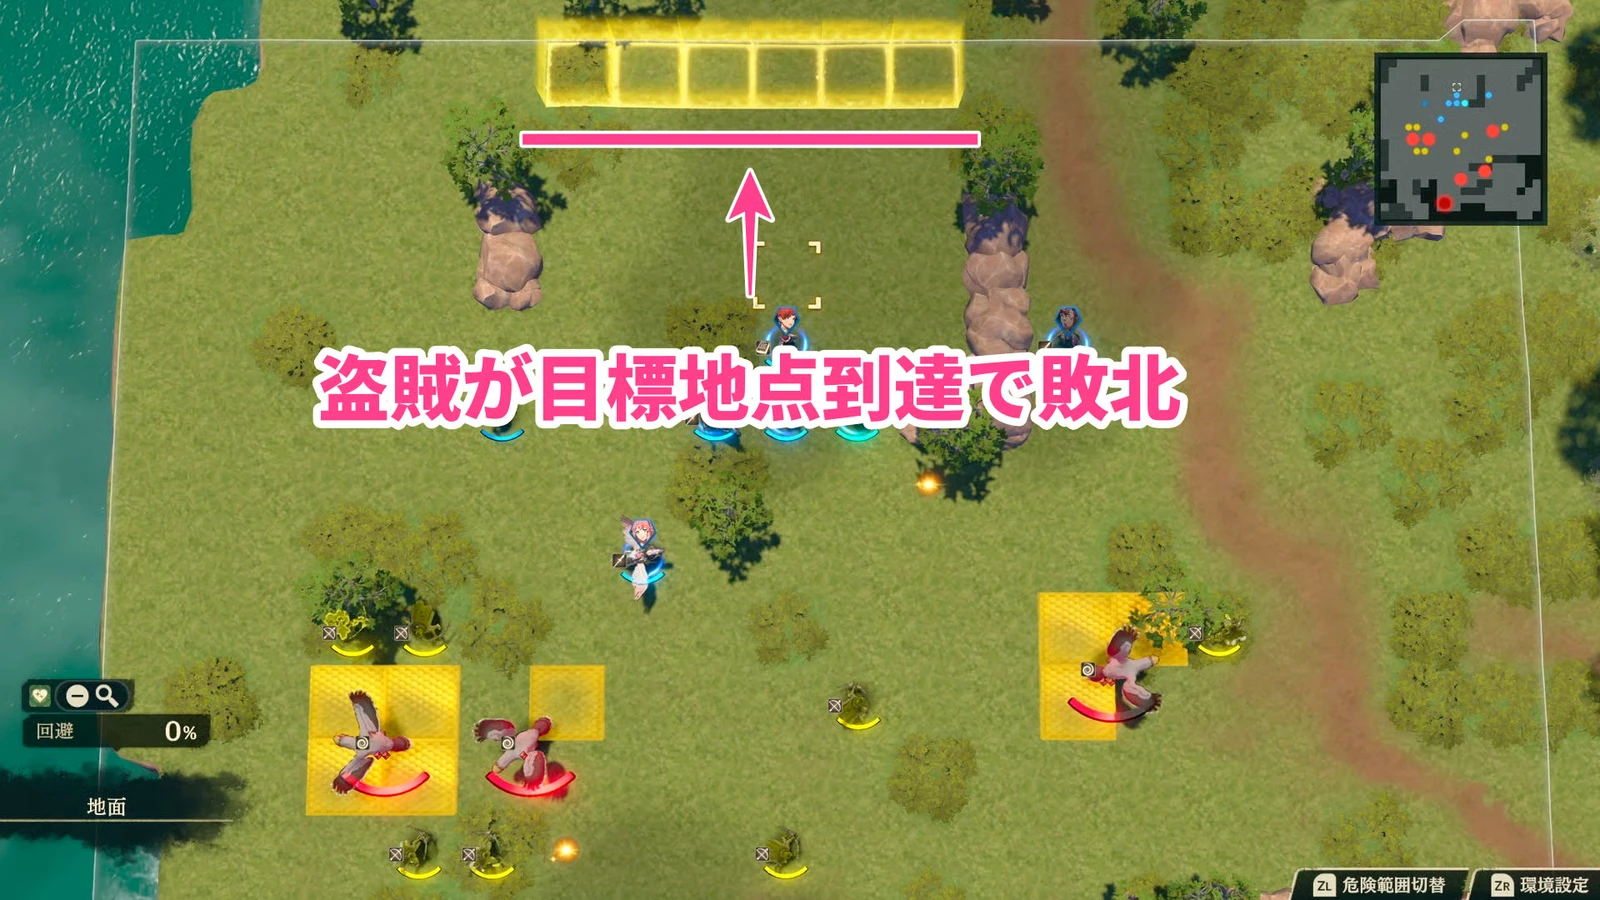
Talimun's Paralogue: Secret of the Vanished Carriage can be cleared by recovering all cargo or routing the enemy, but neither allows cargo carriers to escape. Inspect the wrecked wagon in the mountains. Birds and thieves then steal cargo from each other. Bring bows or anti-flier arts to remove aerial threats, and have mobile units watch the northern exit, intercepting loaded thieves about to leave first. Pick up remaining ground cargo later: secure the exit, then clear remaining enemies.
The September window is 9/17–9/19, with another on 10/1–10/10. Arrive and finish by 10/12. Rewards are Cleansing Blade, 20,000G, and 150 Renown points. Back in town, find  Ursula at Renown 7 and Bond Level 3, then answer “Yes” to all three negotiation questions.
Break five ore piles per phase in Anna’s battle
Accept Anna's Paralogue: Golden Secret during 9/29–10/5. Watch Fabio’s evening event on 9/29 before finding Anna outside the temple. Clear the opening enemies. When the giant appears, the objective changes: let  Solel tank it and heal through Sol while mobile units circle the field breaking
 Orichalcum ore.
- 1Break the first five piles to reduce the first HP bar.There are 10 piles, and destroying every five deals heavy damage to the giant.
- 2Wait for the next HP bar before breaking the other five.Do not waste both damage triggers on the same HP segment.
Anna’s war elephant occupies four tiles, so ore breakers must leave it a route. Have Solel use carried medicine when needed, with ranged healing following up.
Rewards are Orichalcum, 20,000G, and 150 Renown points. The secret shop becomes available at night afterward. Anna herself cannot be recruited.
Escort along the right in Anatolia’s battle
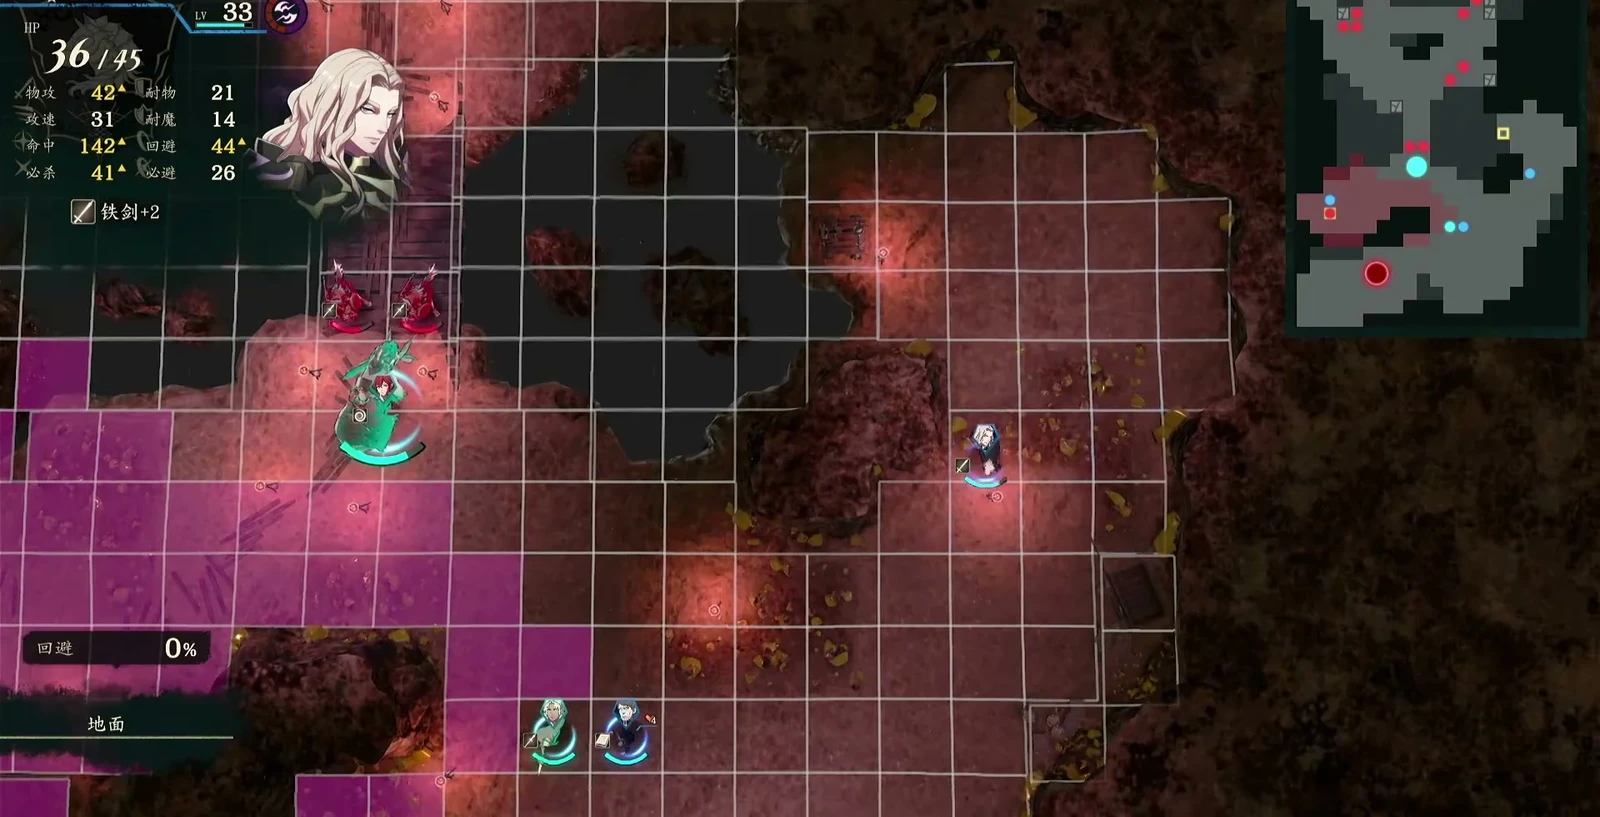
Accept Anatolia's Paralogue: Queen of the Erased during 10/5–10/14 and finish by 10/17. Residents follow Anatolia. Lead them up the right side to the two exit tiles in the north; both they and Anatolia must escape. Defeating the boss also wins. You lose if the current protagonist or Anatolia falls, or 3 residents are defeated.
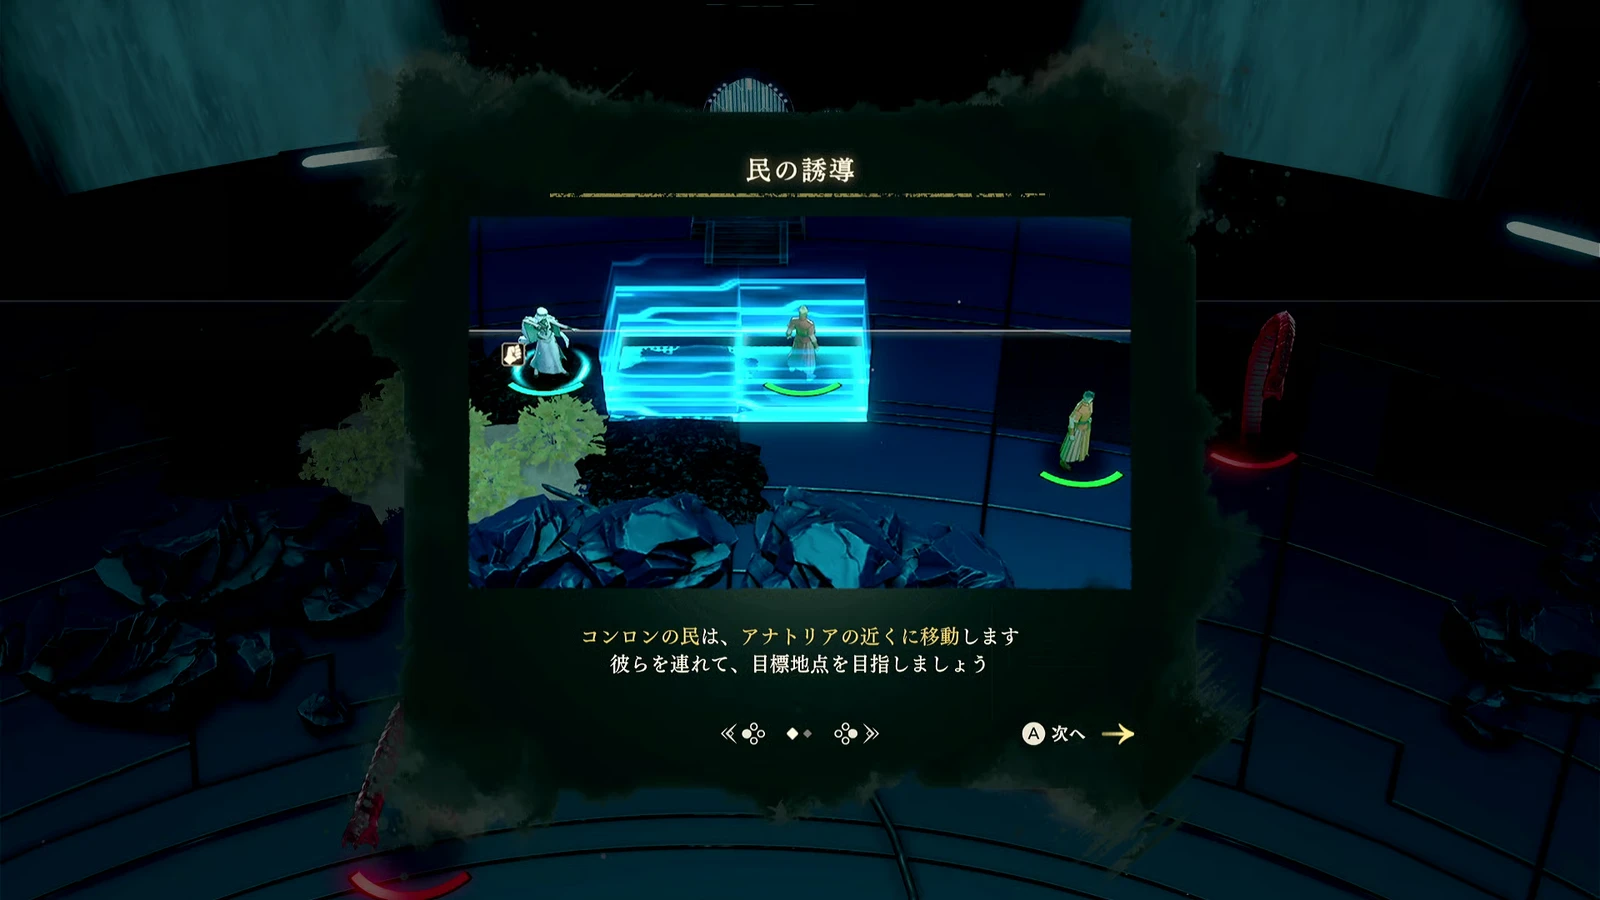
The boss’s area attack confuses residents. Move an ally adjacent to rescue them, then resume guiding once confusion ends. Each red small enemy defeated stops the boss for 1 turn. Killing one per turn gives repeated escort windows; killing them all together loses later openings. If red and black enemies are hard to distinguish, select them and check portraits. Keep the team near the residents. Anatolia should not use a transfer formation alone, since they will not teleport with her.
Base rewards are  Electron Agitator, 20,000G, and 150 Renown points. Escorting 4 residents adds
 Spellshard, and 5 adds
 Dew of Peace. Afterward, find Sha Lan at Renown 10 and Bond Level 3. Answer in order: “Understood,” “The Kingdom of Salamis,” “Da Mina,” and “The stranded giant ship.”
On 10/18, finish Orchel before advancing Cai
Orchel's Paralogue: Orchel's Regret opens on 10/18, can be accepted through 10/25, and must be finished by 10/27. Leave on 10/18 and finish the fortress before returning to Cai. Traveling 3 turns from the capital and returning on 10/19 is one workable schedule.
Split into two teams to clear paths to the southern and northern catapult devices. Take the key from the southern enemy first. The southeast and northwest chests each contain Pure Water. Position both teams, heal, then operate both devices in the same action phase. Activating them on separate turns does not work. Reinforcements arrive after firing, so preserve bows and anti-flier arts. Orchel’s ranged healing covers the split teams. Rout enemies to complete the paralogue for  Healing Staff, 20,000G, and 150 Renown points. Negotiate with Diego afterward; Renown 9 and Bond Level 3 are still required.
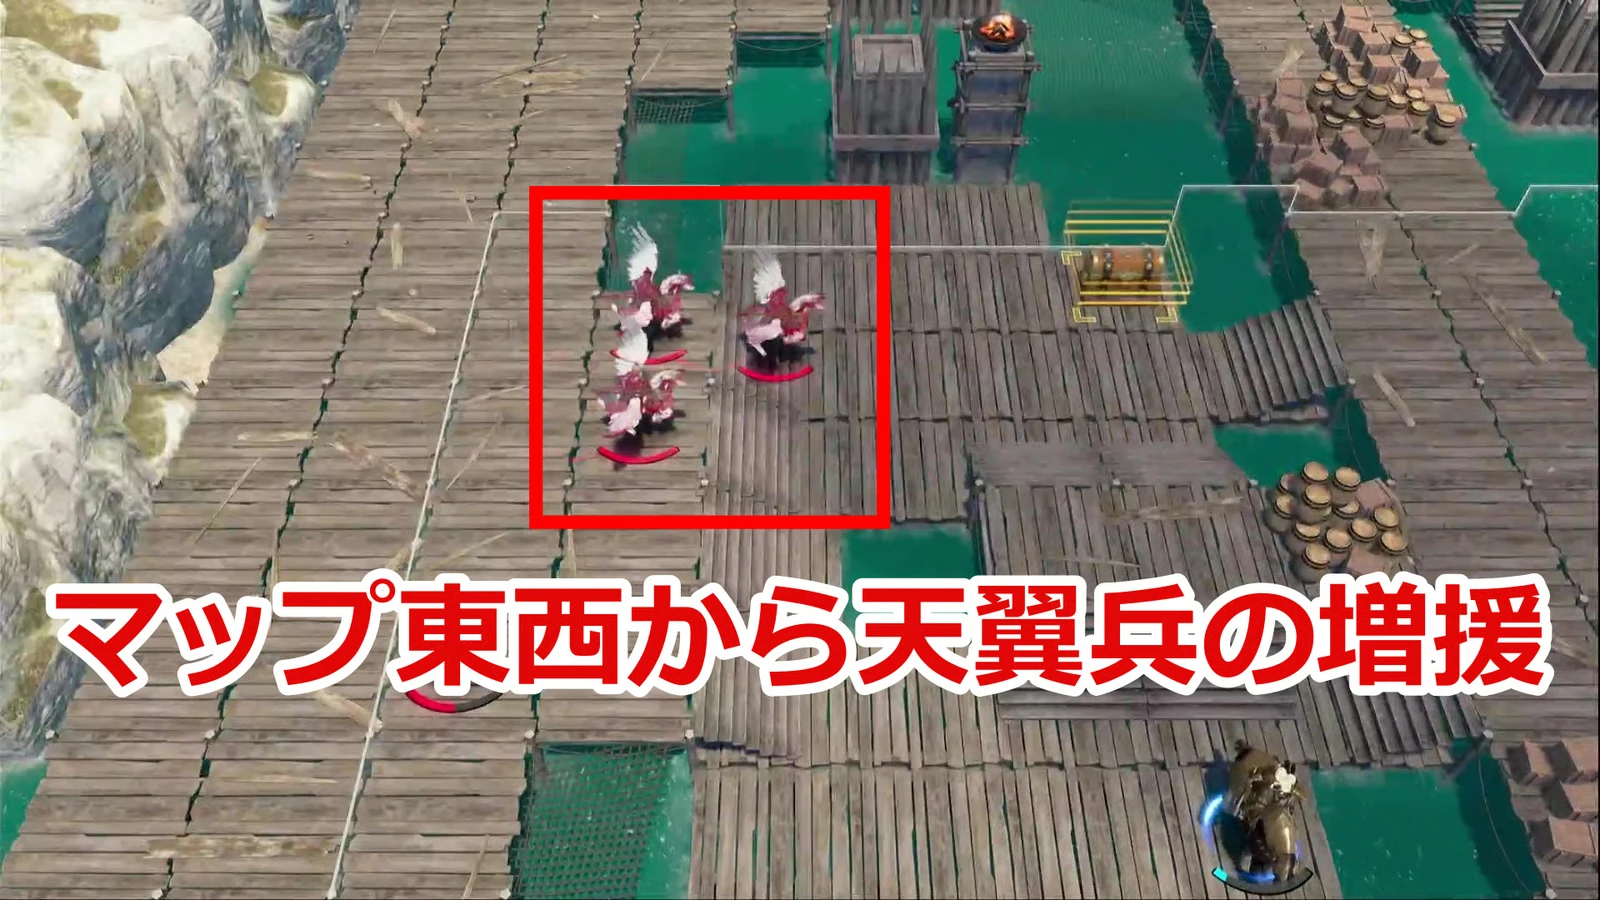
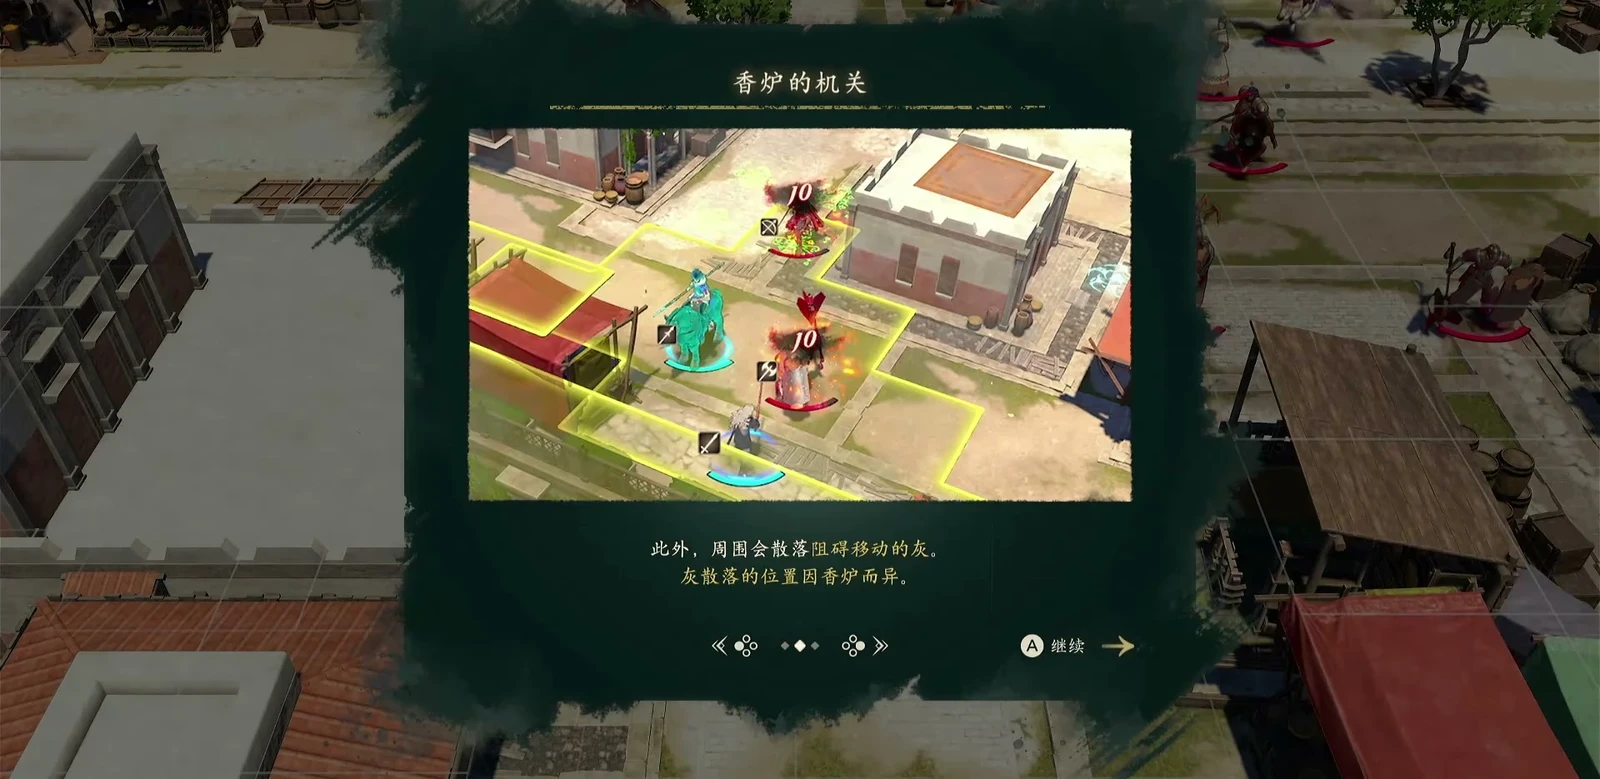
Accept Cai's Paralogue: Great Escape on 10/16. After finishing Orchel and returning, advance into battle through Cai’s dialogue by 10/21. The target is  Centurio. Any enemy entering the yellow lower-left area, or the current protagonist or Cai falling, causes defeat. Hold the mass of regular enemies with the main team and focus Centurio, leaving a long-range or highly mobile unit for pursuers at the lower right. Destroying incense burners lowers nearby enemies’ Movement for 1 turn, giving time to create distance. Do not send everyone after the boss and let southeastern enemies through.
Rewards are  Gem Box, 20,000G, and 150 Renown points. Back in town, Tialla still needs Renown 9, Bond Level 3, and 3000G to join.