
Efficient farming: experience, gold, proficiencies, mastery, and bondsMajor spoilers
Identify the progress you need: proficiencies come from training and valid actions, fast mastery needs a specific accessory, and chapter restarts retain bonds while resetting experience and items.

Check whether you need levels, proficiencies, or Support before choosing a grind. Grind recruitment Support at the start of a chapter: Restart Chapter rolls back training and possessions.
Where should you gain experience, proficiencies, and gold?
| What you need | First method to use | Tested example / cost | |
|---|---|---|---|
| Main-team levels | Higher-level dungeons or encounters you can win; more support spells for healers | No universal experience-per-minute figure; do not send an underleveled squad blindly into a recommended-level area | |
| Gold | Quests and exclusive activities along your route, then auto-exploration once you have more recruits | Results vary with roster size; calculate early income per turn from your actual roster | |
| Weapon, movement, or magic proficiencies | Pair an expert with a novice to target exam gaps | Reload comparisons support expert-led training; combat grinding requires effective hits, and 0 damage is not a general method | |
| Class mastery | Low-attack sword/bow + a specific quest accessory + high-defense enemies + healing | About two or three battles, six or seven minutes per class in one example; prerequisites and weapon access are essential | |
| Recruitment Support | Establish contact with a gift, dine at the inn, use weekly resets, then Restart Chapter | Support remains; experience, proficiencies, items, and money return to chapter-start values. Grind before normal progression | |
| Support between recruited allies | Spend spell uses, then repeat field feasts with ingredients that do not restore spells | Each feast still costs turns; restarting restores time, rather than making each feast instantly free |
Experience, proficiencies, and mastery are separate
Record the progress you need in the menu before choosing a method. Character levels, weapon ranks, Support, and gold serve different purposes. If you are temporarily reclassing for a reward, you need class mastery.
Consider automatic training if you want a mastery reward without gaining too many levels in an unsuitable class. See certification exams and proficiency ranks for the complete rules.
Before farming, record your current class and allowed weapons, your target progress, and any chapter progress you cannot afford to roll back. Compare gains after one short loop. If the number does not change, stop and inspect the conditions rather than spending an entire chapter because a method is described as idle farming.

Level in Part 1 with finishing blows and assistance spells
Prioritize higher-level targets you can handle reliably; you do not need restart loops immediately. Filter the map for dungeons, inspect recommended levels, and choose somewhere above your party. Finishing blows give more experience, and healing also earns it. To catch up one unit, have strong allies lower enemy HP and let the target finish, instead of giving every kill to your highest-level unit.
Look for higher-level encounters or dungeons first, and let the character you are training defeat Silver Mummies where possible. One team in the level 20s could challenge a level 35 area, but check your lineup before fighting above your level. Against enemies with an Underworld Boon, bring a Cleansing Blade or Aurora as a counter. Recommended levels help select targets; damage, durability, and healing determine whether you can win.
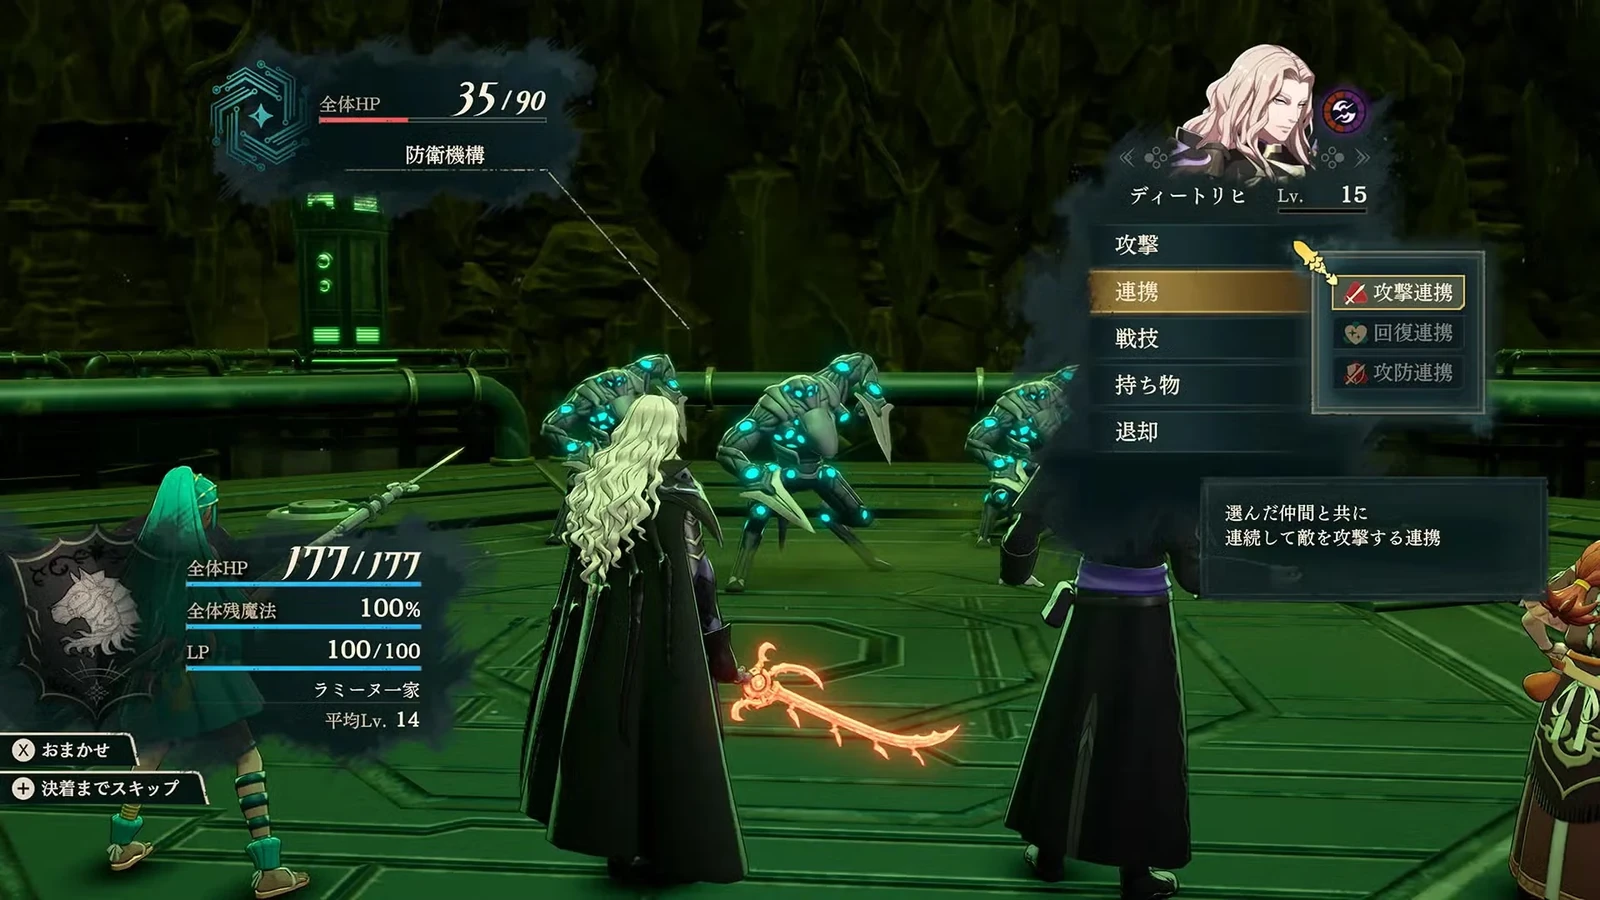
- 1Check your class and exam resources:Confirm the target class and exam resources, then select an accessible high-level dungeon on the map.
- 2Prepare supplies and assign finishing blows:Bring enough healing. Have stronger allies soften enemies so the trainee can finish them.
- 3Check progress after battle:Inspect levels and proficiency bars, then check whether you should take an exam before the next level-up.
There are many free turns before reclassing unlocks. Blind grinding spends level-ups in the old class. Experience Blessings should serve your training goal rather than always stay at maximum.
Healers do not need to compete for kills. Support spells award experience by spell and remain useful at high levels. In one combat example, ordinary healing gave a little over 10 experience per cast, leveling up in about seven or eight casts. Other spells and settings yield different amounts. Keep enough uses to survive the current battle. Replenish after exhausting spells in free exploration, rather than draining the next battle’s supplies for a little more experience.
Distinguish three kinds of retries in repeated battles
| Action | Benefit | Do not confuse it with |
|---|---|---|
| Retreat during battle and reenter the same target | Combat examples retain experience/proficiency progress and allow further training | Check that retreat is allowed, then check whether enemies respawn |
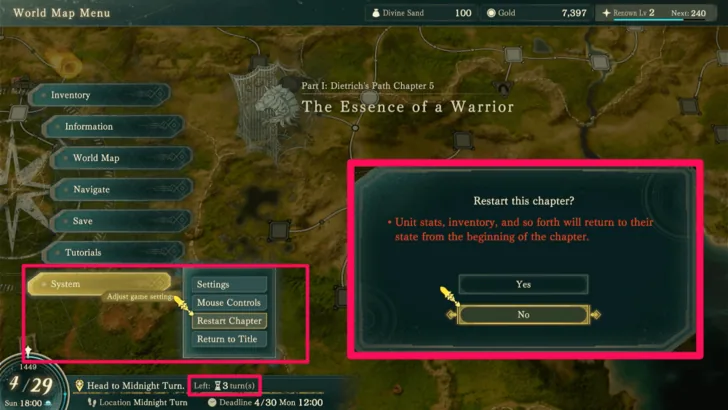
| System “Restart Chapter” | The dining Support loop retains Support | Chapter experience, proficiencies, and items return to chapter-start values; this cannot grind levels |
Retreating from Cai’s instruction battles: Enter an instruction battle, defeat most enemies, leave one alive, and retreat before reentering. Examples involving  Peter’s levels and animal bonds retain character, class, and weapon experience plus animal bonds; no turn is charged until instruction is completed. The game version remains unconfirmed. First run a short cycle to check your menus and retained progress. Stop applying this method if retreat availability or settlement rules differ. Whether this repeated action has been patched remains unknown.
Pair Dietrich with a healer: Leave one enemy alive and immobilize it with the Blaze Art learned at level 20. Have a healer restore the HP spent on the art, repeatedly earning experience for both. When spells run out, finish, retreat for supplies, or use the retry methods above. An immobilized enemy can still attack targets within its range. Inference: stay outside its range and confirm its actions before starting the loop. See Blaze Arts for exact ability names and effects.
Part 3 six-person experience loop: Combine immobilization, Talimun’s HP-consuming Combat Art, two healers, and two units granting extra actions. Repeat healing, then reset supplies. One example went from level 65 to 99 in about an hour and a half and showed the final battle on Normal. The full Divine-class loadouts remain unknown.
Choose a high-proficiency partner before grinding ranks
In a reload comparison, the same low-magic-proficiency character trained with lower- and higher-ranked partners; the higher-ranked partner gave more proficiency experience. Pairing two trained characters did not further improve the higher-ranked character’s gain. Use one expert to teach one character who needs training, rather than pairing two novices for slower gains.
Expert-led training improves the lower-ranked character’s gains; the exact multiplier remains unknown. Use half-price weekend training to cover immediate exam requirements, restoring Motivation when needed. See free time for weekly reset details.
For combat proficiency farming, a one-hit kill provides few actions. A weaker weapon extends the number of valid attacks, but misses or 0 damage do not earn proficiency experience through this method. You need low enough damage to preserve enemies but enough to penetrate defenses. White Magic has another loop: learn at least one heal, restore damage in a Clash, then retreat before uses run out or enemies die. Retain proficiency progress, resupply, and repeat.
After training, open the exam preview and check proficiencies, character level, and seals. If only one requirement is missing, address that one rather than retraining disciplines that are already sufficient.
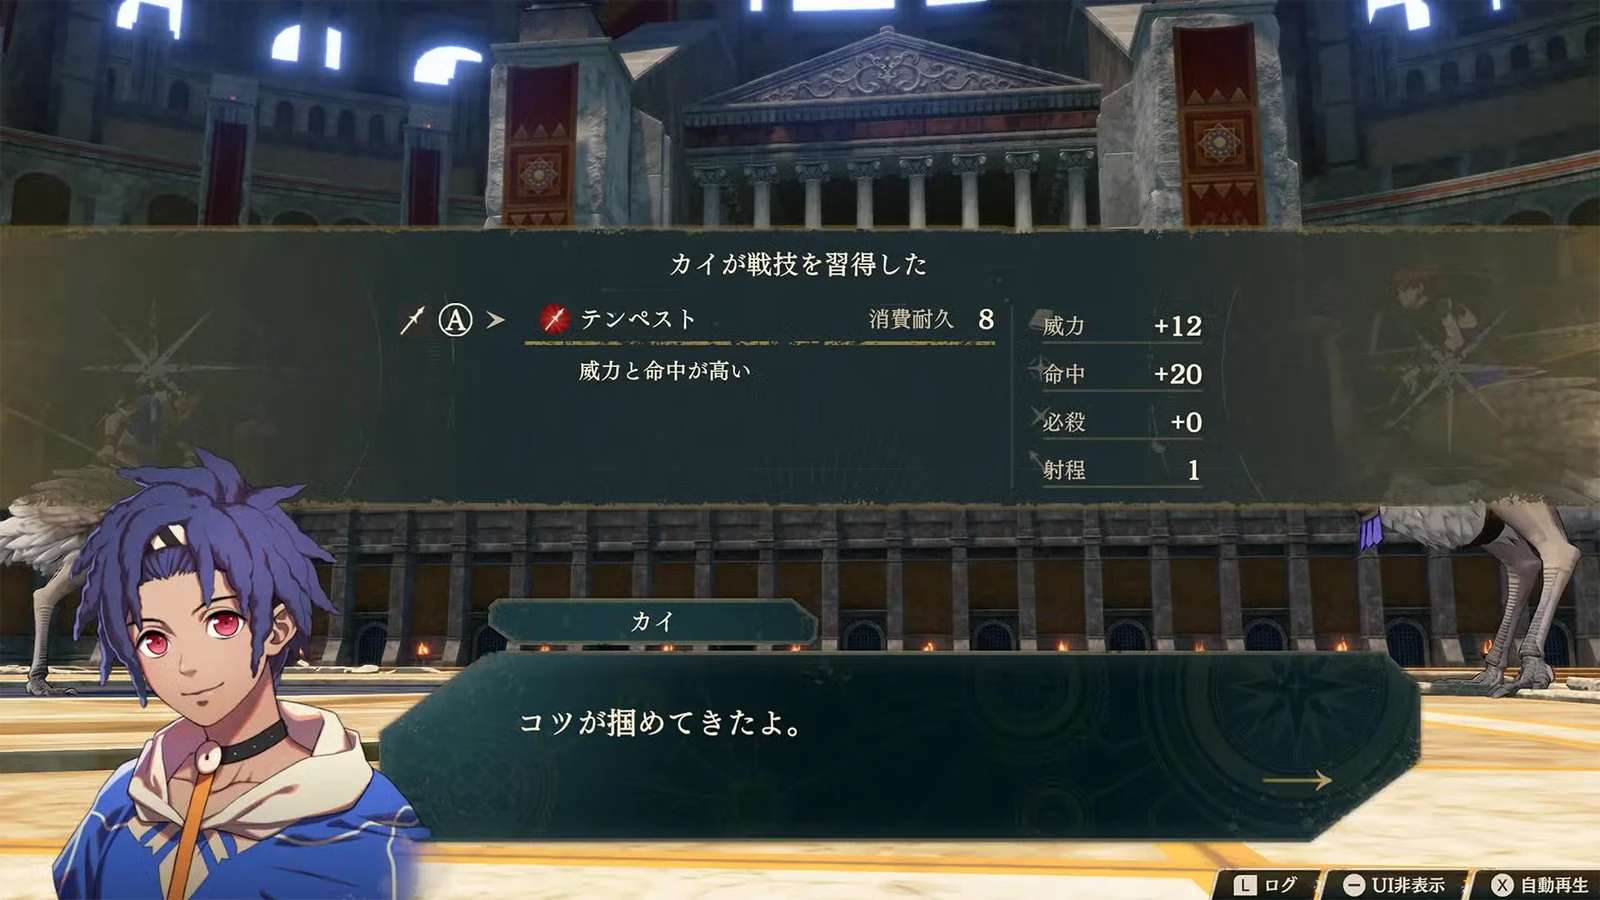
Farm mastery with a low-Attack sword or bow and the accessory
Start this setup by finding the accessory, not enemies. A Part 1 side-quest chain awards a hidden charm whose exact official Simplified Chinese name remains unconfirmed. The chain includes quests referred to as “A Letter of Some Gravity” and “For the Empire’s Safety”; complete the subsequent linked quests to earn the final accessory. Exact acceptance dates remain unknown.
Check side quests and your quest list when finding the chain.
Reproduction steps:
- Switch to the class you want to master and confirm that it can equip a sword or bow.
- Equip the accessory and a low-attack sword or bow that can still hit.
- In Part 3, find shield-bearing enemies with high Protection; exact official enemy names and fixed locations remain unknown.
- Bring a strong healer. Start with a short fight to check survival and class progress.
- Check the mastery bar afterward. Once full, remove the accessory and pass it to the next trainee rather than leave it on someone already finished.
 War Monk classes,
 Valkyrium,
 Sentinel, and
 Castle Knight are examples excluded by this setup. Check the current class’s actual weapon access.
Earn along your route, then explore with a larger roster
With few recruits, progress normally first; with a larger roster, auto-exploration becomes more useful. You can build a cycle: recruit more explorers → earn more from auto-exploration → buy gifts to recruit more people. One later-game example earned about 500–600 gold per turn; a smaller team earned only a little over 400 over four turns. Roster size changes income per turn.
When only a few turns remain and you cannot make a round trip to a new location, assign teammates to exploration at the inn, check the reward preview, then advance to the next event or Sunday. Judge payouts of several thousand or ten thousand alongside their turn cost. Group exploration has earned ten or twenty thousand, but those records lack roster size and duration, so hourly income cannot be calculated.
For manual income, chase golden mummies yourself so automatic attacks do not let them escape. Kill them for Bullion to sell. Dietrich’s Bladesong can find thieves and occasional gold/silver mummies, with cave entry/exit used to refresh. Nodes, positions, and directions affect results; you cannot stand on any road and farm infinitely.
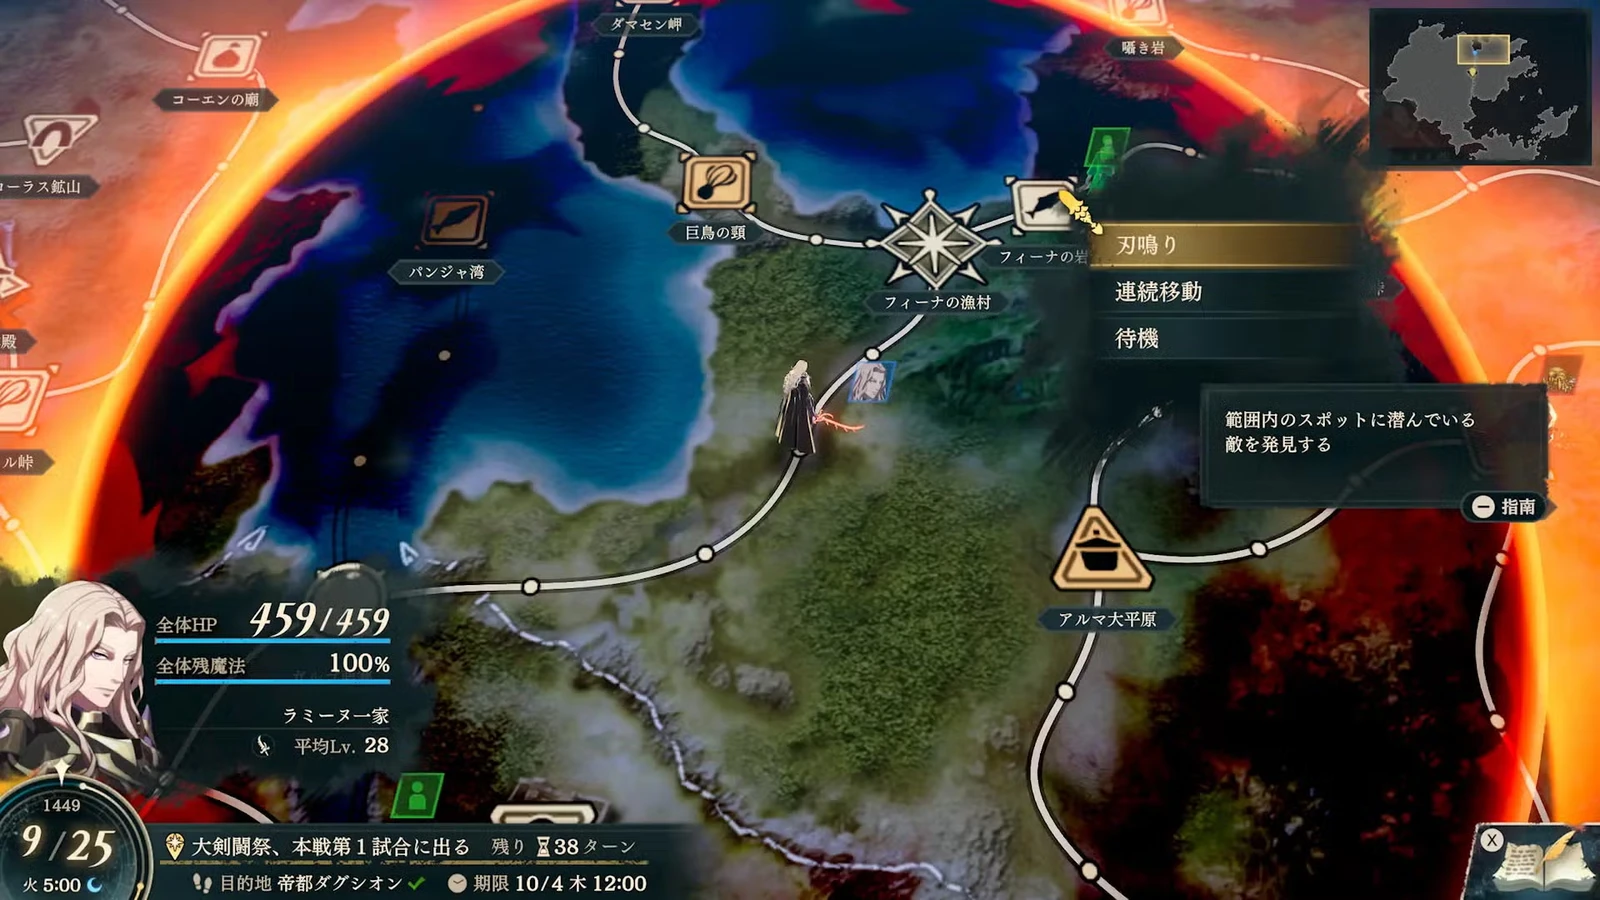
Other income includes paralogue rewards, unique activities, and rare Bullion gathering. Inference: When short on gold, inspect completable quests and exploration previews first instead of wagering all return time on a rare drop. Food and minerals still matter in Part 3; do not sell every material to raise cash.
Grind bonds at chapter start before real progression
Recorded examples dine and spend gold, then restart with gold restored while Bond Levels remain higher. This fills recruitment gaps when Renown is sufficient but bonds are short. It does not replace paralogues, materials, negotiation, or other requirements.

- 1Give the target a gift to establish an invitation relationship, preferably before the chapter you plan to use.
- 2Choose a chapter with early free time and plenty of turns. Start at the chapter opening to avoid rolling back real training or rare finds.
- 3Choose a meal at the inn and seat the pair whose relationship needs improvement. Include the current protagonist when grinding for their recruitment.
- 4After using the current menu, check the relationship. If it is still short and enough time remains, auto-explore until a usable Sunday dining slot. The same time on the following week is usually 28 turns away.
- 5If Support is still short and there is not enough time for another cycle, use Restart Chapter. Check that money returns to its starting value and Support remains.
- 6Once the target relationship is reached, stop restarting. Then train normally, collect items, advance quests, and complete recruitment.
Weeklies reset at Sunday 0:00; you do not need to wait for 6:00. Bonds are shared by character pair. Protagonist A’s relationship with someone does not automatically become protagonist B’s relationship with them. To prepare for another protagonist, seat that protagonist with the target at the actual meal.
This chapter’s experience, proficiencies, and items return to chapter start. Automatic exploration gold also cannot be stockpiled infinitely through chapter restarts.
Spend magic before farming bonds through field feasts
This differs from recruitment dining. The inn can invite unrecruited characters, while field feasts serve units already in your party. Spend at least one magic use in a Clash, then visit a feast tile and choose ingredients that do not restore magic uses. HP may fill, but missing magic keeps another feast available. If spell uses also refill, the loop stops.
Every feast consumes ingredients and turns normally. Repeat until supplies or time run low, then Restart Chapter to retain Support and restore chapter-start resources. Feasts improve multiple relationships at once; the gain per minute remains unknown. Support conversations also require their conversation and story-stage conditions, so a full Support bar may remain locked temporarily.
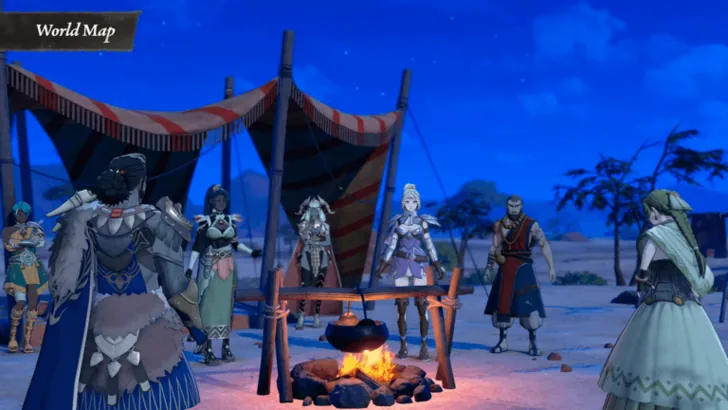
Inference: Like the inn loop, this minimizes rollback losses at chapter start. Test current participants, remaining spell uses, and bond gains once before continuing. There is no need to sacrifice completed hidden events repeatedly to grind every pair.
Stop when you meet exam and recruitment goals
Once proficiencies meet exams, main units can reliably win the next battle, and targets have the required bonds, return to the story. Missing healing, anti-Underworld tools, or accepted paralogues usually does not resolve automatically through another ten levels.
Check equipment and proficiencies against the stage checklist before Part 2. For a normal weekly progression routine, return to getting started.