Getting started: your first 10 hoursMinor spoilers
Check deadlines each chapter, group training, temple service, and meals on weekends, and build six core units plus two reserves around their next certification. Unlock waystations and complete quests along the way.

Focus resources on six core units and two reserves so your main attacker and healer develop properly. Check deadlines each chapter before scheduling weekly activities.
Train toward the next exam, with your main attacker and healer first. Finish weekly city activities, then head out with quests and unlock waystations. This gets your team ready more easily than gathering materials everywhere and leveling everyone evenly from the start.
Choose your difficulty and follow one route
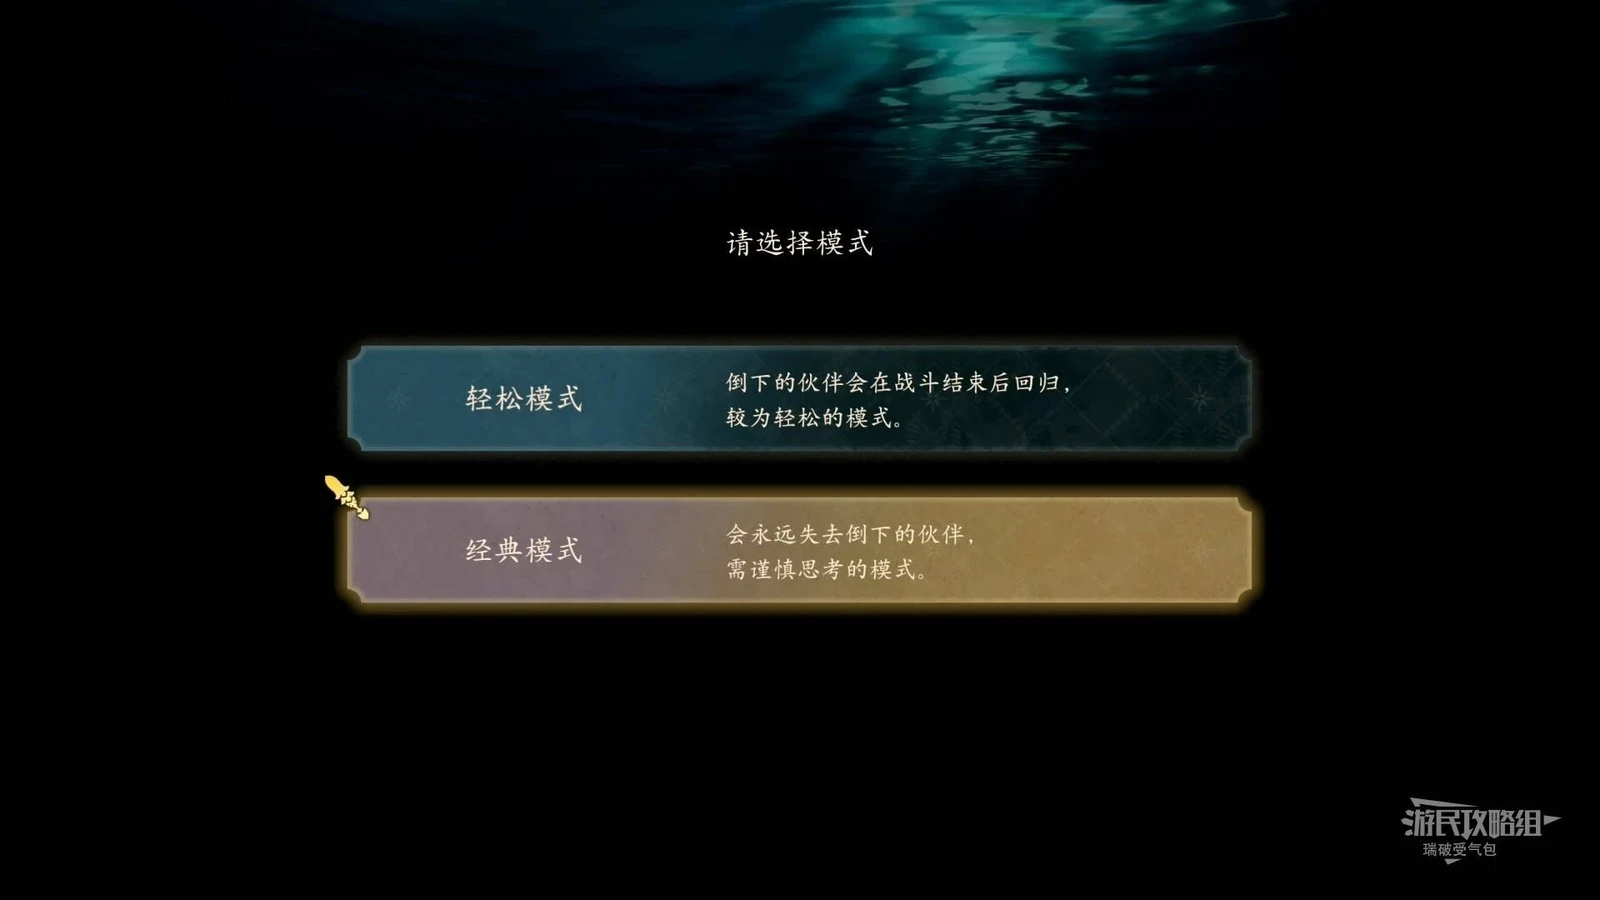
Choose Normal + Casual if you want to enjoy the story with fewer battle retries, or Hard + Casual if you want to study positioning and action order. Normal has weaker enemies and lets you progress faster; Hard demands more careful planning for each move. Fallen allies return after battle in Casual mode, while Classic mode makes their loss permanent. You can lower Hard to Normal at the Altar of Fate. Returning to Hard or changing modes requires descending again and replaying the prologue.
Each protagonist has a different focus during free time:  Cai catches and cares for mounts,
 Dietrich seeks out battles,
 Theodora sends battalions to gather materials, and
 Leda performs around the world for gold and Renown. Start with Cai if you want to discover the world alongside your protagonist, or Dietrich if you want a dependable main attacker immediately. Finish one protagonist’s Part 1 before starting the next from Chapter 1. Your map progress and shared side quests carry over, cutting down on repeated travel.
Difficulty and modes · Route order
Turn on enemy range in your first battle
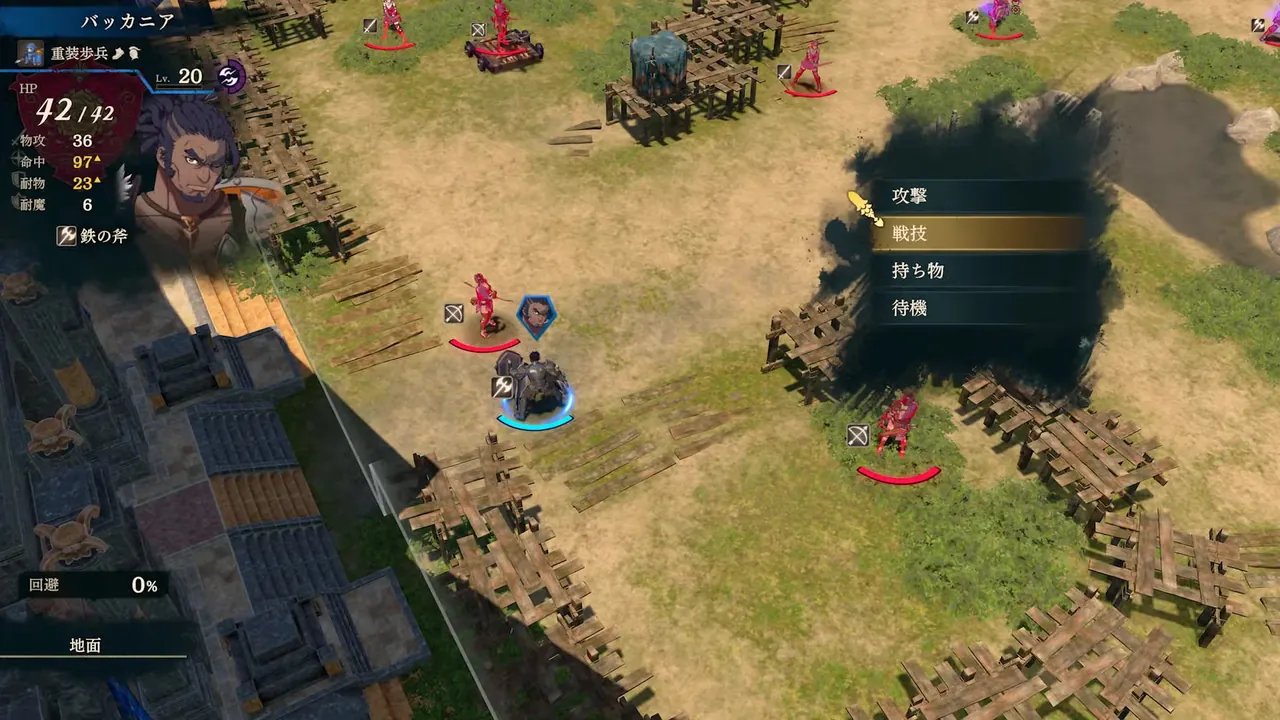
- 1Press ZL to show every enemy's attack range.
- 2Inspect dangerous enemies' weapons, Attack Speed, and skills with X, then pin their individual range with A.
- 3Check how many enemies can attack the destination tile. If two cover it, calculate both attacks; surviving the enemy in front is not enough.
Against physical enemies, use high-Defense units such as  Esmeralda to take hits, and keep healers such as
 Yang Jie outside enemy range. On your turn, weaken targets with units who can survive the counterattack or with ranged attacks, then let the unit you want to train finish them. If Hit is unreliable, keep another unit's action for a backup kill instead of ending everyone's turn first. Check Resistance against magic; high Defense may not be enough.
Read damage, Hit, follow-up attacks, and Critical together in the combat forecast. You need at least 4 more Attack Speed than your opponent to double, and enemies follow the same rule. The red cross predicts a defeat assuming every attack hits and no critical occurs. Even without a red cross, check the enemy’s Critical rate, and remember that 80% Hit can still miss. If a normal attack falls just short of a kill, compare a combat art. Whether its extra Might or Hit secures the kill determines whether spending that durability is worthwhile.
| Command | Resource cost | What to check first |
|---|---|---|
| Normal attack | No weapon durability cost | Range, Hit, and enemy counterattacks;  Zanbato can exploit cavalry effectiveness with a normal attack |
| Combat art | The durability cost listed for that art | Compare damage, Hit, and Range with a normal attack; avoid wearing the weapon down until it breaks |
| Blaze Art | Spends HP and builds the Blaze Gauge | Your remaining HP afterward, and whether you can survive the next enemy attack |
Attack Speed, Hit, and damage · Combat arts · Blaze Arts
Put free-time deadlines on your calendar
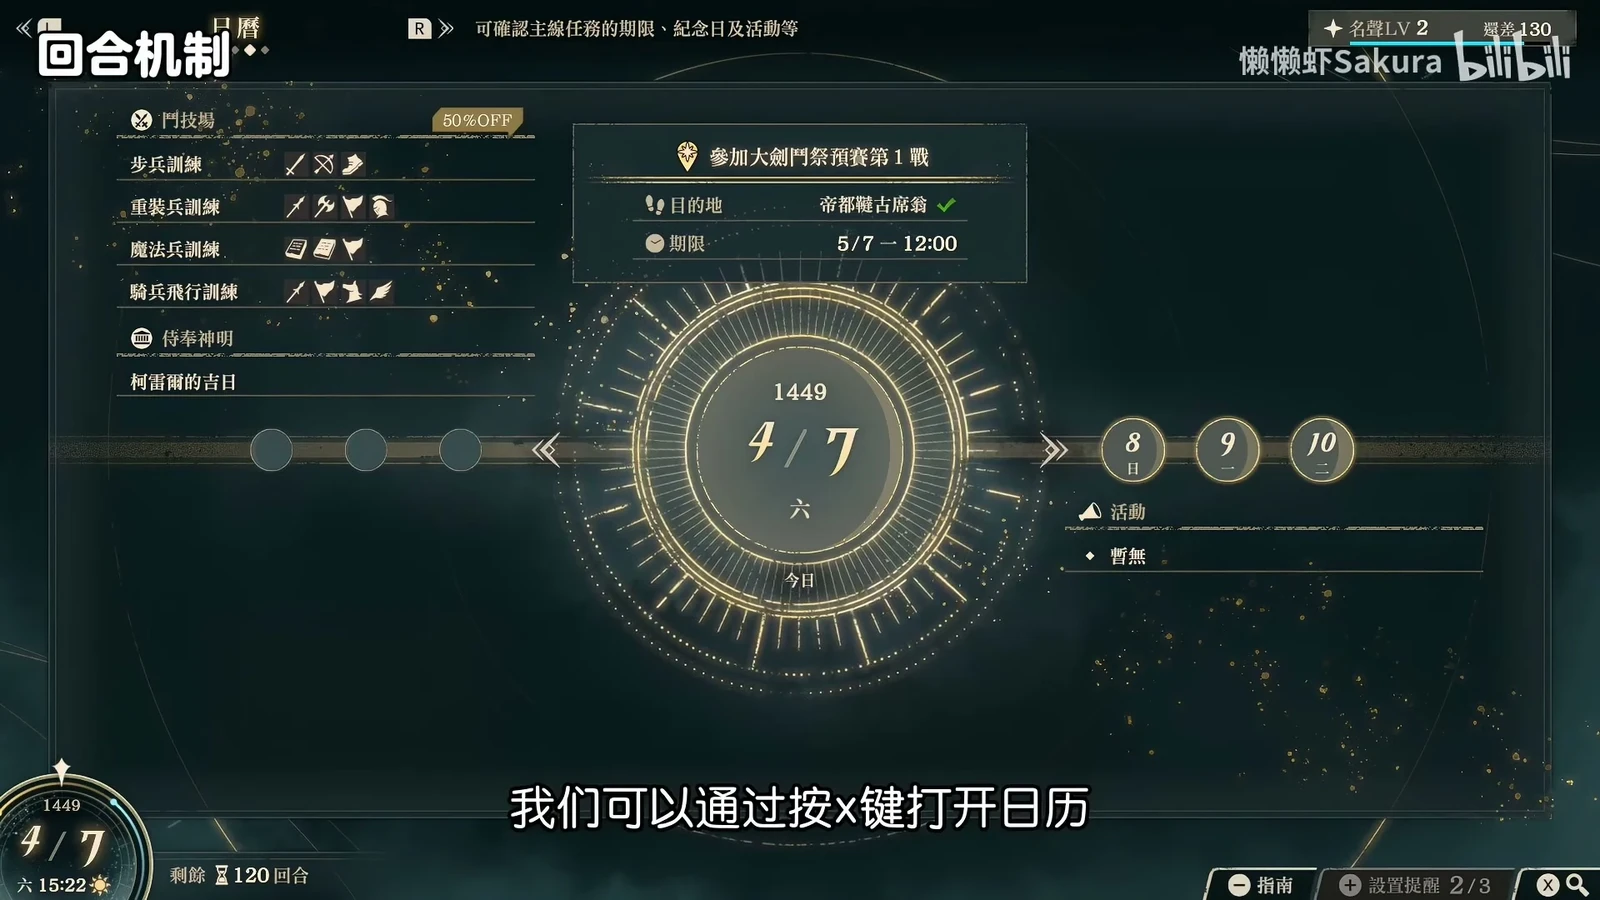
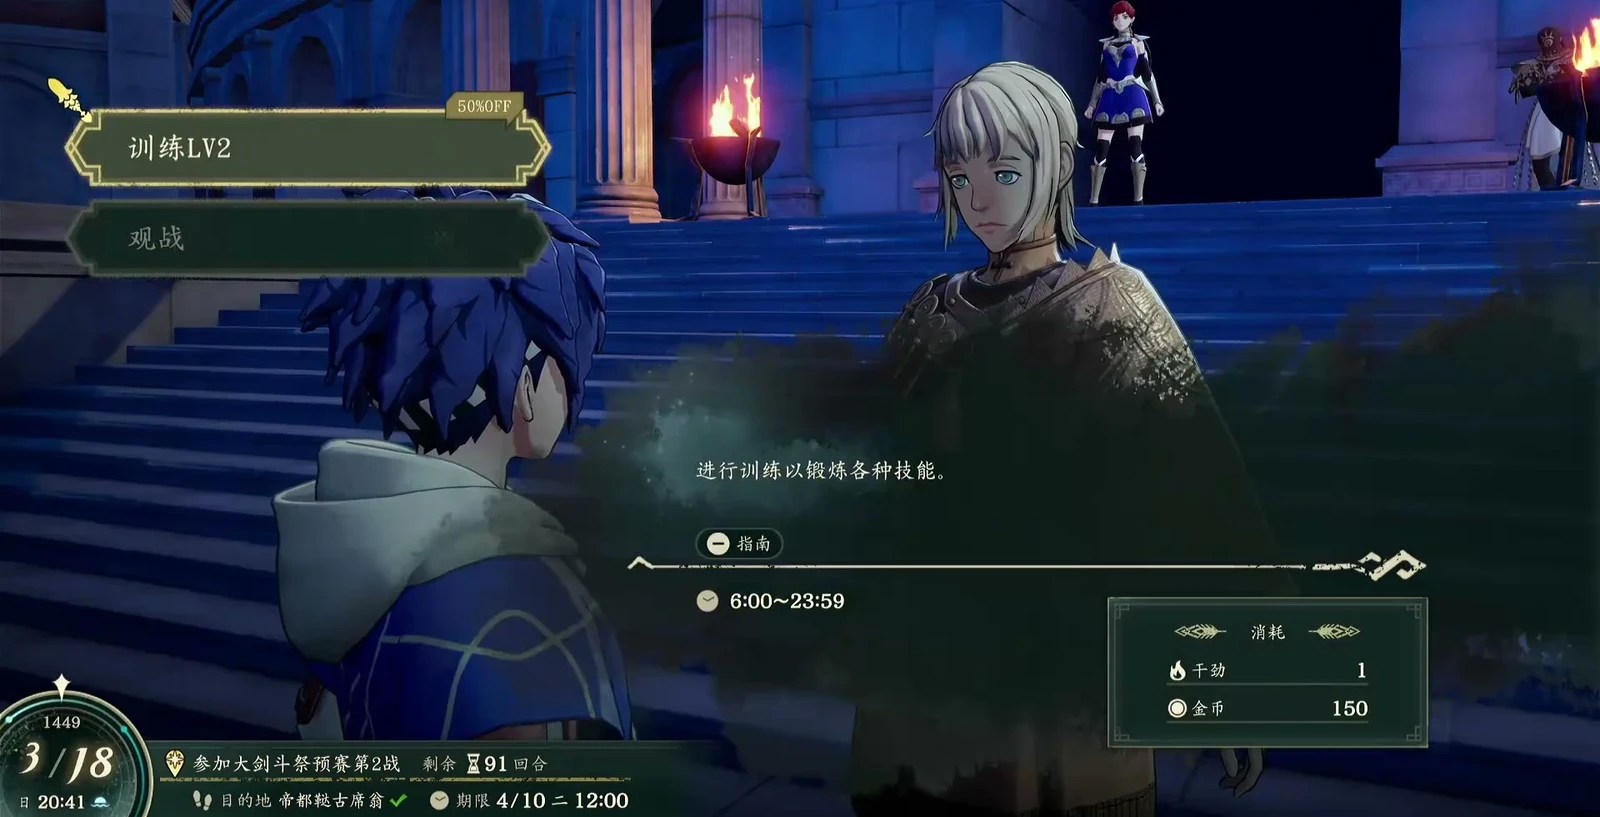
When free time begins, check the main objective, deadline, and turns remaining at the bottom left, then open the calendar. Each turn is 6 hours and each day has 4 turns. Events have fixed dates, so set reminders before leaving town. Spectating gives the whole team proficiency experience on fixed dates; training and dining have discount days. Select a date and press + to set a reminder, then plan to return on that day or the day before.
Once your calendar is set, accept quests you can finish along the way. If the story asks you to reach a place or meet someone, visit the objective early and confirm that the objective tracker marks it complete. Do not spend your entire schedule only to discover that the story destination is still far away. Dietrich has generous free time, but you can still run into the deadline if you leave the story objective too late.
Free time and Renown · Missions and quests
Train and serve before restoring Motivation with meals
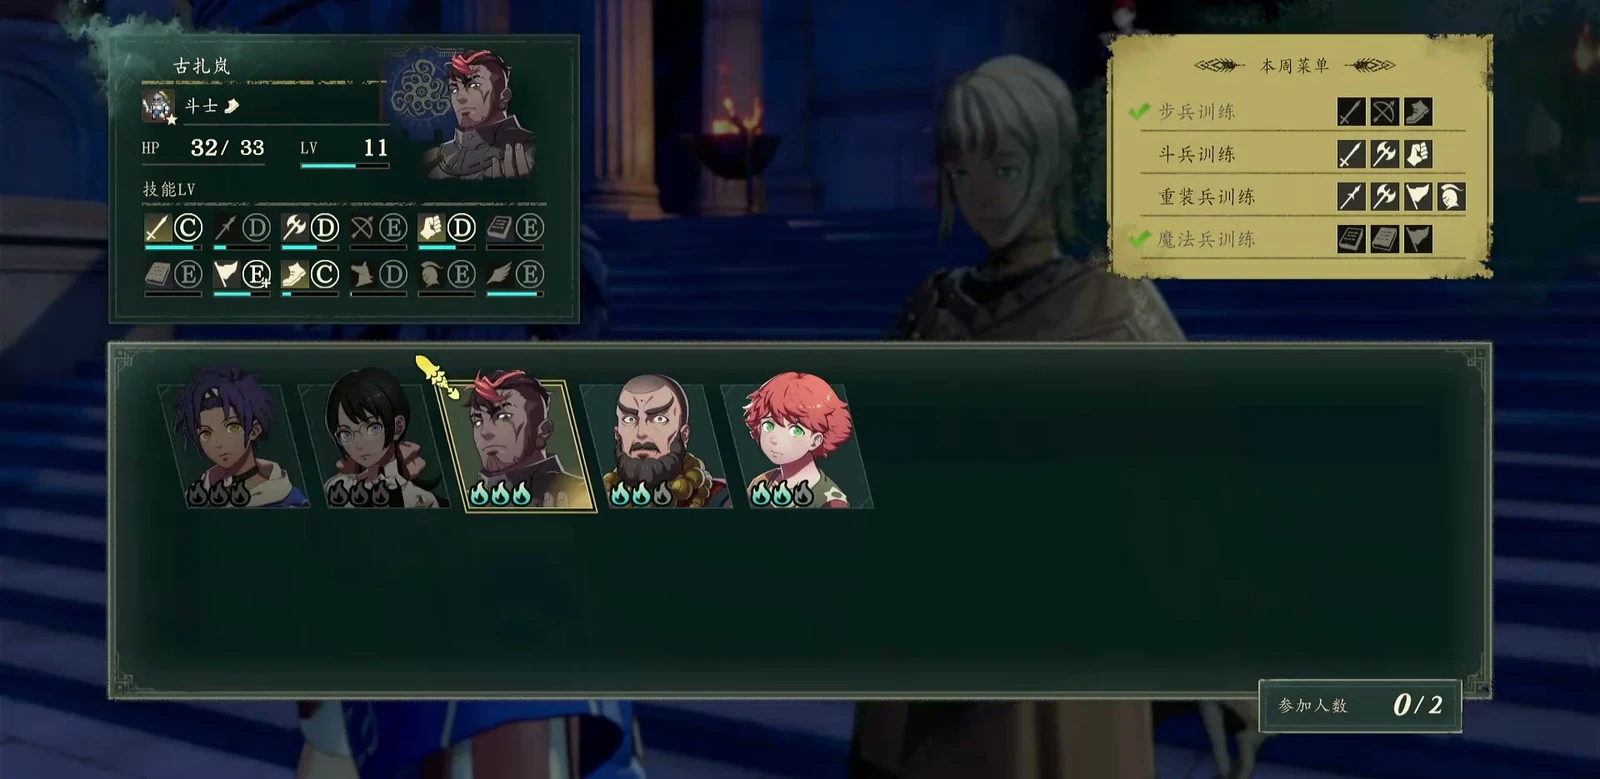
Do training and temple service first, then eat. These activities spend Motivation, and good results can restore some of it, so you only know the shortfall afterward. If you fill Motivation with meals before training, some recovery can go to units who did not need it. Train the proficiencies needed for your next certification, and serve the Blessing you want to develop. Temple service is unavailable during Cai’s first free-time period; follow the adventure guide until it unlocks.
Each training activity and each dish has its own weekly allowance. Once a dish turns gray, choose one you have not eaten yet; the three dishes available at one stage are not three fixed meals for the entire game. On weekdays or near a deadline, handle expiring activities first and fit training, Divine Service, and meals around available uses.
- 1Use this week's remaining attempts on Saturday.Check the proficiencies missing for your next exam and finish available half-price training, then restore Motivation and build bonds with dishes you have not eaten.
- 2Do another round after Sunday's reset.Train at half price and do Divine Service during the day, then eat half-price meals. Every temple has an auspicious-day bonus.
- 3Leave town afterward.Handle quests in the same direction.
Doing both weekend rounds together avoids special return trips every few days.
Weekly activities reset at 0:00 on Sunday. The arena and theater are closed from midnight until 6 a.m., so Sunday at 6 a.m. is a useful starting point for your activity circuit. Training normally costs 300 gold per session, or 150 on weekends. If you need all four activities and have enough Motivation, four sessions on Saturday plus four on Sunday cost 1200 gold. Reserve that money before deciding how many gifts to buy.
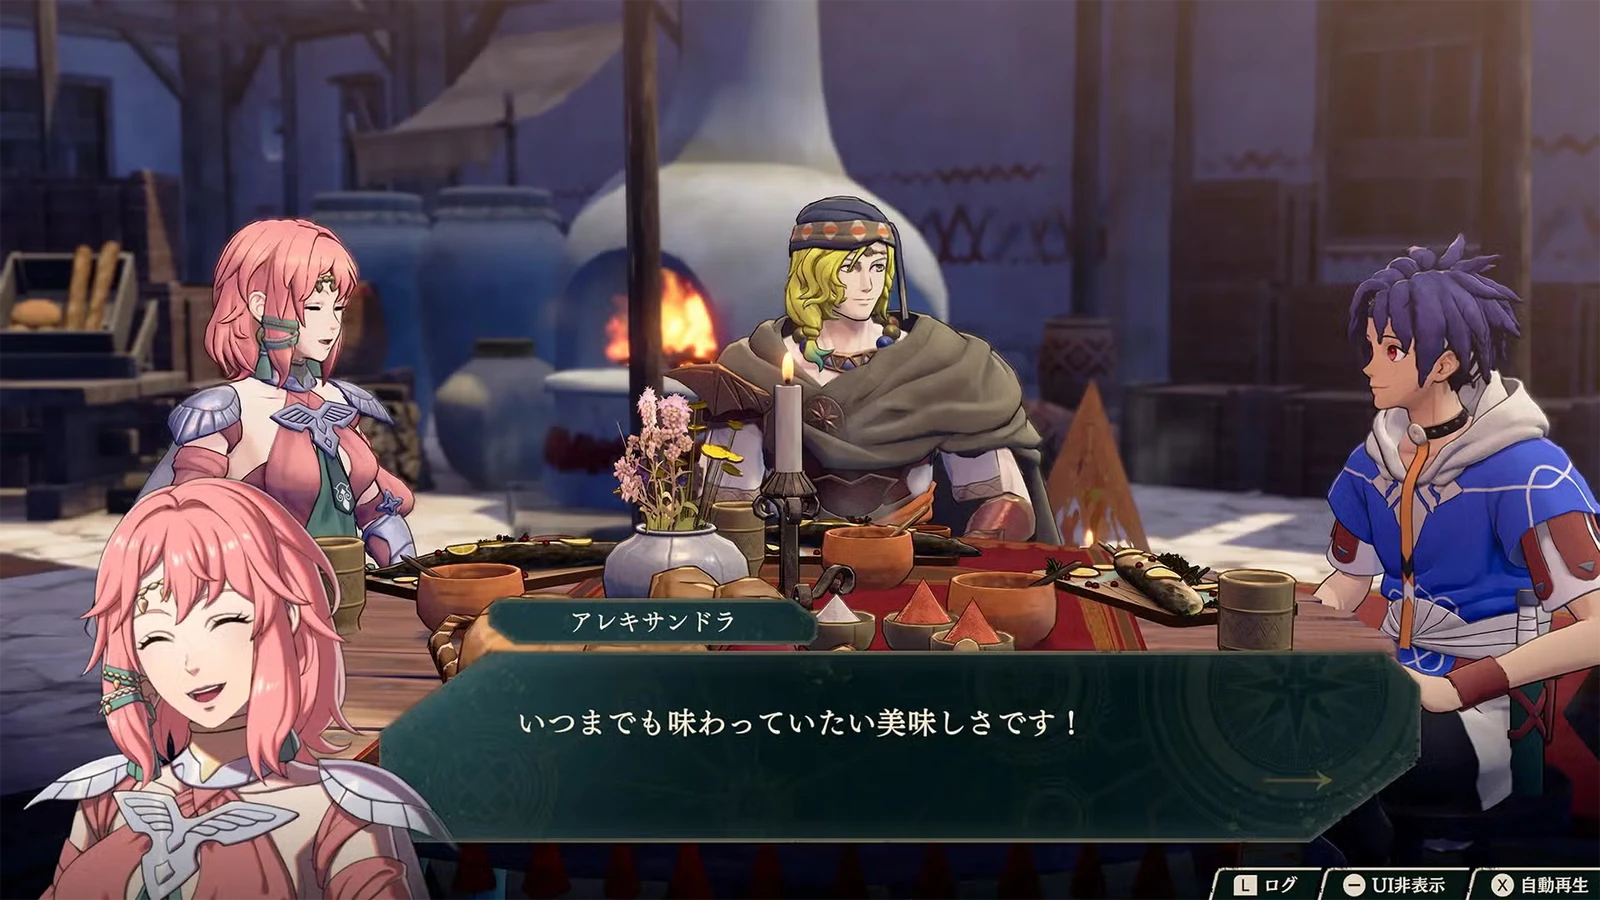
Give a prospective recruit one cheap gift each week to establish contact, then invite them to a meal. Seat your current protagonist with the target character and try to choose a dish at least two diners like. Otherwise, you may improve the bond between two teammates without meeting the protagonist’s recruitment requirement. Each week, you can also choose one character to bond with the Pale Raven, increasing their support with  Eshmel.
Dining and theater · Pale Raven interactions · Temple service schedule
Build six core units and add healing early
Start with six core units and two reserves. Typical tactical battles deploy six units, while Clashes use five. Spreading training evenly leaves your main attacker and healer behind. Blaze Arts cost HP, so even a strong protagonist needs someone to heal them. Fill out physical, magical, and other roles afterward; you do not need to chase high-Renown recruits immediately.
As the story brings in new allies, assign roles within your route:
| Route | Early damage roles | Early healing roles |
|---|---|---|
 Cai | Build Cai along the Ornius route; focus  Tialla on black magic damage | Once  Ultand joins, focus him on white magic and close-range healing; he lacks ranged healing, so keep Tialla’s ranged Patch Up |
 Dietrich | Use Dietrich as your main attacker,  Fabio for black magic, and 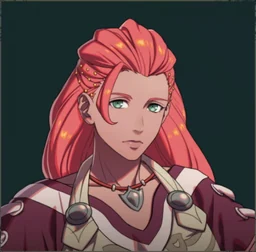 Mikaela for axes | Put  Yang Jie on white magic and establish black/white magic roles with your existing units first |
 Theodora | Theodora handles physical damage; 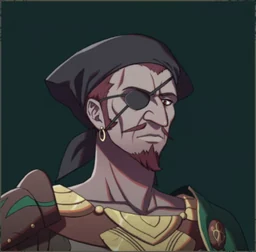 Bonaventure uses black magic with some healing | When  Sofia appears, recruit her with Renown 2 and Bond Level 1 with Theodora, then let her take over healing |
 Leda | Give  Mu kills early and let 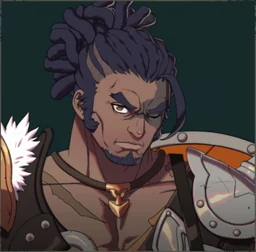 Buccar absorb damage | Build  Sirocco for magic and healing, keep ranged Patch Up on  Olympia, and use Leda to grant your main attacker another action after unlocking  Dancer |
 Sofia requires Renown 9 and Bond Level 3 on Dietrich’s route. The investment needed for the same character changes by route. Relying on a healer already in your party makes the early game smoother than waiting for a late recruit because of a tier list.
Keep one or two sword users ready to use  Cleansing Blade against the risen dead later. Stabilize your current team first, then expand to about 13 units including the protagonist before the war arc. Add ranged healing, bows, flight, and units who can take hits.
Character builds · Recruitment by route · Preparing for the war arc
Prepare for the next exam before grinding levels
Prepare levels and class qualifications together. Check the target class before training: train Sword if you lack Sword, or Riding if you lack Riding. Grinding character levels in caves will not unlock your desired class if proficiency and Renown requirements remain unmet. Exams also consume licenses, and their pass rates depend on character level and learned proficiencies.
| Target class | Requirements to prepare |
|---|---|
 Gladiator | Recommended level 5, Renown 1; D in Sword, Axe, or Gauntlet; bring a  Beginner License |
 Ornius Rider | Recommended level 5, Renown 1; D in Spear or Axe, Riding E+; bring a Beginner License |
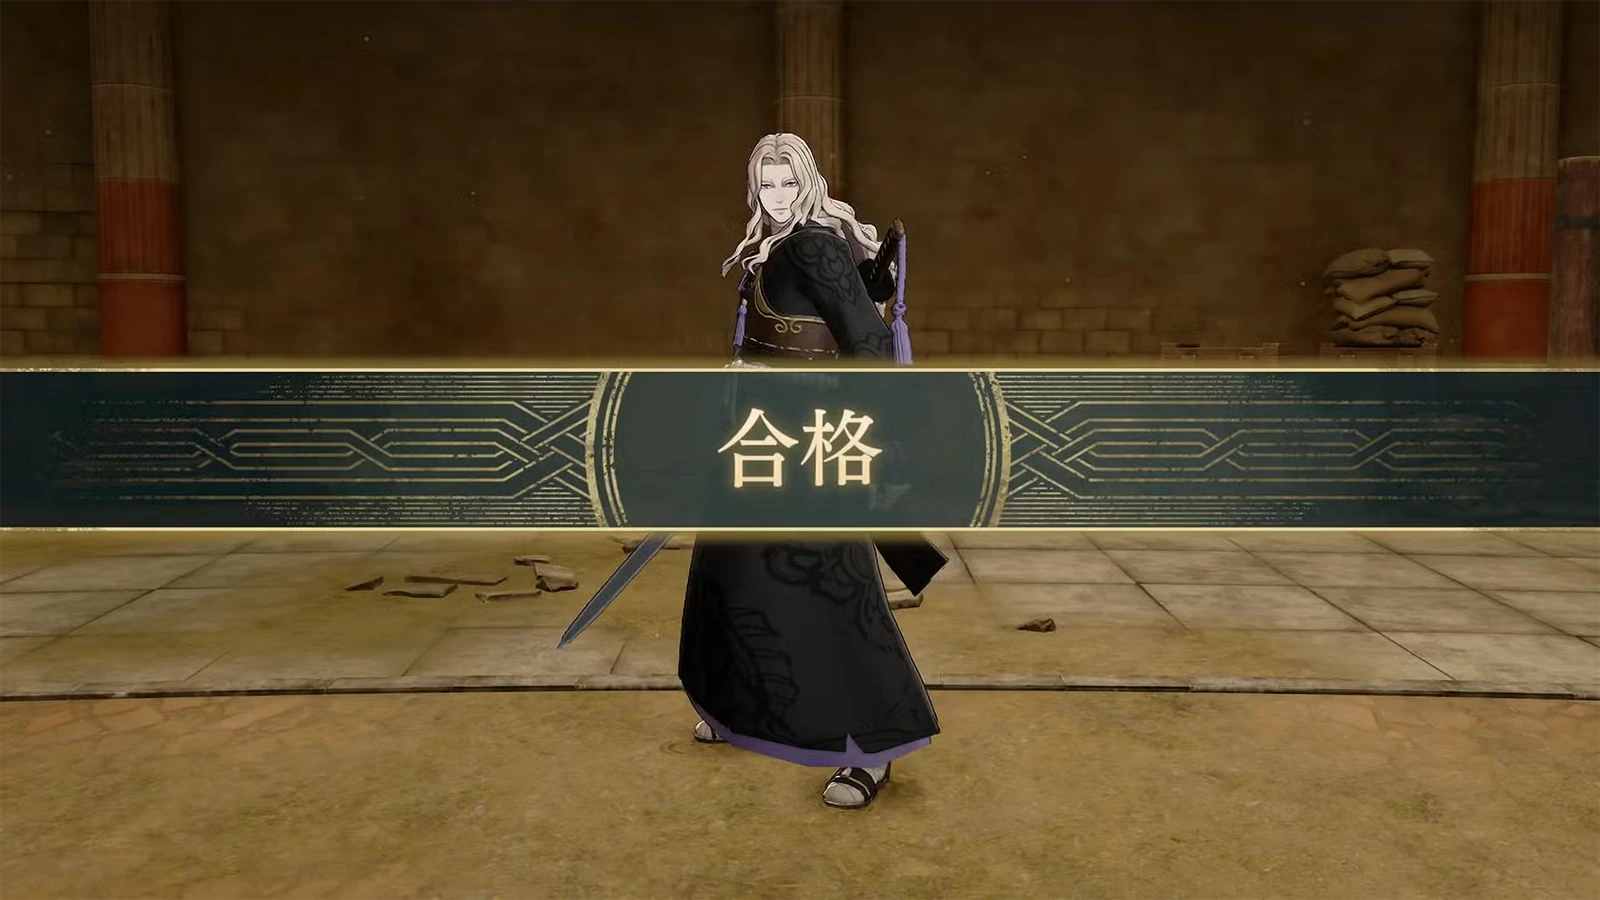
 Myrmidon | Recommended level 20, Renown 4, Sword C; bring a  Specialty License |
Check the pass rate in the exam menu, earn the qualification, then change class. Dietrich has a long free-time period before his first class change unlocks. You can uncover the map and waystations first, leaving most leveling until after the change. If battles are already difficult, still let your protagonist take kills normally. Do not slow battles by handing away every kill just to suppress levels.
Certification exams · Proficiency ranks
Unlock waystations and connect quests along your route
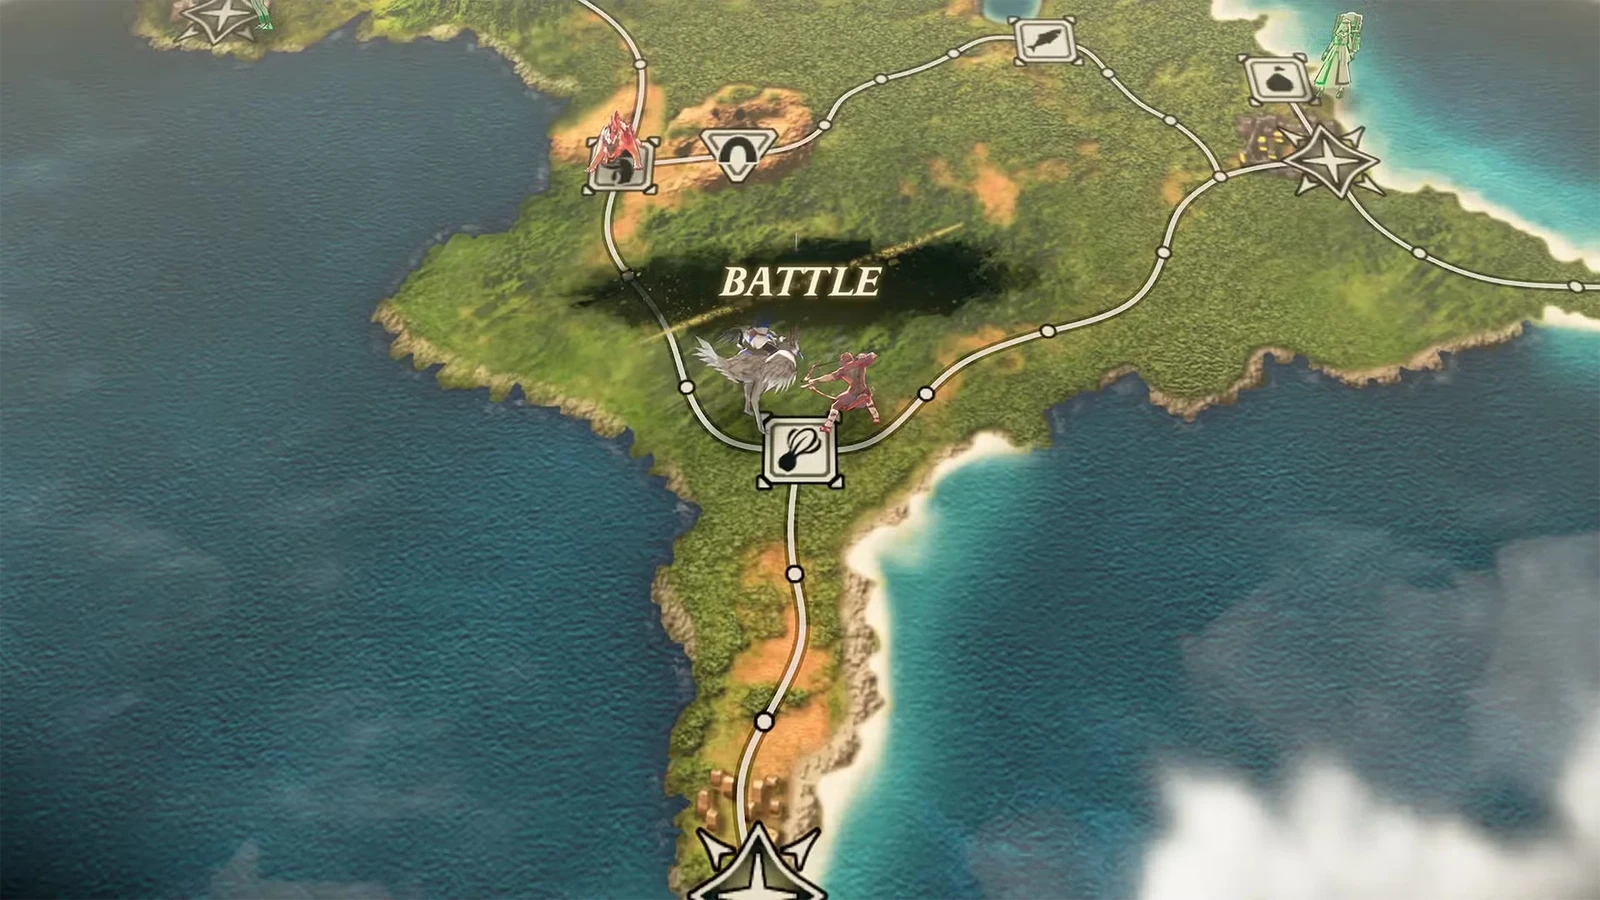
After your city activities, link quests, towns, waystations, and dungeons in the same direction into one trip. Unlock waystations first so you can pay gold to travel between them later; you need at least two active stations. Walk to unlock them when money is tight early on; you do not have to take a carriage immediately. Some villages sell regional maps for 50 gold. Revealing nearby roads also saves turns otherwise spent wandering blindly.
Dungeons provide experience, treasure chests, and materials. If you find one with another exit along your route, it is worth exploring. Check what you need before using ordinary gathering points on the world map. If you have no current quest, negotiation, or upgrade need, save those turns for waystations and quests. Check character and quest locations once by day and once at night; some only appear in the matching time period.
Give a lagging new ally the finishing blow
Dungeon Clashes help underleveled units catch up. Each side has one shared team HP bar, and you win by reducing the enemy’s total HP to 0 rather than defeating each visible enemy individually. Let strong units soften the enemy, then have a low-level unit lead the Linked Attack that lands the finishing blow. They receive bonus MVP experience, while the rest of the party also shares experience. Constantly skipping battles and letting the protagonist finish everything denies your trainee that extra share.
Against physical monsters, use high-Defense units such as  Buccar and Esmeralda to take hits and handle LP recovery actions, then let the lower-level unit lead the Linked Attack. Check Resistance separately against magic. On Dietrich's route, prepare
 Fabio for damage and Yang Jie for healing;
 Ultand can also sustain the party with Patch Up if available. Start with dungeons slightly above your level whose attacks your party can survive. Even with shared HP, you still need to damage the enemies.
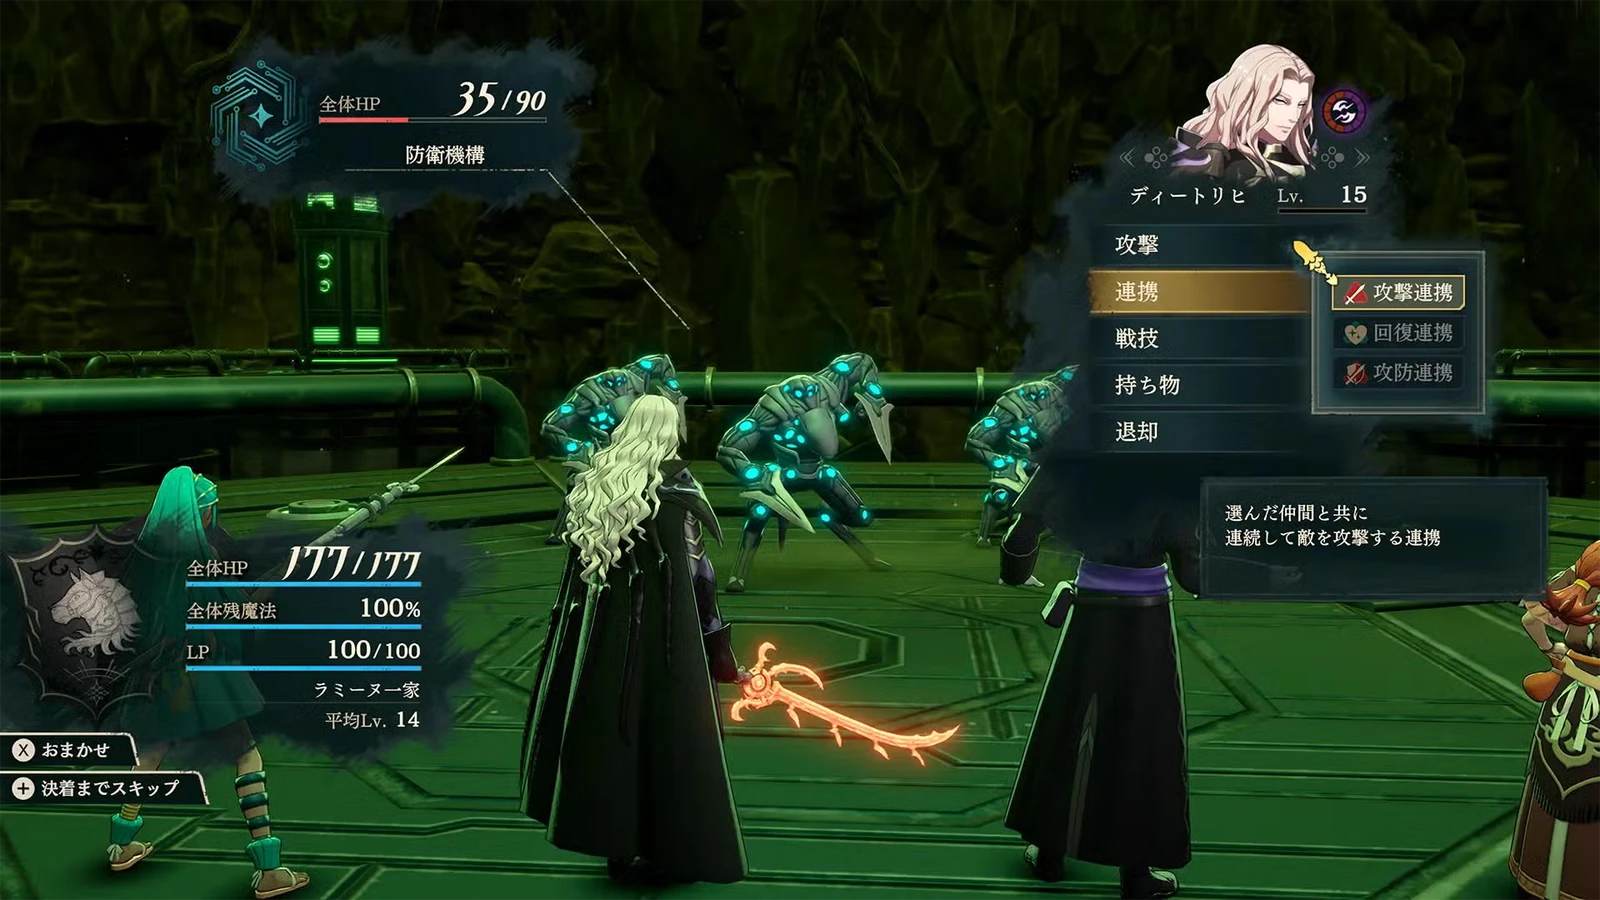
Press + to skip to the end of a battle. Automatic resolution still spends LP and magic uses. Before continuing exploration, check remaining HP, magic, and LP separately:
| Resource shortage | Next step |
|---|---|
| Only LP is low; HP and magic are sufficient | Return to the world map through “+ menu → Movement Assistance,” then reenter; this refills LP and costs 1 extra turn |
| HP or magic uses are low | Spend ingredients at a feast/dungeon rest point, or return to an inn and spend gold plus 1 turn to rest |
| A cleared dungeon has no enemies left | Move to another dungeon you have not finished this chapter; enemies return next chapter, and repeated reentry does not respawn them |
World map and travel · Dungeons and Clashes
Reserve training money, then recruit to raise your income
Training directly builds the proficiencies needed for class changes and costs less on weekends, so reserve money for your next round. At meals, prioritize seating your current protagonist with prospective recruits to build support and restore Motivation together. Buy cheap gifts they like when you pass merchants; you do not need to search everywhere for expensive gifts for everyone at the start. If you have used the menu and still need Motivation and magic, spend gold and 1 turn resting at an inn.
Before buying weapons, check your dungeon loot, material exchanges, and new allies’ starting equipment. Normal attacks do not spend durability, so you do not need several copies of the same weapon for each unit just to use basic attacks. For regular weapons you plan to upgrade, such as  Iron Sword, spend some durability first. Upgrading then improves performance and restores durability together. Repairing to full before upgrading adds an unnecessary repair bill in gold and materials.
Prioritize recruitment spending because extra allies improve both your roster and your income. They can join automatic exploration at the inn to bring back gold and materials. After completing quests, or when a spectating event or return reminder is approaching, use automatic exploration to fill spare turns. Do not skip an entire chapter just to wait for rewards.
Build Renown toward specific goals too. If you are just short of a recruit or your next exam, use story quests, side quests, and protagonist activities to close the gap. If a distant goal is still far away, continue the story. Repeatedly doing Bladesong for about 30 Renown each can consume a lot of time while overlooking the substantial rewards from the story itself.
Earning and saving gold · Recruitment requirements
Check quests, supports, and exams when you return
After returning to town, report quests and check exams and support conversations before starting another round of training. Some conversations have viewing-order and chapter requirements. On Cai's route,  Peter,
 Tialla, and Ultand have connected conversations; on Leda's route, finish Buccar's related supports with
 Sirocco and Leda before Chapter 7. Watch available conversations as they unlock; waiting too long can lock them.
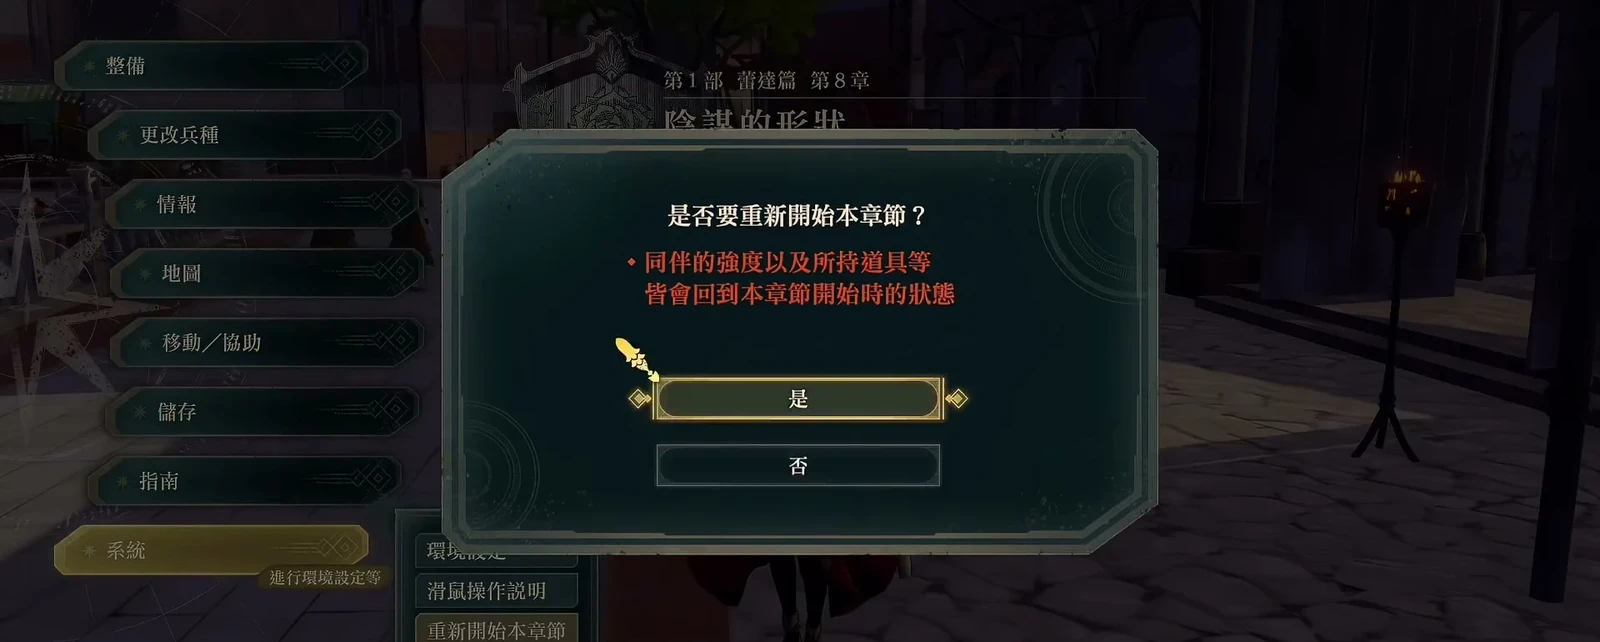
“Restart this chapter” restores training, items, and exploration to their state at the chapter’s start. If you want to repeat meals for support, do it at the beginning rather than restarting after most of the chapter. Likewise, save before Stargazing, preview results with automatic battles, then reload the save from before the preview and continue your quests normally. Perfect gains at every level are not worth halting your whole first playthrough.
In Part 1 Chapters 9 and 10, check the paralogue dates. Dietrich has a paralogue available only on September 17, so confirm the reminder before automatic activities. Before entering Part 2, follow the supplies and team checklist: upgrade weapons, use guidebooks, and put the weapons and equipment you want to carry over on your characters.