
Dungeons and Clashes
Bring up to 5 characters into dungeons with shared HP. Manually include your training target in the finishing attack. Enemies return next chapter; ore, crates, and barrels refresh on reentry, while chests cannot be claimed repeatedly.

To train a character, have durable allies weaken enemies, then manually give that character the finishing blow or an attack Link. Your team must survive the counterattacks first.
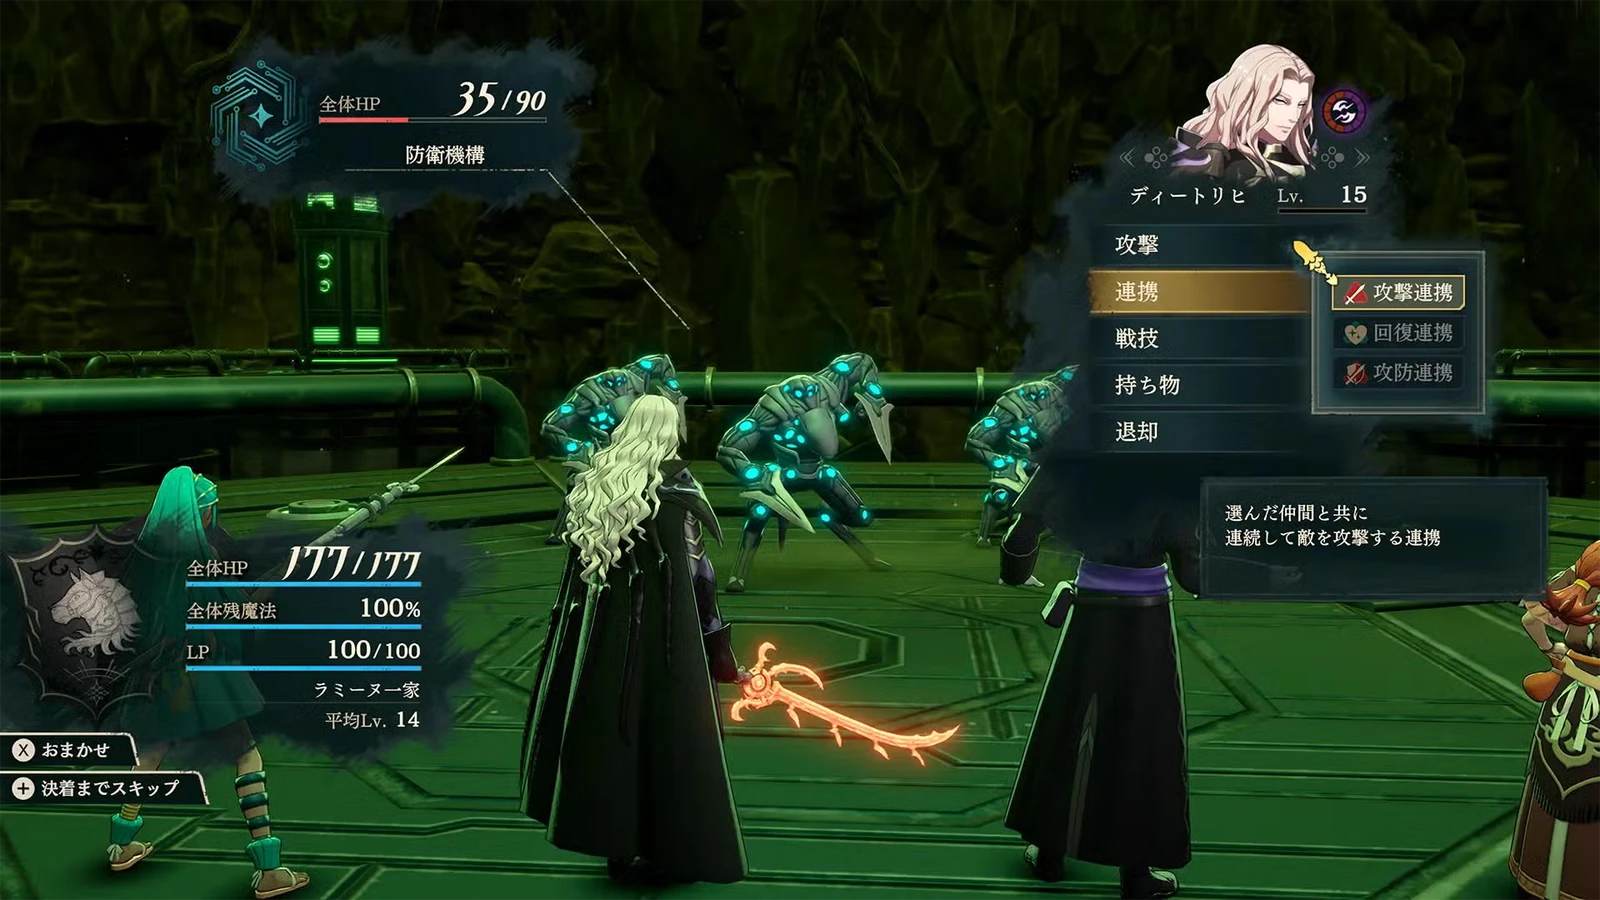
- Explore dungeons with the protagonist and touch enemies to enter a Clash. Bring up to 5 characters, sharing one HP pool. Links consume LP and raise the pair's Support. See the next section for experience multipliers and reserve distribution.
- Press Y to strike first before contact; a large level advantage can defeat enemies instantly. Consecutive battles do not restore HP or magic. Use ingredients at rest points. Equip healing items and Linking Rocks before entering: storage is inaccessible inside.
- Enemies return in the next chapter. Ore, crates, and barrels refresh after leaving and reentering, but this costs 1 turn. Opened chests do not refill. Leaving through a dungeon's second exit can open a new route; some island dungeons require a ship.
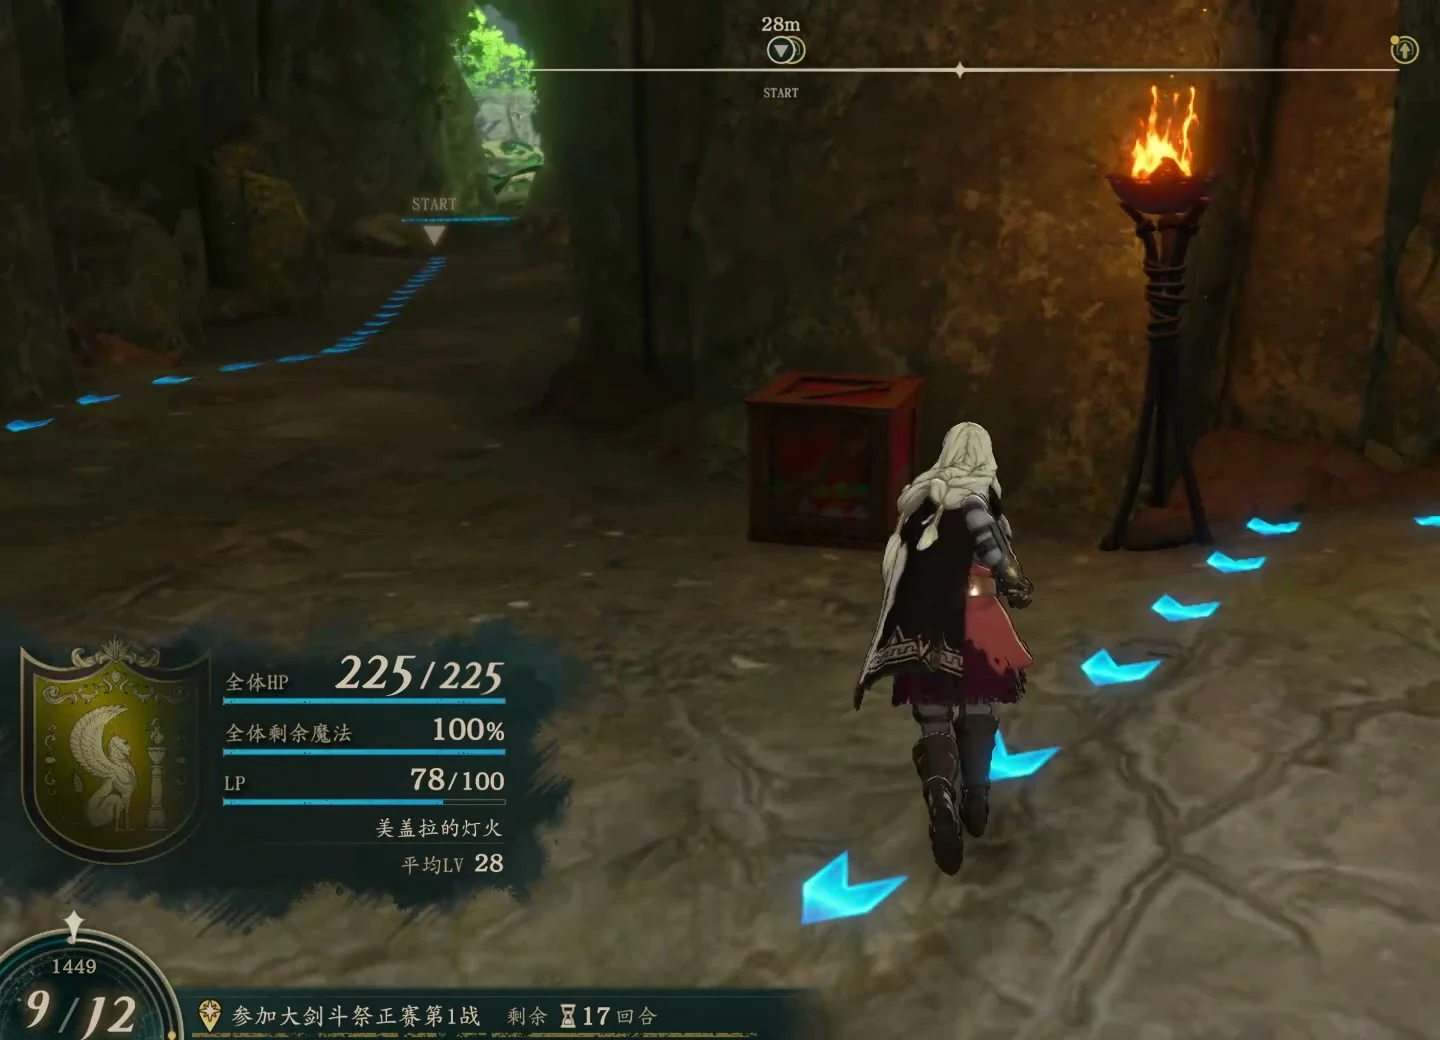
Why can defensive units carry low-level teammates?
Bring one underleveled character alongside companions who can sustain the fighting. Select attackers manually and involve the weaker character in Linked Attacks. Clashes pool the team’s total current HP, so that character does not immediately fall from a small personal HP bar as they might in a grid battle. This lets them fight higher-level enemies and catch up.
The key remains reducing the shared HP lost to every counterattack. High Defense and Resistance are valuable here. Heavy armor’s slow movement in grid battles no longer prevents reaching enemies in command-based combat. An armored unit can reduce physical damage and soften enemies before the trainee finishes them. Against physical or magic attackers that even armor cannot withstand, a gauntlet user can reduce losses through evasion. That involves randomness and is not guaranteed safety.
Try one manual battle in a dungeon near your team's limits and check counterattack damage. Increase difficulty only if you can survive. There is an example of low-level characters tackling a dungeon around 10–15 levels above them, but this is not a safe threshold for every team. Secure the HP pool before assigning finishing blows for MVP bonus experience.
Control finishing blows manually for MVP. Leaving kills to the trainee lets you control the award. MVP grants about 1.5× experience only to the recipient. Finishing with an attack Link can award MVP to both participants.
Existing records show dungeon victories also distribute experience to recruited reserves, but the proportion has not been measured. To give a specific character MVP, manually assign their finishing blow and check each character's results.
A different first-run goal: you do not need to maximize dungeon experience. You can grind less to preserve the main story's challenge and spend time on military preparation, town visits, and combat roles. For example, Sofia's ranged healing can support Theodora's bombardment, while role changes adapt to early- and late-game enemies. Use teamwork to overcome obstacles. Visit dungeons when weaker units cannot keep up; for the current battle, check healing, Hit, and quest deadlines before grinding every chapter.
Choosing Linked Attacks, LP use, and auto-battle
| Feature | Use | |
|---|---|---|
| First strike | Press Y before touching an enemy to deal damage first; a large level gap ends the battle immediately | |
| Attack Link | Two characters attack in one command; defeating the enemy team awards both MVP | |
| Healing / attack-defense Link | Combine actions such as healing; Links raise Support between participants | |
| LP cost | Higher Bond Levels reduce Link costs; the full cost table for each pairing is unconfirmed | |
| LP recovery | Refills on dungeon entry. Breaking objects has a small recovery chance; Linking Rocks also restore it. Do not rely on random drops | |
| Auto | Press X; left and right on the directional buttons can still change the acting character | |
| Skip to results | Press + to hand combat to Auto and skip animations; combat costs still apply |
If you need LP during battle, have a durable unit carry and use Linking Rocks so the trainee can spend their actions attacking. Blaze Arts and Gambits cannot be used in Clashes; do not rely on them as emergency options.
- Clears enemies quickly; existing observations show no Combat Art use or weapon durability cost.
- Still consumes LP and magic. Watch resources between fights; it does not plan who lands the final blow.
- Choose actions yourself and give the trainee the final blow.
- Manually selected Combat Arts consume the corresponding weapon durability.
:::
See combat arts and durability and forging.
Leaving and reentering refills LP, but budget the time first. Press + in the dungeon and use movement assistance to return to the world map, then reenter. This can refill exhausted LP; HP, magic, enemies, and chests follow separate rules. Entry and exit still consume turns, so when a paralogue deadline is close, compare Linking Rocks, rest points, and remaining travel time.
You cannot retrieve items from storage inside a dungeon. Prepare each of the five characters' inventories before entering.
Inside the dungeon, characters can exchange items and use both carried items and those found along the way.
Rest points consume ingredients to restore everyone’s HP and spell uses. Choose at least one ingredient. Recovery varies by type and quantity, so inspect the menu effect before deciding how much to spend. Each rest point can be used only once per exploration. You cannot rest while enemies are pursuing you; deal with them first. Saving a rest point until you have spent resources is more efficient than using it on entry.
Break ore nodes, crates, and barrels with Y; approach chests to interact. Use the upper-right chest counter to check for missed treasure. Investigate a second exit: some broken world-map routes connect only after you leave through the dungeon’s far side. Note ship-only dungeons and return after your route unlocks sailing.
| Target | Refresh rule | Planning |
|---|---|---|
| Enemy experience | Defeated groups return next chapter | Change dungeons after clearing one in the same chapter. Repeated training by retreating before killing the full group is covered under skill ranks, and differs from leaving after clearing |
| Ore and crate/barrel materials | Refresh after leaving and reentering | Identify needed ore, then use spare turns for focused gathering |
| Treasure chests | Opening is not reset by reentry | Collect all in one exploration where possible; Parts 1 and 3 have separate chest layouts |
| Opening routes | Some dungeons have another exit | Check branches on the first visit rather than always retracing your steps |
Early dungeons to choose by level
Recommended levels indicate enemy strength, not a substitute for testing your team.
| Location | Part 1 recommended level | Notable chest contents |
|---|---|---|
| Nigulia Mine | 5 | White-Magic Manual, Miracle Gem |
| Collapsed Fortress | 6 | Black-Magic Manual, Bowbreak Amulet |
| Galian Fortress Ruins | 8 | Wooden Shield, Hunter’s Bow |
| Dark Cavern | 12 | Black-/White-Magic Manual, Killing Edge |
- Every attack still reduces shared HP. After repeated + skips, check HP and magic before approaching another enemy group.
- Linking Rocks cannot be taken from storage inside; equip them beforehand.
- Auto clears quickly but does not plan finishing blows. Use manual combat to train a specific character.
- Ore refreshes, but enemies do not refresh with it. Reentering an already cleared dungeon gives no new enemy experience and still costs turns.
- Do not leave with no spell uses and immediately enter an encounter. Free-time resource use carries on; see the world map for supply rules.