

Sirocco
Sシロッコ · Sirocco Leda route· Available from the start
 Cai route· Recruitable
 Dietrich route· Recruitable
 Theodora route· Recruitable
Start with black magic for damage and post-combat sustain. To keep group healing and Warp in Part 3, stay in Ovate or choose The Avatar; Druid loses white magic.
 Commoner Lv1
 Sword
 White Magic
 Black Magic
 Authority

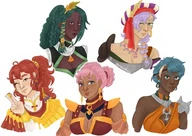
 Fan art →
Nine stats
| HP | Str | Mag | Spd | Dex | Def | Res | Lck | Cha | Total | |
|---|---|---|---|---|---|---|---|---|---|---|
| Growth rates | 40% | 40% | 40% | 45% | 50% | 35% | 35% | 50% | 45% | 380% |
| Overall rank63 characters total | Rank 36 | Rank 29 | Rank 15 | Rank 18 | Rank 8 | Rank 25 | Rank 18 | Rank 3 | Rank 12 | Rank 6 |
| Base statsCommoner Lv1 | 26 | 8 | 8 | 9 | 8 | 6 | 7 | 8 | 8 | 88 |
| Base stat ranking63 characters total | Rank 44 | Rank 46 | Rank 19 | Rank 37 | Rank 38 | Rank 39 | Rank 29 | Rank 30 | Rank 30 | Rank 38 |
| Lv60 expected statsTrain first: SpdThen switch to Cataphract | 55 | 32 | 32 | 44 | 39 | 27 | 30 | 41 | 35 | 335 |
| Expected rank62 characters total | Rank 45 | Rank 42 | Rank 17 | Rank 20 | Rank 32 | Rank 34 | Rank 19 | Rank 6 | Rank 14 | Rank 15 |
Proficiency
SwordWhite MagicBlack MagicAuthorityWeakness Heavy ArmorBudding talent—
Starting skills
| Category | Skills | Effect |
|---|---|---|
| Personal skill |  Goddess’s Favor | After combat, restores 5 points to selfHP |
| Level skillsLv20 |  Wind’s Caprice | Randomly grants Avoid +1, Avoid +5, or Avoid +20 in combat. |
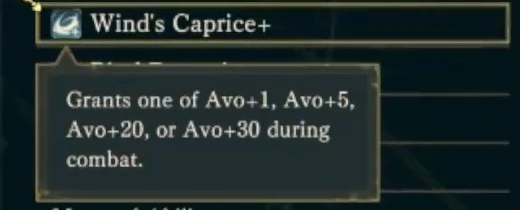
| Level skillsLv35 |  Wind's Caprice+ | Randomly grants one of Avo +1, Avo +5, Avo +20, or Avo +30 during combat |
| Bloodmark |  Diadem of Duality | 25% chance of Attack +3 when attacking |
Commoner→Lv5 Ornius Rider→
 Armored Ornius Rider→Lv20
 Rogue→Lv36
 Ranger→Lv37
 Cataphract→Lv45
 Castle Knight→Cataphract
First unlock Ranger in Dietrich's story and Cataphract in Theodora's story, then begin in Leda's story by mastering Ornius Rider and Armored Ornius Rider before switching to Rogue and Ranger to build Spd, switch to Cataphract at level 37. Once Castle Knight unlocks in the Promised One's story, briefly switch to it, master it for Intercept, then return. Avoidance, heavy armor damage absorption and post-combat healing work together to sustain the front line.



Uses the magic alternative from “Building the black magic route step by step” in the second guide, content/hguides/sirocco-game8.md: Diviner→Shaman→Ovate→Druid→The Avatar; Druid focuses on Mag, while The Avatar restores both black and white magic and triples spell uses.
 Vulnerary
 Elixir
 Victory Gem
Uses the mounted Black Magic alternative from the second guide, content/hguides/sirocco-game8.md, “Cai's story can use Magonius for growth”: switch to Caladrius at the Advanced tier and pair with Magonius; Bond 5 boosts Mag and Dex growth, but loses white magic.

Sirocco as an armored dodge tank: build Speed before donning armor
Original video: The undiscovered strongest tank: Cataphract Sirocco's evasion, Kaji K's Independent Research.
This training route for  Sirocco builds Speed in lightly armored classes before switching to Cataphract. He dodges most attacks, uses heavy armor to absorb the hits that get through, and recovers afterward with Goddess’s Favor. The aim is to send him into the range of long-range spells first, exhaust enemy ammunition, and open a path for the team behind him. This guide follows Kaji K's armored dodge-tank build.
Unlock the classes before starting Leda's route
This build needs classes unlocked on other protagonists' routes. Unlock Ranger on  Dietrich's route first, then Cataphract on
 Theodora's route. Return to
 Leda's route afterward to train Sirocco, with the Advanced class paths available in the first half. Heavy armor combined with cavalry provides durability, while Ranger builds his Speed foundation beforehand.
You can invest further later by training him with a Ferghanan Horse on  Cai's route. The run shown here follows Cai, Dietrich, Theodora, then Leda, though, so Sirocco has not received Ferghanan Horse growth bonuses. Treat the horse as a possible later investment, rather than assuming you must fully train one before this build works in battle.
Buy swords and exam licenses in Chapter 4
Prepare an early route through Ornius Rider, Armored Ornius Rider, and Rogue. Master Armored Ornius Rider before switching to Rogue, then fight with a Mini Bow to keep building Speed. Take the mastery reward first, then improve Speed in a lightly armored class. He masters Armored Ornius Rider at level 18 in Chapter 5 and is a level 24 Rogue by Chapter 6.
Use Chapter 4's free time to prepare weapons and exam licenses. Take a carriage to the station near the royal capital, then travel to Royal Capital Breston. The fare shown is 300 gold. The local shop has  Luxury Weapon Crate for 1400 gold with 1 in stock, and
 Specialty License for 350 gold with 3 in stock. The crate opened here yields
 Whirlwind Blade, but that is a random result. You can buy a Whirlwind Blade directly in Whill for 2800 gold. A 1400-gold Luxury Weapon Crate is not a guaranteed Whirlwind Blade at that price.
An unupgraded Whirlwind Blade has 8 Might, 90 Hit, 2 Weight, and 10 Avoid, making it useful for taking on enemies with this build. Check the Sword C requirement first, though. When Sirocco obtains it, his unmet requirement is still shown in red. Having the sword in his inventory does not make him a fully functional tank yet. Next, buy  Ji at the Port of Pandora and Zanbato in Fina. Both purchases shown cost 2100 gold. The Ji requires Spear B and Axe D and is preparation for armored and cavalry enemies later. The Zanbato only needs Sword D, making it the more useful early pickup.
Watch for high-level enemies along the way. If enemies with levels in the 20s block the route to a shop, enter and leave Dagsion to refresh their positions, then check the entire round trip. Clearing the outpost directly ahead is not enough. The remaining free-action turns shown fall from 58 to 57, then 56, so refreshing enemy placement does cost time. Giving performances for Renown, buying Dates at the oasis, and mining at the mountaintop along the way is more practical than restarting the whole route over a difference of a few turns.
Add Avoid with a mask and class mastery
Visit Blackwing Valley in Chapter 5 and exchange 5 Dates and 5 Shem Yams for  Beauty Mask. The mask weighs 5. When your Charm is at least 1 point higher than the enemy's, it lowers their Hit by 10. Buy Dates at the oasis ahead of time; the price shown is 21 gold each. For Shem Yams, check your exploration results. The same location is shown yielding Shem Yams on one visit and only other materials on another. Keep gathering until you have enough.
Mastering Armored Ornius Rider gives  Sense Threat, which adds 20 Avoid when the enemy's attack is effective against you. Cataphract has both armored and cavalry attributes, so after switching, weapons effective against either type provide another source of Avoid. This adds Avoid; it does not cancel effective damage. Having two weaknesses does not turn the bonus into 40 Avoid.
Early on, you can also change skills to match enemy weapons.  Read the Winds adds 10 Avoid against bows, and
 Knightly Senses adds 10 Avoid against spears. Wind’s Caprice randomly increases Avoid during combat. The mask, class mastery, and weapon-specific skills work together to push enemy Hit down. The Chapter 5 boss preview still shows 47% Hit, though. Earlier footage of regular enemies at 0% does not mean every enemy will miss.
Stay healthy as a Rogue with post-combat healing
The level 24 Rogue shown in Chapter 6 can already tackle a dungeon with a recommended level of 28. Use a Mini Bow while building Speed, a Whirlwind Blade for Avoid, and weapons such as the Zanbato for specific targets. This builds a Speed foundation more smoothly than wearing heavy armor from the start. Buccar also joins Linked Attacks in the dungeon. You do not have to remove every teammate just because you are building a solo tank.
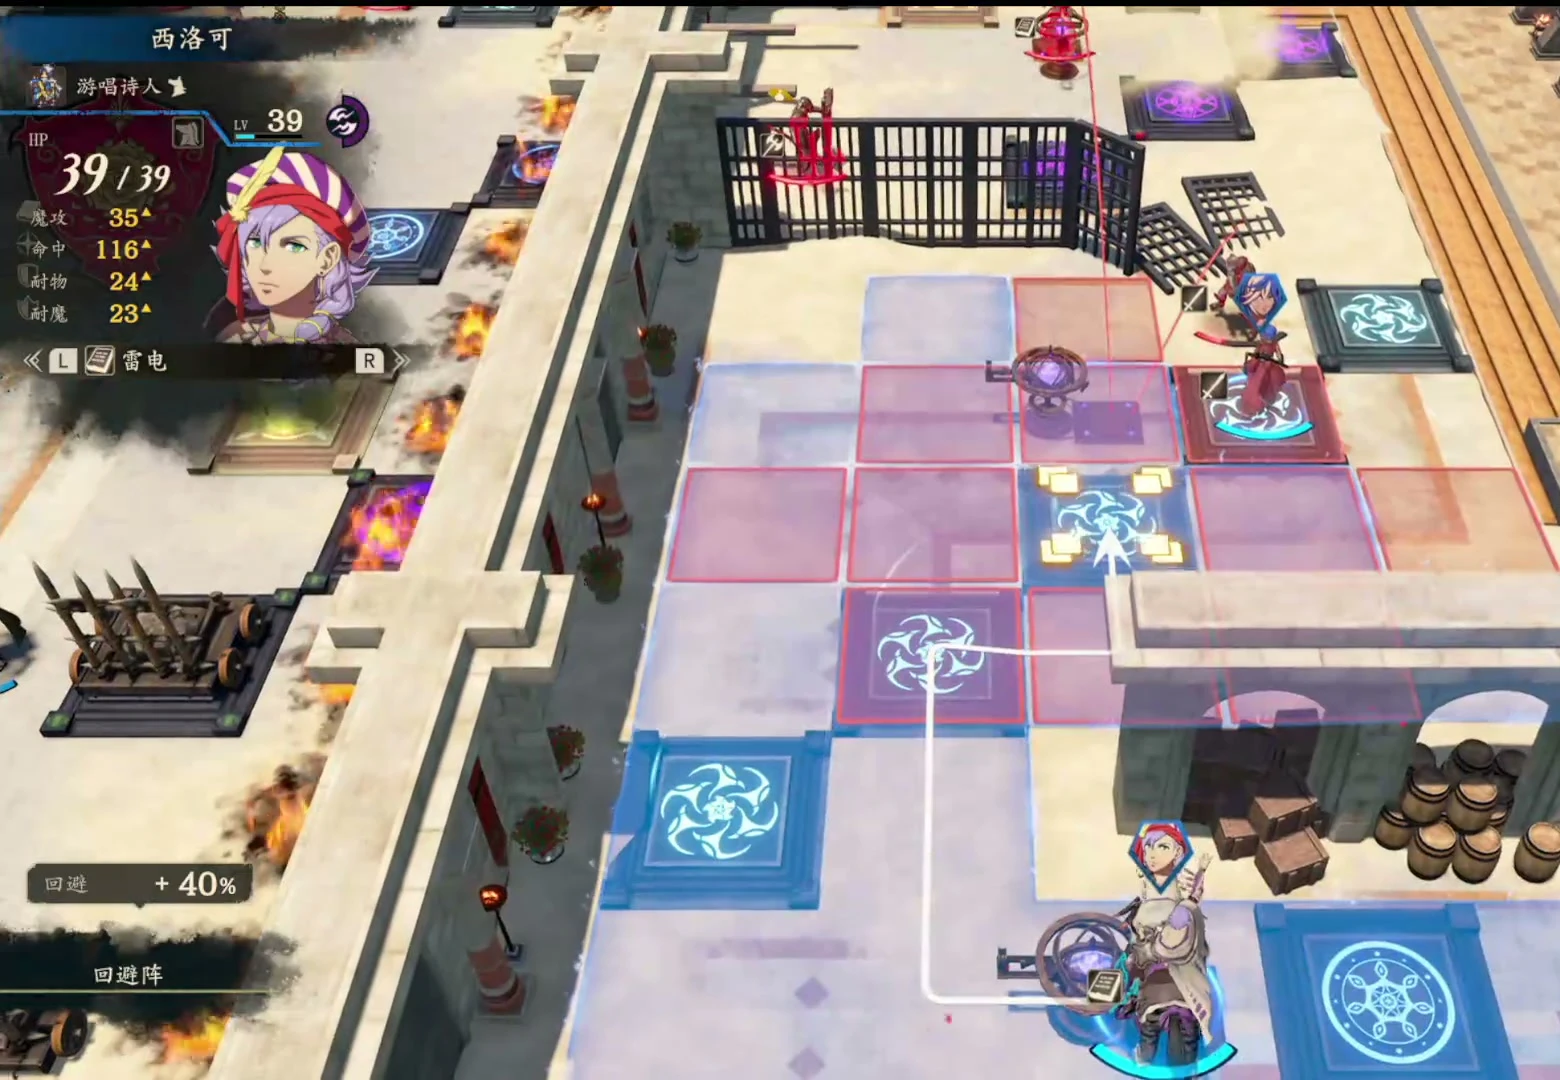
His personal skill, Goddess’s Favor, is what keeps him fighting: it restores 5 HP to him after every combat. Small amounts of damage can be healed through later engagements. It does not restore a free 5 HP every turn just for standing on a tile. In the sandworm fight, an enemy still lands a hit for 14 damage after its Hit falls from 40% to 35%. Avoid reduces how often he gets hit, while post-combat healing repairs the damage that gets through. You need both.
Switch to Ranger at level 36, then aim for Cataphract
Around Chapter 9, buy Advanced Licenses regularly and train Heavy Armor whenever you can. In this run, he first switches to Ranger at level 36. Armored Leap, learned at Heavy Armor C, gives 10 Avoid while in an armored class. Keep raising Speed as a Ranger, then switch to Cataphract. With Speed still above 30 after the switch, he can already be a strong frontline unit in Part 1. Training his weak Heavy Armor proficiency takes time. You cannot train only Sword and wait for the exam to become available on its own.
The next clear status check is at level 37. His Ranger screen shows 41 Speed and an 83% chance to pass the Cataphract exam, which he passes on the first try. The class preview changes Speed from 41 to 33, Defense from 18 to 23, and Strength from 25 to 27. This is why you build Speed first. He retains a solid Speed foundation after the armored class modifier, rather than relying on lucky growths while staying in a slow armored class throughout. The 83% pass rate belongs to that save at that point. Training around Heavy Armor C only changed the chance from 82% to 83%; it did not guarantee a pass.
After entering the War story, Heavy Armor B upgrades Armored Leap to Armored Leap+, raising its armored-class Avoid bonus from 10 to 20. The upgraded version replaces the original; they do not add up to 30. Read the Winds, Knightly Senses, Combat Basics, Dodge, and Wind's Caprice+ on the earlier Ranger setup are not five extra skills all carried into the final Cataphract build either. As his class and enemies change, use those slots for skills that actually take effect.
Switch swords and spears to match enemies in the War story
Keep using swords for most of the War story. Use the Whirlwind Blade's Avoid when taking on enemies. Switch to Levin Sword against armored units or when you want to attack from one tile farther away. Sirocco's retained Magic still contributes damage here. Becoming an armored unit is no reason to put away all your magic swords.
Bring out spears once his Strength improves later in the War story.  Guandao also has 10 Avoid and can replace the Whirlwind Blade as his main weapon. If the Guandao lacks damage against armored or cavalry enemies, use the Ji you bought earlier. Use a Javelin+3 when you need 1–2 range. Change weapons gradually as his stats develop; do not copy the endgame spear setup straight into Chapter 4.
At the end of the War story, the level 68 Sirocco shown has 66 HP, 47 Strength, 34 Magic, 52 Speed, 52 Dexterity, 43 Defense, 25 Resistance, 39 Luck, 46 Charm, and 5 Movement. This finished build combines physical damage, Speed, and Defense, letting him both dodge most attacks and survive a hit that gets through. Keep checking your own stats as you train.
Exhaust enemy spells to open a path for teammates
In the Promised One's story, send Sirocco into range of long-range spells such as Thoron and Bolting first, while everyone else holds the outpost. Once the enemies run out of spells, move up the units you want to level and let them finish the enemies. The whole team avoids charging through long-range fire, and Sirocco does not take every kill and all the EXP. Ludia using a Cleansing Blade to finish an enemy whose spells are spent shows this division of work.
Loretta can also use an armored evasion build. Her Steadfast gives +10 Avoid whenever she has at least half her HP. If she drops below that threshold, someone needs to heal her. Support from Ultand or Ninae, while holding the line with the team, makes it easier to maintain that condition. Sirocco can recover on his own after taking damage, saving healing actions when he moves away from the party and repeatedly tests enemy firepower.
Sirocco uses no stat-boosting items on this run. The Movement+1 investment shown is for Ludia. These battles use Hard difficulty and Classic mode. The opening follows a no-Blessings approach, but Kalla's Blessing is used once on the turn that clears the enemies around the boss in the Promised One's story. Keep both conditions in mind; this battle does not go entirely without Blessings.
Survive the boss's Avoid reduction too
The boss has a Combat Art that lowers the opponent's Avoid by 30, so this build cannot count on facing 0% enemy Hit in every fight. Ordinary engagements show 29% enemy Hit with 0 damage, and another preview shows 49% with 1 damage. After the boss uses its special Combat Art, enemy Hit rises to 78% with 8 damage, while Sirocco's own Hit drops from 100% to 71%. When you see a preview like that, factor in HP, Defense, and post-combat recovery together.
The mount Monoceros also restores HP after combat through  Paired Healing. It is already in use at Bond 3, working with his own Goddess's Favor to sustain him. The mount is not fully trained here, leaving room for further improvement. You can also advance steadily with the whole team and buff him before the boss fight. He does not need to leave the party and fight alone on every map.
The Combat Art slots show Flowing Spear, Lend Dexterity+, Windweave, and Mystic Blow from the Mace. These tanking demonstrations mostly use normal attacks, with the focus remaining on the combination of equipment and passive skills.
Reserve five slots for Avoid and damage reduction
The five late-game skills are  Spearfaire,
 Intercept, Sense Threat, Armored Leap+, and Wind's Caprice+. Intercept comes from mastering Castle Knight and reduces incoming damage by 5. Wind's Caprice+ randomly grants 1, 5, 20, or 30 Avoid. Do not plan incoming attacks around getting 30 every time. The early anti-bow and anti-spear skills do not keep occupying slots in the final five-skill setup.
The Mars trial makes this tradeoff clearer. An enemy Myrmidon's preview shows 81% Hit and 12 damage, while another armored enemy's combat display even shows 66% Hit and 35 damage. Avoid alone will not keep him alive here; he needs enough HP and damage reduction to survive the hits. Intercept activates during an enemy attack, then Goddess's Favor restores another 5 HP after combat to heal some of the damage from that exchange.
The final level 74 Cataphract has 68 HP, 52 Strength, 37 Magic, 53 Speed, 59 Dexterity, 48 Defense, 29 Resistance, 43 Luck, 49 Charm, 5 Movement, and 10 Build. With a Javelin+3, the status screen shows 80 Avoid and 50 Attack Speed. Javelin+3 adds another 10 Avoid when fighting an enemy at least two tiles away. Switching to Guandao+3 gives a preview of 89 Avoid and 49 Attack Speed. Weight differences affect the result; you cannot simply add the two weapons' Avoid values together.
This inventory contains Javelin+3, Guandao+3, Ji+3, Mace+1, and a Beauty Mask. Before engaging, check the preview against the enemy's weapon, distance, and effective damage. Use the Javelin for range, retain the Guandao's Avoid at close quarters, and use the Ji for damage against armored or cavalry enemies. Every engagement needs enough HP and recovery capacity to survive failed dodges.
More guides
Site guides

Train Sirocco in black magic first. If you still need group healing and Warp in Part 3, stay in Ovate or choose The Avatar instead of Druid.
Black magic damage and 5 HP restored after every combat form the basis of his sustain. Random Avoid is a bonus; do not plan his tanking around a constant +30.
Class progression by stage
Part 1: focus on black magic
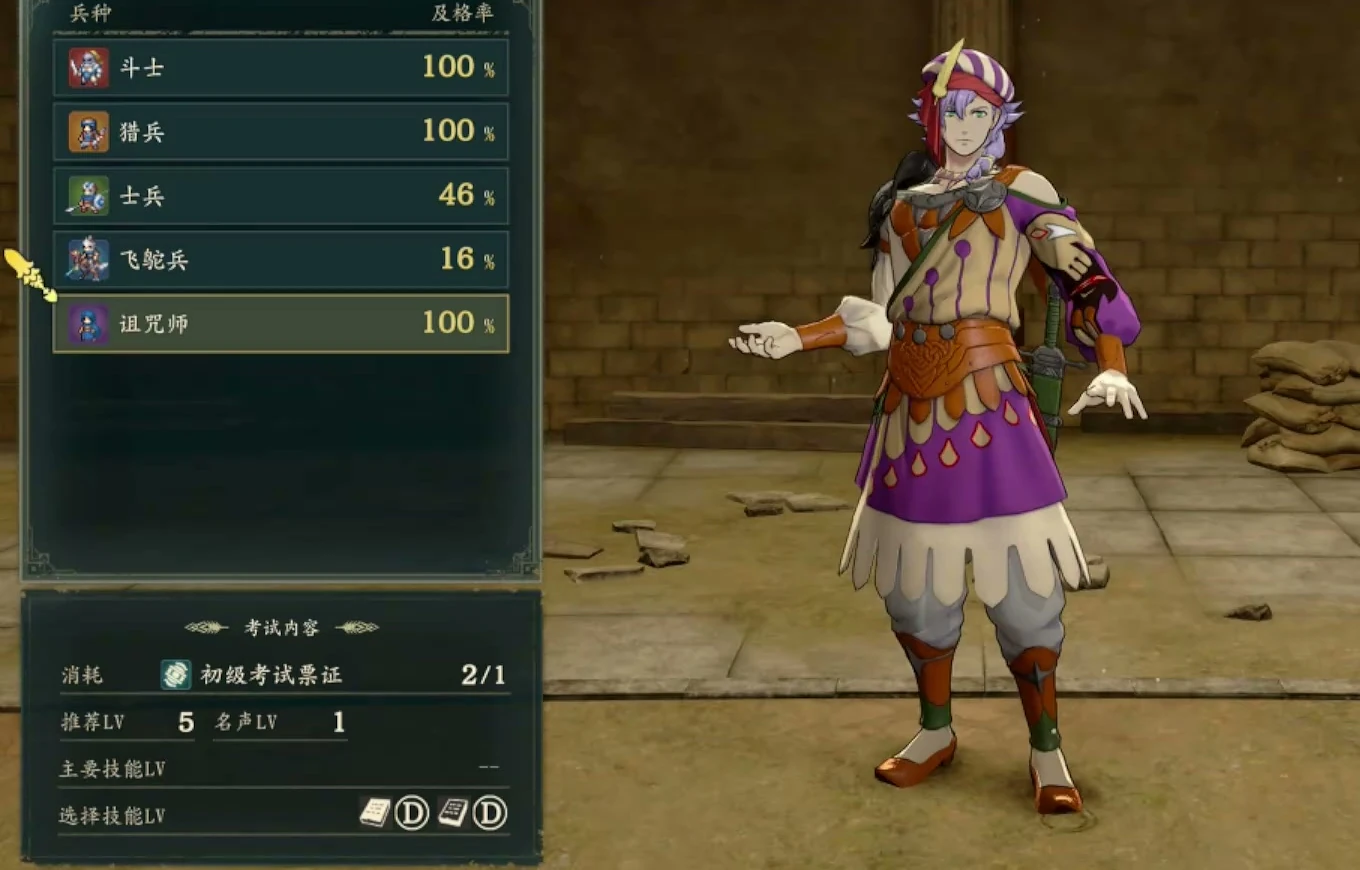
The main black magic path is Diviner → Shaman → Ovate. He has the stats for both physical and magical offense, but training physical and magical attacks together in the early and intermediate classes means repeated class changes and divided training. Build up his black magic offense first, and use white magic for emergency support while your team is still taking shape.
- 1Diviner: level 5, Renown 1, with Black Magic or White Magic D.Continue his existing magic path from the start of Leda's story. You do not need an extra detour into a sword build.
- 2Shaman: level 20, Renown 4, Black Magic C.Keep building Magic and spell proficiency. His Magic may not improve noticeably until the end of Part 1, so do not judge it by a single level-up.
- 3Ovate: level 35, Renown 8, Black Magic B.Retains both black and white magic. Take the exam once you meet the level, Renown, and proficiency requirements; otherwise, keep progressing in your current class.
Carry a sword and healing medicine, and use a suitable staff that boosts magical damage if you have one. Choose black and white magic proficiency abilities and Avoid. There is no need to grind several class masteries early.
Part 2: use Thoron's range and finish with Levin Sword
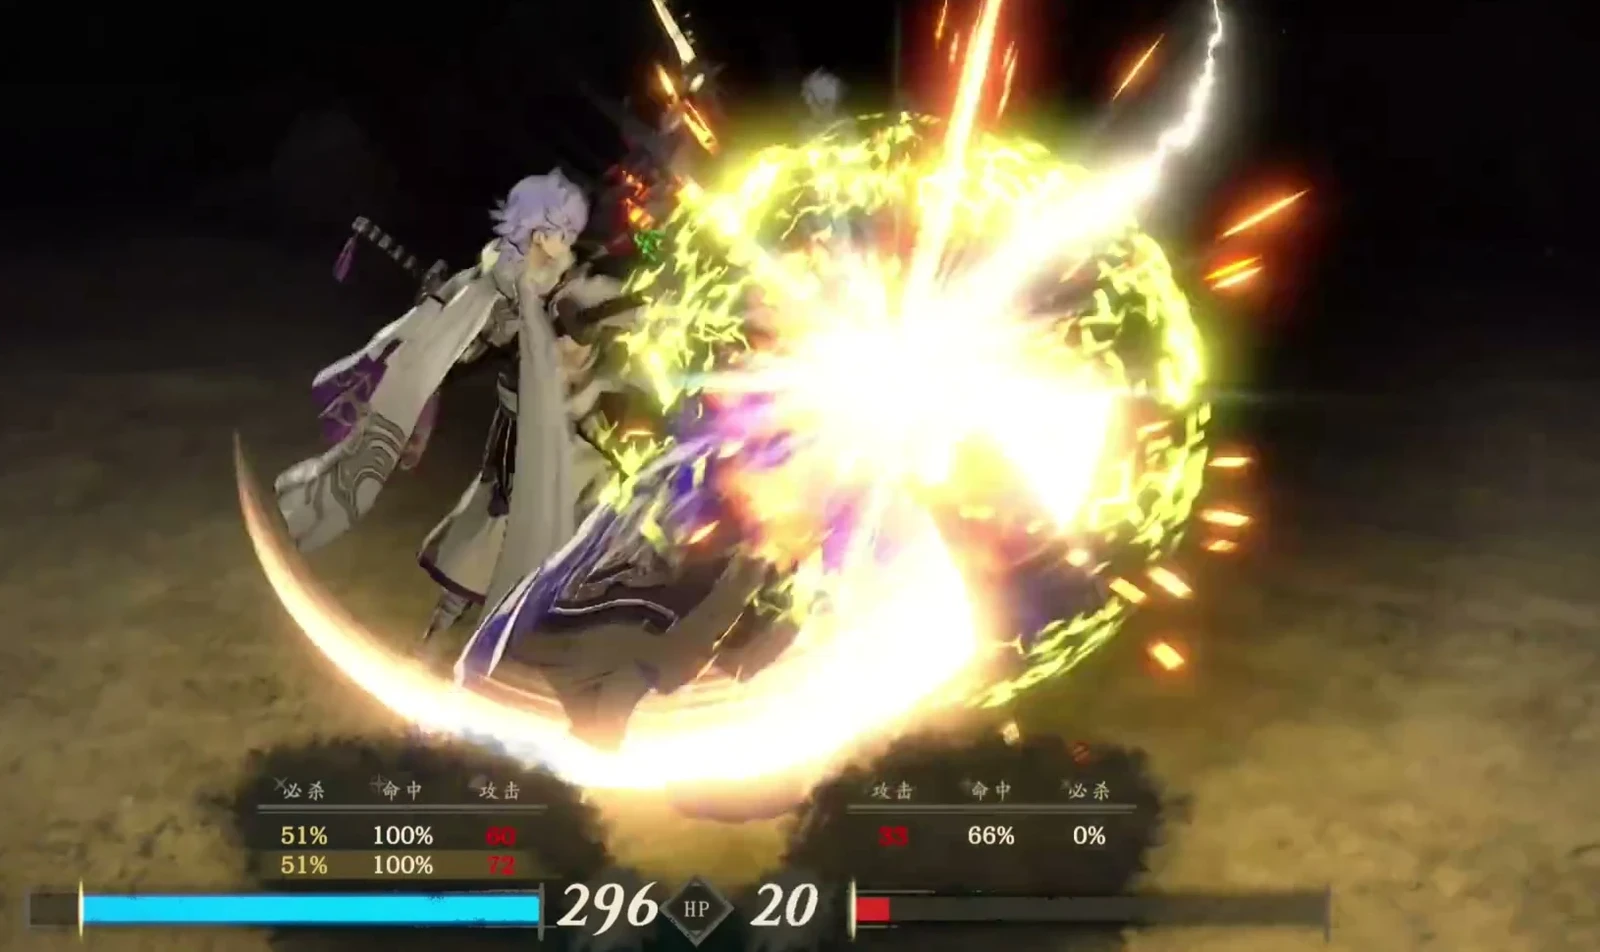
Once learned, Thoron reaches 3 tiles. You do not need to leave magic classes immediately to build mixed damage. Let your main attacker act first, then check whether Sirocco can handle a second enemy. If he can, give him another action; otherwise, give it to a better-suited ally.
Levin Sword offers magical damage at 1–2 range, giving Sirocco another attack option. Meet the sword-wielding requirements before using it. If you are training him through a single story as a black magic user, you can add Sword C, but you must also check whether the current class can wield swords. Even with sword training, Blacksmith may still be unable to equip one.
If you want to invest more, you can pick up sword class masteries: Myrmidon's Ravaging Arts increases critical damage; Rogue's In Shadow boosts Avoid for the next combat after a kill; Shido's Ever Vigilant restores HP after a critical kill. You must equip them after learning them. There is no need to complete the entire sword class path in Part 1.
To gain infantry movement and Canto abilities, train infantry separately; casting alone will not teach them. The standard Ovate path does not use a mount.
Part 3: pure black magic or both magic types
- Switch to Druid at level 45 and Black Magic A once the class is available.
- Focus on black magic; you can no longer use white magic group healing or Warp.
- Stay in Ovate, and continue White Magic training for the spells you need.
- Keep both black and white magic. You do not have to change classes immediately just to move up a tier.
- Reach Black Magic or White Magic S, then switch to The Avatar after obtaining the corresponding qualification.
- Retains both magic types and triples spell uses. You need to secure a slot for this divine class and complete its unlock.
Choose Druid for black magic firepower, or stay in Ovate or switch to The Avatar for group healing and Warp. Switching to Druid removes white magic access. He only gains Magic +10 after mastering The Avatar to learn Divine Law.
You can also train swords and black magic in two separate Part 1 stories, then merge them. The sword side follows Hunter → Myrmidon → Shido, while the magic side follows Diviner → Shaman → Ovate → Druid. The later build leans toward Swordmaster with a magic sword. The main and secondary stories have different training plans; do not combine them into one path of “swords in Part 1, then magic in Part 2.” A single-story build does not need this setup.
Concentrating spell scrolls on The Avatar requires additional resources. For a standard Druid build, work out the benefits based on the resources you actually have. If you want a mounted magic class, first check its available spells, spell uses, unlock requirements, and the resources you have.
Remove threats at range and recover 5 HP after combat
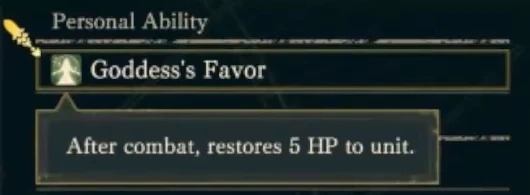
Use long-range attacks to remove dangerous targets first, and help with healing when HP is low. Only move forward if he can survive a combat. The recovery triggers after every combat, without requiring a kill or an evasion. He must survive the fight to receive the 5 HP, so do not let him take a hit or follow-up that will defeat him.
His random Avoid bonus varies each time. Even after several dodges in a row, do not leave him holding an entire lane alone. To use group healing and Warp, Sirocco needs the required proficiency, and his current class must allow those spells. Switching to a magic class does not teach them automatically.
Recruitment details
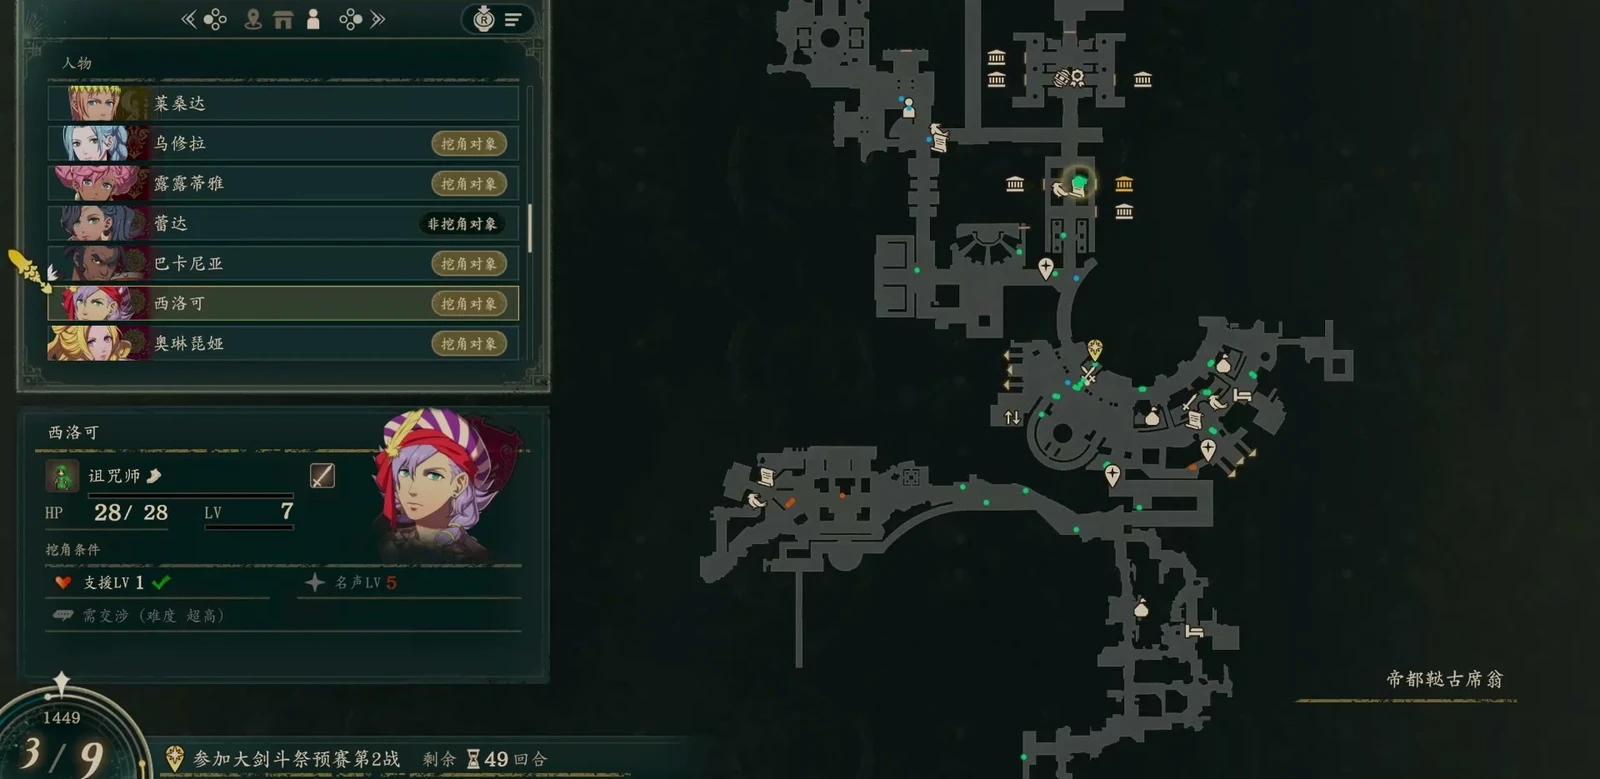
He joins through the story at the start of Leda's route. On other routes, recruitment depends on Renown, support with your selected protagonist, and “Sirocco's Request.” The requirements are lower on Theodora's route. See Sirocco recruitment for the full quest and deadlines.
Recovery timing and white magic class restrictions
- Planning to use Warp or group healing after switching to Druid. Druid cannot use white magic. Keep Ovate or choose a class with both magic types if you need this role.
- Treating the healing as per-turn, on-kill, or on-evasion recovery. It restores 5 HP after every combat.
- Treating random Avoid as a fixed +30. Check his survival without assuming a high Avoid bonus.
- Training every sword class mastery at once. Establish reliable damage on the black magic path first, then choose optional masteries for specific weaknesses.
Comments
Commoner→Lv5Ornius Rider→Armored Ornius Rider→Lv20Rogue→Lv36Ranger→Lv37Cataphract→Lv45Castle Knight→CataphractCommoner Bronze SwordMt 4 Hit 90 Wt 3Goddess’s FavorAfter combat, restores 5 points to selfHP
Starting as a Commoner, prepare for the Ornius Rider exam first; Combat Basics is a stage goal to acquire through mastery.
Ornius RiderBronze SwordMt 4 Hit 90 Wt 3 Combat BasicsHit, Avoid +3Read the WindsAvo +10 in combat against bow usersKnightly SensesAvoid +10 in combat against spear usersGoddess’s FavorAfter combat, restores 5 points to selfHP
 Mount/DismountCan use “Mount” and “Dismount”
The early class order follows the video; level 5 in this slot is the database's recommended point. Train to D before equipping either Read the Winds or Knightly Senses.
Whirlwind BladeMt 8 Hit 90 Wt 2Read the WindsAvo +10 in combat against bow usersKnightly SensesAvoid +10 in combat against spear usersCombat BasicsHit, Avoid +3 Swords Lv. 2Hit +5 when wielding a swordSense ThreatAvo +20 in combat if the enemy's attack is effective or super-effective against youGoddess’s FavorAfter combat, restores 5 points to selfHPMount/DismountCan use “Mount” and “Dismount”Beauty MaskEquippedWt 5
Level 18 is the recorded mastery level, not a fixed level for entering the class; Sense Threat is acquired only after mastery.
 Mini Bow +1
 Mt 7 Hit 75 Wt 5Whirlwind Blade +1Mt 12 Hit 90 Wt 2Zanbato
 Mt 14 Hit 80 Wt 7Cleansing BladeMt 8 Hit 90 Wt 3Beauty MaskWt 5Venin BowMt 3 Hit 75 Wt 4Read the WindsAvo +10 in combat against bow usersKnightly SensesAvoid +10 in combat against spear usersCombat BasicsHit, Avoid +3Sense ThreatAvo +20 in combat if the enemy's attack is effective or super-effective against youWind’s CapriceRandomly grants Avoid +1, Avoid +5, or Avoid +20 in combat.Goddess’s FavorAfter combat, restores 5 points to selfHP
 Combat Arts +1Equippable combat arts +1
 LocktouchCan open chests without a key
 SearchSlightly increases the chance of a perfect exploration result when deployedBeauty MaskEquippedWt 5
Mini Bow — in the bow role, first build Spd; the mask and conditional avoidance work with post-combat healing. The footage does not show all five slots at this point; aim for the skills clearly shown in the video.
Levin Sword +1Mt 14 Hit 70 Wt 8Mini Bow +1Mt 7 Hit 75 Wt 5Tempest Bow +1Mt 11 Hit 80 Wt 5Horsekiller Bow +1Mt 12 Hit 70 Wt 8Beauty MaskWt 5Read the WindsAvo +10 in combat against bow usersKnightly SensesAvoid +10 in combat against spear usersCombat BasicsHit, Avoid +3 Dodge[Infantry] Avo +5 in combat against enemies using bows or magicWind's Caprice+Randomly grants one of Avo +1, Avo +5, Avo +20, or Avo +30 during combatGoddess’s FavorAfter combat, restores 5 points to selfHP
 Combat Arts +2Equippable combat arts +2LocktouchCan open chests without a key
 Advanced SearchExploration is more likely to yield a perfect result when assigned to a squadBeauty MaskEquippedWt 5
Actually switched to Ranger at level 36; the equipment list comes from the subsequent level 37 Ranger status screen. Use skills after learning them, and do not equip Armored Leap on non-armored classes.
CataphractWhirlwind Blade +1Mt 12 Hit 90 Wt 2Read the WindsAvo +10 in combat against bow usersKnightly SensesAvoid +10 in combat against spear usersSense ThreatAvo +20 in combat if the enemy's attack is effective or super-effective against you Armored Leap[Armored] Avo +10Wind's Caprice+Randomly grants one of Avo +1, Avo +5, Avo +20, or Avo +30 during combatGoddess’s FavorAfter combat, restores 5 points to selfHPMount/DismountCan use “Mount” and “Dismount”Combat Arts +1Equippable combat arts +1
 DefendingDef+3Protection +3 when the foe initiates combatBeauty MaskEquippedWt 5
Pass the actual exam at Lv37; even with Ranger’s Spd reduced from 41 to 33, close combat remains viable. Remove the infantry-only Dodge and equip Armored Leap from Heavy Armor C; do not equip Intercept before mastering Castle Knight.
CataphractWhirlwind Blade +2Mt 17 Hit 90 Wt 2Levin Sword +1Mt 14 Hit 70 Wt 8GuandaoMt 11 Hit 90 Wt 9Ji Mt 11 Hit 80 Wt 7Javelin +3Mt 15 Hit 80 Wt 8Beauty MaskWt 5Read the WindsAvo +10 in combat against bow usersKnightly SensesAvoid +10 in combat against spear usersSense ThreatAvo +20 in combat if the enemy's attack is effective or super-effective against youArmored Leap+Wind's Caprice+Randomly grants one of Avo +1, Avo +5, Avo +20, or Avo +30 during combatGoddess’s FavorAfter combat, restores 5 points to selfHPMount/DismountCan use “Mount” and “Dismount”Combat Arts +1Equippable combat arts +1DefendingDef+3Protection +3 when the foe initiates combatBeauty MaskEquippedWt 5
Use swords for most of the War arc, Str has developed, switch to spears; replace the base version with Armored Leap+ from Heavy Armor B. Lv68 is the sample from the endgame stats screen.
Castle KnightGuandao +3Mt 23 Hit 90 Wt 9Javelin +3Mt 15 Hit 80 Wt 8Ji +3Mt 21 Hit 80 Wt 7 Mace +1Mt 6 Hit 90 Wt 5Beauty MaskWt 5Combat BasicsHit, Avoid +3Knightly SensesAvoid +10 in combat against spear usersSense ThreatAvo +20 in combat if the enemy's attack is effective or super-effective against youArmored Leap+Wind's Caprice+Randomly grants one of Avo +1, Avo +5, Avo +20, or Avo +30 during combatGoddess’s FavorAfter combat, restores 5 points to selfHP
 Combat Arts +3Equippable combat arts +3
 DefendingDef +7Protection +7 when the foe initiates combatBeauty MaskEquippedWt 5
Master Castle Knight only to obtain Intercept, then return to Cataphract. The recommended exam level of 45 does not mean mastery is already complete. This slot is a preparation stage worked backward from the video’s final skill set.
Guandao +3Mt 23 Hit 90 Wt 9Javelin +3Mt 15 Hit 80 Wt 8Ji +3Mt 21 Hit 80 Wt 7Mace +1Mt 6 Hit 90 Wt 5Beauty MaskWt 5SpearfaireHit and Avo +10, attack +3 when wielding a lanceInterceptReduces damage taken by 5 when attackedSense ThreatAvo +20 in combat if the enemy's attack is effective or super-effective against youArmored Leap+Wind's Caprice+Randomly grants one of Avo +1, Avo +5, Avo +20, or Avo +30 during combatGoddess’s FavorAfter combat, restores 5 points to selfHPMount/DismountCan use “Mount” and “Dismount”Combat Arts +1Equippable combat arts +1DefendingDef+3Protection +3 when the foe initiates combat Beauty MaskEquippedWt 5MonocerosSpd+1 Dex+1 Lck+3
Guandao+3 for close combat; at range, switch to Javelin+3, against armored units or cavalry, switch to Ji+3; use Intercept, personal healing and mount sustain to cover damage taken when armored units fail to dodge.
Commoner→Lv5 Diviner→Lv20
 Shaman→Lv35
 Ovate→Lv45
 Druid→
 The AvatarCommonerBronze SwordMt 4 Hit 90 Wt 3Goddess’s FavorAfter combat, restores 5 points to selfHPLevin SwordMt 12 Hit 70 Wt 8
 Black Magic Lv. 1Hit +3 when black magic is equipped
 White Magic Lv. 1Hit +3 when wielding white magicDodge[Infantry] Avo +5 in combat against enemies using bows or magicCombat BasicsHit, Avoid +3
 Magic BasicsMag、Res+1Goddess’s FavorAfter combat, restores 5 points to selfHP
 Lightning StrikeCost 5 Mt 8 Hit 20
 Magic StaffEquippedWt 3Levin SwordMt 12 Hit 70 Wt 8
 Black Magic Lv. 2Hit +5 when black magic is equipped
 White Magic Lv. 2Hit +5 when wielding white magicDodge[Infantry] Avo +5 in combat against enemies using bows or magicMagic BasicsMag、Res+1Combat BasicsHit, Avoid +3Goddess’s FavorAfter combat, restores 5 points to selfHP
 Lightning StrikeCost 5 Mt 8 Hit 20
 Wind
 Mt 3 Hit 100 Wt 3ThunderMt 5 Hit 76 Wt 7Cutting GaleMt 7 Hit 95 Wt 8
 HealMt 10RestoreRecoverMt 30Magic StaffEquippedWt 3
 Mage PupilsGambit “Scattered Flames”Levin SwordMt 12 Hit 70 Wt 8
 Black Magic Lv. 3Hit and Avo +5 with black magic equipped
 White Magic Lv. 3Hit and Avo +5 when white magic is equipped
 Dodge+[Infantry] Avo +10 in combat against enemies using bows or magicWind's Caprice+Randomly grants one of Avo +1, Avo +5, Avo +20, or Avo +30 during combatCombat BasicsHit, Avoid +3Goddess’s FavorAfter combat, restores 5 points to selfHP
 Lightning StrikeCost 5 Mt 8 Hit 20WindMt 3 Hit 100 Wt 3ThunderMt 5 Hit 76 Wt 7Cutting GaleMt 7 Hit 95 Wt 8ThoronMt 20 Hit 55 Wt 25HealMt 10RestoreRecoverMt 30FortifyMt 20Magic StaffEquippedWt 3DruidLevin SwordMt 12 Hit 70 Wt 8
 Black Magic Lv. 5Hit and Avo +10 with black magic equippedDodge+[Infantry] Avo +10 in combat against enemies using bows or magicWind's Caprice+Randomly grants one of Avo +1, Avo +5, Avo +20, or Avo +30 during combatMagic BasicsMag、Res+1
 Swords Lv. 3Hit and Avo +5 when a sword is equippedGoddess’s FavorAfter combat, restores 5 points to selfHP
 Lightning StrikeCost 5 Mt 8 Hit 20WindMt 3 Hit 100 Wt 3ThunderMt 5 Hit 76 Wt 7Cutting GaleMt 7 Hit 95 Wt 8ThoronMt 20 Hit 55 Wt 25Magic StaffEquippedWt 3Shadow MagesGambit: Scattering IceLevin SwordMt 12 Hit 70 Wt 8Black Magic Lv. 5Hit and Avo +10 with black magic equipped
 White Magic Lv. 5Hit and Avo +10 when white magic is equippedDodge+[Infantry] Avo +10 in combat against enemies using bows or magicWind's Caprice+Randomly grants one of Avo +1, Avo +5, Avo +20, or Avo +30 during combatCombat BasicsHit, Avoid +3Goddess’s FavorAfter combat, restores 5 points to selfHP
 All-Magic ZenithBlack and white magic uses ×3
 Magic Hit +10Hit +10 when magic is equipped
 Magic Heal +20Healing allies with magic restores +20 HPLightning StrikeCost 5 Mt 8 Hit 20WindMt 3 Hit 100 Wt 3ThunderMt 5 Hit 76 Wt 7Cutting GaleMt 7 Hit 95 Wt 8ThoronMt 20 Hit 55 Wt 25HealMt 10RestoreRecoverMt 30FortifyMt 20Magic StaffEquippedWt 3Shadow MagesGambit: Scattering IceCommoner→Lv5Diviner→Lv20Shaman→Lv35
 CaladriusCommonerBronze SwordMt 4 Hit 90 Wt 3Goddess’s FavorAfter combat, restores 5 points to selfHPLevin SwordMt 12 Hit 70 Wt 8Black Magic Lv. 1Hit +3 when black magic is equippedWhite Magic Lv. 1Hit +3 when wielding white magicDodge[Infantry] Avo +5 in combat against enemies using bows or magicCombat BasicsHit, Avoid +3Magic BasicsMag、Res+1Goddess’s FavorAfter combat, restores 5 points to selfHPLightning StrikeCost 5 Mt 8 Hit 20Magic StaffEquippedWt 3Levin SwordMt 12 Hit 70 Wt 8Black Magic Lv. 2Hit +5 when black magic is equippedWhite Magic Lv. 2Hit +5 when wielding white magicDodge[Infantry] Avo +5 in combat against enemies using bows or magicMagic BasicsMag、Res+1Combat BasicsHit, Avoid +3Goddess’s FavorAfter combat, restores 5 points to selfHPLightning StrikeCost 5 Mt 8 Hit 20WindMt 3 Hit 100 Wt 3ThunderMt 5 Hit 76 Wt 7Cutting GaleMt 7 Hit 95 Wt 8HealMt 10RestoreRecoverMt 30Magic StaffEquippedWt 3Levin SwordMt 12 Hit 70 Wt 8Black Magic Lv. 3Hit and Avo +5 with black magic equippedWind's Caprice+Randomly grants one of Avo +1, Avo +5, Avo +20, or Avo +30 during combatCombat BasicsHit, Avoid +3Magic BasicsMag、Res+1Swords Lv. 3Hit and Avo +5 when a sword is equippedGoddess’s FavorAfter combat, restores 5 points to selfHPMount/DismountCan use “Mount” and “Dismount”
 Black-Magic SeekerBlack magic uses ×2Combat Arts +1Equippable combat arts +1Lightning StrikeCost 5 Mt 8 Hit 20WindMt 3 Hit 100 Wt 3ThunderMt 5 Hit 76 Wt 7Cutting GaleMt 7 Hit 95 Wt 8ThoronMt 20 Hit 55 Wt 25Magic StaffEquippedWt 3MagoniusMag+3 Dex+2
Build approach and suitable stages
Black magic development ending as The Avatar: Commoner Lv1; Black magic development ending as The Avatar: Diviner Lv5; Black magic development ending as The Avatar: Shaman Lv20; Black magic development ending as The Avatar: Ovate Lv35; Black magic development ending as The Avatar: Druid Lv45; Black magic development ending as The Avatar: The Avatar; Cai route Caladrius growth: Commoner Lv1; Cai route Caladrius growth: Diviner Lv5; Cai route Caladrius growth: Shaman Lv20; Cai route Caladrius growth: Caladrius Lv35
Follow the current training route; meet each slot’s equipment and proficiency requirements first.
DexWidely recommendedDexVery strongDexUseful for specific strategies
 Swords Lv. 1
 Swords Lv. 4
 Swords Lv. 5
 Swordfaire
 Black Magic Lv. 4
 Black-Magic Mastery
 White Magic Lv. 4
 White-Magic Mastery
 Distraction
 Distraction+
 Lend Dexterity+ +
 Spear
 Spears Lv. 1
 Spears Lv. 2
 Spears Lv. 3
 Spears Lv. 4
 Spears Lv. 5
 Axe
 Axes Lv. 1
 Axes Lv. 2
 Arcane Gale Flurry
 Axes Lv. 3
 Axes Lv. 4
 Axes Lv. 5
 Axefaire
 Bow
 Warning Shot
 Bows Lv. 1
 Bows Lv. 2
 Bows Lv. 3
 Bows Lv. 4
 Bows Lv. 5
 Bowfaire
 Gauntlet
 Cautious Blow
 Fists Lv. 1
 Fists Lv. 2
 Fists Lv. 3
 Fists Lv. 4
 Fists Lv. 5
 Fistfaire
 Infantry
 Sniper Evasion
 Infantry Move
 Infantry Canto
 Infantry Move+
 Flying
Sirocco: joins through the story on the Leda route; recruitable on the Cai, Dietrich, and Theodora routes (renown 5–9).
Cai's storyRecruitable 9
 3From Chapter 5
 Quest
Steps
Recruitable. Recruitment request available from Chapter 5, 03/15; complete it and report back to join. Give a gift in Dagsion to unlock recruitment, then reach Renown Lv9 and bond Lv3 with Cai. Accept Sirocco's Request, cross the Masked Woods to obtain the Copy of the Poet’s Monument at the Secret Altar, then return it in town. Complete before this route's Chapter 12 main battle; regular recruitment closes in the War Arc. Gift options: Energizing Ghosh, available for 150G from the gift merchant at the tavern in lower Dagsion.
- QuestSirocco's Request (available 3/15–11/27)
Dietrich's storyRecruitable93From Chapter 5QuestSteps
Recruitable. Recruitment request available from Chapter 5, 04/11; complete it and report back to join. Give a gift in Dagsion to unlock recruitment, then reach Renown Lv9 and bond Lv3 with Dietrich. Accept Sirocco's Request, travel through Ashiro Fortress and the other exit of the Great Cave of Iapetos to Atlas Summit, obtain the Copy of the Poet’s Monument and return it in town. Complete before this route's Chapter 12 main battle; regular recruitment closes in the War Arc. Gift options:Energizing Ghosh, available for 150G from the gift merchant at the tavern in lower Dagsion.
- QuestSirocco's Request (available 4/11–11/27)
Theodora's storyRecruitable51From Chapter 5QuestSteps
Recruitable. The recruitment quest is available from Chapter 5, 03/08; complete it and report back to join. Give one gift in Dagsion to unlock recruitment, then reach Renown Lv5 and Bond Lv1 with Theodora. Accept “Sirocco's Request,” travel via Ashiro Fortress and the other exit of the Great Cave of Iapetos to Atlas Summit, obtain the Copy of the Poet's Monument, then return to deliver it. Finish before departure on 10/24 and this route's Chapter 12 main battle. Gift options includeEnergizing Ghosh, available for 150G from the gift merchant at the tavern in lower Dagsion.
- QuestSirocco's Request (available 3/8–11/27)
Leda's storyJoins through the storyEasiest optionJoins through the story in Part I, Chapter 1
Renown level Bond Level with this route's protagonist. For all characters across the four routes, see Recruitment; see recruitment steps at How to recruit。
 Most effective gifts
All are favorite gifts and available in shops. Sirocco mainly favors fermented drinks. Favorites display double arrows in-game and grant the most affinity.
Find where to buy these on the map→ Where to buy all 18 favorite gifts→
Favorite19 items
Young Ghosh50G · Fermented drinksLight Shosh100G · Fermented drinksMature Ghosh100G · Fermented drinksRustic Ghosh100G · Fermented drinksYoung Shosh100G · Fermented drinksMature Shosh150G · Fermented drinksVolcano Ghosh150G · Fermented drinks Crimson Ghosh200G · Fermented drinksEnergizing Ghosh150G · Fermented drinksJade Ghosh150G · Fermented drinksSouthern Ghosh150G · Fermented drinksSun Ghosh150G · Fermented drinksAromatic Shosh500G · Fermented drinksSecret Ghosh500G · Fermented drinksTales of Adventure300G · BookThe Knight's Suitors300G · BookArrowhead Gem1500G · FashionPegasus Panorama2000G · PaintingPortrait of Yu PhasBeautiful things
Likes8 items
LikesGoddess Kalla, all women, reciting poetryInterestsReading, portrait painting
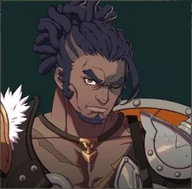
Bond partners11 characters · 6 can reach A · 1 have confirmed paired endings
 A
 A
 A
 A
 A
 A
 B
 B
 B
 C
 C
Letters indicate the highest available support conversation (C = support Lv2, B = support Lv3, A = support Lv4); A paired ending is confirmed,For the rules, seeBonds。
A mysterious Troubadour who appears before Leda. Calling himself a “carefree wind,” he flirts with every beautiful woman he sees. Despite his frivolous manner, he has keen insight and a refined education.
Details
| Title | Troubadour |
|---|---|
| Affiliation | Rose Storm |
| Height | 187 cm |
| Birthday | 10/18 |
| Likes | Goddess Kalla, all women, reciting poetry |
| Interests | Reading, portrait painting |
| Japanese voice | Katsuyuki MiuraWikipedia (Japanese) |
| English voice actor | Daman MillsWikipedia (English) |
Relationships


In the story
Part I: a carefree wind
Sirocco appears during Leda's journey, calling himself a carefree wind, and later becomes her traveling companion. Though he always seems to flirt with women, he has sharp observation and broad knowledge.
Part I: meeting LedaSpoilers
Abandoned at Kalla Temple’s doors as a child, Sirocco developed poetic talent under Kalla’s strict upbringing. Later, she secretly ordered him to investigate an old case; he met Leda while traveling and led her to Kalla.
After Part III: Individual endingSpoilers
After the war, Sirocco returns to Kalla Temple and resumes his former duties. Several years later, Kalla decides to leave the temple, and he travels across Dagda with her.
Trivia
- Sirocco's name refers to the hot wind blowing from the Sahara toward the Mediterranean.