
Part 2 War Arc walkthrough: six shared chapters and transition preparationMajor spoilers
Bring upgraded weapons, ranged healing, and anti-underworld tools from Part 1. Advance through trigger zones in stages, finish final preparations in Chapter 4, and aim to evacuate the protagonist in Chapter 6.

Bring the equipment, ranged healing, and protection against the Underworld you need. Clear each group before advancing so you do not trigger several waves of reinforcements at once.
Team building, supplies, and split routes in the War Arc
| Your next task | Preparation |
|---|---|
| Enter Part 2 | Upgrade effective weapons and Levin Swords, put the weapons and equipment you want on characters, and prepare two ranged healers. |
| Choose a route to play manually | The six chapters are largely the same. To get  Creek and  Nathan, check Part 1 prerequisites on  Dietrich's or  Leda's route first. |
| Get past Chapters 4 and 5 | Handle reinforcements before crossing the next trigger zone. Advance once healing catches up instead of rushing straight to the boss. |
| Reach the Chapter 4 base | This is your preparation stop before the consecutive final battles. Finish exams, Boon selection, and inventory adjustments here. |
| Finish Chapter 6 after defeating the boss | An escape battle follows. The protagonist must reach the southern objective tile. |
Each protagonist keeps a separate War Arc record.
Equip everyone before the final departure in Part 1
Prioritize equipment, classes, healing, and Boons before grinding more stats. Upgrade weapons and check inventories first: Part 2 reads the weapons and equipment characters carry, while storage is temporarily inaccessible. Inventory left behind returns in Part 3. Follow the entry screen's instructions when organizing equipment.

For savings, check incoming supplies: Part 2 provides iron +3 weapons and other supplies. Do not duplicate spending on basic weapons you will soon receive; bring unique weapons and missing functions first. Auto-optimize can speed sorting, but afterward check attack type, Weight, and Range against the unit’s role.
Prepare a core team that can deploy consistently. Aim for roughly 13 units including the protagonist, rather than training only two or three strong units: different maps require more participants. Prepare at least two Physic users so healers do not have to chase cavalry across large, divided battlefields. Check character pages for who learns it and at what proficiency rank. Mages also need to have learned Physic to fill this role.
Before leaving, review the missables checklist: have you recruited your targets, finished short-window paralogues, and completed “My Late Sister's Accessory” on Dietrich’s or Leda’s route? Part 2 lacks Part 1-style free exploration; discovering recruitment gaps afterward increases replay costs.
Choose blessings before army activities
Use Kalla for mobility and Avoid, and Aurora for damage reduction and underworld protection. Get useful Kalla evasion first, then train Aurora to Level 3. High-Hit enemies cannot be handled by Avoid alone, while Aurora Level 3 nullifies Netherworld Blessings. Kalla Level 3’s Movement +2 buys distance in dangerous phases; Aurora adds damage reduction. For defense, both address immediate needs better than pure damage blessings. See blessings for levels and costs.
Before each chapter's main battle, check army actions, Certification Exams, and Boon settings. You can use one troop-strengthening drill to catch up weaker members, then favor Army-wide Skill Training with the remaining actions. One test raised units to level 33; another recommendation is to wait until the preview reaches 35. Check your own team's preview first. Choose based on the gains shown in the current preview and the abilities you need next.
If you developed key Boons such as Kalla and Aurora in Part 1, prioritize Army-wide Skill Training.
Use service activities to finish key Boons first. Do not enter battle with major gaps just to copy a fixed action order.
Exam Passes refill to 5 each chapter; saving them does not build an unlimited stockpile. Check exam success for core units approaching Advanced classes. Make active use of weapon durability too, but remember: only weapons with durability remaining refill between chapters. Once a weapon breaks, chapter refills cannot preserve the original weapon. See weapon durability.
Choose a protagonist based on existing preparation and new goals
| Current protagonist | Main preparation | Watch for during the six chapters |
|---|---|---|
 Cai | Finish mount capture, training, and core equipment in Part 1; feeding opportunities are limited in the War Arc. | In Chapter 6, check your actual movement before escaping. Do not copy another team's flying or high-movement route blindly. |
| Dietrich | Prepare core skills and current weapons; check “My Late Sister's Accessory.” | Meet Creek's conditions in Chapter 2 and leave Nathan's final blow to Creek in Chapter 3. |
 Theodora | Turn Part 1 battalions and preparations into combat strength for the current team. | A Queen-route Hard War Arc clear exists; assess route difficulty against your own lineup. |
| Leda | Prepare song support and ranged attacks; check “My Late Sister's Accessory.” | The Creek/Nathan chain is also available. Leda's existing training can fill an archer role in Chapter 4. |
The four routes do not let you freely select everyone from a shared roster. Theodora, Bertrand, and other guests fill in according to the protagonist and empty deployment slots. Completed paralogues also replace some named enemies with generic soldiers. If your battlefield roster differs from another clear, check paralogue completion and guest units first.
Inference: For your first manual clear, choose the route with a developed team, complete healing coverage, and all needed roles. If you also want both new War Arc companions, factor recruitment prerequisites into the choice. Develop classes around each route's core team; see character training pages.
Chapter 1: The Battle of Klytius Plains
Victory: rout the enemy | Prepare rotation around the roughly 13 units above | Main threat: advancing too early engages several enemy groups at once.
Stabilize the opening and regroup with guests
Handle the approaching cavalry before advancing. Intercept  Creek and
 Nathan in the center using cavalry-effective attacks. Have the southwestern guest force clear nearby enemies and join the main team, then lure groups one at a time toward the northeast. Recruiting the pair requires the next two chapters; defeating them in Chapter 1 does not make them join.
Rushing can trigger reinforcements. Pause to regroup and protect healers before crossing the next area. An inferred sequence: check current enemy ranges, assign someone who can withstand that group, finish exposed enemies with remaining attacks, heal, then send the vanguard to the next group’s detection edge.
Keep the vanguard connected to healers and guests
Do not send one high-movement unit rushing northeast while healing and guests remain southwest. Even a fast protagonist should wait for the team to catch up: activating enemies early can split a force that has not regrouped. After the battle, return to base, organize new supplies, and check Support conversations and exams before Chapter 2.
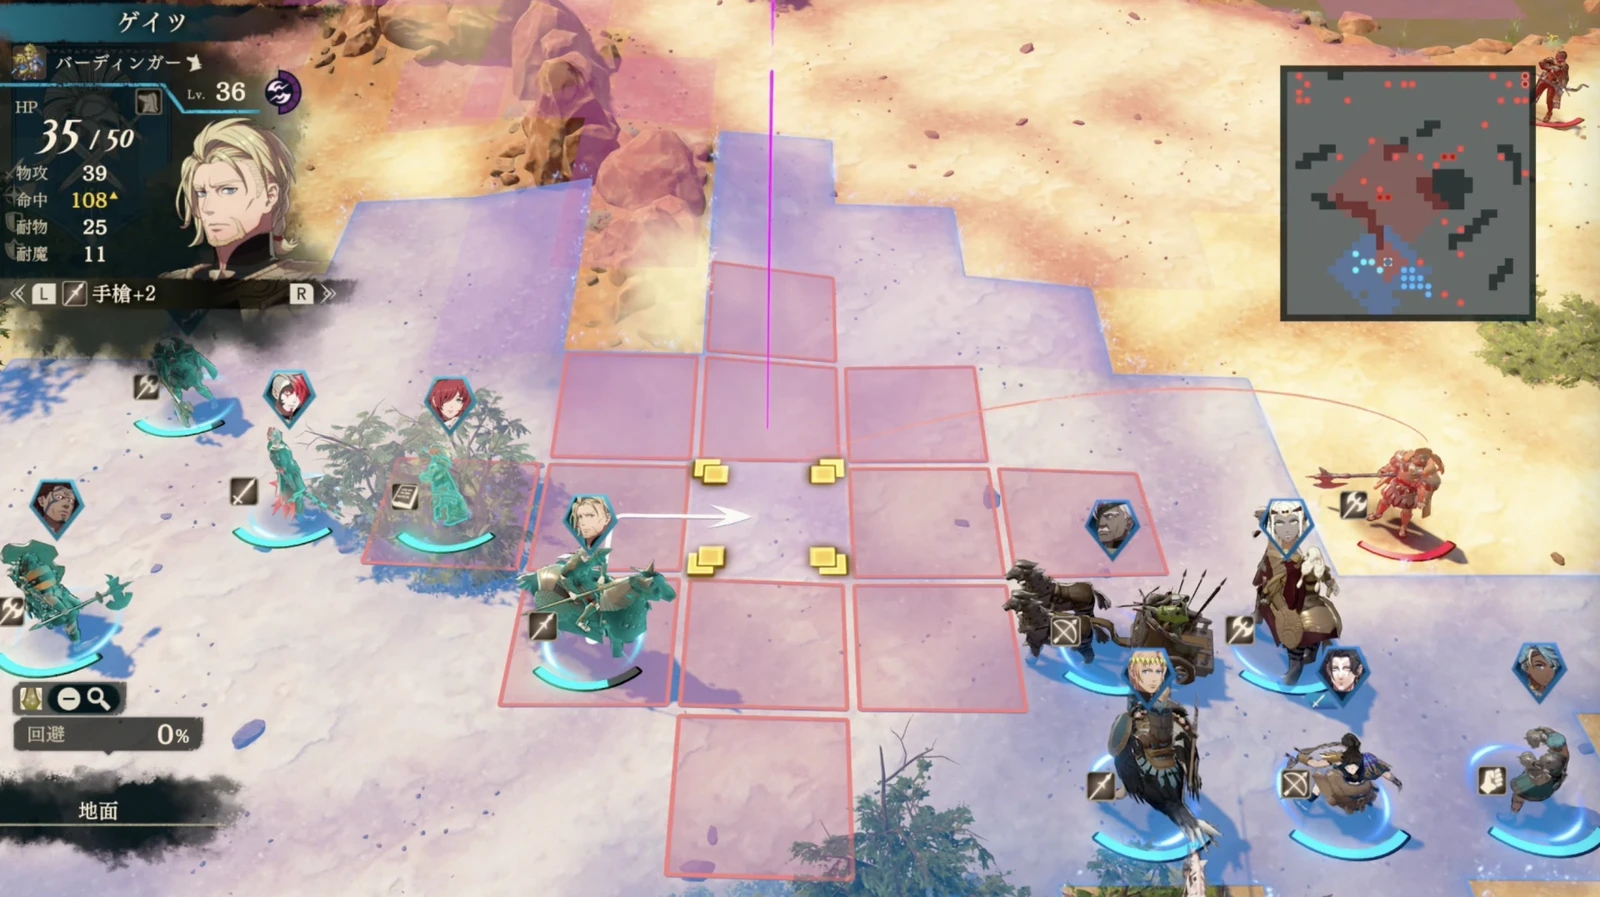
Chapter 2: Showdown at Agris Stronghold
Victory: defeat Lind and the other target, Ianuarius | Send 3–4 units east | Main threats: long-range emplacements, split forces, and loot choices.
Attack from two sides without isolating the eastern group
Use the central main force and 3–4 eastern units for a pincer. Prioritize long-range emplacements and catapults, using shrubs for survival. Victory requires only the two targets, not a full rout. Choose the eastern 3–4 for their ability to clear emplacements independently and sustain themselves.
Inspect enemies’ inventories individually. The Chapter 2 Cleansing Blade is especially worth taking; keep anti-underworld tools ready. Confirm you have handled that blade and desired drops before focusing the victory targets. Inference: the eastern group needs independent artillery clearing and self-healing. If it is only a fragile unit needing adjacent healing, pull back to cooperate with the main team instead of forcing a four-unit assignment.
Creek’s prerequisite quest and defeat condition
Complete “My Late Sister's Accessory” in Dietrich’s or Leda’s Part 1, then defeat Creek when he appears northwest in this chapter. He joins in Chapter 3 if conditions are met. A Chapter 1 defeat does not replace this, and the Part 1 quest alone is insufficient. Check that he is present at the start of Chapter 3 before continuing Nathan’s chain.
Chapter 3: Beyond the Salt Road
Victory: defeat Gilchris | Cover the center and east simultaneously | Main threats: war elephants, congestion after the fire, keeping allies alive, and landing the final blow.
Cover both bridges and handle the elephants
Balance forces across the central and eastern bridges. Send the protagonist east to approach  Aswan and
 Tahonia for action choices. Handle the central elephants early; fire appears after passing the middle and further restricts movement.
Clear the current enemy group before the other side enters the next area. Inference: Keep healing coverage and anti-armor options on both routes. If war elephants block the center, have the eastern force assist allies instead of rushing the boss alone. Advance both sides once attackers, finishers, and healers can move through the passage in sequence.
Have Creek finish Nathan and protect both allies
First, Creek must defeat Nathan for Nathan to join in Chapter 4. Other units can weaken him, but leave the final blow to Creek. Second, keep Aswan and Tahonia alive for their later recruitment. These are separate from defeating the chapter's victory target; check each before killing the boss.
After battle, check whether Nathan joined. If he did not, investigate now rather than waiting until Part 3: did Creek join, and who landed the final blow? See recruitment for the complete conditions.
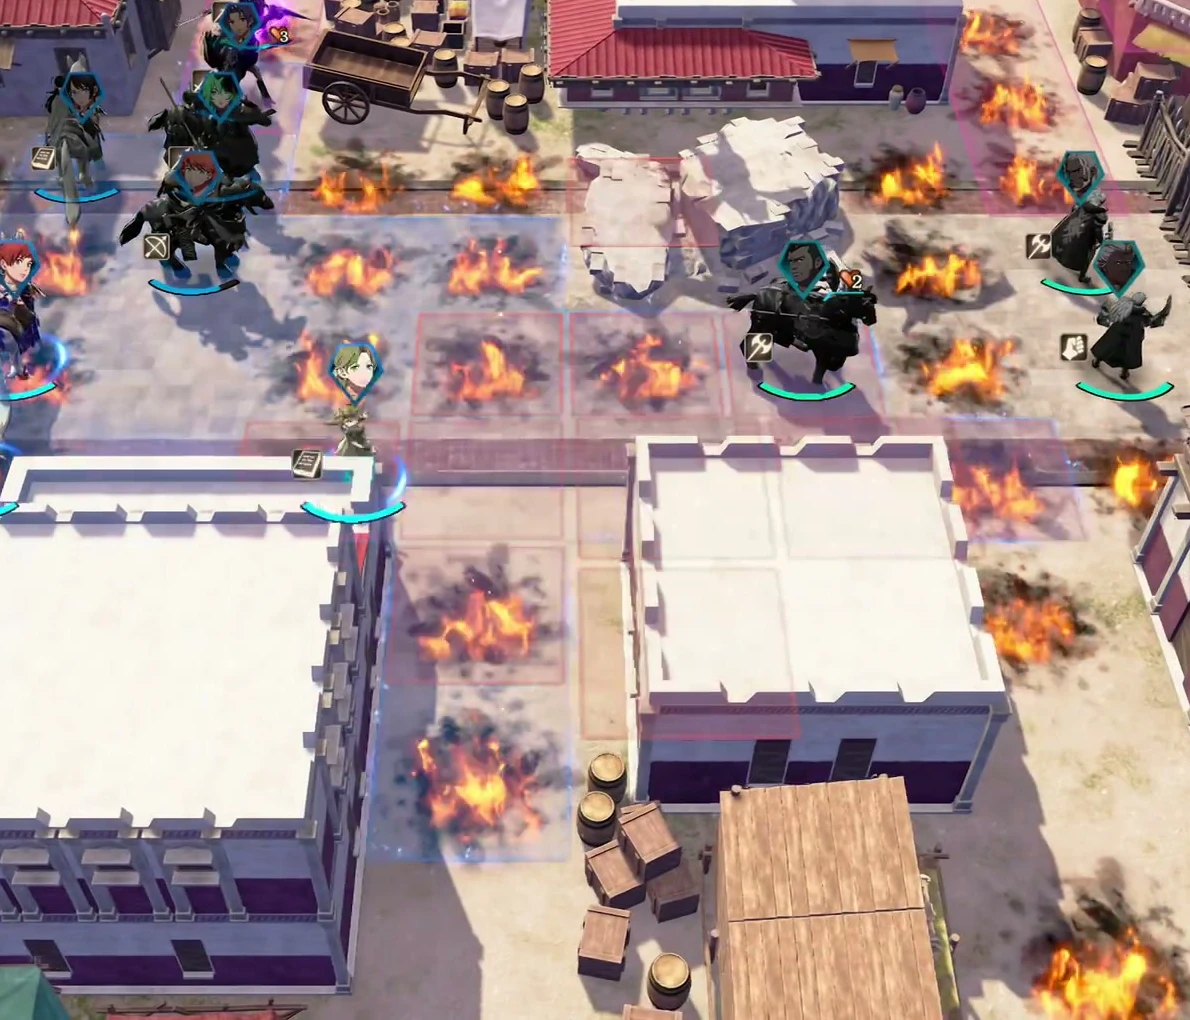
Chapter 4: The Storming of Dagsion
Victory: defeat Lind | Prepare at least 2 archers and several healers | Main threats: flying reinforcements from multiple directions and war elephants holding the front.
Finish the last base resupply and exams
Base access ends with Chapter 4; preparation facilities are limited from Chapter 5 onward. Finish this round's army actions and exams, equip the Boons you need such as Kalla and Aurora, and check Physic uses and everyone's backup attacks. Two more chapters follow, so prepare beyond the immediate battle.
Bring at least two archers. Prioritize ranged bird enemies threatening low-Resistance units, and have several units break elephant barriers before finishing them. After crossing the bridge, focus Lind when possible rather than delaying for peripheral soldiers.
Fight reinforcement groups separately on Hard
Chapters 4–5 are demanding. Advance slowly with several healers, using advantages such as  Sofia’s range. Clear the current area before entering the next, or the boss and reinforcements add pressure together.
Suggested sequence, based on inference: Save archer actions for flying reinforcements, then attack the elephants once the front is stable. If archers finish an elephant, check whether new fliers can reach an exposed back line. Heal each round before advancing toward the bridgehead. Engage one enemy group at a time rather than wasting healing while standing in range.
Check recruitment and prepare for Chapter 5
Confirm Nathan’s Chapter 3 condition has resolved and give new equipment to its intended users. Before Chapter 5, recheck protagonist/guest defeat conditions, HP, and current classes. The War Arc base cannot fix unfinished Part 1 recruitment now.
Chapter 5: Divine Emperor Dagda
Victory: defeat Dagda | Prepare repeated attacks and survival Boons | Main threats: high damage, phase changes, and an invulnerability event.
Resolve invincibility before focusing damage
Approach from the west and handle artillery on the way to the raised platform. The dragon form starts invincible. Attack from outside counter range to trigger the sequence, then deal real damage after the next turn’s event. In one phase, lethal damage while the boss has at least 2 HP leaves 1 HP. Predicted damage covering a whole bar does not guarantee a one-action kill.
On Hard, use Aurora for damage reduction and Kalla for Avoid. Do not pull the boss while enemies remain in the current area.
An inferred checklist separates three questions: is damage still nullified, can this round bring the boss to 1 HP, and who remains to finish? If the first problem persists, resolve the event instead of spending every attacker. If counterattacks kill an attacker, use a suitable blessing or ranged attack before planning damage. See Blaze Arts and combat arts for their rules.
Recheck boss defenses before concentrating attacks
During boss phases, reread Defense, skills, and combat forecasts. A Levin Sword that works well against ordinary armor may not work against this target. Focus attacks when concentrated damage is needed, and prioritize enemy healers if they prevent a finish.

Chapter 6: The Underworld Incarnate
Victory: defeat Lyrah, then move the current protagonist to the escape objective | Prepare shield breakers and a protagonist escort | Main threat: breaking the boss's barriers and escaping the next battle demand different plans.
Break Lyrah’s barrier before focusing damage
Lyrah's map has various buff formations. Check whether you can survive one attack, wait for the weakness to appear, then find attack positions. Avoid designated-location attacks and focus damage once the target point is clear. Survive the boss's action before exploiting the opening; copying only the final attack sequence is not enough.
The barrier takes two attacks to break, restores after combat, and comes with healing. Let ranged units help break it and save high damage for afterward. Repeated low-damage attacks can merely feed healing.
Inference: arrange both barrier-breaking hits and high-damage attacks within one round. If another attacker has not arrived, recover on the circles and regroup first. Keep checking reinforcements after the cocoon transformation; do not move healing out of safety because the form changes.
Send the protagonist south while allies clear the escape
For the escape phase, rearrange healing on both sides, handle miasma and high-Defense Underworld soldiers, and check that Cai can move fast enough. The protagonist must reach the designated location. Waiting too long can let enemies block the route. The previous battle's focus-fire plan does not directly transfer to this escape.
Avoid the strong central armored units and head south along the eastern and western sides. Have other units clear defenders from the goal while the protagonist saves movement to occupy it. Inference: Measure how far the protagonist can travel this turn, then have the escort clear the required tiles. If using Kalla Level 3 for movement, ensure the protagonist has enough HP to survive the stretch. Aurora Level 3 can provide the needed protection against the Underworld. Do not leave the protagonist in the center for a little extra experience.
What should determine whether you play or skip?
Maps and story are similar. You can skip other protagonists' versions and return to experience them later.
Play the relevant route for skills, drops, or companions. Consider skipping the third or fourth protagonist once you no longer need these rewards.
In one same-save comparison, skipping Dietrich and then playing manually differed by only 1 level and 7 stat points for Dietrich, though skill gains still made training worthwhile. Another character showed a larger gap.
Choose by your goal. Play the relevant route for Creek, Nathan, or complete core skills. To bring in other already trained characters, first resolve each route at the War Obelisk through either playing or skipping, then enter Part 3. For further training, see New Game+ carryover. Develop duplicate characters in different directions instead of producing four identical records.