
How to use blessings
Blessings spend Divine Sand to buff your entire army for one turn. Choose a god to cover gaps in damage reduction, accuracy, vision, or mobility. Main story battles and paralogues refill your sand, but consecutive tough fights during free time still need a budget.

The six gods' regular blessings buff your entire army for one turn. Choose a god to cover gaps in damage reduction, accuracy, vision, or mobility, and keep enough sand in reserve.
Effects and costs of all seven blessings
| Blessing | Normal / Hard cost | Level 1 | Level 2 | Level 3 | Holy day |
|---|---|---|---|---|---|
| Fortuna's Blessing | 0 / 5 | Rewind the battle to any point | — | — | Unlocked through the story |
| Aurora's Blessing | 15 / 20 | Halves physical damage taken | Halves magical damage taken | Negates enemies' Underworld Boon | Monday |
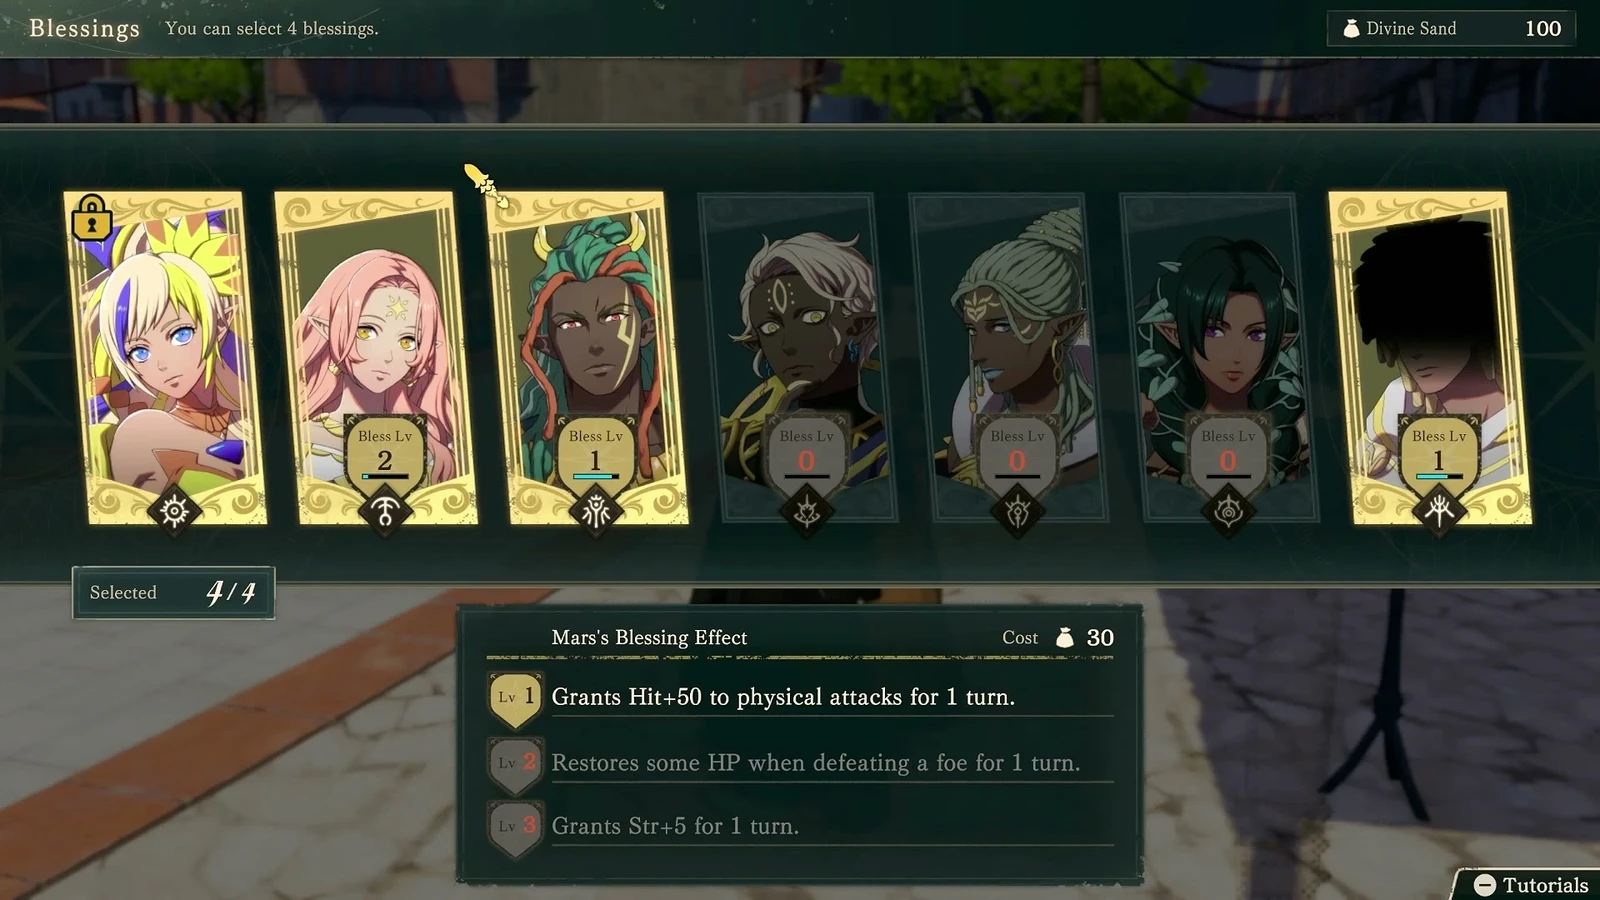
| Mars's Blessing | 20 / 30 | Physical Hit +50 | Restores a moderate amount of HP after defeating an enemy | Strength +5 | Tuesday |
| Smyrnos's Blessing | 20 / 30 | Magical Hit +50 | Magic Range +1 | Magic +5 | Wednesday |
| Jurah's Blessing | 10 / 15 | Negates effective damage | Prevents enemy follow-up attacks | Prevents enemy critical hits | Thursday |
| Kalla's Blessing | 20 / 40 | Avoid +50 | Speed +5 | Movement +2 | Friday |
| Credna's Blessing | 10 / 20 | Vision +5 | Prevents weapon durability loss | Your units strike first on enemy phase | Saturday |
Sunday is “Dagda's Day” and counts as a holy day at every temple. The table lists base costs without discounts. With 100 sand, no discounts, only Kalla, and nothing reserved for rewinds, you can use her blessing at most twice on Hard. Discounts change this limit; see discounted costs.
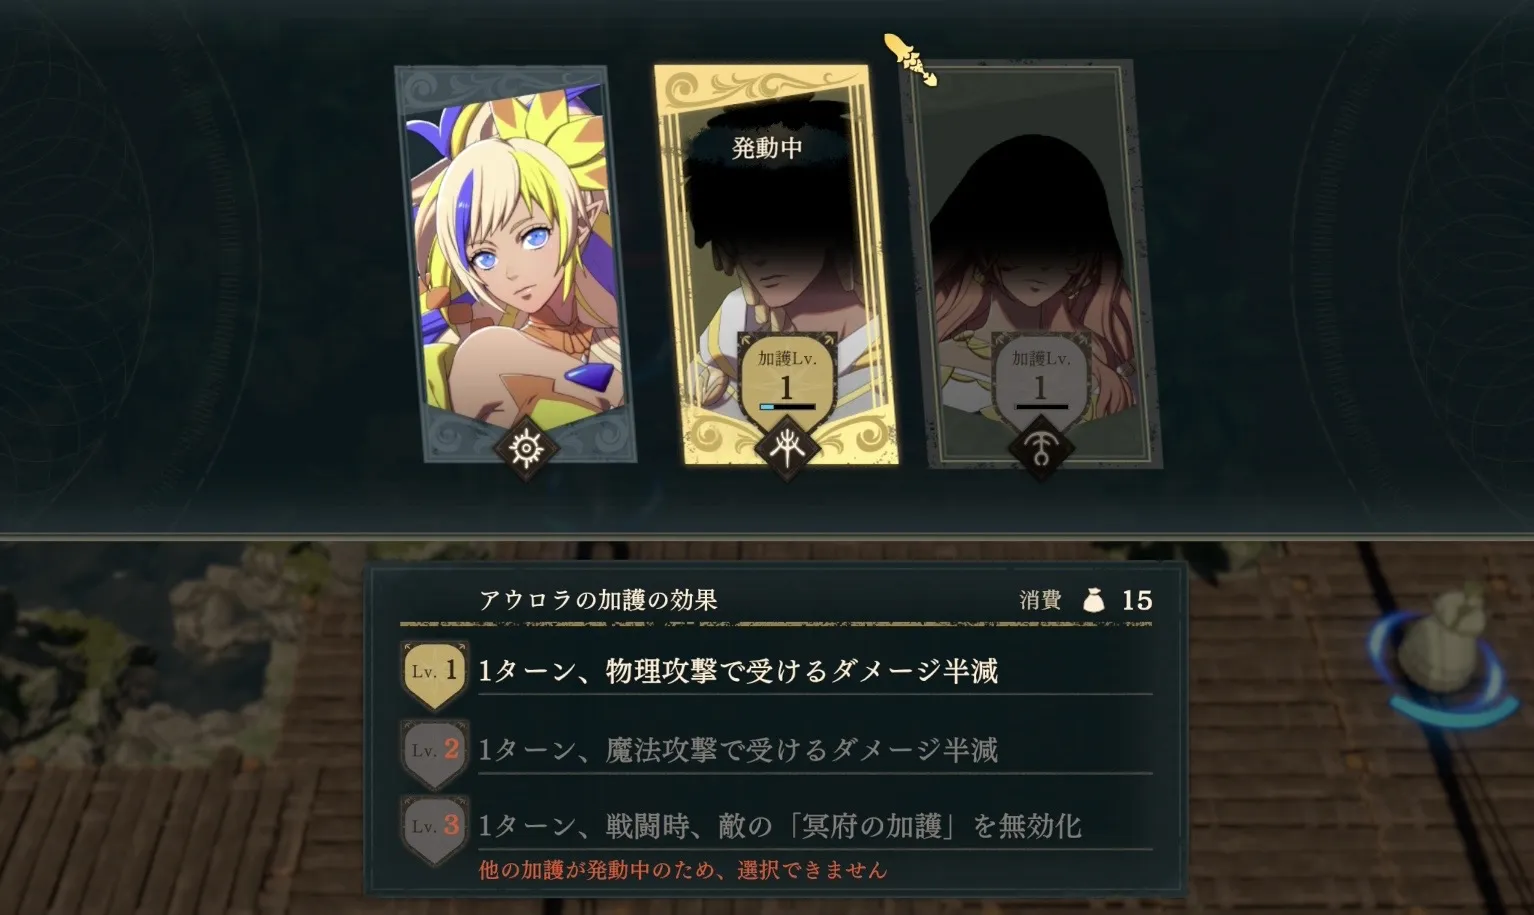
Get level 1 Kalla, then level 3 Aurora. Start with Avoid, switch to damage reduction against accurate enemies, and later counter Underworld Boon as well.
Max out Kalla first to advance more aggressively. Movement +2 only comes at level 3. On Hard, 100 sand without discounts or any other spending still gives you only two uses.
Start with both types of Hit and Avoid. This suits armies that often lose because a crucial attack misses. If the problem is surviving once you engage, compare damage reduction instead.
Unlocking blessings and activation limits
| Question | Answer |
|---|---|
| How do you get them? | Fortuna's Blessing unlocks through the story. For the other six gods, earn contribution through Divine Service at their temples. Their blessings unlock at level 1 and cap at level 3. |
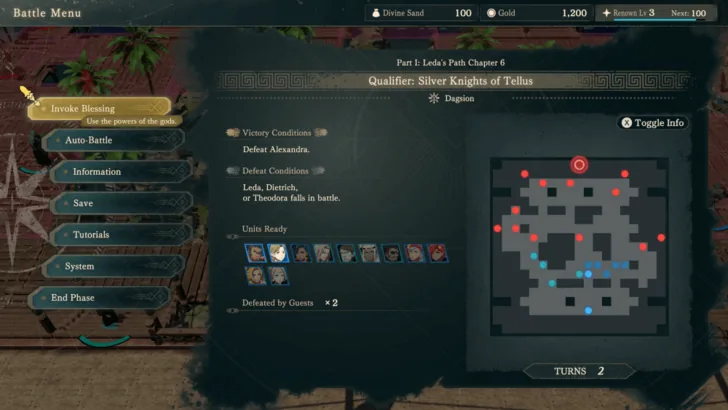
| How do you activate them? | On player phase, press + to open the battle menu → “Invoke Blessing” → choose a god. |
| What do they cost? | Divine Sand, capped at 100. |
| How long do they last? | 1 turn: the player phase when you activate them, plus the following enemy phase. |
| Who receives the effect? | Your entire army. |
| How many can you activate per turn? | Only 1, excluding Fortuna. You cannot stack two gods' blessings on the same turn. |
| How many can you bring? | 4 slots. Fortuna always occupies 1, and you choose the other 3. Change them at a temple reception desk, under “Information” in the base or world map menu, or under “Facilities” during battle preparations. |
As a god's blessing levels up, more effects stack when you activate it. Aurora costs the same to activate at level 1 and level 3, and upgrades add effects cumulatively. Level 3 Kalla gives Avoid +50, Speed +5, and Movement +2 all at once. At level 3, the same amount of sand buys you more effects.
Upgrade blessings to fill early-game gaps
You can perform Divine Service only once a week, so each route limits how many gods you can develop. Your upgraded levels carry over to the next route after you finish Part 1 of the current route. Your first route's choices therefore determine which blessings you have from the start of later routes.
Prioritize Kalla if you want to advance aggressively.
- Prioritize Kalla: army-wide Movement +2 and Speed +5 help more units meet the follow-up threshold (4 more Attack Speed than the enemy) and attack twice. Level 1 Avoid +50 can also save a unit in danger by giving them a chance to dodge.
- Kalla helps with both survival and clearing enemies.
- One approach is to max out Kalla first. Avoid improves your chances of surviving an engagement, while Speed and Movement help you counterattack and break through. Enemies may miss several attacks in a row, but you still need to check their forecast Hit. Budget before activating her for two or three consecutive turns: on Hard, 100 sand without discounts or any other spending still gives you only two uses.
- One upgrade order used on Hard puts Kalla first and Mars second. Kalla helps you take calculated risks, while Fortuna can only fix things after they go wrong.
Prioritize accuracy if missed key attacks keep stopping you. Early-game uses on Theodora's route include activating Mars for strong physical frontliners with low Hit and for long-range sniping, or pairing Mars with Tobias's three-hit axe and four-hit bow attacks to take down boss HP bars. First identify which attacks your army struggles to land, then use Mars to cover the gap.
Once Kalla or Aurora provides a safety net, upgrade Mars next if your multi-hit combat arts keep missing.
Use Aurora regularly if you want reliable damage reduction.
- Default to Aurora, then switch to Credna, Mars, or Kalla when you need vision, accuracy, or Movement. The damage halving at levels 1 and 2 lets your front line advance more safely. Level 3 stays useful throughout Part 3.
- Most enemies in Part 1 deal physical damage. Level 1 Aurora can let units with low HP and Defense survive two or three more rounds of combat.
- You can use Aurora frequently in Part 3. Sand is limited, and the Cleansing Blade, Leda's buffs, or Eshmel's aura can help reduce your reliance on her. See Aurora.
Choose Credna first if fog is your immediate problem. Part 1 has a main story battle fought entirely in fog, and level 1 Credna's Vision +5 directly addresses it. At level 3, striking first on enemy phase is powerful on Hard.
Another approach is to fix accuracy first. Unlock Mars, Smyrnos, and Kalla early to improve physical Hit, magical Hit, and Avoid respectively. If a crucial miss often costs you the fight, improve that type of Hit first. If you cannot survive after engaging, upgrade damage reduction next.
Get Avoid first, then reliable damage reduction. Start with level 1 Kalla, then level 3 Aurora. This gives you a way to dodge early, lets you switch to damage reduction against accurate enemies, and later counters Underworld Boon. Damage reduction is more reliable against enemies with high Hit.
When planning upgrades, check what your next tough map requires, then decide which god to develop next week. If you urgently need vision or accuracy, get the relevant level 1 blessing first. Kalla's mobility benefit only arrives at level 3. Set aside a week or two to develop Credna before a fog chapter, and schedule Divine Service around the contribution bar. Two sessions may not be enough for a level.
Choose blessings for the current battlefield
| Situation | Use | Why |
|---|---|---|
| A large wave of physical enemies will reach you on enemy phase | Aurora | Halves physical damage without relying on chance |
| Many enemy mages | Aurora (level 2) | Halves magical damage too |
| You cannot damage enemies with Underworld Boon in Part 3 | Aurora (level 3) | Negates Underworld Boon, letting classes without the Cleansing Blade deal damage too |
| A dodge-focused frontliner must hold through enemy phase | Kalla (level 1) | Avoid +50. Still check the forecast; compare Aurora's damage reduction against accurate enemies |
| A turn limit, an objective to reach quickly, or an escort mission | Kalla (level 3) | Army-wide Movement +2 can save one or two turns |
| Enemies occupy high-Avoid terrain and your Hit is low | Mars / Smyrnos | Hit +50 |
| Several units can score kills this turn, with no healer nearby | Mars (level 2) | Heals on kills, letting you recover while attacking |
| Your mage is one tile short, or wants to attack without a counterattack | Smyrnos (level 2) | Magic Range +1 |
| Fliers face effective bows, or armored units face effective weapons | Jurah | Negates effectiveness |
| An enemy heavy hitter's follow-up would kill you | Jurah (level 2) | Prevents enemy follow-up attacks |
| Enemies have high critical-hit rates | Jurah (level 3) | Prevents enemy critical hits |
| A fog map | Credna | Vision +5 |
| A long map requiring repeated combat arts with high durability costs | Credna (level 2) | Prevents weapon durability loss this turn |
| Enemy phase is dangerous and you want to strike first | Credna (level 3) | Your units strike first on enemy phase |
Choose for the map: Aurora keeps you alive; Jurah blocks effectiveness, follow-ups, and critical hits; Mars heals on kills; Smyrnos extends magic range; Kalla improves mobility.
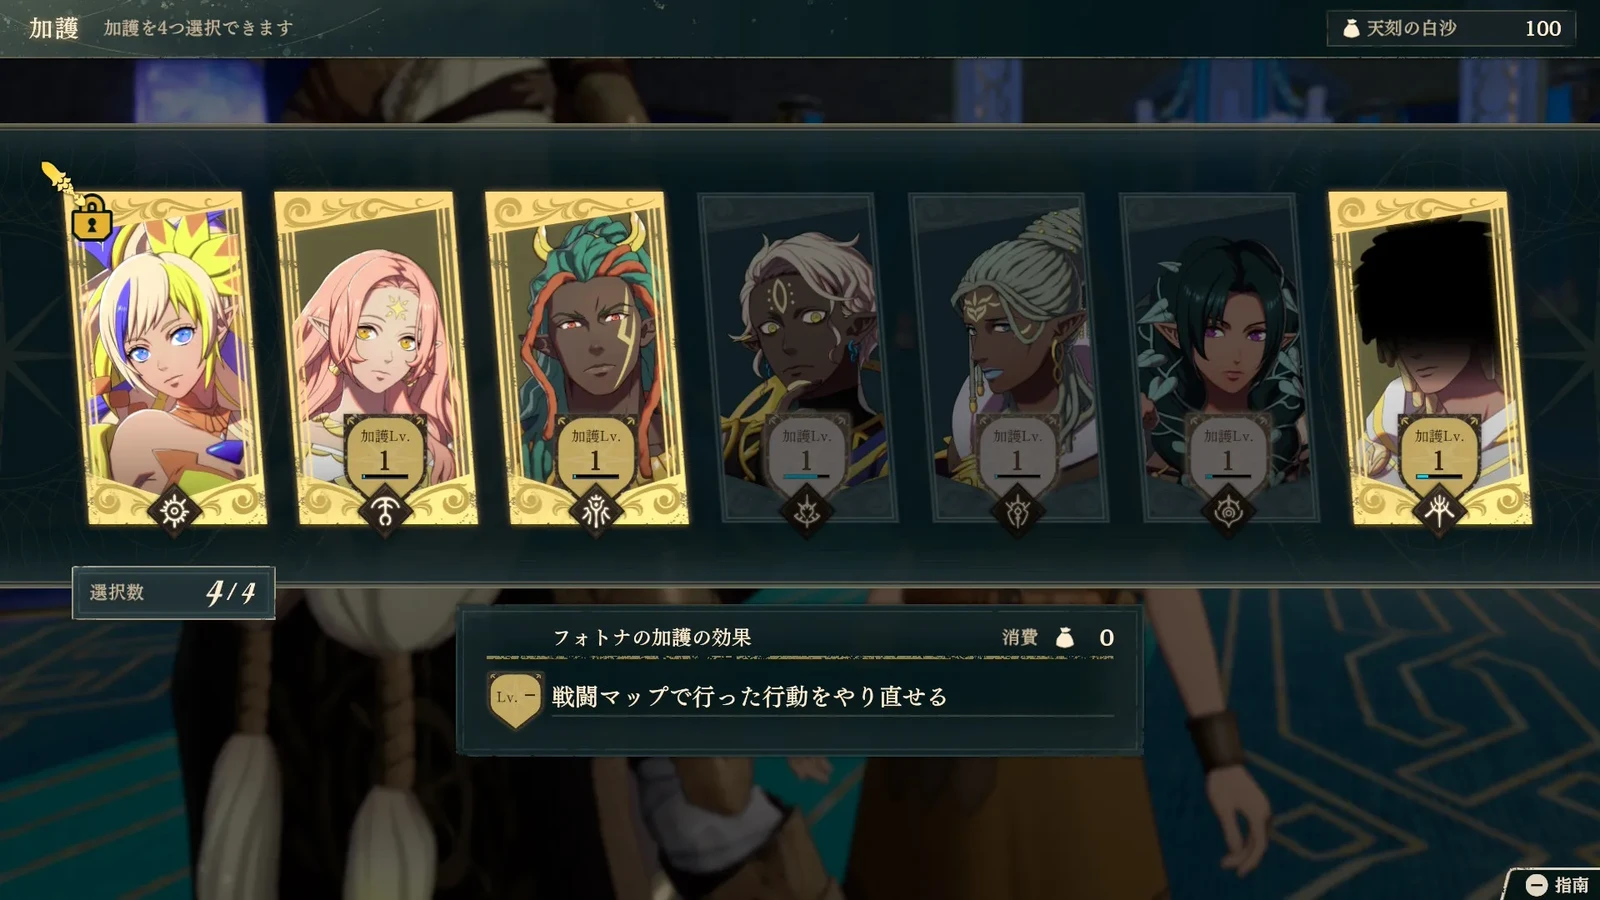
Get comfortable with blessings before the War story. Some players barely use blessings early in the four routes and only start choosing them carefully in the War story. Blessings can rescue a bad situation or help you attack. Before a series of battles, check which gods you have unlocked and choose a buff for your next turn's objective. You do not have to wait for a death before thinking about rewinding. You can use blessings whenever you get stuck early on, too.
Refilling sand and calculating uses
- The cap is 100. You cannot stockpile beyond it. Your remaining sand appears at the upper right of the menu screen.
- Main story battles refill it at the start, and entering a paralogue refills it too. Sand spent on free-time encounters and dungeon Clashes does not come back immediately; you must wait for the next main story battle. Skip blessings in safe encounters and save the sand for chapter battles.
- Every chapter in Part 2 refills it. If you have barely used blessings so far, Part 2 is a good time to start using them seriously.
- Rewinding refunds other blessing costs only if you go back to before they were activated. On Hard, the rewind itself still costs 5. You cannot keep a buff and get its sand back.
Calculated maximum uses with 100 sand, no discounts, only that god, and nothing reserved for rewinds (100 divided by the base cost, rounded down; these are not fixed per-battle limits):
| Blessing | Normal | Hard |
|---|---|---|
| Fortuna | Unlimited | 20 uses |
| Aurora | 6 uses | 5 uses |
| Mars, Smyrnos | 5 uses | 3 uses |
| Jurah | 10 uses | 6 uses |
| Kalla | 5 uses | 2 uses |
| Credna | 10 uses | 5 uses |
Main story battles and paralogues refill your sand at the start, so use a blessing when a key turn calls for it. Keep a reserve for consecutive field battles. On Hard, first subtract the sand you plan to reserve for rewinds. Discounts change the limits in the table. For example, the demonstrated half-price Kalla costs 20, allowing five uses with 100 sand and no other spending. See the advanced cost table.
Budget sand during free time
- Free-time encounters. Sand does not refill immediately. Spending it reduces what you have for fights before the next main story battle. (Inference: because the next main story battle refills it at the start, using a blessing in the encounter immediately before that battle costs you nothing in the long run.)
- A long map on Hard that you have not finished yet. Kalla costs 40 per use. Two uses leave only 20, enough for 4 rewinds. Decide whether you really need her this turn.
- Ironman runs. Fortuna has no use in an ironman run, but her slot is fixed and cannot be replaced, so this makes little difference.
- You only want to grind more experience. Blessings last just one turn. Your regular setup can handle routine fights, so you do not need one every turn.
Raise blessing levels through weekly Divine Service
Perform “Divine Service” at a temple: you get 1 session per week across all temples combined. Choose 2 units. It costs Motivation, which is refunded if you earn a “Perfect” result. Prioritize holy days and suitable units. Sunday is auspicious for every god. There is no reliable evidence that a star mark or a holy day guarantees a Perfect result. For the full procedure, who to send, and whether Part 2's “Group Service” is worth it, see Divine Service.
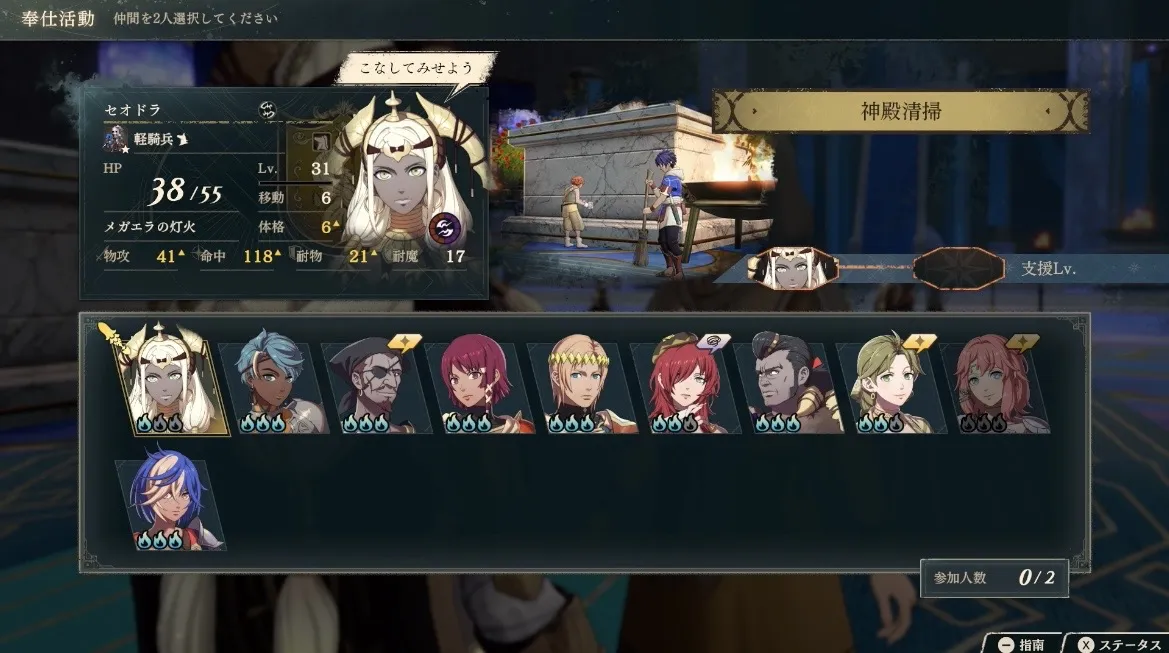

Image source:
Blessing levels carry over after Part 1
After you fully complete Part 1 of a route, the next route inherits your blessing levels starting in Chapter 1. Routes you advance simultaneously do not share levels. You can also buy “<God>'s Blessing Discount” (20% / 50%) through Boons of Salvation. See New Game Plus.
Check your four blessing slots after changing protagonists or entering Part 3. You may need to select your blessings again after changing heroes. Check the setup under Facilities at the start of Part 3 as well. The exact point at which it resets is still unclear. Even inherited blessings must be equipped before you can activate them, so check your loadout first if one is unavailable.
Guides to each god and related mechanics
- Detailed guides for each god: Aurora, Kalla, Mars, Credna, Jurah, Smyrnos
- Fortuna's Blessing: Using rewinds
- Advanced strategies: refunding sand, combining blessings with Blaze Arts / combat arts / dodge tanks, and which blessing discounts to buy
- Difficulty and modes: blessings cost more on Hard