
Practical tactics: team roles and class matchupsMajor spoilers
Cover essential roles across Parts 1–3: use magic against armor and bows against fliers, then reduce enemy actions with terrain, immobilization, and refreshes.

Keep bows, magic, and healing in each squad so one enemy type cannot block it. Split core units between squads instead of sending them all down one route.
Use bows against fliers and magic against heavily armored enemies with high Protection. Fill these roles before adding a second attacker of the same kind. Even a team with high stats can struggle against the same enemy type.
In Part 1, build one team that can support itself. When Part 2 splits your forces, give both sides physical and magic damage. In Part 3, spread these capabilities across squads. Do not put every core unit on one side and leave only cleanup units on the other.
- Choose the Dancer’s refresh target by who can solve the immediate problem. Against heavy armor, refresh a mage; against mages, consider a Wing Soldier or Pugilist who can advance safely. Always refreshing the same protagonist wastes the counters already in your team.
- Keep fliers away from archers after advancing. Check bow range after attacking. Flying over woods grants no ground Avoid bonus. If you need to dismount, check the forecast again without mount bonuses.
- When you struggle, check range, Attack Speed, effectiveness, and action allocation before leveling. Check critical risk even without a red X. In battles with mechanisms, such as the finale, assign units to create an opening for damage.
Guides to team roles and training
Fill damage, tanking, and healing roles for enemy types first, then plan chosen characters’ training and recruitment. Adjust positioning to the chapter when devices or reinforcements matter.
| Current question | Guide |
|---|---|
| Starting roster size and schedule | Beginner guide, Hard/Classic opening |
| Maps and devices on four routes | Cai, Dietrich, Theodora, Leda |
| Preparation for Parts 2–3 | War Arc, Promised One’s story, Later-part checklist |
| Effectiveness, Attack Speed, and order | Combat formulas, Attack order |
| Battalions, gambits, adjacent support | Battalions and gambits |
| Long-term core-unit training | Builds and training, Dancer refreshes, Dodge tanks |
| Bosses, paralogues, timed events | Boss battles, Paralogues, Missables |
Inspect enemies before choosing deployment
Use Pale Raven foresight to inspect the next main battle before choosing units. Check at the perch or relevant information page for armor, fliers, and ranged enemies. Prepare counters before discovering in battle that your only mage stayed home.
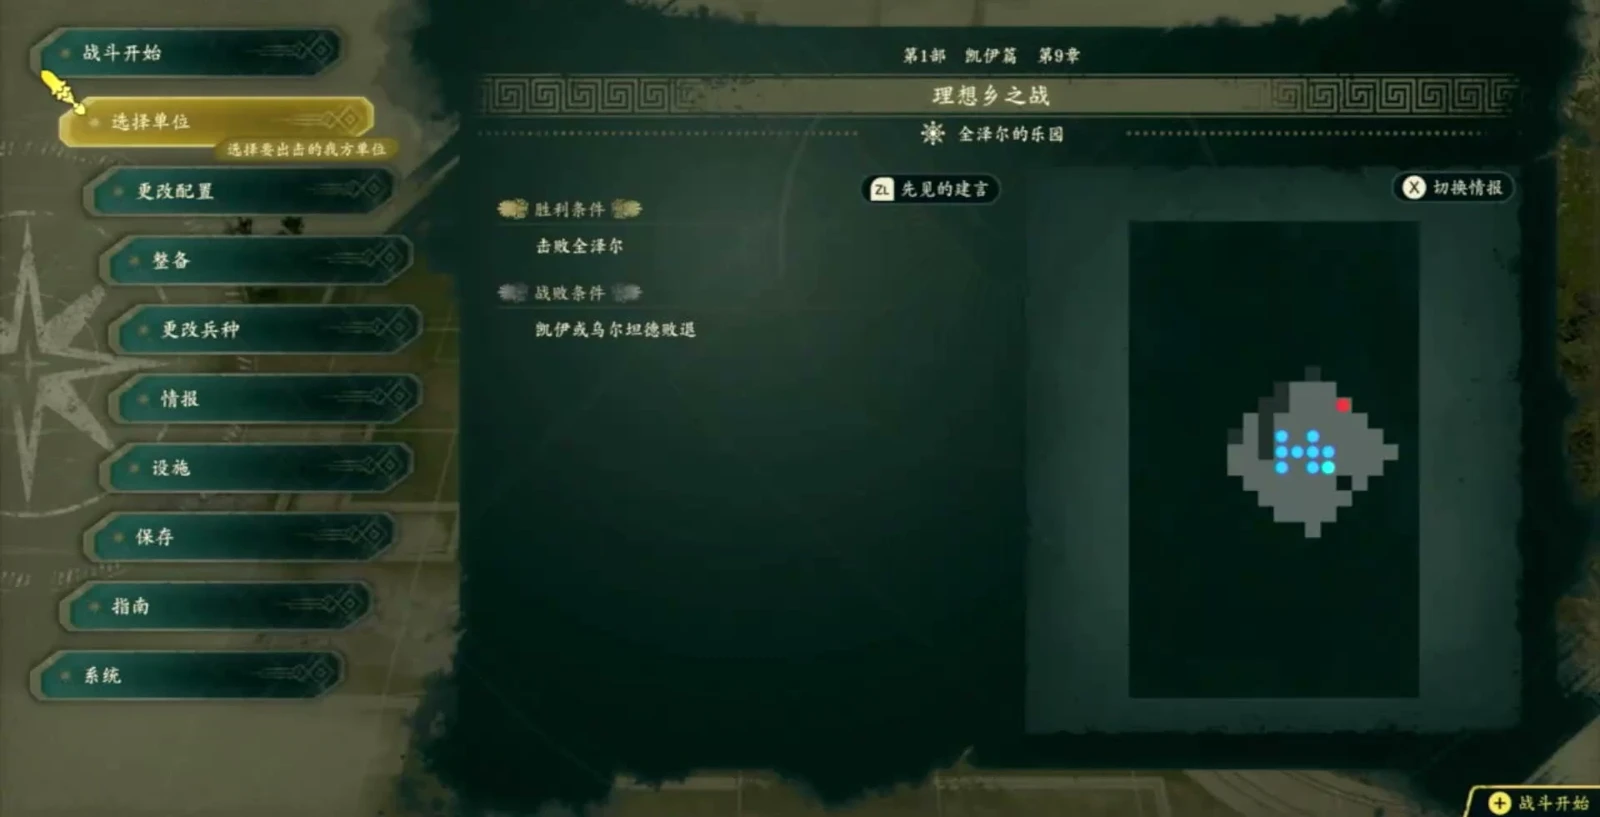
Assign roles within this battle’s deployment cap. One unit can cover two jobs: a healer with offensive magic can help break armor when nobody needs HP. But if you need both healing and a kill in the same turn, assign someone else to take over. Two simultaneous jobs need different units.
Keep anti-armor, anti-air, and healing roles in Part 1
One strong attacker can lead the way, but the team must handle enemies that unit struggles against. Start with roughly one or two melee units, one ranged slot, and two healers. When armor appears, bring someone with offensive magic. Check for magic, bows, and healing first; you do not need to wait for late recruits to form a team.
| Role | Check before deployment | If missing |
|---|---|---|
| Melee attacker/engager | Does the forecast kill, and can they survive afterward? | A mage gets sent into danger for the last damage |
| Archer | Actual bow range and anti-flying marker | No effective response when fliers cross the frontline |
| Offensive magic | Learned spells, current usability, remaining uses | High-Protection armor blocks an all-physical team |
| Healing | Frontline coverage and a safe landing tile | Blaze costs and incoming damage accumulate on one unit |
| Second healer/refresher | Does this map need sustained recovery or another effective attack? | Every emergency falls on one person |
Check available spells and the current damage forecast before deploying.
Leda’s team uses extra actions to amplify effective matchups. A Dancer  Leda usually acts late. Let
 Sirocco or
 Olympia act, see who can still solve the current enemy problem, and refresh that unit. Sirocco’s Thoron reaches three spaces. Olympia can add offense and Physic; Bishop is preferable when the team lacks a second ranged healer. Hide mages behind walls. Fliers such as
 Catania should dive only when they can kill a key mage and avoid archers.
“Refresh mages against armor” does not mean mages must always attack. Heal an endangered frontline first. A refresh also loses value if it forces the Dancer into enemy range. See Dancer refreshes for class progression.
Keep physical and magical options on both Part 2 routes
For Part 2, do not simply fill slots with Part 1’s core and use leftovers at random. One approach prepares two archers for fliers and two or three flying units to cross roofs and other difficult terrain. Use magic against armor; sword users with enough Magic can add anti-armor damage with a Levin Sword. Adjust for each map’s deployment cap and terrain.
| Map pressure | Add first | Split-group assignment |
|---|---|---|
| Fliers approach from both sides | A second anti-air option | Keep one on each side, not both archers together |
| Walls/roofs force infantry detours | Fliers with safe landing tiles | Fliers handle distant targets while ground units stay within healing reach |
| Armor blocks paths | Offensive magic or a suitable magic weapon | Physical and magical options on both routes |
| Repeated Blaze use drains the attacker | A healer who can keep up | Group by actual healing coverage before long routes |
Give both routes physical and magic damage so each can deal with blocking enemies.
 Theodora
 Tobias
 Bonaventure
 Sofia
 Lysander
 Lilian
- Mount the queen, keep Tobias armored, and use Sirocco and Sofia for magic and healing. Add an evasive unit and a Charioteer.
- The queen and Tobias take different jobs, leaving Bonaventure out of the limited slots.
These are team examples. You do not need to train both entire lists.
Before Part 2, upgrade the weapons you plan to use and place them in characters’ carried inventories. Stored weapons are not reserves you can withdraw freely in Part 2, and forging upgrades are unavailable there. See the checklist before later parts for carrying exceptions and inheritance rules.
Mix each Part 3 squad and separate protagonists
First decide where you need simultaneous coverage, then distribute core units. Multiple Underworld Gates overwhelm one developed team. Spread melee, black/white magic, flight, and bows across squads so each handles varied enemies. Avoid one all-physical squad and another holding every healer and mage.
Apply that principle through four checks when forming squads:
The first three determine how smoothly routine advances go; the last determines whether you can finish the objective on the key turn. Fill missing roles by changing units or equipment before leaving. Do not discover the other squad has no anti-armor attacker after your main attacker has gone far away.
A normal run need not copy a maximum-level three-unit challenge. Hard Part 3 also has slower strategies that gather teams and heal at turn end for consistency. Where maps have turn limits, check victory/defeat conditions first.
Enemy types and counters
There is no traditional sword–lance–axe triangle. Choose by target type and weapon properties. Magic against armor, lances against cavalry, and bows against flight are starting directions. Check the individual weapon’s markers and forecast before acting.
| Enemy | First response | Matchup and positioning |
|---|---|---|
| Armor/high Protection | Compare offensive magic; physical teams can bring armor-effective weapons such as Hammer | Change attack type before stacking ineffective physical attacks. Hammer fills anti-armor roles, but still check Hit and lethal damage |
| Flying | Keep an archer ready, then choose your own fliers’ landing tiles | Bows also threaten your fliers; planning only the mage kill misses nearby archers |
| Cavalry | Try lances, then specialized weapons such as Ridersbane if damage falls short | Separate normal lance advantage from stronger specialized effectiveness rather than choosing highest Might by equipment rank |
| Mage | Approach safely with Wing Soldier/Pugilist; refresh when needed | Confirm magic survival, then archers and other coverage |
| Archer/ranged unit | Check full range, then compare adjacency or attacks from outside it | Ordinary bows cannot hit adjacent tiles, but Mini Bow reaches 1–2. Longbow’s long range comes from an art; holding a bow alone does not define safety |
| Boss | Read skills, terrain, and devices, then allocate device-breaking and damage actions | Some fights require changing battlefield conditions first. Recheck protection after removing a bar; see boss battles |
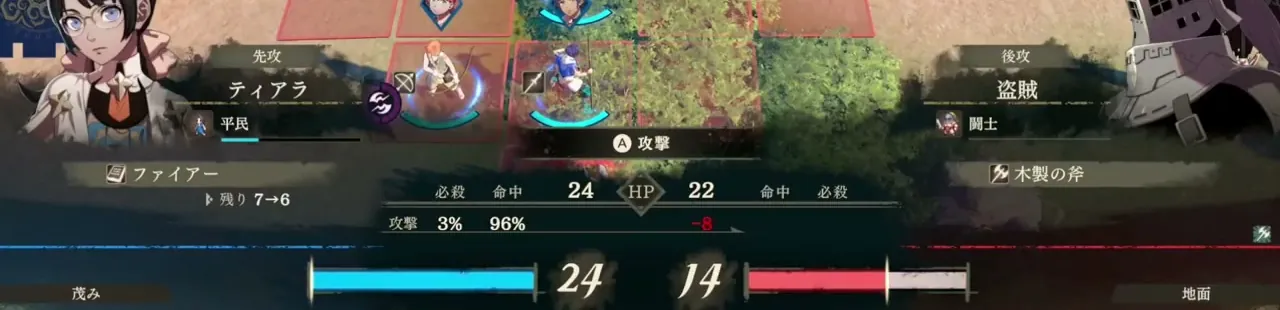
A predicted kill is not guaranteed. The red X shows the result if every attack hits without a critical. It does not cover critical risk. Plan kills from your forecast; add damage, control, or choose another target if damage is short. Do not gamble on a critical to survive.
How do terrain, gambits, and battalions work together?
Use positioning to decide which enemies can approach, then use gambits on threats you cannot finish this turn. Immobilizing gambits can stop melee enemies from reaching fragile backliners, but they only restrict movement: targets can still attack. Check range if the target can already reach someone.
| Problem | Combination | Easy-to-miss check |
|---|---|---|
| Exposed backline with approaching melee | Immobilize threats and hide mages behind walls | Can the target still attack, or other enemies go around? |
| Queen’s line attack misses diagonal groups | Add a gambit with diagonal coverage | Improve shape coverage, not just stats |
| Front far from healers, frequent Blaze costs | Front-adjacent units can use healing battalions | Is the healer safe, and is the attacker still covered? |
| Engage in woods | Read tile effect and forecast before dismounting | Flight lacks ground Avoid; dismounting removes mount stats |
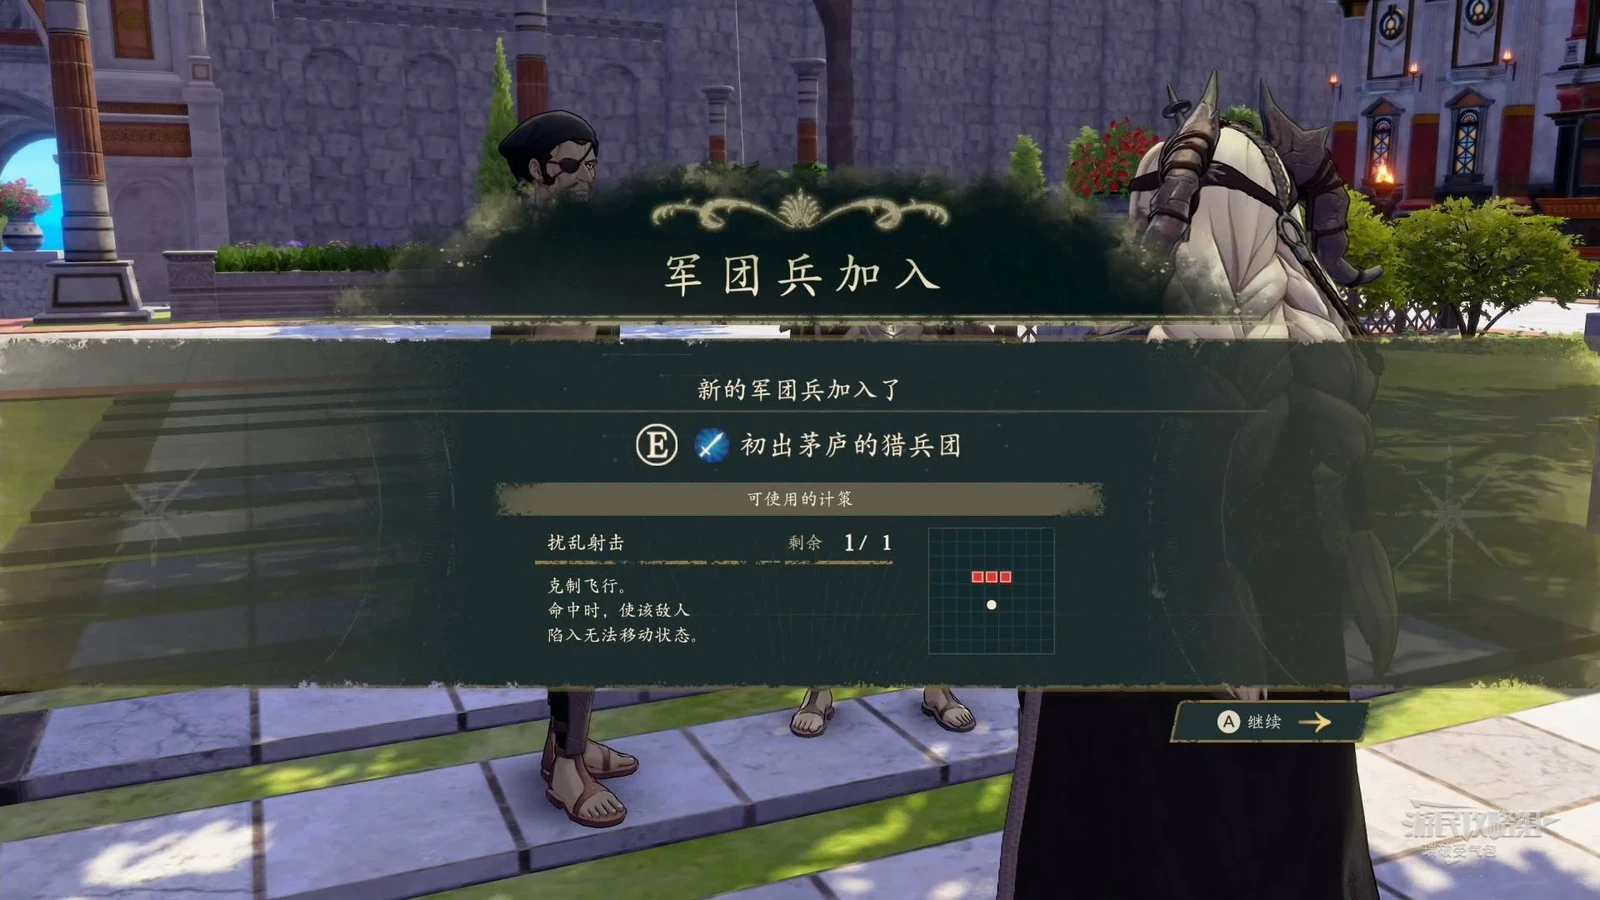
Battalions and mounts require a tradeoff. To use battalion stats and gambits, retain infantry roles that can equip them; mounting loses the benefits of an infantry battalion. Low Authority can prevent a unit from equipping an advanced battalion even if you own it. After raising Authority, compare available battalions again in the assignment menu.
Terrain helps enemies too. Woods, bushes, and healing tiles do not share one fixed bonus; read the tile. Flight bypasses rough routes but still requires landing checks. See battalions and gambits for recruitment, Authority, charges, and support stacking.
Fix forecasts before long-term training
First address what can immediately change the forecast. If that is still insufficient, add levels or long-term development. Check in the following order.
| Order | Symptom | Check and response |
|---|---|---|
| One | Backline dies as you advance | Inspect full movement/range, use walls, remove bypass threats, and immobilize approaches if needed |
| Two | Good Speed but no follow-up, or enemy doubles | Check Attack Speed; ordinary follow-ups need at least four more. Try lighter weapons/unneeded heavy equipment removal, then recheck |
| Three | Everyone barely hurts one armored unit | Change to offensive magic, magic weapons, or effective weapons before blaming training |
| Four | Flier kills one enemy but dies next phase | Inspect bows/landing tiles; consider dismounting and recalculate stats |
| Five | Constant attacking outruns healing | Watch Blaze HP/gauge; heal and advance together without exposing pursuers |
| Six | A spell suddenly becomes unusable | Check charges; free exploration does not restore HP/spells after every battle, so plan resupply |
| Seven | One route repeatedly stalls on one enemy type | Redistribute physical, magic, and anti-air tools; refresh whoever can solve it now |
| Eight | Damage or survival still falls short | Rule out devices/protection/terrain, then see leveling or class exams |
Removing equipment can change the outcome: in one demonstration, Tialla’s Attack Speed went from eight back to fourteen after removing two accessories. Check Weight first. For units taking hits, also compare the protection lost by removing equipment.
Verified answers do not cover every difficulty/team for “enough Avoid to solo,” the cost of one missing item, or exact reinforcement turns on every map. Judge current enemy Hit, Critical, damage, range, and objectives. The final-battle example below is not a fixed ordinary-team stat target.
Break gates before main attackers act in the finale
SpoilersFinal-battle mechanics and images
Assign gate breaking and body attacks to different actions. In one Normal/Classic three-unit challenge, gate breaks weaken the body’s barrier, but it recovers quickly. One unit breaks a gate and another attacks the body in the same turn. Bolting can break distant gates, but limited uses should be saved for key turns when movement cannot reach them.
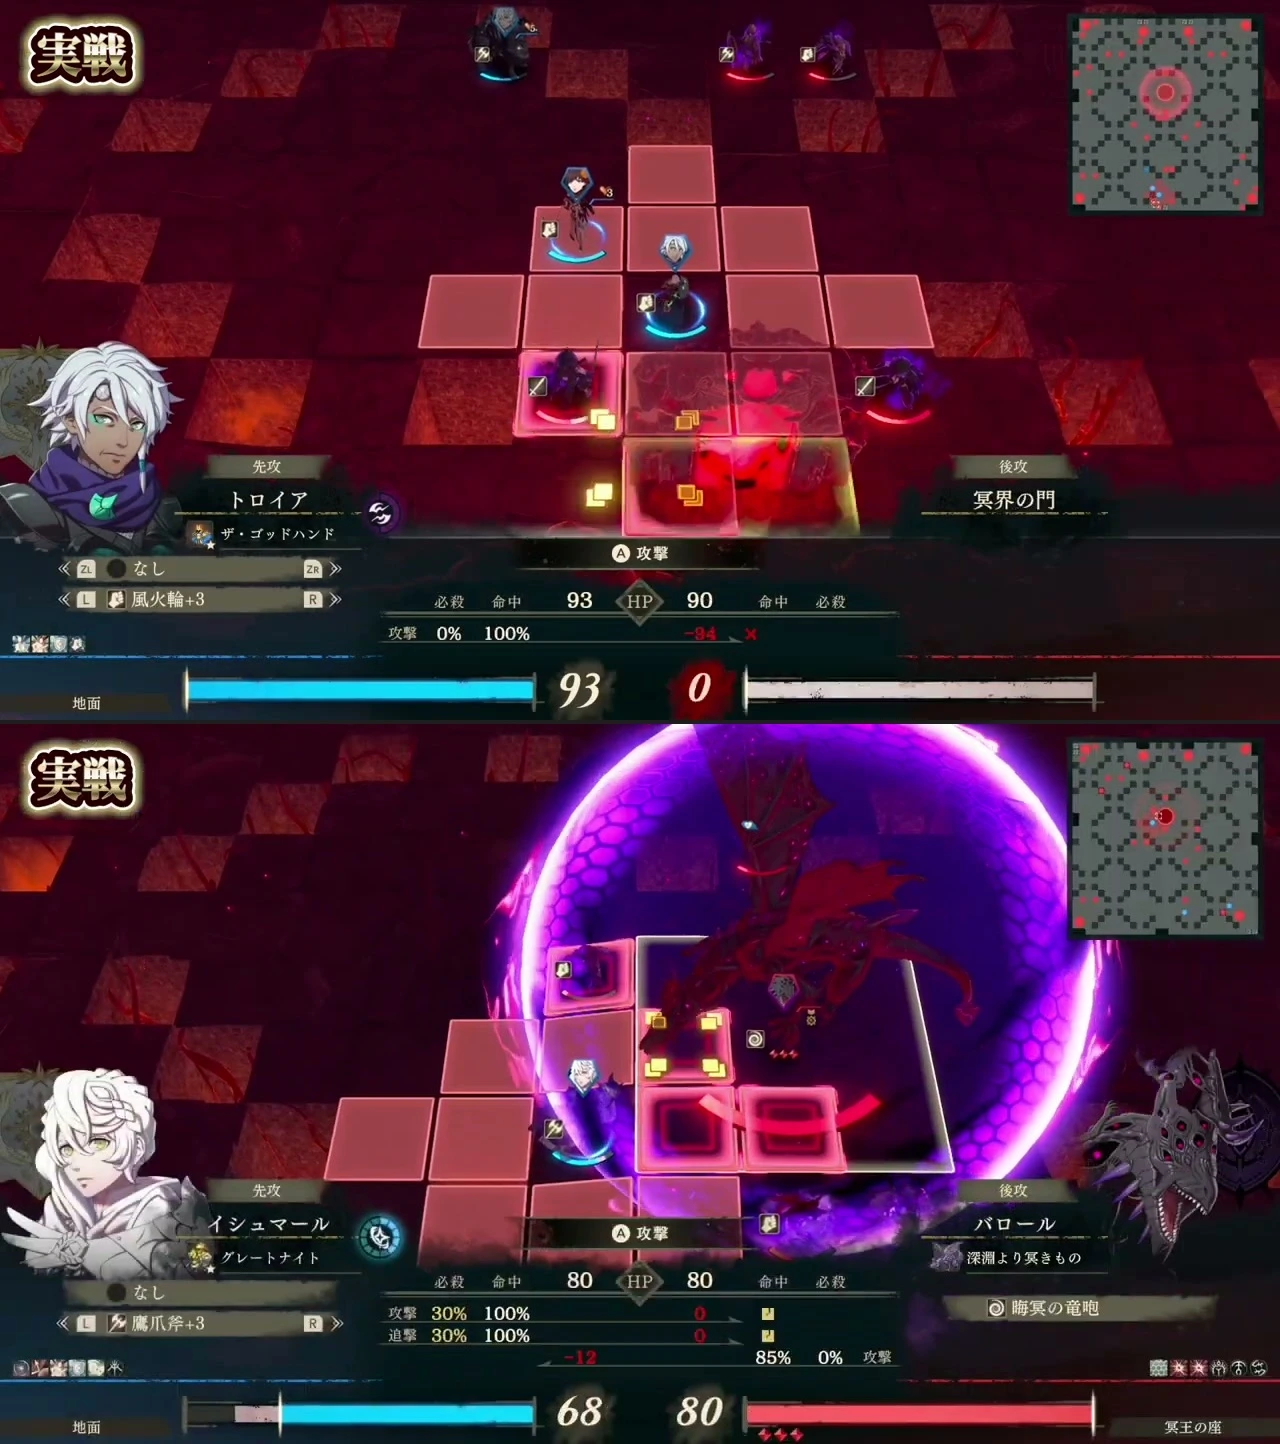
Before acting, assign who breaks a gate this turn, who immediately hits the body, and who clears blockers or heals. Prioritize Wisemen that heal the body or hard-earned damage is restored. Stronger final-phase protection requires reconsidering extra gate breaks or repeated attack windows instead of reusing the previous bar’s damage estimate.
Miasma can also change follow-ups. A recorded battle warns that relevant miasma prevents normal follow-ups. Check tiles and forecasts rather than charging because Attack Speed is sufficient. See boss battles for clearing/phases and Promised One’s story for map progression.
These are mechanics and challenge examples from specific final battles. Three-unit teams, maximum levels, and leaving regional gates intact are preparation conditions for those examples. Plan a standard clear around your own team.