
Boss strategies: the war arc through the final battleMajor spoilers
Remove terrain effects, barriers, and Underworld damage reduction, then fit finishers and heavy damage into the same turn. Battles follow Parts 2 and 3, separating standard strategies, Hard advice, and a three-unit challenge.

If the boss takes no damage, check invincibility, barriers, and damage reduction. Once you can damage HP, follow barrier breaking with heavy attacks that same turn.
Check barriers and events when a boss takes no damage
| Symptom | Find the real cause first | Relevant boss fights | |
|---|---|---|---|
| Your team handles ordinary enemies but cannot damage the boss | Check event invincibility, barriers, and Underworld Boon separately | Part 2 Dagda and Lyrah; Part 3 Balor | |
| You break the barrier but start over next turn | Barrier breaking and heavy damage missed the effective opening | Follow up within the same turn against Lyrah and in the final battle | |
| High stats still cannot win | Healing consumes actions, fliers block routes, or durability runs out | Even the level-99 three-unit challenge lost its first attempt | |
| More enemies keep appearing around the boss | Trigger zones, phase reinforcements, and enemy healing disrupt your tempo | Stabilize reinforcements first, then recover on platforms | |
| You want to copy a Hard one-turn clear | Check loadouts, prerequisites, and every refresh step | The complete low-turn sequence is still unconfirmed |
Boss chapter index
| Order | Battlefield | Bosses and key targets | What to solve first | |
|---|---|---|---|---|
| 1 | The Battle of Klytius Plains |  Creek,  Nathan; Lind, Ianuarius | Receive the advancing cavalry, then progress one group at a time | |
| 2 | Showdown at Agris Stronghold | Lind and Ianuarius; Creek’s recruitment requirements | Artillery and pincer attacks; do not miss Cleansing Blade or prerequisites | |
| 3 | Beyond the Salt Road | Gilchris; Nathan’s recruitment requirements | War elephants, fire zones, allied survival, and the finishing blow | |
| 4 | The Storming of Dagsion | Lind | Flying reinforcements, war elephants, and healer safety | |
| 5 | Divine Emperor Dagda | Dagda, human through dragon form | Event removing invincibility, elevated artillery, and surviving at 1 HP | |
| 6 | The Underworld Incarnate | Lyrah, cocoon form | Enough barrier-breaking actions followed by heavy damage that turn; escape afterward | |
| 7 | The Liberation of Dagsion | Underworld General Dagda, golem reinforcements | Phase changes, healing platforms, and clearing miasma | |
| 8 | True Strength | Breza; Balboa, Ianuarius, and others | Fliers and Greed Miasma | |
| 9 | The Inheritors | Shenlo | Gluttony Miasma drains durability; leave interceptors outside the city | |
| 10 | The Hopes of Monarchs and the People | Hanno, Baozi | Handle vision and accuracy in their separate battles | |
| 11 | Song of the Living | Drake, Mahadu, Cohen, and Maria | Terrain, miasma, joining your two teams, and keeping allies alive | |
| 12 | To the Edge of Twilight | Lyrah | Repositioning after the phase change and Terror Miasma | |
| 13 | Final battle | Balor, then Underworld Pillar | Order the gates, barriers, main attacks, and fire pillars |
Break barriers, deal damage, and heal in the same turn
Decide who breaks the barrier, who damages HP, and who lands the final hit first.
Remove Underworld Boon before attacking. Eshmel’s nearby effect, Cleansing Blade, Leda’s relevant support, and anti-netherfiend spells such as Seraphim suit different teams. Aurora also counters Underworld effects, but requires level 3; choosing level 1 does not grant the full effect.
Check tile effects separately. Clear terrain with Blaze Arts to open safe areas gradually; fliers can avoid some ground problems. Blaze Arts also cost HP, so healing must keep up. Inference: Avoid repeatedly hitting the boss with weak attacks before your main attacker arrives. Arrange terrain clearing, barrier breaking, damage, and healing as a complete action chain. If a step needs an unreliable critical, plan recovery if it fails rather than treating it as guaranteed.
Advancing through War on Hard creates reinforcement pressure. Fall back when necessary and protect healers. Clear already-triggered threats before fighting the boss. Slow down to stabilize the situation, then concentrate damage once an opening appears.
For loadout details, effectiveness, and action rules, see combat formulas, attack order, Blaze Arts, and Blessings.
1. The plains battle
The danger is several enemy groups moving at once, not just the final commander. Chapter 1 requires routing the enemy, so do not apply the later rule of defeating a boss to clear immediately.  Creek and
 Nathan advance early. Receive them near your starting position and use cavalry effectiveness. The southwest guest force should clear nearby enemies before joining the main team, then lure the northeastern groups one at a time.
On Hard, gather the team and protect healing before crossing the next trigger zone. Inference: Let a dependable damage-taker receive the first group while others stay in finishing range. If the healer has not caught up, do not send the protagonist ahead to reveal another group.
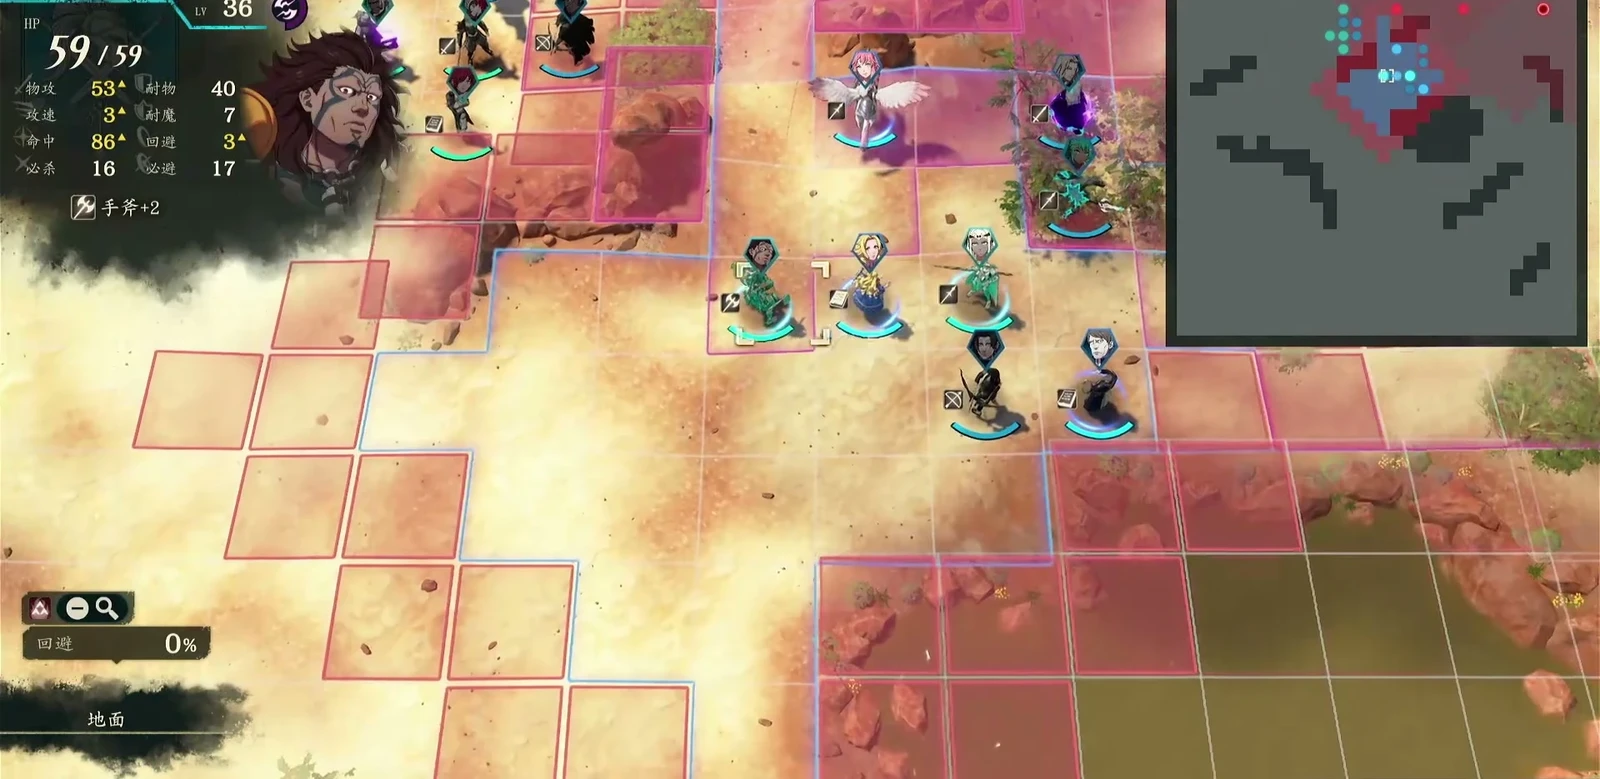
Defeating Creek and Nathan in Chapter 1 does not complete their later recruitment chains. Continue checking Chapters 2 and 3. See the six-chapter war walkthrough for the complete march.
2. Agris Stronghold
Split your forces and suppress artillery instead of crowding everyone down one path to rush kills. Use the central and eastern groups for a pincer, handle artillery and ballistae first, and advance under shrub cover. Defeating the two victory targets is enough; you do not need to rout the map.
Cleansing Blade is worth collecting in Chapter 2. Before finishing, inspect enemy inventories for drops and check loot and recruitment separately from whether you can kill the boss. Inference: If the eastern group lacks damage, finishers, or healing, wait for support from the main force. Blindly forcing a pincer can expose healers to artillery across lanes; attacking from two sides does not prevent damage.
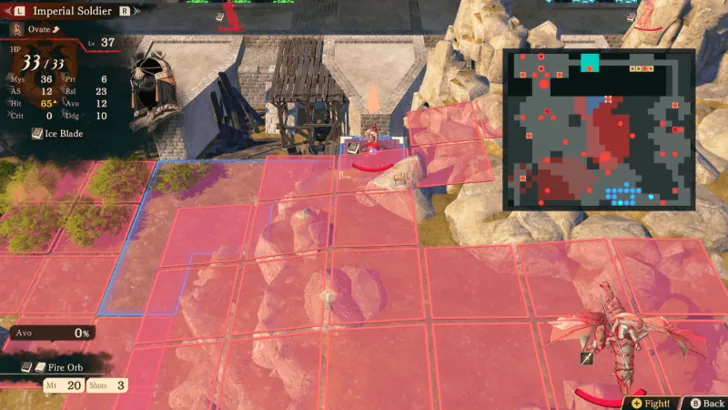
To recruit Creek, complete “My Late Sister’s Accessory” in Dietrich’s or Leda’s Part 1, defeat him in the northwest here, then confirm his arrival next chapter. That quest uses a different check from the two bosses. Clearing the victory targets will not make up for a missed prerequisite.
3. The Salt Road
Handle war elephants and the route before rushing the victory target. Split between the central and eastern bridges. Send the protagonist east toward  Aswan and
 Tahonia, while the center clears the elephant before setting fires. Victory requiring only Gilchris does not mean everyone along the way can be ignored.
Advance in stages here too. Inference: Concentrate your main force on one activated area while the other side organizes healing and allied positions. Cross into the next area once passage is secure. Do not let war elephants, fire zones, and fresh enemies all obstruct your finisher at once.
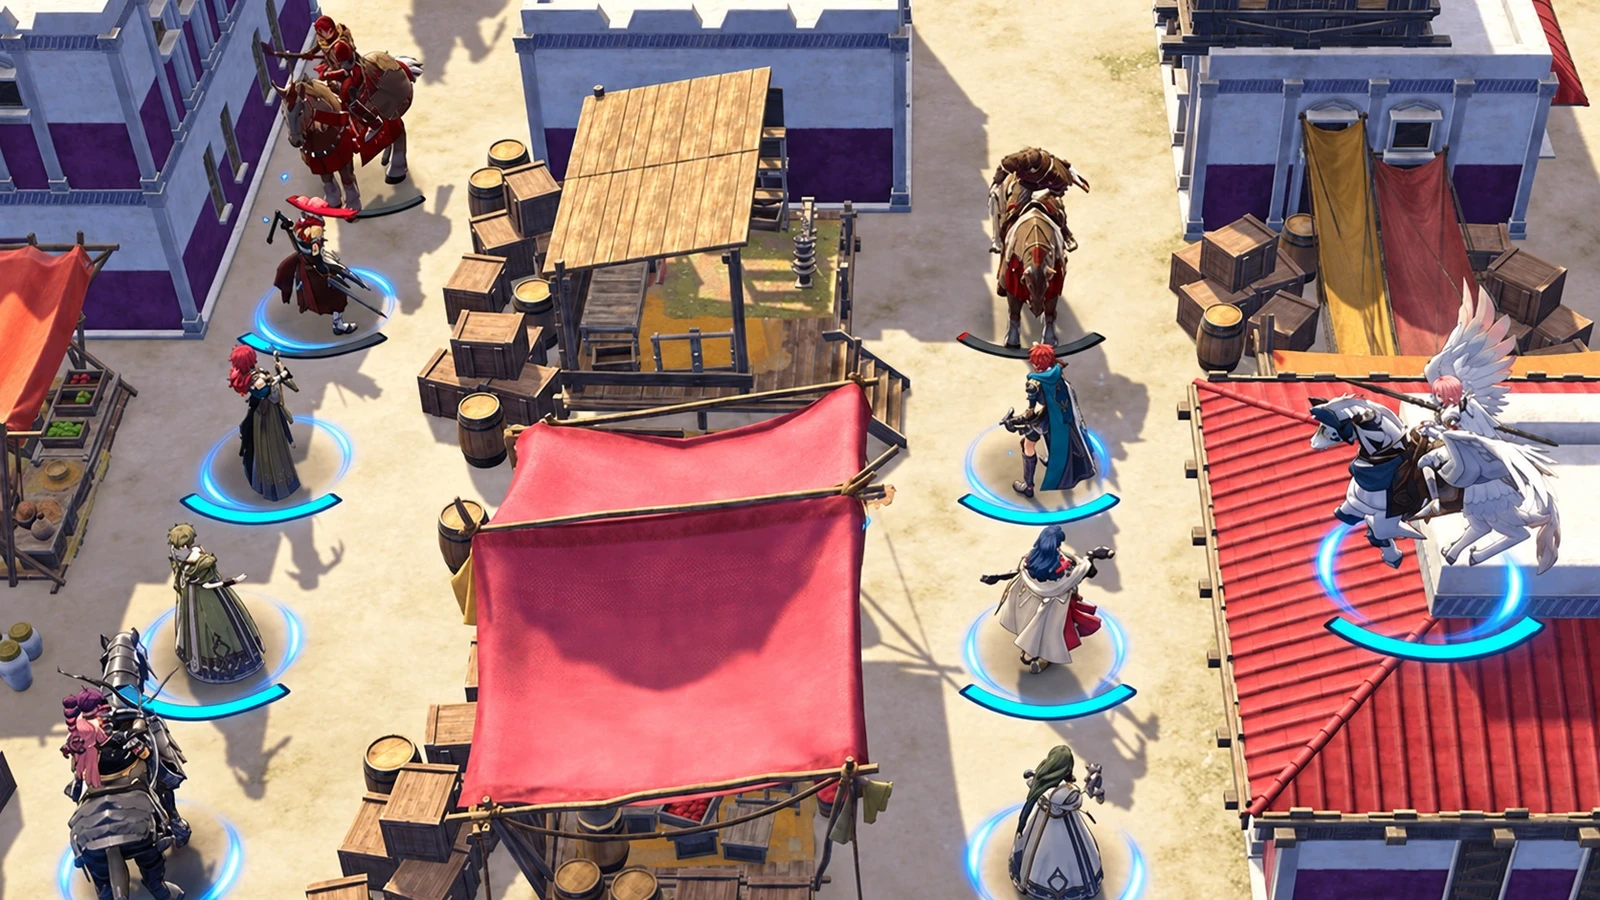
If you want Nathan, leave his finishing blow to a recruited Creek; others can weaken him first. The two allied units must also survive this chapter to join later. Check both conditions before killing the victory target, or a win can still leave gaps in your roster.
4. The storming of Dagsion
The approach to the boss is the main drain on resources. Bring archers to prioritize ranged bird enemies. Use several units against war elephants’ barriers and multiple HP bars. After crossing the bridge, concentrate on the boss. Do not let an open finishing opportunity pass just to clear every regular enemy.
Chapters 4 and 5 put heavy pressure on your durability. Multiple healers and a slow advance help, including  Sofia’s extra healing range. Clear your current area before entering the next so you do not also pull the boss. Inference: Keep an archer’s action for new fliers rather than spending all ranged attacks finishing elephants. If your back line is still in overlapping enemy ranges, heal and retreat first.
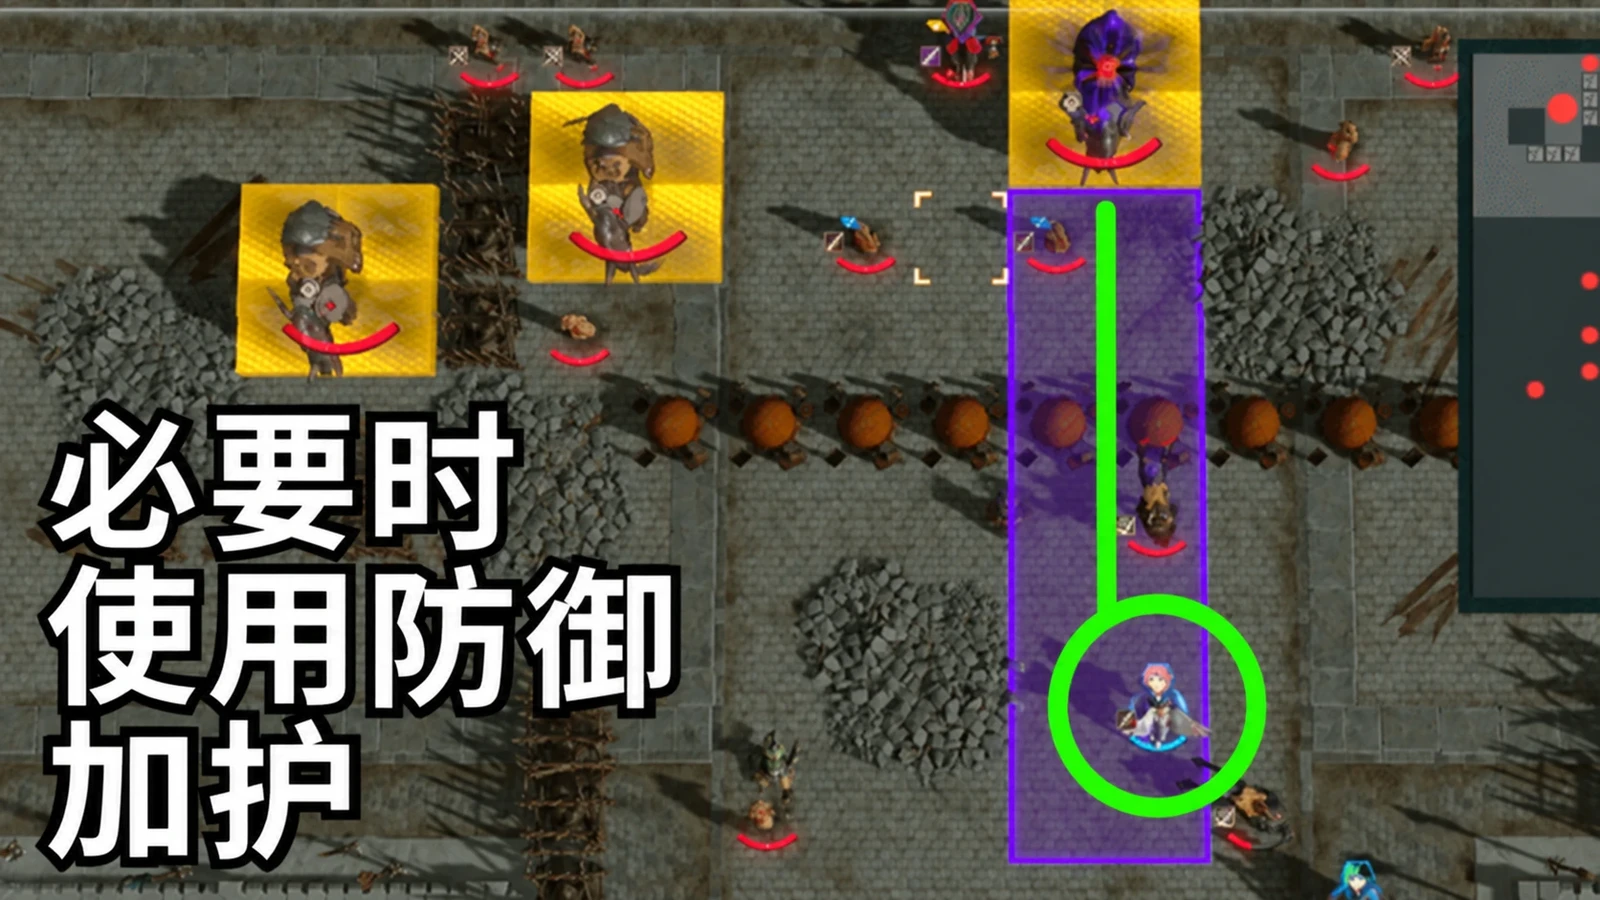
This is also the last full base stop. From Chapter 5, the base is no longer available as usual. After defeating the boss, finish exams, Blessings, and equipment preparations before entering the last two chapters.
5. Divine Emperor Dagda
Event invincibility and surviving at 1 HP
This fight has event-controlled invincibility. Advance from the west and suppress artillery. Attack the dragon form from outside its counter range to trigger the event, then deal damage after the next turn’s event. The boss survives at 1 HP, so reserve a finisher even when the forecast shows an empty HP bar.
For Hard preparation, focus on Kalla’s mobility and Avoid and Aurora’s damage reduction.
Inference: Check the forecast to confirm whether attacks are still ineffective, and let a ranged unit perform the safe event trigger. During the real attack turn, separate the main attacker who can survive a counter from the unit finishing the final 1 HP. If the main attacker would die afterward, fix reduction or positioning first instead of sacrificing the protagonist for one more attack.
Recheck the forecast before changing attack order
Reread abilities and forecasts on entering the boss phase. Levin Sword may deal less damage than expected against the current target. Concentrate attacks when needed, and remove enemy healers if they prevent a finish. Check the forecast again in every phase before choosing Levin Sword.
A common failure is carrying over your approach against earlier armored enemies without checking conditions. Dagda’s high Defense may tempt you to keep using a magic sword even while an event remains unresolved or another phase ability is active. Effectiveness depends on the target’s current type and state. Solve the mechanic before assigning damage.
6. War-arc Lyrah
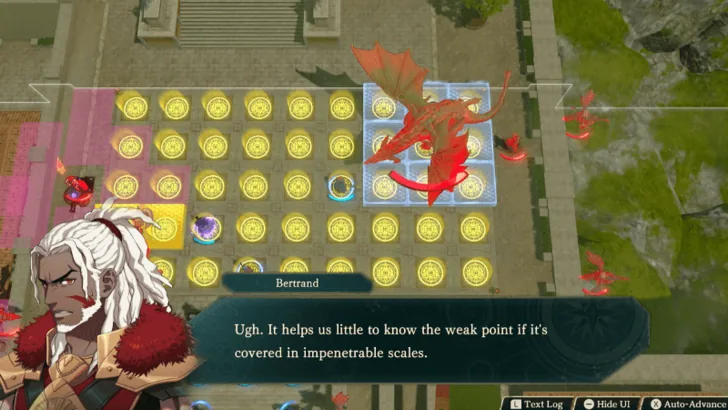
Count your available attacks in this fight. The barrier covers a 3×3 area and can be broken with two attacks, but it returns after combat and the boss also heals. Scattered low-damage attacks are easily erased by recovery. Use ranged support to break it, then immediately follow with your strongest damage. Use the buff formations to stabilize engagements. Keep the same barrier-then-damage order in cocoon form while handling new reinforcements.
Confirm you can survive one attack, then wait for the weakness to appear. Avoid tiles about to be attacked and concentrate damage once you identify the target point. Understand the boss’s actions before exploiting the opening rather than copying only the final attack location.
Inferred attack turn: Get both barrier breakers and main attackers into position. While the barrier stands, use low-damage or long-range units to supply the required hits. Commit heavy damage only once HP can be reduced, then heal the unit taking hits before ending. If only the breakers arrive this turn, regroup using the formation instead of forcing the main attacker to start again against a restored barrier next turn.
Defeating the boss is followed by an escape battle. Send the protagonist to the southern objective while others clear a path. Plan healing on both sides, high-Defense miasma enemies, and Cai’s travel speed in advance. Winning the boss fight and reaching the escape tile require separate preparations.
7. Underworld General Dagda
Standard reunions and small-party routes need different plans
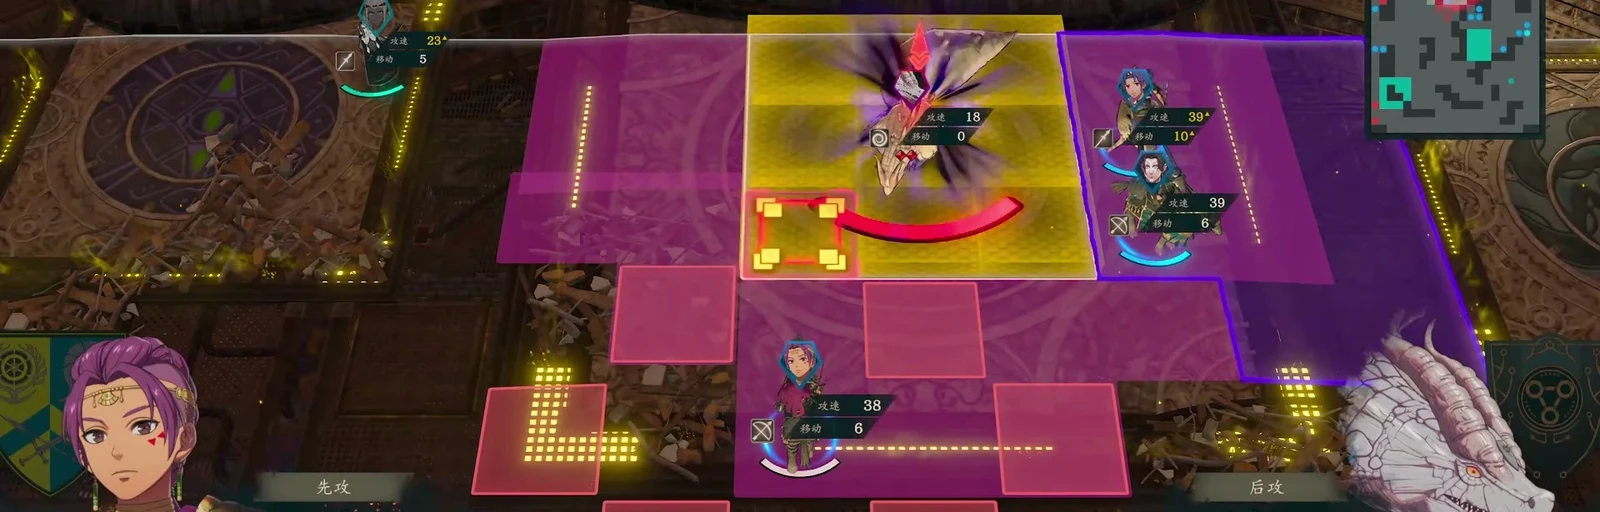
Part 3’s opening is a different battle from Part 2’s Dagda fight. In a standard reunion, protagonists from earlier routes and paralogue companions arrive to help. Use Blaze Arts against the opening enemies and new arrivals. Attack from the south and join the reinforcements after the phase change. The number available depends on completed prerequisites.
With few allies, check the minimap’s healing platforms and block golems at a narrow entrance. Keep Hong Hua out of boss range. Fall back when the boss summons enemies, clear those in front, then use Blaze Arts to remove miasma preventing follow-ups. The solo route still has Eshmel, Troy, and Hong Hua.
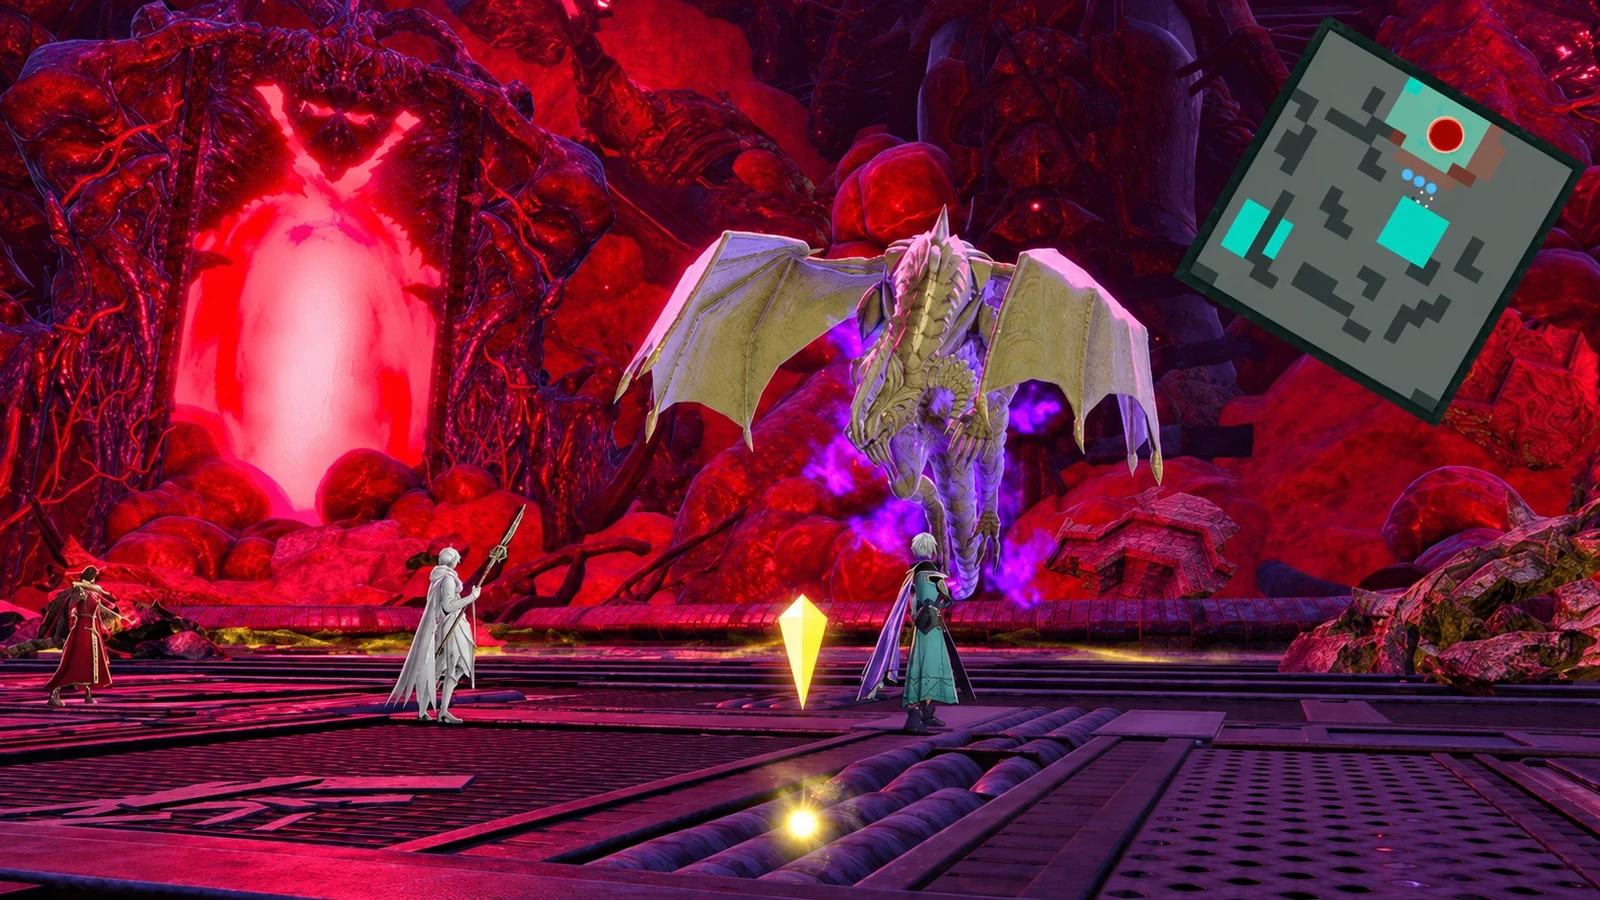
Build the gauge on platforms and clear enemies before breaking barriers
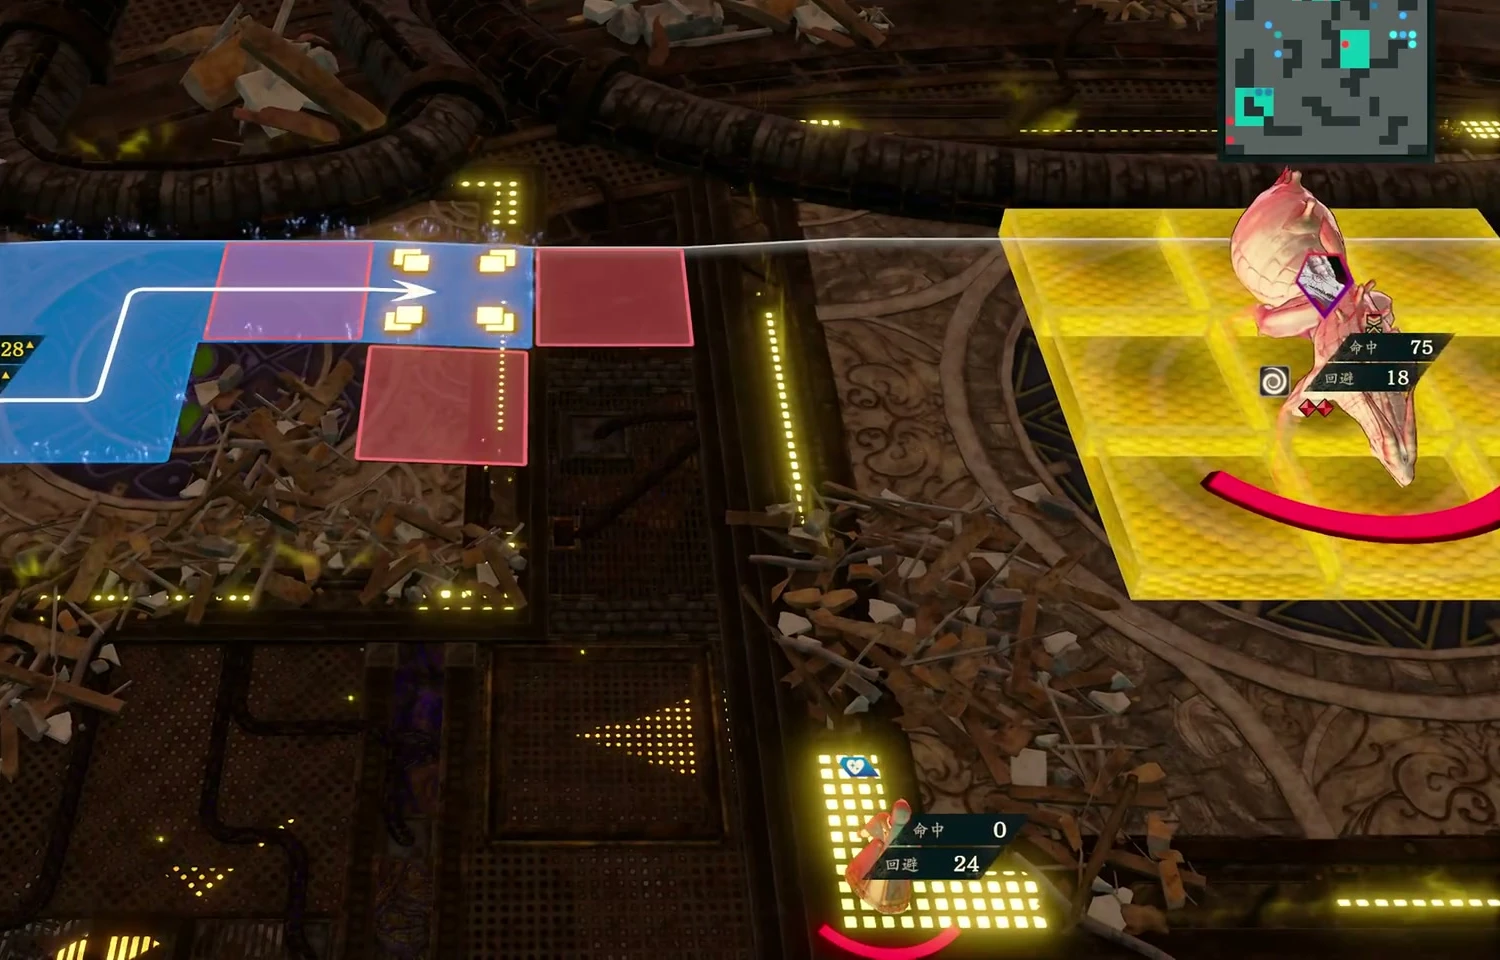
Find the platform first and let the protagonist receive enemies where they can survive current attacks. Do not crowd other units into the boss’s range. Recover and build the gauge on the platform while luring enemies, prioritizing dangerous gauntlet users. If terrain blocks a golem, keep the chokepoint closed so it does not become another threat.
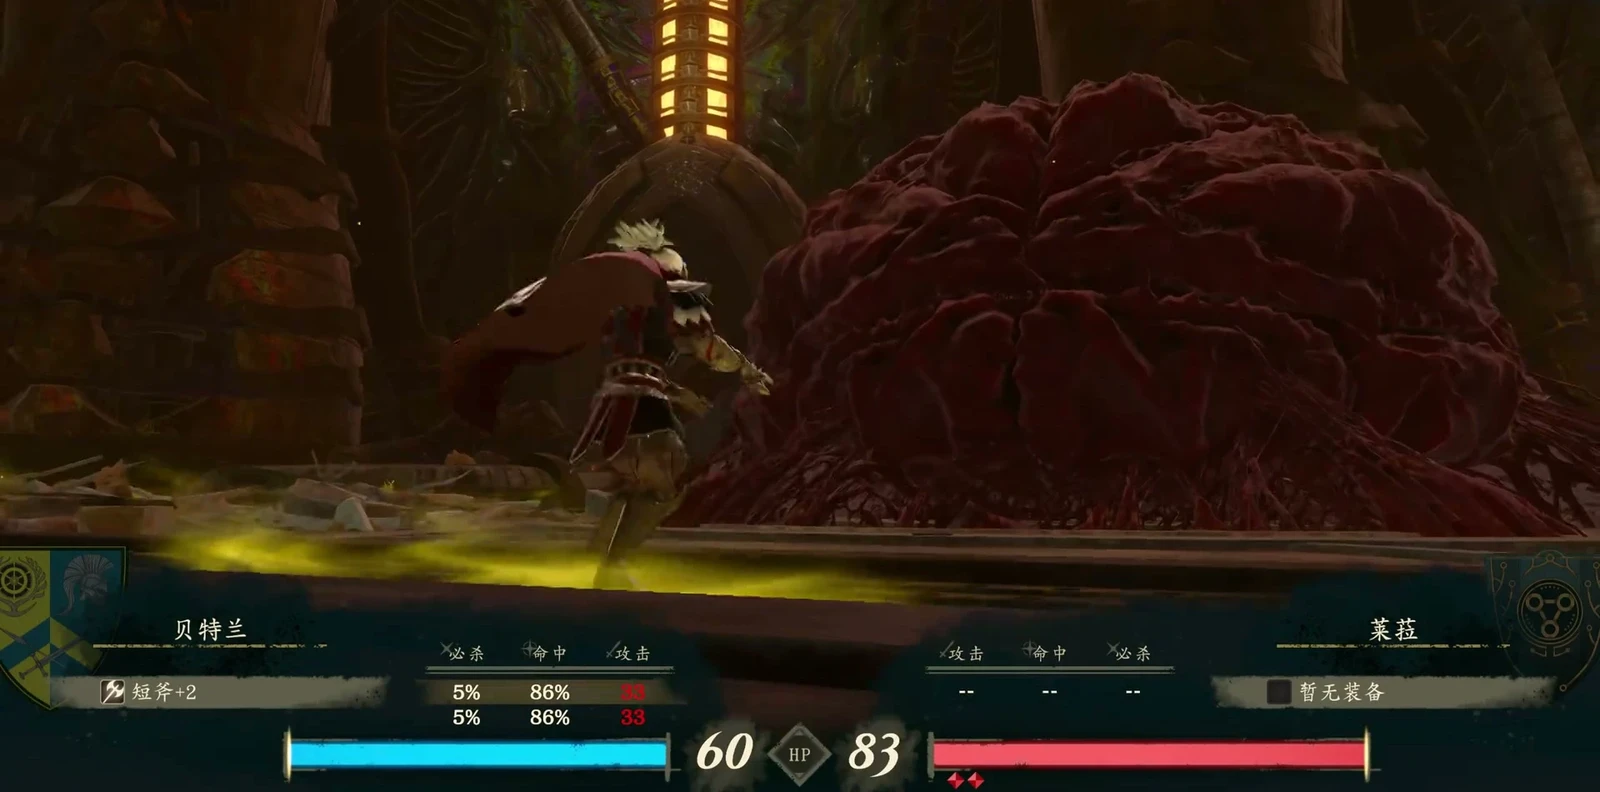
After handling the summoned enemies, plan barrier breaking. Area attacks can remove the barrier. Keep clearing enemies afterward and finish the boss last. If you lack HP for the skill, heal before using the nine-tile area attack. Repeat entrance blocking → platform recovery → barrier breaking → concentrated damage.
Inference: With more strong allies, shorten the wait rather than copying every turn of a twenty-minute sequence. Still check protagonist HP, healer safety, and battlefield miasma. See Fate Reversal for rewind conditions.
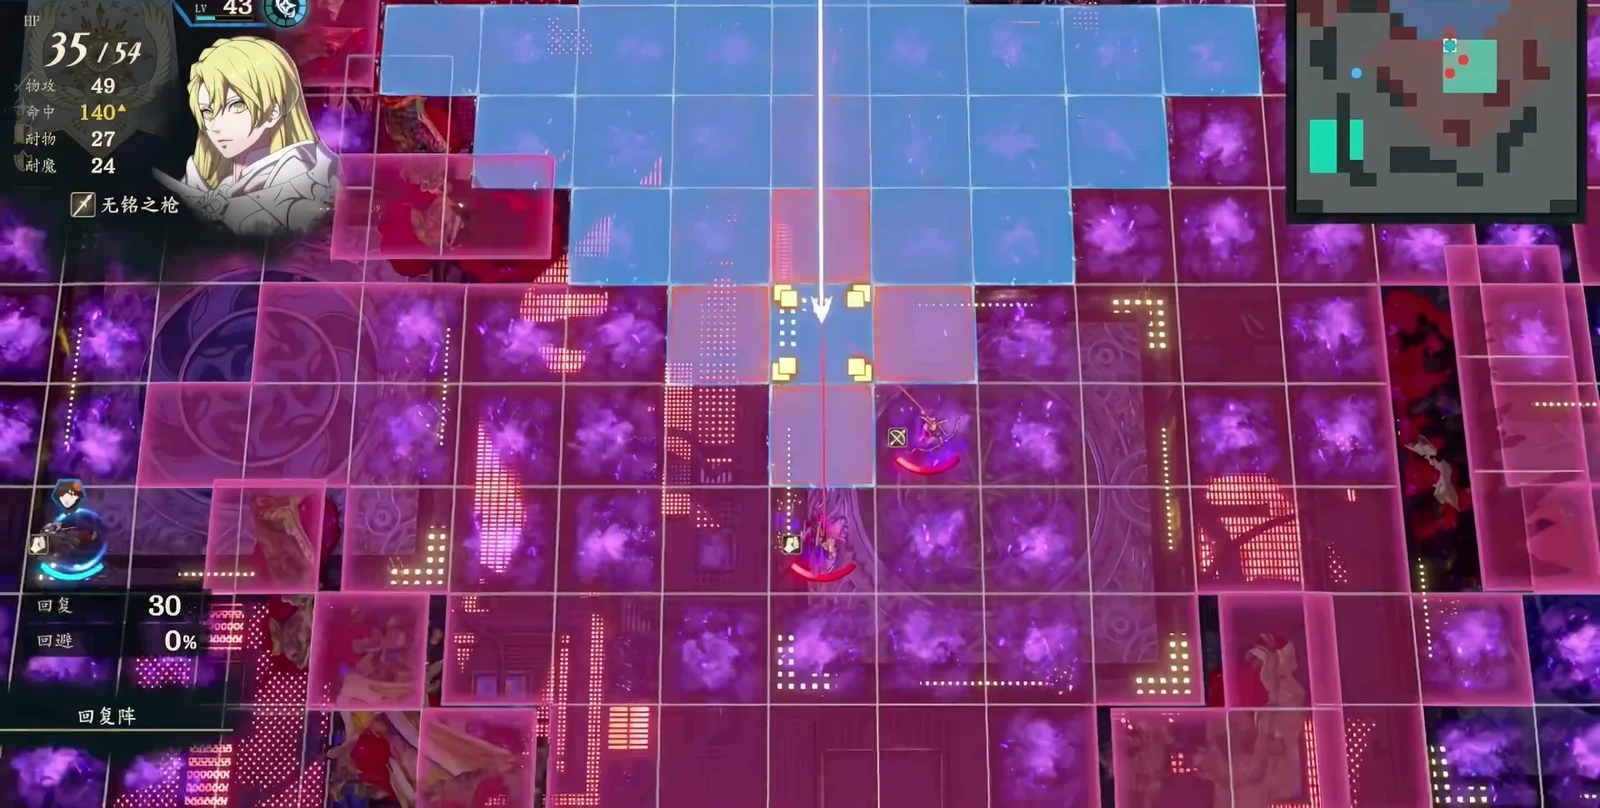
8. True Strength
Before the boss, handle the terrain that strips your tank’s defenses. This section has many fliers, so bring extra bows and prepare terrain clearing and anti-Underworld tools. Target Balboa in the center, Ianuarius at the top, then Breza last.
Standing in Greed Miasma lowers Defense and drains HP at the start of the next player phase. Inference: Even if you can tank on normal ground, clear a position and preserve healing before entering the boss area. Sending one unit to grind down a two-bar lieutenant consumes time other units need for clearing enemies and protecting the protagonist. Get several units into position, then focus the appropriate effective or highly effective attacks.
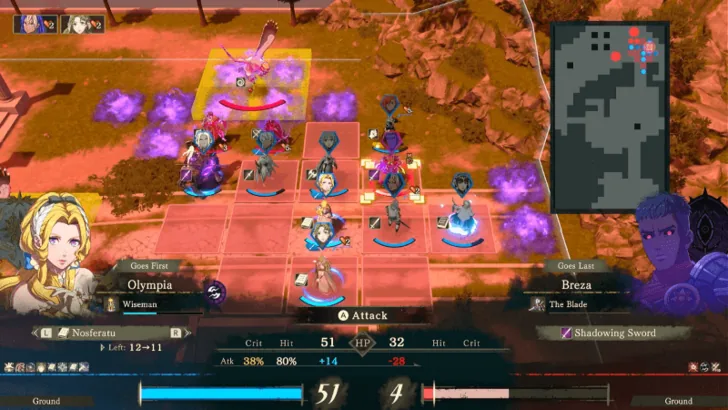
Conditional enemies such as Zenzele and characters from earlier routes may also appear, depending on prior routes and paralogue progress. Breza remains the final story target. Check the drops and survival objectives you need before finishing.
9. The Inheritors
This battle drains weapon durability and magic uses too. Durability-draining miasma appears here. Eshmel can clear it, so advance slowly when necessary and inspect terrain around the boss as well. Counter it by clearing, avoiding it, and preserving sustained damage rather than equipping an expensive weapon and standing there wearing it out.
Inference: Before entering the last area, count your remaining heavy combat arts, heals, and ranged attacks. Full HP across the team is not enough. Clear a path where your main attacker can stand, then bring in units who can damage the boss effectively. Keep archers handling flying threats instead of exposing them to several enemies just to approach the boss.
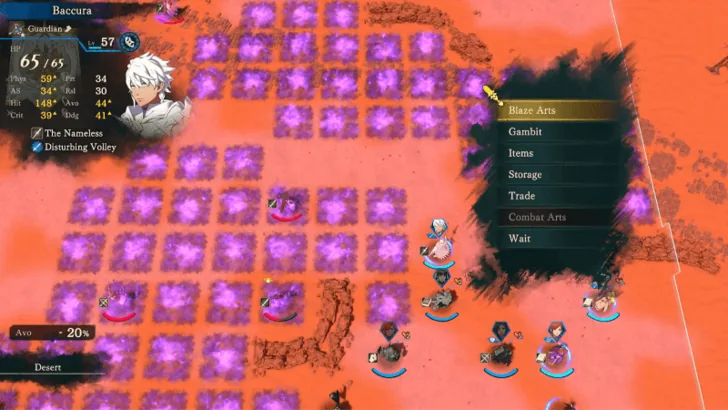
Enemies outside the city are still advancing toward the capital. Leave interceptors while the main team gathers at the gate. Check city defenses after defeating the boss.
10. The Hopes of Monarchs and the People
Secure vision before approaching Hanno
When vision narrows, advance southeast. Use Credna for vision or Blaze Arts to clear terrain when needed. Bring support teams onto the same tile before deploying. Check the current screen for the deployment count.
This section has many Hit penalties, so advance slowly. Inference: Lead scouting with someone durable who can reveal enemies and has healing coverage. Do not use low-Resistance ranged units as scouts. If uncertain, clear visible enemies before extending the safe area.
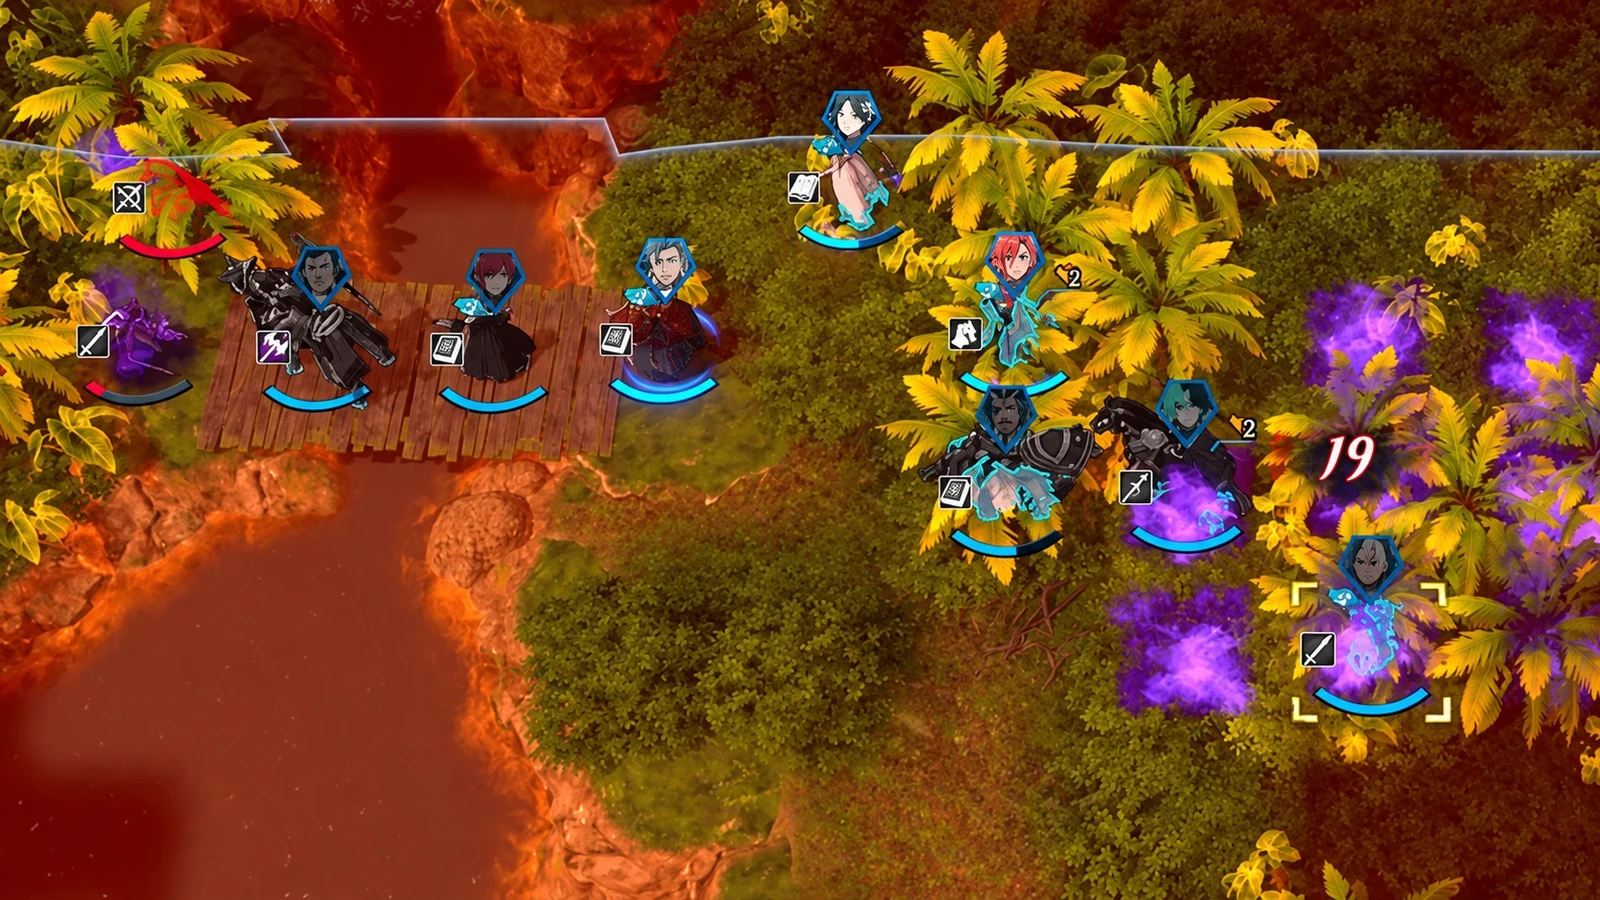
Cut off Baozi’s ranged healing first
Remove ranged healers from the northeast before attacking Baozi. Arrogance Miasma penalizes Hit against lower-level targets. Raising your main units’ levels without checking tiles can still lead to repeated misses.
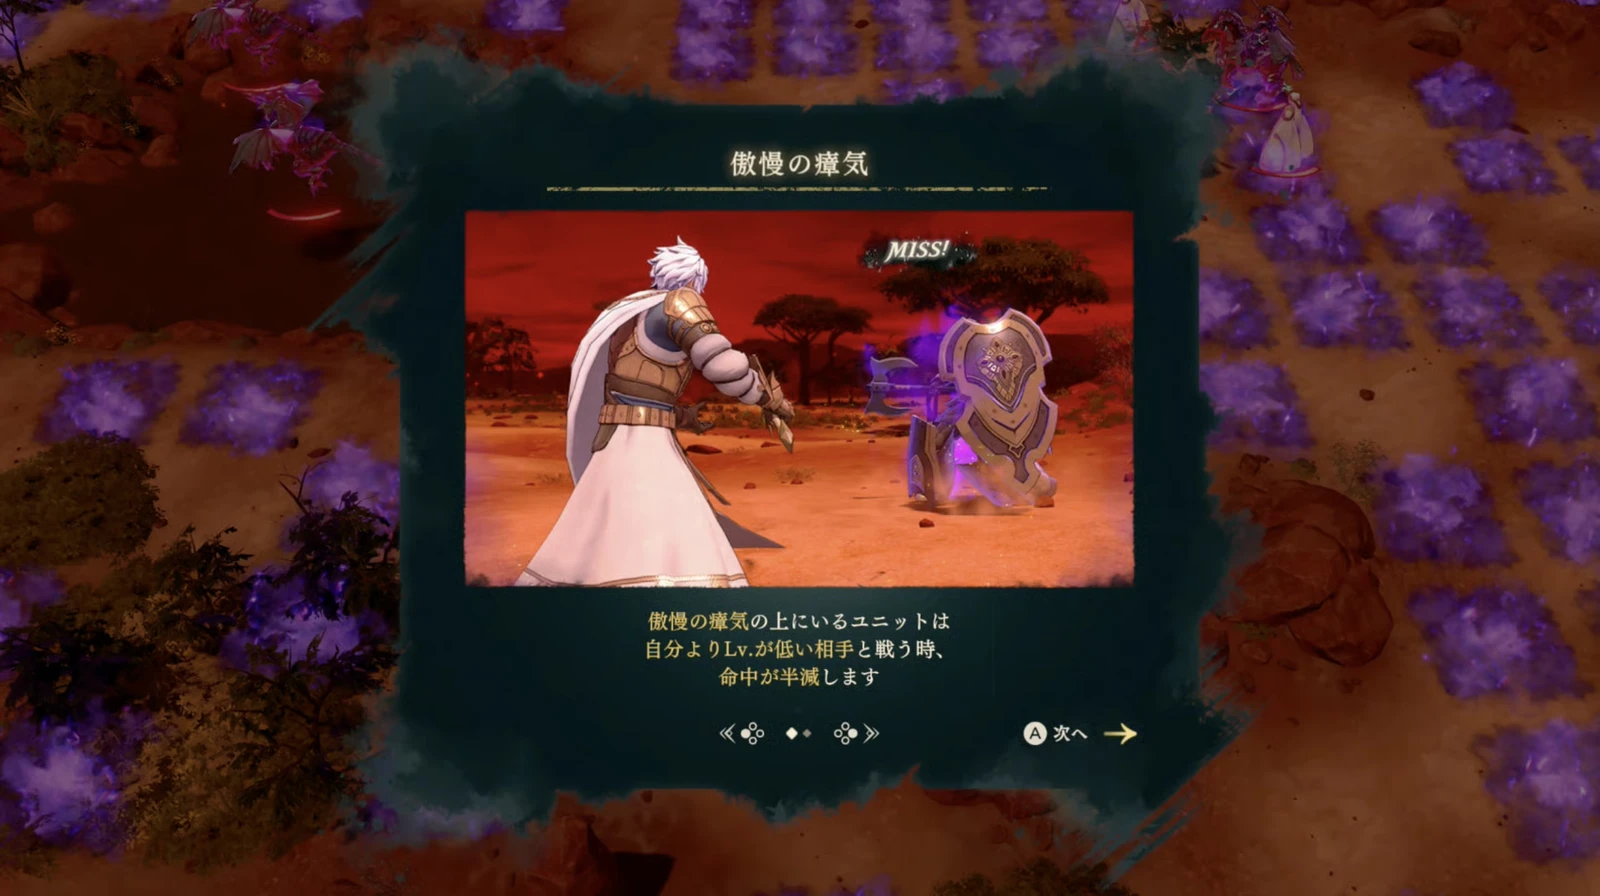
Inference: Assign kills using the current forecast, rather than treating a higher level as guaranteed accuracy. If the boss keeps healing, check whether enemy healers are alive. If each turn falls one hit short, reserve a finisher instead of having all support units wait. Complete both gates to finish this stage’s objectives.
11. Song of the Living
Consider dismounting in Drake’s desert battle
Reunite expedition teams before Hard gate battles so a weak group does not fight alone. In Death Valley, desert slows cavalry. Dismount when needed and use battlefield treasures against the relevant miasma.
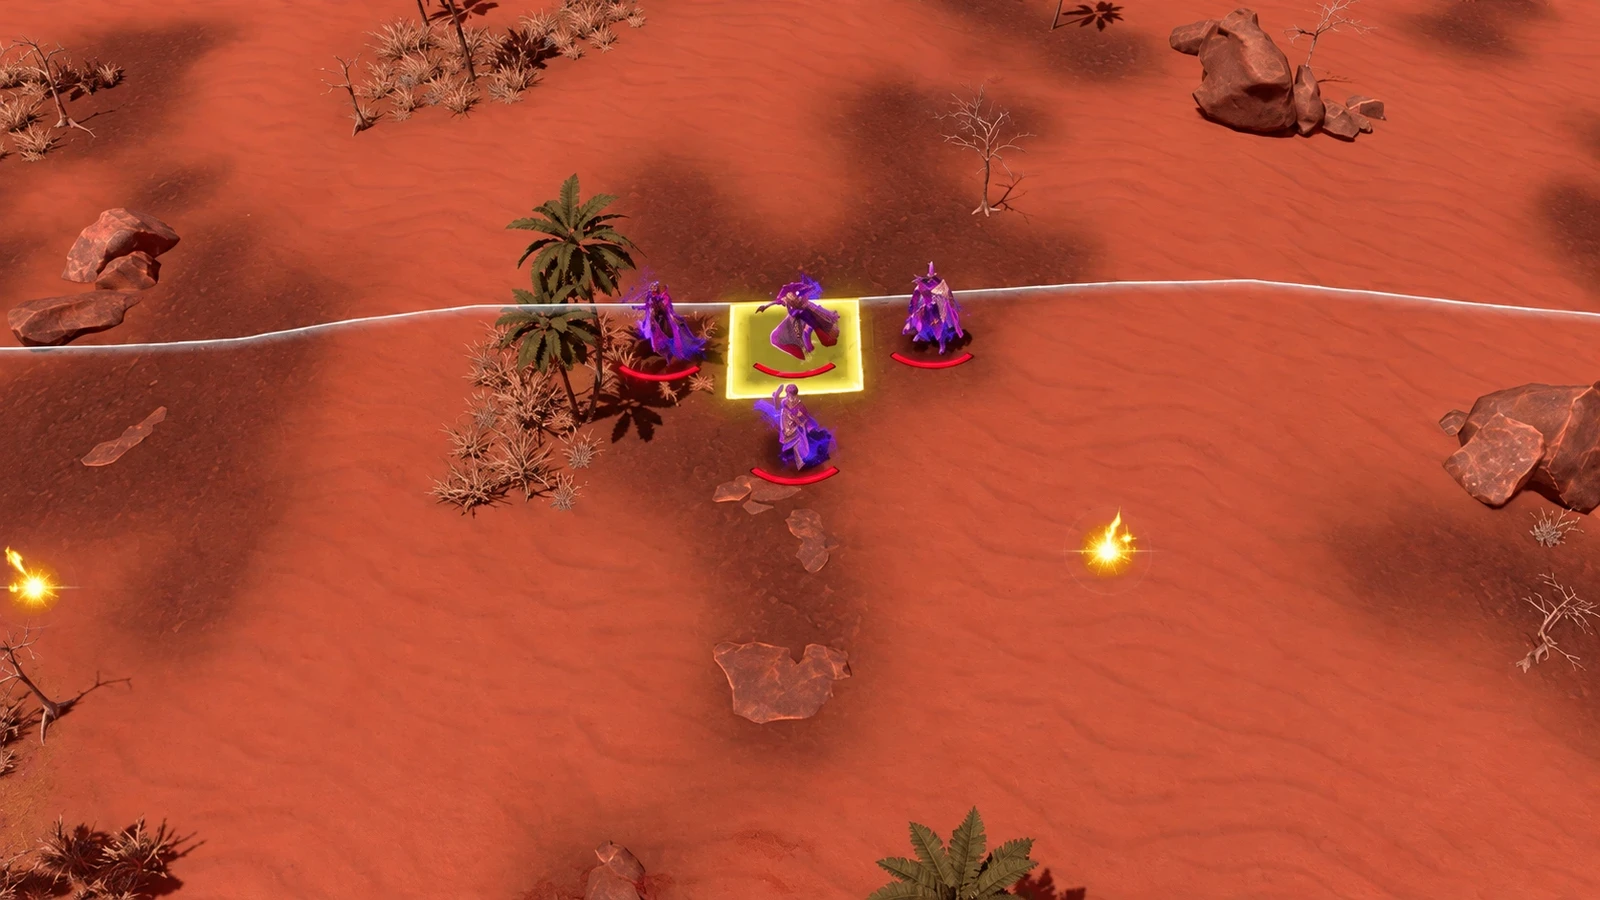
Inference: Test movement range on the actual terrain before assigning finishers and rescuers. Normally mobile cavalry may not reach their destination in sand. World-map mobility does not translate directly to tactical movement. Equip the appropriate countermeasures before your frontliner takes repeated engagements; an Avoid Blessing does not let you ignore terrain.
Mahadu’s critical bonus has a defensive cost
This section’s critical miasma can cause one-hit deaths. High-Avoid units can use Wrath Miasma, but it lowers Defense, and allied  Klapka must survive until the stage ends to join later. Units without enough Avoid should stay clear.
Inference: Check who enemies can reach before deciding to use the miasma. Avoid it if current evasion is not near reliable or several enemies can attack in succession. In particular, a physical tank should not copy an evasive main attacker’s position. Keeping allies alive comes before a little more Critical. Keep actions available on healers and units who can break them out of danger.
Check both Cohen and Maria
Victory requires defeating Cohen and  Maria, so do not assume the battle is over after the first boss falls. Reunite the two teams before deployment, then split toward the southeast, watching miasma that changes with turns. Inference: Recheck the ground before moving each turn. A clear tile last turn may not be safe now. Both lanes need healing and terrain clearing within reach.
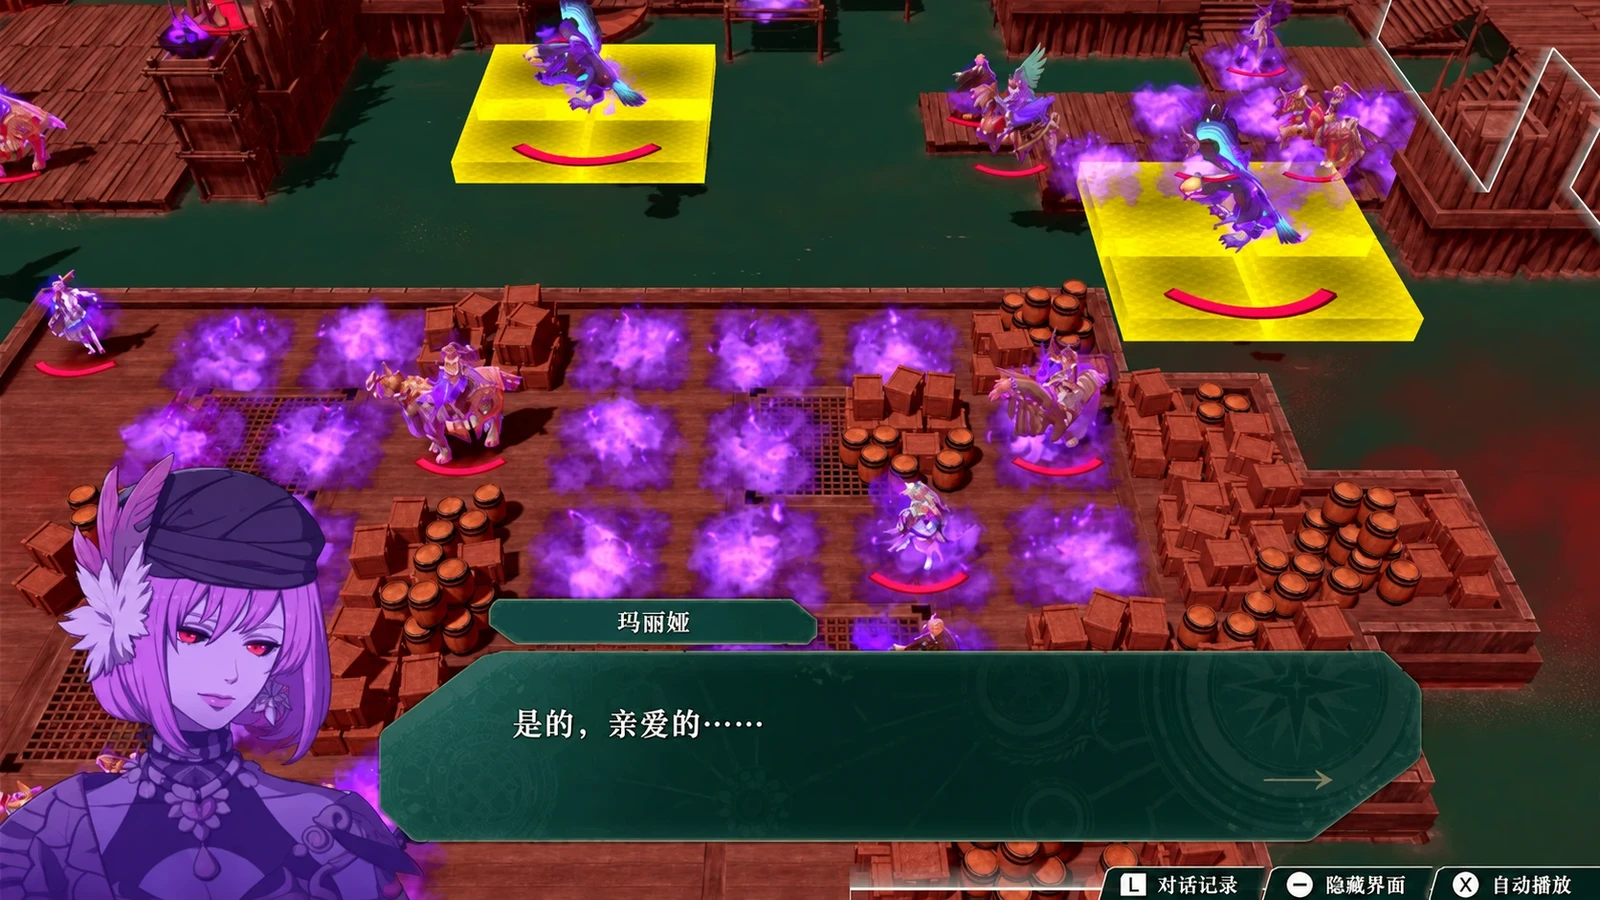
Other conditional lieutenants and earlier-route characters may appear. Check their enemy status when encountered. For recruits and the three-gate march, see the Salvation walkthrough.
12. Endgame Lyrah
This is different from Part 2’s buff-formation barrier fight. Use Blaze Arts to break the monster-form barrier first. Once it falls, the boss relocates and summons reinforcements. Terror Miasma spreads after several turns and affects your actions. Do not blindly reuse Part 2’s plan of waiting on a formation to recover and slowly break the barrier.
Inference: Position pursuit, healing, and terrain-clearing units before ending the first phase, then follow the target with your main attacker. If enemies near the boss create greater battlefield pressure, remove those blockers first without aiming for a full-map rout.
After this fight, entering Balor’s temple prevents a return to town. Repair weapons, merge your main units, and prepare healing and ranged options before entering. The final battle is not a test fight where you can temporarily return to town to change equipment.
13. Balor
Separate gate breaking, barriers, and attacks on the boss
Coordinate gate breakers and boss attackers within the same turn. Breaking one battlefield gate allows 50% damage; two allow 100%. The boss regenerates its barrier after losing each HP bar. Breaking every gate before your main attacker acts therefore wastes later openings.
In one recorded run with main units around levels 65–70, roughly 4 units removed the barrier with one gate broken, then 2–4 main attackers removed an HP bar. With that action budget, you can leave one gate for the next turn unless it is about to disappear or two gates are needed for enough damage. Calculate one turn from your own team’s current forecasts before applying this.
Choose high-damage main attackers, use fliers for gates, and bring healers and extra actions with the team. Skipping gate destruction on the world map makes the final battle stronger. Leaving a battlefield gate is a timing choice; leaving world-map gates is a challenge choice.
Track gate changes and fire pillars separately
The recorded fight has battlefield gates change every 3 turns, while fog and fire pillars cycle every 4 turns. Fog and flame warnings appear at the end of turn 2, and fire pillars land at the end of turn 3; this repeats on turns 6 and 7. Roughly two turns after the pillars give you room to organize damage. You do not need to stand in a marked area for one extra hit.
- 1Check the battlefield:Read fire-pillar warnings, move units off impact tiles in advance, then check new gate positions.
- 2Break a gate and follow with damage:Have the gate team clear blockers and break a gate. Unspent main attackers then handle the barrier and HP segment.
- 3Recalculate each new HP segment:Reread abilities and damage after a transition to confirm that one broken gate still permits a clear.
- 4Heal and prepare refreshes:Restore HP for both groups and save next turn’s refreshes for those who actually need more movement.
Three-unit challenge against empowered Balor on Normal Classic
This challenge has specific prerequisites and is not directly a Hard strategy. None of the four heroes join, world-map gates remain intact, and three units are trained to level 99 with high proficiencies before fighting the empowered boss. The mode is Normal Classic, and training uses Normal’s rule of retaining experience after defeat. The solo route still includes  Eshmel,
 Troy, and
 Hong Hua, not one unit.
Self-healing on all three units frees actions for mechanics
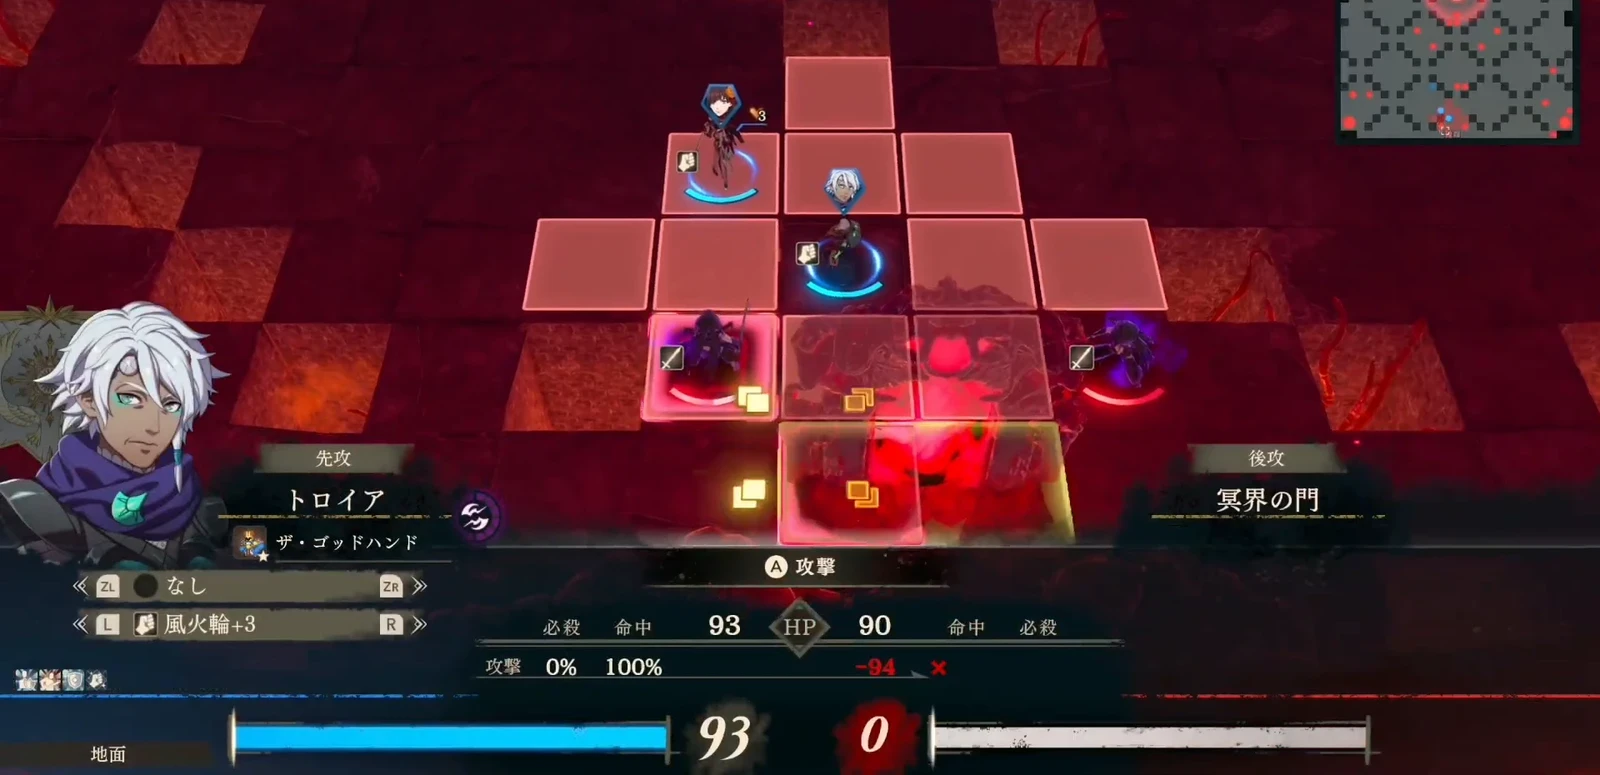
The opening setup uses  Great Knight Eshmel with armored-type attack healing and damage reduction,
 The Godhand Troy, and
 The Avatar Hong Hua. The latter two initially rely on critical healing, with stat items held in reserve. Every action matters with three units. Healing while attacking avoids dedicating one person to healing everyone else for long stretches.
Problems appear quickly. Troy’s forecast Critical is very low, making critical-dependent healing unreliable. Having Hong Hua heal instead costs a gate-breaking or damage action. Total stats look high, but the action budget is already falling short.
Levels cannot replace a clear route and enough durability
The first plan sends two allies to break gates while Eshmel attacks, but the opening after a gate breaks is short. Fliers keep blocking the path, and melee options do not match flying targets. Clearing, healing, and reaching gates consume the actions intended for the boss. Weapon durability also runs out. The attempt ends in defeat after about 49 minutes.
The initial setup has four gaps: Troy’s unreliable self-healing, no magic to clear armor, gate breakers arriving late, and no opening when the main attacker arrives. Inference: A normal team should learn to add dependable healing or path clearing before copying level 99.
Revise roles before revising the opening
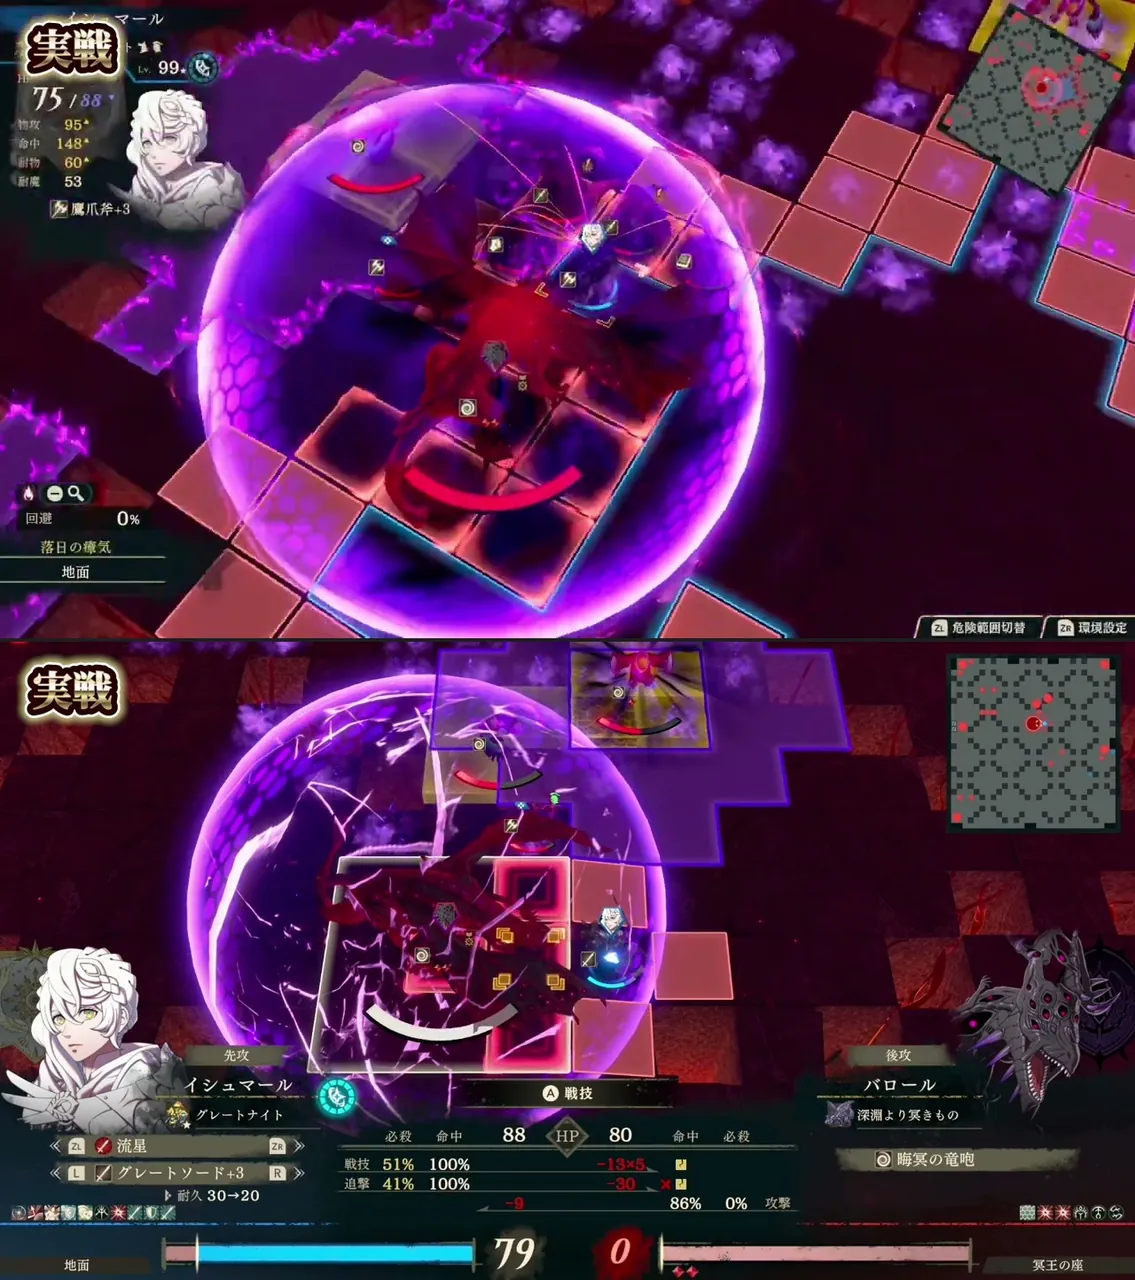
The second attempt makes three changes first: use stat items, give Eshmel Levin Sword for magic damage, and change Troy to healing on kills while moving the critical-healing accessory to someone better able to use it. Warp Eshmel near the boss early and use the magic weapon to clear low-Resistance armor. The aim is to have him ready to attack the boss as soon as the first gate breaks.
After the changes, self-healing is more reliable and the magic sword clears armor quickly. Warp positions the main attacker early.
Long-range gate breaking still leaves critical-hit checks
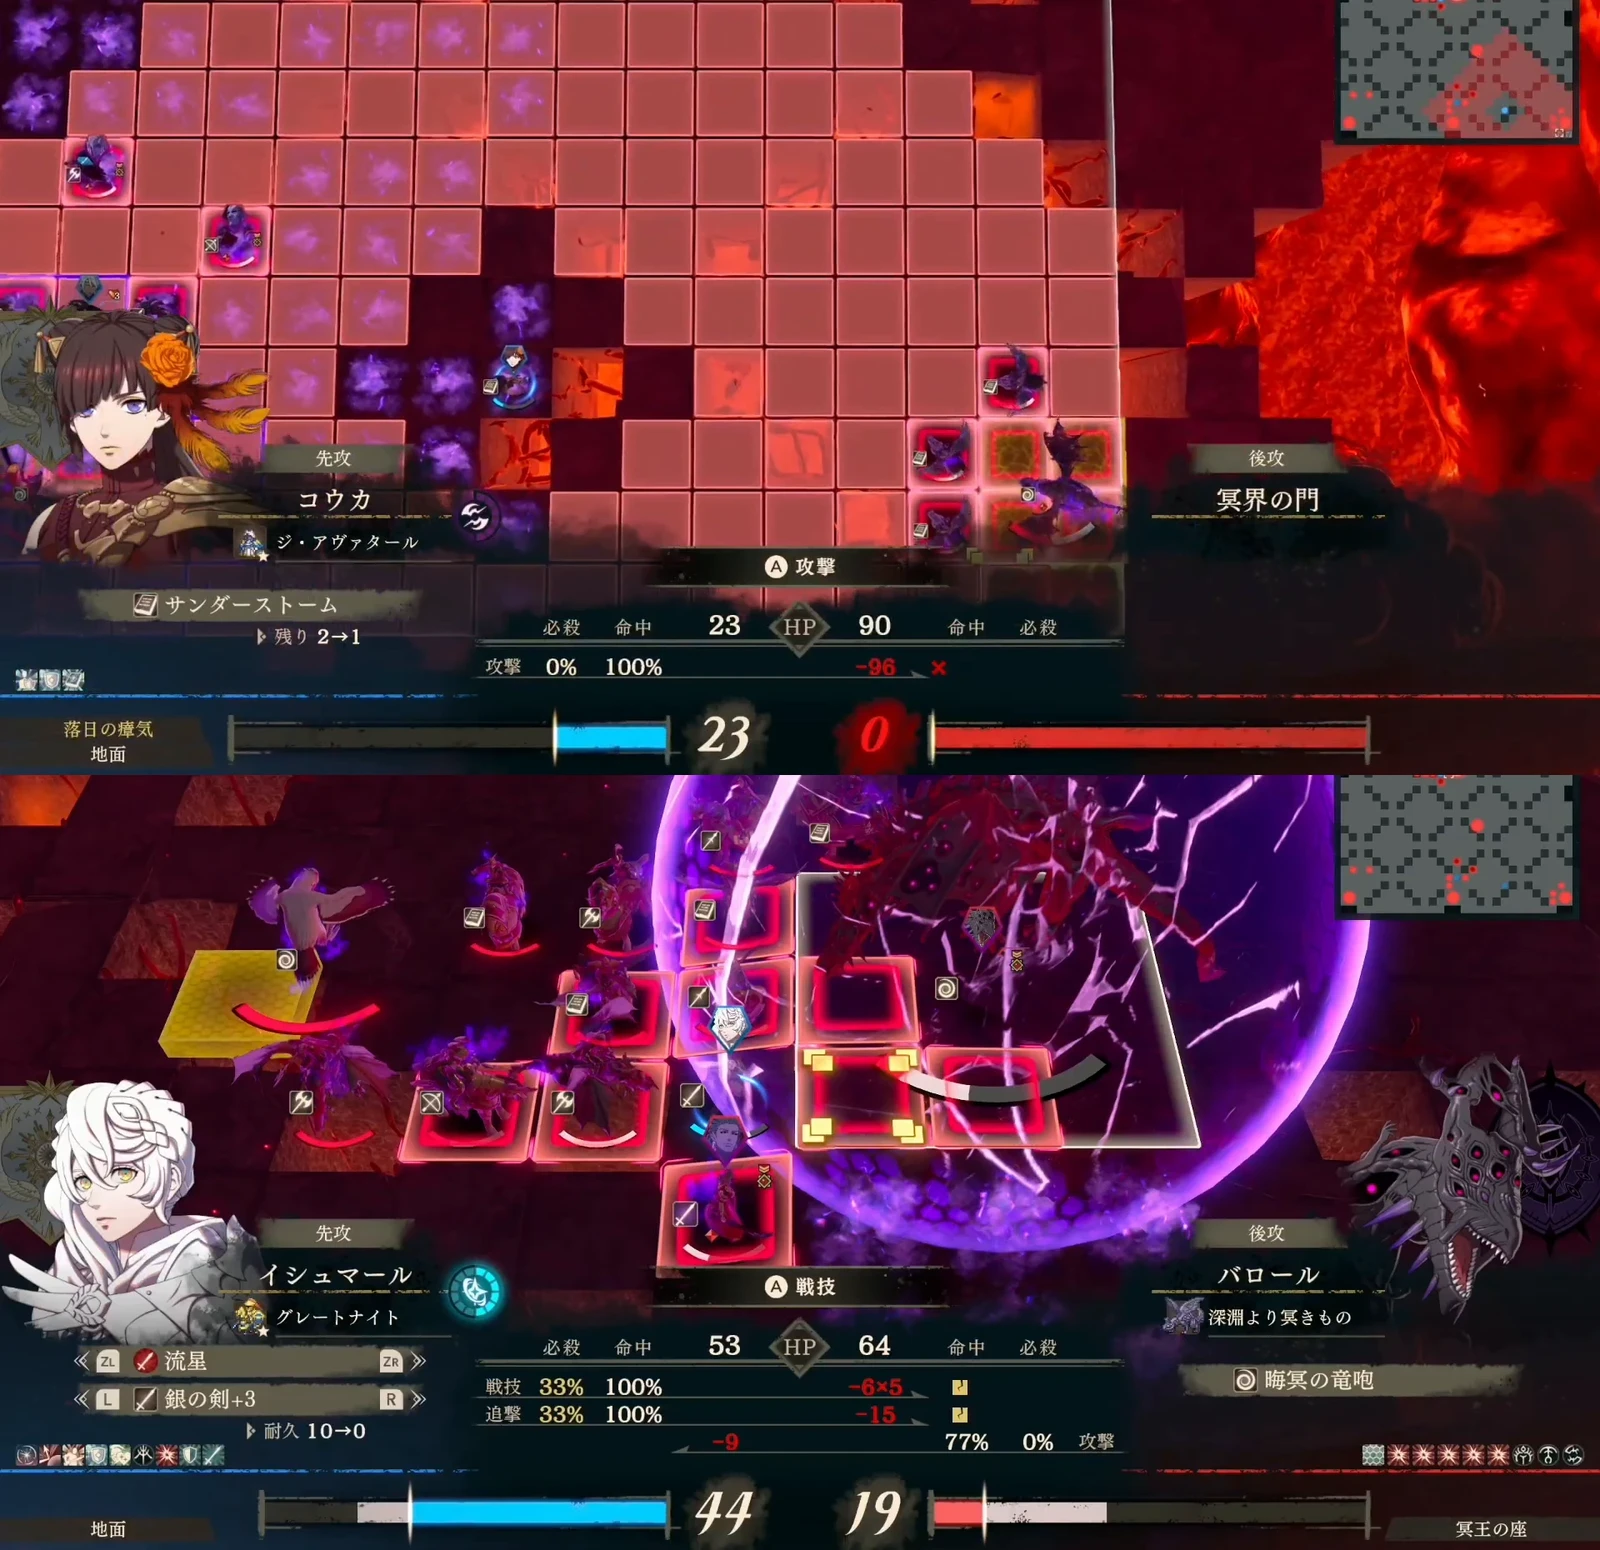
The boss continues strengthening, and changes to HP and damage reduction invalidate the old damage budget. After rewinding to adjust positions and healing order, Hong Hua’s Bolting reaches the gate by exactly one tile. Eshmel finishes with a multi-hit attack, but this turn requires two criticals.
The final turn still requires two criticals. Reuse the sequence of ranged gate breaking → main attack in the same turn → damage reassessment after the phase change. Hard has different training and rewind conditions.
Advance in stages against Hard bosses
Advance in stages on Hard and protect healers when falling back. The empowered Balor example above is Normal Classic.
Check recruitment and drops before winning
Check required recruitment finishers, allied survival, and drops before landing the winning blow.
War’s Nathan chain, Aswan and Tahonia, and Salvation’s Klapka have different requirements; defeating the boss does not automatically complete them. After final Balor falls, continue through the Underworld Pillar and story objectives.
If you still cannot deal damage, check in this order: event invincibility → intact barrier → Underworld reduction → tiles draining Hit or durability → whether your main attacker can still act → extra abilities in the next HP segment. Do not restart an entire part before identifying the cause. See Fate Reversal for the separate costs of rewinding and restarting chapters, and the Salvation guide for the full progression.