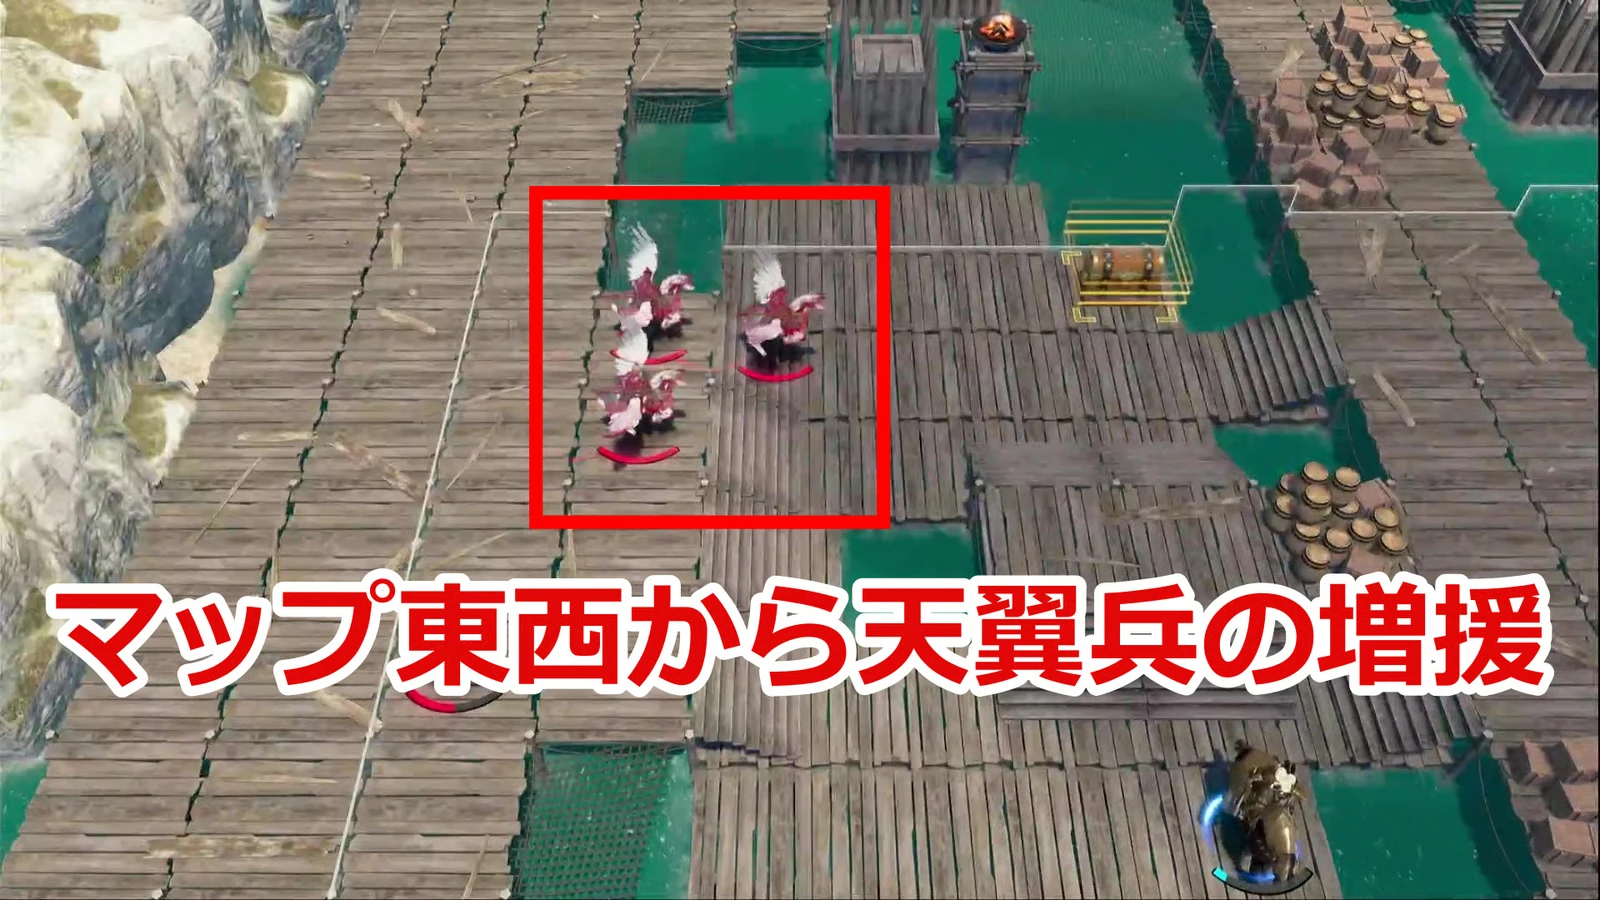
Cai Part 1 walkthrough: Chapters 1–12 and four paraloguesMinor spoilers
Get Levin Sword in Chapter 7 for magic damage and complete four timed paralogues in Chapters 10–11. In the finale, remove the central barrier, then use Underworld flames and Aurora’s Blessing against Bertrand.

Prioritize the four timed paralogues in Chapters 10–11. If stuck, add healing and magic damage instead of making Cai tank everything.
Set your team and note four key deadlines
If Chapter 7 stalls, add healing and the Levin Sword. If Bertrand walls you in Chapter 12, switch to magic damage. Cai does not need to endure every counterattack. Centurio’s Chapter 7 instruction awards  Levin Sword. For the final chapter, reserve Divine Sand for Aurora's Blessing to give the frontline one turn of halved physical damage when engaging.
 Cai clears paths and deals area damage,
 Tialla stays in healing reach of him, and
 Peter finishes from behind. Once
 Guzran joins in Chapter 3, let him and Cai each receive a nearby group instead of putting all incoming damage on the protagonist. Blaze Arts spend your own HP, so preserve healing after clearing enemies.
| Chapters | Priorities | Easily missed rewards |
|---|---|---|
| 3–4 | Return the hair clip and recruit  Guzran; negotiate with  Yang Jie at Renown 3 and Bond Level 2 | Chapter 3 has 32 turns and Chapter 4 has 24; handle city tutorials and Requests first |
| 5–7 | Exams, mount capture, daily care, saving crop seeds, buying and reporting the Special Axle | Chapter 7’s waystation travel and classes unlocked by instruction |
| 8–9 | Move main units into Specialty classes, retain both bows and magic, and hold the bridge in fog | Chapter 9 has only 32 turns; finish the city investigation first |
| 10 | Accept  Bertrand and  Talimun on 9/17;  Anna on 9/24 | Recruitment prerequisites for  Peppe and  Ursula, plus the nighttime secret shop |
| 11 | Accept  Orchel on 10/18, leave immediately, and finish by 10/21 |  Healing Staff and  Diego’s prerequisite; only 28 turns total |
| 12 | Finish normal recruitment, upgrade special weapons, and put them in character inventories | Storage and blacksmith upgrades are unavailable during Part 2 |
Accepting a paralogue still leaves travel and battle to complete. After winning, negotiate with the recruit themselves. Visit out-of-town story objectives in person too: choose to continue moving or wait, and leave only after a green check appears. Canceling with B does not register the visit.
Free-time schedule · Certification exams · Blaze Arts · Recruitment
Chapter 1: Uproar in Ribeira
Uproar in Ribeira | Victory: seize the Red Jewel, then defeat Nero | Fixed party of 3 | Main concern: fences and the jewel phase; do not let your two supporters fall behind Cai.
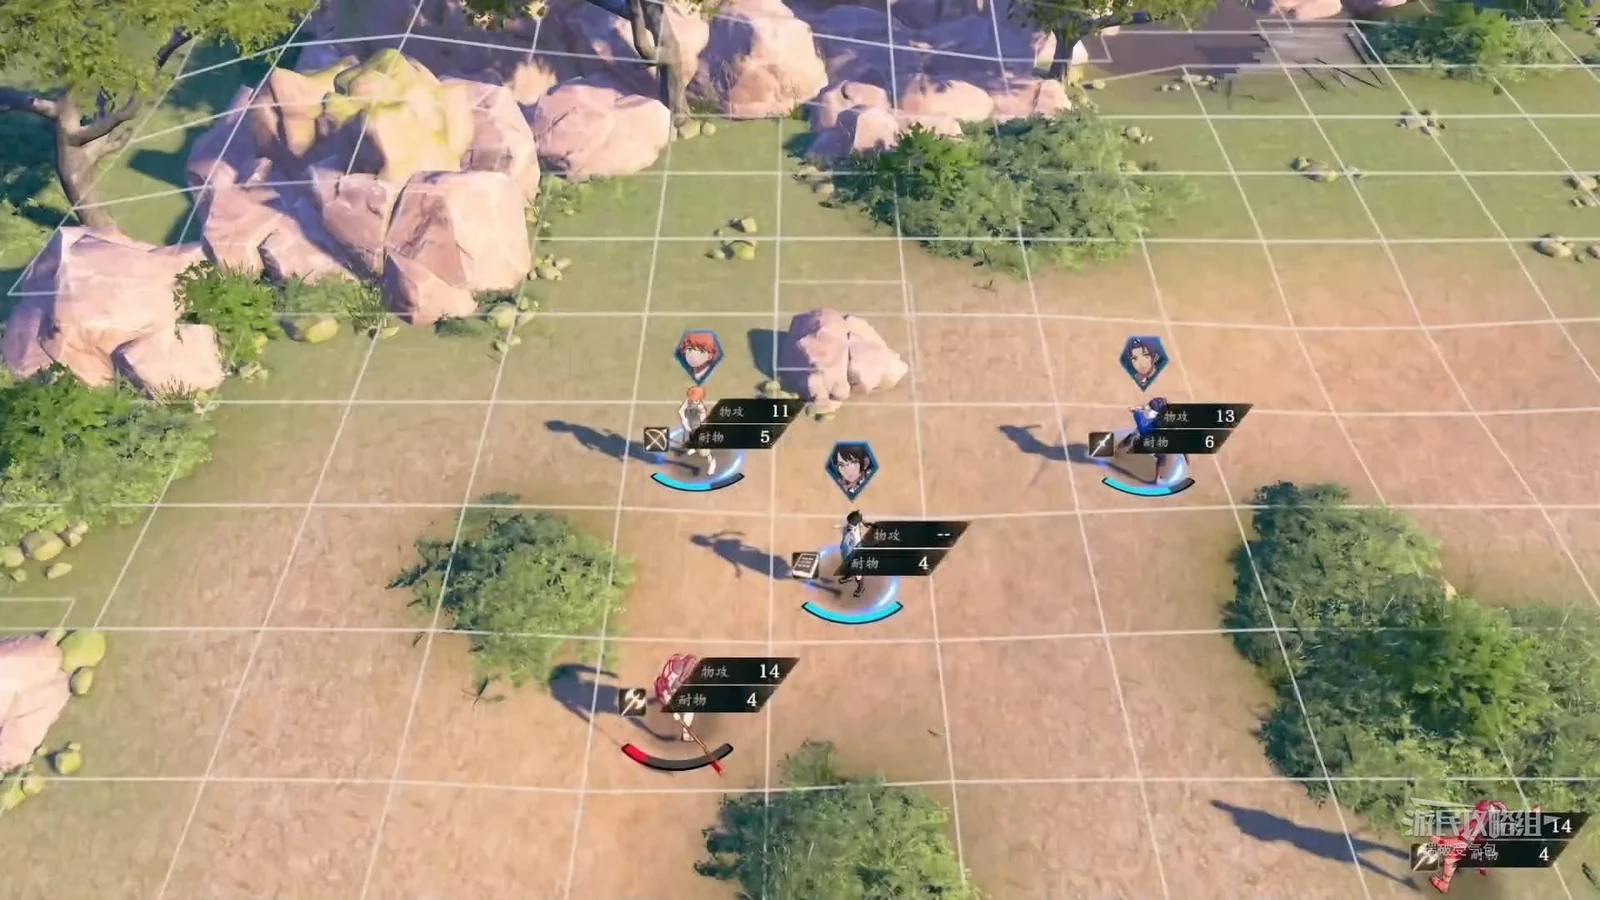
Establish a three-unit routine. Cai opens the way, Tialla stays close to heal, and Peter finishes at range. Handle the enemy near the upper grass first so Cai does not face several at once. Move the other two near allies with conversation bubbles before helping finish enemies.
As you approach the jewel carrier on the right, let Cai strike the fence, then Peter remove its remaining durability, preserving Cai’s action against enemies. Keep Tialla near Cai: heal when HP is low, and attack or assist only when safe. Taking the Red Jewel changes the objective to defeating Nero. The opening enemy group is not the whole battle.
Underworld Burst initially costs 6 HP per use. Check the forecast for a kill before casting; do not position the back line as though using an ability automatically kills its target. Until the relevant ally-immunity ability is obtained and equipped later, keep teammates out of damaging terrain.
After battle: The three starting allies join through the story without recruitment payments. There is no full free-time schedule this chapter. Next chapter, Cai still receives enemies while Tialla and Peter guard the carriage.
| Item/unit | Location and handling |
|---|---|
 Cai,  Tialla,  Peter | Story recruits; collect the village’s golden glowing points before battle |
Chapter 2: Road to the Capital
Road to the Capital | Victory: rout the enemy and protect the carriage | Up to 3 selected units plus guests | Main concern: chasing too far and missing enemies approaching the carriage.
Keep your defensive line on both sides of the carriage. Choose to chase the thieves first to explore Galian Fortress Ruins. Going straight to the capital skips this dungeon. For supplies, inspect rear right, front right, and rear left before the main path at front left. Collect  Vulnerary and
 Hunter's Bow, giving the bow to Peter.
In the carriage battle, leave the upper route to high-level guest  Castor, with Cai and Tialla covering below. Peter initially guards the carriage and intercepts stragglers. Advance toward enemy arrivals only once the immediate area is clear. Castor clears northern threats while your three units guard the carriage. Do not expose a fragile unit just for a finisher.
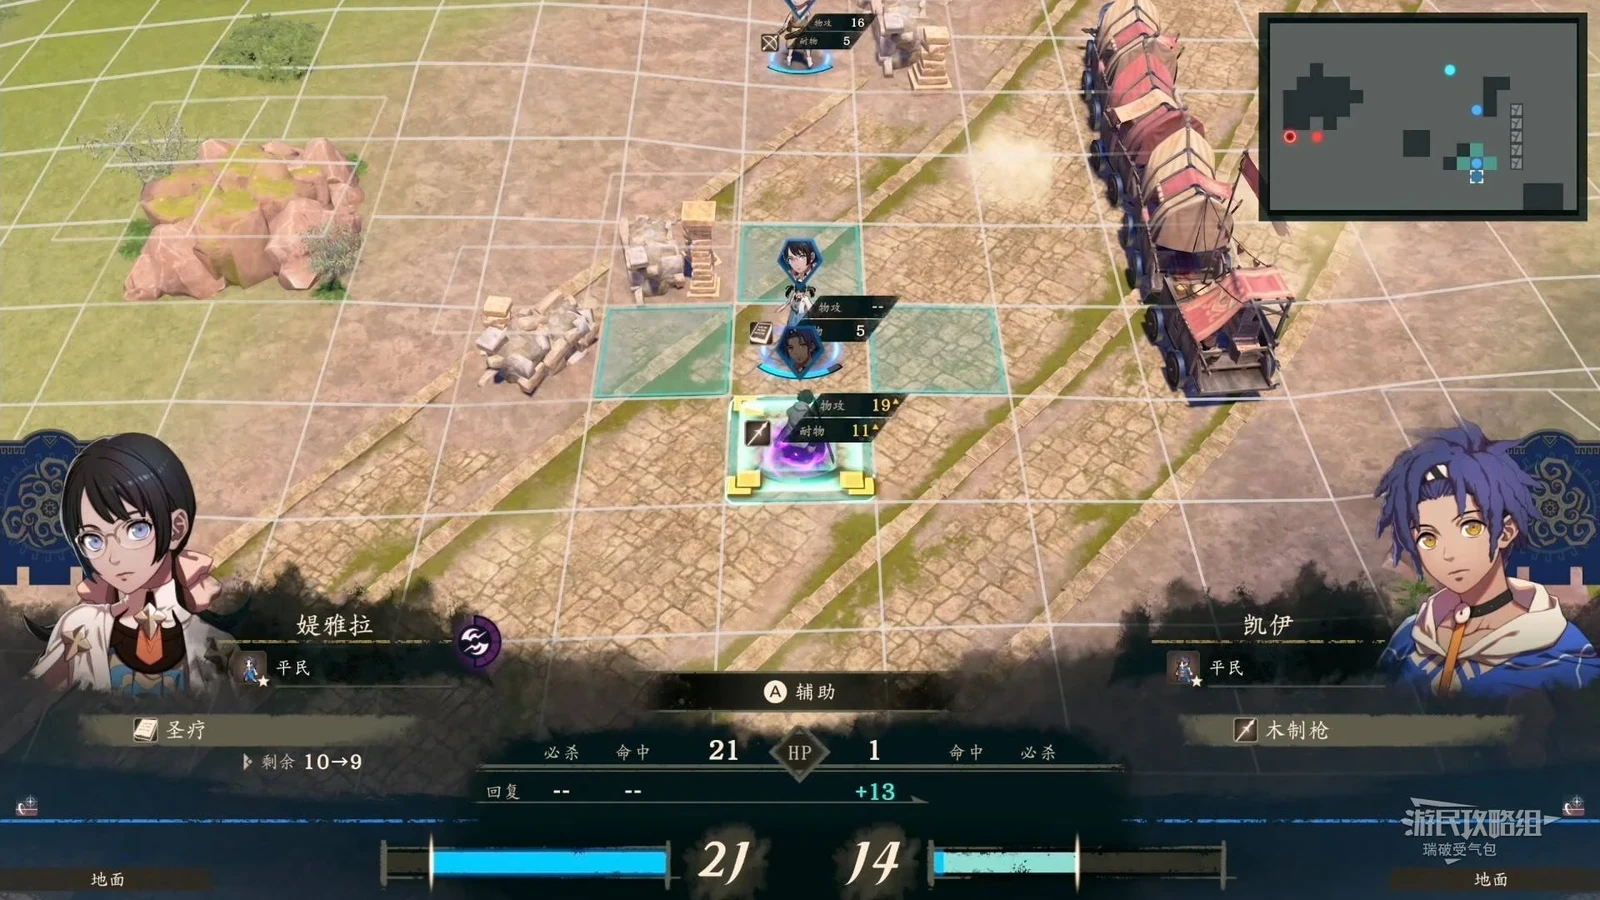
Keep healing in the backline. Have Tialla follow Cai, checking after every move whether she can heal next turn. If Castor chases enemies to the far left, do not have everyone else abandon the carriage too.
In town, accept the two shop tutorials from the board, speak inside the shops to finish, then find Peter to advance to night. In the sewers, take Vulnerary and  Talisman Shield from the two first-floor side paths. The left arch on floor two is the exit. Open the shortcut after leaving, then explore the garden branch and story route. Full free time is not yet open. Pick up nearby items, but do not stall tutorials trying to collect every glowing point.
| Item/unit | Location and handling |
|---|---|
| Vulnerary, Hunter's Bow | Chase the thieves into Galian Fortress Ruins and search side paths before the main route; give the bow to Peter |
| Vulnerary, Talisman Shield | Two side paths on the nighttime sewers’ first floor; open the shortcut after leaving |
Chapter 3: Partings and Hopes
Partings and Hopes | Victory: defeat  Goliath | Pale Raven recommends level 5; 4 units + 1 guest; Base classes and wooden weapons | Main concern: spending all 32 turns traveling after free time opens and forgetting Request reports and recruits.
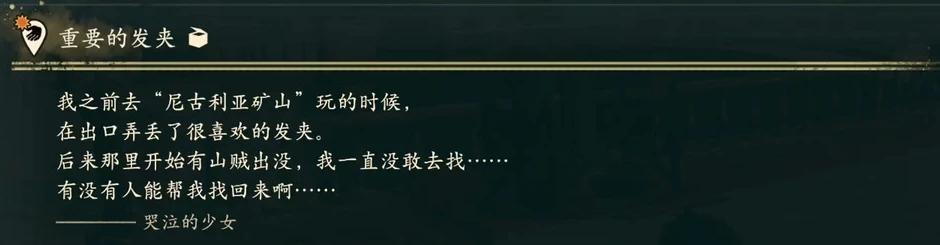
Finish the hair-clip tutorial, then assemble four units. Accept “Lost Hair Clip” and inspect the quest before leaving town. Free-time battles do not refill HP or magic afterward, so recover before consecutive fights. Search Nigulia Mine’s side rooms for  White-Magic Manual and
 Miracle Gem. Recover the clip and leave through the other exit. Circle south from that new exit to avoid return-path enemies; you need not fight everything.
Return and report to reach Renown 2, then follow the gift tutorial to recruit Guzran. Pale Raven recommends level 5 for the battle. Select four units, with guest  Ultand joining too. Refill HP and healing uses first.
During free time, prioritize accepted Requests and board quests, then check characters present by day and night. Gift  Yang Jie early if you want healing soon. In the story battle, advance with Cai + Tialla and Guzran + guest Ultand, while Peter finishes. Keep allies out of Cai’s damaging terrain. Most enemies are melee; weaken at range before approaching Goliath.
After battle: Confirm Guzran actually joined; giving a gift without selecting recruitment is insufficient. Record remaining targets’ Renown and Bond Level requirements separately. Next chapter has only 24 turns.
| Item/unit | Location and handling |
|---|---|
| White-Magic Manual, Miracle Gem | Search Nigulia Mine’s side paths; bring the hair clip back and report |
| Guzran | Renown 2, Bond Level 1; gift through the tutorial, then select recruitment |
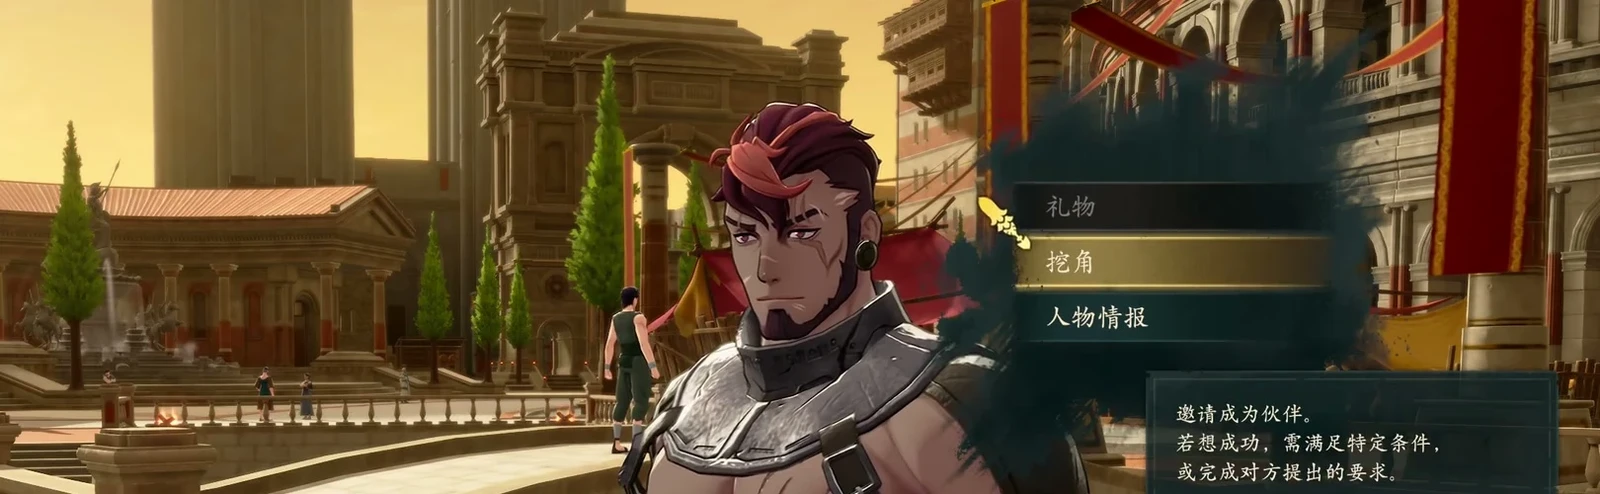
Chapter 4: Festival of the Strong
Festival of the Strong | Victory: defeat  Zarcone | Up to 4 selected units; Base classes work | Main concern: Cai, guest
 Theodora, or
 Orchel falling causes defeat.
Add missing functions before treating new guests as shields. Take the new route on the sewers’ right, open the fence shortcut, then finish the merchant association, exploration, and instruction tutorials. Recruit Yang Jie at Renown 3 and Bond Level 2. Answer “Cheese” and “A full-moon night” first; any third answer works. Use the 24 turns to find people in town first. The missing grandchild is near the cat across the bridge; fit out-of-town quests along your route.
Send the main force along the central platform, with Theodora and  Bonaventure paired above it and Bonaventure healing. Do not isolate Orchel. Cai’s group clears the right side before meeting in the upper right. Combine both protagonists’ Blaze Arts against the boss’s HP bars while others finish regular enemies and heal.
Clear guards at the central bridge before sending Cai across. Wetlands lower northern guests’ Movement and Avoid, so keep both teams close enough near the boss. Zarcone restores HP once. Plan focused damage for two bars, with a healer at the rear handling counter damage.
Afterward, confirm exploration and instruction are unlocked. For early damage, consider  Noctula at Renown 4 and Bond Level 1; reaching this chapter does not guarantee Renown 4. Adjust classes after exams unlock next chapter. Base classes are not the endpoint of your builds.
| Item/unit | Location and handling |
|---|---|
 Archer's Ring | Complete  Centurio’s first instruction |
| Yang Jie | Renown 3, Bond Level 2; answer Cheese, a full-moon night, then any third option |
Chapter 5: Cai’s Battle
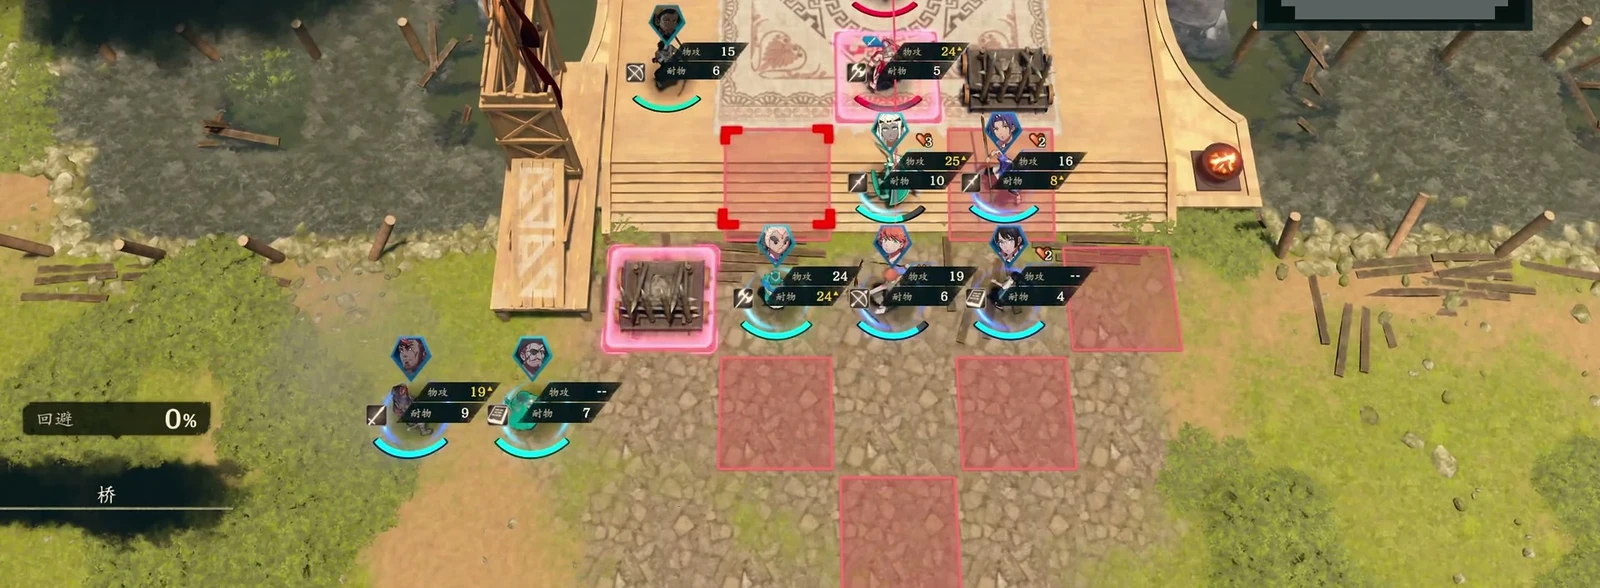
Cai's Battle | Victory: defeat  Benditz | Up to 5 selected units; Beginner classes and bronze weapons recommended | Main concerns: purple chariot charge lanes, keys on two routes, and three protagonists who must survive.
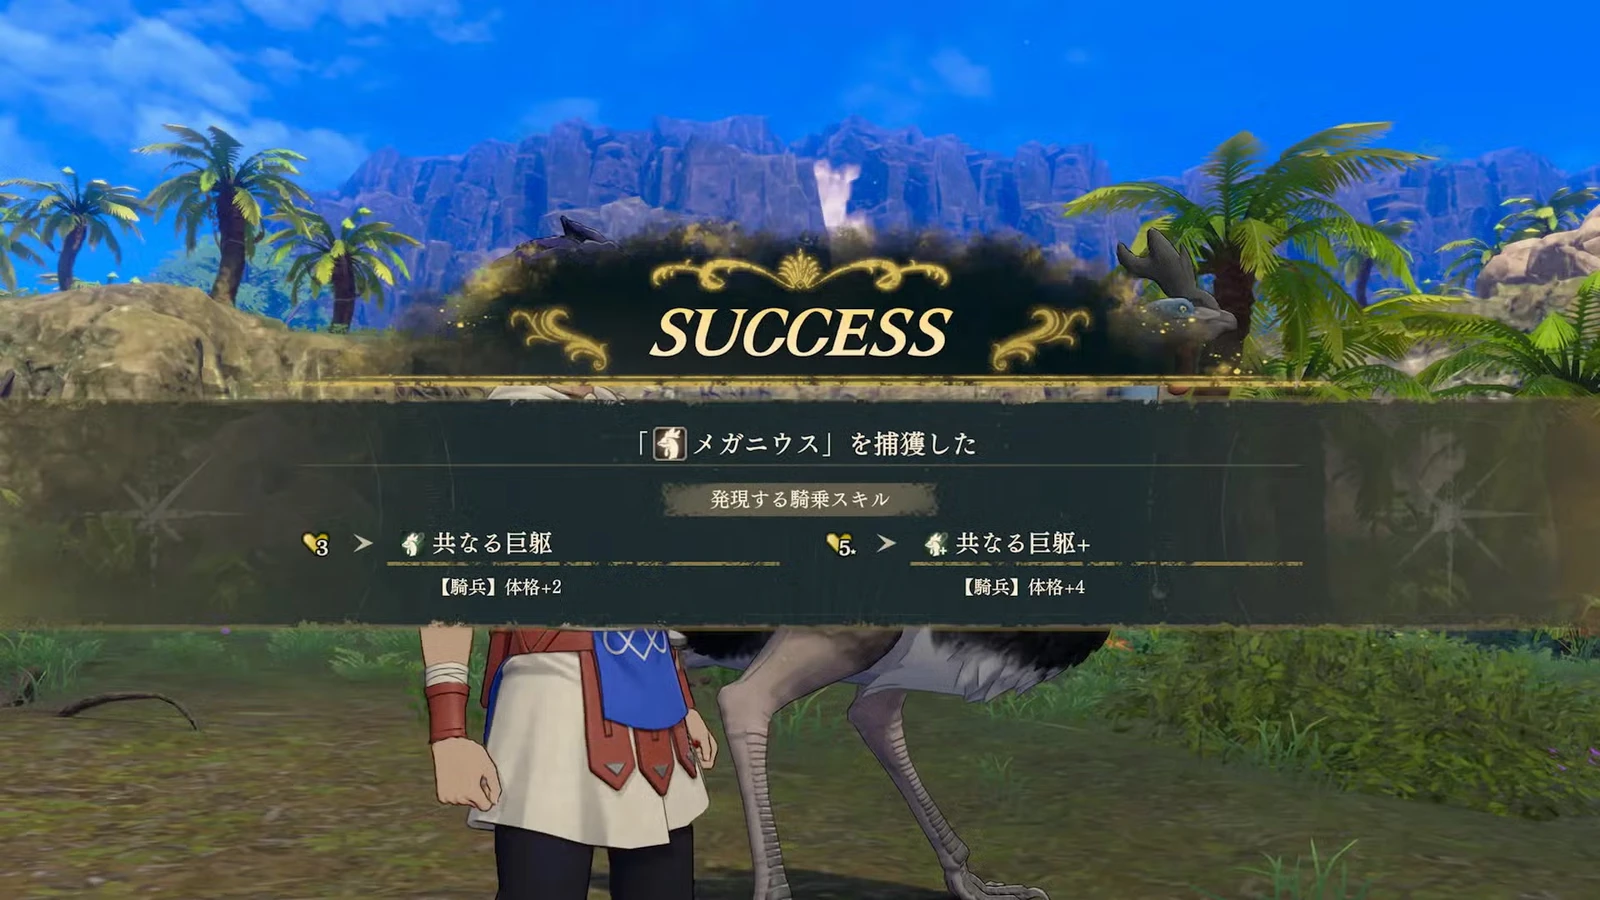
Use the 104 turns to change classes first, then separate daily care from weekly training. Complete the training and certification tutorial. Cai can start as  Ornius Rider. For sustained Blaze Art clearing, plan
 Diviner and
 Shaman afterward for Magic and Black Magic. Blaze damage uses Magic; purely physical classes can struggle to clear enemies by midgame. Black Magic C+ or higher also improves later
 Caladrius pass rates. Levin Sword uses magic damage and fits this training.
After mounts unlock, decide which rider gets each animal and have that rider care for it daily as early as possible. Feeding is once per day, resetting at in-game midnight; it does not require Sunday or a real-world 24-hour wait. Do not leave bond building until battle is imminent. Schedule weekly trips back for training, meals, Divine Service, and Pale Raven interactions, following the schedule page rather than waiting aimlessly on the map. For “A Peculiar Message,” find the two women with brooms on the middle level. Accept and turn in “Monster in the Night” by day, and handle its target in the market’s east corner at night. For “Hidden Memories,” visit Collapsed Fortress and look behind the third-floor chest. With Renown 5 and Support 3, recruit  Mikaela for an additional 3000G.
Split into two wings at battle start. Cai and  Dietrich’s side handles the lower right;
 Anatolia’s handles the upper left. There are many mages near the latter, and a physically durable frontliner should support them. Read purple charge lanes before moving and topple pillars to restrict chariots. Use wall-type assistance in the upper left to delay enemies until allies catch up, then take keys and open chests. The lower right holds Zanbato, the upper left Iron Shield. Defeat key-icon enemies before rushing to the chests.
After both wings collect items, finish chariots on safe ground, then bait Benditz. Preserve Anatolia and  Sha Lan’s powerful arts for later chariots instead of spending everything immediately. Keep mages outside boss range. Defeat follows if Cai, Dietrich, or Anatolia falls.
| Item/unit | Location and handling |
|---|---|
| Zanbato, Iron Shield | Southern and northern chests; take keys first, then use Zanbato immediately against chariots |
 Mikaela | Renown 5, Bond Level 3, plus 3000G |
Chapter 6: To the Land of Cybele
To the Land of Cybele | Victory: defeat  Nuzzuo | Up to 5 selected units; Beginner classes recommended | Main concerns: evasive enemies in fog and three Diviners granting defensive buffs.
Use the 120 turns to work planting into your travel route. Planting and the blacksmith open, and Ultand joins permanently through the story. Plant in open spaces you often pass and harvest while questing instead of detouring for each crop. Do not exchange every last unit of a crop; keep seed stock for continued production. Focus on current quests and regular mount food first, leaving rare vegetables and map-wide planting for spare time.
Finish city business before departing. Enemy Avoid is high here, so prioritize Hit rather than Attack alone. Start with the southwestern Diviner, then find the other two. Chanting strengthens every enemy: use magic against Defense +10, physical attacks against Resistance +10, and move fragile units away from contact tiles against Attack +10. Follow the road from southeast to northwest. Do not send a flier alone over the northern cliff toward the archer boss.  Centurio deals high damage but can miss; keep a backup finisher against archers. Let durable units scout near the upper-left chest and upper-right fog rather than having Cai spend all his Movement and reveal an unknown enemy group.
If Nuzzuo circles the front line to hit fragile units, use Peter’s Encloser to restrict movement, then focus him down. The upper-left chest contains  Bullion; clear nearby ambushers first.
More progression follows the battle: In Balor Temple, search both side chests before the main path beyond the rest point. During the escape, retrace your route to the entrance, choosing the side with fewer pursuers. The entrance fight leads into a story event; you do not need to treat the new enemy as a normal boss to defeat outright. Divine Path Gate becomes available next chapter to reduce long journeys.
| Item/unit | Location and handling |
|---|---|
| Bullion | Northwest chest; handle the key-holding Diviner and fog ambushers first |
 Lashing Rapture,  Elixir | Search Balor Temple’s left branch after the main battle; the final section also has a chest |
Chapter 7: Opposed Agendas
Opposed Agendas | Victory: defeat  Inyoni | Up to 7 selected units | Main concerns: ballistae,
 Hong Hua’s one-use gambit, and a ranged boss; losing healing coverage can collapse the team.
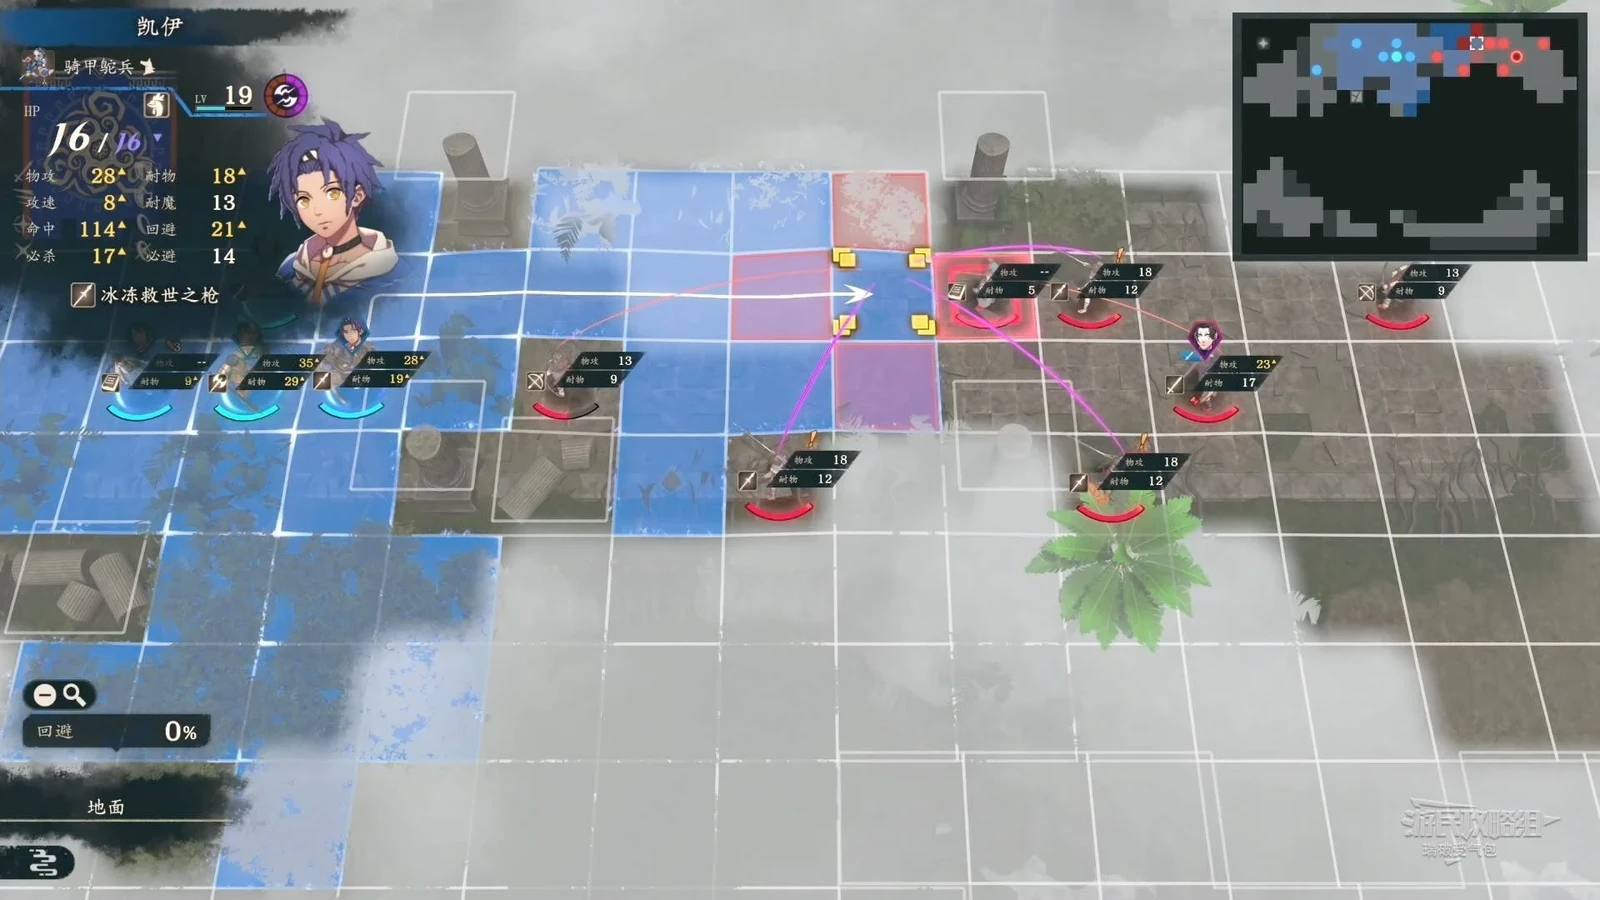
Improve supplies and travel first, then break up the battlefield with defensive counters. During these 120 turns, prioritize “The Artisans of Megaira”: buy a Special Axle in Megaira and report back to unlock waystations. Combining Divine Gates and waystations saves travel time. You must first visit a waystation to unlock it. Check instruction battles too: Centurio’s large-enemy lesson awards Levin Sword, so do not focus only on dungeon chests.
 Alexandra becomes available from this chapter; recruit at Renown 7 and Bond Level 2.
 Nydine needs Renown 6, Bond Level 1, and 2 Bronze Axes. Check enemy bows before deploying fliers, and dismount if necessary.
The risen dead halve damage from non-effective attacks. Give the opening  Cleansing Blade to a capable sword user, or use
 Leda’s Blaze Art for super-effective damage against them. Hong Hua maintains Inyoni’s barrier, so handle Hong Hua first. Count both northwestern and northeastern ballistae in enemy reach.
Remove a wooden shield if it slows Attack Speed, and upgrade regular spears with available materials rather than forcing an ore grind. Avoid rushing. Mark archer ranges, retreat wounded units into healing coverage, and let Cai chip from range. Against Hong Hua, spend her one-use gambit while withdrawing and healing. Without ranged healing, use medicine first and end the turn only after you can survive the next hit.
After Hong Hua, handle axe users and mages. Bait counters with Guzran while the main group fights backward, then turn forward once few enemies remain. Use obstacles and three adjacent units to confine Inyoni and limit her gambit space. Her bow has Range 1–2, so adjacent attacks still receive counters. Her final HP bar adds 5 Strength; finishers must account for it. If Peter has low Attack Speed, check whether two hits kill him.
One approach removes both bars in one focused turn to avoid the second-bar buff. With lower damage, fight through several turns instead. Choose the burst if your damage is enough; otherwise preserve healing coverage and clear adds rather than forcing a kill threshold. Keep guests Leda and  Talimun alive too.
| Item/unit | Location and handling |
|---|---|
| Levin Sword, Hexlock Shield | Centurio’s large-enemy instruction gives Levin Sword; a Dione fortress chest holds Hexlock Shield |
| Waystation travel | Complete “The Artisans of Megaira” by buying the Special Axle and reporting |
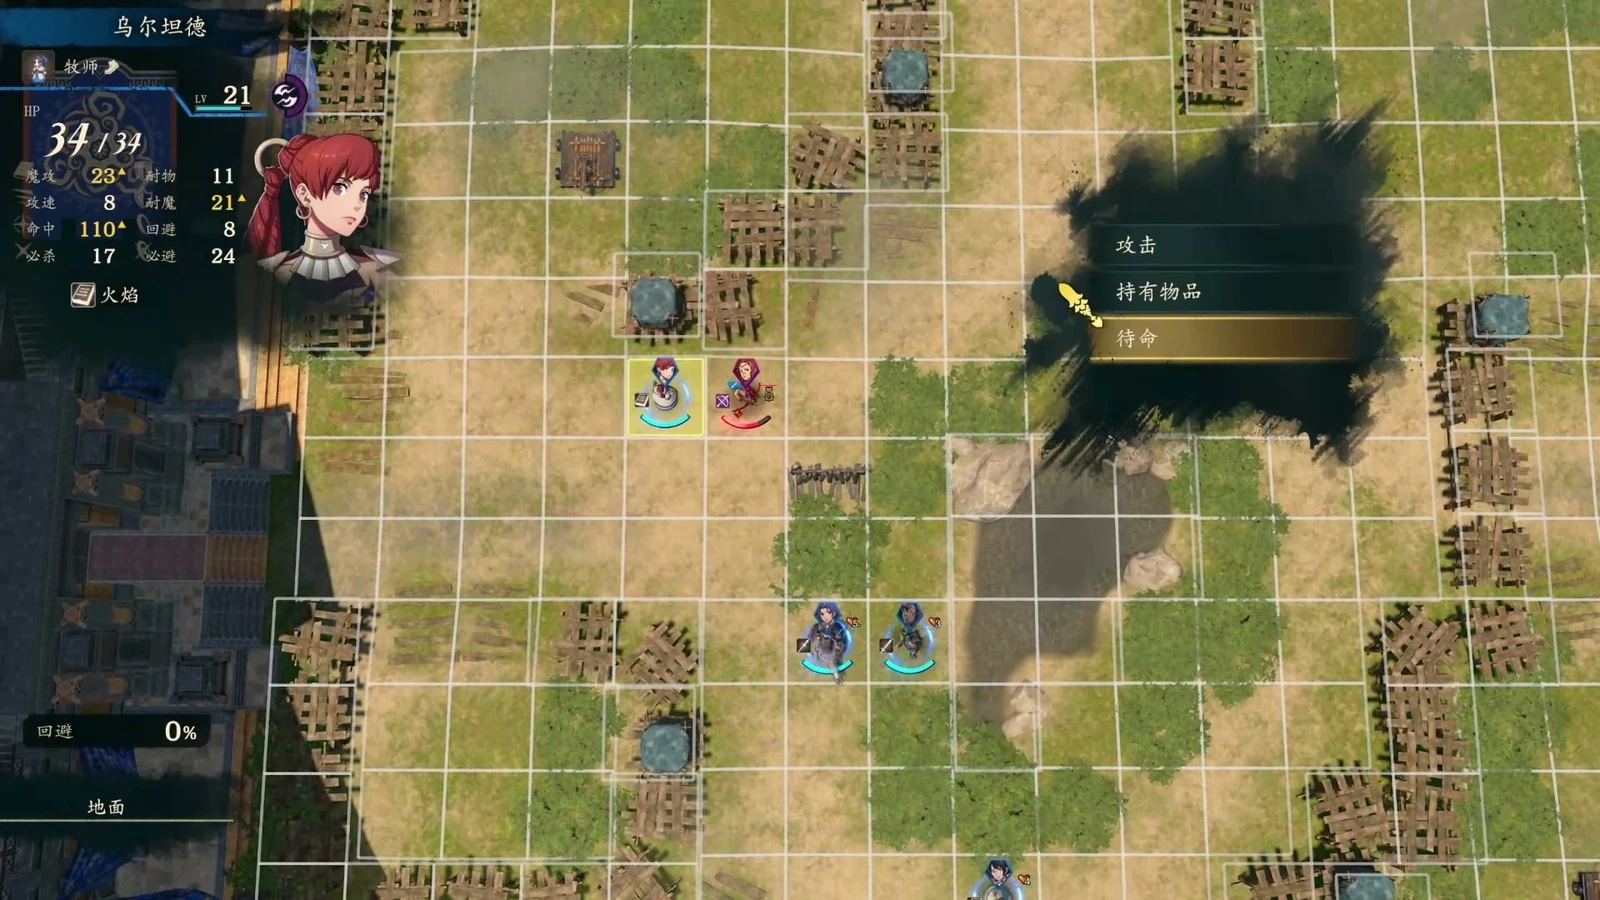
Chapter 8: Unyielding Feelings
Unyielding Feelings | Victory: defeat Leda, then complete a demonic-beast Clash | Recommended level 25; up to 7 selected units, Specialty classes recommended | Main concern: enemy detonations deal 20 damage and immobilize; do not wait beside explosives for their turn.
Use the 172 turns to prepare your main team’s classes, weapons, and healing. This is a long preparation period. Complete Requests for Renown, then choose recruits rather than collecting everyone. Options include  Lilian,
 Lysander,
 Fianna, and
 Olympia. Olympia requires three requests, not just gifts. If an existing archer handles fliers, do not postpone all leveling for a new one.
Cover magic, bows, and armor first, then add mobile units for terrain. Peter’s range lets him finish outside counters; keep using him if trained. Before replacing anyone, check whether current archers hit, mages defeat armor, and healers cover both sides instead of replacing the whole team by tier list.
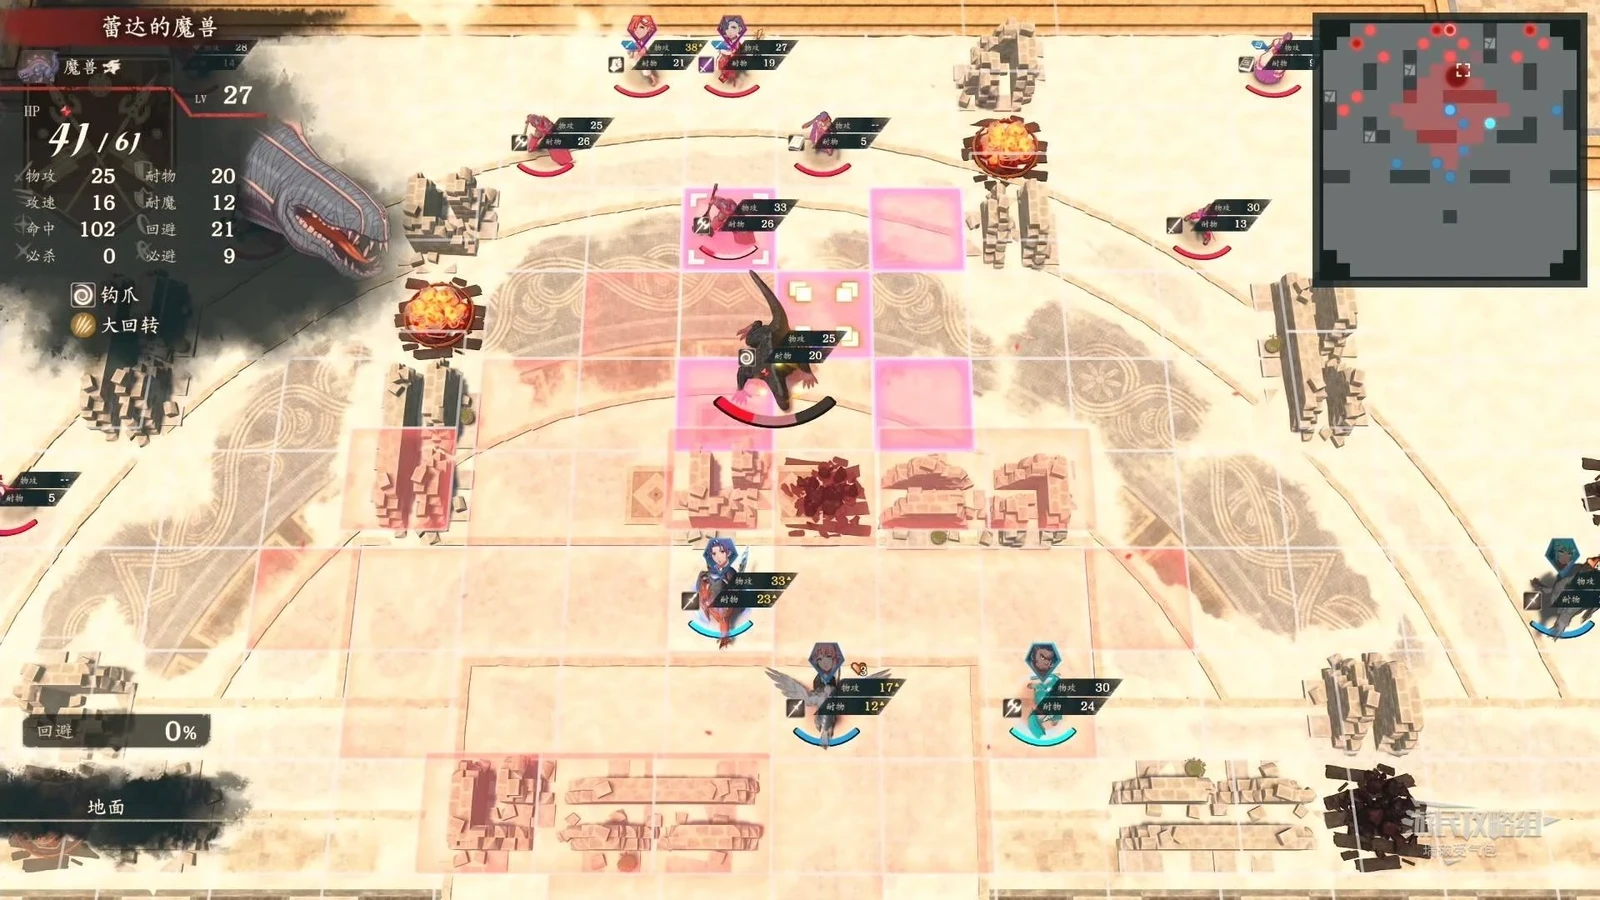
Check every explosive’s coverage and detonate those near enemies first. Your detonations damage and immobilize only enemies; theirs damage and immobilize your side. Lure the later demonic beast beside the central explosive to break its shield in one blast, then focus it that turn. Approaching upper-right  Buccar turns him friendly, after which the beast attacks. Strike across broken walls or retreat to lure it out instead of crossing with everyone into a surround.
Entering Leda or  Sirocco’s range brings other named enemies forward. Lure them near explosives, then combine Cai’s area attacks with focused allied damage. Keep your own units away from locations Leda can detonate first. Leda’s mounted Horsekiller Bow counters cavalry, her close-range iron fan poisons, and she also carries Levin Sword. Adjacency does not make her a safe ordinary archer. Heal during her buff and finish after it ends. A demonic-beast Clash follows the tactical win.
| Item/unit | Location and handling |
|---|---|
 Velheit | Optional exploration reward at the spell-sealing altar |
Bullion,  Pure Water | Enter the cave behind the waterfall from Pandora’s port city on the right and search both branches |
Chapter 9: Mystery at Aurora’s Temple
Mystery at Aurora's Temple | Victory: defeat Zenzele; Cai and Ultand must survive | Up to 8 selected units; Specialty classes and iron weapons recommended | Main concerns: thick fog and a magical boss; do not scout blindly with low Resistance.
With 32 turns, investigate the city first, then choose quests you can turn in soon. Check the sewer entrance in  Aurora’s room; missing it blocks progress. To recruit
 Sofia, prepare Renown 9 and Support 3.
 Mu’s negotiation requires
 Glirmosa ×3, so do not cook the required ingredients first.
 Ludia and Sirocco have separate requests; if there is no time to travel, schedule them for next chapter according to their deadlines.
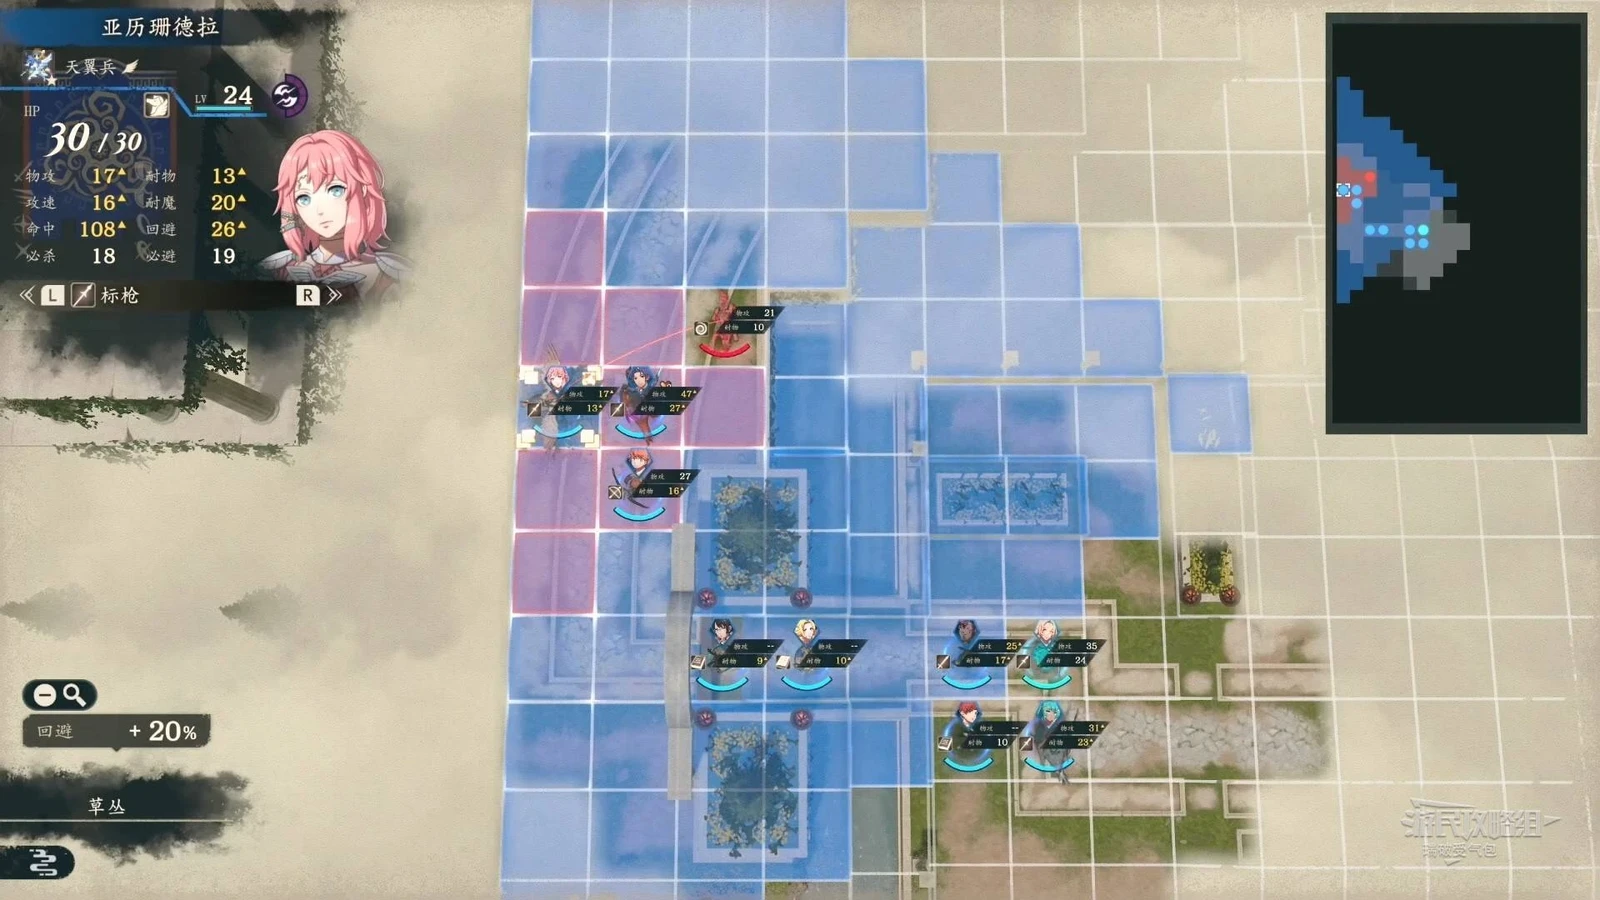
Fog surrounds you. Start fragile units in the center and let beasts approach instead of scouting unknown directions separately. Archers handle fliers; Cai uses the new  Star Spear. Save Aurora’s Warp and party-wide healing for late in the turn. See who is endangered after attacking, then heal or retrieve them instead of spending rescue actions immediately.
Clear nearby enemies before crossing the bridge. Reveal fog in stages along the boss road; there is no need to sweep all the large beasts in the south and southeast. Regroup before approaching the northern boss and check the total damage needed for both HP bars. Keep low-Resistance units outside his magic range. Check damage previews first: focus him down if you can finish in one turn; otherwise have a high-Resistance unit engage.
Use bows or wind magic against birds and Hunter's Bow against wolves. Clear beasts threatening the back line before engaging the boss. Chapter 10’s dense paralogue period follows immediately; set reminders for 9/17 and 9/24.
| Item/unit | Location and handling |
|---|---|
| Star Spear | Obtained through the story; put it in Cai’s inventory before battle |
 Sofia | Renown 9, Bond Level 3; finish the city investigation first within the 32 turns, then negotiate |
Chapter 10: Precious Time
Precious Time | Victory: defeat Theodora, followed by a Clash | Up to 8 selected units; Specialty classes recommended | Main concerns: the central wall separates wings from healing, while casual exploration can consume paralogue windows.
Schedule paralogues first within the 120 turns. Accept Bertrand and Talimun together on 9/17, then check Anna on 9/24. Talimun has a short acceptance period and an out-of-town battle that needs travel time. See the four paralogues below for tactics.  Peppe requires this route’s Bertrand paralogue, Renown 9, and Bond Level 1.
 Ursula requires Talimun’s, Renown 10, Bond Level 3, and three affirmative negotiation answers.
Use remaining free time to train the main team and stock counter weapons. Treat Cleansing Blade, Zanbato, Levin Sword, and long-range bows as tools for different enemies, assigning them to suitable allies.
Use the central defensive circle as your base and lure enemies near it one at a time. Weapons drop on both sides midway through:  Hammer left and Levin Sword right. Send mobile units still within central ranged-healing coverage, with supporting allies able to handle effective threats. Without ideal mounts or Canto, advance slowly; you do not need to capture a full matching set first.
If each wing cannot fight independently, send the whole team down one side for concentrated healing and let mobile units retrieve the other item later. Western  Tobias has a Range 1–2 thrown axe. Weaken him with a physically durable frontliner, then finish with magic. Use physical attacks against eastern Bonaventure.
After clearing the edges, lure Theodora out of her defensive circle and focus magic. If damage is insufficient, pull back near your own circle and fight again. Do not send cavalry outside the walls for items while your only healer chases the boss. Complete the post-victory Clash too before entering Chapter 11.
| Item/unit | Location and handling |
|---|---|
| Hammer, Levin Sword | Spectator drops in the main battle: Hammer west, Levin Sword east; clear a retreat path before collecting |
| Peppe, Ursula | Complete Bertrand and Talimun’s respective paralogues, then return to negotiate |
Chapter 11: Dagda’s Cauldron
Dagda's Cauldron | Victory: rout the enemy | Up to 9 selected units; Specialty classes and Da Mina-tier main weapons recommended | Main concerns: only 28 free turns and little margin for accepting Orchel and traveling; both sides benefit from battlefield circles.
Do the paralogue first and leave distant ordinary quests for Chapter 12. Track Orchel separately: accept immediately on 10/18, travel roughly three turns, and finish by 10/21. Return to  Diego after winning and meeting his conditions. On Cai’s route, he needs Renown 10 and Bond Level 3.
After accepting city and temple quests, prioritize the paralogue and nearby tasks. Ordinary quests with a deadline of 11/27 can wait until next chapter. Do not spend all 28 turns leveling in the south and remember the fortress on the final day. After free time, follow the story through the shop and underground investigation into the underground battlefield.
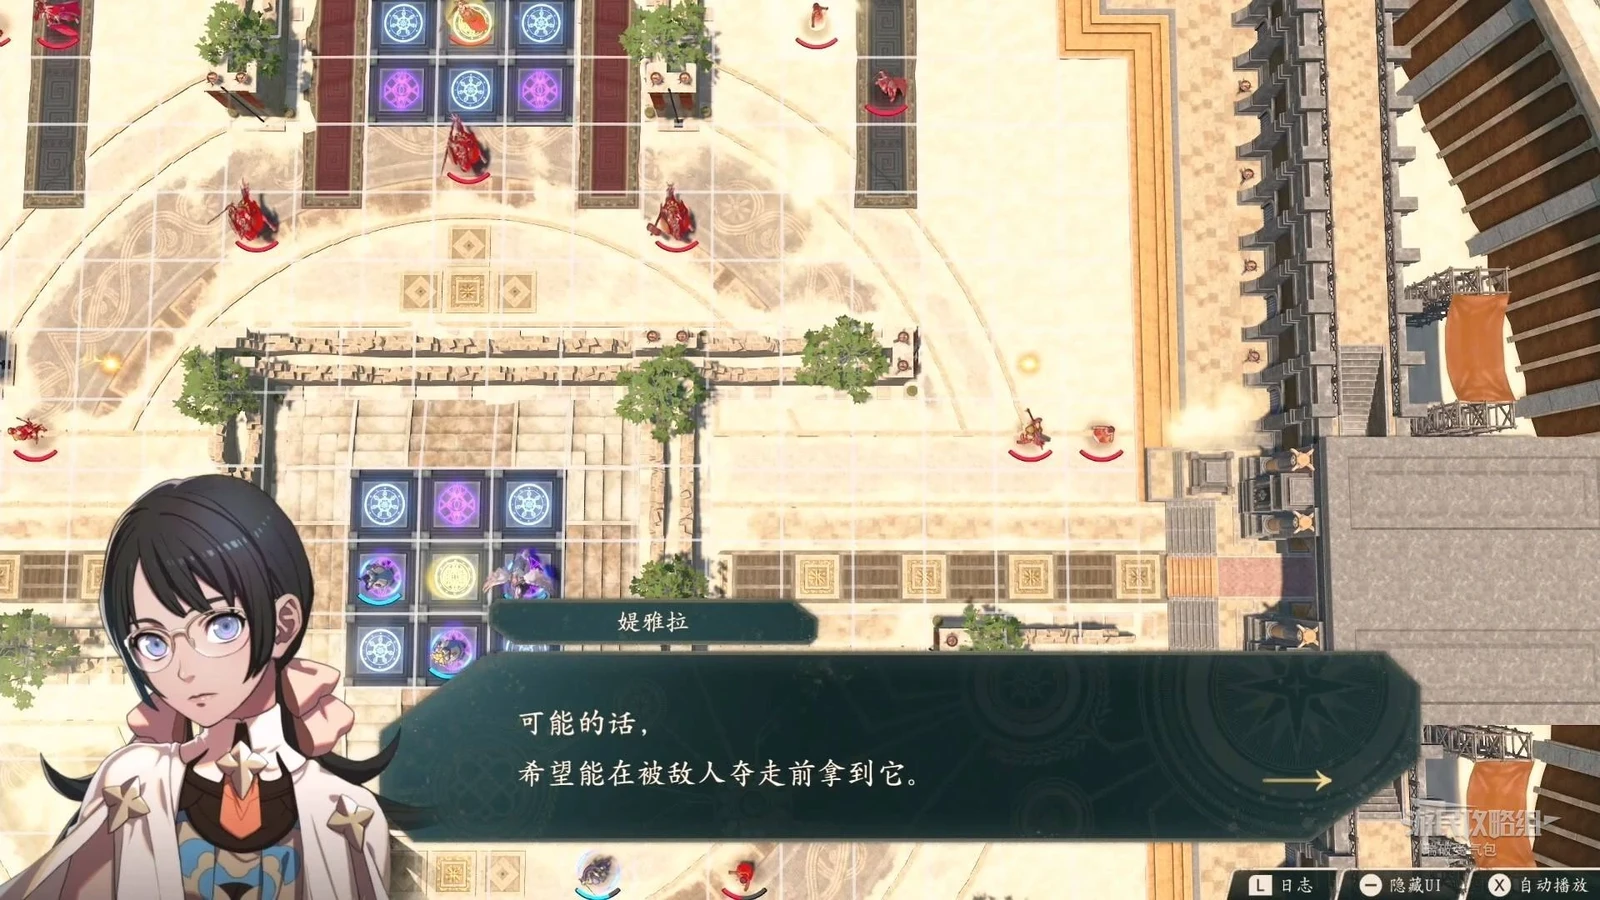
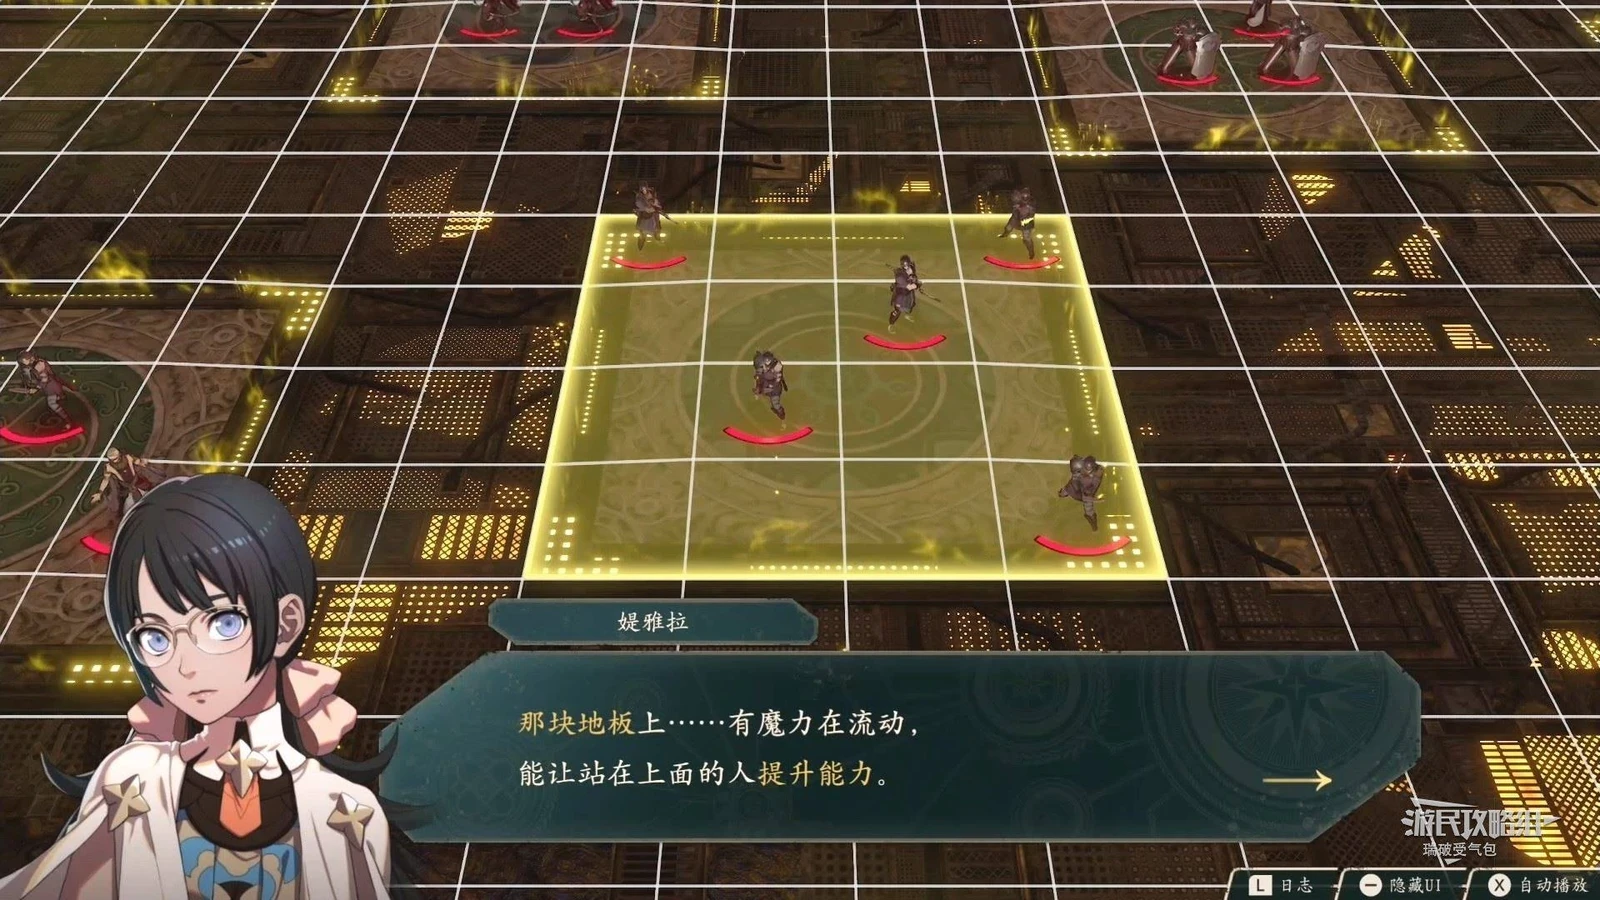
Allies including Bertrand appear from the lower left. Let high-damage Bertrand clear upward while the main group takes yellow buff circles. Put durable units on the edges to block paths and lure mobile enemies out of circles. Read each circle’s specific effect at the bottom left before assigning units; yellow does not guarantee the same bonus.
Harrison’s northern group stays in its buffs. If they cannot be lured out, concentrate high-Hit, high-damage units with healing from safe tiles. Harrison carries a thrown axe and can counter ranged attacks, and he restores HP once. Weaken him with a physical tank rather than testing with a mage. Victory requires a rout, so clear survivors after Harrison falls.
| Item/unit | Location and handling |
|---|---|
| Healing Staff | Orchel’s paralogue reward; healing magic restores 10 extra HP, Weight 3 |
| Diego | After the paralogue, negotiate at Renown 10 and Bond Level 3 |
| Circle | Effect |
|---|---|
| Physical Defense Circle | Physical durability +3 |
| Magic Defense Circle | Magical durability +3 |
| Avoid Circle | Avoid +40% |
| Healing Circle | Restores 30 HP at player-phase start |
| Defensive Circle | Restores 20 HP, physical durability +2, magical durability +2, Avoid +20% |
Chapter 12: Just One Wish
Just One Wish | Victory: defeat Bertrand and Castor | Up to 9 selected units | Main concerns: Cai duels in the center, both wings need independent healing, and Bertrand’s Avoid boost should be waited out.
Use the 92 turns to finish preparations and organize equipment for Part 2 before the main battle.
Split east and west first. The right has more spears and bows; the left more magic and armor. Each needs usable healing and matching damage. To rescue the protagonist by disabling devices, send units who can reach the upper-left and right switches; do not make both groups slow. Cai faces Castor in the center. Castor’s Da Mina Spear counters mounts, so dismount Cai first. The nearby Healing Circle can buy time, but after it actually heals once, it becomes inactive next round. Stepping on it at full HP without healing does not immediately consume it.
Remove the central barrier either by operating both side switches or defeating Castor. If Cai cannot win, let the wings rescue him rather than draining the Healing Circle for a mandatory solo kill. After the barrier falls, secure Cai’s HP, reunite both wings, and clear enemies. Do not send one team alone against Bertrand.
How do you handle Bertrand’s one-hit kills?
Limit his approach with Underworld flames, deal damage with magic, and activate Aurora's Blessing on the turn you must take his axe. Bertrand has strong physical reduction. If Cai’s normal spears and swords barely hurt him, use Levin Sword: Sword C, Might 12, Range 1–2, and magic damage. If you missed Chapter 7’s instruction reward, another drops on the eastern side of Chapter 10’s main battle.
With Flamekeeper equipped on Cai, all allies are immune to Underworld flames and take half damage when attacked inside them. Lay flames first for tanking positions, then add ranged attacks. Cai still needs healing for HP spent on Blaze Arts. Aurora's Blessing level 1 halves physical damage for one turn, costing 15 sand on Normal or 20 on Hard. Save it for the turn someone actually receives Bertrand’s attack. Recheck that the receiver survives after activating, and keep healing until after their counter.
When he holds a Sagaris, moving a mage only two spaces away can still leave them open to a counter. Check his current equipment and red attack range; low Resistance does not mean mages can attack freely. During his Avoid boost, heal and clear followers, then focus the next HP bar after the effect ends. With a  Charioteer, you can also chip him with Shove without taking a counter, then finish that HP bar with magic. Check the landing tile beyond him before using Shove. If enemies nearby leave no escape route, clear the path first.
Afterward, return to the obelisk and confirm that needed weapons and medicine are carried by characters before continuing to War.
| Item/unit | Location and handling |
|---|---|
| Castor and side switches | Cai defeating Castor or both wings operating switches removes the central barrier |
| Weapons and recruitment | Upgrade special weapons and carry them; finish ordinary recruitment before the story battle |
Plan four paralogues by date and battle objective
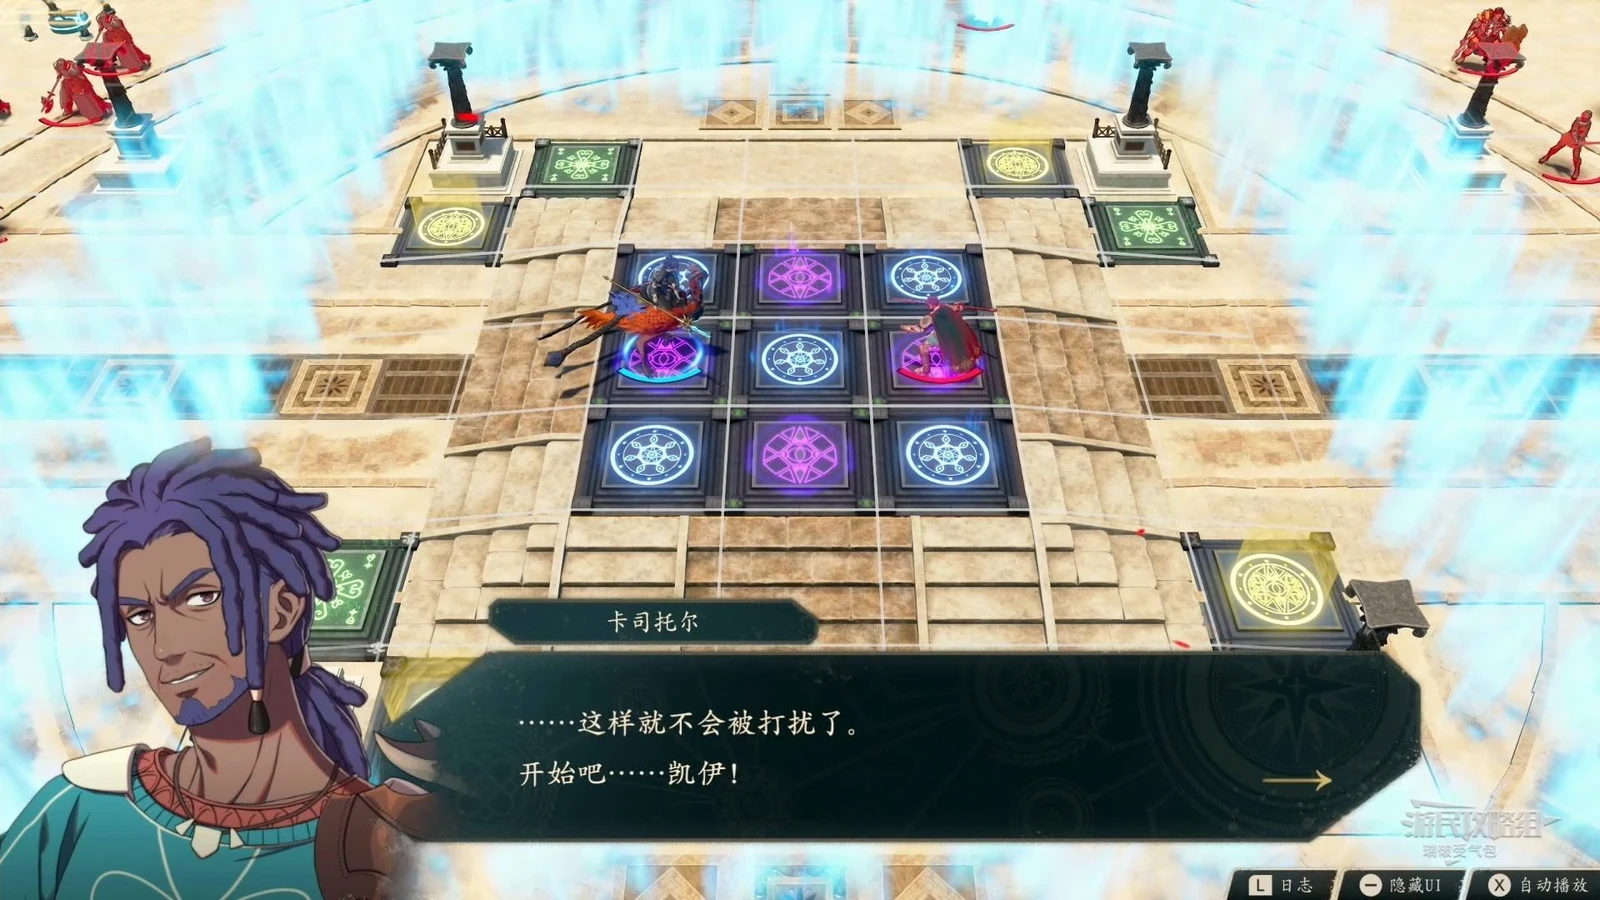
Cai can do four paralogues: Bertrand, Talimun, Anna, and Orchel. Other protagonists accept Cai's Paralogue: Great Escape, “Great Escape.” Reserve travel when accepting out-of-town quests instead of departing on their deadline.
Bertrand’s friendly match
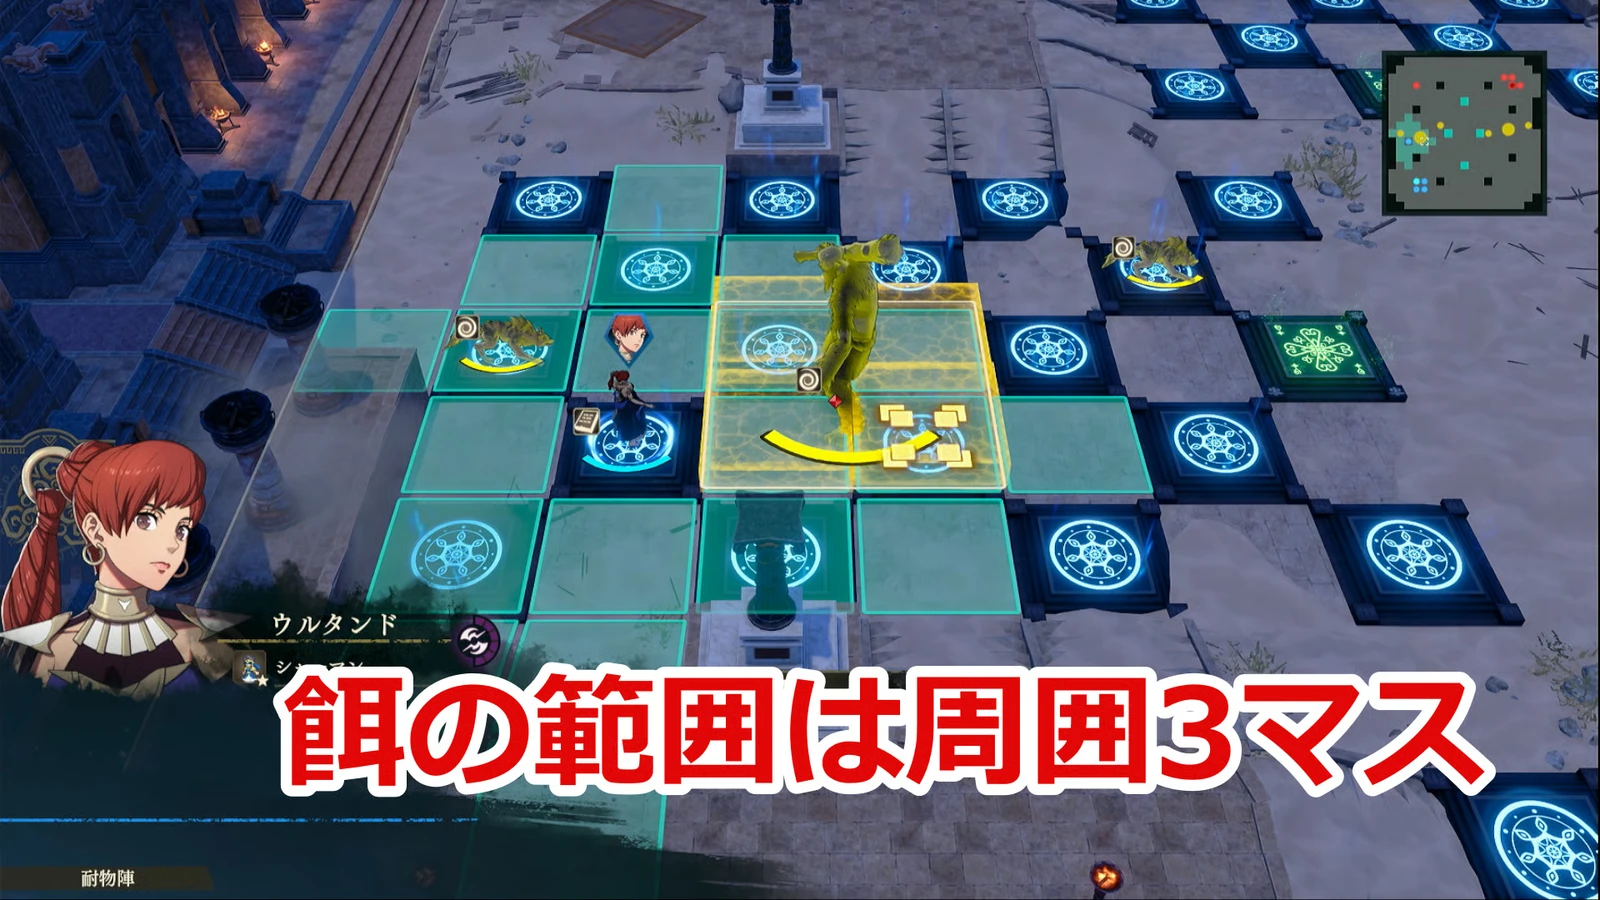
Bertrand's Paralogue: Friendly Match with Brigid's King | Victory: defeat four giants before the opponent | Main concern: the other team can steal points with the last hit.
Find Gabriel outside the Grand Arena by day, then follow the prompt to begin at night. Have Bertrand’s group focus one giant while mobile units stop Brigid’s soldiers claiming another. Do not only pile onto Peppe. Calculate whether you can finish the remaining bars on your turn, avoiding a giant the opponent can steal with one hit. The three starting feed items make a giant immune to damage and prevent it attacking your side until your next turn. Use them at your turn’s end to block the opponent’s finishing blow. Against multi-tile giants, target a part outside the Physical Defense Circle for better damage.
Counter the purple Netherworld Blessing with Bertrand’s Overblaze, which itself spends HP, so watch his health. This battle has a special rule returning fallen units afterward; it does not apply to later ordinary Classic battles. Check Peppe’s recruitment after completion.  Gaitz cannot join this route, and doing the same paralogue does not remove that restriction.
Talimun’s vanished carriage
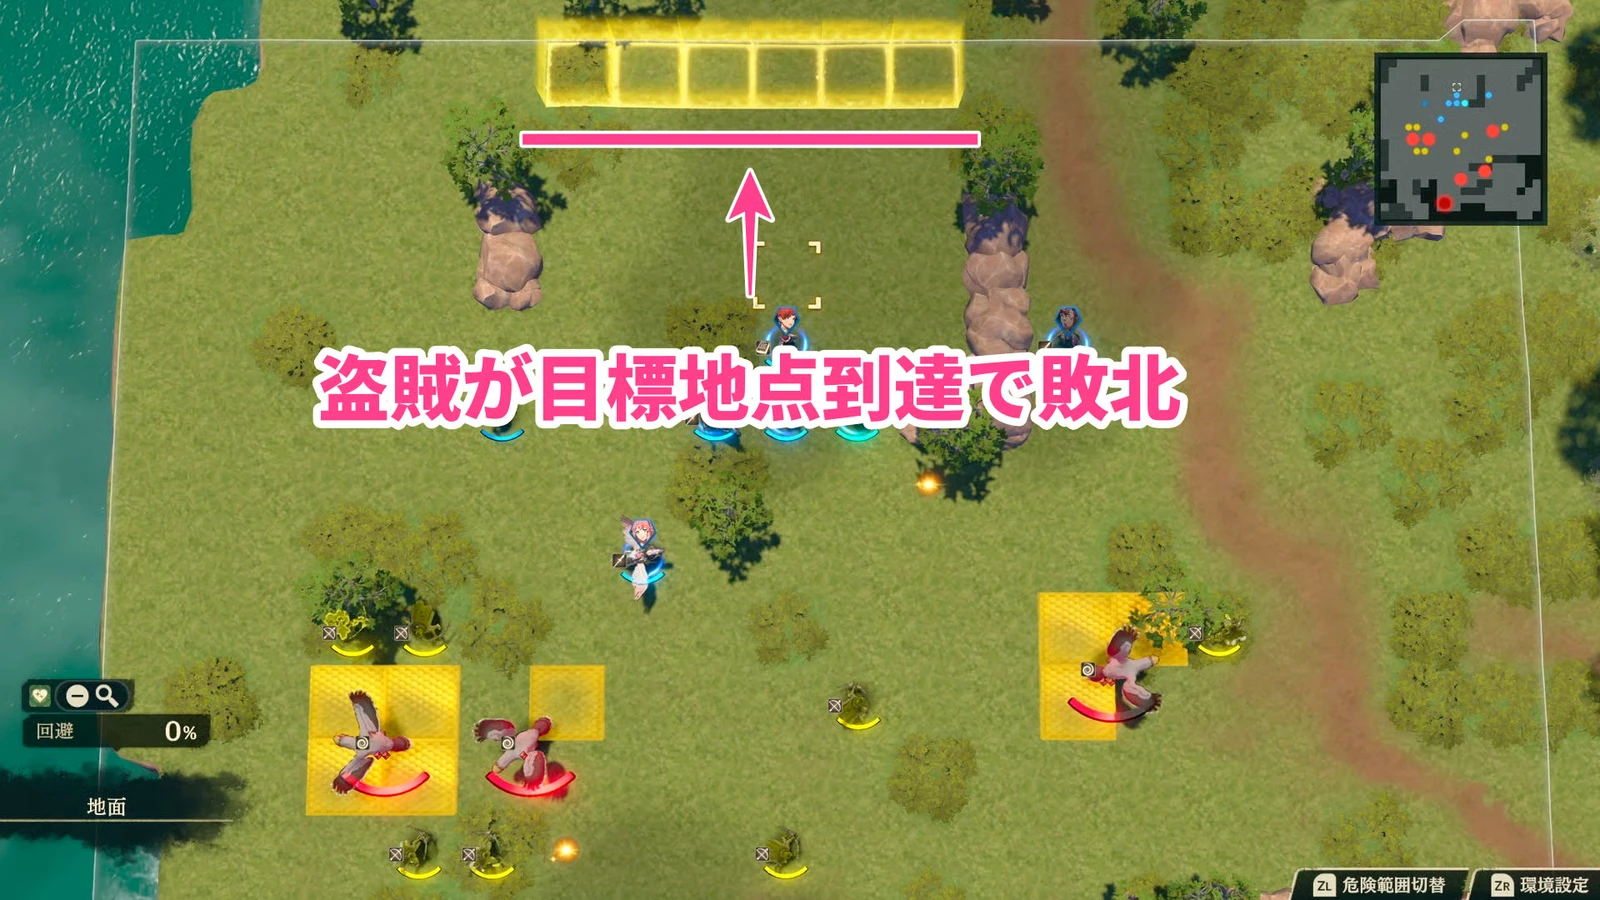
Talimun's Paralogue: Secret of the Vanished Carriage | Victory: recover all cargo or rout enemies; do not let a thief escape with cargo | Main concern: birds and thieves both collect cargo, so watch the northern escape lane.
Accept at the lower harbor and allow travel to the northeastern mountains. Enemies include multi-bar birds and bow thieves. Bring bows or effective arts. Let the two groups contain each other, then prioritize thieves when possible so they cannot take cargo to the northern yellow exit. Keep a mobile unit guarding it as insurance. Do not scatter everyone for one uncollected item on the ground; intercept escaping carriers first.
Receive Cleansing Blade after winning. Return to Ursula and negotiate with Renown 10 and Bond Level 3. If you miss September acceptance, use the second window of 10/1–10/10 and still finish by 10/12.
Anna’s Golden Secret
Anna's Paralogue: Golden Secret | Victory: changes mid-battle to defeating the summoned giant | Main concern: do not waste both ore-damage triggers on the same HP bar.
Accept outside the top-level temple, then continue dialogue to enter. Let  Solel block the giant while others break
 Orichalcum deposits. Every five destroyed deal one heavy damage burst, with ten total. Use the first five against bar one, confirm the giant has entered its second bar, then break the last five to avoid wasting damage.
Anna’s elephant occupies four tiles. Keep its route clear so her charge can also break ore. Solel sustains through his own combat art and carried medicine. Add ranged healing if necessary without recalling every ore breaker. Completion opens the nighttime secret shop; Anna herself is not a recruit.
Orchel’s Regret
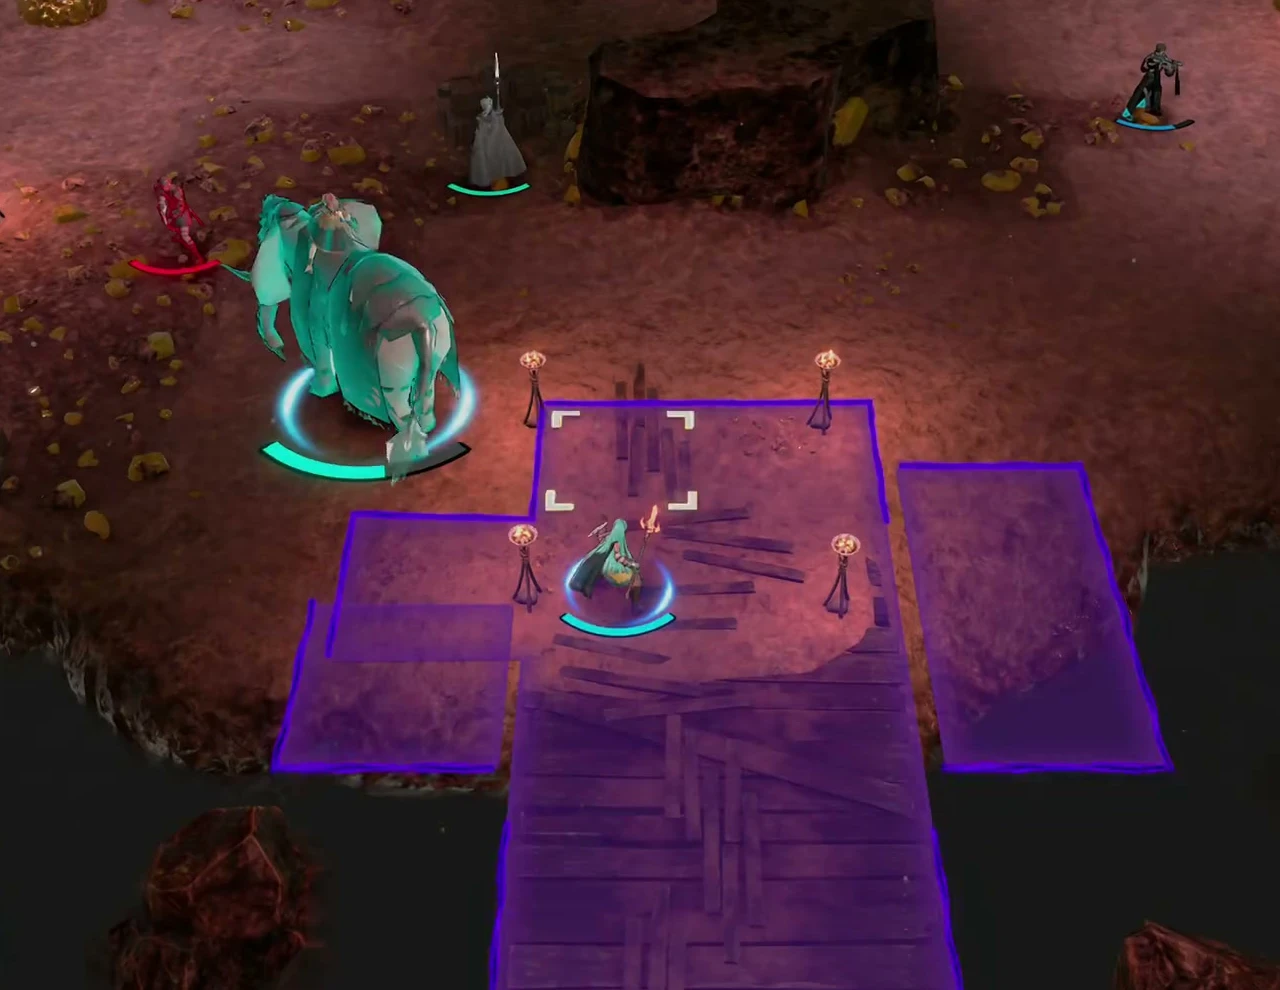
Orchel's Paralogue: Orchel's Regret | Victory: rout the enemy | Main concern: catapults trigger eastern fliers; clear the approach and heal before activation.
In Chapter 11, accept outside the branch temple first and head straight for the fortress. Prepare bows and anti-flier tools. Defeating Yashin still leaves other enemies to clear. Split into two teams at the catapult devices and activate both in the same turn. The devices work once, advancing distant enemies and spawning fliers on the right. Do not activate when only one unit arrives. Wait until both groups are healthy and nearby enemies are reduced.
The corner chests contain optional Pure Water. If a key holder takes one, defeat them before escape to recover it. Do not leave healing far behind for Pure Water. Save Orchel’s ranged healing for both wings, then check Diego’s requirements back in town. This window is tighter than ordinary quests; postpone distant crops and leveling.