
Starting on Hard/Classic: survive early and fill your team’s rolesMinor spoilers
Keep your starting mage and healer, solve mechanisms before engaging, and check Attack Speed, range, and retreat paths each turn. Do not copy roster cuts and level suppression from challenge runs into ordinary progression.

Keep mages and healers when starting Hard Classic rather than removing them to copy a three-unit challenge. Secure safe progress before considering level restrictions.
Survive first on Hard Classic, then optimize training
- Keep mages and healers in a standard playthrough. Three-unit Hard Classic adds voluntary restrictions and lacks healing after benching units. It does not mean beginners should bench their existing team.
- Change battlefield conditions before comparing stats. Devices ease the megalith battle, and broken pillars restrict chariots. These help more directly than one extra level.
- Check forecast Attack Speed, follow-ups, and enemy reach for every action. Accessories add stats but also Weight; an unnecessary one may be exactly what lets an enemy double you.
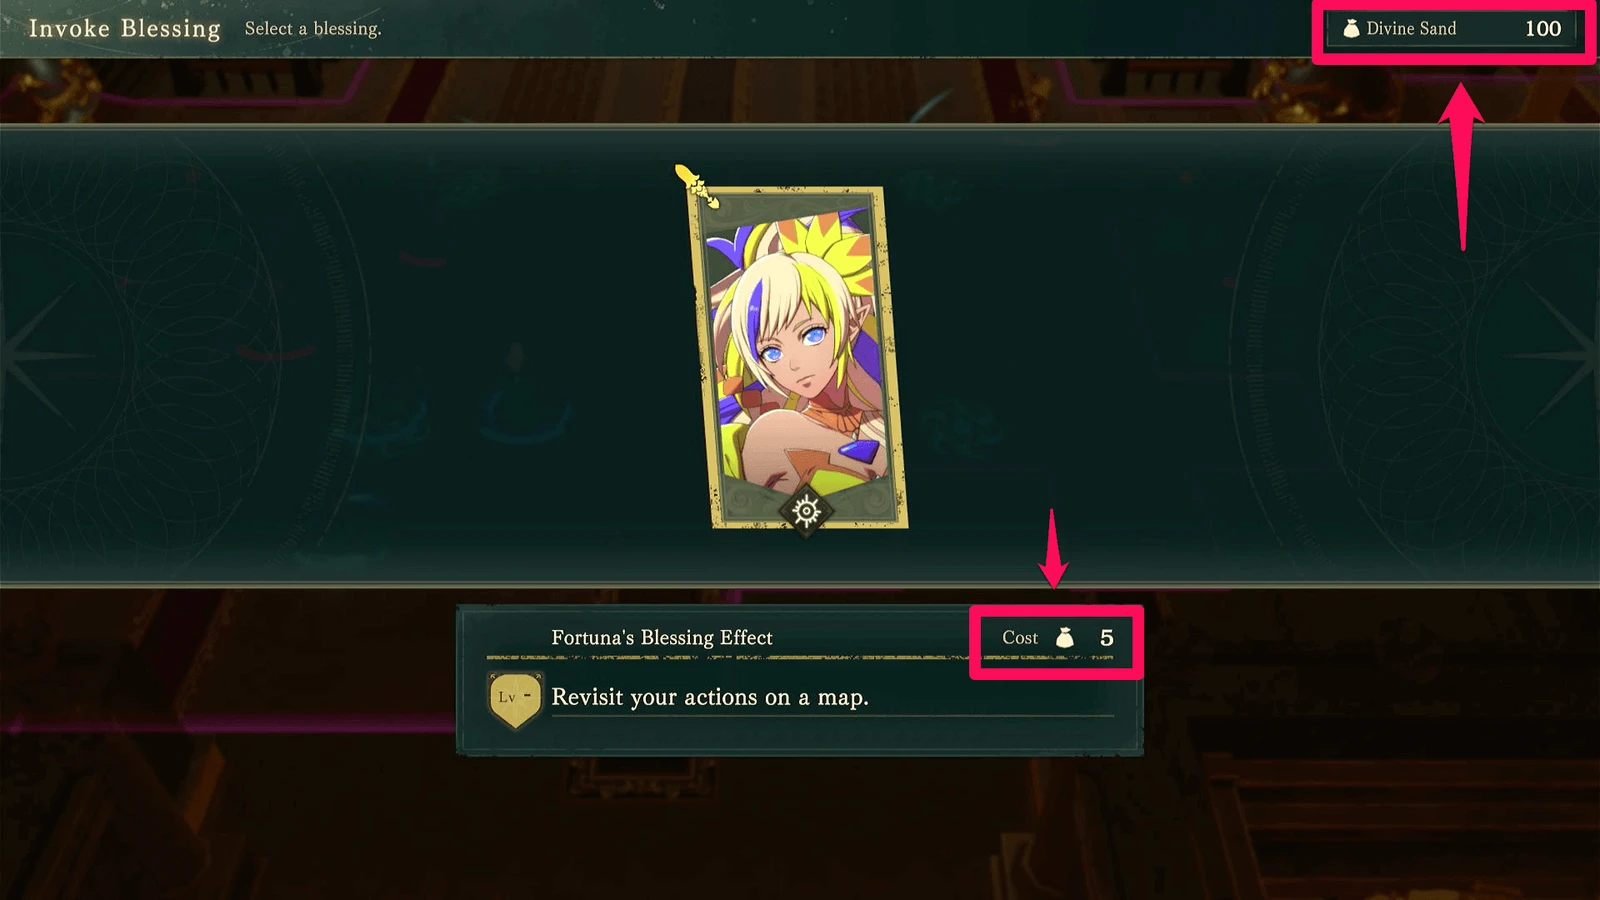
- Budget Divine Sand for both Blessings and recovery. Rewinds cost sand on Hard. Story and paralogue battles refill it, but free exploration does not reset it every fight.
- Stabilize a small Part 1 team, then expand toward Part 2. You need distant healing, bows, tanks, mobility, and magic damage, not only one strong protagonist.
See route walkthroughs for maps. Hard determines combat pressure; Classic determines the cost of falling. See difficulty and modes for change rules.
The three-unit challenge allows only the rewind Blessing
The three-unit challenge uses Hard + Classic, bans Blessings except rewind, and uses a female-only team while keeping the mandatory protagonist. It therefore spends long stretches using only  Dietrich,
 Esmeralda, and
 Mikaela, relying heavily on medicine early. Adjust for your own random growths and events when following it.
For normal play,  Fabio on Black Magic and
 Yang Jie on White Magic make an excellent early transition. Removing them is a self-imposed restriction. Regular Hard Classic players should keep these roles first. Add female-team or small-team restrictions after learning the maps.
You can limit the protagonist’s experience before class changes, but still take necessary kills to keep progressing. You do not need to hand away every enemy. The priority is avoid deaths and keep advancing, then optimize growth. Suppressing levels complicates finishing blows. Copying a sample’s levels with different growths and positions can easily fail.
Let the protagonist tank and the mage finish safely early on
In A Stranger Comes to Dagda’s brigand battle, let Dietrich secure kills if Fabio cannot defeat enemies in one hit. Use grass to receive the axe enemy on the right. Once Esmeralda joins in Chapter 2, give more experience to her and the mage when finishing is safe.
First check whether your main attacker can reliably kill, then whether a fragile ally will be safe after finishing. Give them the last hit only if it is safe. Surviving enemies actively seek mages, so leaving a target alive is also a defensive decision, not merely experience allocation.
Against the sea beasts, put Dietrich in front to receive enemies. The boss summons adds; if you can defeat it now, do not delay for more spawns. Inference: On a first Hard Classic attempt, prioritize victory. Do not prolong a fight for bonus experience before understanding its healing, accuracy, and reinforcements.
If your forecast cannot secure the same kill, adjust weapons, supporting damage, or bait positions. A critical in a recorded run is not guaranteed for yours.
Clear reinforcements before using megalith devices
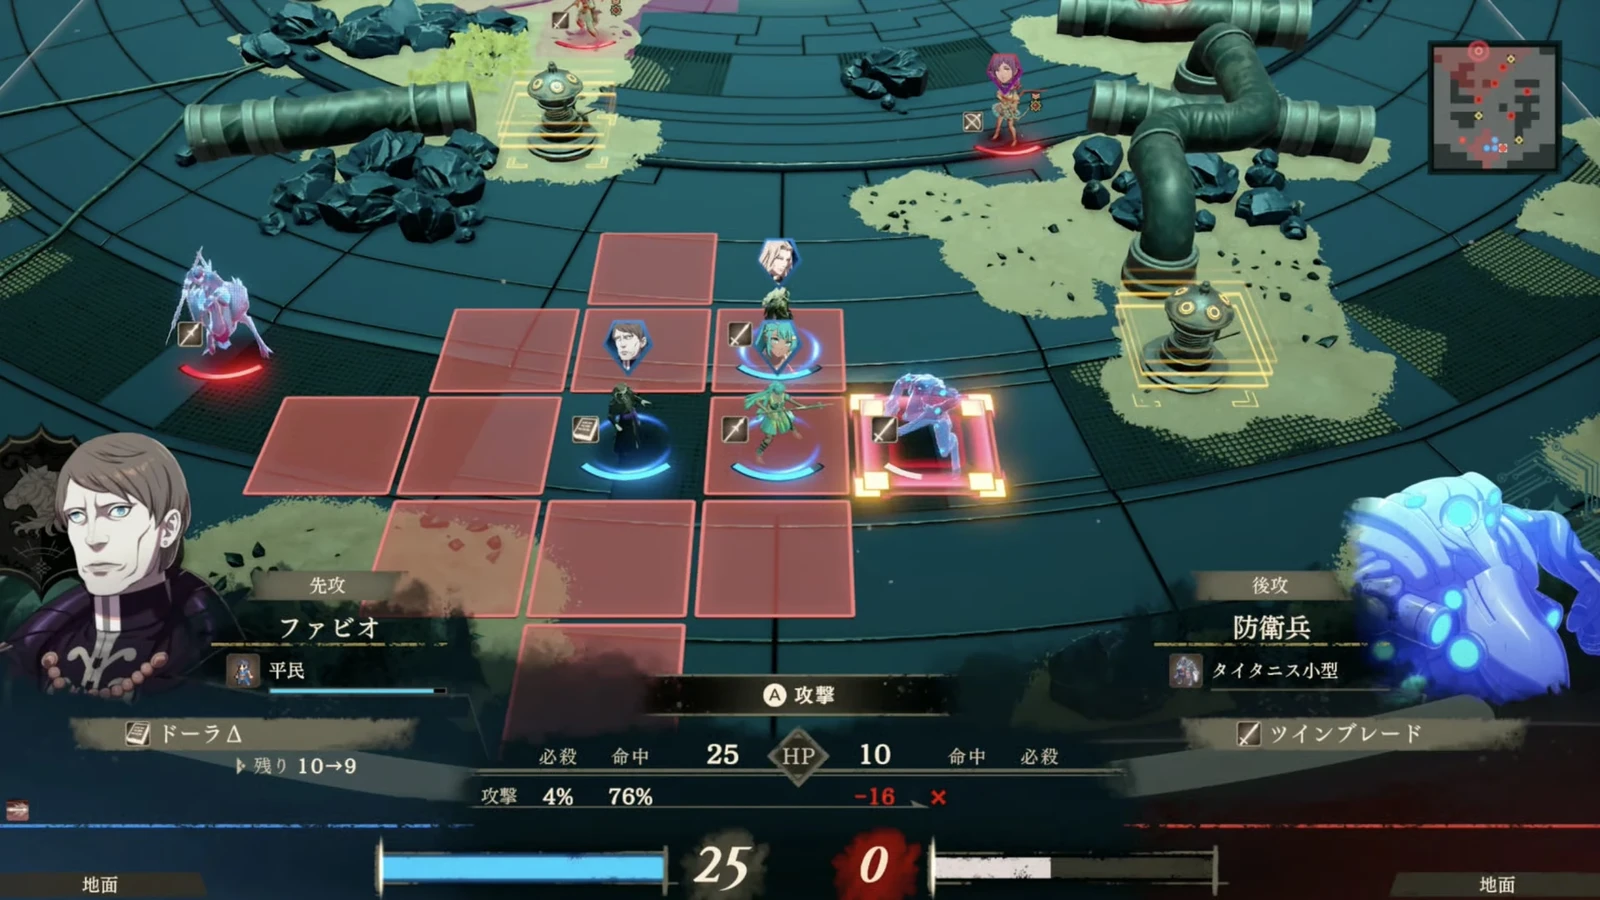
In the megalith battle, clear reinforcements before activating mechanisms to reduce pressure, and recheck range after a mage attacks. Read the current objectives for victory and defeat conditions.
In The Grand Megalith, activating devices noticeably lowers enemy stats. Assign Fabio to another mechanism. Reduce pressure in the boss phase before pushing forward together.
- 1Prepare medicine and recovery.Keep a healer if possible. Without one, do not save medicine until the tank can no longer hold.
- 2Clear reinforcements when they create pressure.Assign mechanism operators separately from attackers so the team does not take hits while competing for one interaction spot.
- 3Activate devices and confirm the debuff.Check enemy stats and status if you have not seen the effect. Do not assume all map devices work alike.
- 4Recheck range after a mage acts.Enemies have high Attack Speed and broad reach. After Fabio handles his target, retreat downward outside the northern enemies’ range, then move Dietrich right.
- 5Finish when HP and damage thresholds allow.The recorded final advance had only 72% Hit and is not a guaranteed-hit plan.
A frequent failure is seeing that the mage can double and leaving him in several enemies’ ranges, or assuming one device makes remaining enemies irrelevant. Inference: Recheck the mage with threat lines after every operation before ending actions. If healing is short, adjust positions instead of forcing the same turn count.
Trap the chariots before splitting damage in the preliminary
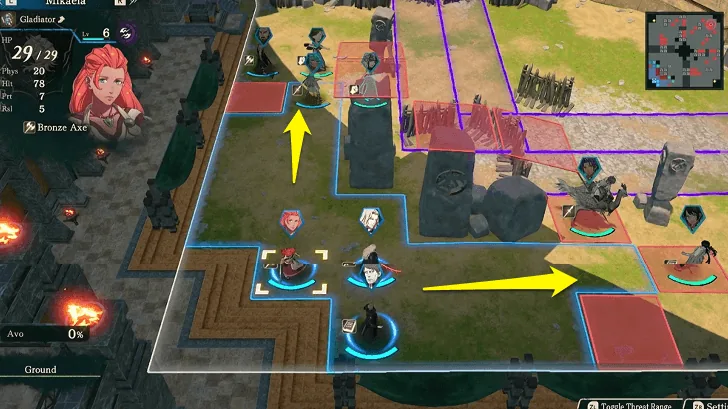
Guest healers can enable a two-lane approach. Four chariots are among the targets. The tutorial explains destructible terrain; break pillars on the left and right to confine them. Give pillar duty to units less suited to direct combat.
Check enemy range before splitting up. Tialla is fragile: if two enemy archers can hit her finishing position, keep her back. Use magic against armor and switch attackers for extra damage when the planned strike cannot kill. Securing a kill and surviving afterward are separate checks.
Identify each chariot’s route, then assign pillar breakers. Once movement is limited, decide who uses physical attacks and who casts. Keep mages and healers in safe positions on their current lane rather than crossing into the other side’s fire for one finisher. If one group lacks healing or damage, redistribute units instead of copying the shape of a two-lane plan.
After battle, return to your schedule and give experience to units with classes and roles in the next fight. Fix missing healing through recruitment and training; guest healing in this battle does not guarantee supplies later.
Check accessory and spell Weight when a unit becomes fragile
A mage carrying two accessories plus spell Weight can lose Attack Speed for Attack and Hit. One comparison drops Attack Speed from 14 unequipped to 8. If damage and accuracy already secure the kill, more accessories may only remove your follow-up or let the enemy double.
When a unit with decent Speed suddenly takes two hits, compare three things in preparations: current weapon/spell, shield/accessory Weight, and actual forecast Attack Speed. Remove one unnecessary accessory for this opponent and inspect the result. Do not read only the character sheet’s Speed or assume more Defense always improves survival. See combat formulas for full calculations and doubling thresholds.
Keep accuracy accessories when Hit is short; remove unnecessary ones when Attack Speed is short. Compare the combat forecast each time.
Survival Blessings and rewinds share your sand budget
Banning Blessings is a personal challenge. Standard Hard play can use them actively. Consider Aurora's Blessing when a low-durability unit must take hits, or accuracy support against evasive forest enemies. Sand refills at story/paralogue starts, but not after every battle in consecutive free exploration.
On Hard without cost reductions, one rewind costs 5 sand and Aurora costs 20. Calculation: One Aurora activation spends the equivalent of four rewinds. If it stabilizes your tank for a full turn, it may cost less than repeatedly rewinding for luck. Actual costs depend on your difficulty and reduction boons; do not copy another difficulty’s screenshot.
One Blessing order is Kalla level 1, then Aurora level 3: the former adds Avoid, while the latter reduces damage and counters Netherworld Blessing enemies. Another approach develops Kalla’s mobility first; see the stage checklist. Choose around your team’s weakness rather than treating one order as mandatory.
Fill missing team roles as training progresses
Dietrich need not follow one fixed class route. If Strength is low, address it first; if sufficient, continue swords. Keep a role each for Fabio, Esmeralda, Mikaela, and Yang Jie too. Beginners should copy the role division before a long cross-route optimization chart.
Toward Part 2, build a balanced roster of about 13: two ranged healers, two archers, two physical tanks, and several fliers/magic attackers. Roles can overlap. These numbers are roster suggestions, not fixed deployment requirements for every map.
- Get healing into frontline range first. Consider
 Sofia and
 Olympia for ranged healing. If they are not yet recruitable on this route, train your current White Magic user.
- Match tanks to enemy types. Esmeralda and
 Goliath can serve as physical walls, but armor still fears magic. Have others handle mages before advancing the wall.
- Keep a magic option for armor.
 Ultand, Olympia, or a suitable Levin Sword user fills this role. Levin Sword also needs sufficient Magic; check the damage forecast.
- Use flight for terrain and bows for anti-air. Mobile classes such as
 Wing Soldier still need safe landing tiles and healing coverage when crossing walls alone.
Build toward these roles as recruitment conditions allow. You do not need 13 fully trained units at the start. Develop the current team first and expand later.
Let terrain decide whether city battles need grouping or split teams
Deathless Hard Classic city battles show two responses. In open districts surrounded by reinforcements from several directions, group up and fall back to favorable terrain such as temple stairs. Send select units to contain enemies and advance after their resources run out. In narrow streets with many barricades and compressed positions, enemies also struggle to move, allowing split forces to create local advantages.
Count how many enemies can attack at once from the current direction and which routes constrain them before grouping or splitting. Inference: On an unfamiliar map, keep units close enough to support damage and healing. Expand the split only when both groups have tanking, damage, and recovery.
Handle Classic losses before the battle ends; see Rewind for the procedure. Do not finalize the loss of a long-trained companion just to keep one lucky hit.