Theodora Part 1 walkthrough: develop battalions early and protect October paraloguesMinor spoilers
Use ranged Earthen Throw and healing early, solve devices in the middle chapters, and spend the last 32 turns on outdoor paralogues before advancing Cai’s quest.

The final chapter has only 32 turns. Complete Dietrich's and Orchel's out-of-town paralogues before meeting Cai, so dialogue time skips do not consume your travel window.
Use Earthen Throw for early damage and add healing promptly
Earthen Throw weakens enemies at range but costs HP; keep healing ready. Recruit Sofia for healing in Chapter 5. If recovery fails, both offense and tanking suffer. During free time, deliver military preparation materials for Renown first, then send idle battalions gathering. Keep combat battalions with the main force.
| Progress | First priority | Cost of missing it |
|---|---|---|
| Chapters 1–3 | Earthen Throw strong enemies with  Bonaventure supporting; take Chapter 3 Bullion before the boss | Triggering phases at low HP or ending early without rewards |
| Chapters 4–6 | Equip battalions, recruit  Sofia, watch the match on 4/6 evening, prepare Cleansing Blade or Aurora Level 3 | Guest leader defeat, missing 500 Renown, or ineffective attacks against Netherworld Blessings |
| Chapters 7–9 | Break the barrier first; visit Chapter 8’s main destination before its 20-turn fog battle | Tanking with reduced maximum HP or expiring free action without reaching the destination |
| Chapter 10 | Finish sea objectives before lending the boat; prepare at least 5 orb carriers | Temporary loss of sailing or reduced tanking after a core unit picks up an orb |
| Chapters 11–12 | Accept paralogues on time; finish  Dietrich and  Orchel before  Cai | Dialogue advances dates and squeezes out outdoor paralogues/final recruits |
Fill team roles before choosing extra recruits
 Theodora,
 Tobias,
 Bonaventure,
 Lilian,
 Lysander, and
 Sofia make a six-unit core. Tobias tanks physical enemies, Bonaventure supplies magic and backup healing, Lilian shoots from range, Lysander uses mobility to finish enemies, and Sofia sustains recovery. The queen opens with Earthen Throw and the team follows. When splitting, give each side physical attacks, magic, and recovery.
Bonaventure need not be replaced immediately. He can support nearby Tobias while casting and healing, but low Defense makes standing in enemy focus fire for adjacency bonuses unsafe. Replacing him with  Sirocco also requires Renown, Support, and a quest. Recruit Sofia for healing first, then decide whether to replace the mage.
Choose gambits by attack shape. The queen already has a straight-line Blaze attack, so diagonal coverage fills blind spots. Put recovery options near the front and immobilization gambits behind for distance. Upgrade battalions as Authority rises rather than keeping tutorial assignments. Combine battalion assignment, gathering, and transport with class exams.
Deliver war supplies before unlocking mounted classes
From Chapter 5, accept war-preparation quests from Bonaventure and dispatch spare battalions for required materials. Deliver existing stock promptly: materials sitting in storage neither raise Renown nor unlock classes. Keep combat battalions and combine gathering/recruiting trips.
| Earliest chapter | Required delivery | Key reminder |
|---|---|---|
| Chapter 5 preparations | 5  Caltrop Flower, 20  White Trout | Gather White Trout at Alcyoneus Bridge west of the capital |
| Chapter 6 preparations | 20  Black-Sand Steel, 10 Melara | Prepare next chapter’s Thry Fruit and Carna Bonito while traveling |
| Chapter 7 preparations | 30  Thry Fruit, 30 Carna Bonito | Do not trade away all next chapter’s Steelfish and Ladon Loach |
| Chapter 8 preparations | 10 Steelfish, 35 Ladon Loach | Ladon Loach preparations are tied to  Cataphract |
| Chapter 9 preparations | 35 Roca, 10 Kothar Gar | The two deliveries unlock  Guardian and  Dragoon respectively |
| Chapter 10 preparations | 35 Desert Millet, 35 Venomstone | Schedule sea gathering before lending the boat |
| Chapter 11 preparations | 35 Lir Fish, 35  Sea-Star Stone | Deliver early; reserve the final 32 turns for paralogues and returning |
War-preparation quests and rewards. For Advanced classes in Chapters 8–9, first check completed war deliveries, then level, Renown, proficiency, and exam items. Level 35 alone may still leave the intended class absent from the examiner.
Chapter 1: Theodora, the Iron Bastion
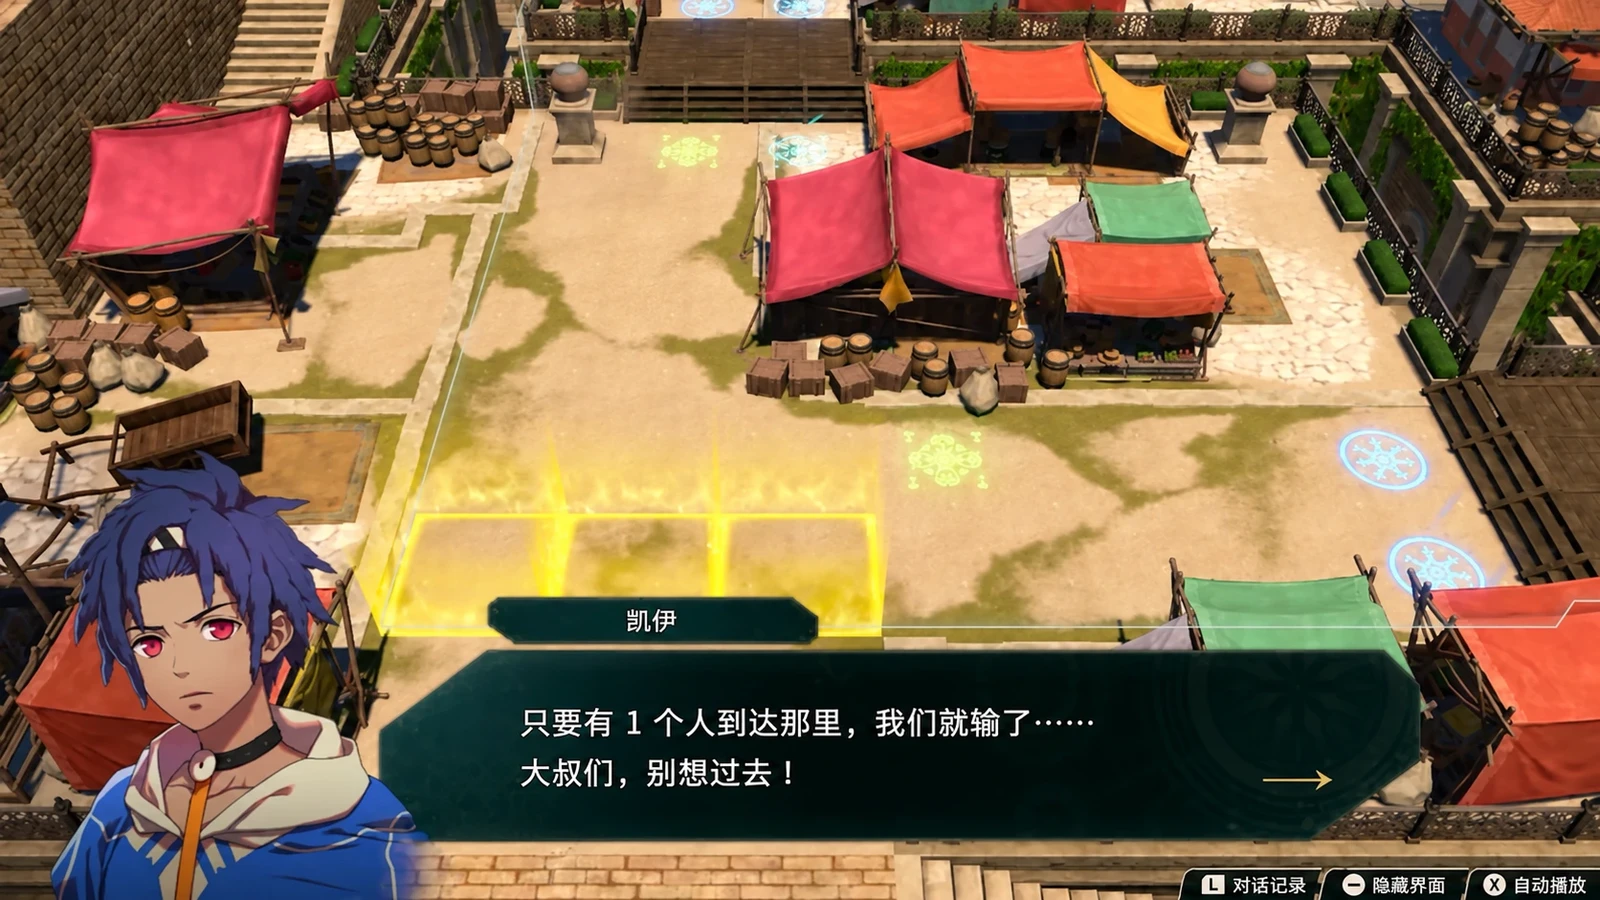
Reach the northeastern yellow target, then rout the reinforcements. Tobias and Bonaventure arrive on turn 2. The queen can wait in brush until all three regroup. Stand in brush when luring; do not leave enemies there to gain Avoid.
Reaching the target triggers phase two. Heal before stepping in instead of greeting reinforcements at low HP. The event grants  Mahadu's Spear and Earthen Throw. Use the queen’s range against strong enemies such as Bahr Vahn while allies clear nearby soldiers. Speak to
 Tobias/Bonaventure when conversation bubbles appear to gain Support.
During palace exploration, collect items behind the left pillar at the starting area, to the right of the objective stairs, and behind the right pillar before climbing the stairs. The yellow objective ends only the first half; another battle follows.
Chapter 2: Dyan’s Uprising
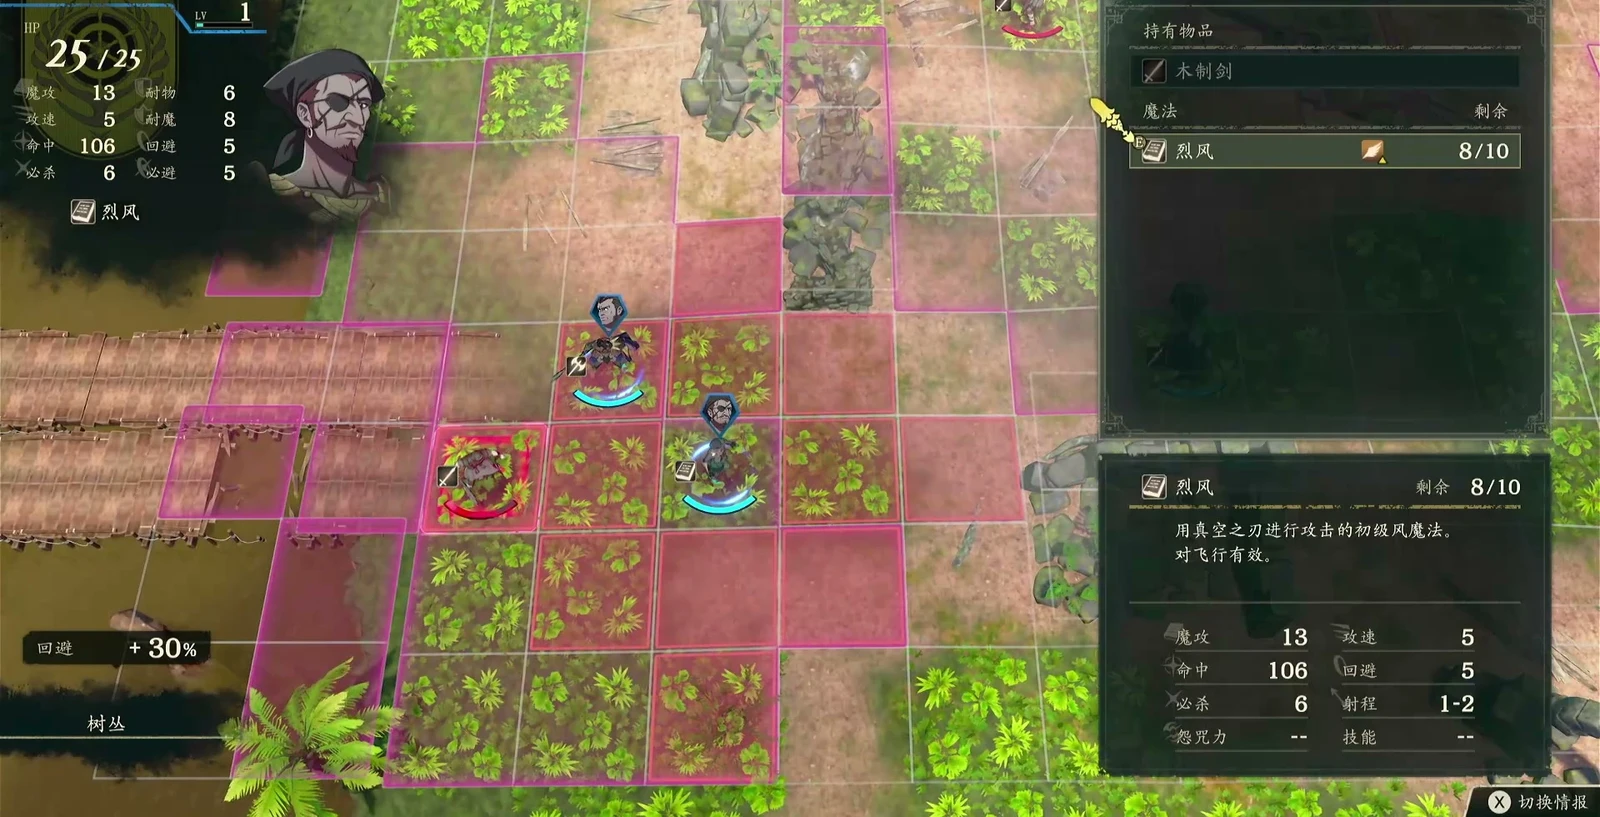
Engage Huver from Avoid circles and lure Dyan’s nearby soldiers off Healing Circles. Avoid circles add 40% Avoid and support gradual advance. Huver has low Hit but high damage; do not take him and nearby soldiers together. The queen chips with ranged Earthen Throw, Bonaventure uses Heal, and Vulneraries cover gaps.
Dyan and nearby soldiers start on healing circles. Rushing directly at them prolongs the exchange. Enter only the outer soldiers' attack range first to draw them away, then focus them down. Restore HP even on an Avoid circle. Save one ally's action for finishing or healing rather than spending all three early.
The main story grants Divine Sand and unlocks Fortuna's Blessing. Handle later mistakes with Fate Reversal.
Chapter 3: Tumult at the Imperial Capital
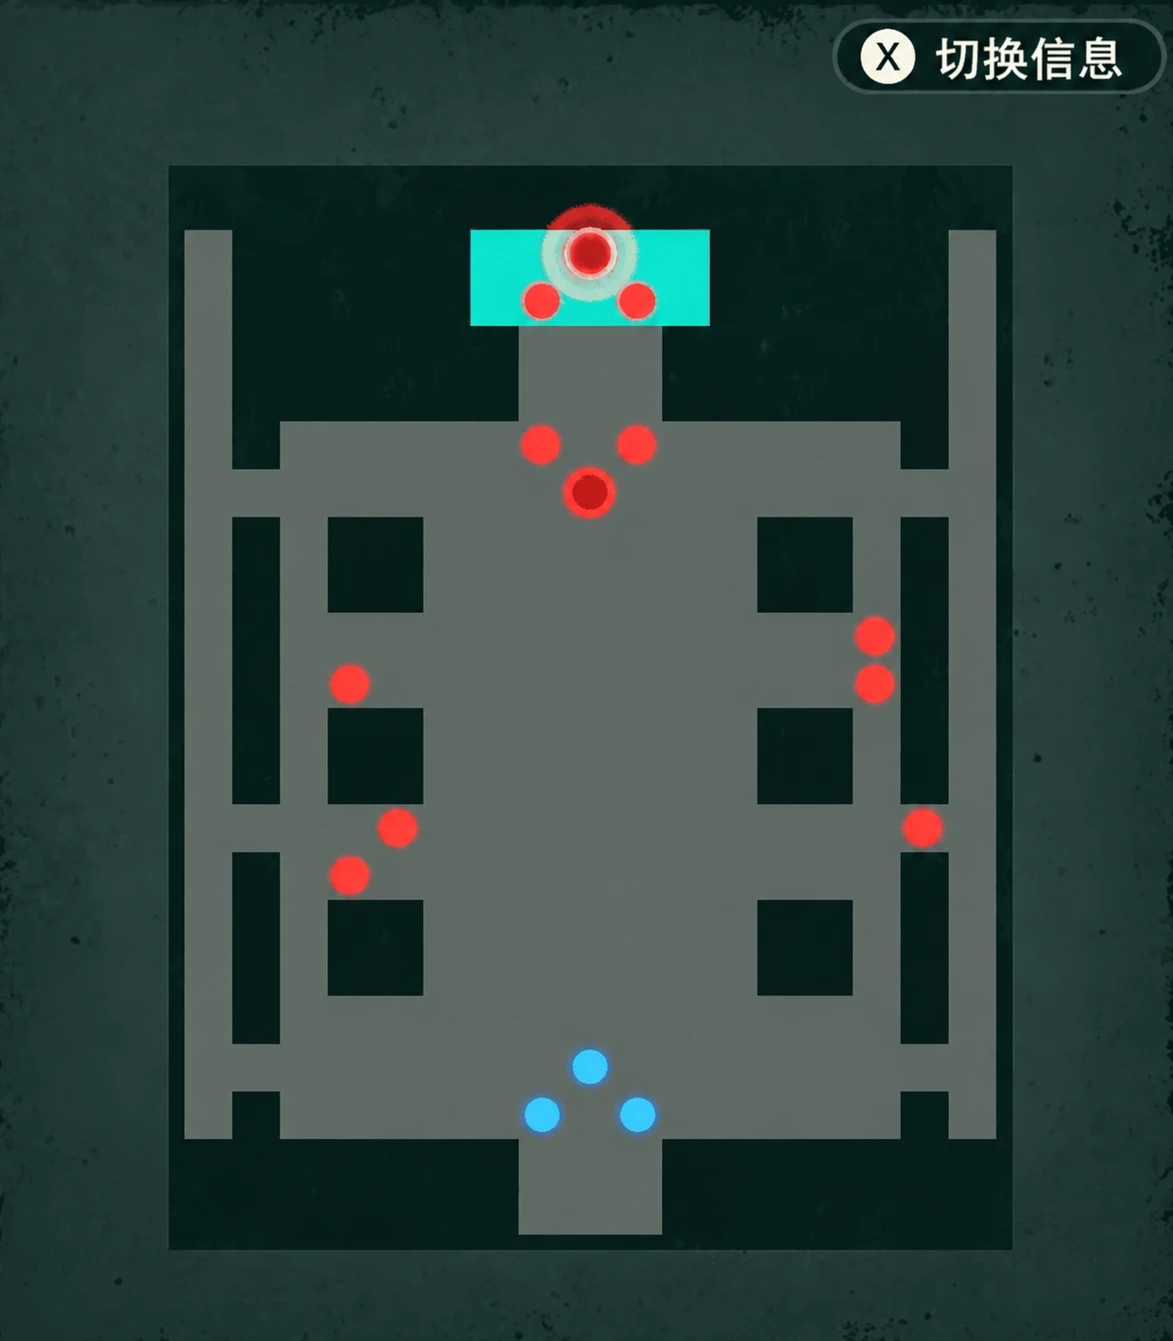
Defeat the Bullion carrier before finishing Idi. A  Bullion carrier appears after the first enemy falls; the queen can eliminate it with ranged Earthen Throw. Approaching Idi activates him, and defeating him ends the battle immediately, costing Bullion and remaining experience if done early.
Your team and four guests advance on the left and right. Guest kills also distribute experience to your units, so do not block paths fighting over every final hit. The queen can Earthen Throw terrain-separated central enemies from below. A three-unit team has little room after misses: inspect key Hit rates and reserve an ally positioned to take over.
At the guesthouse, collect items from the sofa behind Tobias and beside Lilian first. After progressing, choose a conversation with Tobias or Bonaventure for Support. In the outfit conversation, choose “This is nice too.” Guest participation still requires separate formal recruitment conditions; see route recruitment.
Chapter 4: Unlikely Allegiances
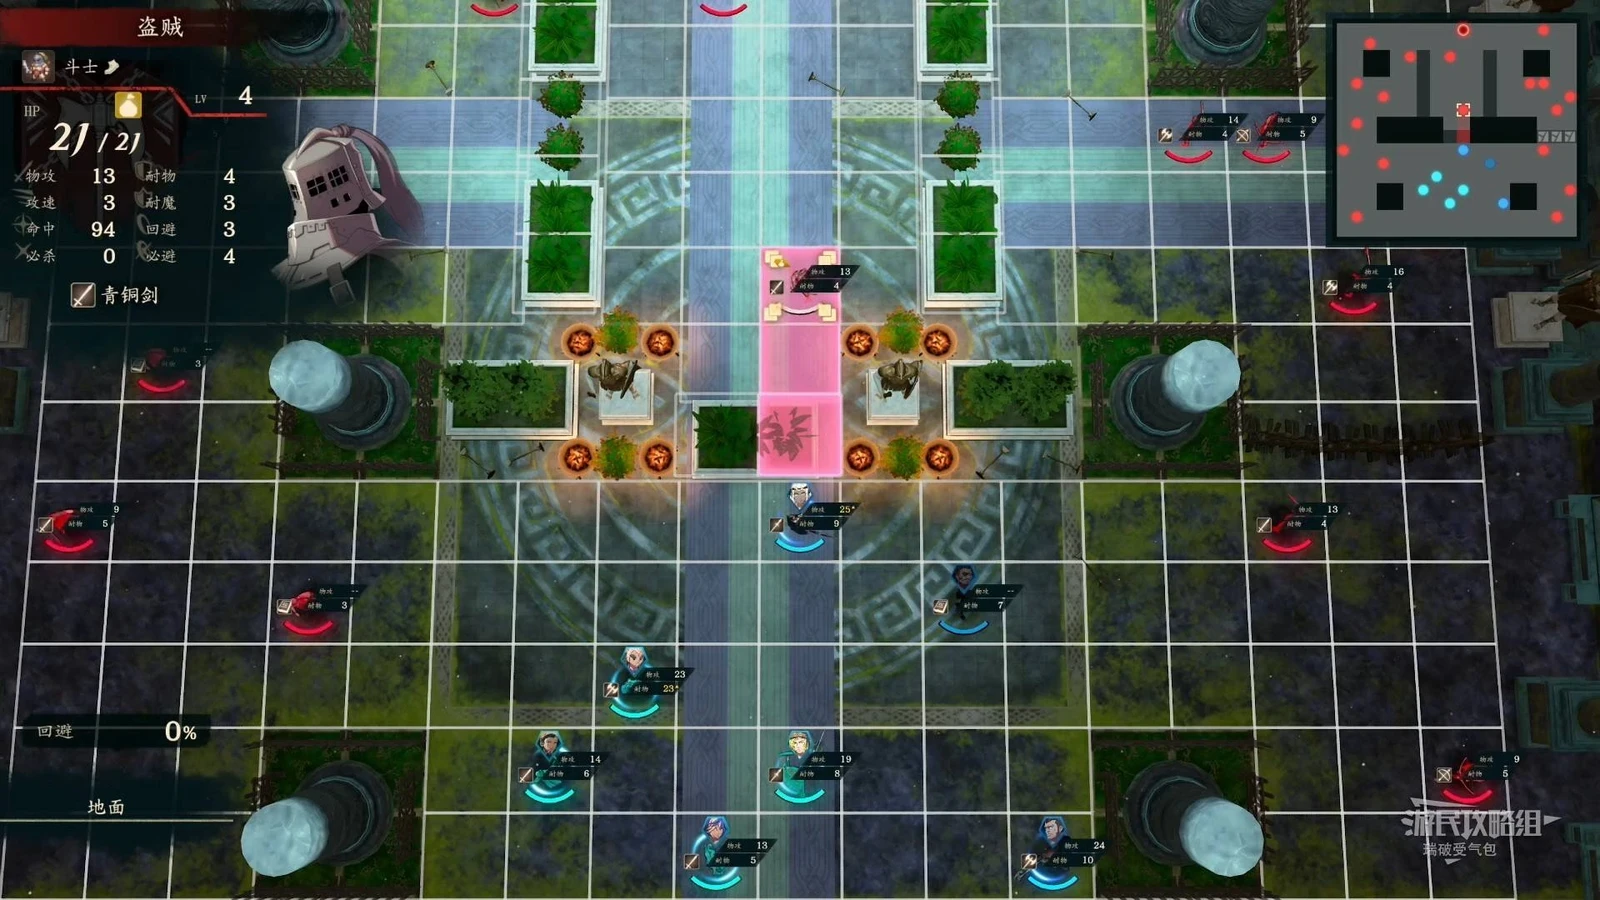
Use 24 turns for nearby quests. Take the central platform in the qualifier and save the queen for Zarcone’s second HP bar. In the tutorial, train and take exams first, assign Novice Hunters to the queen, then train battalions. Lilian and Lysander formally join. Accept nearby quests and order them by deadline; do not plan a long expedition in this short chapter.
The central platform is narrow; send melee ahead with archers/healers following.  Zarcone has two HP bars. Let allies remove the first and save high-damage Earthen Throw for the second rather than wasting overkill on a nearly empty bar. You lose if the queen,
 Cai, or
 Orchel falls. Healing must cover more than your own team.
Sunny Ridge provides Insect Pearls. Keep at least 2 Large Insect Pearls found along the way for a later quest. Set the return reminder one day before the destination date, not on the day while still traveling.
Chapter 5: An Ominous Clash
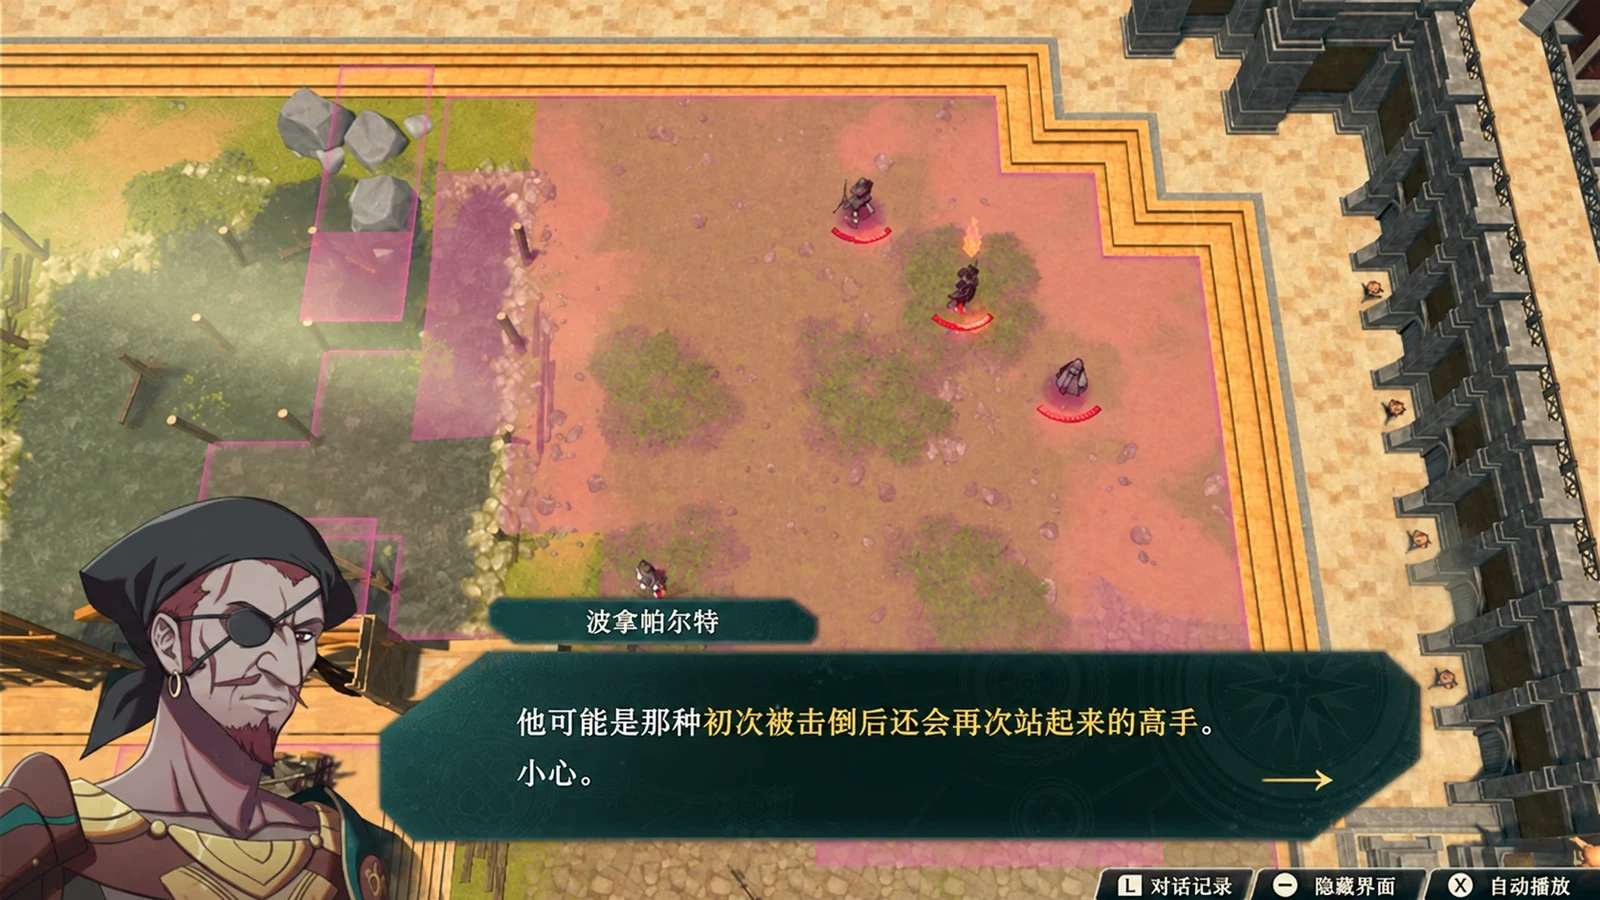
Recruit healing first, then wait for rain at the end of turn 4 to break through artillery from both sides. The 52 free-action turns unlock war preparations and exploration dispatches, and grant Priest Trainees. Sofia needs Renown 2 and Bond Level 1 here. Give a gift, negotiate, and confirm joining. Consider  Noctula if more melee is needed, but do not spend all chapter expanding the roster.
Gather war-preparation White Trout at Alcyoneus Bridge west of the capital. Dispatch battalions before nearby quests. Anatolia’s fortune-telling shop northeast of the inn also has an event. Walk from the middle level’s main gate to the lower map once to simplify later visits.
Avoid the central ballista coverage. Rain at the end of turn 4 temporarily stops artillery, letting you break left/right fences and approach the boss.  Anatolia’s Blaze Art clears obstacles quickly.
 Talimun’s ranged debuff is useful but expensive in HP; heal before repeated use. A two-bar Clash follows the qualifier; the chapter ends only afterward.
Chapter 6: The Treasure Hunter
Prepare Cleansing Blade or Aurora Level 3, and regroup before attacking the central boss. The opening Clash unlocks the Vandahl Trading Company, battalion recruitment, and forge. Within 114 turns, return to Crystal Palace at 18:00 on 4/6 to watch and accept a special duel. The cap is 3 including the queen; bring Sofia or Bonaventure for healing. From turn 2, change attack type according to Bertrand’s boosted stat. Victory gives 500 Renown.
Deliver 20 Black-Sand Steel and 10 Melara for preparations. Next chapter needs 30 Thry Fruit and 30 Carna Bonito; gather along the way. Exchange Ladon Pike for  Cleansing Blade at the trading company; gather the fish at Lake Ladon south of Aguino Village. Enemy Netherworld Blessings halve damage, so prepare cleansing before battle.
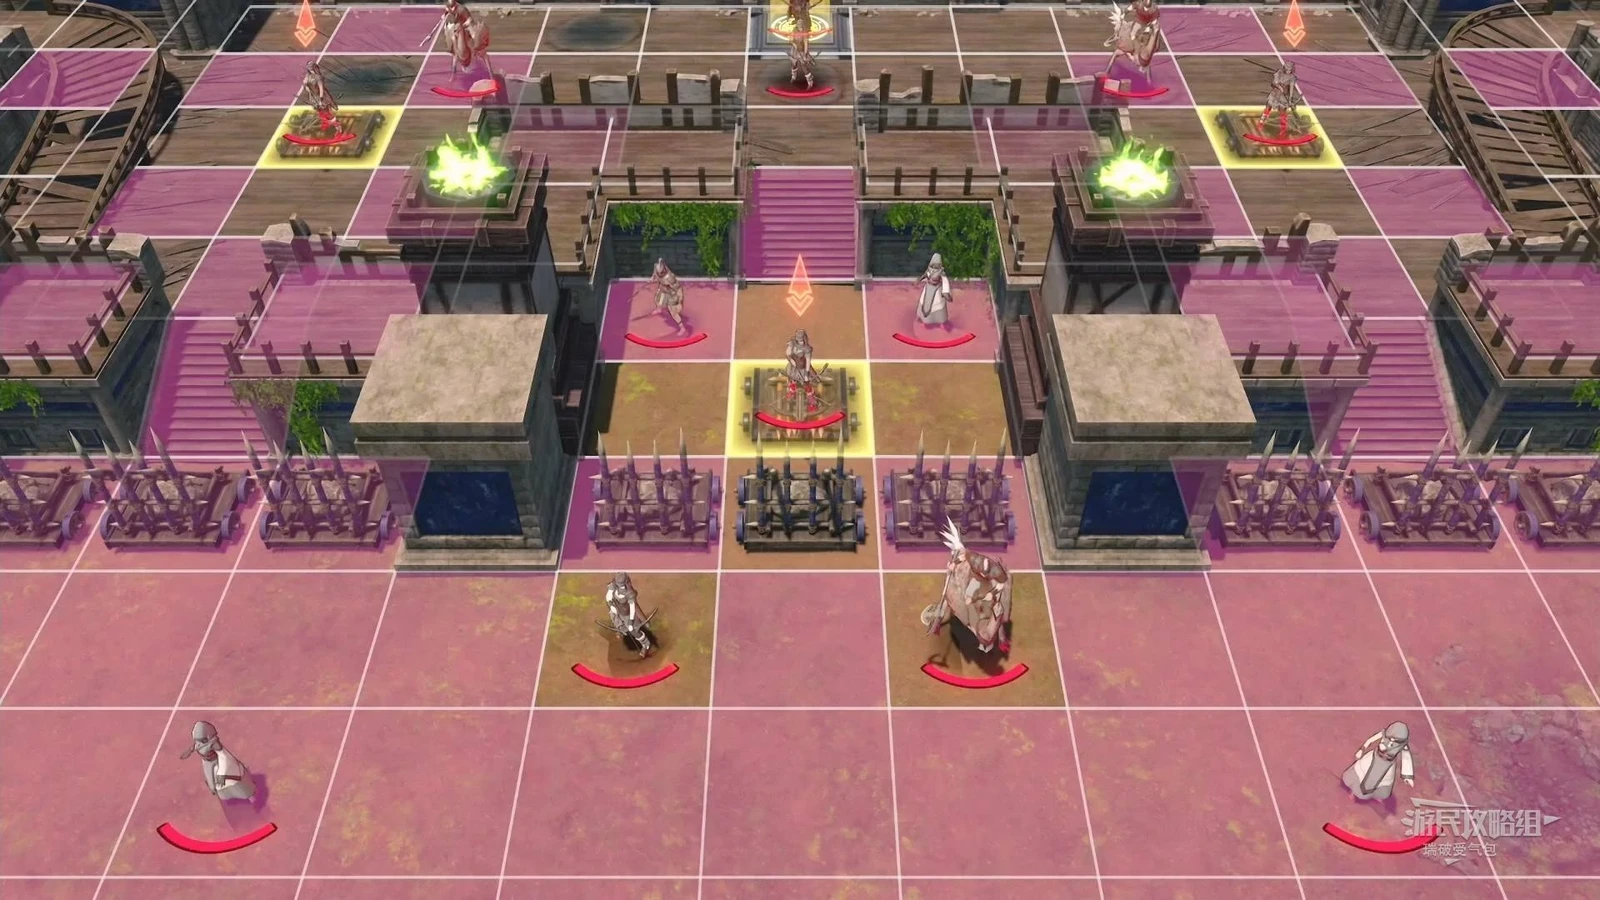
Enemies do not act before you attack central Bahr Vahn. Once the queen triggers him at range, he heals, teleports north, and summons east/west reinforcements. Eastern traps deal 6–8 HP, so keep healing there during the split. Northern Healing Circles restore 10 HP each time. Approaching the boss lures him off them, avoiding prolonged exchanges on recovery tiles.
For Zarcone, reject the first three high prices and finally pay 10G. Renown/Support requirements still apply. Handle recruitment and weapon upgrades early.
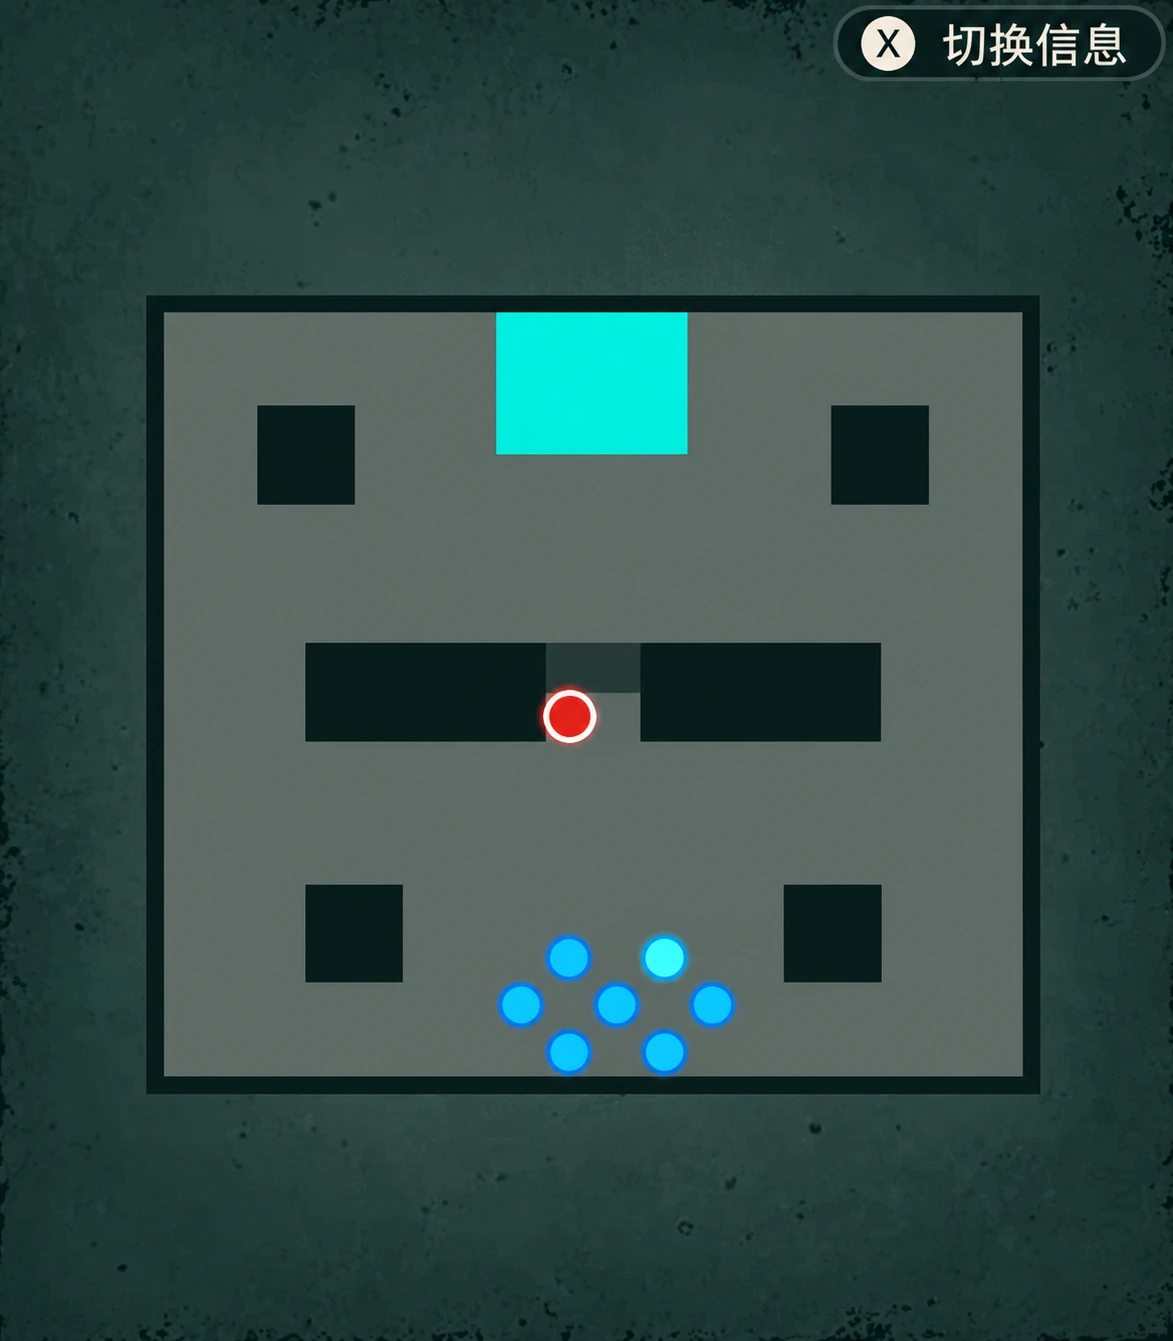
Chapter 7: A Voice From the Darkness
Defeat the three Priests first, with the second and third in the same turn if possible.  Alexandra starts moving after the second falls. If a crowd still separates you from the last Priest, you face barrier and boss together. Clear surrounding enemies first, then use ranged Earthen Throw on Priests to reduce counters.
Use Lilian’s bow or guest  Dietrich’s Grounder against fliers. The queen’s maximum HP decreases gradually here; move her back to ranged attack distance instead of keeping last chapter’s frontline role. Alexandra dismounts and summons reinforcements after bar one. Finish bar two directly if possible instead of detouring after new soldiers.
During 148 free-action turns, deliver 30 Thry Fruit and 30 Carna Bonito, then prepare 10 Steelfish and 35 Ladon Loach for next chapter. Once troop transport unlocks, convert unused battalions to Armament Points, exchanging each 100 for a Tactics Manual. Keep enough for combat/gathering. Find Alexandra in the city, then visit the slums for an event. For  Dadao or
 Loretta, prepare 2 Kothar Gars or 3 Iron Swords respectively, then check Renown/Support.
Chapter 8: Rendezvous With Troy
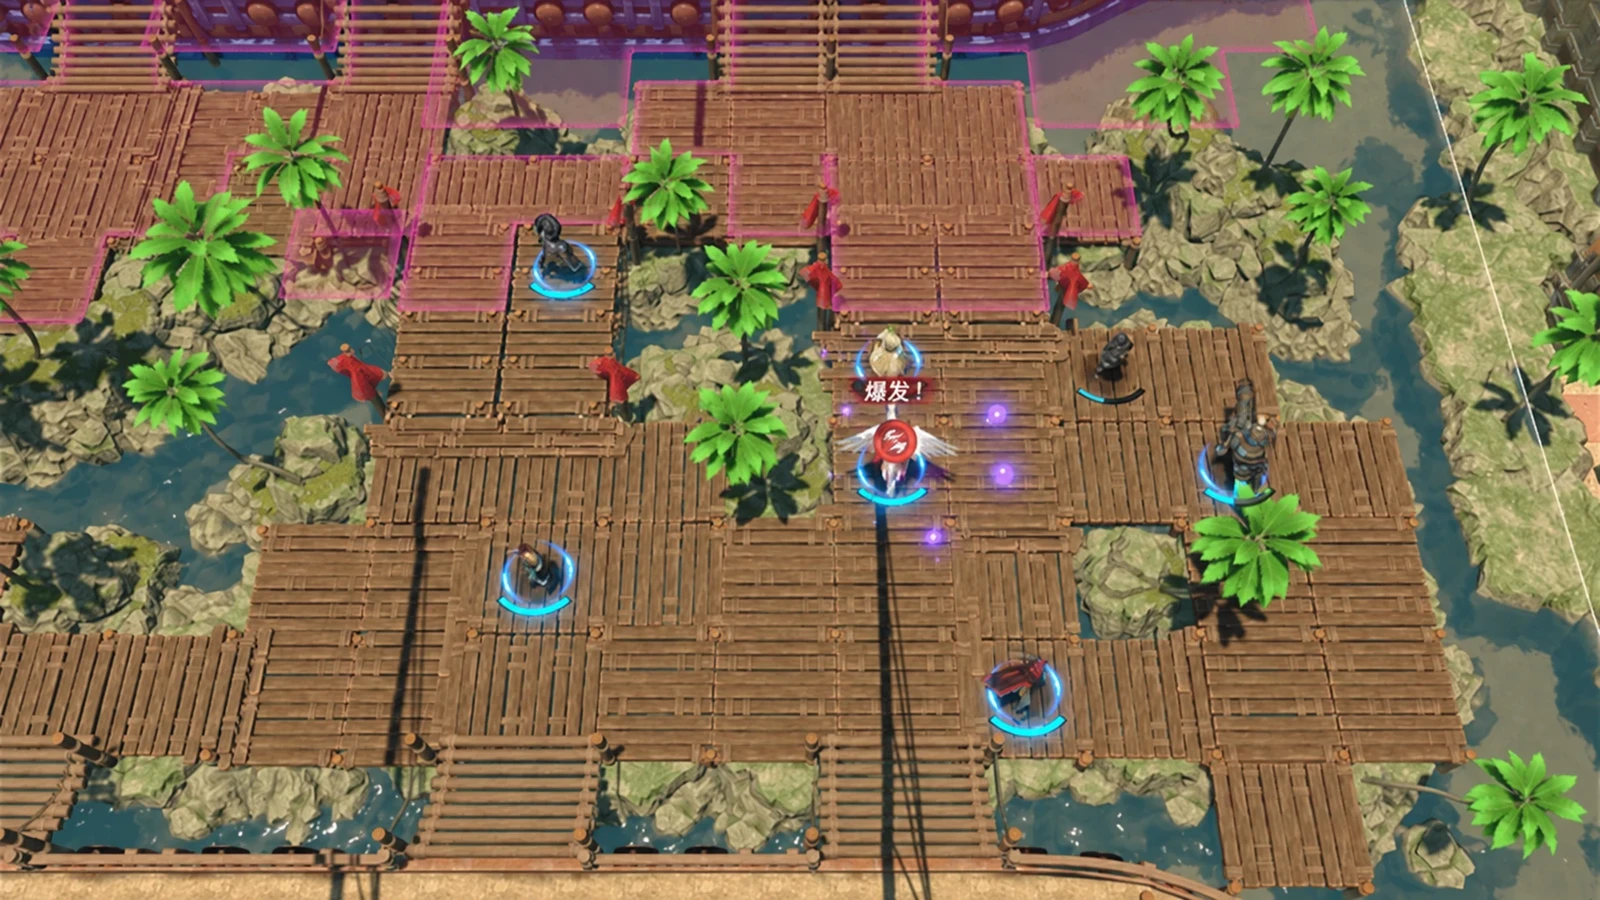
Visit the Tolitopatel Grand Corridor before free action expires, then defeat Nuzzuo within 20 turns in fog. Do not spend all 116 turns gathering/recruiting. Reach the destination and confirm the quest checkmark first, then schedule the 6/15 match visit and other activities. Deliver 10 Steelfish and 35 Ladon Loach; reserve 35 Roca and 10 Kothar Gar for next chapter.
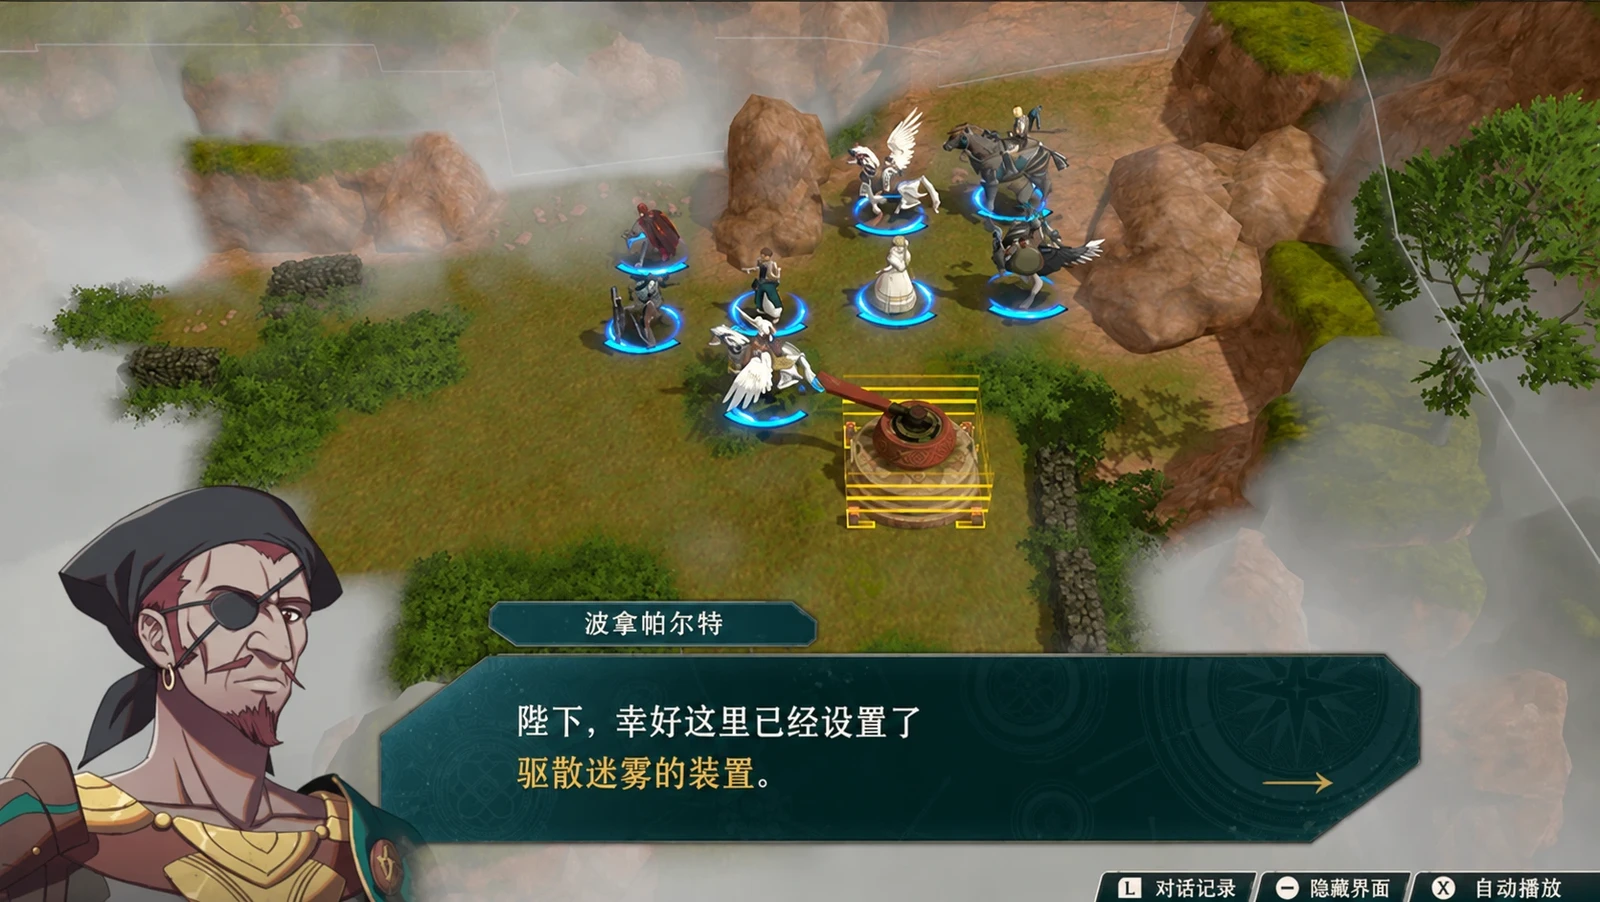
Venin Bows hide in thick fog. Keep fliers away from archers and bring  Antitoxin. Credna's Blessing Level 1 adds 5 vision. Each activation of the map’s 3 fog-clearing devices prevents still-undiscovered enemies from acting that turn. Stagger activations to reveal Nuzzuo and buy pursuit time. He circles your starting area, so do not commit everyone to one guessed location.
In the Lost Forest afterward, ask Bonaventure for the number, then count butterflies at junctions. Story sequences choose paths by number; free exploration follows butterfly-marked paths. Mixing these rules sends you back to the start repeatedly.
Chapter 9: To the Forbidden Land
Attack the special insects with wider swaying movements first to transfer damage to nearby insects. When a special individual is hit, nearby insects of the same type take equal damage. You do not need to kill it to trigger this. Attacking isolated ordinary insects wastes clearing actions.
After 119 free-action turns, take the southern passage to Kunlun, speak to the quest contact, then use the northern passage for battle. Identify special insects and nearby groups before selecting Earthen Throw targets.  Inyoni becomes available from this chapter; recruitment here requires Renown 9, Bond Level 1, and 4000G. Invest if you need another archer without stopping core training.
Chapter 10: The Queen and the Merchant
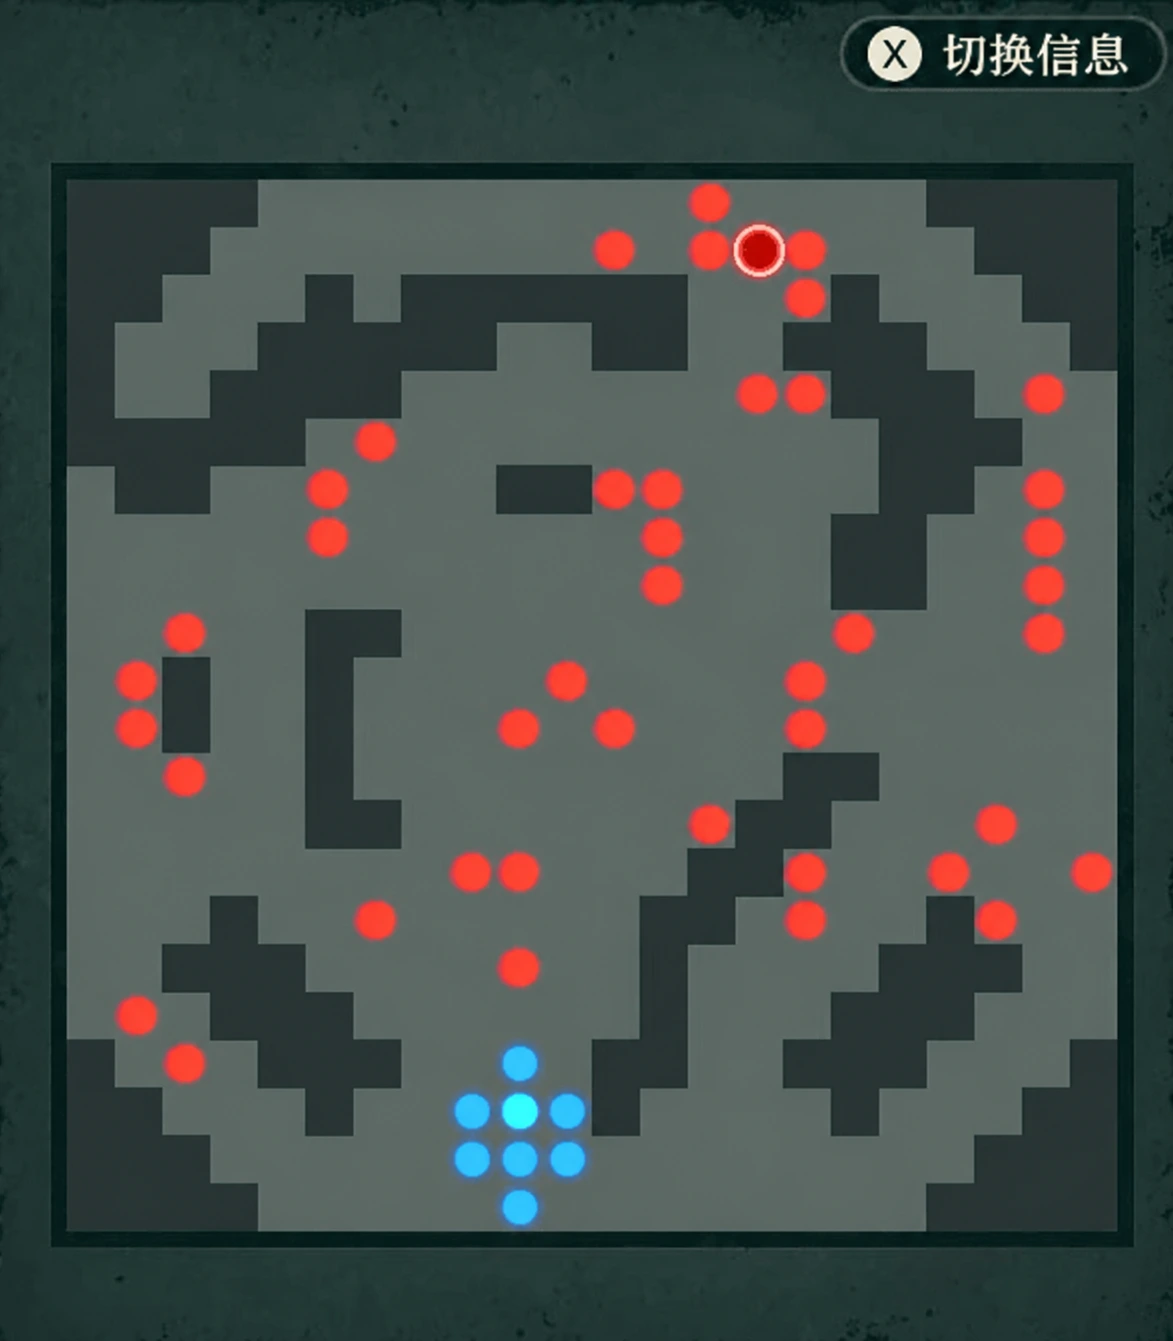
Keep at least 5 of the 9 orbs through the end of player turn 12.
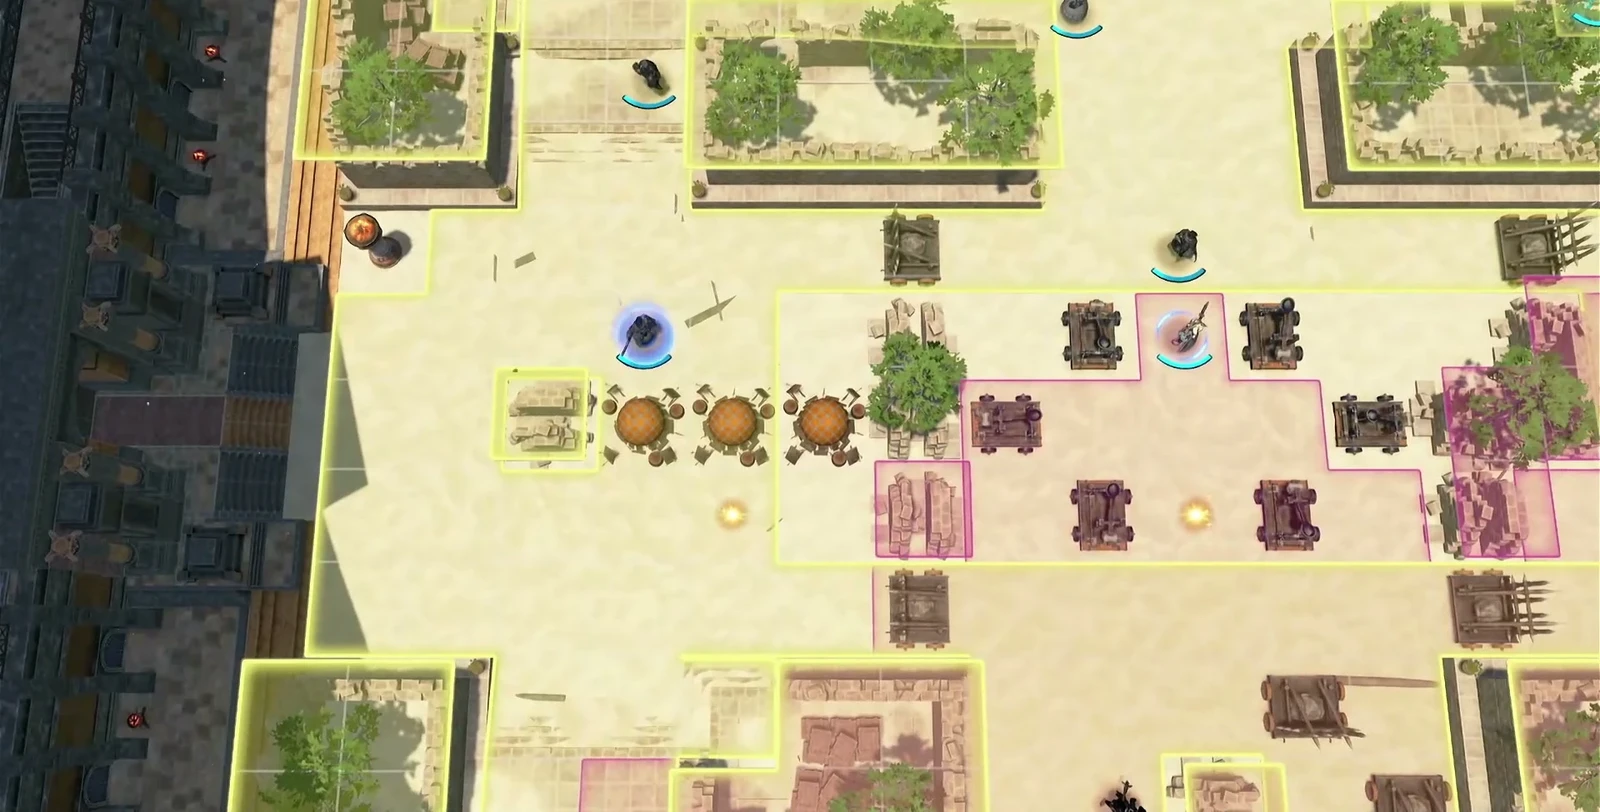
Even in Classic, units defeated in this battle revive and remain on the team afterward. Defeat still interrupts orb carrying and action plans, so repeated deaths are not a reliable defense. Central catapults can reach both bases; take them first to avoid chasing orbs into the enemy base. Save ammunition for carriers rather than spending it all on ordinary enemies who revive.
Check the attacker’s inventory before taking an orb: only a unit with no orb and a free slot receives an orb from a defeated carrier. A unit already holding one sends the defeated enemy’s orb back to a random central-map location. Prepare onager operators by the same rule. If you need an enemy orb in allied hands on the last round, let a noncarrier finish, rather than sending it back to the center with a carrier’s kill. Scoring happens immediately after your turn 12, without another enemy phase.
Within 88 free-action turns, accept Leda's Paralogue: Diversionary Tactics from Leda outside Kalla’s temple during 9/2–9/8. Dialogue advances to 9/9, so finish other plans for those dates first. Before 23:59 on 9/15, lend the boat to Anatolia near the arena for final-chapter reinforcements. Sailing is unavailable during the loan; complete sea objectives first. Once free action begins, enter Euphaz’s temple through the back door behind the upper theater for a hidden Orchel event. If no world-map quest appears, check ripples on the temple’s local map.
Chapter 11: A Sudden Turn
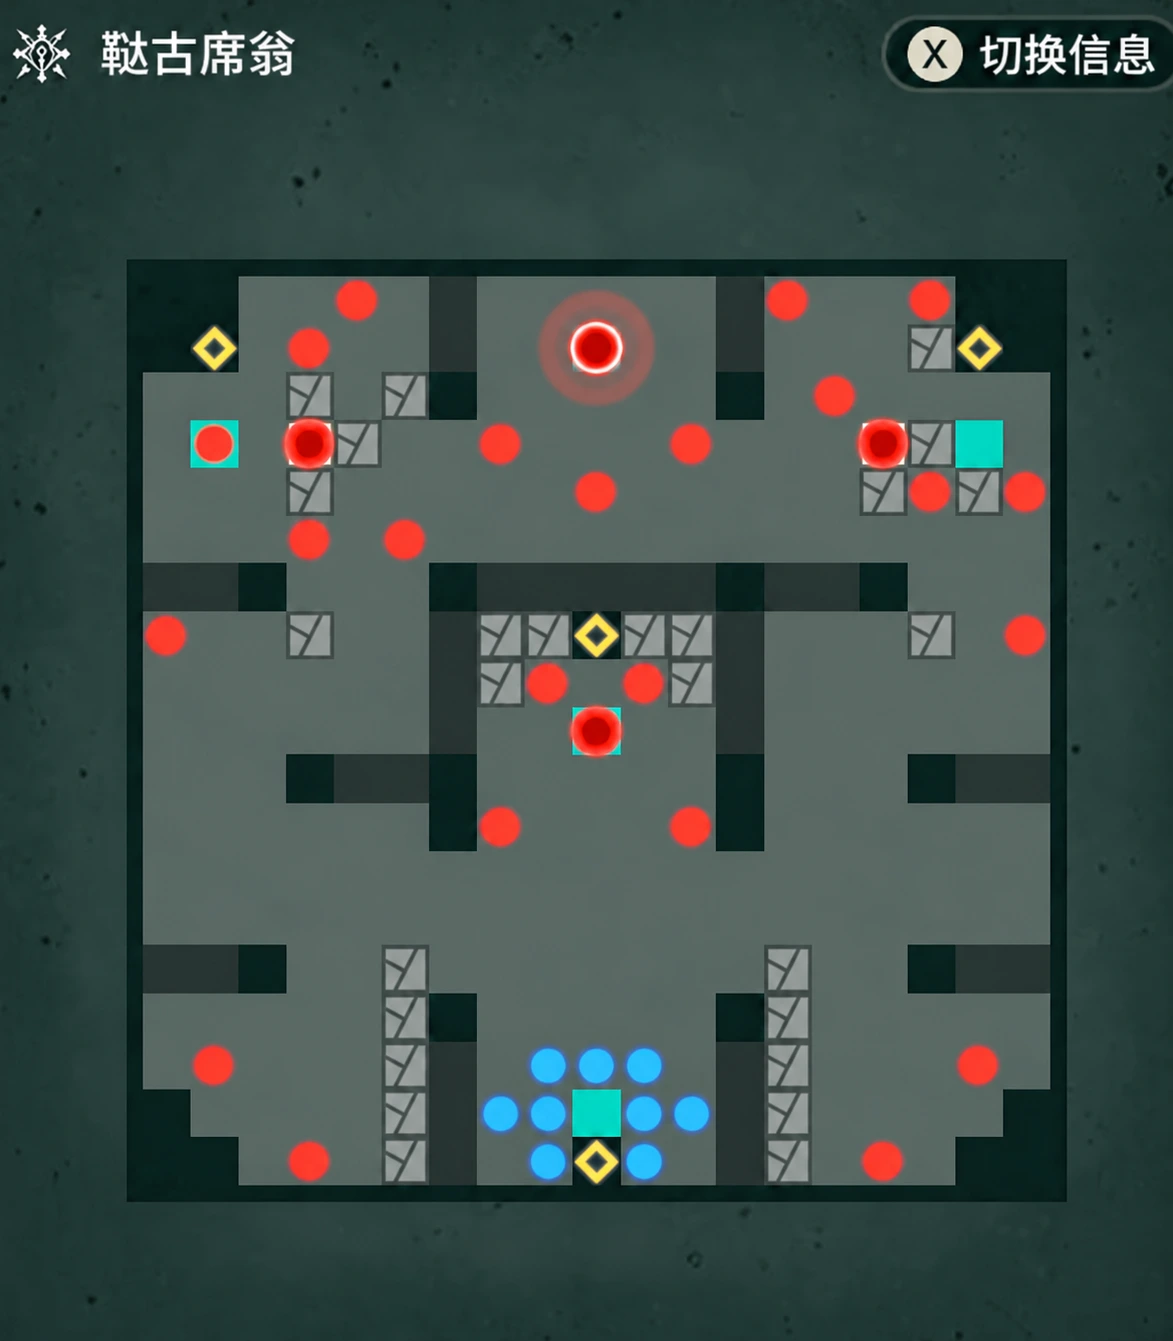
Activate the central device, then split east/west to operate devices removing Cai’s barrier. The west has more magic, so send higher-Resistance units. The east has more physical enemies, suited to high-Defense frontliners. Keep Sofia able to reach both groups instead of letting one outpace healing.
Fit three paralogues into 112 turns: accept Bertrand during daytime 9/17–9/25; Talimun during 9/17–9/22 or 10/1–10/10 and finish before 10/12; Anna during 9/24–10/5. If you lent the boat in Chapter 10, Anatolia returns at 18:00 on 9/28. Return to the capital afterward for follow-up events. The loan, return, and final-chapter aid are separate dates.
After Cai loses his first HP bar, a story event changes his state. Save healing and remaining attacks for phase two. After battle, travel to Aurora’s temple and through the sewers to her room. Unlock Blaze Mastery before the final chapter.
Chapter 12: The War of Zanbar
- 1Accept Dietrich's on 10/16.Only 32 turns are available, so scheduleDietrich's paralogue first.
- 2Accept Orchel's on 10/18 and complete it outside town.FindOrchel in front of Credna's branch temple and finish both out-of-town paralogues first.
- 3Return to the capital for preparations.Complete recruitment, shopping, and equipment upgrades.
- 4Meet Cai in the city last.Acceptance runs through 10/22, but the conversation fast-forwards time. Do not leave out-of-town tasks until afterward.
Reserve the final 32 turns for paralogue travel and Cai's time skip. To do all three, finish distant leveling and gathering in Chapter 11. Check the quest log before leaving, bring deliveries nearing their deadline, then report and shop together on return before advancing Cai's event.
Formally recruit desired allies before leaving.  Fabio and
 Sha Lan cannot be permanent recruits on the queen’s route, and guest appearances do not count. Give everyone personal healing items before the main battle; many enemies spread damage beyond one healer’s reach.
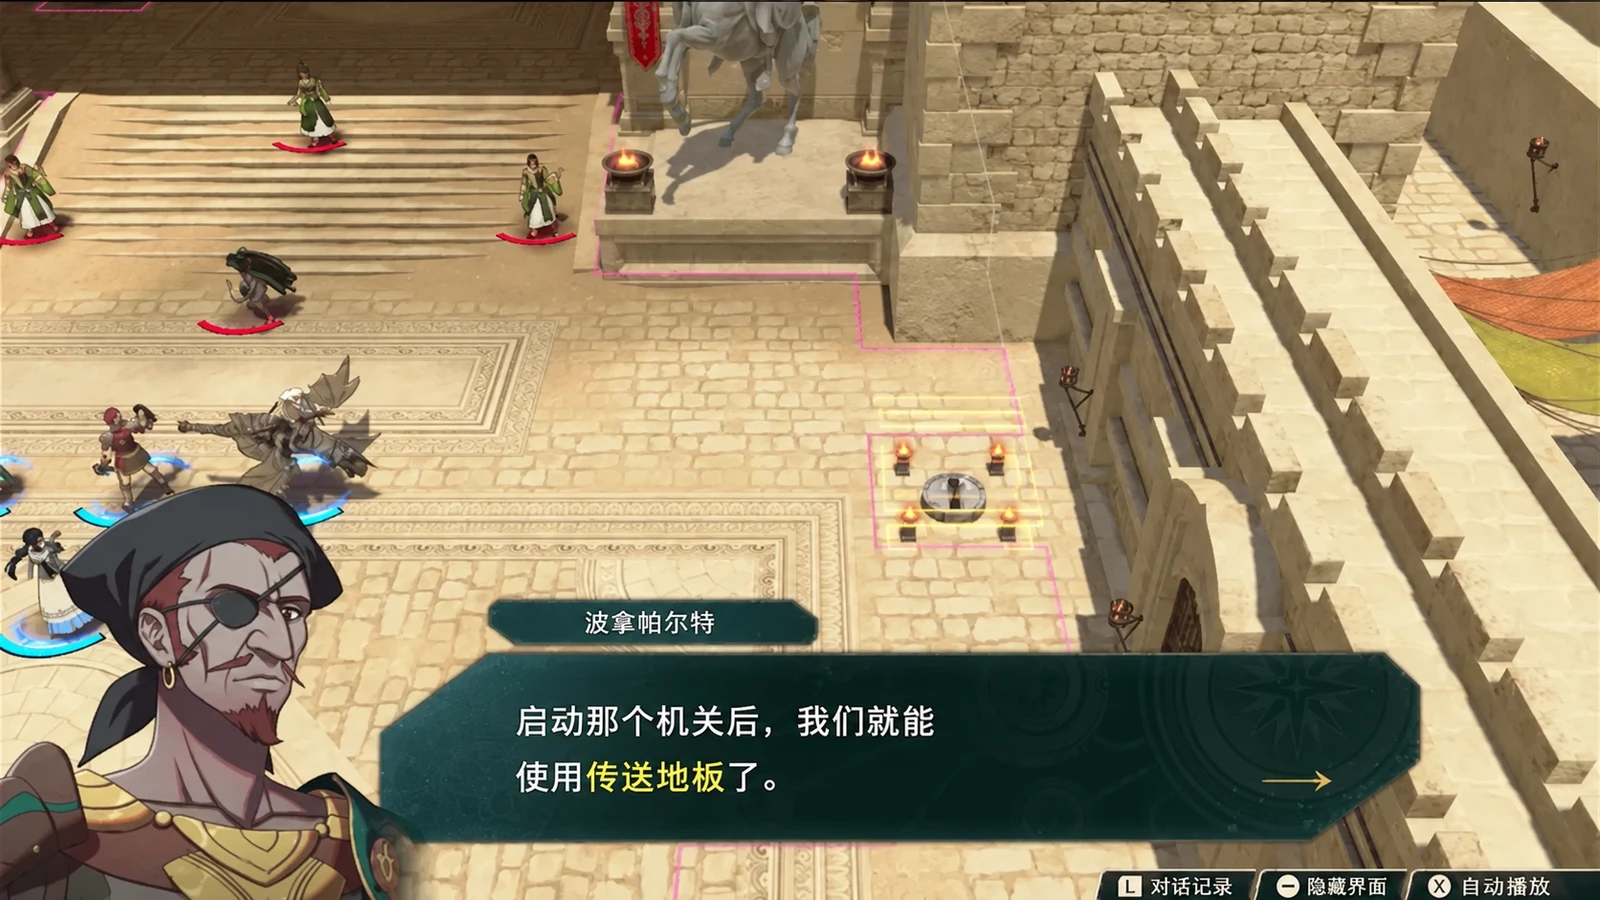
Crossing the stairs south of the start spawns reinforcements behind you. Allied Saramis soldiers also mount artillery; use them against the rear. If you lent the boat in Chapter 10, Anatolia and Sha Lan arrive with the second reinforcement wave. Activate teleport devices to bring them into the city, then advance and defeat Dyan. Do not leave the backline alone near the stairs for fresh enemies.
Schedule acceptance and completion separately for seven paralogues
| Chapter | Paralogue, contact, location | Acceptance | Completion plan |
|---|---|---|---|
| 10 | Leda's Paralogue: Diversionary Tactics;  Leda outside Kalla’s temple | 9/2–9/8 | Dialogue advances to 9/9; finish other nearby-date errands first |
| 11 | Bertrand's Paralogue: Friendly Match with Brigid's King; Gabriel outside Grand Arena | 9/17–9/25, daytime | Arrange battle after acceptance |
| 11 | Talimun's Paralogue: Secret of the Vanished Carriage;  Talimun near the lower harbor trading company | 9/17–9/22, 10/1–10/10 | Finish before 10/12 |
| 11 | Anna's Paralogue: Golden Secret; Anna outside Dagda’s temple | 9/24–10/5 | Completion opens the night shop |
| 12 | Dietrich's Paralogue: Sealed-Off Past;  Fabio at arena plaza | 10/16–10/21 | Finish before 10/24 |
| 12 | Orchel's Paralogue: Orchel's Regret; Orchel outside Credna’s branch temple | 10/18–10/22 | Finish before 10/24, ahead of Cai |
| 12 | Cai's Paralogue: Great Escape; Cai in the city | 10/16–10/22 | Speak after outdoor paralogues and town preparation |
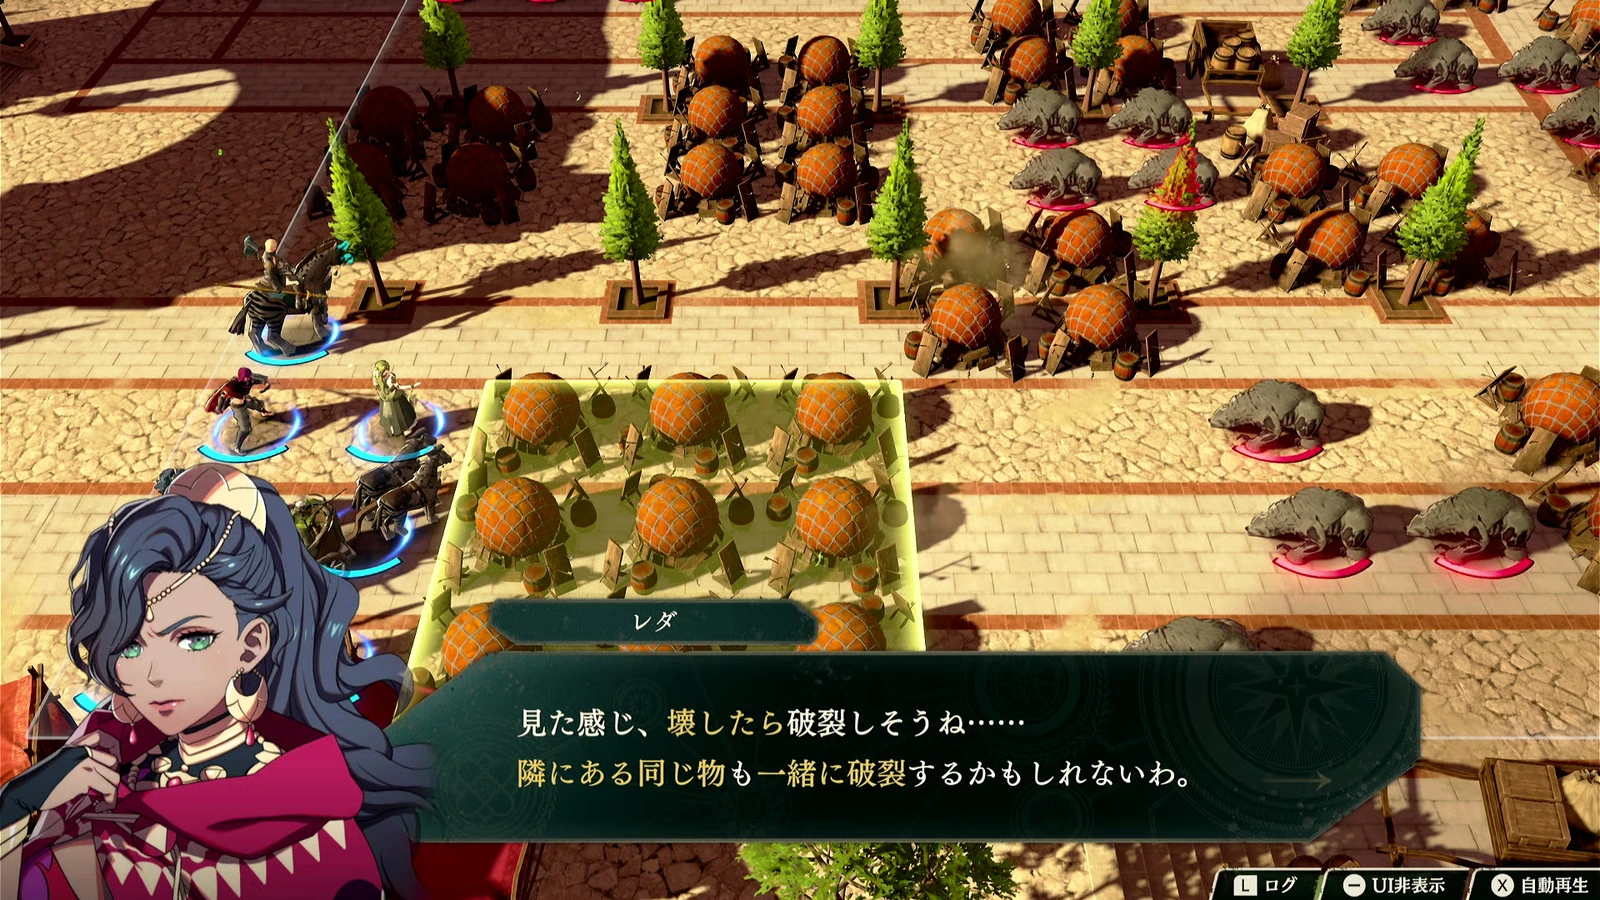
Break obstacles first and watch poison-bear reinforcements in Leda’s battle
Bears inflict poison, so bring Antitoxin. Adjacent obstacles break together; open paths before concentrating on bears. Allies arrive and Leda leaves on turn 6. If strained, hold formation for support. Completion is a  Buccar prerequisite; Renown 8 and Bond Level 3 are still needed.
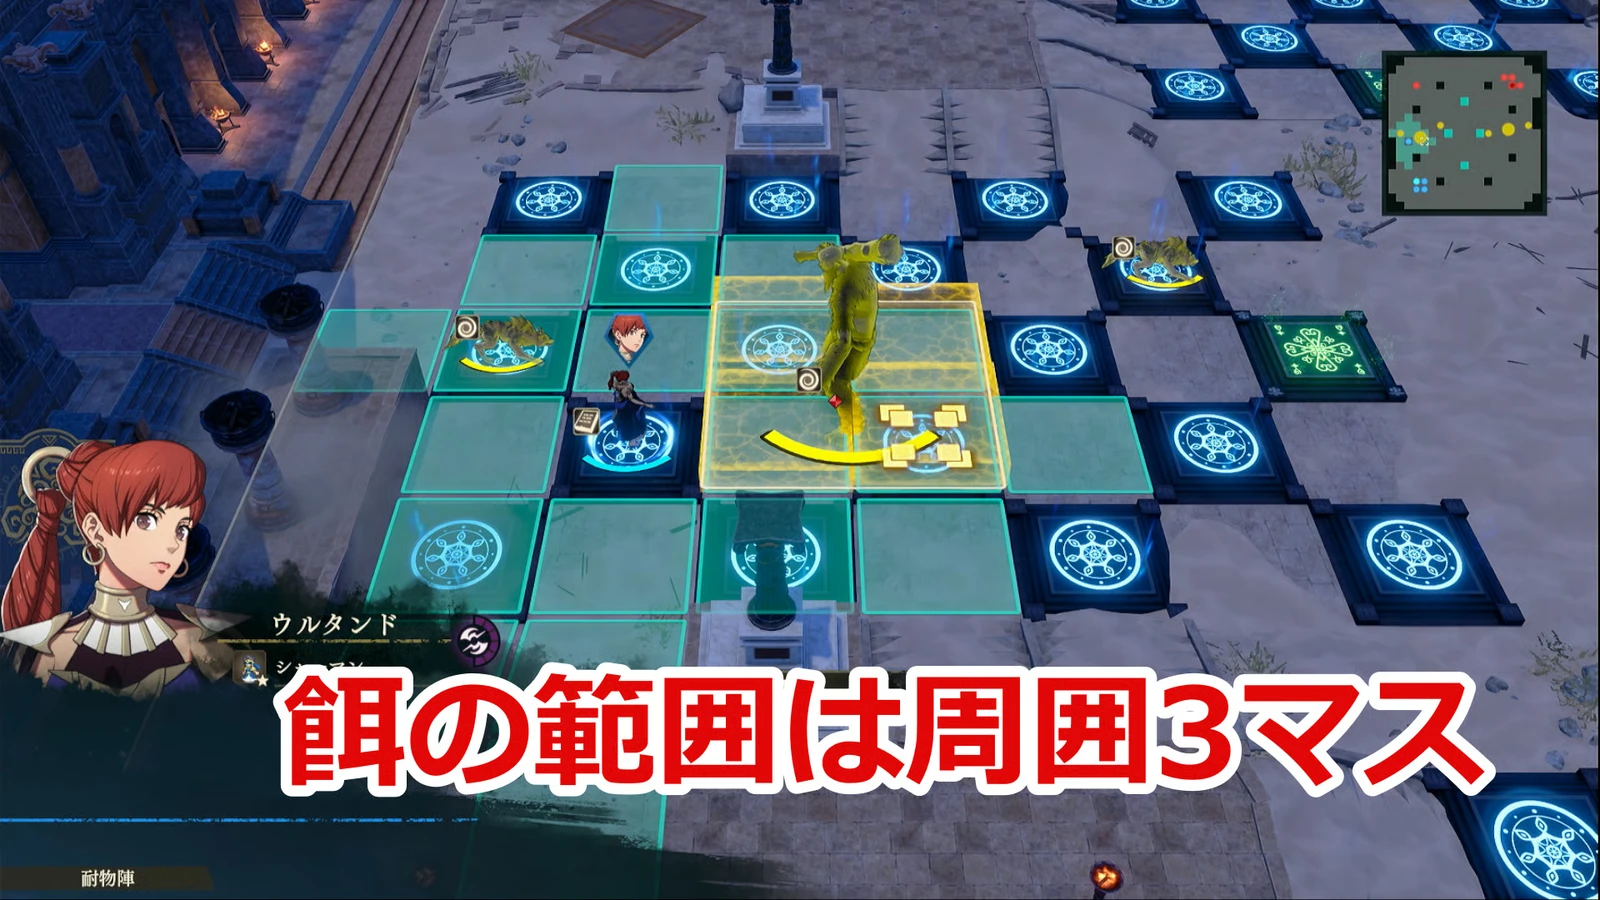
Finish damage before feeding in Bertrand’s battle
First to defeat 4 giants wins; do not chase  Peppe. Feeding makes a giant immune to attack damage until your next turn starts and prevents it attacking your side. Deal this turn’s damage before feeding last. This protects your units and denies the opponent that giant’s point next round. Tank on Physical Defense Circles and attack giant parts not protected by them. Negotiate Peppe’s recruitment afterward. The queen cannot recruit
 Gaitz.
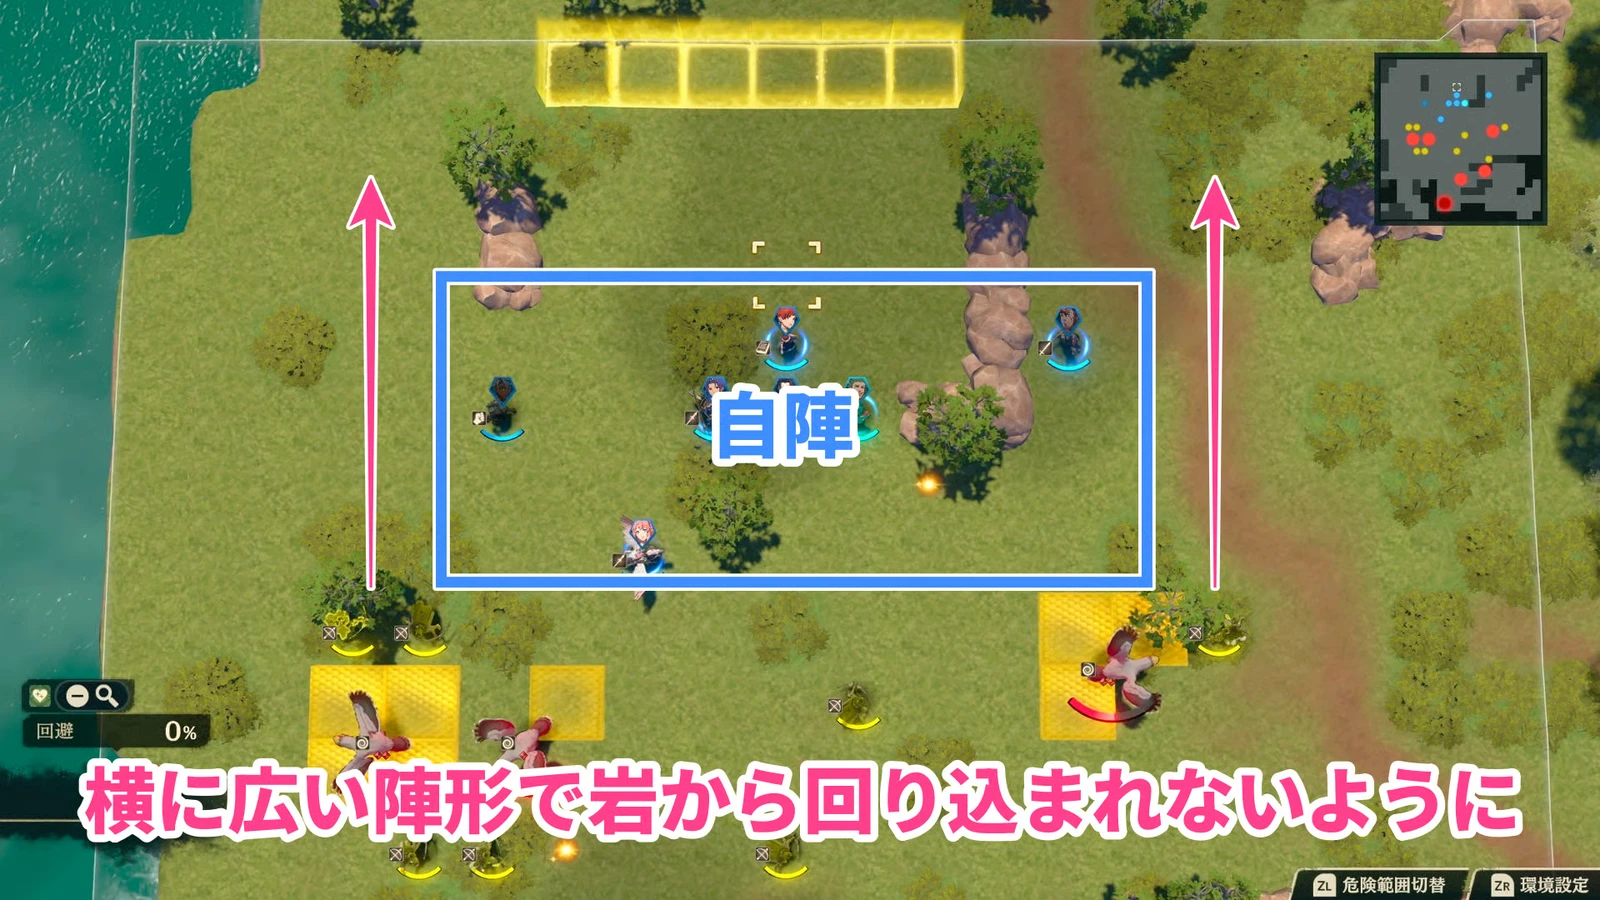
Guard escape routes before recovering cargo in Talimun’s battle
Intercept cargo carriers about to escape. Form a horizontal defense before the destination deep in your area, covering both routes around the rock. Humans and birds fight each other; finish them after they weaken each other. Full cargo recovery or a rout both win. Do not dismantle defense for a distant crate. Check  Ursula’s conditions afterward.
Have Solel engage while others break ore in Anna’s battle
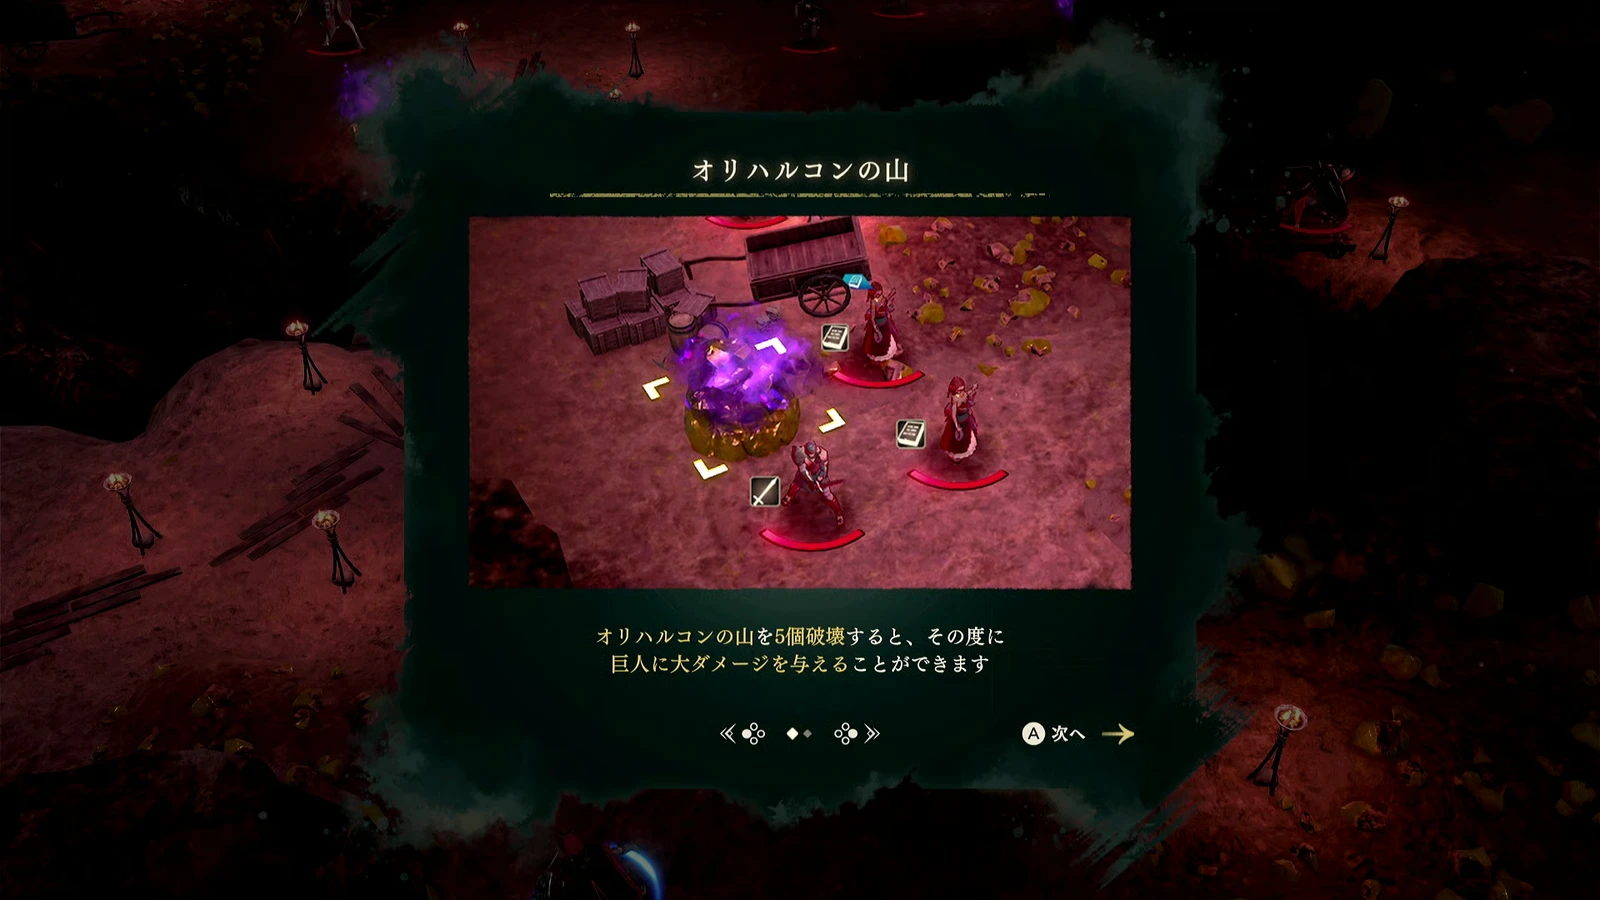
 Solel holds the giant while others split to destroy ore piles. Every 5 piles deal major damage; 10 exist. Ready giant attackers before breaking damage-triggering piles. Do not surround the giant with nobody handling devices. Defeat the Abnormal Giant to finish and open the night shop;
 Anna does not join permanently.
Clear the middle before three-lane defense in Dietrich’s battle
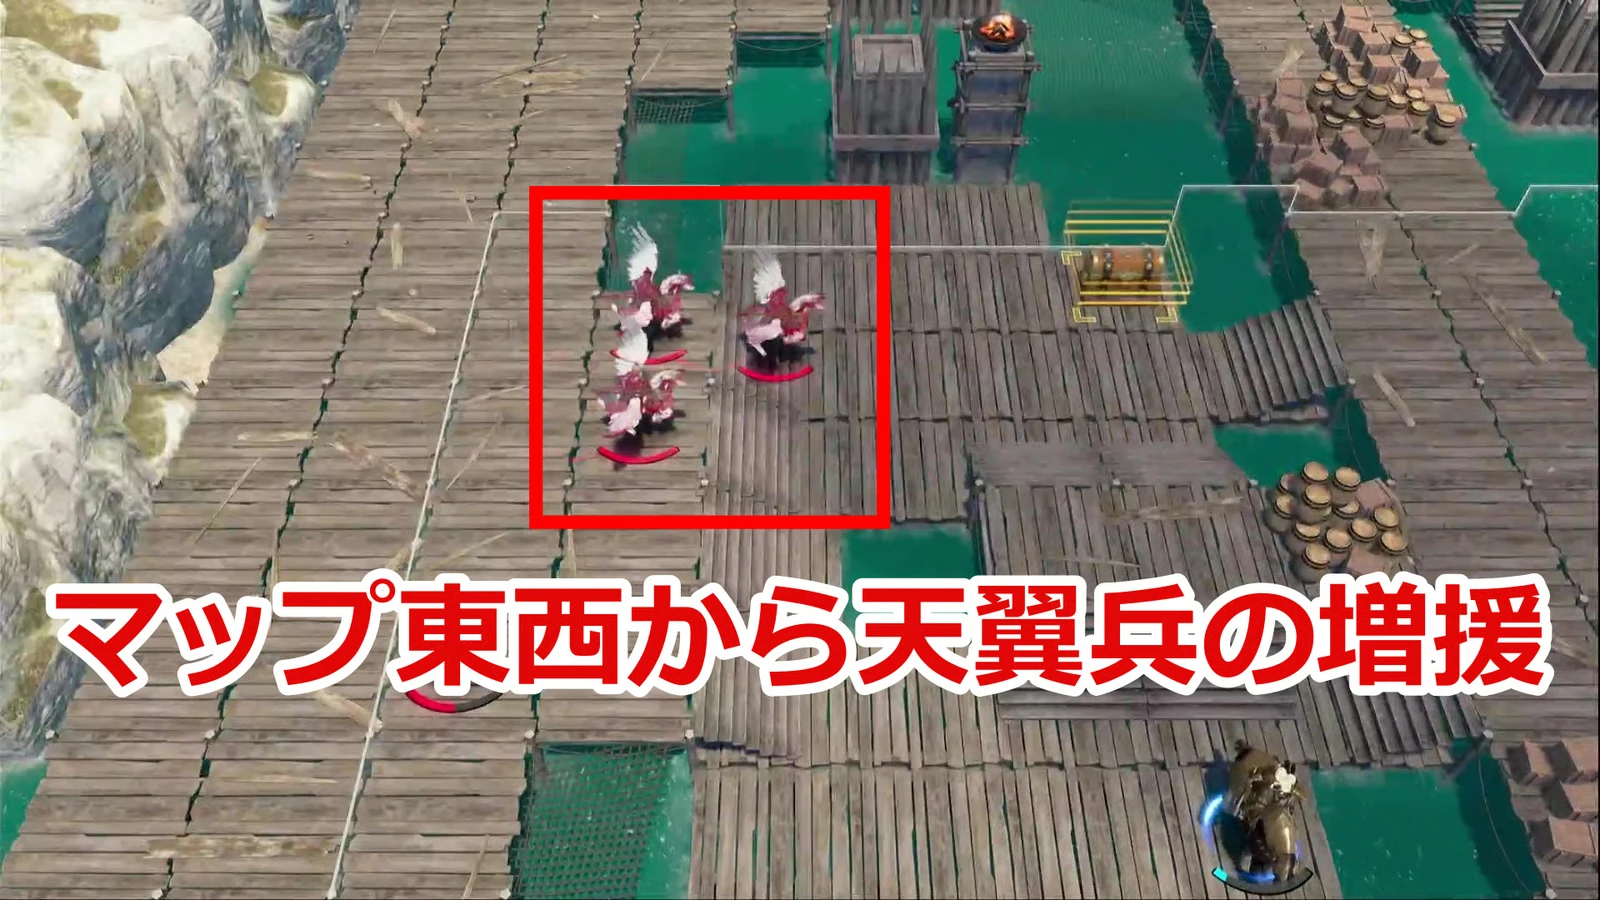
Focus the 3 large central enemies first, then defend 3 lanes for 10 turns. Large enemies do not respawn; soldiers do. Left infantry attack only adjacent spaces at range 1, so chip with bows/magic at range. Prepare lances for central cavalry and bows for right-side fliers. Do not chase a rout and let enemies enter the objective. Fabio remains unavailable on the queen’s route.
Synchronize Orchel’s devices and reserve chest collectors
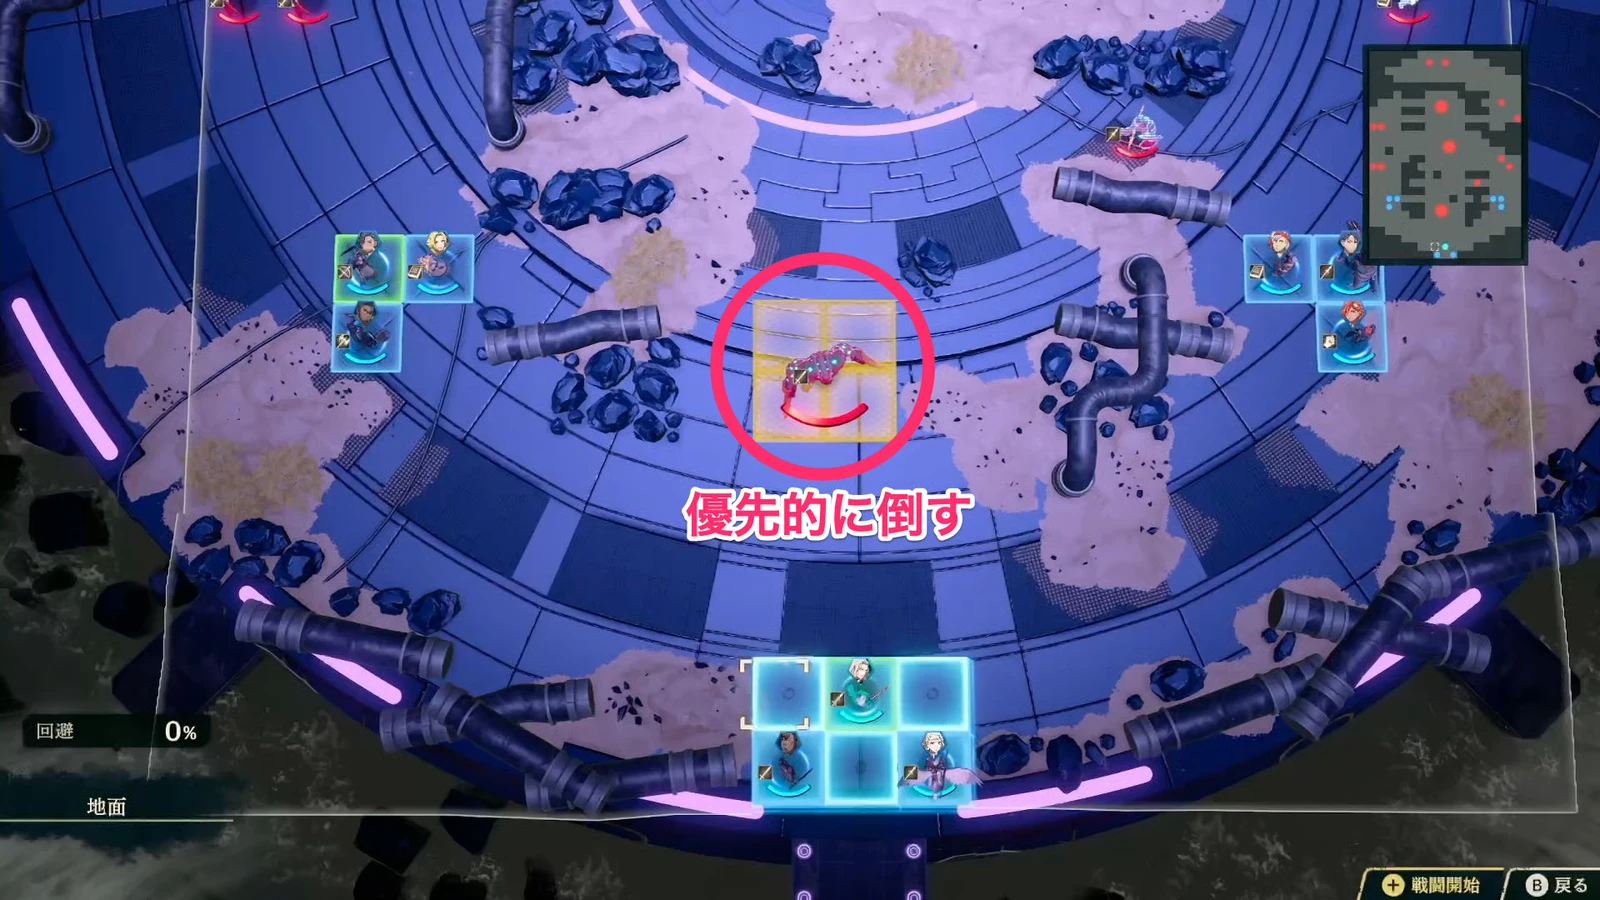
Split north/south and operate both launch devices in the same phase. Clear nearby enemies and heal before activating together; flying reinforcements follow. Southeastern/northwestern chests contain Pure Water, and southern enemies drop both keys. Allow time to collect them. Guest Orchel heals at range. Victory also gives  Healing Staff, 20000G, and 150 Renown, satisfying one
 Diego prerequisite.
Focus the boss and intercept southeastern pursuers in Cai’s battle
Focus  Centurio while protecting the southwestern yellow zone. Leave one unit with good range/mobility southeast to break incense burners, reducing nearby soldiers’ movement for one turn while the main team attacks the boss. Any enemy entering yellow causes defeat. Completion is a
 Tialla prerequisite; Renown and Support still apply.