
Level catch-up and fixed-EXP training: level 99 is optionalMinor spoilers
If stuck, add a few levels to weaker units. For optimized training, prepare classes and mounts first. Immobilization, chariot actions, and healing provide repeatable EXP. Level 99 is optional, and catch-up remains possible in Parts 2 and 3.

If stuck, give weaker units a few levels first. For long-term optimization, prepare classes and mounts before rushing toward level 99.
Catch-up costs real time and may spend level-ups you could have saved for later classes. Levels change battle difficulty, so stop once you can clear the fight.
Choose a method for your current progress: for ordinary catch-up, let high-level companions protect weaker units while they lead Linked Attacks and finish enemies. Cai can use a retreat loop if combat instruction remains unfinished. Dietrich must have learned immobilization at level 20, with healing ready. Catch-up still works in Part 3 without replaying Part 1.
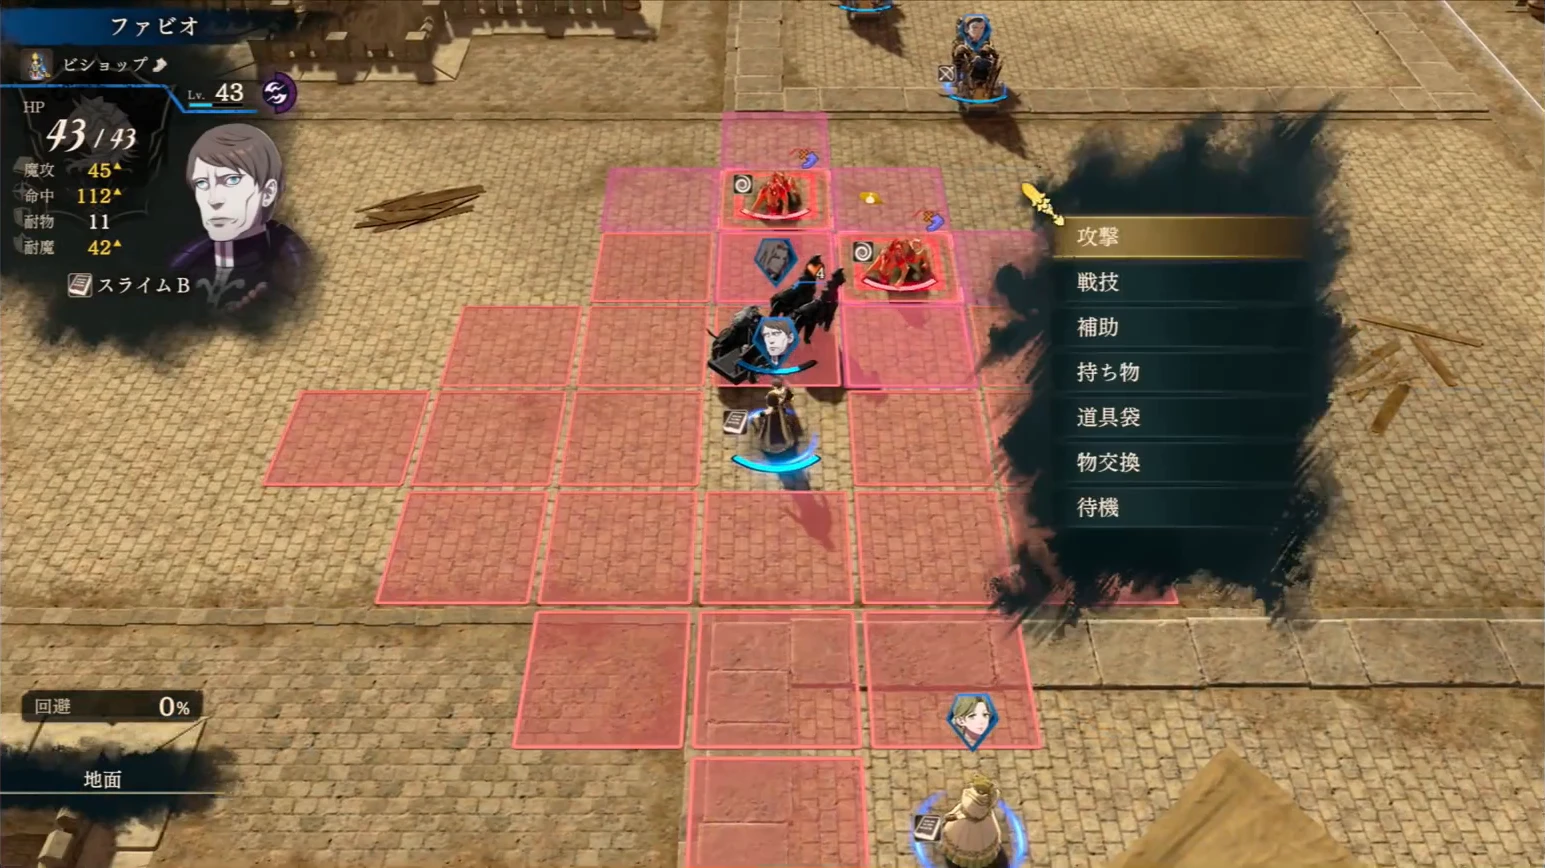
Let underleveled units lead Linked Attacks and take finishing blows
One method has high-level units protect weaker ones in a cave about 10–15 levels higher. Manually make the trainee lead Linked Attacks and finish enemies. Shared party HP helps protect fragile units, but test one or two groups and retreat if needed. A level-10 unit can also finish enemies with effective weapons in a level-20 dungeon rather than making an excessive jump.
Before leaving, put Linked Attack point-restoring items in a durable unit’s inventory. You cannot freely access storage inside caves. The durable unit spends its actions restoring points and taking counters while the weaker unit keeps leading Linked Attacks.
Part 2 catch-up: Use level training at least once to help weaker units, then prioritize proficiency for the remaining training opportunities. Level increases do not automatically supply certification skills. Missing Sword/Bow/White Magic still requires separate training.
Leave an enemy alive in Cai’s instruction and retreat without map turns
Visit the white-haired master for combat instruction. Repeat the battle, leave one enemy alive in the final wave, and retreat, then challenge again. The recorded loop retains levels, class/weapon EXP, and mount affinity without advancing world-map turns. The instruction must still be unfinished.
The Charioteer version places Cai in slot one, the trainee Charioteer in slot two, and an extra damage dealer in slot three, with a mage for added safety. Charge horizontally through the first two waves; hit only one enemy in wave three to avoid clearing everything. Have allies finish enemies if damage is short. This example stopped needing extra damage only after reaching the 40s, rather than working solo from the start for everyone.
Combine Dietrich’s level-20 immobilization with healing
Immobilization grants fixed experience unaffected by the level-gap scaling of ordinary kills. Blaze Arts consume HP, letting healers repeatedly cast for experience too.
- 1Confirm Dietrich has learned his level 20 immobilizing art and that your healer's class can cast. Two healers are preferable; check each unit's remaining spell uses.
- 2Clear surplus enemies, leaving only one with Range 1 that cannot reach the healers from its current position. Do not assume every melee enemy attacks only at 1 space.
- 3Repeatedly immobilize with Dietrich and restore his HP with healing. Check status and Range each round without killing the enemy.
- 4
When healing uses run out, finish or retreat, recover at an inn, and start another battle. :::
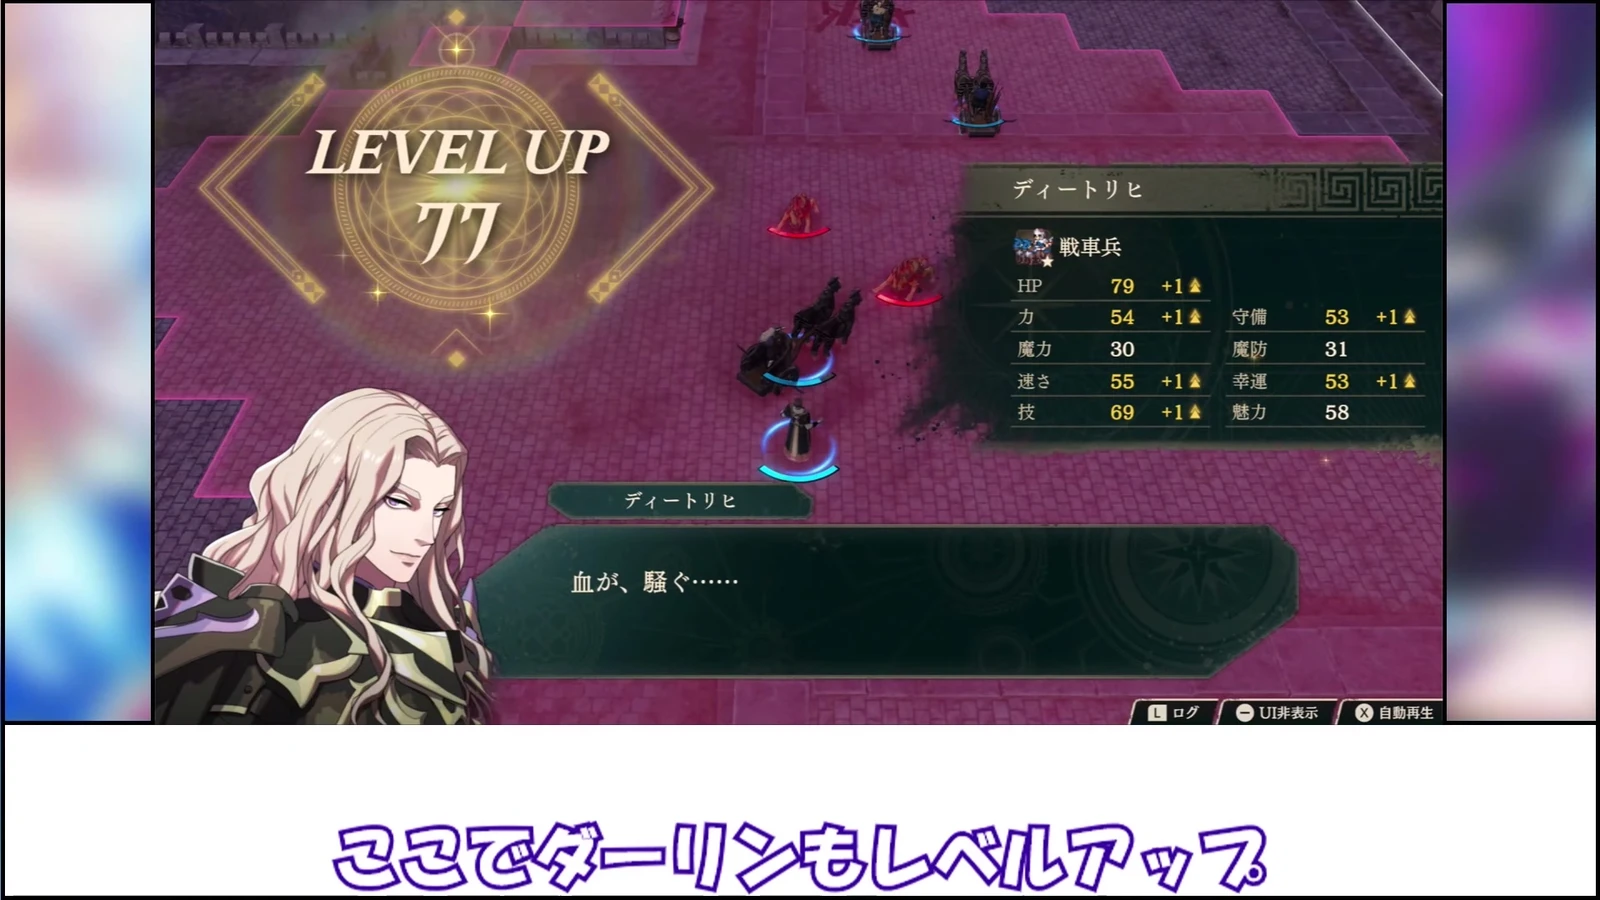
Level-up results from another Charioteer training example Do not mix the Charioteer EXP examples
Example conditions Recorded result Interpretation Example one 14 per use, another 2 per kill, 3 uses per battle Specific to that reported setup; action EXP remains even at high levels or on a miss Example two: combat instruction Three rushes give 45, five kills give 15, total 60 per cycle Corresponds to 15 per use and another 3 per kill; cannot validate example one’s values Prepare bonded horses using the Ferghanan Horse Charioteer guide before repeating. High levels can still leave stats lacking. Charioteer growth does not add extra Speed; even at level 99, compare the stat distribution with Divine-class training.
Ordinary encounters and an expanded Part 3 team
Dietrich can summon encounters in level-35 regions. Repeated summoning temporarily exhausts them, requiring some turns to recover. After clearing a dungeon, check whether enemy groups have returned. Repeatedly entering and leaving does not guarantee a reset. Expanded team available only in Part 3: Use Dietrich, Talimun, a Dancer, The Apsara, and two healers. Leave a range-1 enemy alive, spend HP through Blaze Arts → heal → refresh the healer. Retreat when White Magic runs out, refill at an inn, and repeat. One example went from 65→99 in about an hour and a half. This is a late-game setup, not a six-unit team available in Part 1. You can also stop at 70 instead of maximizing levels.
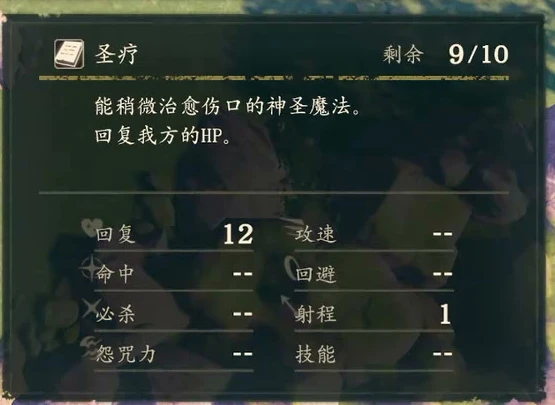
Open each healer’s spell details before leveling to check remaining uses. Tialla’s Heal here has 9/10 uses, restores 12 HP, and has range 1. Total party HP alone does not tell you whether you have enough for another cycle. Image sources:
Catch up to clear; prepare growth conditions before pushing to 99
Level to clear a fight or prepare long-term optimizationCatch-up for progressionStop once you can win. Grinding to 99 reduces the challenge; reaching the cap is not mandatory.
Optimization for growthPrepare growth conditions first. You can disable experience and fully bond mounts before leveling.
Choose either clearing the fight or long-term optimization as your goal. Before retrying, check difficulty and the current menu and confirm the EXP-retention option before deciding whether to train through defeat.