
Ferghanan Horse Charioteer build: mount growth
Raise each intended rider’s bond with their horses, then level as a Charioteer with two horses for mount growth bonuses. Continue training in Part 2 and choose a Part 3 class for ranged bow damage or frontline work.

Raise the horses first, then amplify their growth bonuses with Charioteer. Stats gained through level-ups remain after dismounting. On a first run, you do not need to wait until both horses are fully bonded.
Both horses must bond with this rider separately. Catching another horse of the same species does not automatically share affinity.
Raise mounts first, then gain stats through level-ups. Most ordinary mounts at bond level 5 give a total of +5 to current stats and +25 percentage points to growth, distributed across different stats. Charioteer amplifies mount bonuses. Check exclusive mounts and war elephants separately. Immediate mounted stat bonuses are lost after dismounting.
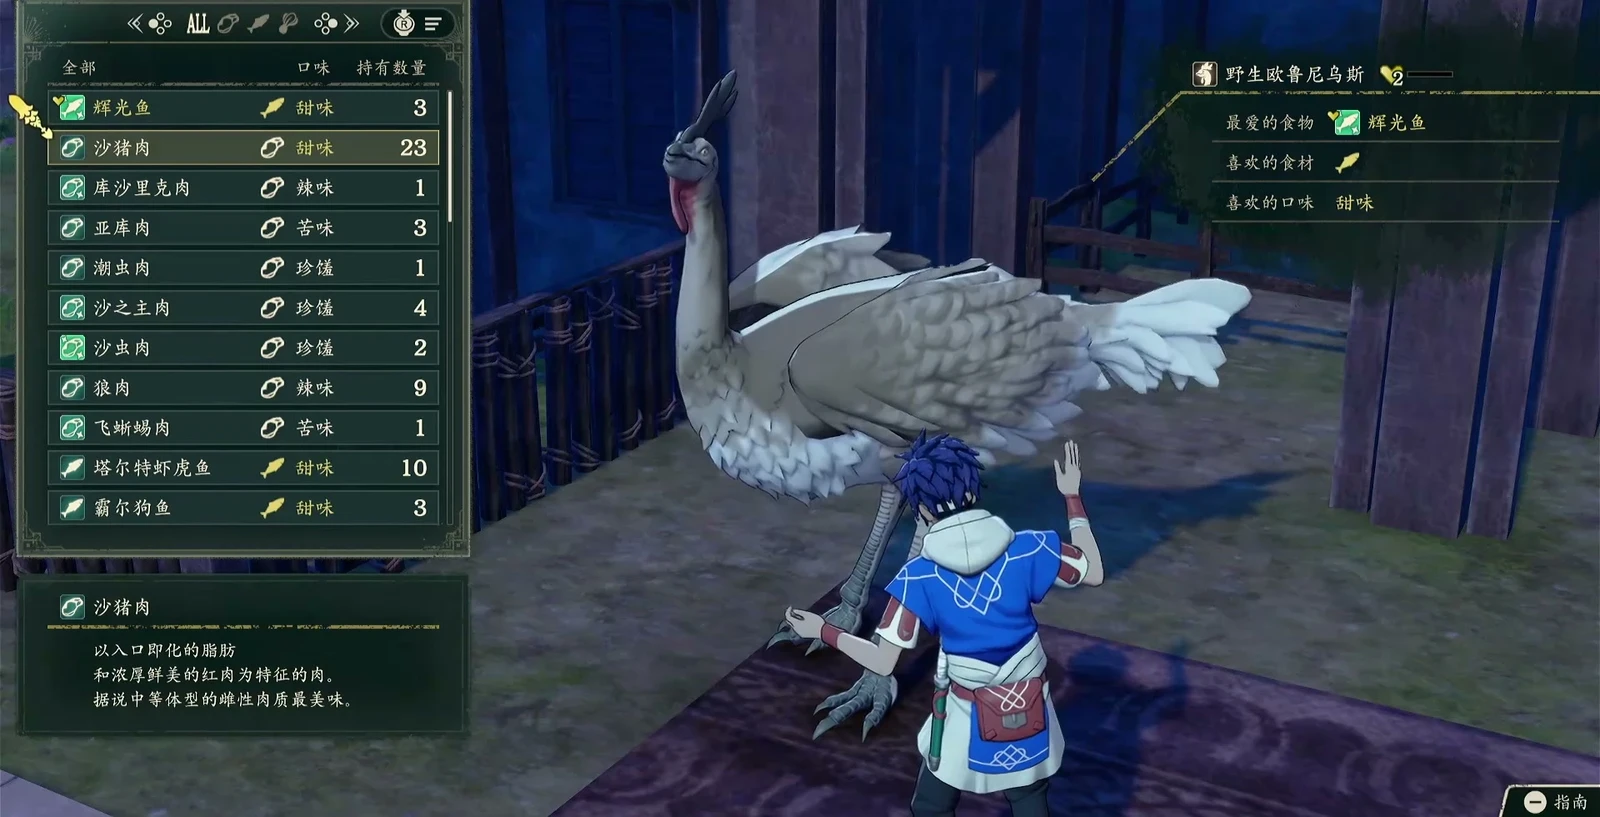
Why raise horses early?
Using a fully bonded mount earlier gives you its growth bonuses for dozens more levels.
These are totals, not bonuses to every stat. The character’s own growth and personal skill are not doubled. Check exclusive mounts and war elephants separately.
A fully bonded Ferghanan Horse distributes growth as HP 5, Strength 5, Dexterity 5, and Defense 10. Applying the multiplier above gives 10/10/10/20 in Charioteer.
Put Peter on a chariot with available horses in Part 1
| Stage and goal | Class, skills, and equipment | What to do and why |
|---|---|---|
| Beginner stage, recommended from level 5 | Hunter: Bow or Sword D, Renown 1, Beginner pass; keep a bow | Use Hunter to reach Charioteer. Focus on Bow instead of spreading resources evenly |
| After the capture tutorial | Rare Ferghanan Horse on Sunset Road, using vegetable bait; use a Wild Horse from Sunny Ridge first if needed | The exact chapter when the rare mount becomes reachable is unconfirmed; see the capture guide for the Chapter 5 stable tutorial. Spicy vegetables are its feeding preference, not the only lure recipe |
| Prepare before the Charioteer exam | Bow C, Riding D, Renown 4, Specialty pass; level 20 recommended | Train Bow through infantry training and Riding through cavalry/flying training. See retreat proficiency training for shortages. Check the exam’s success rate; attempting below the recommended level still risks failure |
| Before every level-up | Charioteer, the two intended horses, and a bow; prioritize bond level 5 on key horses | You can feed them before changing class. Feed daily and fight with the rider. If the second horse is not fully bonded, keep progressing; one horse’s bonus is not two |
Before Renown 4, complete this route’s quests and exploration. The fastest specific quest chain remains unclear. Io is weak in Bow but can focus on it to take the exam, trading training resources to exploit his innate Rocinan. You do not need to train everyone in bows when resources are tight.
Feed daily and have the rider fight. One mount reached level 5 in nine game days using both feeding and combat; nine feedings alone may not suffice. Feeding opportunities reset daily. Keep raising it through your routine if it is not maxed, while ensuring you can handle the main story. Do not stall over one missing bond tier. Disabling experience until bond is maxed is an intensive second-run plan; a first run need not avoid all level-ups.
See Mount capture and training for capture access, locations, and feeding. Red Meganius is a separate branch for Guzran’s Armored Ornius Rider and cannot be assigned to a Charioteer. Its capture route does not replace the Ferghanan Horse route.
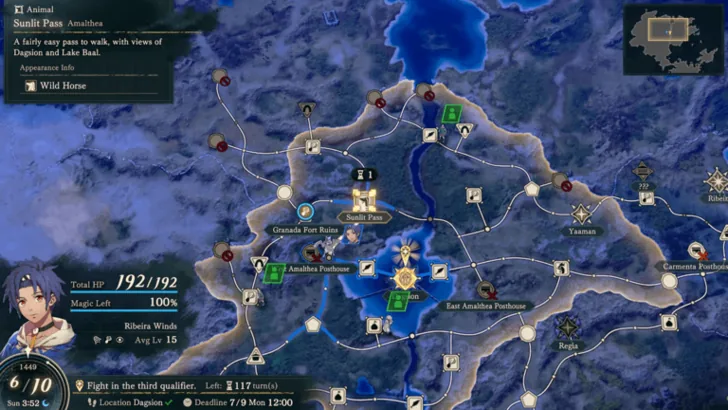
Keep bonded horses and prepare the final class in Part 2
Peter can stay in Charioteer; do not rush to change at level 35.
Favor durability and straight-line area attacks while continuing to train with familiar horses.
Favor regular bow damage and Speed.
Keep training Bow here. Part 3 Bow Knight aims for Bow A and Riding D. If you later want Great Knight, also prepare Lance or Axe A and Heavy Armor D; Bow alone is insufficient.
Check the destination before using Shove. After passing through several enemies, land near allies and healing. Carry bows allowed by the current class and medicine. A Mini Bow enables close-range counters. Charioteer only uses bows and cannot evade, so do not lure enemies as a dodge tank.
Organize mounts and equipment before inheritance. Before completing Part 2, unequip horses into storage so they are not left on the old version when choosing another record in Part 3. Check the carried-item preview before switching records. Storage and carried items are separate; the rule taking higher permanent stats does not apply to items.
Train in Charioteer and choose combat classes by role in Part 3
| Goal | Practical choice and requirements | Tradeoff |
|---|---|---|
Continue  Peter’s growth training | Stay Charioteer with bonded horses, bow, and charge attacks | No need to rush an Advanced class; growth still requires opportunities to level |
| Peter as a ranged bow attacker in main battles | Bow Knight: recommended level 45, Bow A/Riding D, Master permit; restore Kalla’s temple and complete its quest | One final-class choice; stay Charioteer if not unlocked, without forcing an unfamiliar weapon |
| A main unit trained in Spear/Axe needs frontline mobility | Great Knight: recommended level 45, Spear or Axe A/Riding D/Heavy Armor D; restore Credna’s temple and complete its quest | Level as Charioteer normally and switch to Great Knight for main battles; requires actual eligibility, which Peter does not automatically have |
 Io | Prepare the same Great Knight requirements and retain Rocinan | Uses cavalry/armored traits and movement skills; still check his current learnset |
Complete the relevant temple side quest in Part 3 before checking certification availability. Continuing as a bow-focused Charioteer and becoming a physical frontline Great Knight require different resources. Pick one first.
Team support: healers support frontliners who cannot evade, while a Dancer refreshes whichever attacker needs it most. Blessings are not a growth prerequisite. Choose Mars for physical Hit or an unlocked Aurora for damage reduction under pressure; do not activate both in the same turn. Choose mount skills by purpose: Canto handles retreat after attacking, while total Movement bonuses determine whether you can reach the target.
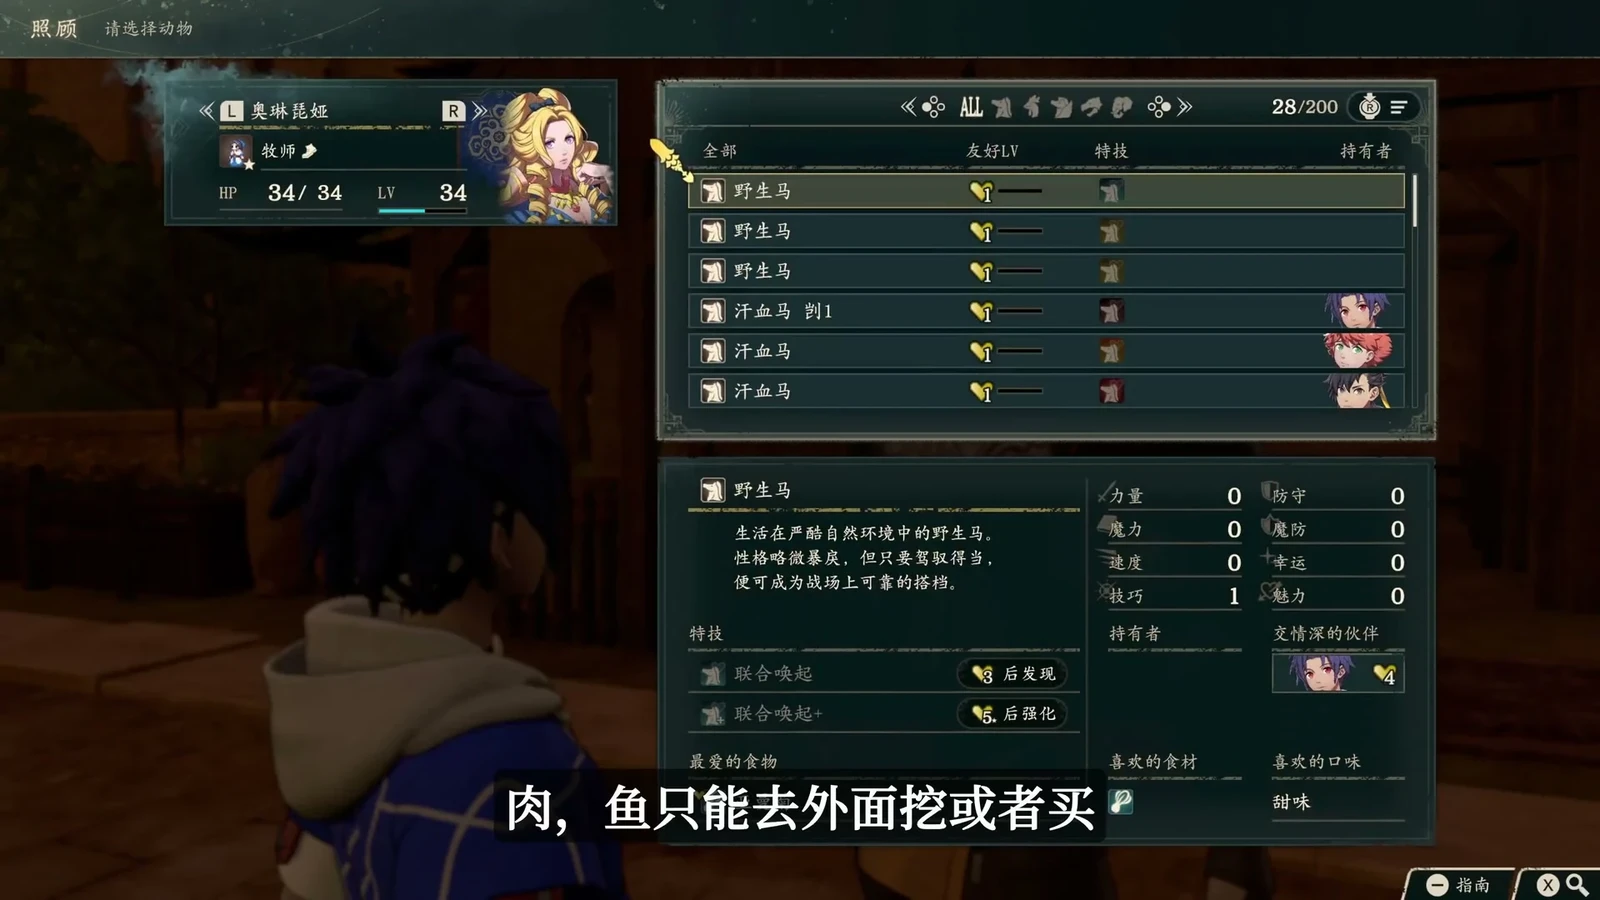
Recheck bonds when changing riders and Speed after mounting
- Cai’s route supports catching and feeding mounts in batches. On other routes, Io’s and Alexandra’s starting mounts can also gain bond and provide growth through combat.
- Check affinity again when changing riders or individual mounts. Two horses with the same name do not share the same relationship.
- Charioteer’s own growth does not add extra Speed, but the character can still gain Speed. Slow riders can still be doubled.
- Fixed experience setups differ between 14/+2 and 15/+3. See leveling; neither set is a universal constant.