30 beginner questionsMinor spoilers
Finish one route first, group training and meals on weekends, and build six core units plus two reserves. Understand Blessing costs, class requirements, recruitment bonds, and Part 2 carry-in rules.

Finish one protagonist's Part 1, then start the next from Chapter 1 to carry over map and shared side-quest progress and reduce repeated content.
Check the calendar each chapter, complete weekly city activities, then head out. Focus early experience on six core units and two reserves, starting with a main attacker and healer. Build a prospective recruit's bond with the current protagonist early instead of waiting until you meet their Renown requirement to start gifting.
Starting route, difficulty, and fallen units
1. Which route should a series newcomer play first?
You can start with this game without finishing Three Houses first. The prologue teaches basic controls, and all four routes include core tutorials. You can learn the connections to the previous game's setting as you play.
 Cai has a slower opening, with the map opening gradually. He suits learning about the world step by step, and is easier to follow if tactical battles and the world map are both new to you.
 Dietrich is strong in combat. Choose him first if you want a powerful main attacker to smooth out battles; you can explore Cai's mount development later.
If you have already chosen a protagonist you like, keep going.
2. Can I alternate between routes every few chapters?
To reduce repeated content, finish all 12 Part 1 chapters for one protagonist, then start the next from Chapter 1. Maps and shared side-quest progress can carry forward, but a chapter already opened midway will not automatically update to include the earlier route’s newest results. Starting all four midway saves and switching between them can require replays to import new progress.
3. Which difficulty and death mode should I choose?
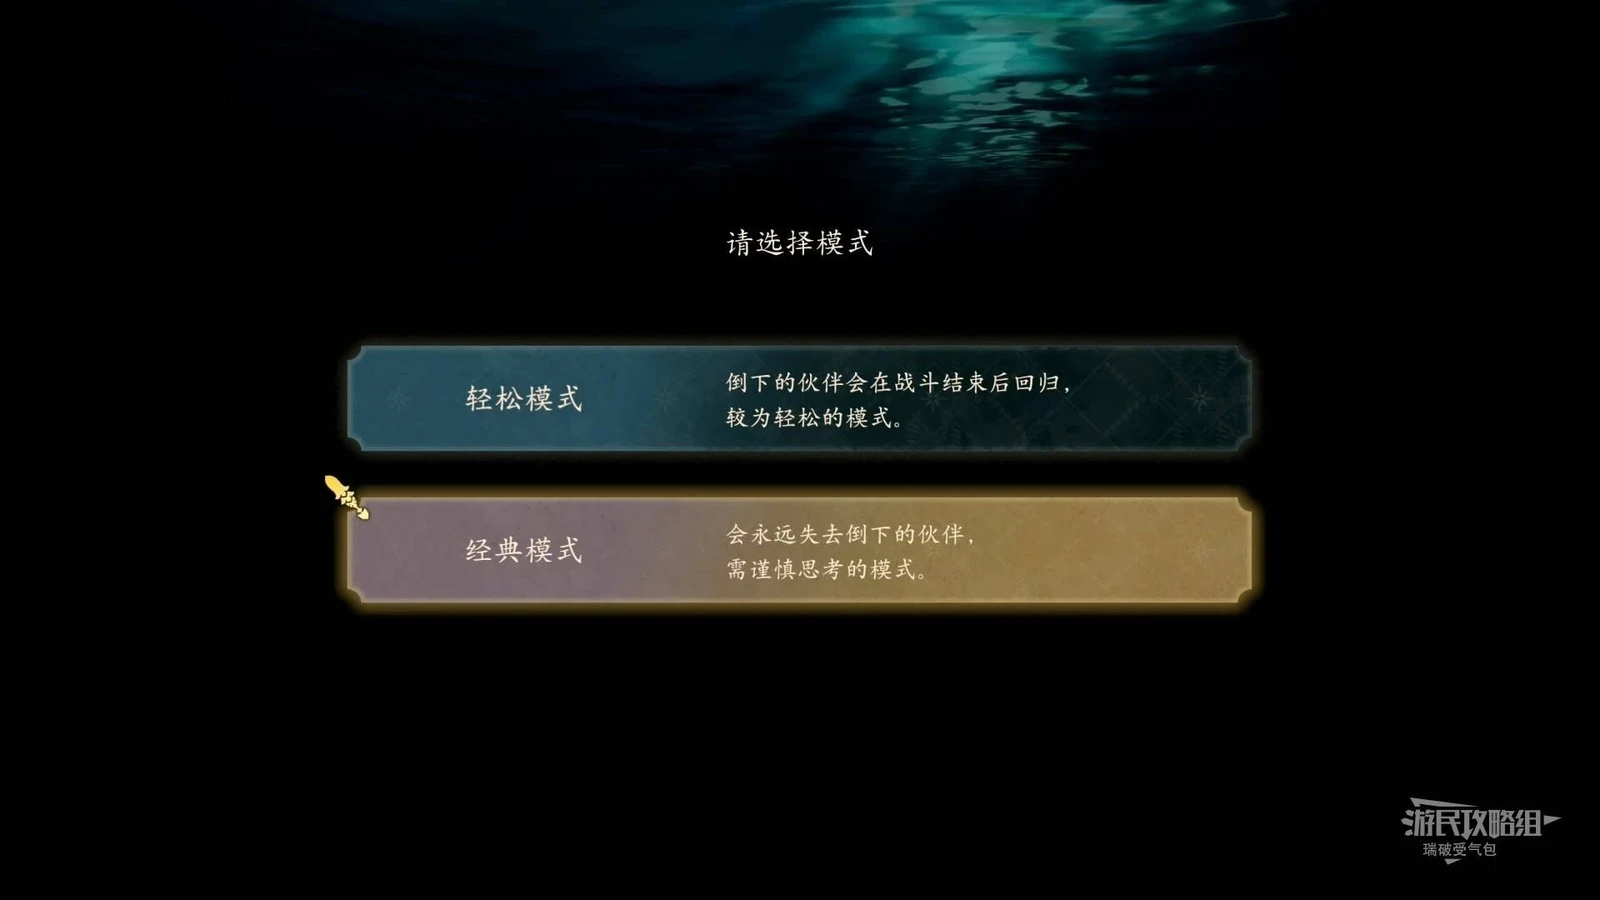
For a first playthrough focused on story, choose Normal + Casual. For detailed tactical planning, choose Hard + Casual. Normal has weaker enemies and faster progress. Hard demands more attention to enemy formations and action order. Fallen allies return after battle in Casual; Classic means permanent loss.
You can lower Hard to Normal at the Altar of Fate. To raise Normal back to Hard or change Casual/Classic, choose to descend again from the title screen and replay the prologue. Existing progress on the four routes can carry over.
4. Are fallen allies lost permanently?
Classic permanently removes fallen allies; Casual lets them deploy again after battle. Normal/Hard determines enemy strength, while Casual/Classic determines whether allies return. If someone falls in Classic, use Fortuna’s Blessing to rewind before the mistake and reposition. Casual still follows the map’s defeat conditions, so required characters cannot be sacrificed freely.
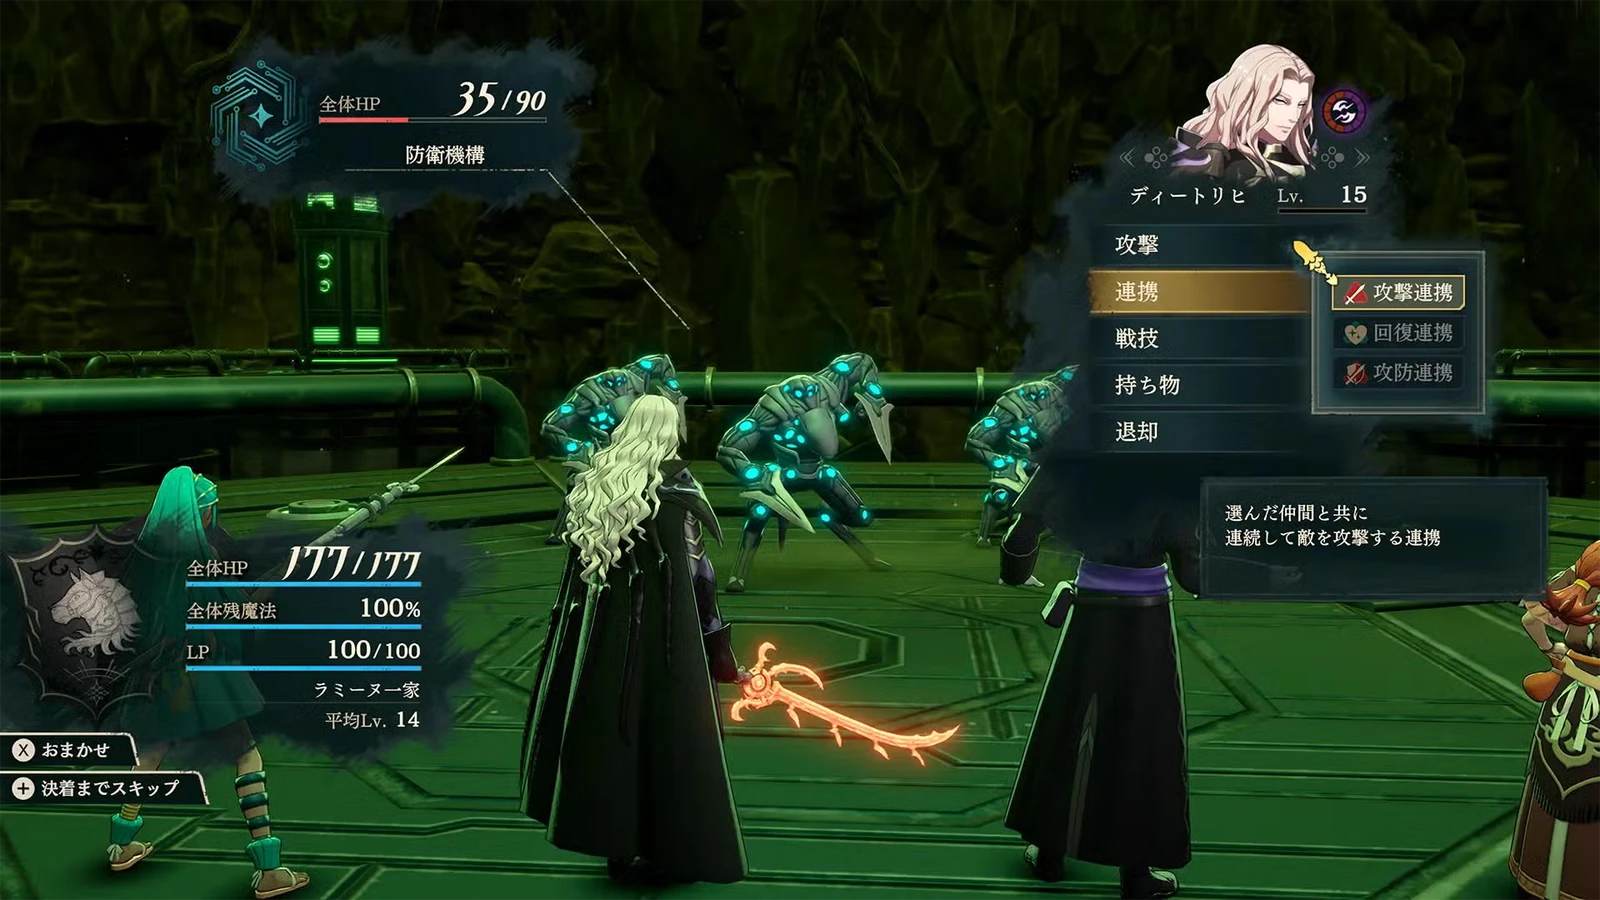
Press ZL to show all enemy ranges and keep healers outside them. Inspect dangerous enemies with X, then pin an individual range with A. The forecast’s red cross is not a critical-risk warning. It predicts defeat assuming all attacks hit and no criticals occur. Without a cross, still check enemy Critical. With a cross, do not assume one low-Hit attack will definitely miss.
Using rewinds · Combat forecasts and Attack Speed
Does a death on one route affect other routes?
It does not delete the same person from other protagonists’ routes. The death affects this route’s current party, while other eligible routes can still recruit them. Part 2 loads the selected route’s completion record. Part 3 brings together team records from completed or skipped Part 2 runs, so a surviving version on another route can remain available.
To recover this route's unit, rewind with Fortuna's Blessing before battle ends. If the result is already recorded, replay a chapter before the death, rolling back that chapter's training, money, and items too. A unit who falls in Classic cannot deploy afterward, even if their dialogue says “retreat” or they still appear in the story.
Cross-route deaths, later reunions, and replay recovery
Who to train first (5–6)
5. Who should I train besides the strongest character?
Dietrich makes a strong main attacker, but you still need healers and support. Speed enables his follow-ups and Dexterity supplies criticals. Later,  Sacred Gem restores 1/3 of damage dealt on a critical, creating a damage-and-sustain cycle. Before obtaining the gem, do not charge alone into enemy groups as though you already have the late-game setup.
 Sofia provides dependable healing on every map while staying in the back line thanks to her range. Even with many strong attackers, keep a healer to save your main attacker.
Overall tier list · Dietrich build · Sofia build
6. Should I train everyone at the start of Part 1?
Start with six core units and two reserves. Early tactical battles commonly deploy six units, and Clashes five. Spreading experience and training too widely can leave everyone just short. Choose your healer and main attacker, then fill physical and magical roles. Blaze Arts consume HP, so prepare a white-magic healer early. Develop the next group as deployment sizes expand later.
Take lagging recruits into dungeons and play Clashes manually. Each side uses one shared team HP bar. Have strong, durable units weaken enemies, then let a low-level unit lead the finishing Linked Attack. The winning blow receives bonus MVP experience, helping them catch up faster than letting the protagonist handle every automatic kill. Physical tanks such as  Buccar and
 Esmeralda help absorb physical counters. Check Resistance separately for magical monsters rather than relying only on Defense.
Choosing your first core team · Dungeon leveling and Linked Attacks
Free-time schedules and gold (7–12)
7. What should I do first during free time?
Check the story objective and deadline, then group training, temple service, gifts, and meals before leaving town. A turn is 6 hours and a day has 4 turns. World-map movement spends scheduled time. Combine quests in the same direction into one outing and set a return reminder instead of retracing a road for one material.
Spectating also has fixed dates and gives the whole team proficiency experience. Watching only the remaining turns at the bottom left can make you miss calendar events.
Early-game weekly routine · Free time
8. Should I train, serve, or eat first?
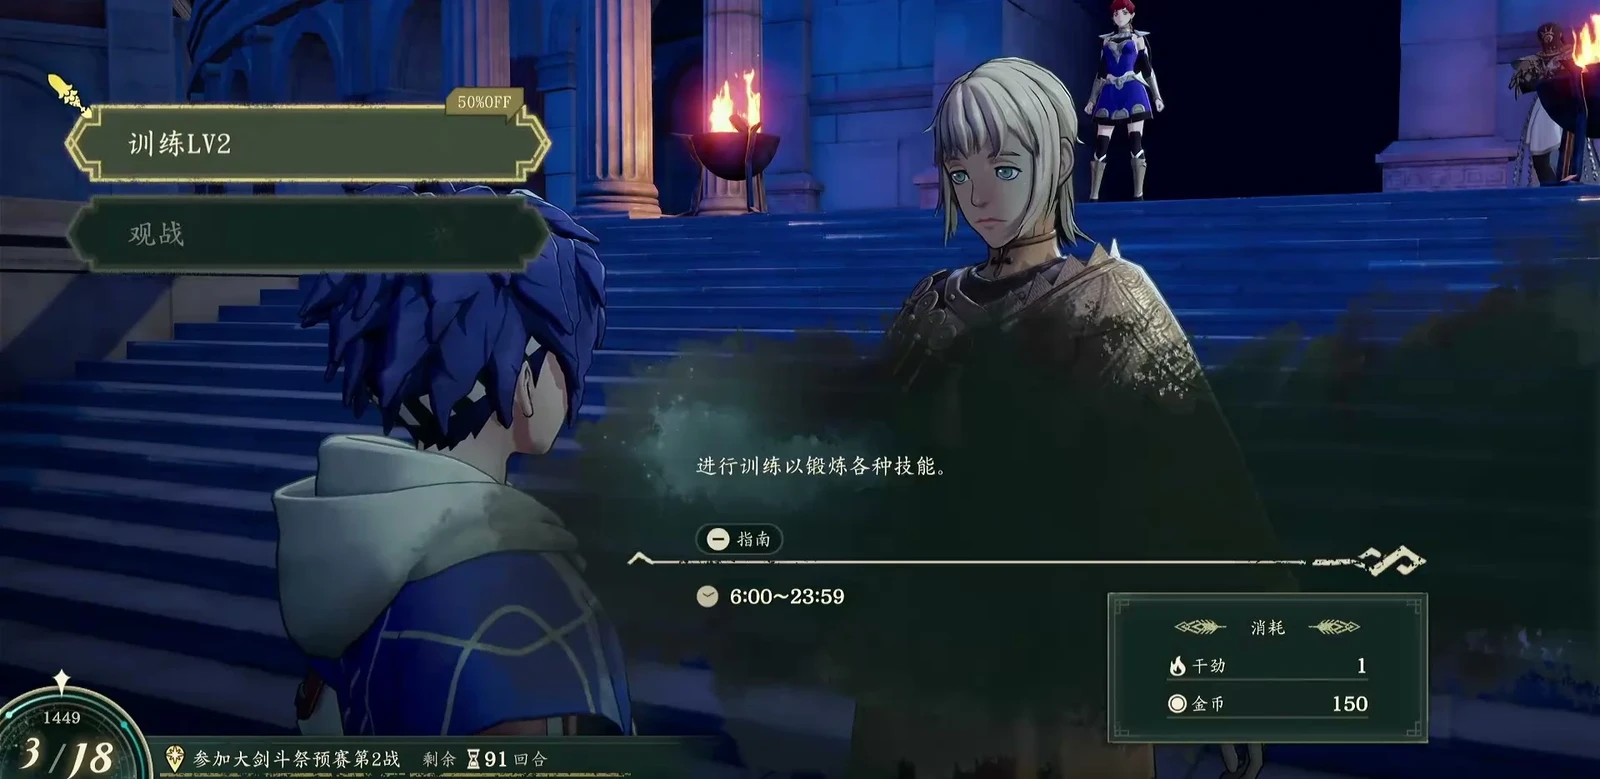
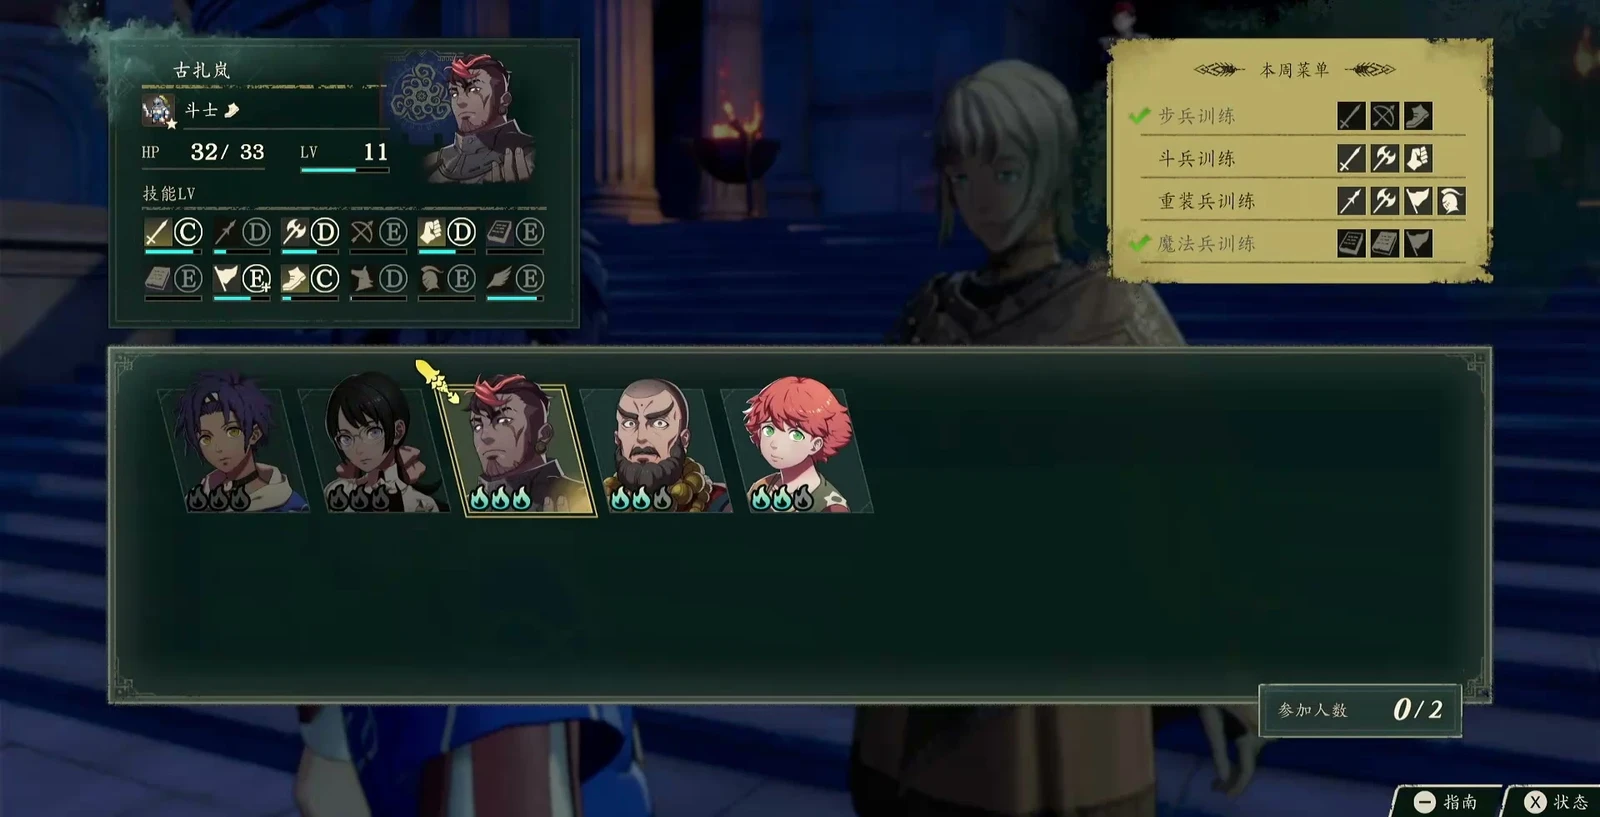
Spend Motivation first, then use meals to refill what is missing. Good training and service results can restore Motivation, so check who needs it afterward. Eating to full before training can waste recovery. For recruitment, seat the current protagonist with the target and try to match both preferences.
| Time | Suggested plan |
|---|---|
| Saturday | Half-price training; use the current week’s remaining training and dishes |
| Sunday 0:00 | Weekly attempts reset; each dish and training activity becomes available separately |
| Sunday daytime | New week’s training and meals are half price, and all temples have auspicious-day bonuses; finish before leaving |
Each dish can be eaten once per week, so the menu’s number of dishes determines the available meals. Use the old week’s attempts on Saturday and the new week’s on Sunday to fit two weeks of activities into one return trip.
Weekly activities and Motivation · Dining and theater
9. Should I grind high Renown immediately?
Meet your immediate recruitment, exam, or access requirement, then continue the story and nearby side quests normally. Renown opens training and exploration options, but repeatedly fighting for small gains consumes free time on one activity. The story itself grants substantial Renown, so progression is often easier when a target is still distant.
For example, Sofia needs only Renown 2 and Bond Level 1 on Theodora’s route, but Renown 9 and Bond Level 3 on Dietrich’s. Plan around your current route if you want her early instead of copying another route’s joining date.
Recruitment requirements by route
10. How do I earn gold, and should I conserve weapons?
Collect quest rewards along the way and spend spare turns on automatic exploration at the inn. Income rises with the number sent out, so benched recruits can help earn money too. Use it after weekly activities when there is not enough time for another field trip, advancing to the next event. Later, larger teams can bring in about 500–600 gold per turn. Early on, budget from the income displayed on the automatic activity screen.
If you find a golden mummy, chase it manually to avoid automatic combat letting it escape. Sell its Bullion drops.  Leda can also earn gold and Renown through performances around the world.
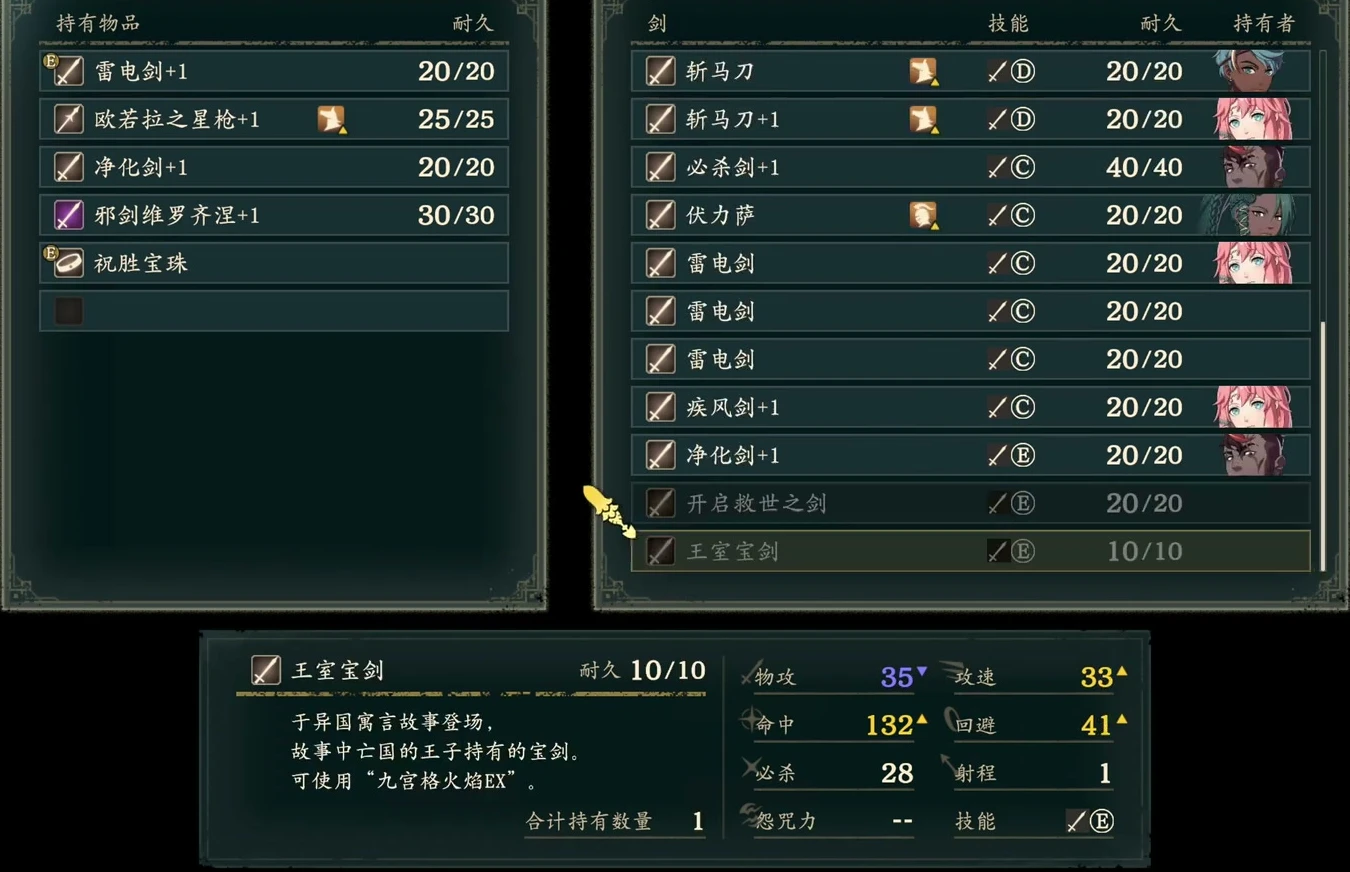
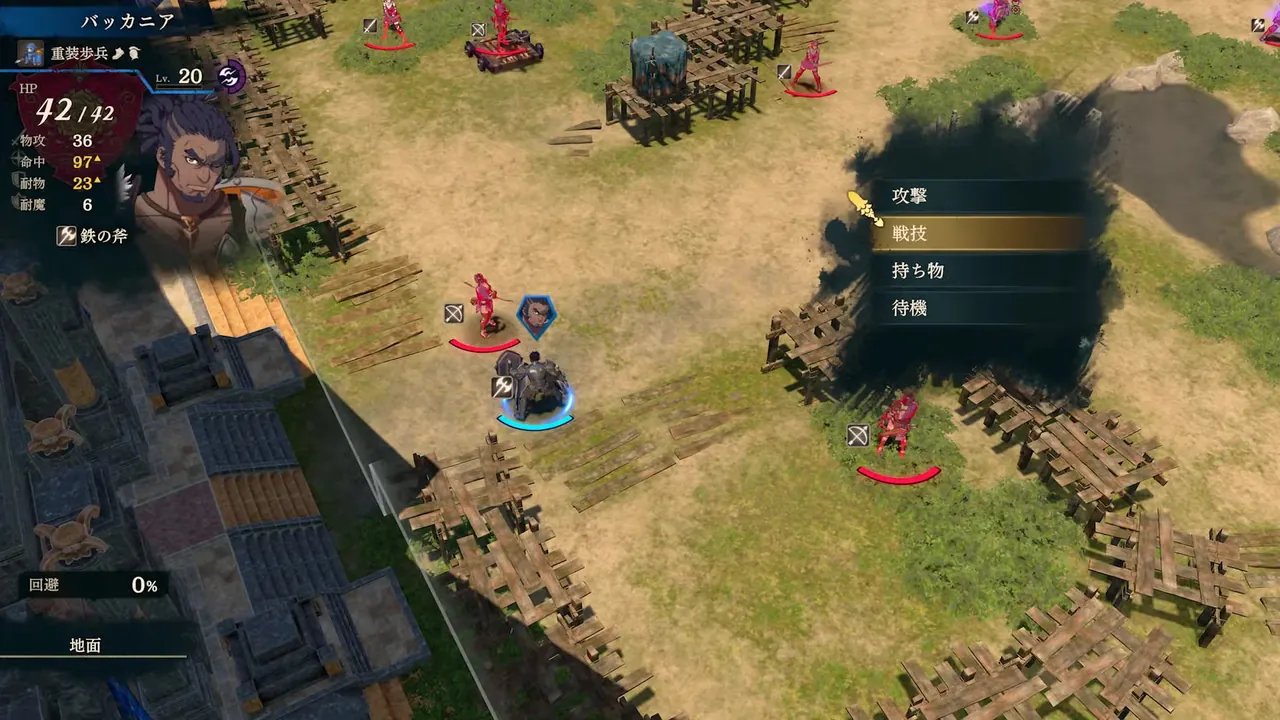
Normal attacks do not consume weapon durability; combat arts are what need a budget. Once you obtain  Zanbato or
 Ridersbane, switch them in for normal attacks against appropriate enemies instead of hoarding them out of fear of wear. Arts can fill Might or Hit gaps, but costs differ by move. If a normal attack kills, avoid the extra expense.
For regular weapons you plan to upgrade, such as  Iron Sword, spend some durability first, then upgrade directly. Upgrading refills durability. Repairing to full first adds an unnecessary repair fee. Use repairs when no suitable upgrade remains.
Earning and saving gold · Durability and upgrades
11. How do I reduce world-map travel turns?
Unlock waystations, then connect quests in the same direction. At least two stations must be active before you can pay gold to travel between them. Walk to unlock them when money is tight; you do not need to pay for a carriage immediately. This makes repeated trips easier later.
Unlocked temple teleportation also shortens trips. If a dungeon is near a temple, check whether you can teleport there first. Crossed-out, unopened entrances cannot be used.
12. How do I restore dungeon LP, HP, and magic?
Leave and reenter to refill LP; restore HP and magic uses separately. Open “+ menu → Movement Assistance → World Map,” then enter again. LP refills, but this costs 1 extra turn. Even with LP back at 100, replenish healing uses if you are running low.
| What is low? | Recovery and what does not reset |
|---|---|
| LP | Leave the dungeon and reenter to refill Linked Attack points; costs 1 extra turn |
| HP and magic uses | Rest at an inn for gold and 1 turn, or spend ingredients at feasts/dungeon rest points |
| Enemies in the same chapter’s dungeon | Cleared enemies respawn next chapter; reentry cannot farm the same group repeatedly |
| Opened chests | Refilling LP does not refill chests; do not confuse them with gatherable ore |
Battles during free time do not automatically refill HP and magic afterward. Once meals are used up, resting at the inn restores the whole party more effectively than healing each other until you also exhaust every healing spell.
Dungeons and Clashes · Magic recovery
Blessings, exams, and Stargazing (13–19)
13. How are Blessings and temple service connected?
Temple service raises Blessing levels; you spend Divine Sand to activate their effects in battle. Schedule the god you want to develop each week. Select Blessings before battle and activate them when the situation calls for it. Cai cannot serve during his earliest free-time period; follow the adventure guide until the facility opens.
Using Blessings · Temple service planning
14. Which Blessing should I level first?
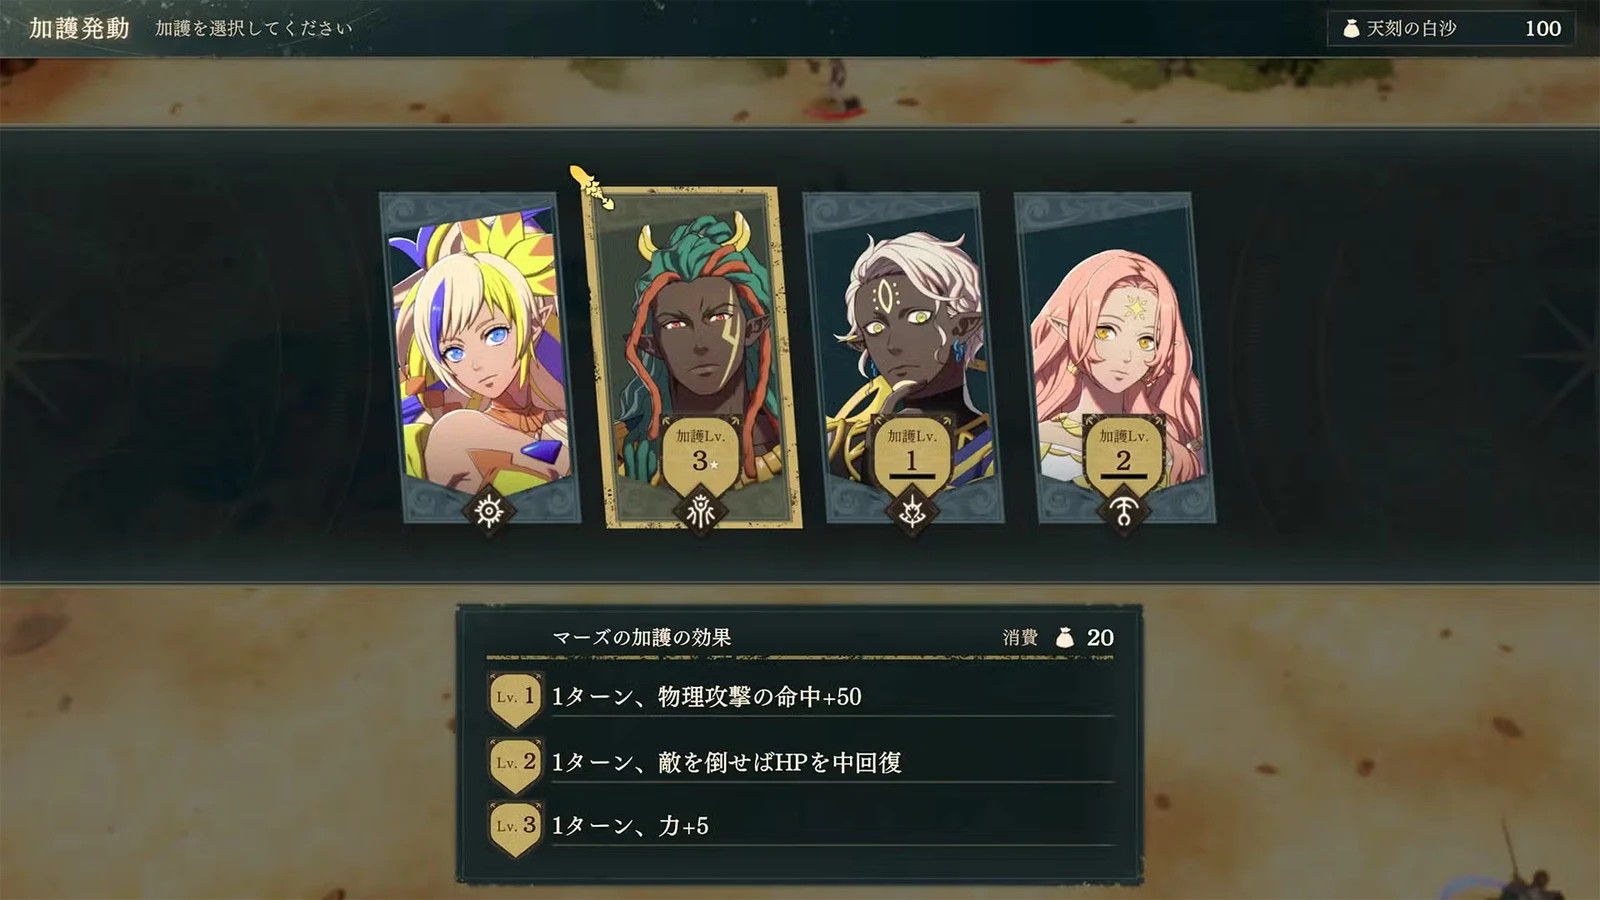
One option is Kalla level 1, then Aurora level 3. Kalla provides Avoid, Aurora reduces damage, and Aurora level 3 also nullifies enemy Netherworld Blessing. If physical enemies are the main threat in Part 1, taking Aurora level 1 first immediately improves survival.
| Blessing | Earliest useful effect | Divine Sand cost: Normal/Hard |
|---|---|---|
| Kalla's Blessing level 1 | Avoid +50 for 1 turn | 20/40 |
| Aurora's Blessing level 1 | Halves incoming physical damage for 1 turn | 15/20 |
Higher-level effects from the same god accumulate, and cost does not rise with level. At Aurora level 3, one activation grants both unlocked damage reduction and Netherworld Blessing nullification.
15. Should I save Divine Sand for later major battles?
Use it when needed in tough story and paralogue battles; budget remaining sand in the field. Story and paralogue battles refill it to 100 at the start, while ordinary encounters do not. Hard rewinds cost 5, allowing 20 if you spend it all on rewinding. Other Blessings reduce the number left for correcting mistakes. Normal rewinds cost 0.
Divine Sand and Blessings · Rewind costs
16. Why can’t I change class when my level is high enough?
You still need the target class’s exam eligibility, a license, and a pass rate check. Check level, Renown, proficiencies, and class unlocks separately. Train missing subjects or do story/side quests for Renown. Pass the exam for the qualification, then change class.
For example,  Myrmidon recommends level 20, Renown 4, and Sword C, and uses a
 Specialty License. A level 20 unit who has never trained Sword may still have a low pass rate.
Certification and class changes · Proficiency ranks
17. Why can’t I double with high Speed?
Check combat Attack Speed, not only base Speed. You need at least 4 more than the enemy. Weapons, spells, and accessory Weight lower Attack Speed. In one  Tialla example, two accessories weigh 6 together and reduce her Attack Speed to 8. Removing them restores it to 14, allowing doubles against enemies at 10 or less.
Recheck the forecast after equipping a heavier damage item. A small gain per hit may not compensate for losing an entire follow-up. If Hit and damage are already sufficient, remove unnecessary accessories first.
Attack Speed and combat formulas
18. What do players mean by “Stargazing”?
Preview future level-ups with the inn’s automatic battle activity, then reload and plan your real training. Save at chapter start, send only the unit you want to inspect into battles, record the growths, then load the pre-activity save. Do quests and battles normally during actual exploration instead of keeping all the time spent on the preview.
One certification exam can skip an unwanted growth set, whether it passes or fails. The cost is a license and an available class exam. Switching among already qualified classes instead uses different growth rates to alter which gains you receive. Simply reloading and gaining the same level again does not draw a fresh set of results.
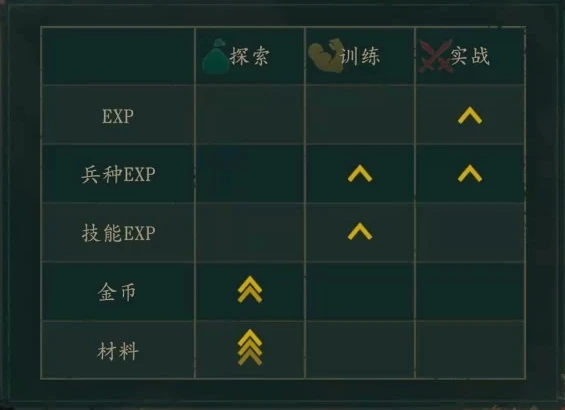
Image source:
19. Can I clear normally without Stargazing?
Build your roster and classes first; reserve Stargazing for favorites or a specific weakness. If you only want more Strength on  Halvin, watch Strength gains rather than demanding all nine stats on every level for every unit. Repeated previews, reloads, and exams take time. Training different strengths on different routes and merging can also fill the stats a character needs.
Who benefits from Stargazing · Merge Causality
Recruitment requirements and deadlines (20–25)
20. Why is there no recruitment option?
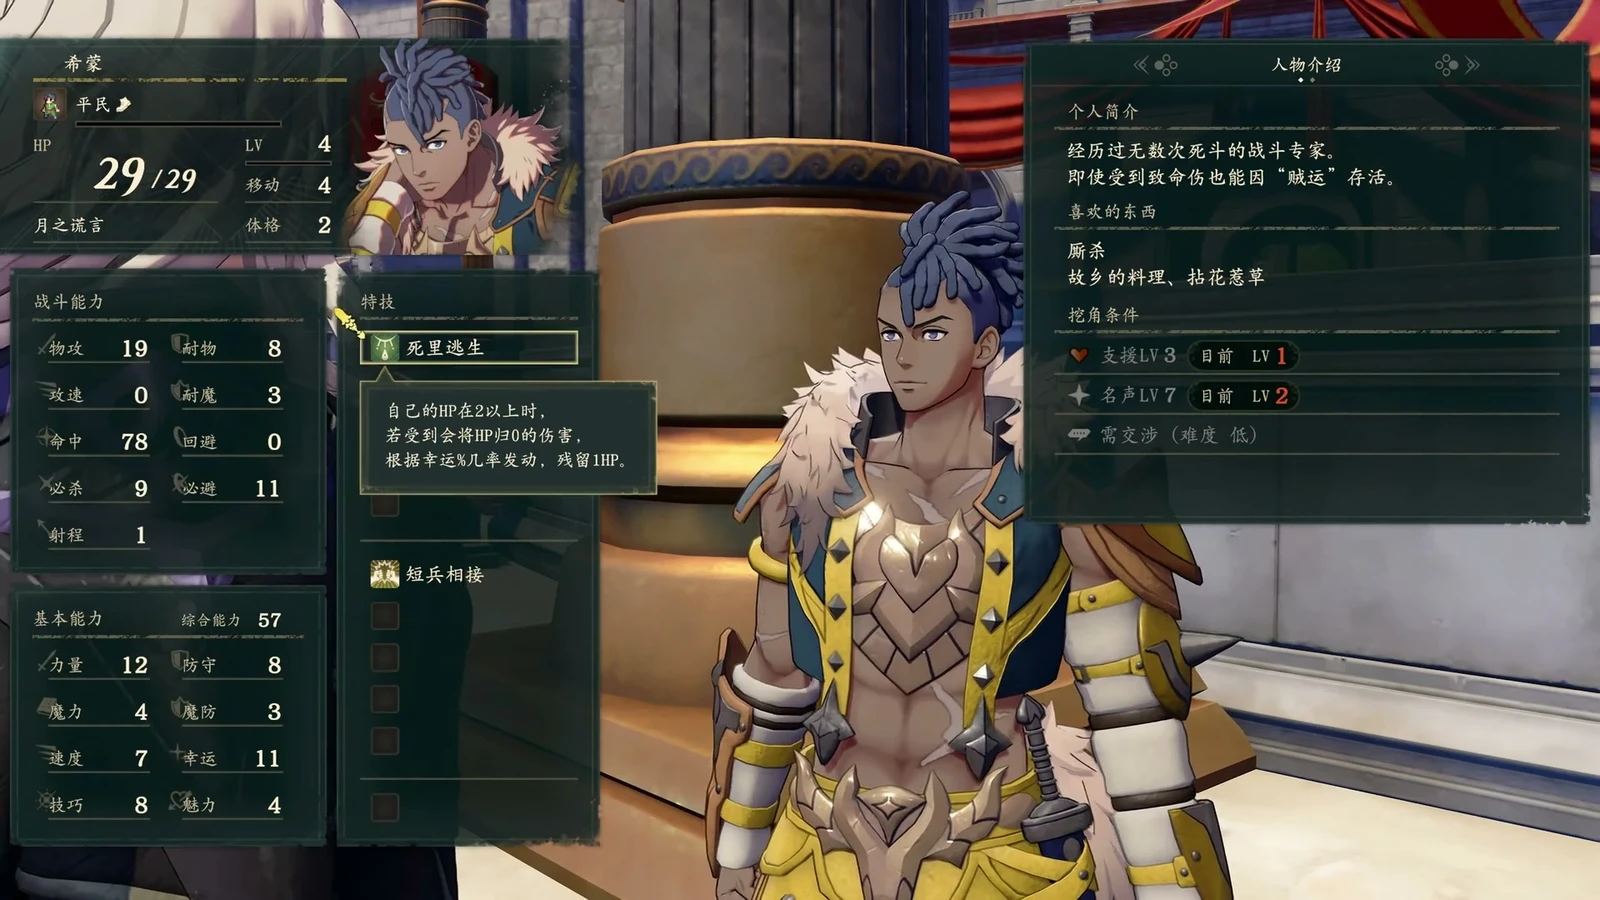
Speak to the character and give a cheap gift to establish contact first. The first gift does not need to be an expensive favorite. After making contact, check the recruitment dialogue option and requirements in character information. The city map’s character view also shows known characters’ locations and requirements.
21. Why can’t I recruit someone with enough Renown?
You also need the Bond Level, negotiation items, and prerequisite quests separately. Recruitment checks the target’s relationship with the current protagonist. Meals between two other teammates do not help the protagonist recruit.
For example,  Kiroc needs Renown 4, Bond Level 1, and
 Pure Water ×3 on Dietrich’s route. Even after meeting both numbers, bring the negotiation items and speak to the character.
Recruitment comparison by route
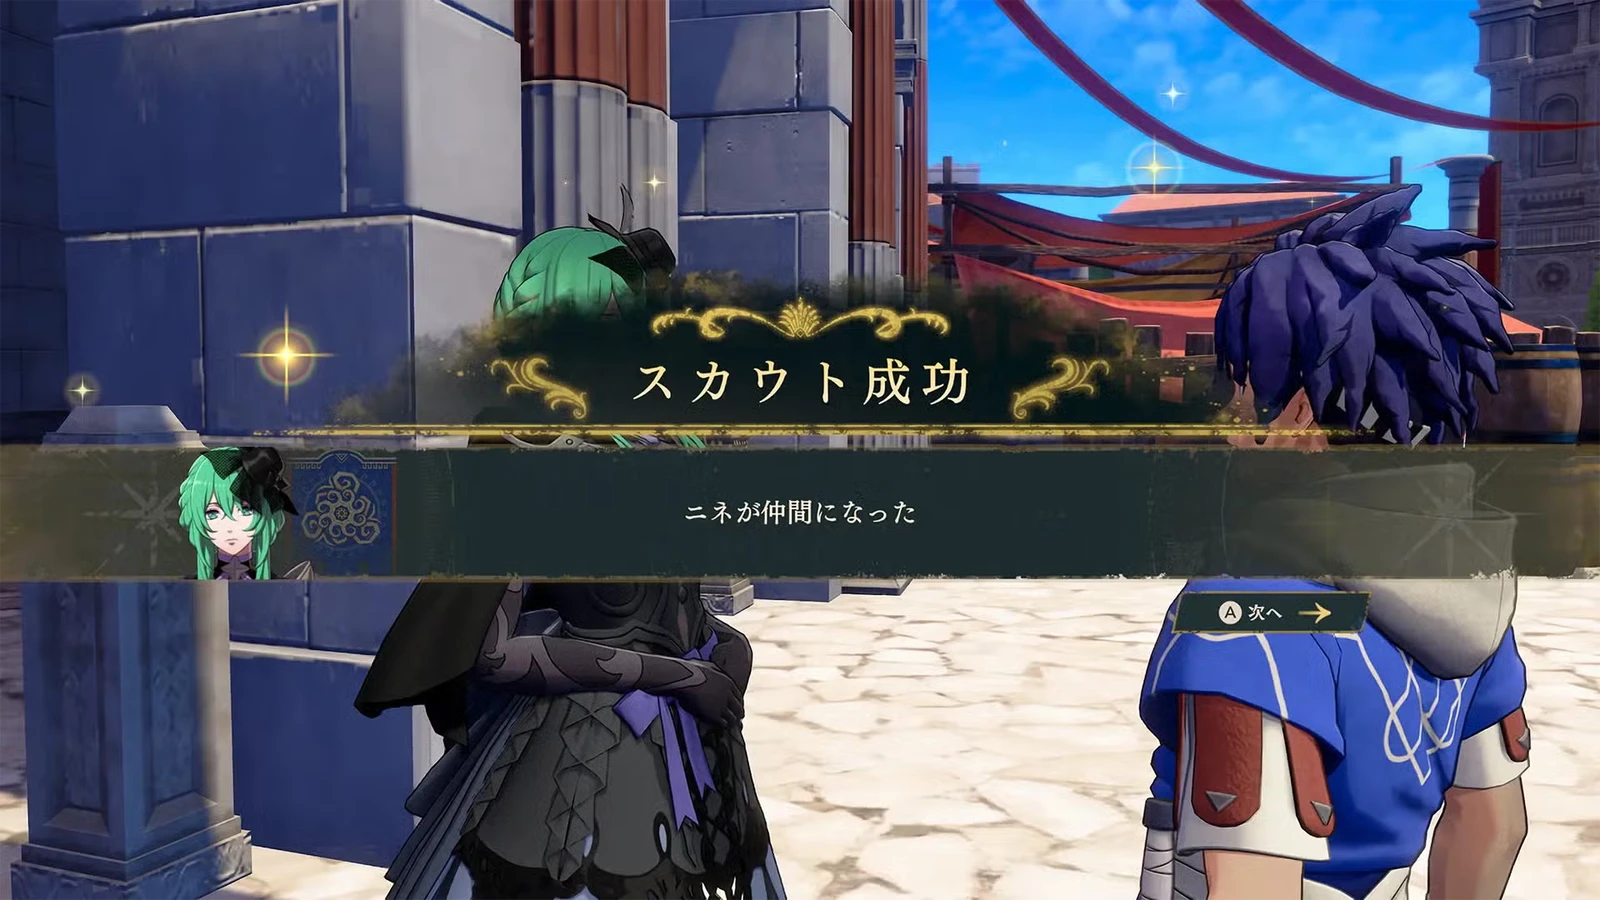
22. Can I repeat meals to grind Bond Levels?
Eat available dishes at chapter start, advance to Sunday for another round, then restart the chapter while retaining bonds. Use “Menu → System → Restart this chapter.” Restarting resets levels, items, and other chapter progress to the start, including completed quests and exploration. Keep this loop at the beginning of free time.
If you have already spent half the chapter playing seriously, consider grinding next chapter. Throwing away a whole chapter’s development for a little bond progress is often more trouble.
Bond gains and chapter-restart loop
23. Can one route recruit everyone I want?
Some characters are limited to certain routes, so check who yours can recruit first. The same unit’s requirements and appearance date also vary by protagonist. Fill your first team’s gaps first, then distribute full-roster recruitment across protagonists with low requirements and early availability. Train early recruits rather than waiting until late game to replace established units based only on level.
All-character four-route plan · Recruiting on your route
24. Why is a conversation locked with enough Bond Level?
Bond Level and conversation unlocks are separate. Gifts do not replace story progress or viewing order. On Cai’s route,  Peter, Tialla, and
 Ultand have connected conversations. Alternate through available scenes, then recheck the locked one.
On Leda’s route, finish Buccar’s related supports with  Sirocco and Leda before Chapter 7 or they lock later. Check support conversations at the inn whenever you return and watch what is available.
Support conversations and locks
25. Can I miss characters or paralogues by staying away from town?
Yes. Paralogues have acceptance deadlines and still need completion time afterward. Part 1 Chapters 9 and 10 are crowded with paralogues, so handle them before automatically advancing to the main story. Dietrich also has a one-day paralogue on September 17. Set acceptance and latest-return reminders, then head out after accepting in town.
Paralogue dates · Missables checklist
Final preparations before Part 2 (26–30)
26. Can I sell all fish, vegetables, and rare materials?
Reserve materials needed for recruitment negotiations and later development first. Fish and vegetables may be temporarily unused in Part 2, but Part 3 consumes plenty. Keep these materials while storage is inaccessible.  Goliath also needs
 Giants' Meat ×3 for negotiation; check target recruits before selling materials.
Economy and materials · Recruitment negotiation list
27. Do protagonist activities affect class changes?
Yes. Complete the corresponding activities for unique classes. Cai’s instruction, Dietrich’s challenge letters, Theodora’s military preparation, and Leda’s performances connect to class unlocks, which can be shared once unlocked. Replay chapters to fill missed unlocks. If that is your only goal, you do not need to finish the whole route again.
Unique quests · Certification exams
28. Are six trained units enough before Part 2?
Expand before War; prepare about 13 units including the protagonist. Larger maps require divided roles. Relying on six leaves other positions filled by untrained units. Prioritize distant healing, two archers, physical tanks, flight, and magic damage around your route’s roster rather than training another batch of identical melee units.
29. How should I prepare equipment and items for Part 2?
Finish upgrades, manuals, exams, and carried equipment as separate tasks. Part 2 does not allow forging upgrades, manual use, or free access to Part 1 storage. Waiting until after the transition leaves those preparations unavailable.
Part 2 supplies · Pre-War checklist
30. Can I recover missed content, and does replay affect later progress?
You can replay chapters, but new results in old chapters must progress through completion again to carry forward. Starting an old chapter restores its old state. To enter War with a retrained team, clear Part 1 through Chapter 12 again to update Part 2’s starting data. Collecting an item once in an old chapter does not automatically add it to your current late-game save.
Restart and carryover rules · Recovering missed content