

Anna’s Paralogue: Golden SecretMajor spoilers
Let Solel hold the giant while others destroy ore piles. Every 5 of the 10 piles triggers heavy damage; time the key explosions around health bars and remaining actions.
Return to the nine-paralogue walkthrough; available route walkthroughs: Cai, Dietrich, and Theodora.
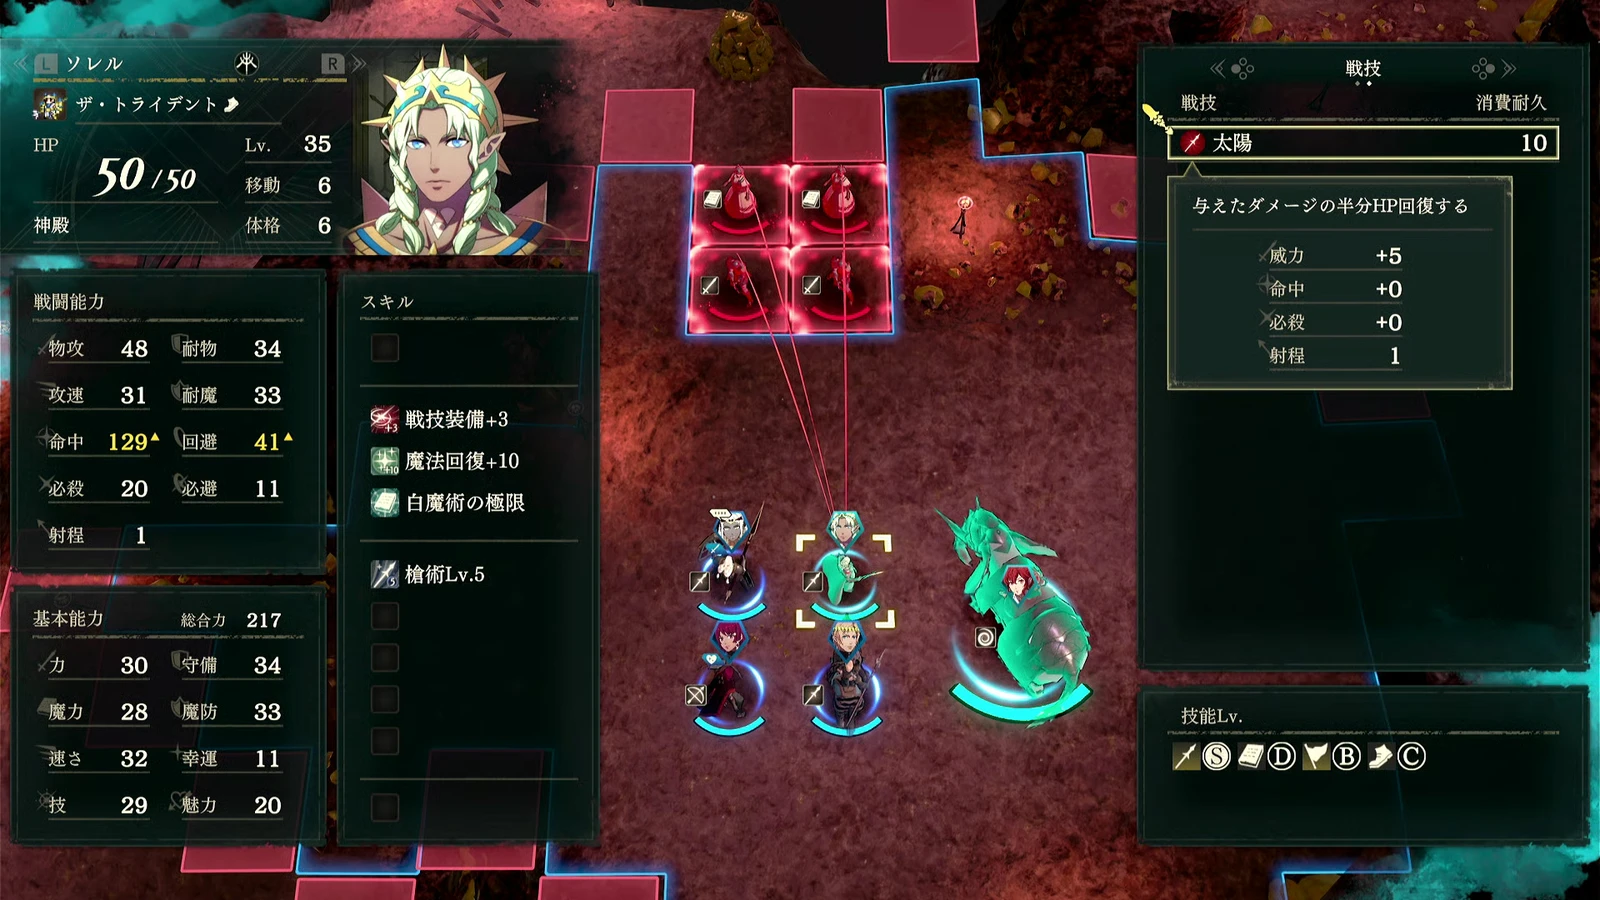
- Solel tanks the giant while the others destroy ore. He can heal through Sol as he attacks. Do not crowd everyone beside the giant to grind it down.
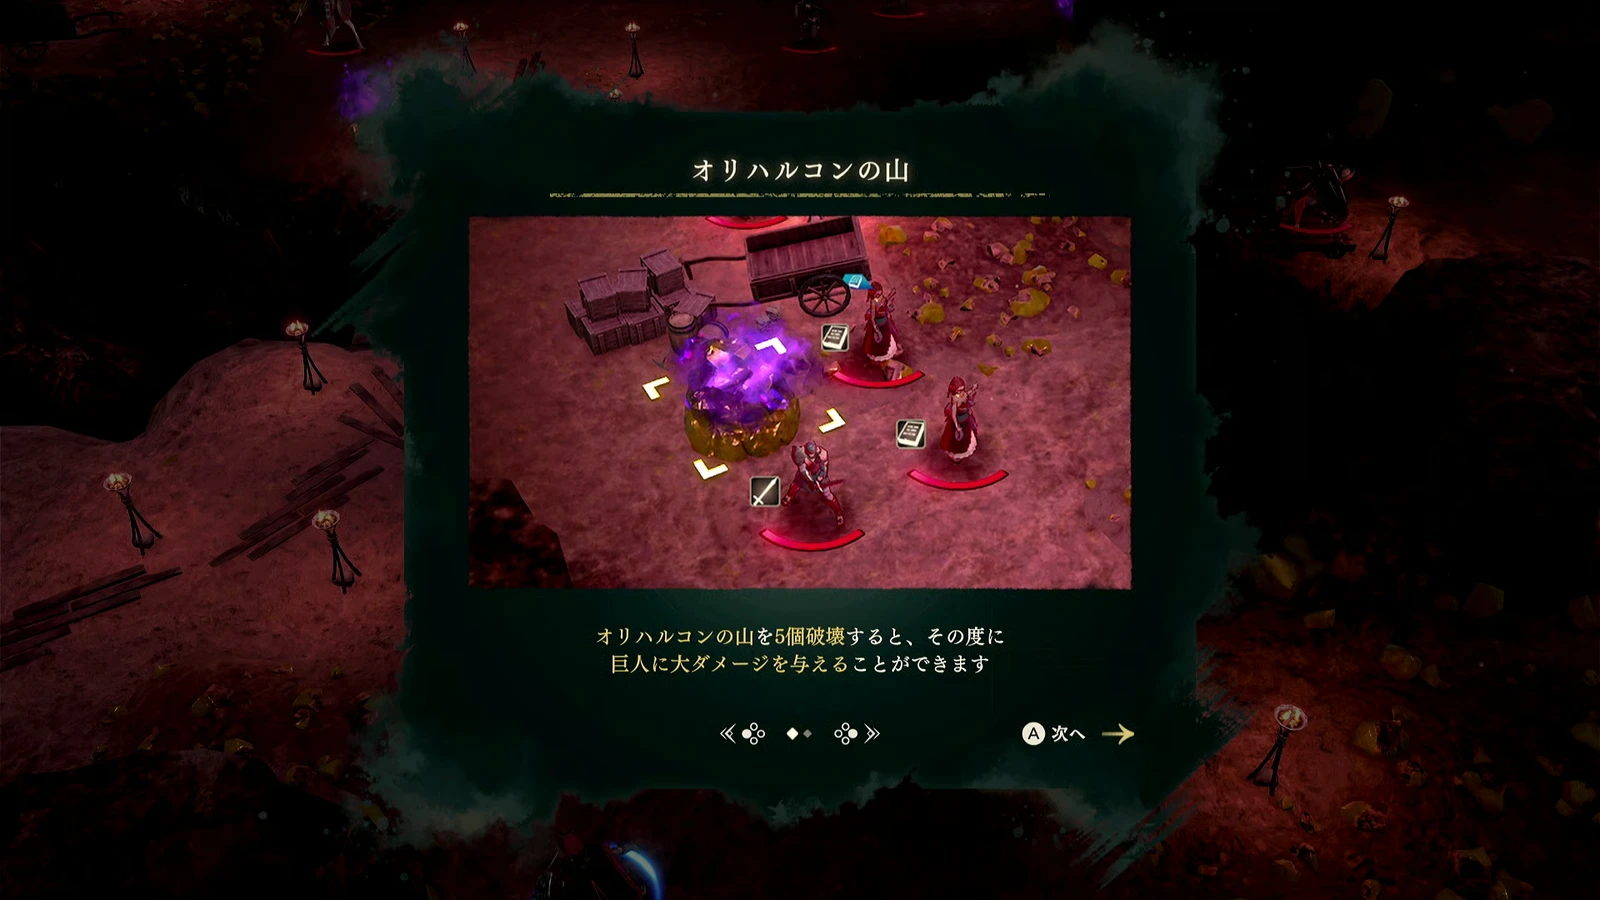
- There are 10 ore piles, with heavy damage after every 5 destroyed. Before the 5th and 10th, check the giant’s health bars, your damage, and remaining actions.
- Anna is a guest in this battle; clearing it does not recruit her. Completion unlocks her nighttime shop. Do not commit all your resources to recruiting her.
Victory conditions and map
The final objective is to defeat the abnormal giant. You lose if the current protagonist or Solel falls. You fight other enemies first, then the objective changes when the giant appears. Follow the current objective display instead of remembering only the intermediate “rout” summary.
| Route | Chapter | Acceptance window |
|---|---|---|
 Cai | Chapter 10 | September 24–October 5 |
 Dietrich | Chapters 10–11 | September 29–October 5 |
 Theodora | Chapter 11 | September 24–October 5 |
 Leda | — | Unavailable |
Find Anna in front of Dagda’s temple on Dagsion’s top level and continue talking to advance the paralogue. Existing tables do not specify a separate final battle-start deadline. Plan to finish within the acceptance window rather than adding extra days yourself.
Enemies and boss
Deal with enemies at the trading outpost first and clear routes to the ore. Do not send an ore destroyer into enemies alone.
Bosses:
| Name | Class | Skills or behavior to watch | |
|---|---|---|---|
| Warlock boss | Warlock; exact class unconfirmed | Early target; do not ignore enemies while destroying ore | |
| Abnormal Giant | Monster; exact class unconfirmed | Later victory target; ore explosions inflict heavy damage |
Solel tanks the giant while everyone else destroys ore
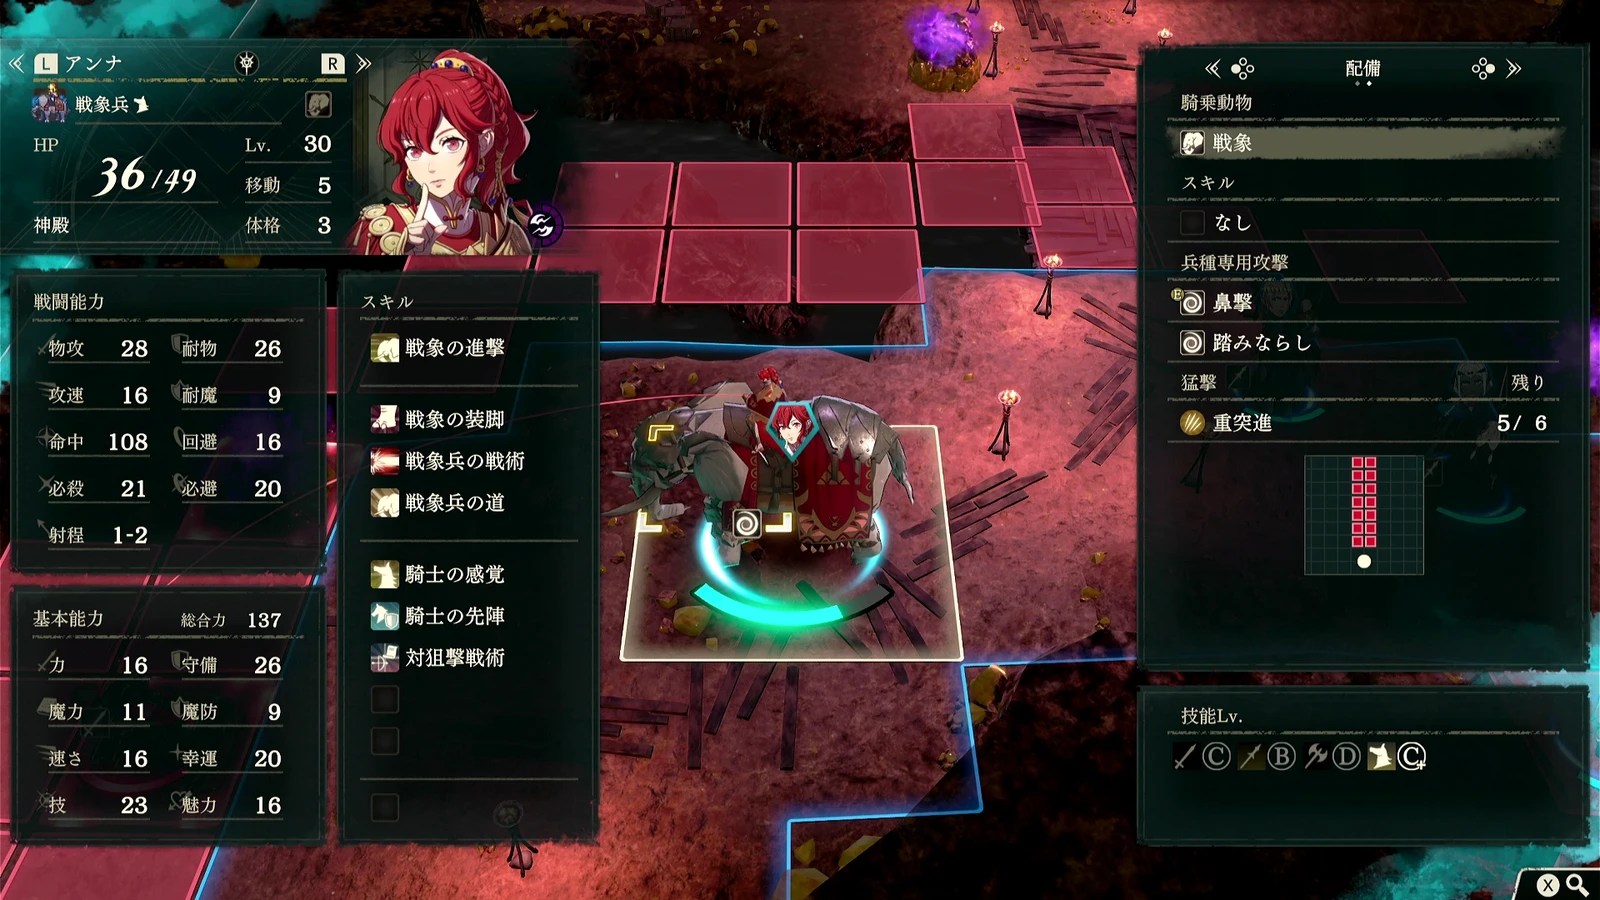
Bring mobile ore destroyers and build your front line around  Solel. Anna is also controllable and can use her Elephant Rider actions to help destroy ore. Check this battle’s menu for commands and attackable tiles.
Clear enemies before splitting up to destroy ore. Use guests and controllable weapons to remove obstacles, then approach the piles along separate routes. Do not send ore breakers into enemy groups alone. Solel mainly handles the giant, dealing damage and recovering HP through Sol.
Phase 2: plan heavy damage around the ore count. There are 10 piles, with one heavy-damage trigger for every 5, up to two triggers. Coordinate with your front-line damage instead of simply destroying as many as possible each turn.
One approach uses the first five piles against the first HP bar, then lets Solel push the giant into the second before destroying the other five. This avoids wasting the second damage trigger on the earlier bar; finishing attacks may still be needed after all ten. Another approach saves the tenth pile until you can finish the giant in one push, preserving preparation time before the key trigger. The latter does not explain how the first five correspond to HP bars. Whether the two descriptions use exactly the same trigger sequence remains unconfirmed, so do not combine them into one fixed script.
Reserve finishing actions before destroying a key ore pile. Check Solel’s HP, whether finishers can still act, and whether healing is spent. After triggering, finish the giant according to the current objective rather than extending the battle to clear unrelated enemies.
If damage is insufficient, protect Solel and the ore team first, preserving control over when the heavy-damage trigger occurs.
Available rewards
| Item | Details |
|---|---|
| Base rewards |  Orichalcum ×1, 20,000 gold, 150 Renown |
| Later facility | Anna opens her shop on Dagsion’s top level at night, the next day |
| Recruitment | Anna cannot be permanently recruited; she is a controllable guest here |
| Chests, drops, stealing, battle-conversation recruits | Full table unconfirmed; destroyed ore piles do not automatically add extra materials to inventory |
Watch the September 29 nighttime event first
Do not let this paralogue crowd out the September 29 nighttime event on Dietrich’s route. For Fabio’s hidden content, follow the missables checklist first, then do this paralogue. Watch the hidden event separately after completion.
Plan later paralogues after the nighttime shop opens
Confirm that the nighttime shop has opened before handling upcoming requests. Visit during its night hours for Anna’s goods; the shop is closed by day. If Talimun's Paralogue: Secret of the Vanished Carriage remains, check its second October window and completion deadline on the 12th. On Dietrich’s route, also reserve time for Anatolia's Paralogue: Queen of the Erased from October 5.