

Chapter 3: Beyond the Salt RoadMajor spoilers
Have Bertrand take control of both allies and leave Nathan for Creek. Hold a chokepoint against reinforcements or break through on the right, prioritizing Bolting once fires start.
Bring Creek and leave Nathan’s finishing blow to him. Have Bertrand speak to Aswan to take control of the two independently moving allies. In the middle of the battle, either hold a chokepoint to clear reinforcements or break through on the right to avoid concentrated fire when you emerge in front. If you already have a mercenary who can extinguish fires, prioritize bringing them. Once the map catches fire, focus on Bolting, and use Theodora’s straight-line Power Art to clear enemies lined up together. Dietrich can force his way through the boss, but a solo fight depends on a critical hit. If you want to clear all remaining enemies, leave Gilchris until last.
Weaken the opening armored enemies with stones
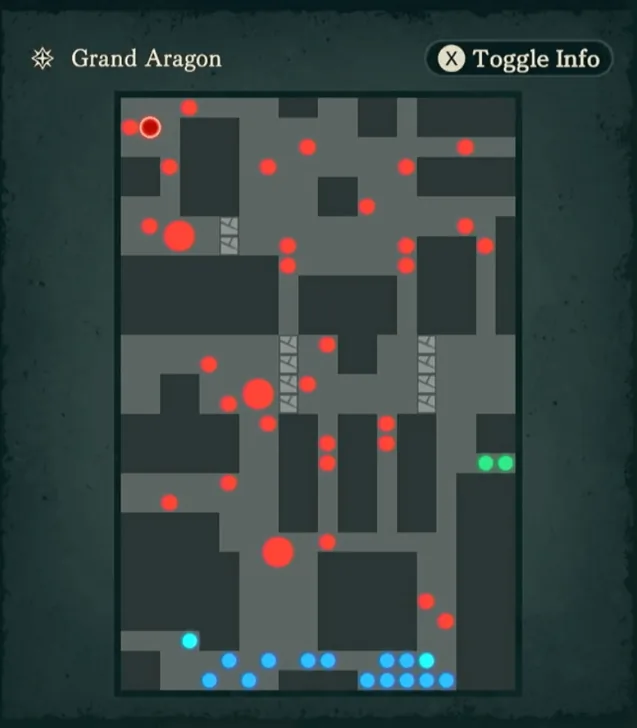
Before a mage attacks the opening armored enemy, check counterattack damage. Using magic does not make the attack automatically safe. If the counter would kill the mage, use Theodora’s ranged stone throws to weaken it instead. When surrounding the War Elephant, check whether you can finish it too. If a flier would die after delivering a finishing attack and the elephant cannot reach you yet, retreat and block the passage instead of forcing the kill.
Have Bertrand take control of both allies
Aswan and Tahonia act independently at first. Protect them and bring Bertrand close enough to speak to Aswan. Once you have control, position them yourself to stop them running into groups of enemies.
Leave Nathan’s finishing blow to Creek
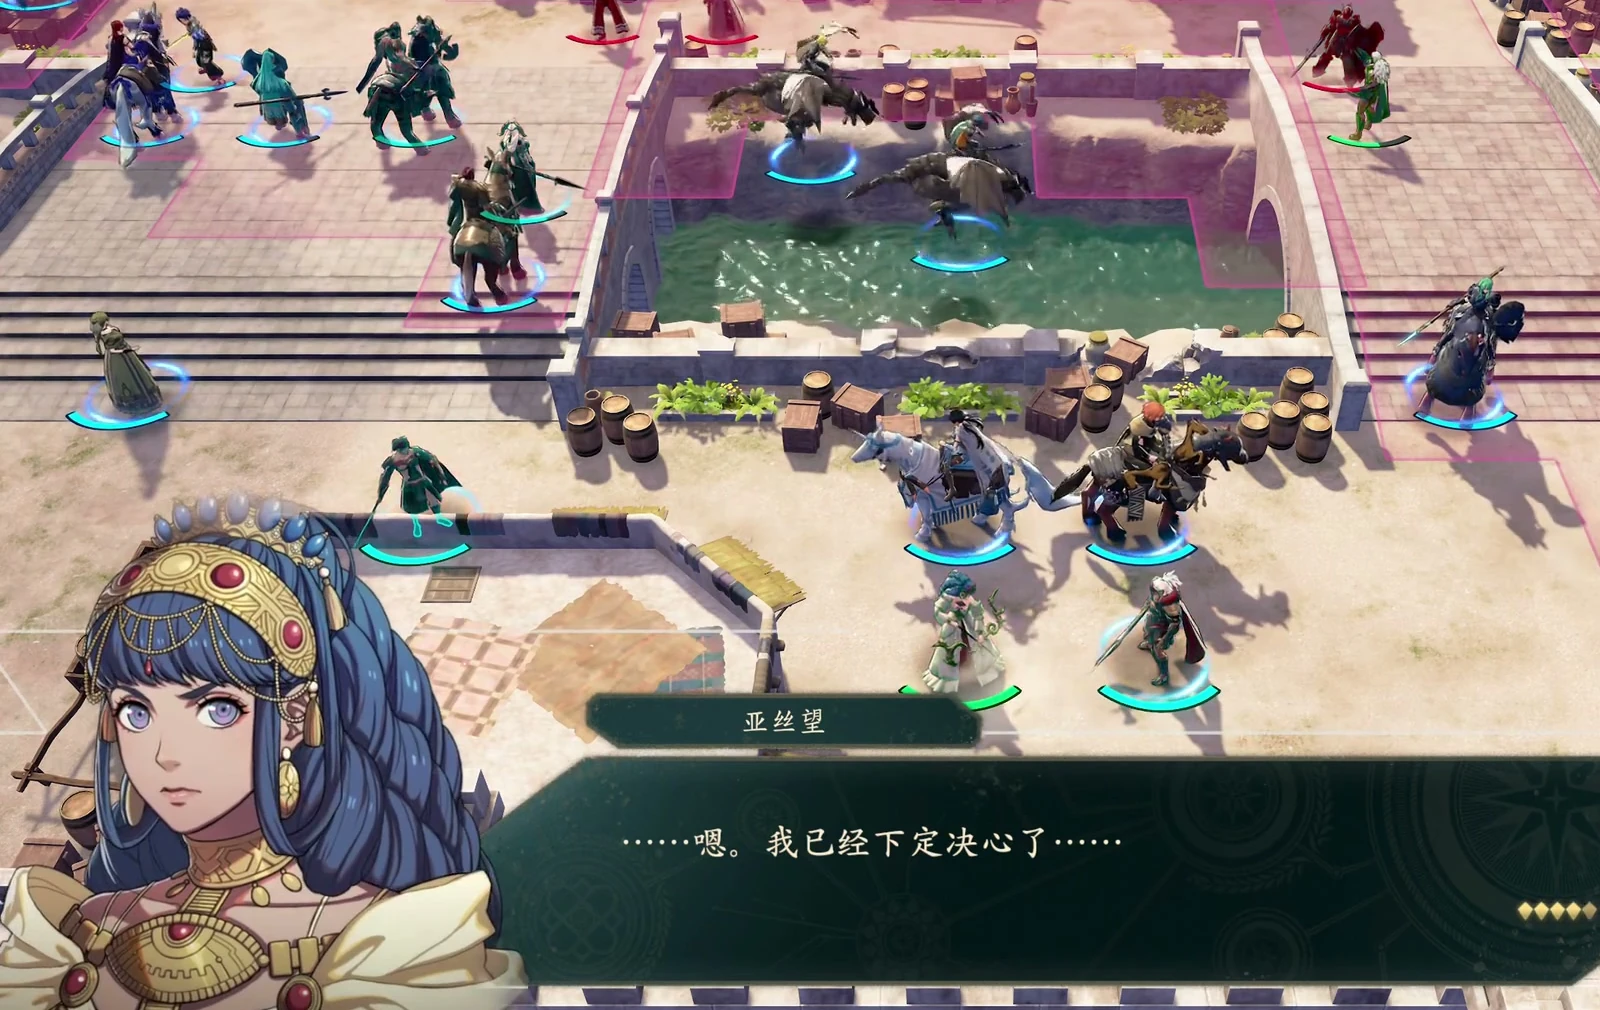
When Nathan approaches, weaken him with other units without killing him, then let Creek land the final blow.
Hold a chokepoint or break through on the right
Approach 1: hold a chokepoint against reinforcements. If enemies approach from both sides, clear the left first and delay the right. Then hold the passage and let enemies come to you, with fliers looking for openings to attack the rear line. Keep taking enemies until you confirm reinforcements have stopped before advancing, so both sides do not press you at once.
Approach 2: break through on the right. If stepping out in front draws concentrated fire, move forward along the right instead. Once you have a relatively safe foothold, hold the passage with your front line and bring ranged units over to attack. This secures a position without keeping the whole squad packed under the frontal barrage.
Prioritize Bolting in the burning battlefield
If your team already has a mercenary who can extinguish fires, prioritize deploying them to handle this map’s burning areas.
War Elephants still emerge from the flames after fires start, and you must also watch for two distant Bolting casts. If Bolting covers your current position, retreat and prioritize its caster. Do not focus only on the nearby elephant while leaving Bolting free to hit your squad.
When enemies form a line, use Theodora’s straight-line Power Art to clear them. If an enemy ranged skill also covers her current position, withdraw below first, then find an angle that hits the line. Do not take another round of attacks in place just to wait for enemies to line up.
Near the boss, do not copy ground units’ positions with fliers when relying on terrain damage reduction. The reduction at the same tile does not apply to flying units. Choose their destination based on actual incoming damage.
Avoid burning tiles when approaching the boss
Gilchris has 2–5 Range, and his Gambit sets a large area ablaze. Remove the two nearby mages before attacking and avoid tiles that will catch fire on your approach. Do not stop the whole squad in front of the boss to wait another turn.
Approach 1: clear remaining enemies first. If you want more enemy kills, leave Gilchris until last. Defeating him ends the battle. An early critical kill on the boss immediately removes your chance to clear the rest.
Approach 2: attack directly with Dietrich. Dietrich can handle the assault himself. If the forecast shows that he needs a critical hit to defeat the boss, a solo fight can fail.
Recheck weapons after post-battle preparations
After changing classes and inventories, inspect weapon slots again before deployment. Weapons may have been removed while reorganizing, so do not enter the next battle just because a class change succeeded.
 Nathan
 Creek
 Aswan
 Tahonia