

Chapter 2: Showdown at Agris StrongholdMajor spoilers
Use archers against wyverns and exhaust artillery one emplacement at a time. Give the right route enough attackers at deployment, and combine overlapping enemy ranges before approaching the bosses.
Bring an Archer, retreat into grass against opening fliers, and use magic against enemies physical attacks cannot hurt. You can exhaust each artillery emplacement before advancing, but staying at the start lets the Cleansing Blade +1 and Horsekiller Bow +1 carriers escape. If Dietrich is already trained, put him on right-side offense. Trying to bring reinforcements across the mountains after discovering insufficient attackers is blocked by terrain. Before approaching the bosses, combine both bosses' and the lancers' ranges and check survival against their joint attacks. The bosses are reluctant to leave the interior tiles.
Equip the issued weapons before battle
Check everyone's weapons before deployment. Compare issued equipment such as Iron Swords +3 with their old gear and switch accordingly. Issued weapons can already outperform previous ones, so retaining Part 1's loadout loses Attack. Recheck after restarting or changing the roster so nobody deploys without collecting a weapon.
Receive opening fliers from grass
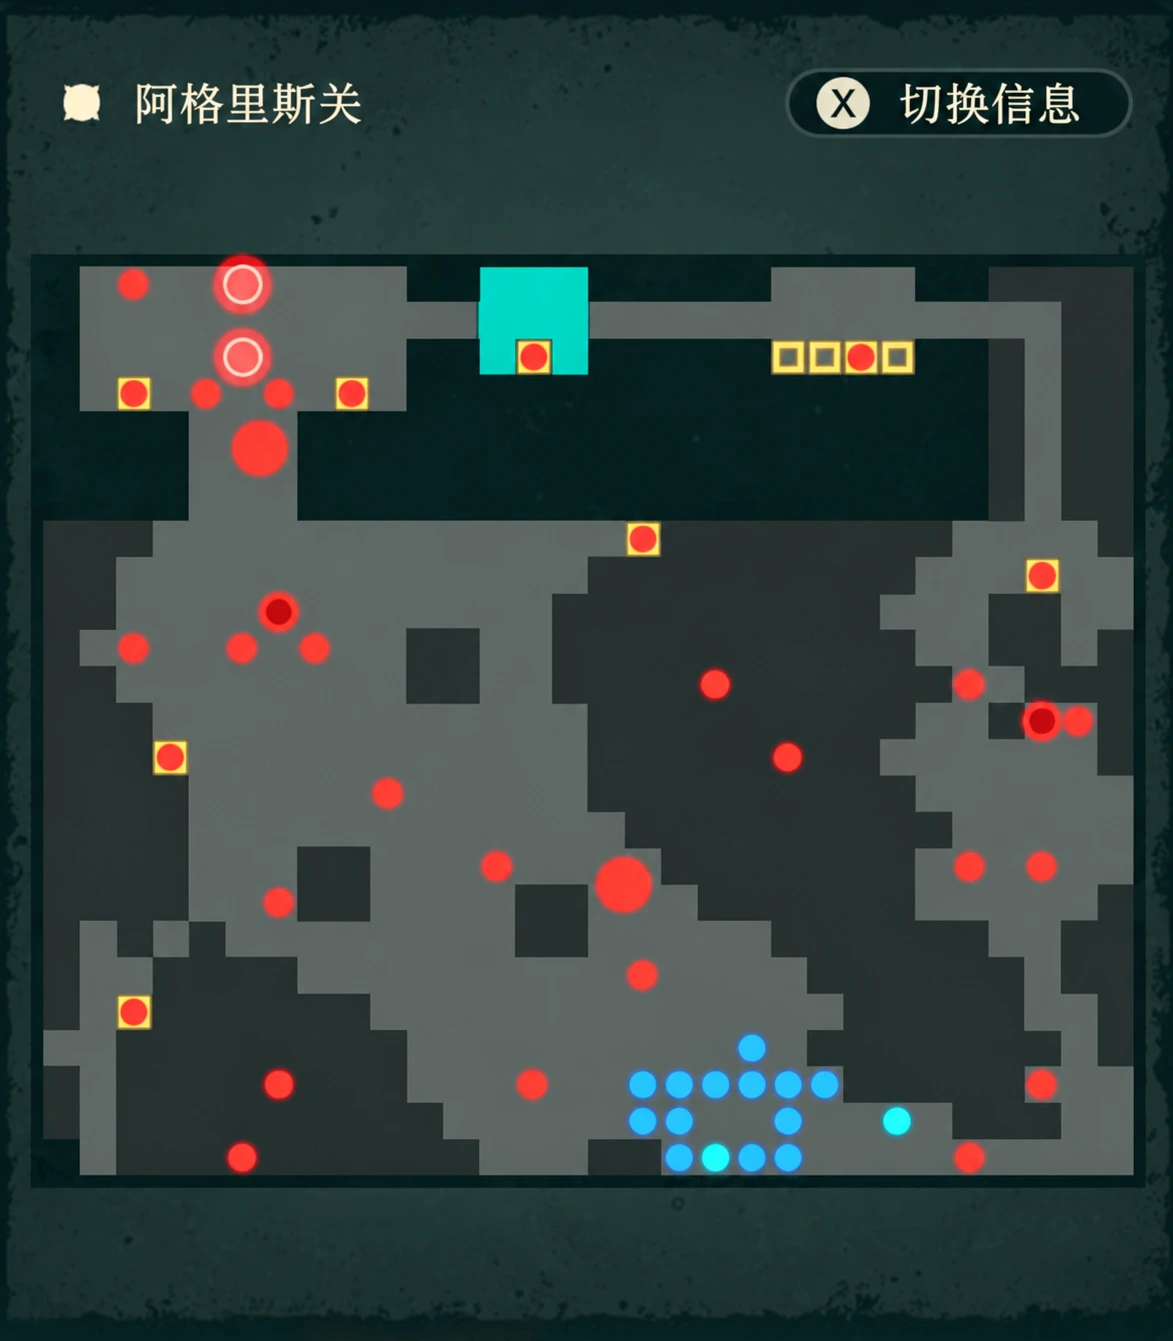
Retreat into grass if early damage is too heavy instead of pushing outward. Keep an Archer waiting on the left while fliers remain there. Assign high-Defense enemies to magic users rather than repeatedly using ineffective attackers.
Balance pursuit against waiting out ammunition
Approach 1: Hold and exhaust ammunition. Stay safe, lure approachable enemies down one by one, and advance once artillery uses run out. This costs fleeing enemies' equipment. Sending a wyvern after the retreating Cleansing Blade +1 carrier exposes it to artillery without guaranteeing a one-hit kill. The Horsekiller Bow +1 carrier also escapes. Accept these losses for the safer approach.
Approach 2: Strengthen the right-side assault. If  Dietrich is already trained, deploy him on the right for forward kills and actively pursue the Horsekiller Bow carrier on the left when seen. Give the right enough attackers at deployment. Even fliers cannot cross this mountain section, preventing timely mid-battle reinforcement from the other side.
Check each emplacement's remaining ammunition
When waiting out shots, check every emplacement separately. One falling silent does not mean another behind it is empty. Take the final shot before advancing if one remains. When Dietrich tanks bow artillery, calculate two consecutive shots together rather than only the first.
If taking artillery proactively, count the route within Movement range first. After capturing one, check another northwest. Fliers cannot use the map edge as a shortcut either. If  Seteth cannot fly across the edge, enemies beyond the obstacle can still attack him, forcing retreat.
Leave support for rear reinforcements
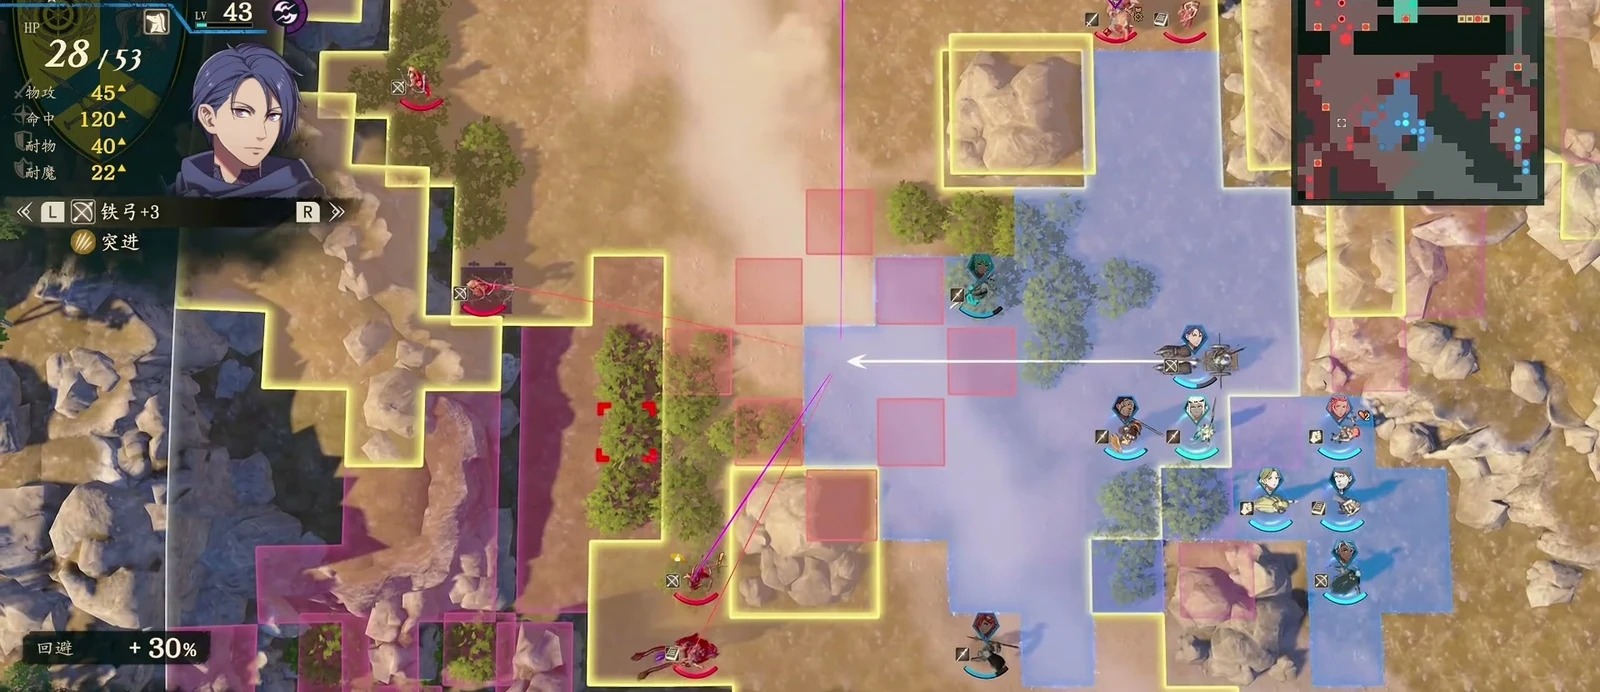
Keep support behind while pursuing. Reinforcements emerge from the rear along the right path. If wyverns block an advanced group's retreat, send help. Check whether an Archer can kill a wyvern in one attack; otherwise add a finisher or combat art rather than assigning one unit to the entire wave.
Even if fliers can reach the rear, check whether they can withdraw after attacking. Attacking the rear before drawing down the front invites encirclement. Retreat when the War Elephant advances, lure it outside siege-weapon range, defeat it, then continue. If  Sofia lacks ranged healing, do not send her forward merely to heal; she cannot withstand attacks there.
Combine overlapping ranges near the bosses
Before approaching from the left, wait for Dietrich on the right. Try drawing enemies rightward before engaging from the left. Before moving one tile forward, account for both bosses and the lancers: all can hit the same tile. Nearby armored enemies also have 3-tile range, so their melee appearance does not define safety.
When Seteth advances for a kill, include the next ranged shot in survival checks. If it would finish him, wait for the immediate enemy to move down. If defenders refuse to move, defeat one ahead and withdraw to keep luring, rather than sending everyone into the boss area. Even a high-Resistance flier must check the enemy's close-range attack and whether it can retreat afterward.
Handle defenders who keep healing enemies before finishing. A healing tile restores 30 at once, with healing support on top. Leaving both intact prolongs the boss fight. Pick off enemies you can lure first, then finish.
Recheck equipment afterward
Before Beyond the Salt Road, confirm everyone's weapons are still in their inventories and replace missing gear. Some equipment needs reassignment; having just deployed does not guarantee a unit is ready again.
Clear condition and Creek recruitment
| Category | Condition |
|---|---|
| Victory objective | Defeat Lind and Ianuarius |
 Creek recruitment prerequisite | Complete “My Late Sister's Accessory” on  Dietrich's or  Leda's route in Part 1, then defeat Creek this chapter; he joins in Chapter 3 |