

Chapter 1: The Battle of Klytius PlainsMajor spoilers
On Cai’s route, counterattack from the grass; on Dietrich’s, engage each side separately. Avoid Bolting mid-battle and clear nearby enemies before facing the boss.
Approach 1: on Cai’s route, let  Cai hold the front while the allied left wing counterattacks from the grass. Pull everyone else back when threatened. Approach 2: on Dietrich’s route, engage waves separately on the left and right, leaving the right side until next turn.
Avoid Bolting in the middle of the battle. Even minor enemies have two lives, so emptying one HP bar does not mean it is safe to rush forward.
Clear nearby enemies before the boss and save your +50 Hit option for the boss itself.
Carryover equipment and issued weapons
Before entering Part 2, put the weapons and equipment you need this chapter into characters’ inventories. You cannot retrieve convoy items this chapter, and medicines and DLC weapons cannot be brought through this carryover. Let units who will not deploy carry some items, then transfer them to the intended users after Part 2 begins.
After receiving issued equipment, compare weapon Attack again. A +3 Iron Sword in hand had 6 more Attack than the +2 version. Older +1 weapons may also be weaker than newly issued +3 iron weapons, so do not keep Part 1’s equipment priorities unchanged.
Weapons are repaired each chapter. Use them when needed to defeat enemies here instead of conserving durability solely for the next chapter.
Check Cai’s class changes and blessings
If  Ninae needs to retain both mounted and armored traits, make her a
 Cataphract to use her Armored Move. Do not rely only on Army actions to catch up low-level units: level 32 still falls short of the level 35 class change this build needs. Try to reach around level 35 before Part 1 ends. If you are already in this chapter, reserve finishing-blow experience for units still short. Exams at 32% or 18% success can consume all three certificates, so do not count the attempt as a guaranteed pass.
Recheck your current blessing levels on Cai’s route before battle. Blessings trained on later routes do not automatically become max-level blessings on Cai’s route, so do not plan this team around another route’s setup.
Engage the two flanks separately at the start
Approach 1: hold the grass on the left. Keep the allied left wing in the grass and counterattack approaching enemies instead of immediately leaving it to join the main squad. Cavalry in particular should not charge straight into a group of lance users. The left wing can keep holding its position and countering enemies this way through the middle of the battle.
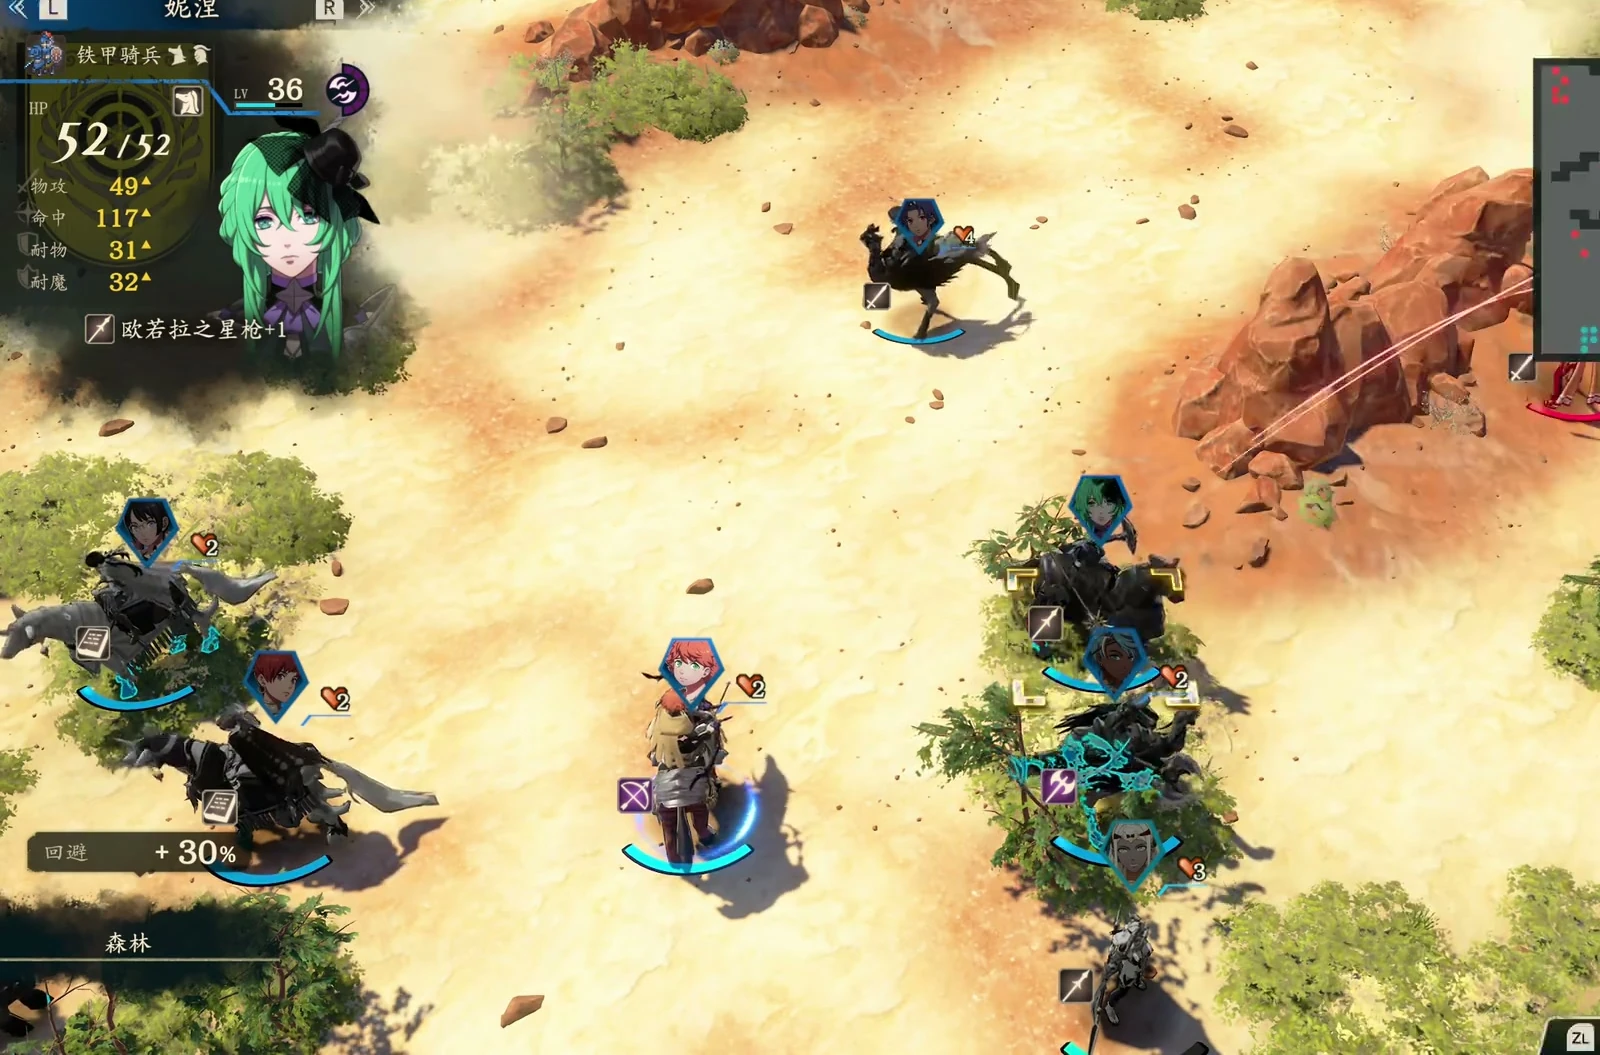
Approach 2: stagger the two sides’ advance. Keep enemy aggro separate on both sides. Deal with the side already engaged first and leave the right until next turn. Even minor enemies here have two lives. Keep attacking after the first HP bar empties instead of pulling the next group early.
Pull back and account for mages mid-battle
If Cai’s squad would lose units by charging, pull everyone else back and leave Cai in front, then have him turn to deal with the rear enemies. A Killing Edge that fails to crit or misses can leave an enemy alive. Even attacks with 60%–80% Hit need backup actions in case they miss.
When enemy mages threaten  Seteth, activate a blessing before taking more attacks.
 Goliath can withstand physical attacks, but calculate damage from these mages separately.
If a group of mages targets Dietrich’s squad, activate a shield before continuing the fight.
Stop before entering Bolting’s range
Before dealing with the two wyverns ahead, check Bolting’s reach. If approaching would expose you to it, stop in a safe position instead of provoking the enemies above as well.
If normal attacks cannot reach a wyvern in the rear, use a bow Combat Art to shoot it down.
Clear enemies and raise Hit before the boss
Approach 1: clear surrounding enemies first. Near the main objective, remove other enemies so you are not taking distant mage attacks while surrounding the boss. A long-range spell can deal 46 damage, leaving approaching units dangerously low. Late in the battle, if physical attacks cannot hurt an enemy with 33 Defense and 31 Resistance, use mages instead.
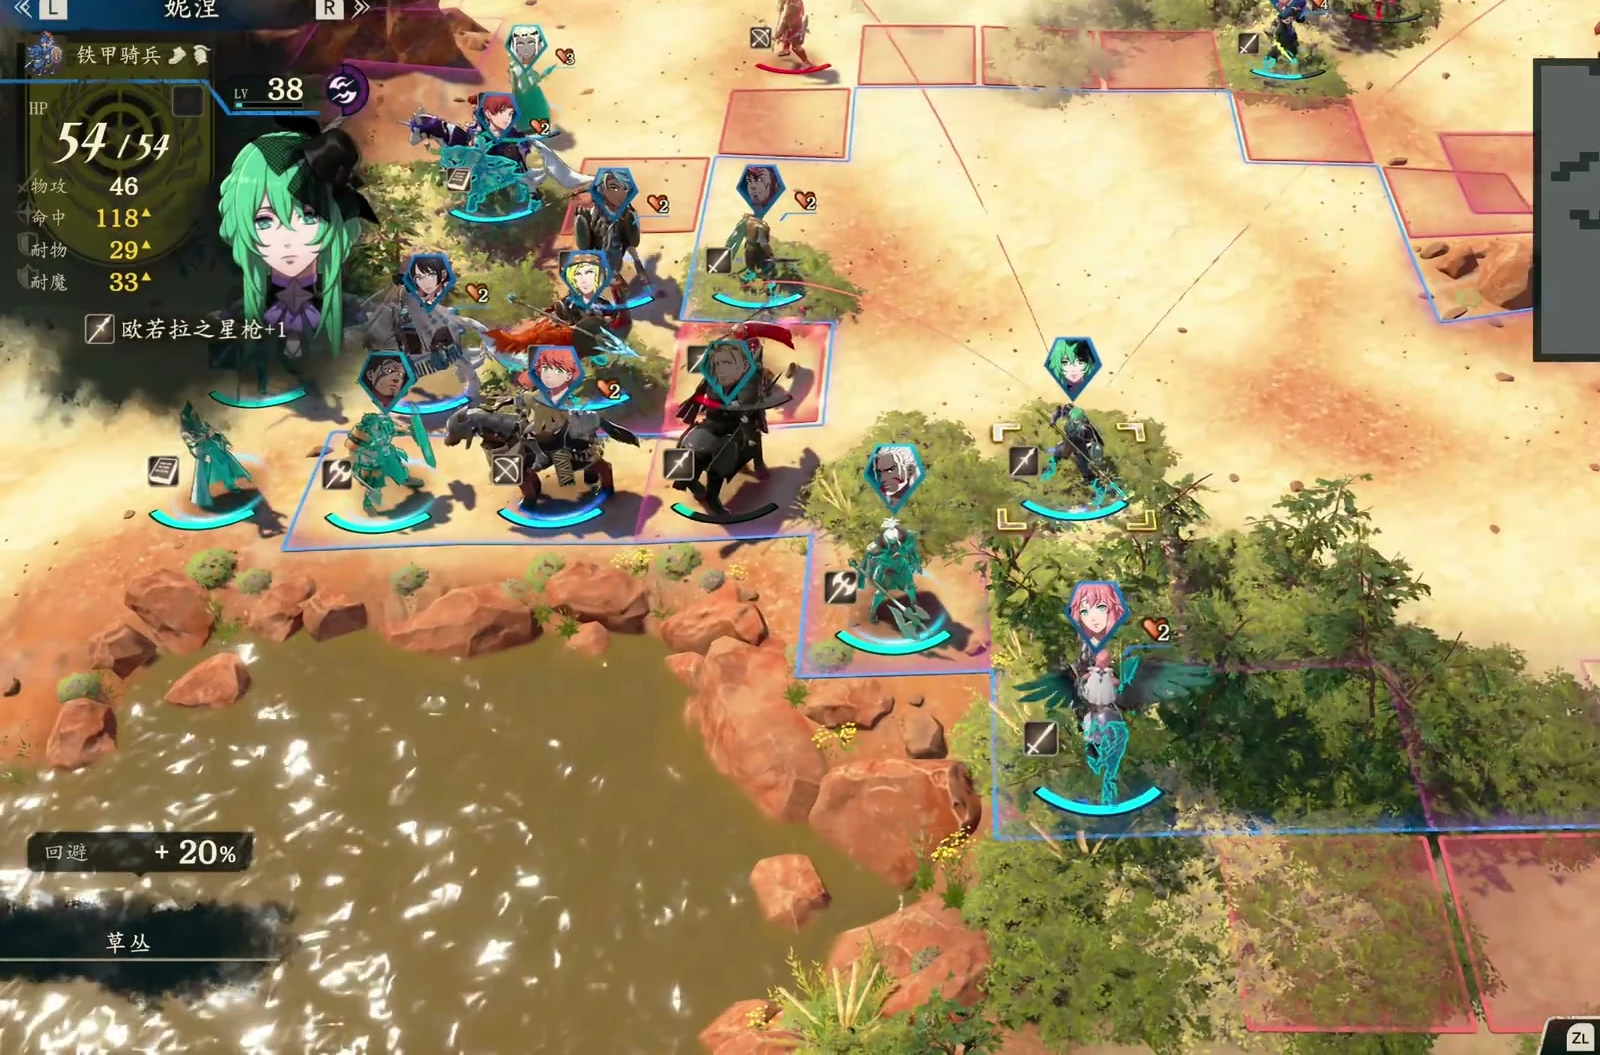
Approach 2: save the Hit bonus for the boss. Keep your +50 Hit option for the boss and check Attack Speed before engaging; the boss has 30. The final enemy can attack from 3 tiles, 1 farther than your units. If you cannot reach from your current position, move closer from another tile.
Leave precise finishing blows for Seteth
To give Seteth experience, have someone else reduce an enemy to 2 HP and leave him the final hit. He deals only 2 damage here, so leaving more prevents the kill. His finishing attack has only 70% Hit; save backup actions in case it misses.
Victory condition and allied forces
| Category | Chapter details |
|---|---|
| Victory condition | Rout the enemy |
| Listed bosses |  Nathan,  Creek |
| Allied forces or conditional recruits |  Theodora,  Bertrand,  Goliath,  Gaitz,  Jester,  Dante |