

Chapter 10: A Father’s Request and a Daughter’s WishMinor spoilers
Clear enemies outside both barriers, then activate devices as attacks are telegraphed. Regroup behind Mu and defeat Theodora together or with one durable fighter.
Advance with Mu, Buccar, and Sirocco as your core while Guzran operates devices. Clear enemies outside the barriers on both routes first. The right has more mages. Keep Sirocco away from enemy Myrmidons and Buccar out of mage range as he advances. Watch for the wide-area attack warning. Activate one device that turn, or use a Blessing to recover if you cannot reach a mechanism. After both groups meet, put Mu in front against Theodora. Surround her and finish with the Levin Sword, or let a main fighter who can survive duel her.
Before battle: Bow rank and ranged healing
To get  Kalla's Bow, take the temple gate to Kalla’s temple and speak to the receptionist to enter the trial. Check Bow afterward: it requires A Bow, so Leda at B+ still needs more training. If Sofia has yet to learn Physic, use a White-Magic Manual before battle to improve white magic rather than discovering after deployment that she can heal only nearby allies.
Equip Improviso if Leda has learned it. After using a Blaze Art while in Overblaze, she can attack again. Check the ability slots before battle so you do not lose an attack through forgetting to equip it.
To play Anatolia's Paralogue: Queen of the Erased, speak to Anatolia between October 5 and 14. Return to accept it as soon as the 5th arrives, then plan the remaining free time rather than forgetting this chapter’s new paralogue.
Paralogue: follow a shield break with damage
Bring Sofia for healing in Anatolia's Paralogue: Queen of the Erased. If you omitted her, restart to fix deployment and restore healing before continuing the escort. If she lacks Physic, plan around close-range healing instead of assuming she can rescue someone at a distance from the rear.
Option one: lure the serpent away and escort. Leave one unit to draw the serpent left while the escort group withdraws right, separating their routes.
Option two: stay and kill the serpent. Keep enough units to fight it if you want the extra reward. The tradeoff is an additional shield-breaking fight, so you cannot simply keep running along the escape route.
If you decide to kill it, bring Olympia forward early for another shield breaker. Also confirm Mu and other follow-up attackers can reach it from their current positions. Save damage actions for the turn you break the shield. Breaking it while Mu is out of reach, or with nobody left to attack, wastes the opening and leaves you facing a restored shield next round.
Opening: split up and clear enemies outside the barriers
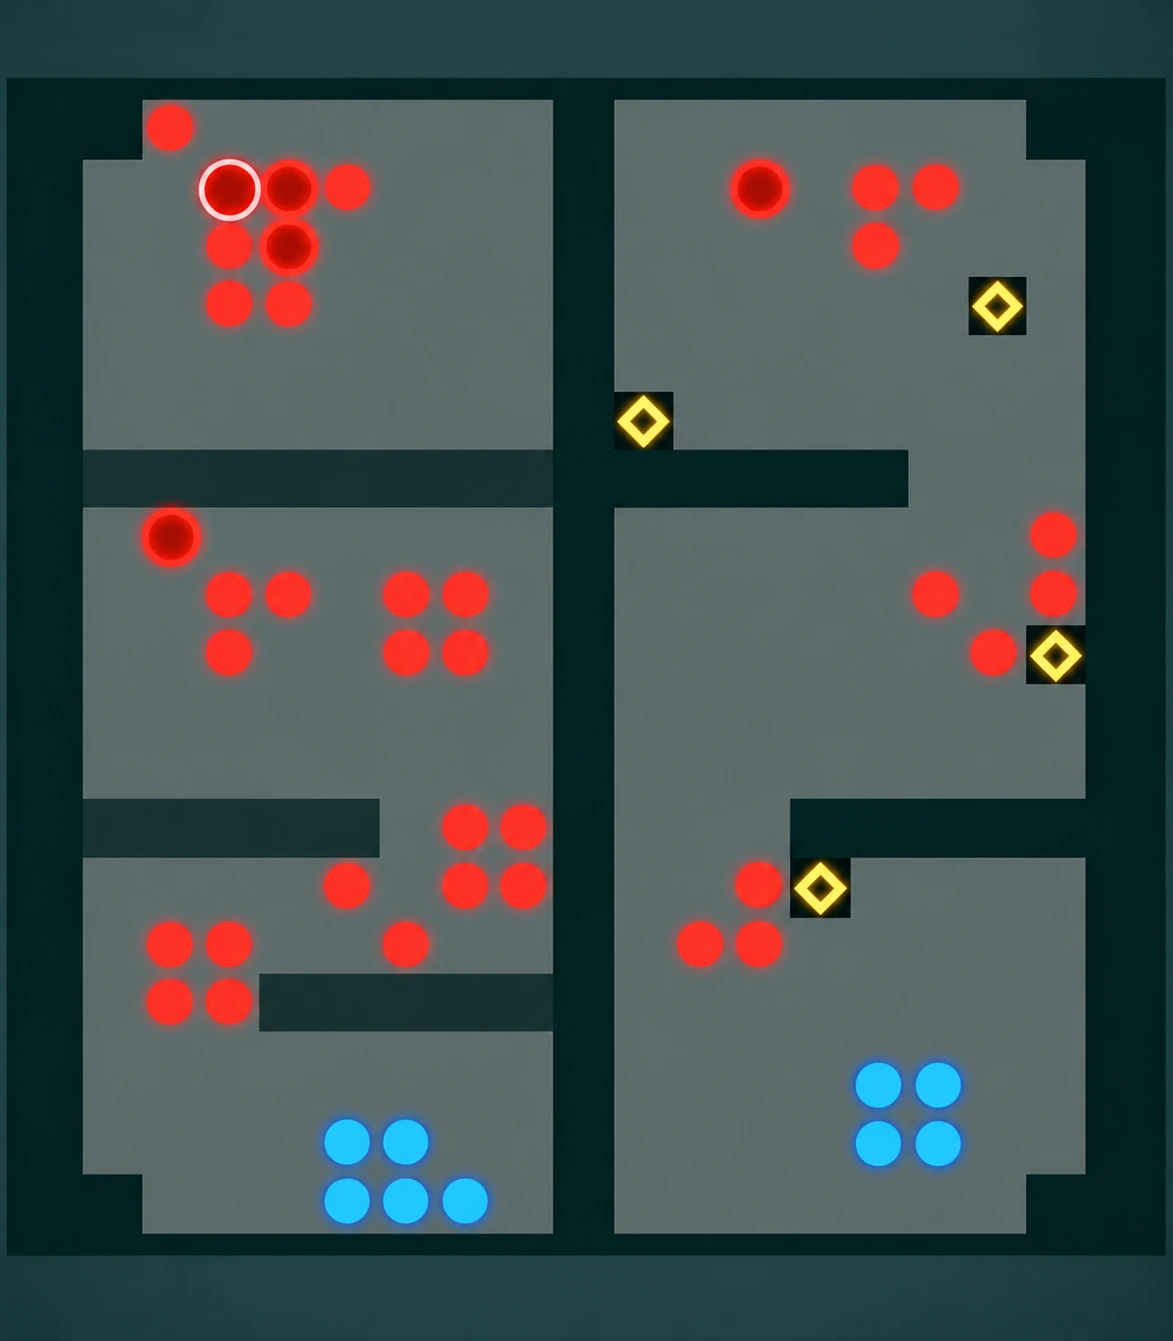
After splitting, clear enemies outside the barriers first. The barriers fall only once all those enemies are defeated. Devices have limited uses, so clear forward quickly early on to reduce repeated long-range attacks. The right has more mages; check separately which units each can reach.
Do not put Sirocco directly beside enemy Myrmidons to tank; his Protection is not high enough. Save Guzran’s action for devices. Low-damage units have a clear role here; chasing enemies until a mechanism is out of reach costs the left route its protection.
Mechanisms: activate one for each warning
When Theodora’s wide-area attack is announced, operate one device that turn. Each device works only once. Check whether the right-side operator can reach the next mechanism before planning other actions. The attack repeats, so someone must keep operating switches later.
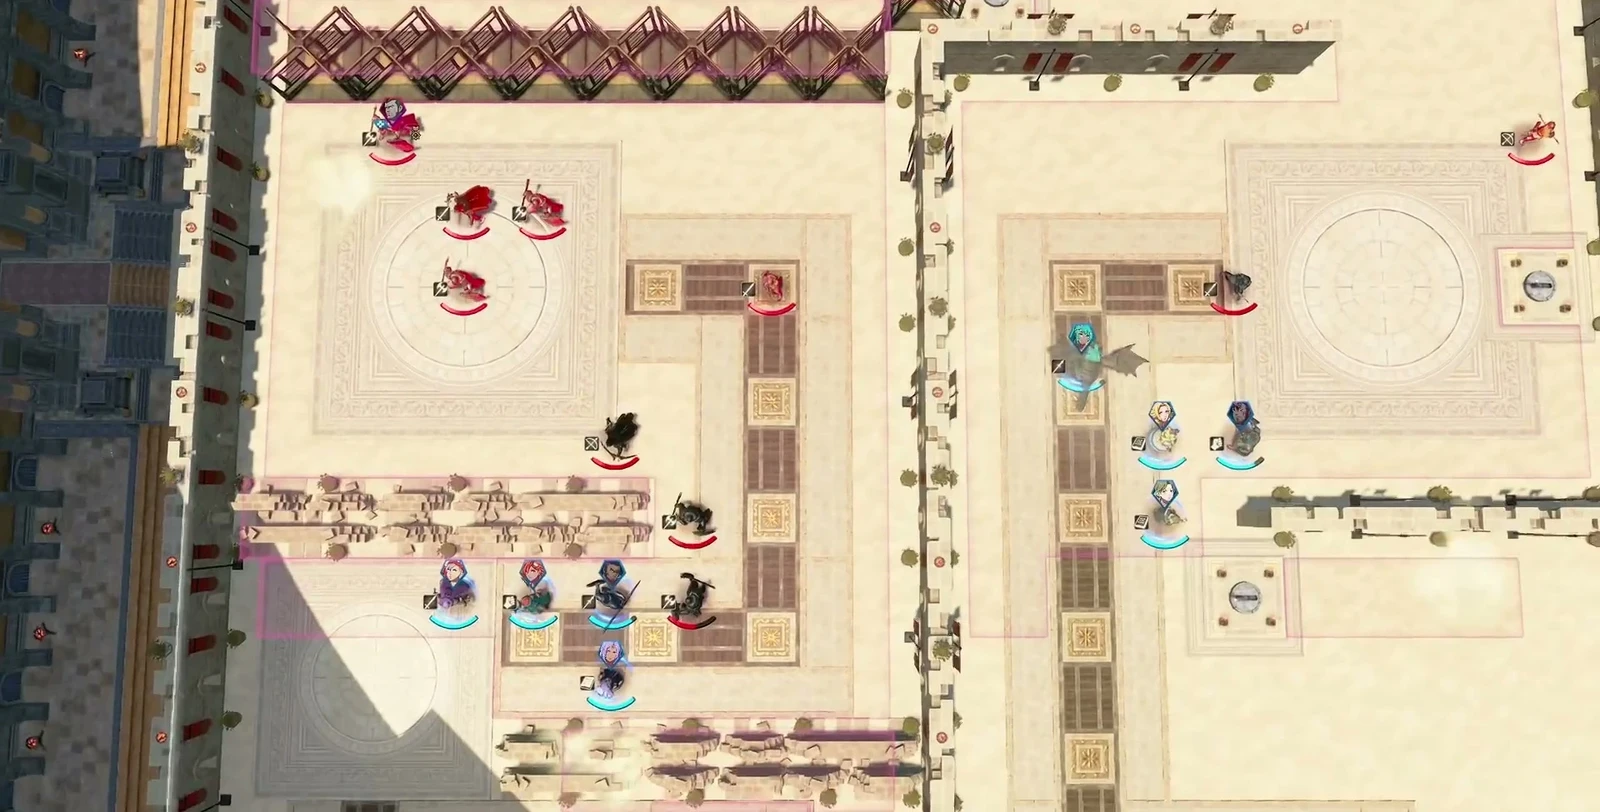
If the warning appears and the device is too far to reach this turn, use a Blessing to recover. Do not position fragile units such as Sofia using Buccar’s incoming-damage results. Low wide-area damage against Buccar does not mean Sofia can tank it too.
Regrouping: Mu leads while Buccar avoids mages
Once the barriers fall, bring both groups forward to meet and put Mu in front. A mage may still remain, so keep Buccar out of its range. Surviving the physical enemies ahead does not make him suitable for this magic hit.
Boss: surround her or duel with a main fighter
Option one: combine your damage. Put Mu in front and bring other attackers up. Once Theodora is low, Sirocco can finish with the Levin Sword. Check its damage forecast without assuming a critical. Do not gamble on Leda dodging near the boss, either: Theodora’s forecasted Hit against her can reach 113.
Option two: duel with a durable main fighter. If your front-line fighter can already beat Theodora alone, let that unit continue the duel while others stay behind. Fewer units advance, preventing teammates who cannot survive from being defeated just to add one hit.
Before another Blaze Art, check your remaining maximum HP after Loss of Control. It reduces maximum HP. Even if Overblaze remains active afterward, account for that reduction rather than checking only whether you can cast once more.
After battle: reserve travel time for paralogues
At the start of next chapter, reserve actions for three paralogues: two become available on October 16 and another on the 18th. Schedule acceptance dates and trips out and back before other free-time activities so the clustered paralogues do not leave you short of travel time.
Chapter conditions and unlock
| Item | Details |
|---|---|
| Victory condition | Defeat 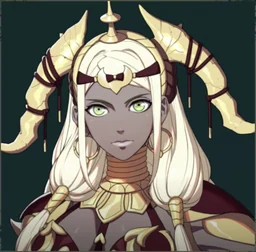 Theodora |
| Bosses | 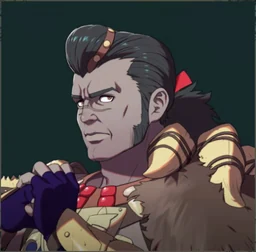 Tobias, 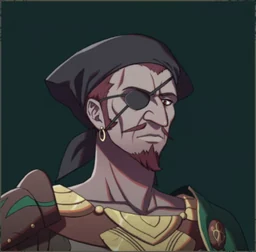 Bonaventure, Theodora |
| Free time before battle | 68 turns |
| Feature unlocked |  Anatolia’s paralogue |