

Chapter 6: Instinct and Reason
Send Dietrich right with a Killing Edge and control when you kill the priests. Withdraw Theodora at 16 maximum HP, then focus the boss once she dismounts and calls reinforcements.
Give Dietrich a Killing Edge as your main attacker, with Leda using a bow for finishing blows. Alexandra nullifies flying effectiveness, so you do not need to force an underleveled archer into the party just for the boss. Handle the priests first. Dietrich can move from the middle to support the right. Do not have each group rush to kill its priest and bring the boss in early. Pull Theodora back when her maximum HP falls to 16. Stop relying on her for aggressive attacks later in the battle. The boss summons reinforcements after dismounting. Finish her with reliable attacks, and use Kalla's Blessing to recover from repeated misses.
Return to the Dietrich route walkthrough
Support the right side with the Killing Edge
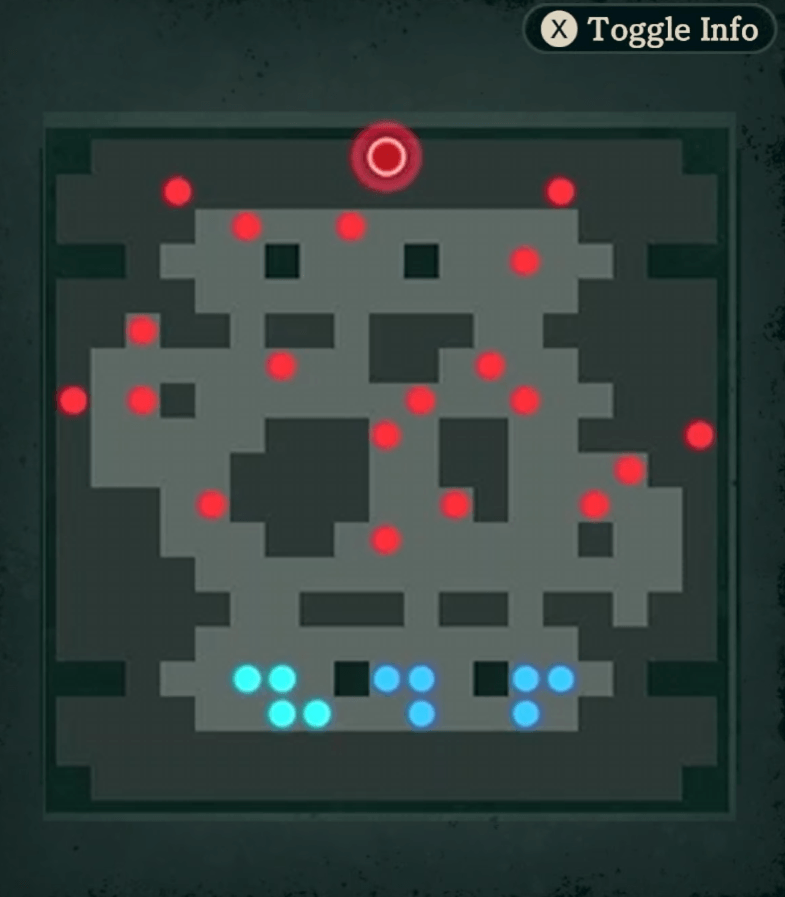
When deploying Dietrich in the middle, check the mage above the right side before moving to support that flank. Compare kill forecasts for each sword. If a slower sword leaves him without enough Attack Speed to finish a target, switch to the Killing Edge to try for a follow-up.
Hold back if the enemies on the right have not moved out yet, and check for overlooked enemies along the side before advancing. Do not entrust a crucial finishing blow to an attack with 69 Hit just to train a low-level unit's Axe proficiency. If it misses, the rest of your clearing plan falls apart.
Defeat the remaining two priests together
Prioritize the three priests providing defensive magic. Once killing the next priest would bring Alexandra in, stop and wait until you can deal with both remaining priests together. Killing one too early makes the boss charge an unprepared party.
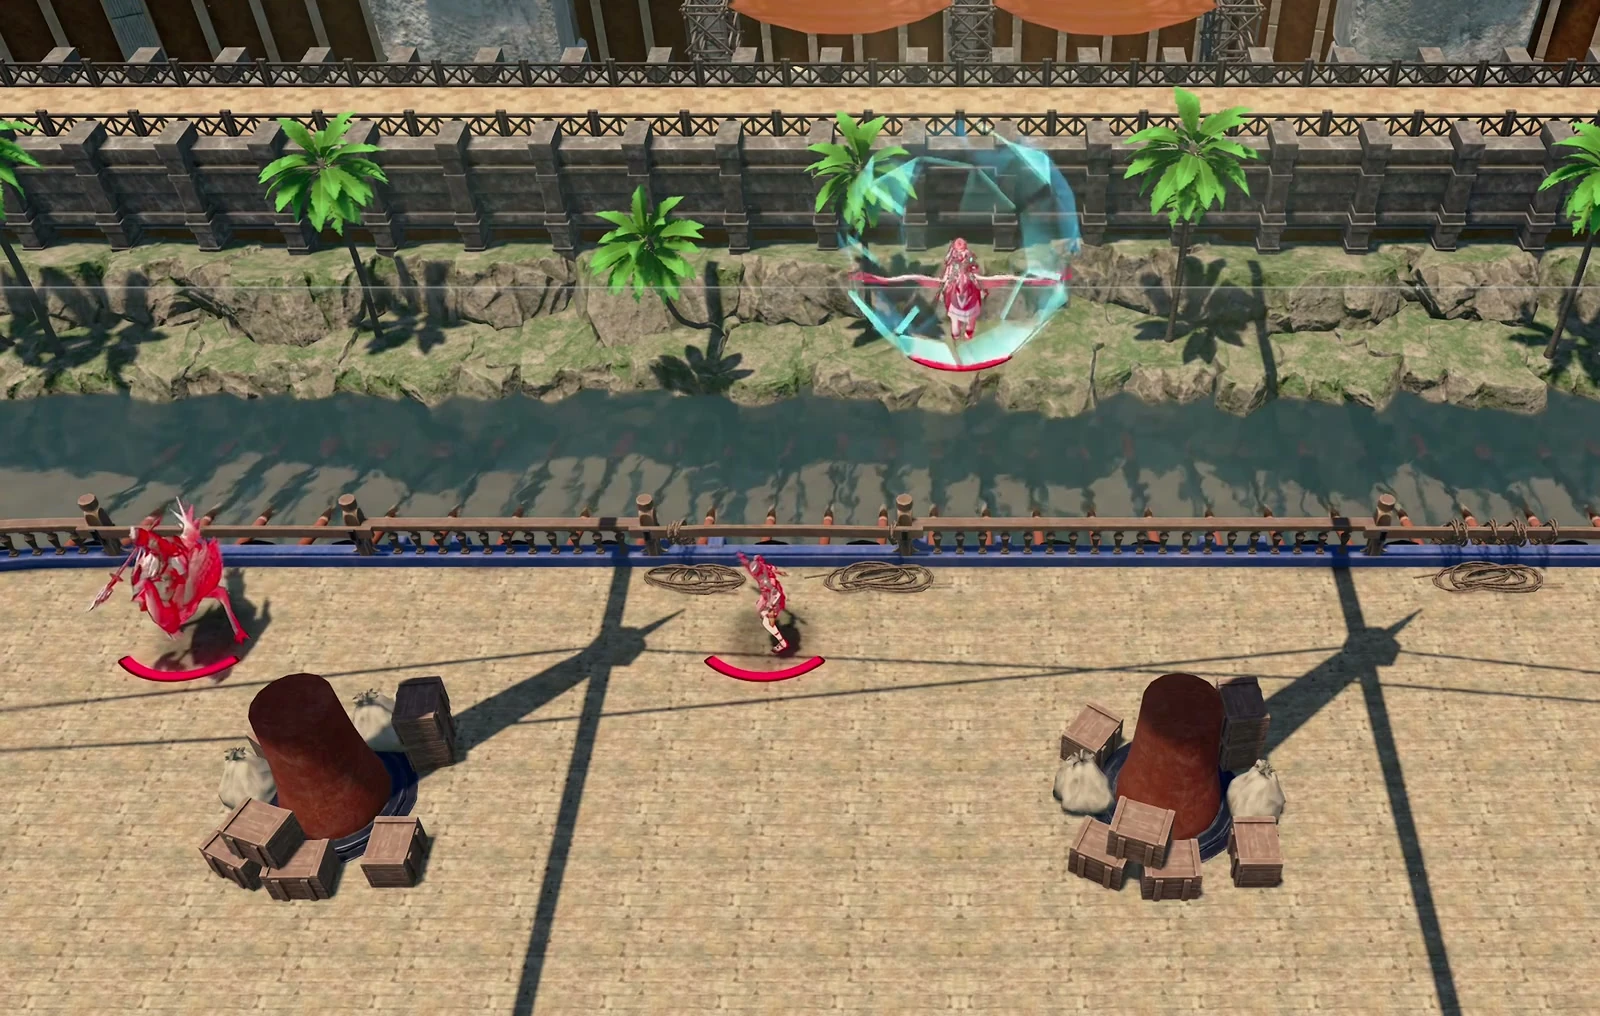
Pull Theodora back at 16 maximum HP
Theodora's maximum HP keeps falling during the battle. Pull her back when it reaches 16 instead of forcing more attacks under enemy pressure. At that point she struggles to defeat even the mage in front of her, so use another unit to clear that side.
Use Kalla's Blessing after missed attacks
Alexandra approaches on her own. Her equipment nullifies flying effectiveness, so do not calculate bow damage as though she were an ordinary Wing Soldier. Check Leda's bow hit rate when using her to finish, and save actions to recover from a miss.
Use Kalla's Blessing to adjust your actions when repeated misses prevent you from clearing enemies as planned. A unit facing the enemy can use the Avoid +50 buff to survive attacks, though hits remain possible. Do not place other units in positions where they would fall without that buff.
Dietrich's Killing Edge improves his chance to secure kills, but keep a fallback plan for attacks that do not crit. Enemies can deal 25 in one hit. Do not keep tanking them while waiting for a critical.
Focus the boss once she dismounts
If you want more EXP for your party, clear soldiers before defeating Alexandra. Once she dismounts and summons reinforcements, stop delaying and focus your attacks on her. Prolonging the fight means spending your remaining actions on new enemies again.
She still counters with a Javelin after dismounting, so check incoming damage even before ranged finishing attacks. Prioritize an attack with a higher hit rate that can kill her. An attack with 74 Hit can miss; one with 99 Hit is better for ending the battle.
Reserve recruitment and equipment money before the preliminaries
If the Brigand exam has only a 32% pass rate, wait until level 20 to save licenses on repeated attempts. Do not try to change the result by repeatedly taking Beginner-class exams such as Soldier. Spending two extra Beginner Licenses may still leave the next Brigand attempt a failure.
If you need an archer, recruit  Kiroc by delivering Pure Water ×3. At 400 per bottle, reserve 1200. You still do not need to deploy him against the boss: Alexandra nullifies flying effectiveness, so an underdeveloped archer cannot make up the damage through effectiveness.
Do not count Ultand as a healer for this chapter in advance. Even at Renown 5, she may still be away from town, and you must complete her request after she returns. If you cannot recruit her this chapter, keep your existing healer and replace them after completing the request next chapter.
Check proficiencies before buying equipment. The Hammer requires Axe C, so buy an Iron Axe first if you have not reached it. Keep money for the return trip, training, and lodging when shopping outside town. If you cannot even afford the 180 fare afterward, your later training suffers.
When exploring for weapon chests, account for the time needed to return and stay overnight. If the journey back takes two days, leaving on Friday may make you miss weekly activities. Even if you begin the return trip on Thursday, account for lodging after you arrive. If that is still too late, leave earlier again; travel time alone is not the whole schedule.
 Alexandra
 Theodora
 Bonaventure
 Leda
 Buccar