

Chapter 4: Festival of the StrongMinor spoilers
Bring both groups together through the center and approach the boss carefully. Fall back to the grass if HP is low, then have Theodora lead with Earthen Throw.
You can control guest units manually, so use their Combat Arts against nearby enemies. Guest kills still distribute experience; you do not need to compete for every finishing blow. Shallows reduce Avoid by 20%. Have both groups circle through the center and regroup before advancing. Heal before the boss and check guest healing options. If maximum HP has fallen to 21, do not keep charging just to remove the first HP bar. If HP cannot hold, retreat to grass and wait. Recheck damage, have Theodora use Earthen Throw first, then follow with ranged attacks and finishing blows.
Clear nearby enemies with guests, then wait for the next group
You can control guest units and use their Combat Arts directly. There is no need to hold back to preserve a temporary teammate’s weapon durability. Guest kills also contribute EXP for distribution, so you do not need to reserve every kill for your own army. Clear the nearby enemies at the start, then wait for the next group to approach instead of chasing them with the whole team.
If teammates need training, prioritize their experience from the opening.
Check whether an attack can kill before selecting it. A long-range art may fail to finish a target that a normal attack can defeat. Compare actual damage before confirming.
Both groups take the center to avoid shallow-water penalties
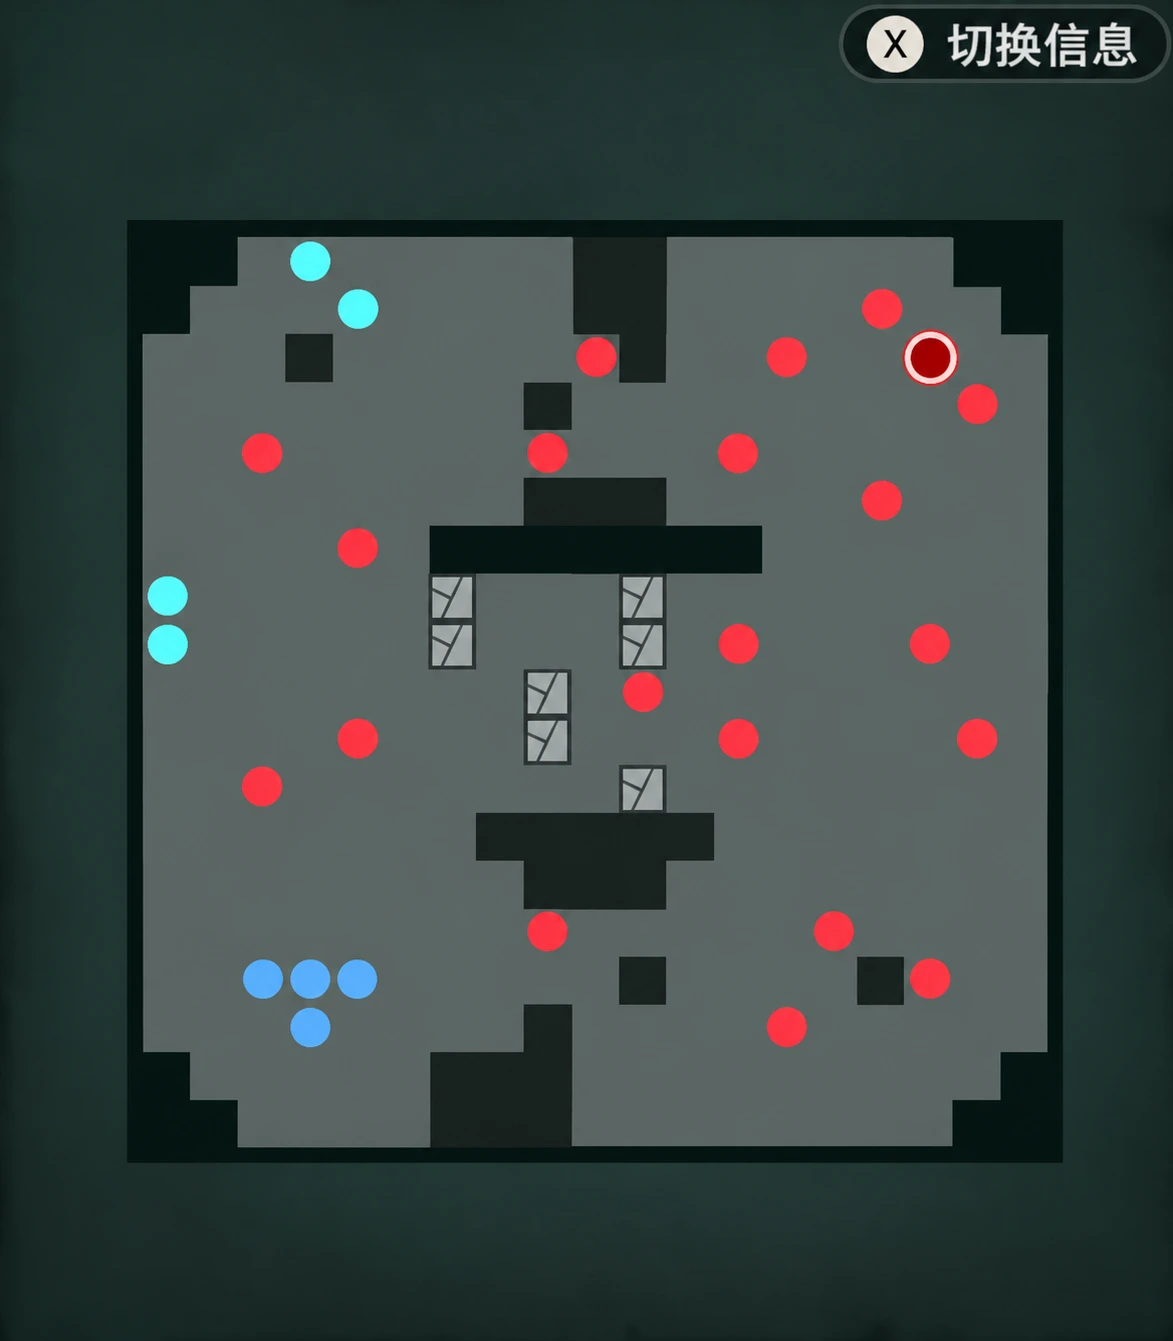
Shallows reduce Avoid by 20%, so stop advancing along the side and bring both groups around through the center to meet first. If enemies refuse to approach, heal before luring one out. As you advance, identify the grass tiles and choose them as your stopping points.
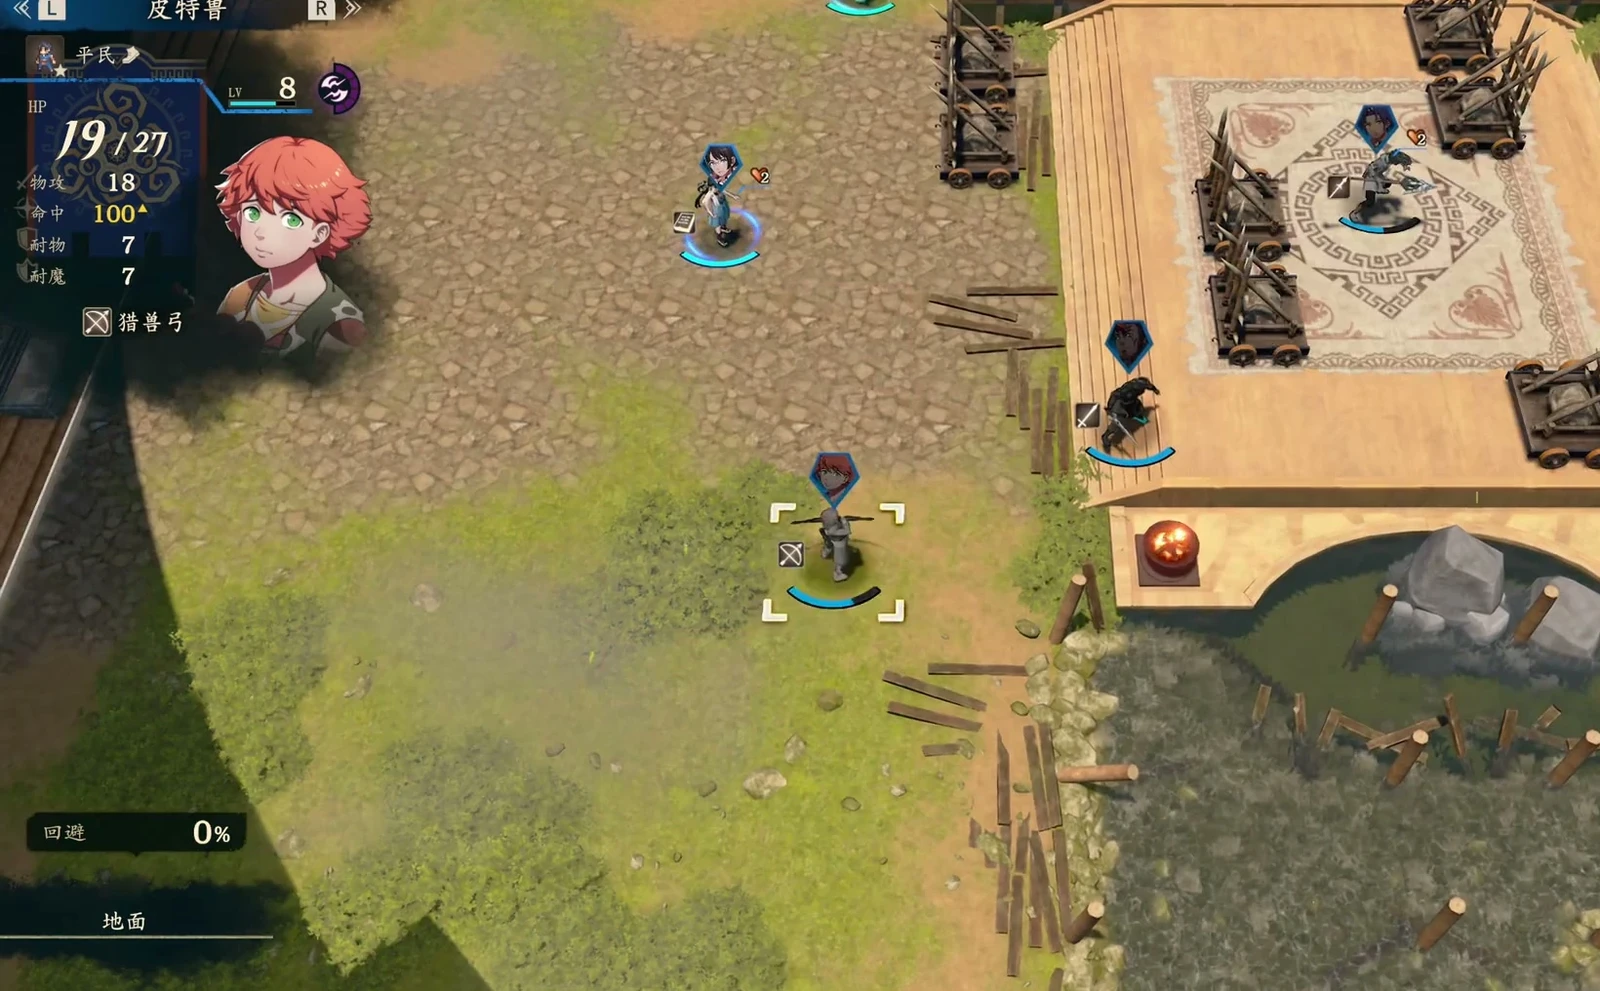
Once you near the enemy group, check each enemy to see who can attack your destination. Consider blocking the route if only the Archer below can reach and the forecast shows 5 damage. Recheck attack ranges after positions change; do not reuse the previous damage assessment.
Retreat to grass, heal, then lead with Earthen Throw
Check guest healing options before the boss rather than relying only on your own healer. If maximum HP is down to 21, calculate the attacks you must survive after removing the first boss HP bar. Do not charge into an unsustainable position just to lower its HP.
If HP is dangerous, retreat into grass and wait for enemies. Recheck damage, open with Theodora’s Earthen Throw, then follow with ranged attacks. If the earlier attacks do not finish combat, keep following up to secure the kill.
Reclass promptly after battle and capture a bird as a transition
After battle, check reclassing Renown and level requirements and switch as soon as qualified. Capture a bird as an interim mount.
Reserve 5 turns for the return trip
You have only 24 turns of free time before the main battle. Handle town requests before heading out to avoid backtracking. Complete the favorite-gift investigation in town; for the missing-granddaughter request, look for the girl near the cat. If you already have three Smithing Stones, hand them over directly rather than making another trip for them.
Before side quests at Lakeside Abandoned House, Granada Fortress Ruins, and Valeri Gorge, calculate travel turns. With 11 turns left and 5 needed to return, only 6 remain. Those 6 must also cover exploration, which consumes turns too.
If you encounter a mummy carrying Bullion and cannot hurt it directly, wait for other enemies to weaken it for you. Use a Combat Art if a normal attack would expose you to a counterattack.
After returning to turn in requests and reaching Renown level 3, ask Castor for terrain instruction to receive the Bolt Gem. An earlier lesson awards the Archer’s Ring, which adds 5 Hit; give it to a teammate who needs accuracy.
Prioritize neutral characters for recruitment, leaving other routes’ teammates to train on their own routes. Check the Renown requirement before dining and favor characters with lower requirements. Gifts raise affinity but do not lower the displayed Renown requirement.
Zarcone and this chapter’s guest units
| Item | Details |
|---|---|
| Victory condition | Defeat  Zarcone |
| Story guests |  Theodora,  Bonaventure,  Orchel,  Diego |
| Free time | 24 turns |
| Features unlocked | Exploration, Instruction, Vandahl Trading Company |