

Chapter 6: The Treasure HunterMinor spoilers
Equip Aurora’s Blessing before battle. Chip down the boss with thrown stones, or use his 4 Movement to circle the pillars until your team regroups.
Build the main battle around  Theodora’s ranged stone throws and Aurora’s Blessing. Manually equip the blessing before battle. Open by throwing stones at Bahr Vahn. After losing one HP bar, he summons followers, so you still need to clear enemies afterward. When clearing enemies, save an action to finish wounded targets directly. Do not count poison as a guaranteed kill. If you want to clear the minor enemies first, use the boss’s 4 Movement to circle the pillars. Bring Vulneraries, keep healers close, and focus him down once your team regroups.
Before the main battle, there is also Bertrand’s special duel. Return to the city on April 6 at 18:00 to watch, and bring two units besides Theodora. Magic can chip away at him, but even two mages need to wear him down rather than expecting an immediate kill.
Turn in Black-Sand Steel before forging
During free actions, complete the two material requests for  Black-Sand Steel and
 Melara first. Use their Renown rewards to advance recruitment. Do not spend Black-Sand Steel upgrading weapons before turning it in, or you will need another trip outside to mine more. If money is tight too, prioritize Theodora’s Mahadu’s Spear for upgrades; ordinary weapons do not all need upgrading at once.
Check the intended user’s proficiency before buying weapons. Even after buying a sword requiring C, you may have no one who can use it. If materials are short, exchange for iron weapons you can use now instead of continuing to gamble on Simple Mystery Boxes.
Return by April 6 at 18:00 for the match
Before leaving to gather materials, allow enough turns for the round trip to the exhibition match on April 6 at 18:00. Stop exploring distant areas as the date approaches and return to the city first. If you arrive early, wait until 18:00. The right date alone is not enough if the time has not arrived.
Wear Bertrand down with magic each round
You can bring two units besides Theodora to the special duel. Equip their weapons before entering. Bertrand has two lives and buffs himself every turn, with different stats changing. Each round, check whether he raises Avoid, Hit, or another stat before deciding how much damage you can deal.
Approach 1: switch to magic for chip damage. If melee attacks cannot hurt him and he keeps buffing himself, let spellcasters take over instead of spending more actions on physical attacks that deal no damage.
Approach 2: bring two mages for an endurance fight. Even two mages may deal very little damage, so chip away each round. On turns when Bertrand raises Hit instead, Theodora can throw a stone first for extra damage. A story event ends the fight as you damage him; you do not need to empty both lives. Pull back promptly after taking damage, and watch especially for his follow-up that ignores Attack Speed. Do not judge survival against only one normal attack.
Prepare Javelins and recruit more units
After the duel, give Theodora a Javelin as another ranged option when she cannot throw stones at the start. Distribute Javelins and Hand Axes to other units who can use them before leaving too.
If you need more units, recruit  Zarcone as a temporary addition. Reject his prices of 10,000, 1,000, and 100 gold in order, then pay 10 gold. His Iron Axe and Hand Axe also help your equipment supply, so there is no need to pay the initial high price for a temporary unit. If you plan to recruit
 Loretta afterward, set aside three Iron Swords instead of looking for stock only once she becomes recruitable.
Removing the first HP bar summons enemies
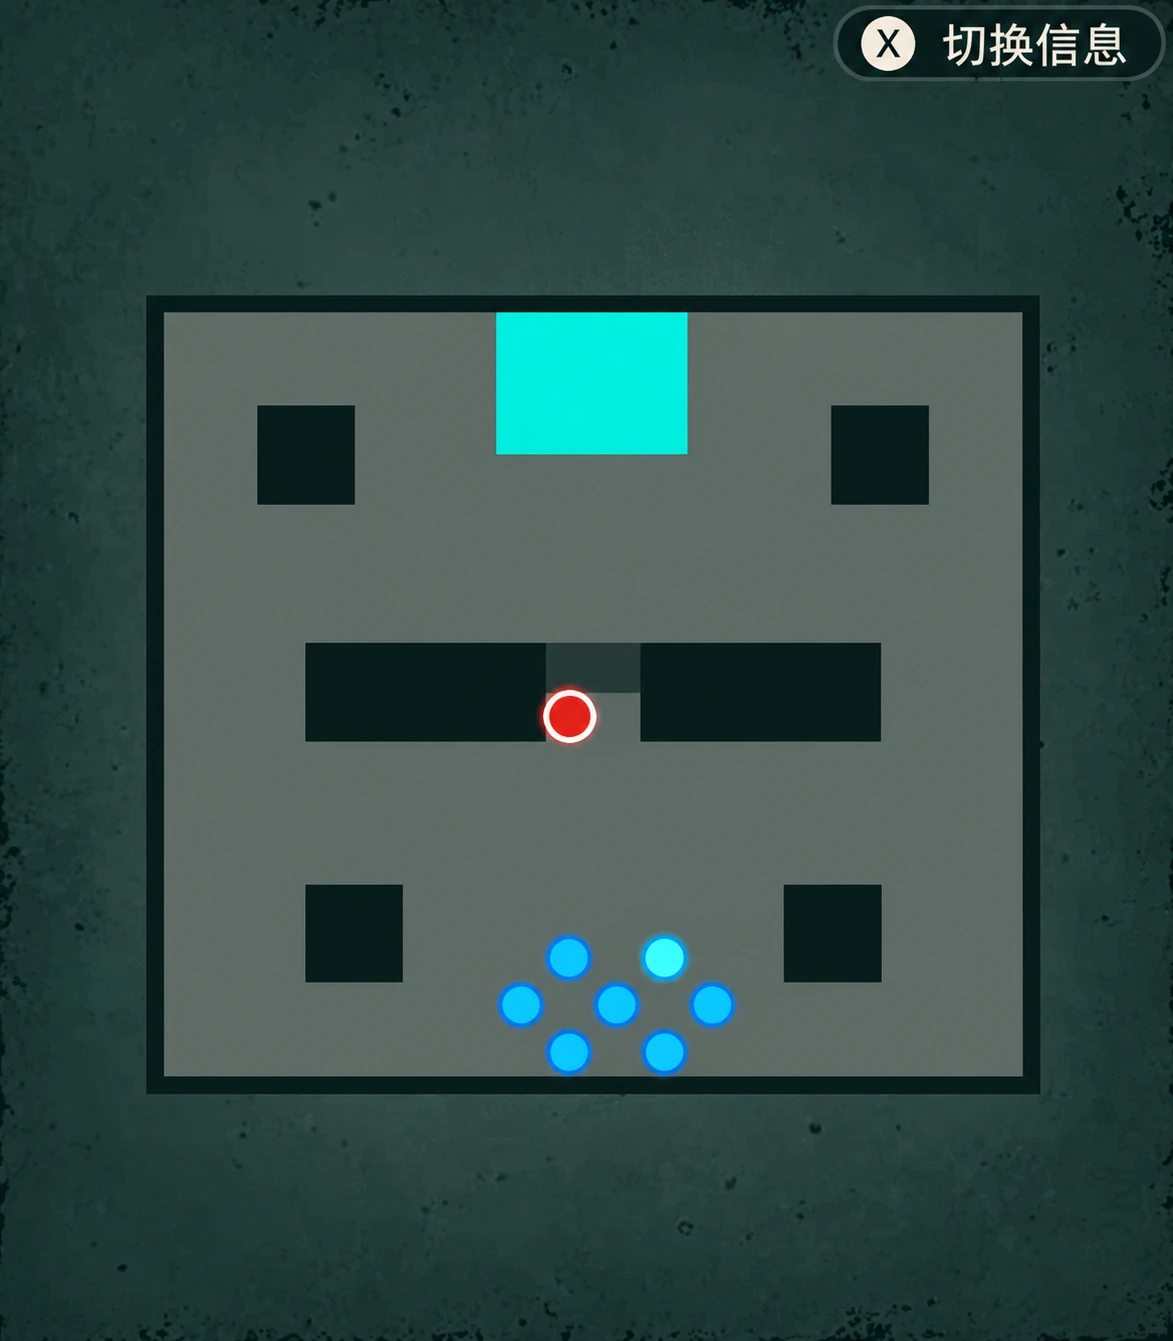
Manually equip Aurora’s Blessing before entering the main battle. Activate Aurora when you encounter the enemy’s Underworld Boon. Owning the blessing without equipping it leaves it unavailable in battle and forces you to restart preparations.
Approach 1: throw stones to remove the boss’s first HP bar. Open with Theodora’s ranged stone throws against Bahr Vahn. Removing one HP bar summons his followers, whom you still need to clear afterward.
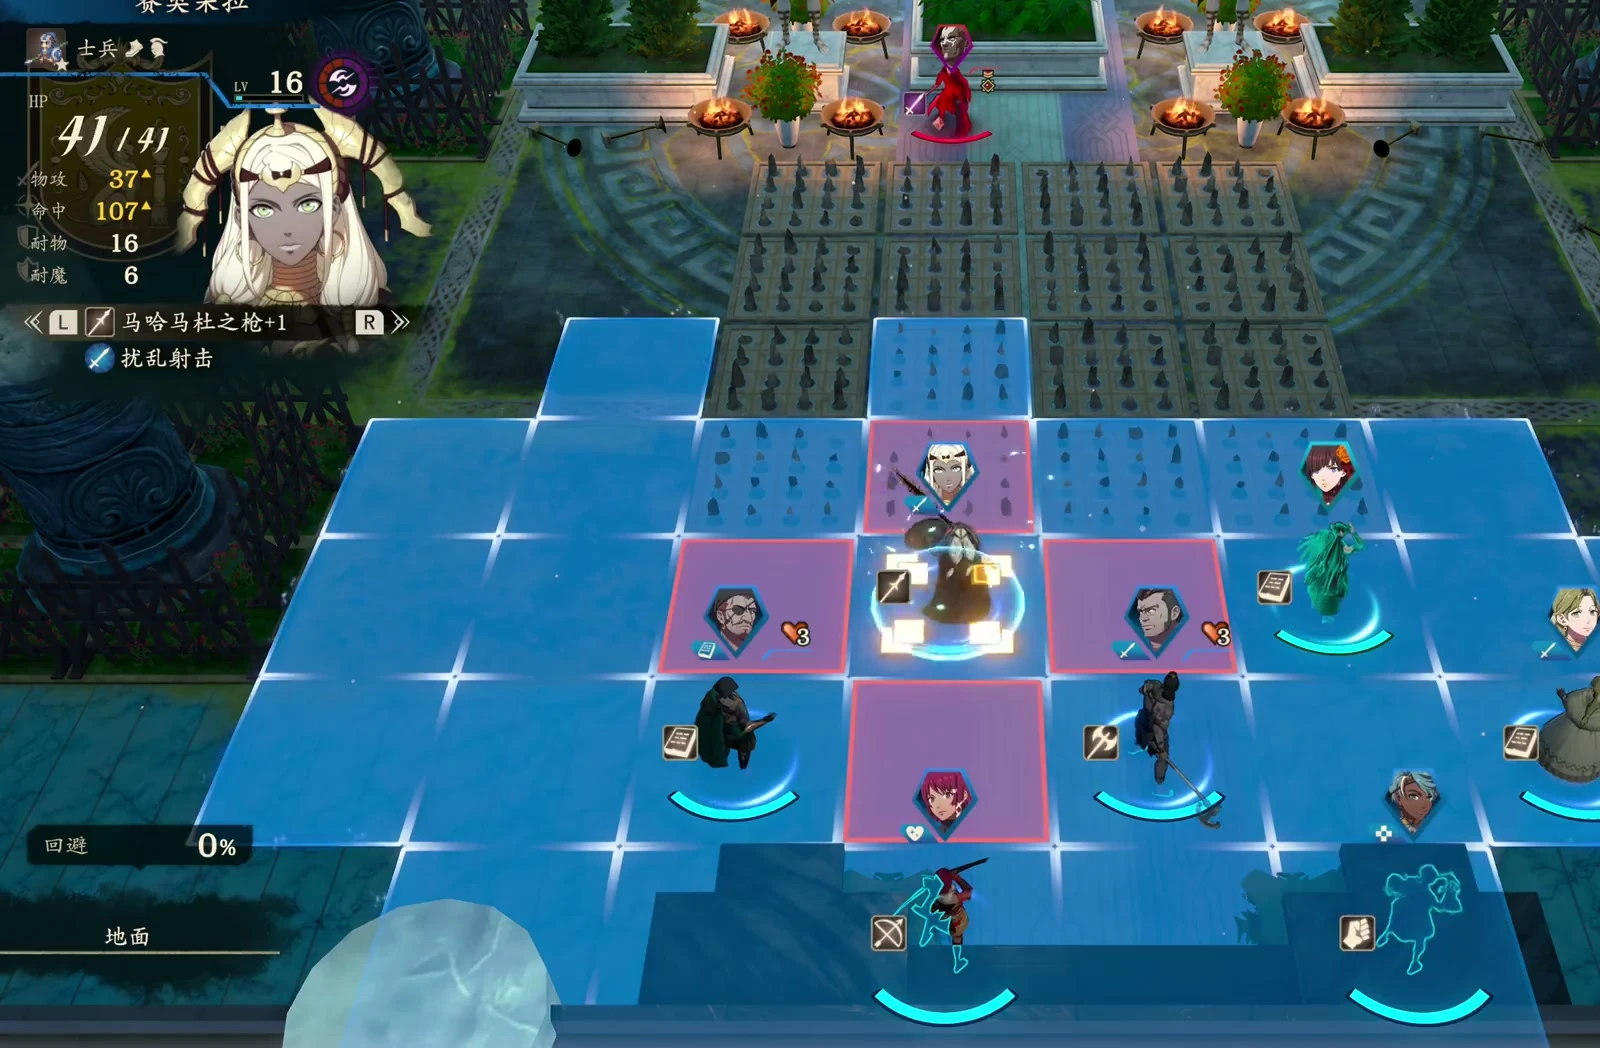
Circle the pillars until your team regroups
Approach 2: stall the boss around pillars. If you want to clear his followers before dealing with Bahr Vahn, use his 4 Movement to circle the pillars. If the boss and followers bunch together and become hard to clear, keep circling until your other units arrive, then focus them down.
Give forward units Vulneraries before kiting, and keep healers close. Before taking a boss attack, check Attack Speed and the damage you can survive. His Attack Speed is 18, so units without enough Speed take two hits.  Lilian can engage if her Speed is high enough; do not assume other units can endure the same damage.
Watch for movement lock too: you may be unable to withdraw after engaging. Check both remaining healing uses and enemy Critical before fighting. Even with 8 heals left and enough HP to barely survive a round of normal attacks, a 4% Critical chance can still kill your tank.
Finish wounded enemies directly
If an enemy has 9 HP left and your current attack cannot finish it, save another unit for the kill. Poison may not be enough.
Chapter objective and unlocks
| Category | Details |
|---|---|
| Main battle victory condition | Defeat Bahr Vahn |
| Main battle boss | Bahr Vahn |
| Free actions | 114 turns |
| Unlocks this chapter | Troop recruitment, Vandal Trading Company, blacksmith |
| Guest this chapter |  Hong Hua |
<!-- -->