

Chapter 5: Cai’s BattleMinor spoilers
Use Blaze Arts to clear chariots at the start. Send mages and Dietrich against the armored enemies on the upper path, heal before chasing chest thieves, and save the Zanbato for the boss.
Clear any chariots you can kill with Blaze Arts at the start; you do not need to spend actions knocking down pillars first. After splitting up, move your mages to the path with armored enemies. If the upper group cannot deal damage, have Dietrich handle the remaining enemies. Heal Cai before chasing an enemy carrying chest loot. Pull your archer back if he cannot hurt his target and risks being hit. Save the Zanbato for extra damage against the boss. Keep attacking after depleting one life bar, then reassign the returned Zanbato after battle.
Give your new Ornius Rider a usable weapon
After changing your new recruit to  Ornius Rider, check her weapons before deploying. If she only carries gauntlets, she has nothing to use while mounted. If battle has already started, have an ally trade her a Royal Sword as a stopgap. Do not leave her unarmed on the front line. Check Axe requirements before buying a Hand Axe, too: the one available here requires C, while her Axe rank is only D+, so she cannot equip it yet.
Clear the chariots and check your area attack's coverage
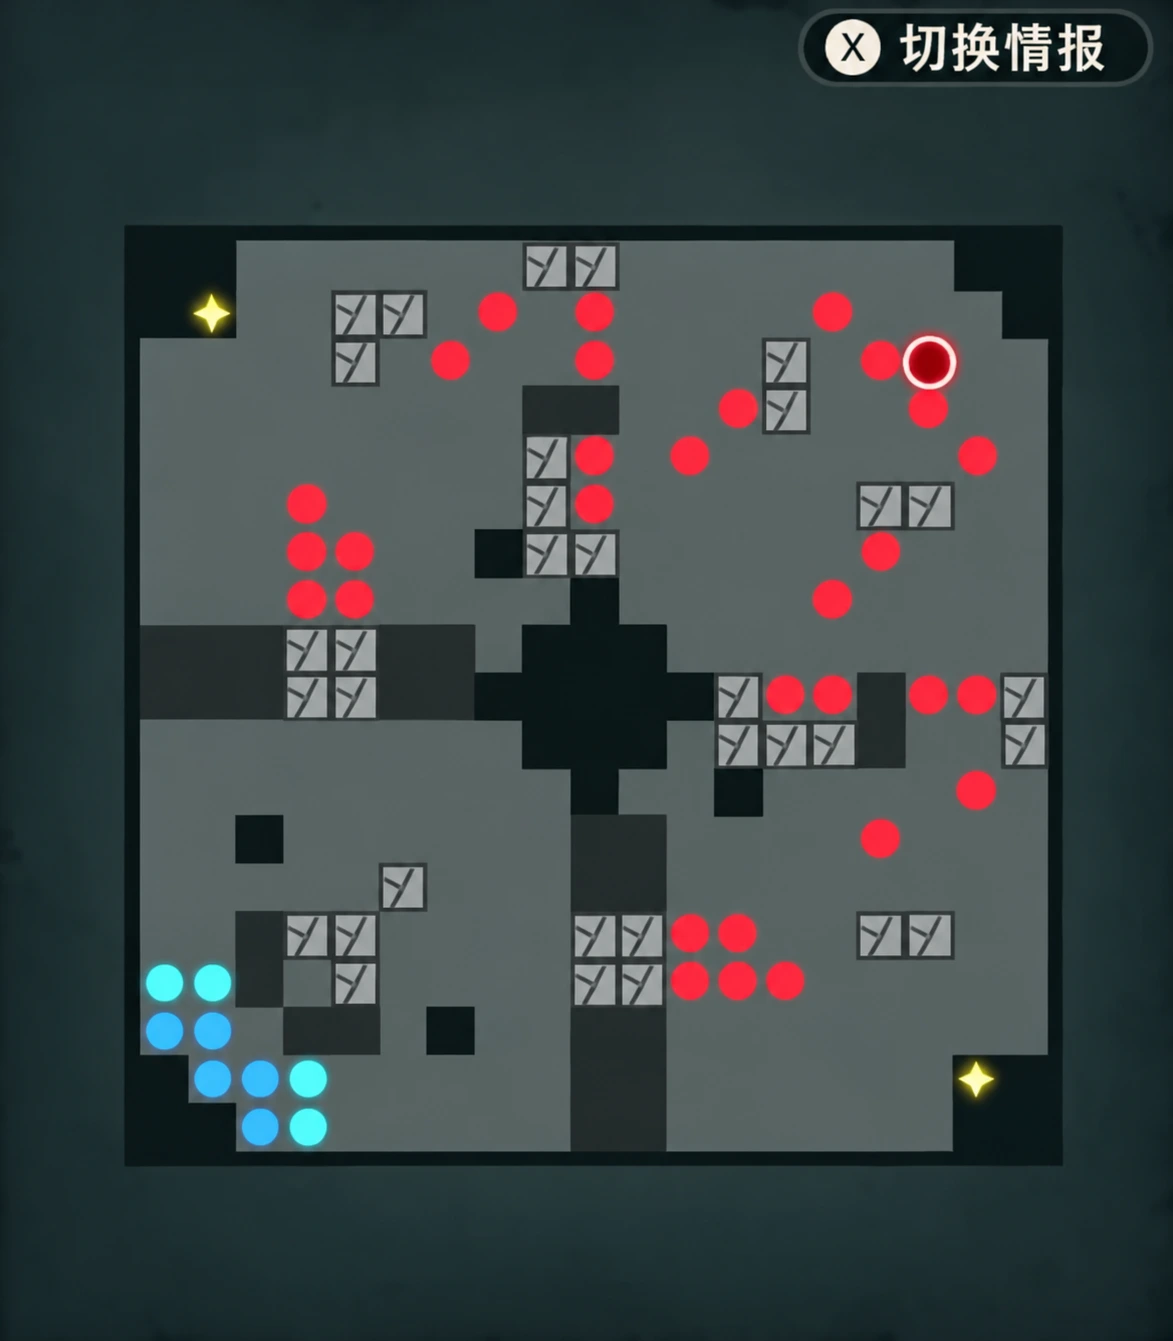
You can knock down pillars to block paths, but if you can destroy the chariots in front of you directly, use Blaze Arts first instead of spending an extra action blocking the road. When you need to open a path,  Anatolia's area Blaze Art can also destroy obstacles.
Check the affected tiles before using an area Blaze Art. Even nearby enemies may fall on opposite edges of its coverage; try moving back 1 tile to catch both. In constricted terrain, Underworld Burst may only reach 1 enemy. If other enemies ahead can still attack you, stop there rather than planning your remaining actions around clearing the whole wave in one hit.
Send magic damage to the upper path when armor stops your advance
Have your mages handle the 2 Armored Knights. If the upper group stalls after you split up, move damage dealers over immediately. Your newly recruited physical unit struggles to hurt these enemies, so do not make her responsible for clearing the path. If enemies still remain above, send  Dietrich to finish them.
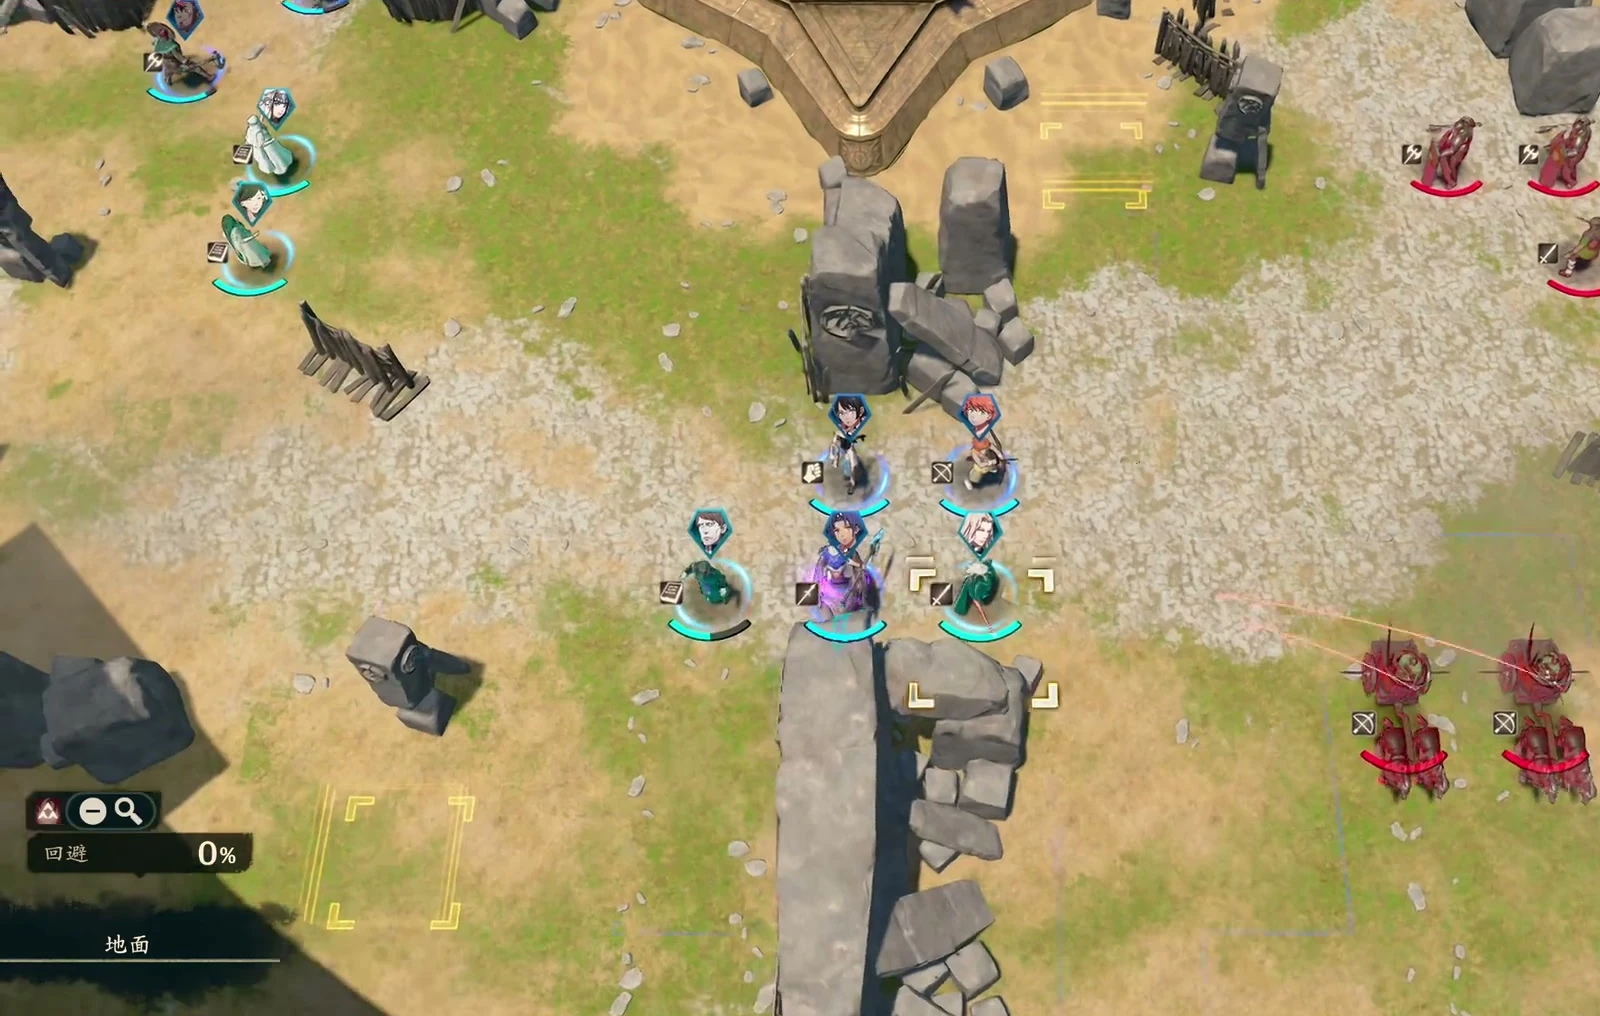
If your own mages are not strong enough, use temporary ally  Fabio for magic damage. If your archer cannot hurt the enemies, stop relying on his bow to clear the route.
When later enemies have enough Resistance to stop your mages, switch to temporary ally Dietrich to finish them.
If enemies on the other path are charging toward you, wait for them instead of advancing along both paths at once. If your archer cannot hurt the target ahead and would take damage by switching to a rear target, retreat. Do not send him into danger just to use his action.
Heal Cai before chasing the chest thief
When you find a chest, check who has the key. If an enemy loots it first, keep chasing the looter and do not let him escape. There is another chest above, so cover that side when splitting your party. Save the Zanbato for cavalry once you obtain it; it also helps finish the boss later.
Heal  Cai before chasing, then check which enemies on either side can reach his destination. His maximum HP is only in the 20s, so avoid drawing several enemies at once. If you are unsure of the damage, wait 1 more turn. Once enemies cluster together, use an area Blaze Art to weaken 2 of them and Physic to heal your front line.
Heal before surrounding Benditz and save the Zanbato for the finish
Before surrounding  Benditz, check the HP of everyone who might be hit and heal them to full. Do not send wounded units forward on the assumption that he will attack the closest target. Everyone needs enough HP to survive a hit.
Save the Zanbato wielder's action to finish him. After depleting one of Benditz's life bars, keep focusing your damage. If you need a combat art to finish him, the Zanbato counts as a sword, so check the kill forecast for your current sword arts as well.
When reorganizing after battle, give the returned Zanbato to a sword user and sort out everyone's weapons again.
Save money for training and keep your Paired Run mount
This chapter's free time comes before the main battle. Training raises proficiencies quickly, but each session costs 300 gold and 1 Motivation, with a weekly session limit. Train first, eat to restore Motivation if needed, then arrange Divine Service. Meals cannot reset the training limit. If money is tight, stop buying extra meals and complete training and Divine Service first.
After reaching Renown 4, you can invite 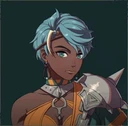 Noctula to expand your party. Do not rush to turn in the request to capture Orniuses. If your current one has Paired Run, keep it and capture another mount for the request, or you will give away the movement ability you are using. The deadline is September 1, so you can leave it until the next chapter.
If you plan to travel for licenses and weapons in the final week, allow enough time. This shopping route takes 3 days, or 12 turns; leave another 3–4 turns for stops along the way. Buy certification licenses first at the shop, then lances you can actually use. End free time in the field after shopping to save the return journey.
Chapter reference
| Category | Details |
|---|---|
| Victory condition | Defeat  Benditz |
| Free time before the main battle | 104 turns |
| Unlocks this chapter | Stable, training, Certification Exams |