

Chapter 7: Gazing at the Rose Moon
Send extra magic damage left against armor and prepare a Zanbato for cavalry. War Elephant melee hits need a separate damage check, and a counter can defeat the last boss and end the map early.
Return to the Dietrich route walkthrough
Bring Mikaela and assign another magic user to the left so Armored Knights do not stall your advance. Prepare a Zanbato for cavalry. If the left group cannot deal damage, bring Dietrich over from the side that already has enough firepower. War Elephants are more dangerous in melee than when throwing stones. Surviving a stone does not mean you can safely fight one up close. The last boss initiates combat. If you want to clear soldiers or give allies EXP, beware of Dietrich defeating him with a counter and ending the battle early.
Give the left side enough magic damage
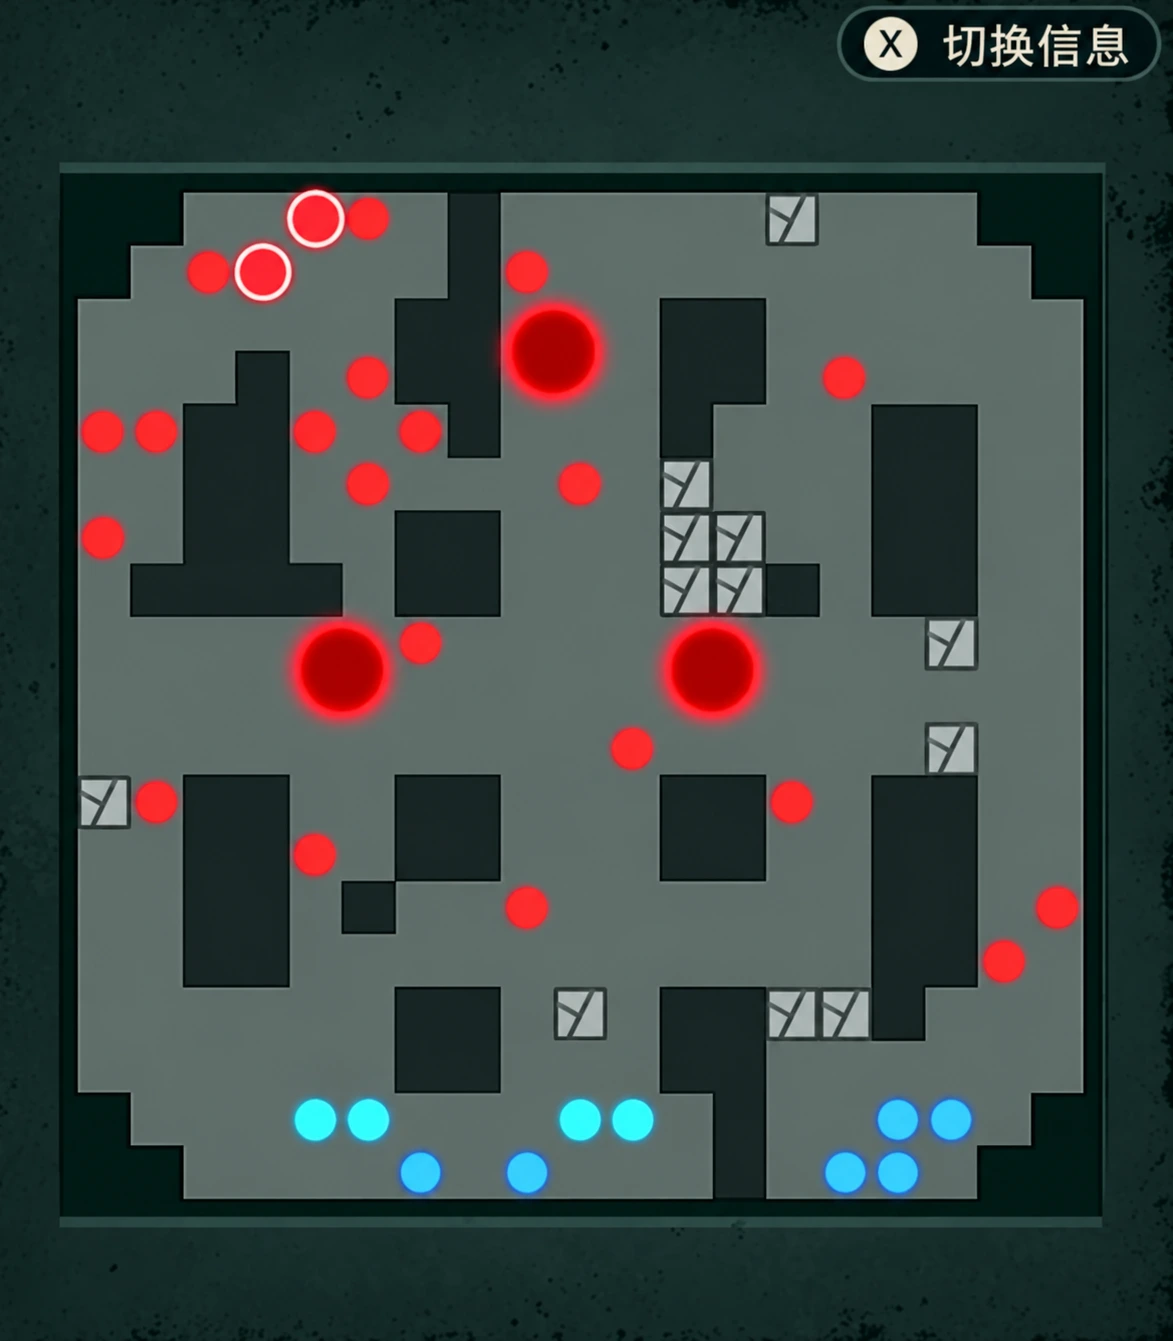
Include Mikaela in your deployment and place an extra mage on the left. The Armored Knights there may take several spells to defeat. Putting all your magic damage on the right leaves that side with excess damage while the left cannot hurt anything. Check the forecast before deciding whether the left also needs another finisher.
There are two ways to prepare anti-cavalry weapons. First, check your existing Zanbato and Ridersbane. If you already have a Ridersbane, save the cost of a duplicate purchase for training. Even a Horsekiller Bow in storage is useless if your deployed classes cannot use bows. You do not need to train an archer solely for it.
The other option is to prepare an extra Zanbato before battle.
Bring help when armor blocks the route
If battle has started and the left still cannot deal damage, send Dietrich over and use the Fell Sword against armor instead of keeping his firepower on the right. Stop when the left group cannot finish enemies, and check whether it can survive the counter before attacking.
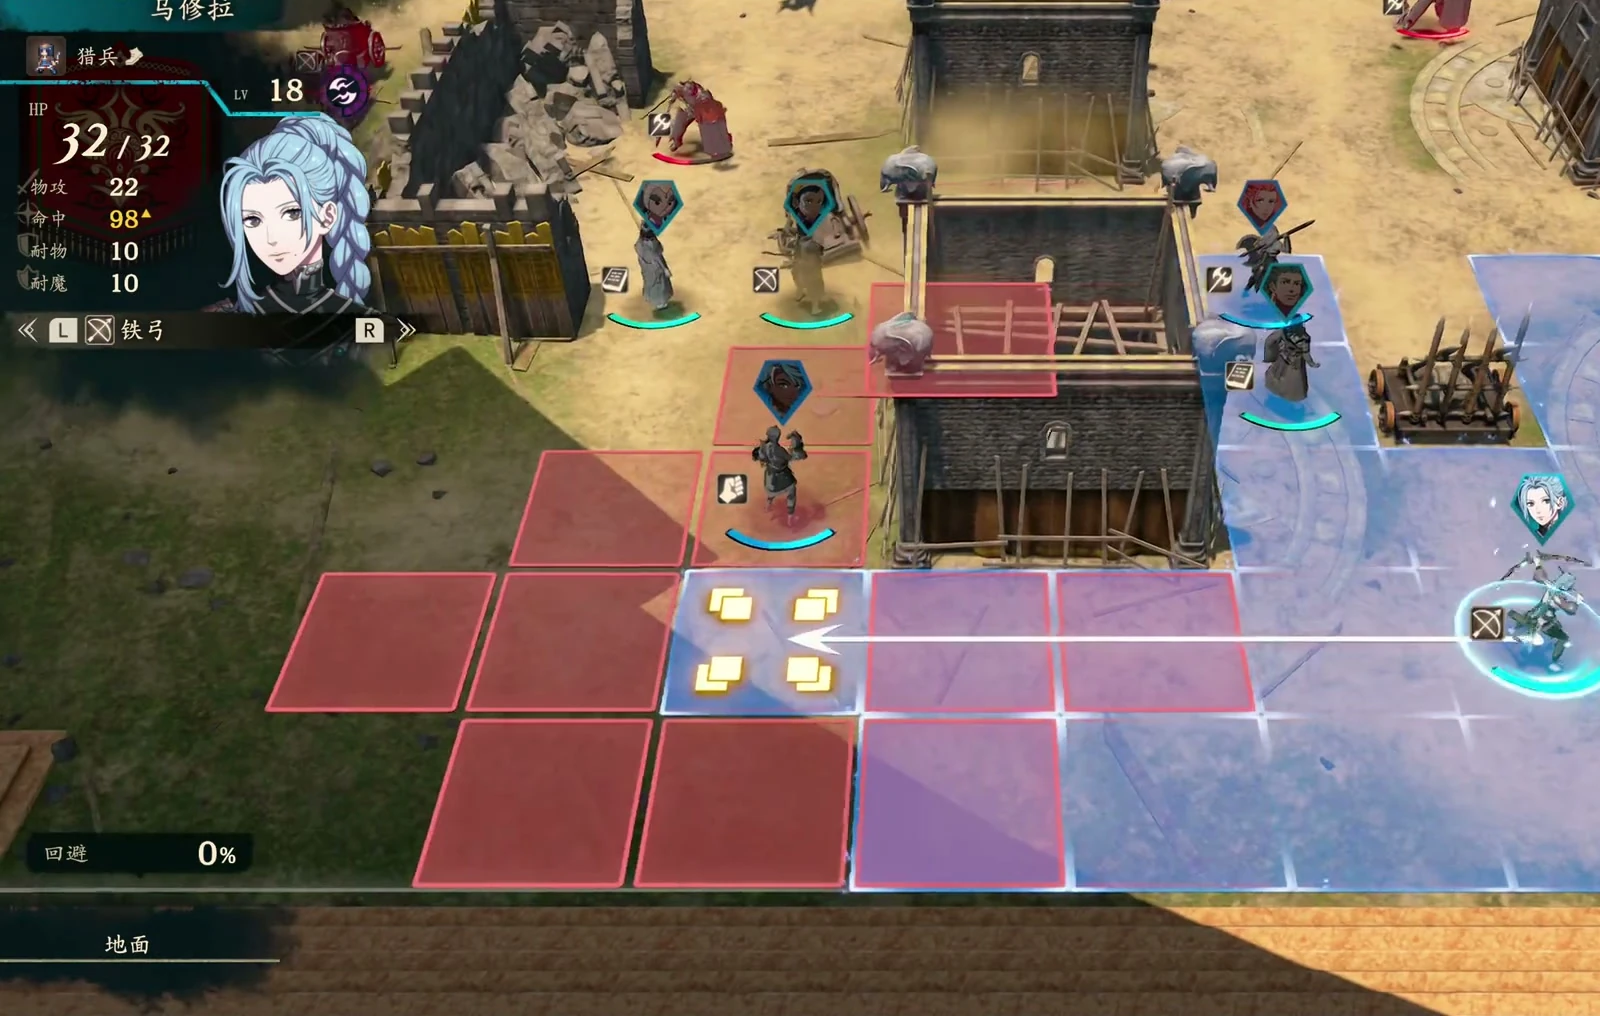
Check ordinary soldiers' weapons as you advance, too. One carries a Levin Sword here, so inspecting only the two bosses' equipment is not enough.
Account for the War Elephant's melee threat
When advancing directly, account for how far the War Elephant can move toward you. Do not push your back line forward alongside your tanks: once the elephant closes in, it can kill party members outright.
Check stone-throwing and melee damage separately. Even after surviving a stone, your front line can still take damage up close. These units also move slowly, so do not rely on a last-minute retreat to escape. Keep someone available to heal them. Leave archers behind while the elephant controls the area rather than moving them forward for one more shot.
Choose when to finish the two bosses
One approach is to push the cavalry side with a Zanbato and let Dietrich take successive engagements. If you want allies to get EXP from the remaining soldiers, arrange it before the last boss approaches. The boss attacks on his own, so a counter can end the battle even if you do not initiate. Do not expect to clear the rest of the map at leisure once he is beside Dietrich.
The other approach is to activate damage reduction before engaging, then defeat the boss.
 Nathan
 Creek