

Chapter 3: The Grand Megalith
Anatolia starts moving after you disable the second device. Prepare to engage or circle around her first, and account for counters even when finishing with a high-hit combat art.
Plan for a finishing blow when Dietrich fights guards he cannot defeat in one hit. Against enemies you can finish safely, let allies get some EXP first. Anatolia starts moving when you disable the second device. Prepare to engage her before operating it. If the path to the final device is blocked, try circling around and kiting her. Check that you can survive an attack before entering combat. Switch to a high-hit combat art to finish if needed, but remember that combat arts can still draw counterattacks.
Return to the Dietrich route walkthrough
Do not expect to defeat every guard in one hit
Check the forecast when attacking guards with  Dietrich. Some do not fall in one hit. Against targets he can finish safely, let an ally hit first to share EXP, then have him secure the kill.
The second device gets the boss moving
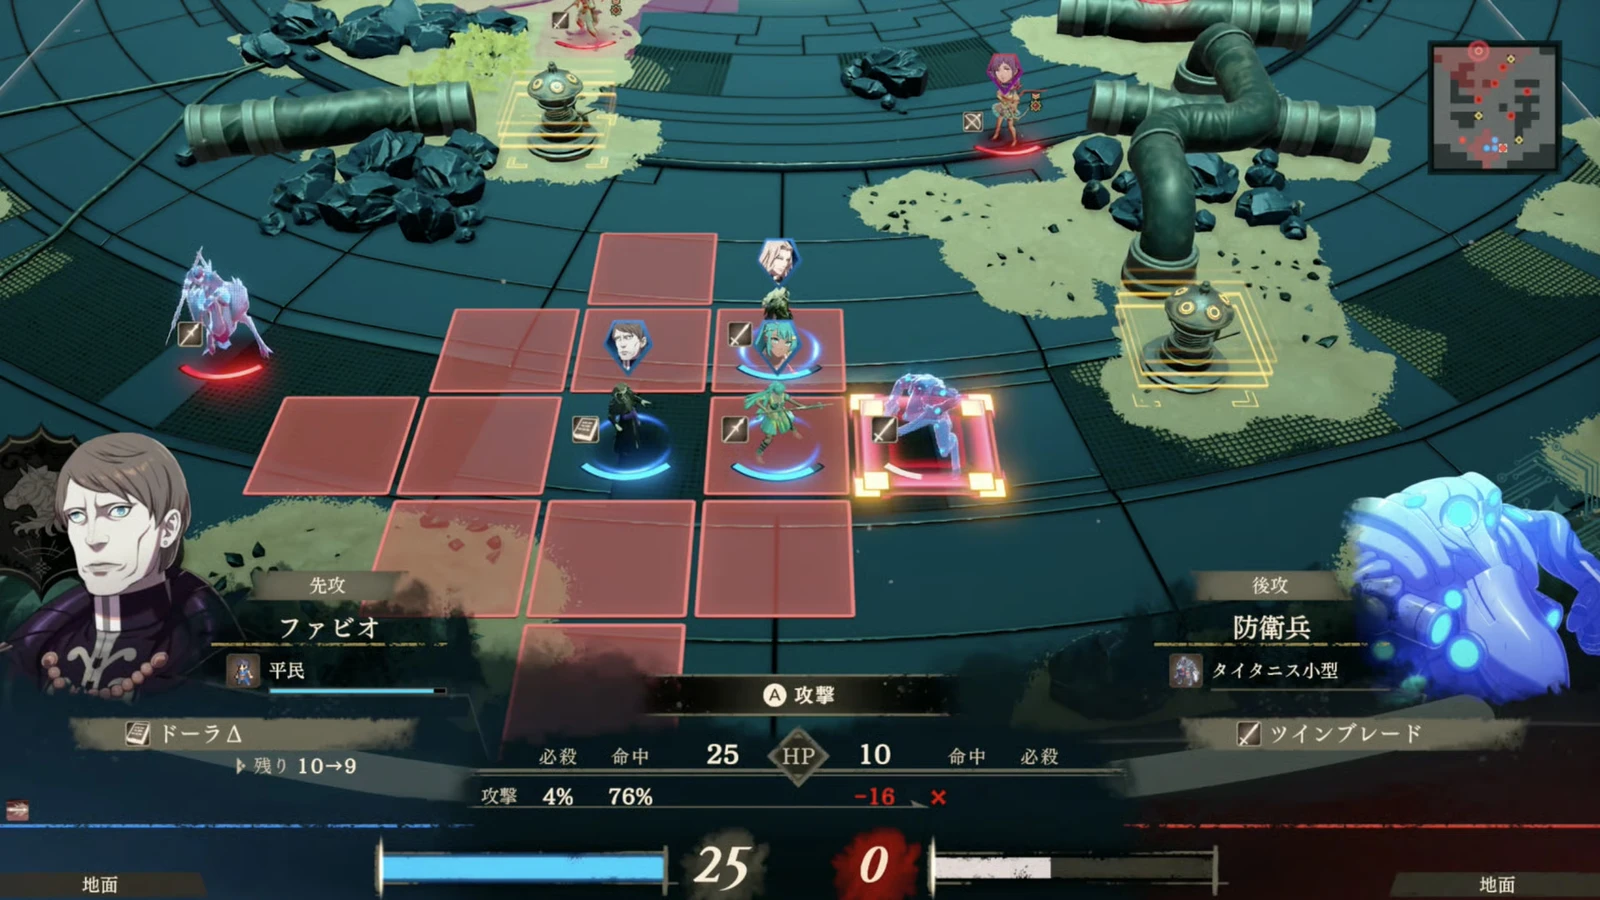
Before disabling the second device, check the route to the last one and prepare to face  Anatolia. She starts moving as soon as the second device is disabled. Operating it too early means she can chase your party while you are still traveling.
You can attack the boss even before disabling the final device. Check the forecast and attack only if you can survive the counter. Hold off if it would kill you.
Circle around when the route is blocked
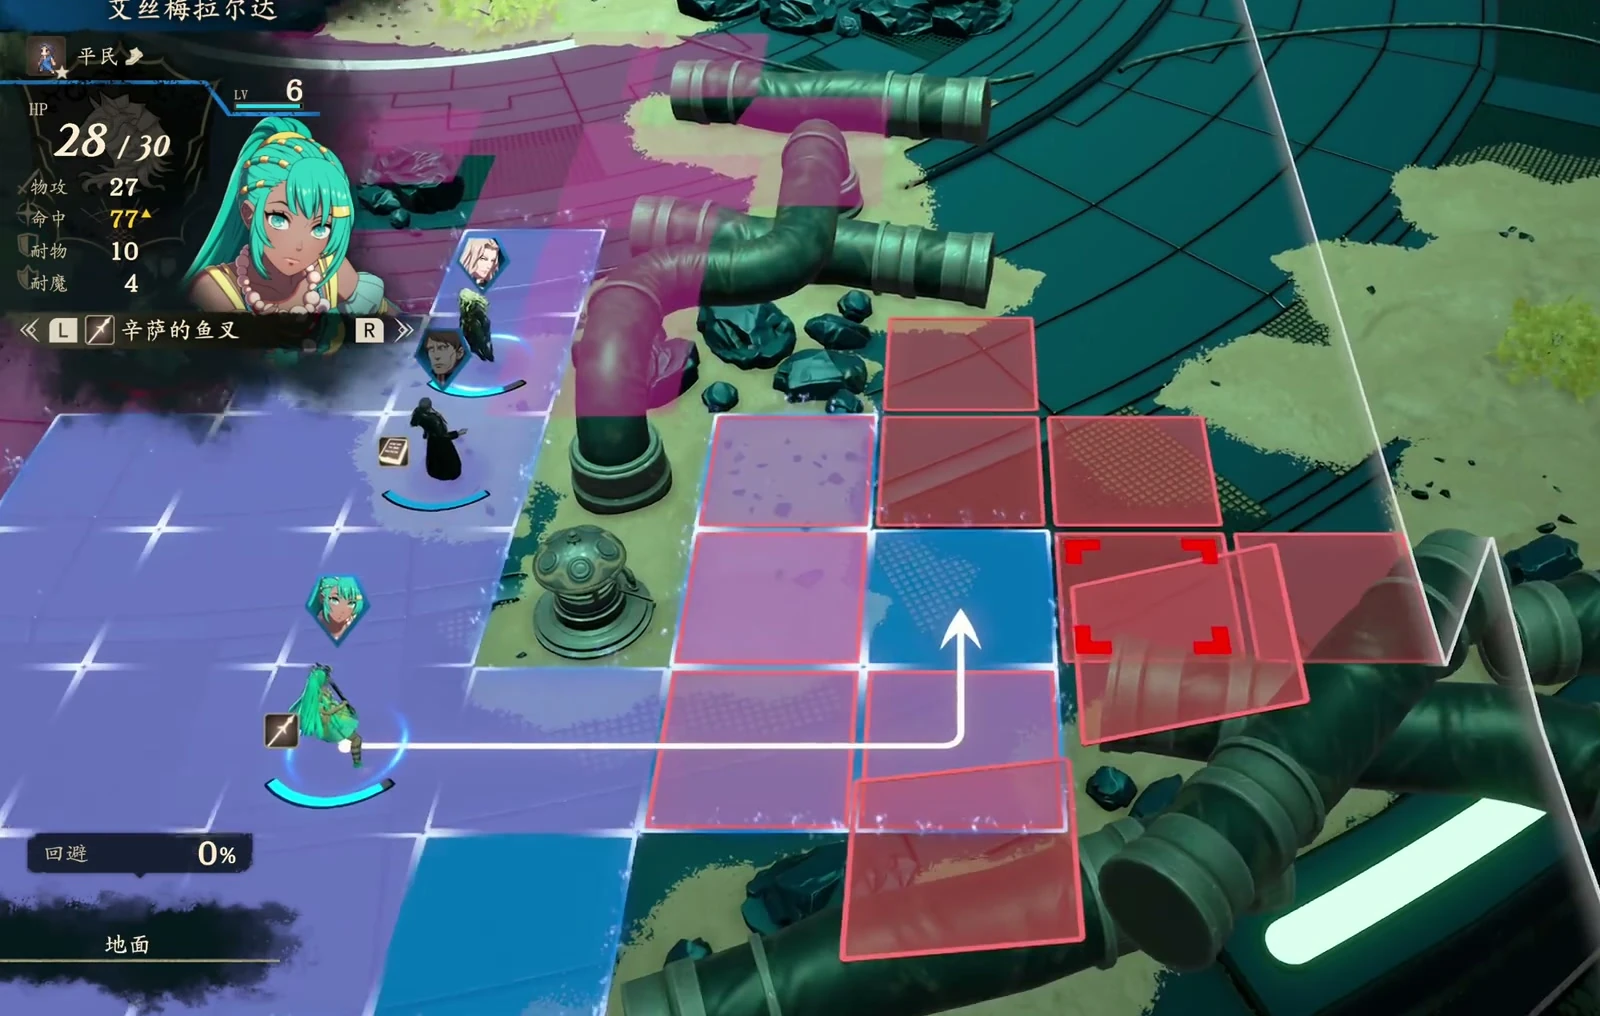
If other units block the route to the final device, try circling and kiting the boss. Let her follow you while you look for an opening to approach the device. You may still take hits while circling, so confirm that you can survive the next one before entering her range.
Before moving, check both whether you can reach the device and whether the boss can reach your destination. Focusing only on distance may leave the device out of reach, while focusing only on the device may put you back in combat range.
High-hit combat arts still allow counters
If repeated misses leave an enemy alive, switch to a combat art with a higher hit rate. The one used here has 98% hit. Calculate the counterattack before committing and make sure the attacker can survive.
 Anatolia