

Chapter 1: Uproar in RibeiraMinor spoilers
Break the fence to recover the jewel. Use Lend Strength before hitting three enemies with Underworld Burst. Recheck Tialla’s forecast before a finishing blow, and distribute EXP around your training goals.
When pursuing the Red Jewel, break the fence before approaching your target. Save Combat Art durability when a normal attack will do. After recovering the jewel, hit three enemies with Underworld Burst. Use Lend Strength first, then unleash the attack, keeping its HP cost in mind. Tialla needs medicine to heal herself; Heal cannot target her. Before giving her a finishing blow, recheck the forecast after another unit vacates the space. You can give the remaining EXP to companions who are behind, or prioritize your main fighter’s levels to unlock an ostrich mount sooner.
Check the grass before breaking fences for the jewel
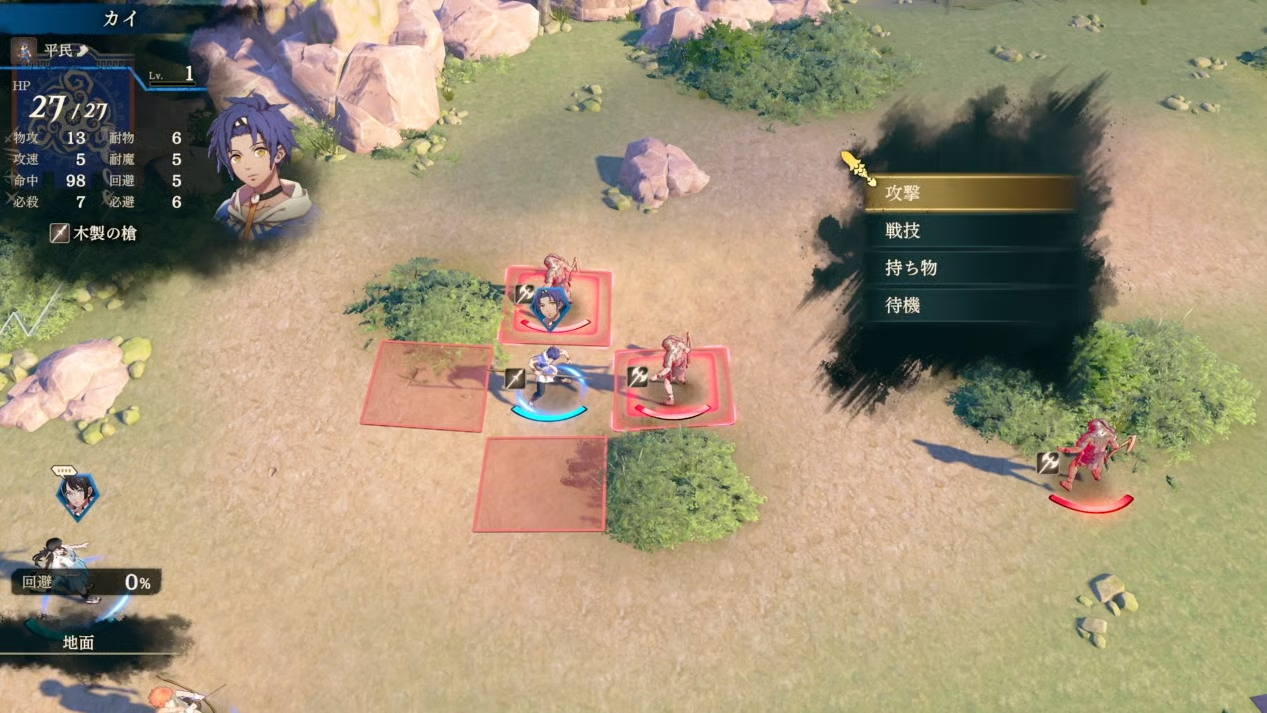
Check actual movement range at the start to see whether you can enter the grass. If not, calculate whether the position outside it can survive one attack.
Before breaking the fence, check whether an enemy could reach you on its next move once the path opens. Then destroy the obstacle and approach the jewel’s holder. Save durability-consuming Combat Arts when a normal attack is enough.
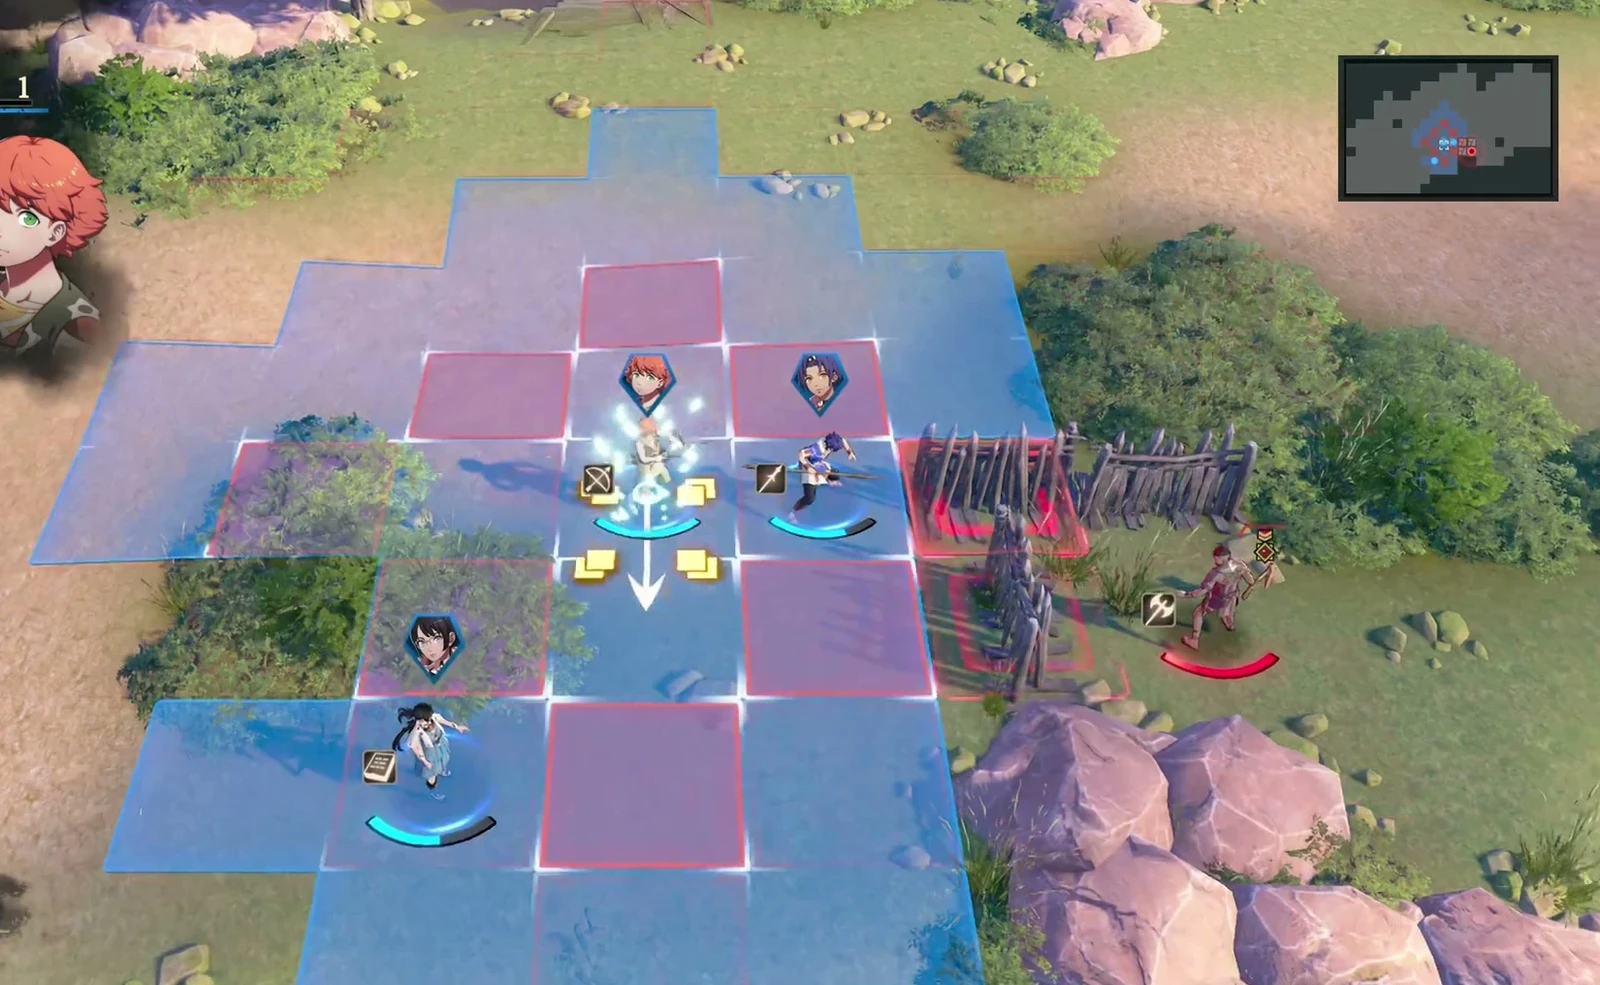
Use Lend Strength, then hit three with Underworld Burst
Once you recover the jewel and unlock Underworld Burst, choose a position that covers three enemies at once. Use Lend Strength first, then Underworld Burst; Underworld Burst consumes HP. Lend Strength costs nothing and can be used repeatedly to build support.
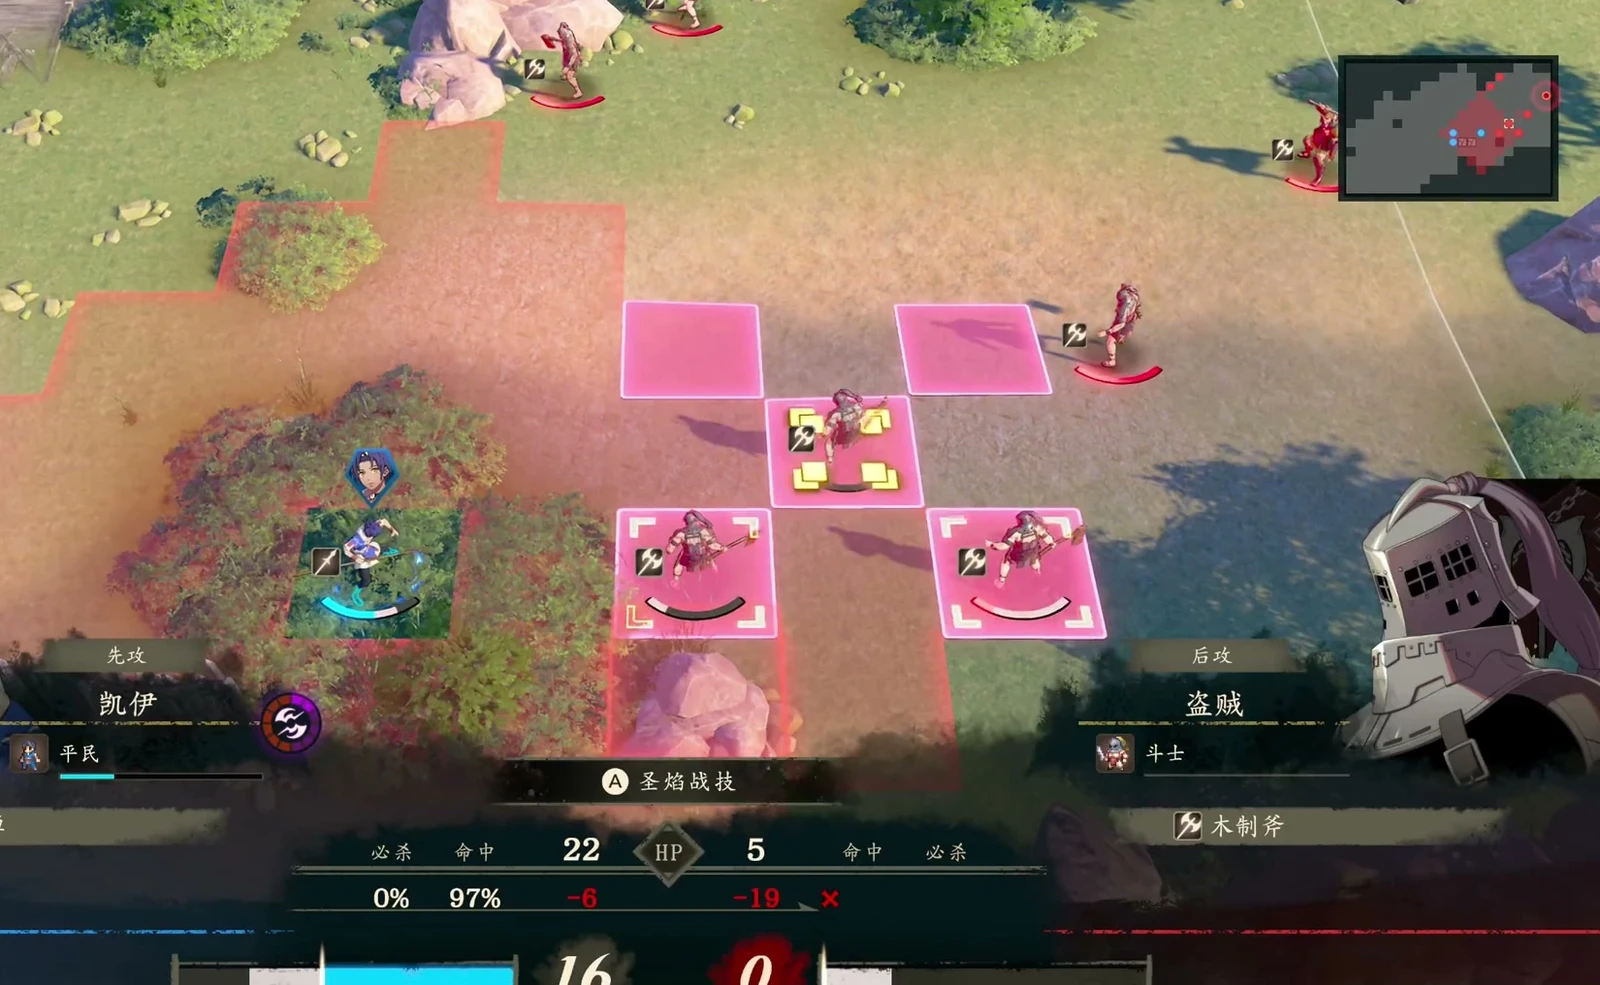
Use medicine for Tialla's own HP; save Heal for other characters.
Recheck the forecast before Tialla finishes a target
After the unit in front moves aside, confirm that Tialla can still secure the kill. Do not rely on the forecast from before the move. If she can no longer finish the target but can survive the current position, lure another enemy over to deal with. Keep baiting enemies if those at the back will not advance on their own.
Share experience or prioritize future mount users
One plan gives finishing kills to lagging companions when Cai reaches level 4 while  Peter has yet to level, keeping the team balanced.
Another prioritizes units who can ride Ornius early, preparing them for mount development. If account-wide experience bonuses are available, wait to activate them until members have growth-boosting mounts. This plan waits for mounts; reclassing alone is insufficient.
The Red Jewel and Nero
| Item | Chapter details |
|---|---|
| Victory condition | Recover the Red Jewel, then defeat Nero |
| Boss | Nero |
| New recruits |  Cai,  Tialla,  Peter |