

Orchel’s Paralogue: Orchel’s RegretMajor spoilers
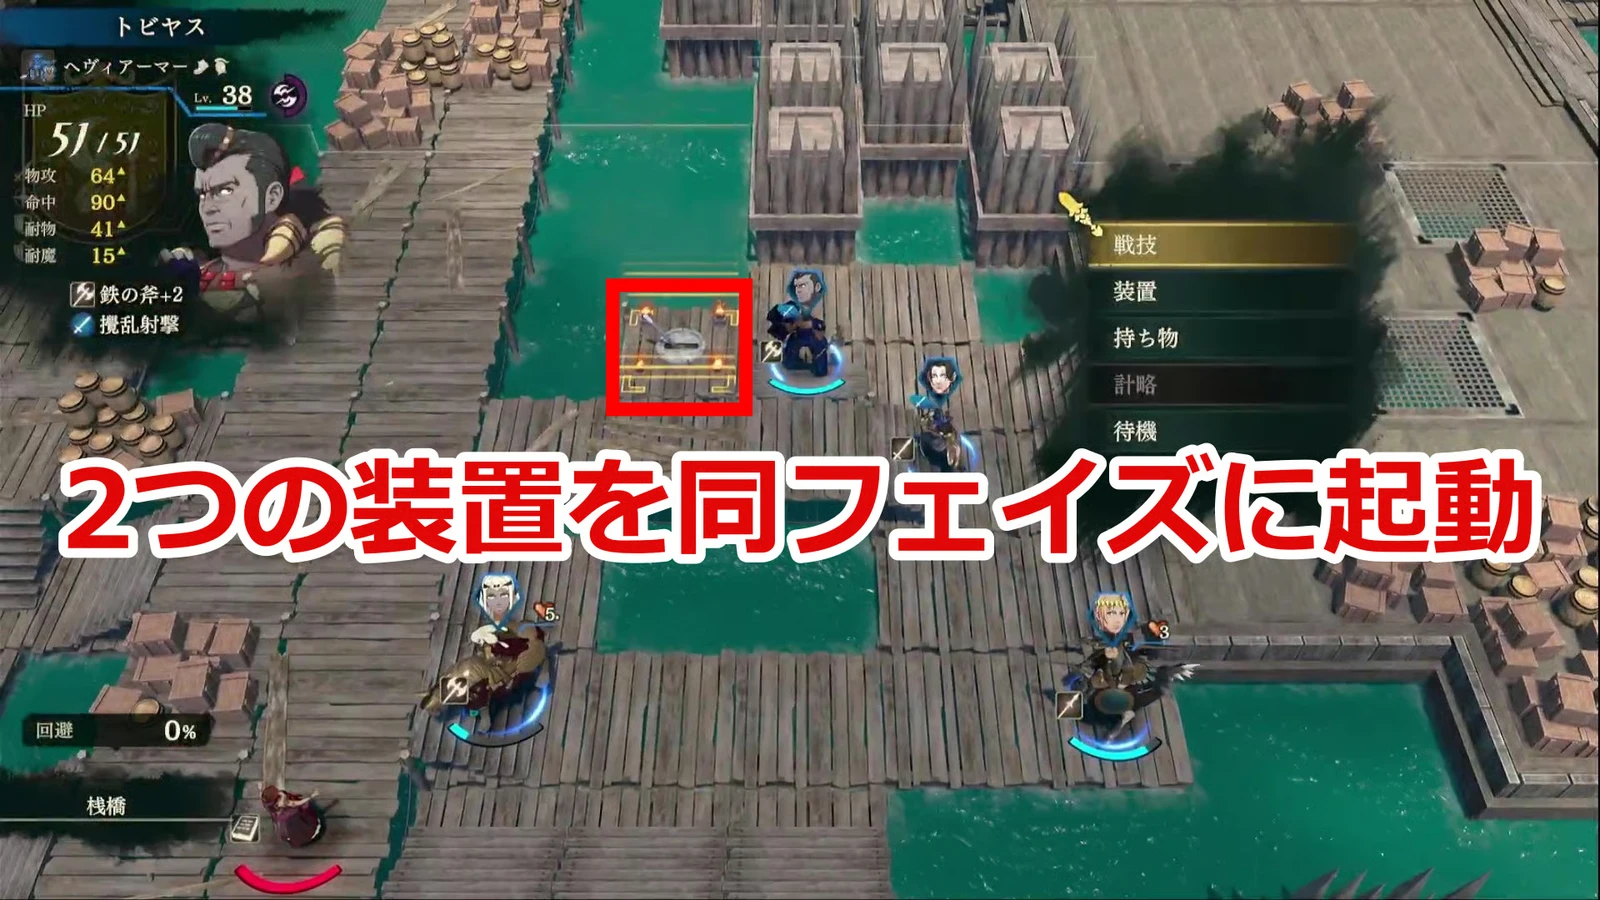
Split toward the north and south devices and activate both in the same phase. Stabilize before triggering reinforcements; both Chest Keys are carried by southern enemies.
Return to the nine-paralogue walkthrough; all four route walkthroughs: Cai, Dietrich, Theodora, and Leda.
- Both northern and southern devices must be operated in the same action phase to work. Split into two groups and wait until both sides have someone able to act before activating them.
- Using the catapults brings reinforcements. Clear nearby enemies and heal before operating them, so the operators are not surrounded first.
- All four routes can play it, but Cai’s window is shortest. Accept October 18–20 and finish by the 21st on Cai’s route. Plan your trip as soon as you accept; do not use another route’s deadline on the 27th.
Victory conditions and map
Rout the enemy to win; losing the current protagonist or Orchel causes defeat. Devices reduce enemy numbers, but you must still clear everyone.
Find Orchel in front of Credna’s branch temple on Dagsion’s lower approach, then travel to Fort Galcar. Travel consumes turns, so do not wait until the last acceptance day to return from far away.
| Route | Chapter | Acceptance window | Completion deadline |
|---|---|---|---|
 Cai | Chapter 11 | October 18–20 | October 21 |
 Dietrich | Chapter 11 | October 18–25 | October 27 |
 Theodora | Chapter 12 | October 18–22 | October 24 |
 Leda | Chapter 11 | October 18–25 | October 27 |
Another record gives Theodora a broader window through the 24th, but whether it refers to acceptance or another period is unconfirmed. Plan to accept before the 22nd and finish before the 24th.
Enemies and boss
| Name | Class | Skills or behavior to watch |
|---|---|---|
| Flying enemies | Exact classes unconfirmed | Numerous; bring bows |
| Reinforcements after the catapult trigger | Wing Soldiers are pictured; full class list unconfirmed | Appear after activation; reserve fighting strength |
| Southern enemy group | Exact classes unconfirmed | Drops two Chest Keys; full inventories unconfirmed |
Boss: Jakam. His class, weapon, skill list, and official Simplified Chinese name for this battle remain unconfirmed. Victory requires routing the enemy, so defeating him does not let you ignore the rest.
Clear with both groups, then activate devices together
Both groups need to clear enemies. Use Archers against fliers and Orchel’s healing to support both sides. He has close and long-range healing and can help distant wounded allies after the split. Check spell uses in this battle’s menu.
Phase 1: split into two routes and clear nearby enemies first. Divide according to the north and south launchers and leave a unit on each side who can operate them. Southern enemies drop two keys. If you want chests, plan collection now instead of sending everyone back for keys after firing the catapults.
Phase 2: Activate in the same action phase and reserve units for reinforcements. One side can wait beside its device; operating across two turns does not work. Check that both operators can act, nearby enemies are controlled, and healing is in place before activating together. Catapults trigger reinforcements, so mechanisms should not consume all available combat strength.
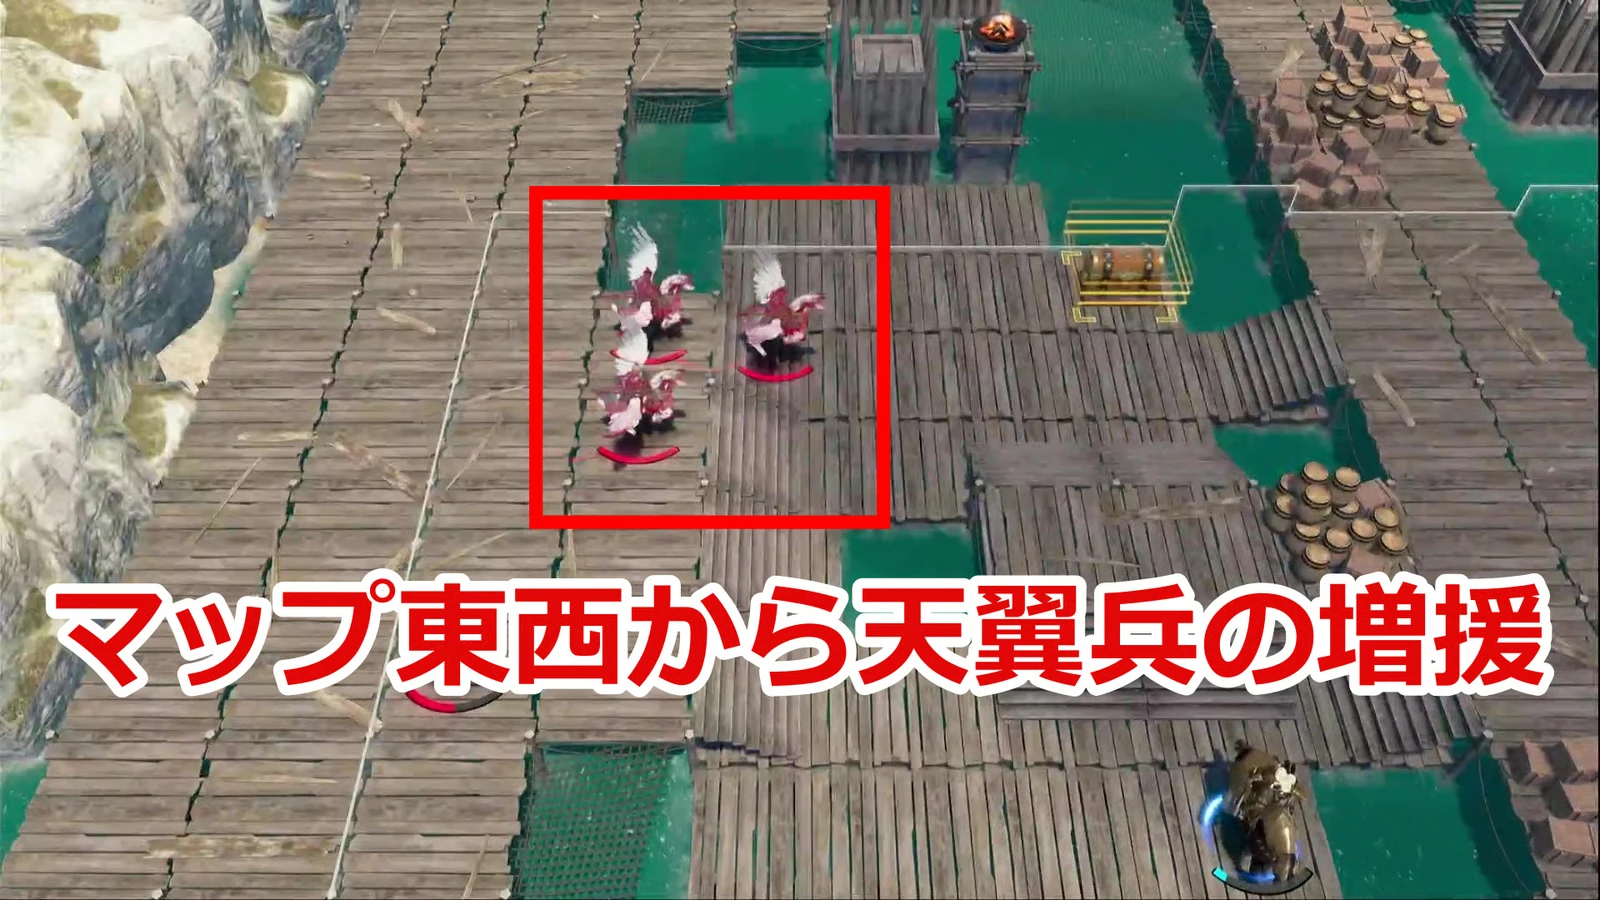
Phase 3: heal and keep clearing. Orchel can use Physic for separated allies. Do not leave him where fliers can reach next turn simply because he is currently far from enemies. Keep checking for survivors until the rout completes.
Another approach on Normal: cover the map quickly with mobility and Blessings. This requires developed Blessings, mobile units, and ranged healing, making it suitable for repeat play to reduce turns. On a first run without that setup, advance steadily along both routes.
Pure Water chests and clear rewards
| Item | Details |
|---|---|
| Base rewards |  Healing Staff ×1, 20,000 gold, 150 Renown |
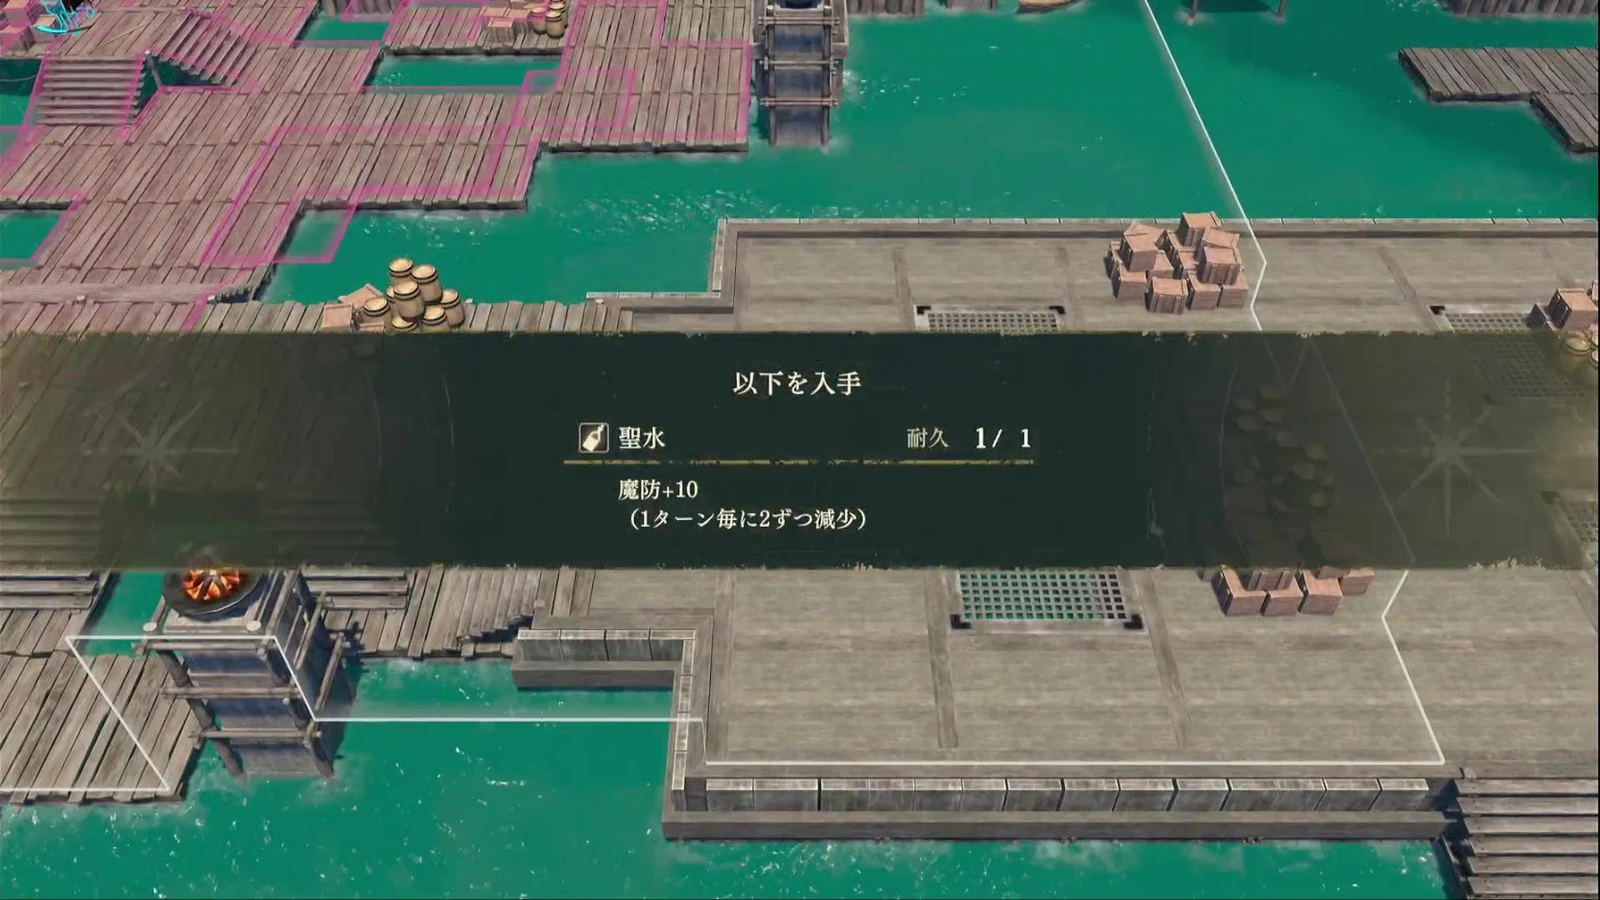
| Southeastern and northwestern chests | Provide  Pure Water; quantity per chest unconfirmed |
| Key drops | Both come from the southern enemy group; individual inventories unconfirmed |
| Recruitment prerequisite | One condition for  Diego on all four routes;  Orchel connects to Part 3 recruitment |
| Stealing and battle-conversation recruits | Unconfirmed |
Records do not fully align on Orchel participating in Part III’s first division and permanently joining in the second. This battle’s victory is not listed as automatic Part I recruitment.
Finish the fortress paralogue before finding Cai
On the calendar, do the fortress before Cai; on the battlefield, regroup before catapults. The first prevents date-advancing dialogue from consuming your travel window. The second prevents reinforcements arriving while your groups are scattered and healing is exhausted. You can skip chests if needed; do not let collection disrupt simultaneous launcher activation.
Return to town to check Diego and Cai’s quests
Victory completes the request. On returning, check Diego and Cai’s quest first.  Diego still needs the current route’s other recruitment conditions. On Dietrich’s, Theodora’s, and Leda’s routes, return within a safe date to continue Cai’s conversation if Cai's Paralogue: Great Escape remains. If both are complete, check other limited events and recruits on your route. This paralogue needs no separate reporting trip.