

Starting Theodora's route: Connect waystations and plan battalion gathering alongside team rolesMajor spoilers
Battalions can be assigned, gather materials, be donated, and support reconstruction. Keep the queen mobile, use Tobias as a physical tank, and assign separate healers and Avoid specialists.
Original video: “Become the pirate king on Theodora's route: Character development recommendations” | Bilibili creator Pser_hanser | Watch the original video
On the queen’s route, unlock waystations first and keep recruiting Battalions. Reserve enough turns to return from long expeditions. Let Tobias tank physical attacks and Sofia heal while the queen retains mobility to reduce duplicated roles.
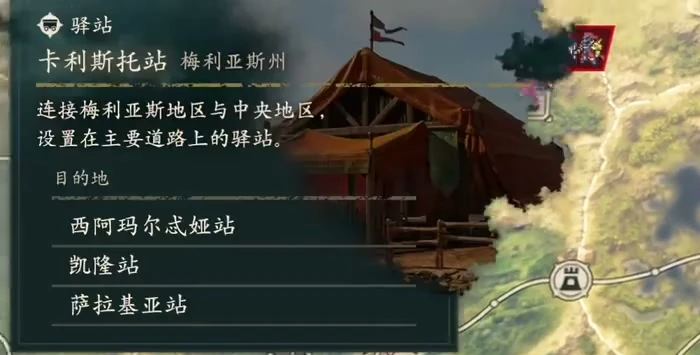
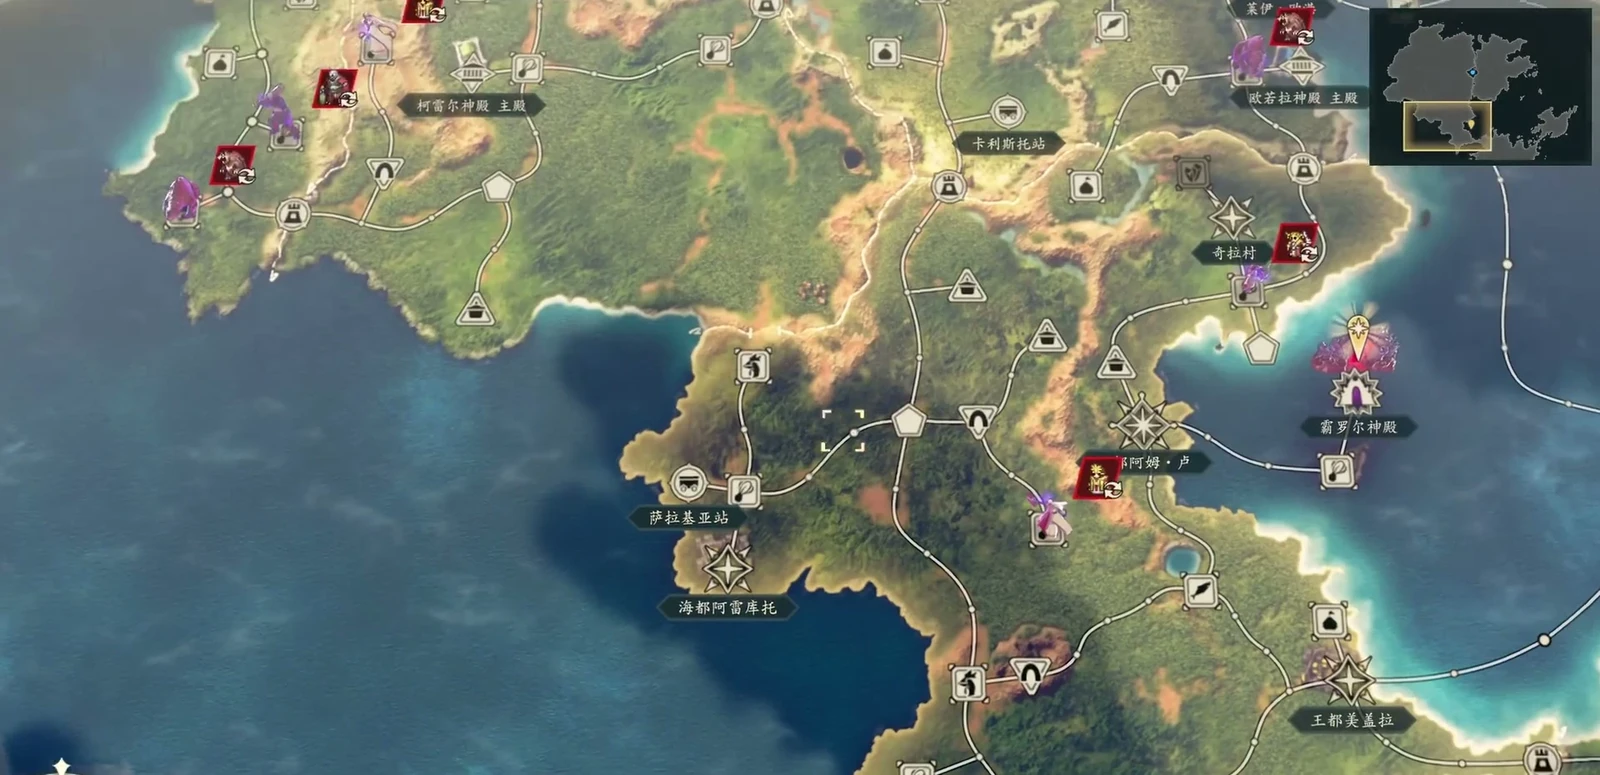
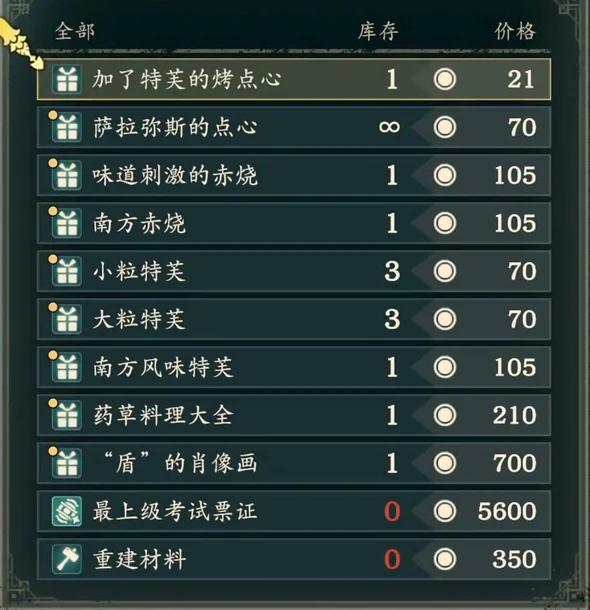
Connect waystations and restock exam certificates along the way
The queen's route involves recruiting battalions, mining, fishing, and exploring dungeons. Opening travel routes first makes all of this easier. Explore the map on  Dietrich's route beforehand to benefit the queen's mining and
 Cai's farming later. The queen can connect cities by water, but portals are not usable until the end of Chapter 12. Early travel mainly relies on waystations.
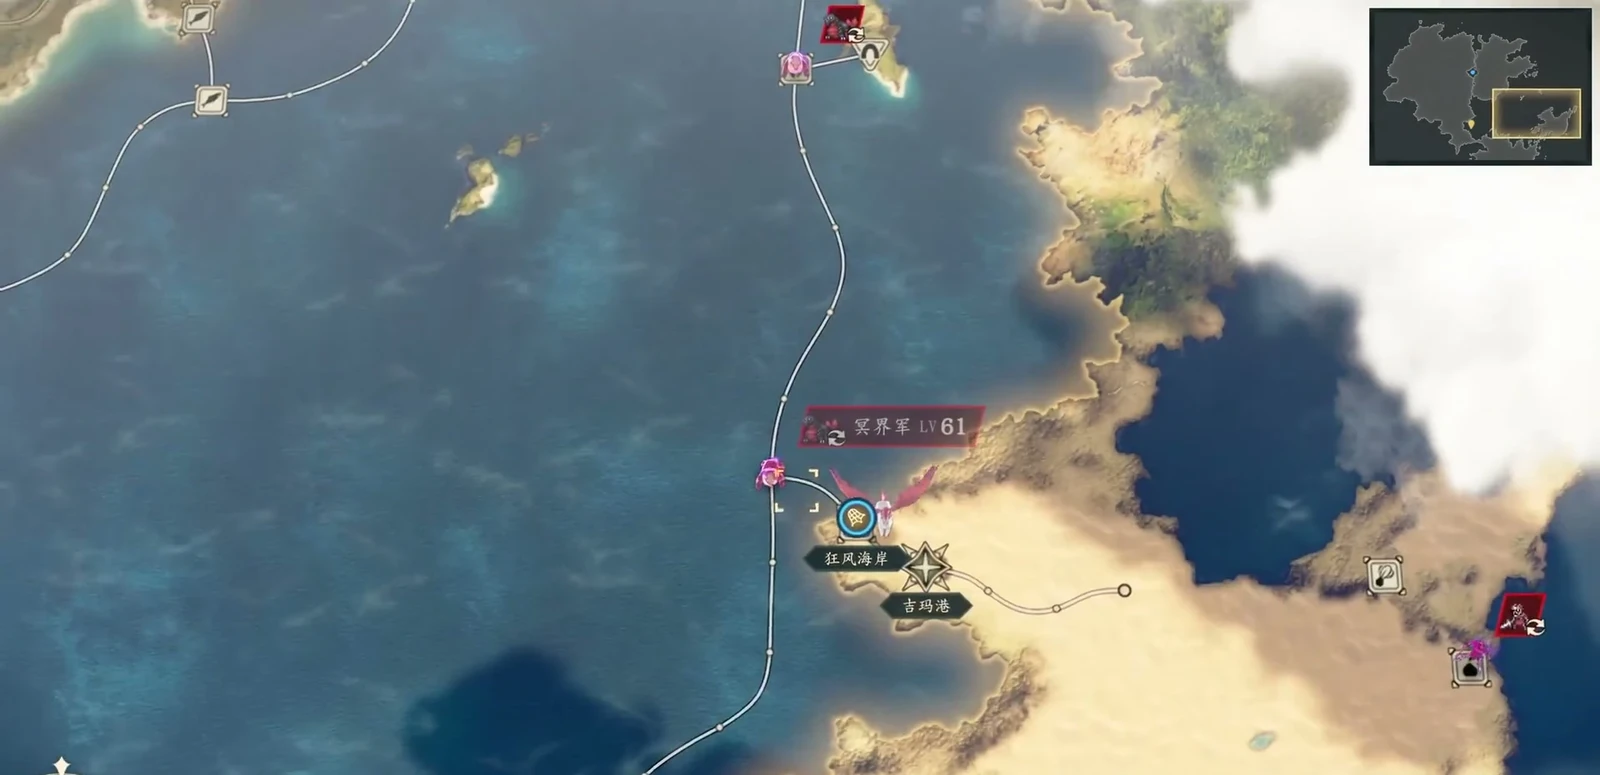
Open nearby stations first, then head south to connect those around the maritime capital and her homeland. Restock advanced exam certificates on long trips instead of discovering you have none when it is time to reclass. Count the steps needed to return, too: traveling out does not make the return journey free.
Battalion uses and donation rewards
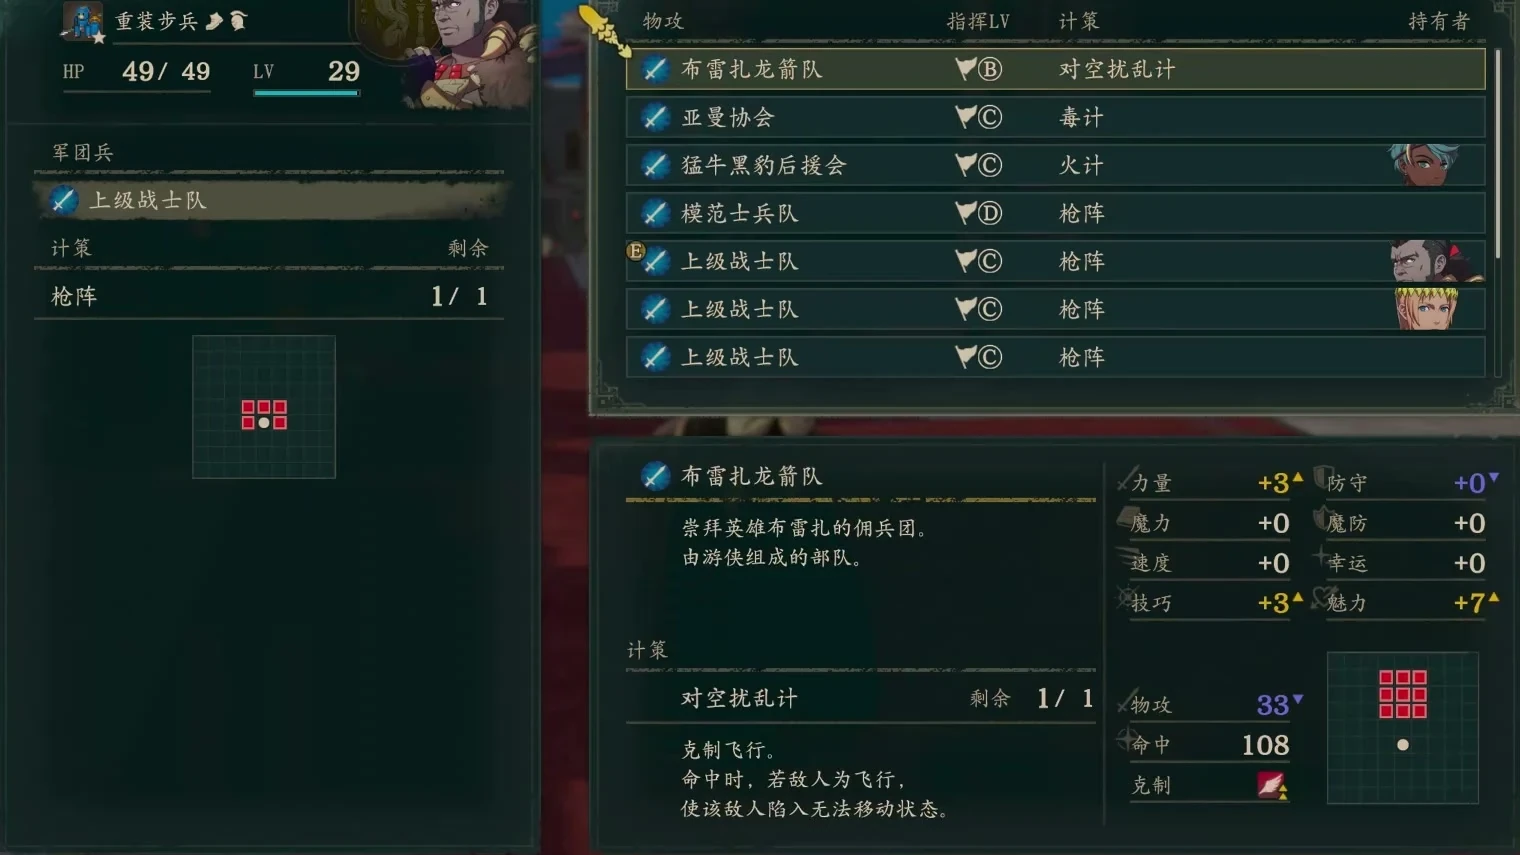
Battalions have four jobs: assignment to infantry for stats and Gambits, gathering at material points, donation for rewards, and reconstruction and border defense in Part 3. Higher-tier battalions gather more, and some dungeon materials can also be collected this way. When I have spare actions, I prioritize recruiting battalions before gathering manually.
Authority determines Battalion assignment. Without enough Authority, you cannot equip a recruited high-rank Battalion. Check Authority strengths when choosing characters, then improve it through training, items, and combat. Keep surplus Battalions until donations unlock, then hand them over:
| Battalion level | Donation value |
|---|---|
| A | 50 |
| B | 40 |
| C | 30 |
| D | 20 |
| E | 10 |
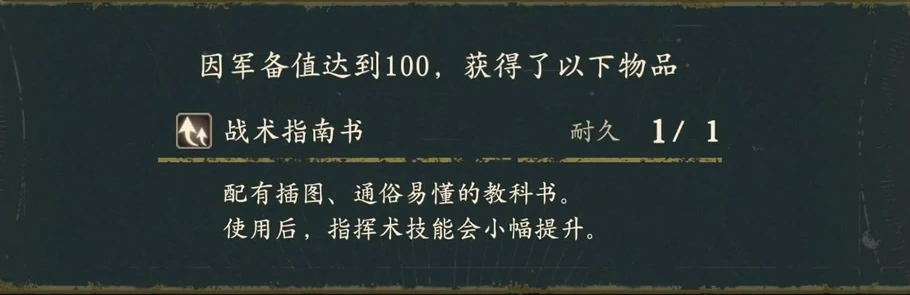
Every 100 donation value earns one  Tactics Manual. Save these books for units with insufficient Authority in Part 3.
Build a recruitment circuit that passes different battalion types, mines, and fishing points. If the calendar shows a gathering bonus, arrive a day early. Waiting for the notification on the day may leave you too far away to reach it.
Reserve expedition turns and check hidden events
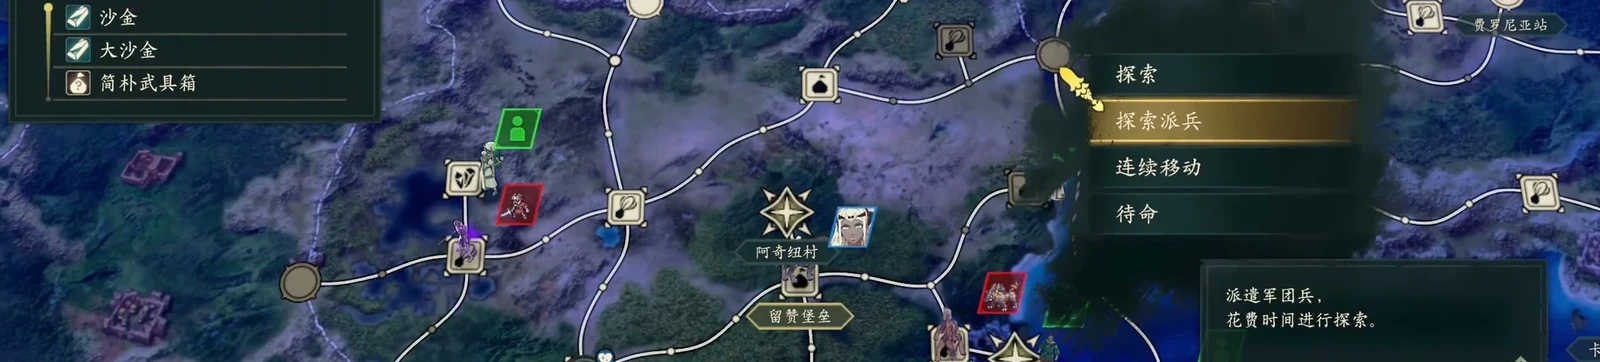
The long detour in the lower-right area has reconstruction materials but no convenient transfer station. Sending the queen alone in Part 1 costs many actions. Reserve at least about 20–25 actions if you go, with extra time for enemy encounters. Part 3 lets you dispatch up to five teams, making it much easier to dedicate one to exploration.
After lending out the ship in September, you cannot sail for a while. Finish anything requiring the ship before accepting this task.
At the start of each chapter, check events during the day and again at night. Look for ripples on the map, too. Enter the temple's interior map: some side quests are inside and show no icon on the world map.
Assign clear roles to the starting team
Among the starting companions, I bring  Tobias and
 Sofia. Tobias has high HP, Strength, and Defense, making him well suited to an armored physical front-line role. Eliminate enemy mages before sending him forward. Sofia has a clear healing role.
 Lilian can fill an archer slot, but her low Strength growth means you need to watch her damage later.
 Bonaventure has magical growth worth developing, but I plan to recruit
 Sirocco for magical damage, so I do not invest in both for the same role.
 Lysander can serve as an Avoid specialist early, with
 Loretta as a later alternative depending on the team. The queen's route has plenty of Avoid candidates, including
 Noctula.
Train different strengths across routes before merging
Noctula can begin with gauntlet classes, using  Brigand and
 Warrior to improve Strength and Speed. Do not repeat the same path on another route. Build Magic instead, then use physical gauntlets against mages and magical gauntlets against armored enemies, switching weapons to match the target.
Sirocco also benefits from this approach. Use a pure magic path on one route and train Black Magic first. On the other, use  Hunter,
 Myrmidon, and
 Shido for Speed. After merging, often use
 Levin Sword, prioritizing Speed and occasionally switching to a physical sword. Similar development on both routes creates too much overlap and less improvement in coverage.
 Nezha has low Magic, while Strength, Speed, and Dexterity favor physical combat. There is no need to force the same physical-and-magical hybrid approach onto this unit.
Loretta’s training and the cost of late recruitment
Loretta gains Attack and Avoid at full HP, plus another Avoid bonus above half HP. This is more reliable than waiting for a chance-based effect. In Part 1, use Hunter,  Rogue, and
 Ranger, then move into
 Dancer or a Divine class to retain high Avoid and support utility.
 Olympia arrives very late on the queen's route. Other routes recruit her sooner, so you do not need to pay the recruitment cost on every route.
 Peppe,
 Halvin, and
 Diego each have strengths, but investing more resources may not be worthwhile if they are already far behind your existing team when recruited.
Keep the queen mobile to avoid overlapping roles
 Theodora has 70 HP growth and 50 Strength growth, with fairly balanced other stats. She is durable and has many viable paths. I prefer
 Ornius Rider first, then
 Bardinger and
 Orichaldia, with a wyvern option later.
Armored classes work too, but Tobias already fills the physical tank role. Putting the queen there duplicates it. Keep her mobile, let Sofia heal, give Sirocco physical and magical coverage, and add several Avoid specialists. Clear responsibilities make progression much smoother.