Recruitment guide: Fill team gaps first and prepare level-three Support earlyMinor spoilers
Renown rises with progress, while Support can be trained beforehand. Fill the team with level-one and level-two requirements first, then prepare extra healing and tanking for later split forces.
Original video: How to recruit the right characters | English-language gaming media channel IGN
Check requirements before giving the first gift
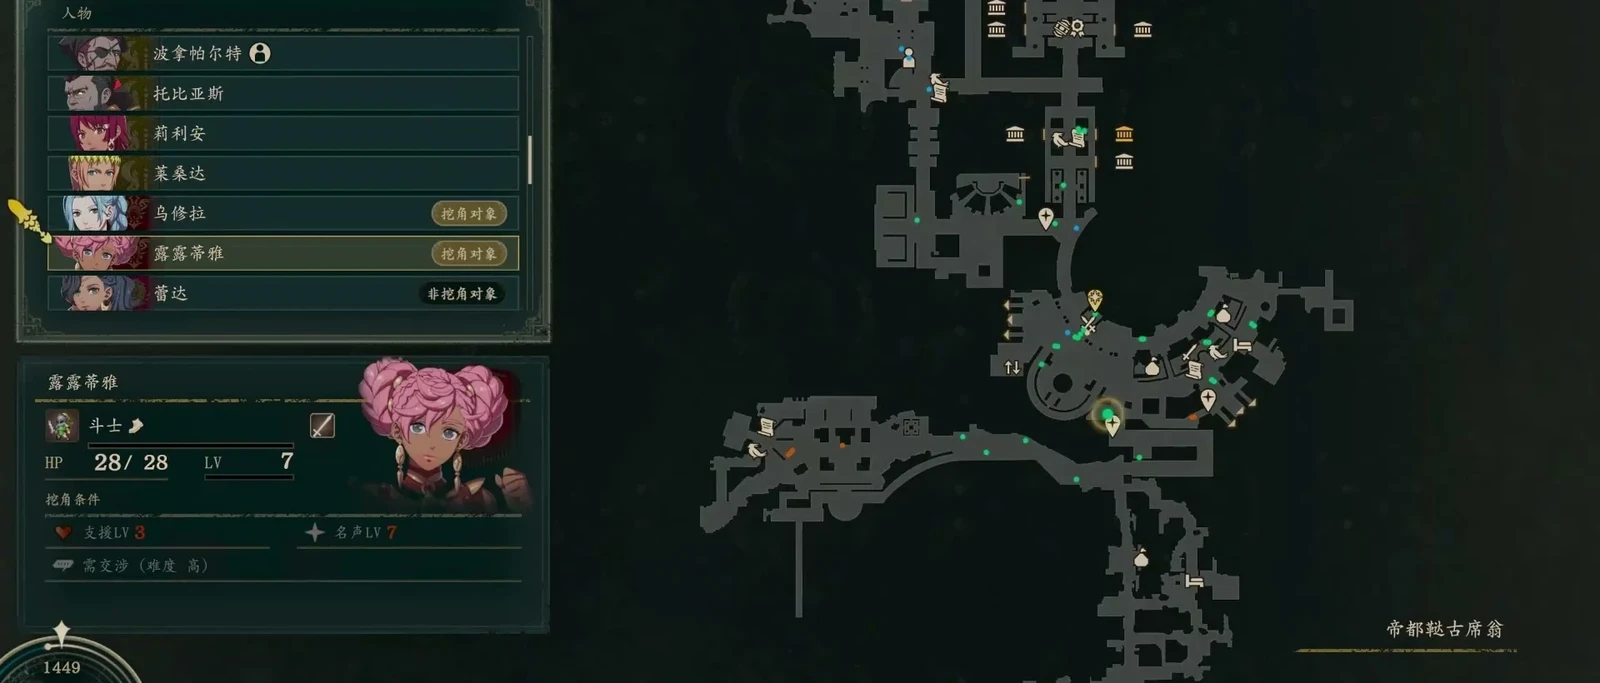
The opening teaches your first recruitment, but later characters are not all that simple. Talk to your target and check Renown and Support requirements in character information. Some also need negotiations, specific requests, or main-story progress. Available recruits differ by protagonist too.
Main-story progress, requests, and the protagonist’s own activities raise Renown. While waiting for it, build Support with the target. Even if other requirements are met, you must give a gift once to open recruitment. Afterward, you can invite them to meals. Bring both the current protagonist and the intended recruit to build their relationship.
Build toward Bond Level 3 early
Level two is relatively easy; level three takes much more time, meal money, and gifts. If you particularly like someone with a level-three requirement, start early instead of waiting until Renown finally qualifies for the first meal.
Final negotiation may require dialogue choices, materials, or a quest. You can retry after a wrong answer; it does not permanently remove the recruitment opportunity.
Question marks often mean specific main-story progress is still required. More gifts cannot replace that story segment. If your roster is short, recruit characters whose Renown requirement is already met and who need only level-one or level-two Support to get the team functioning first.
Recruit for gaps in your team
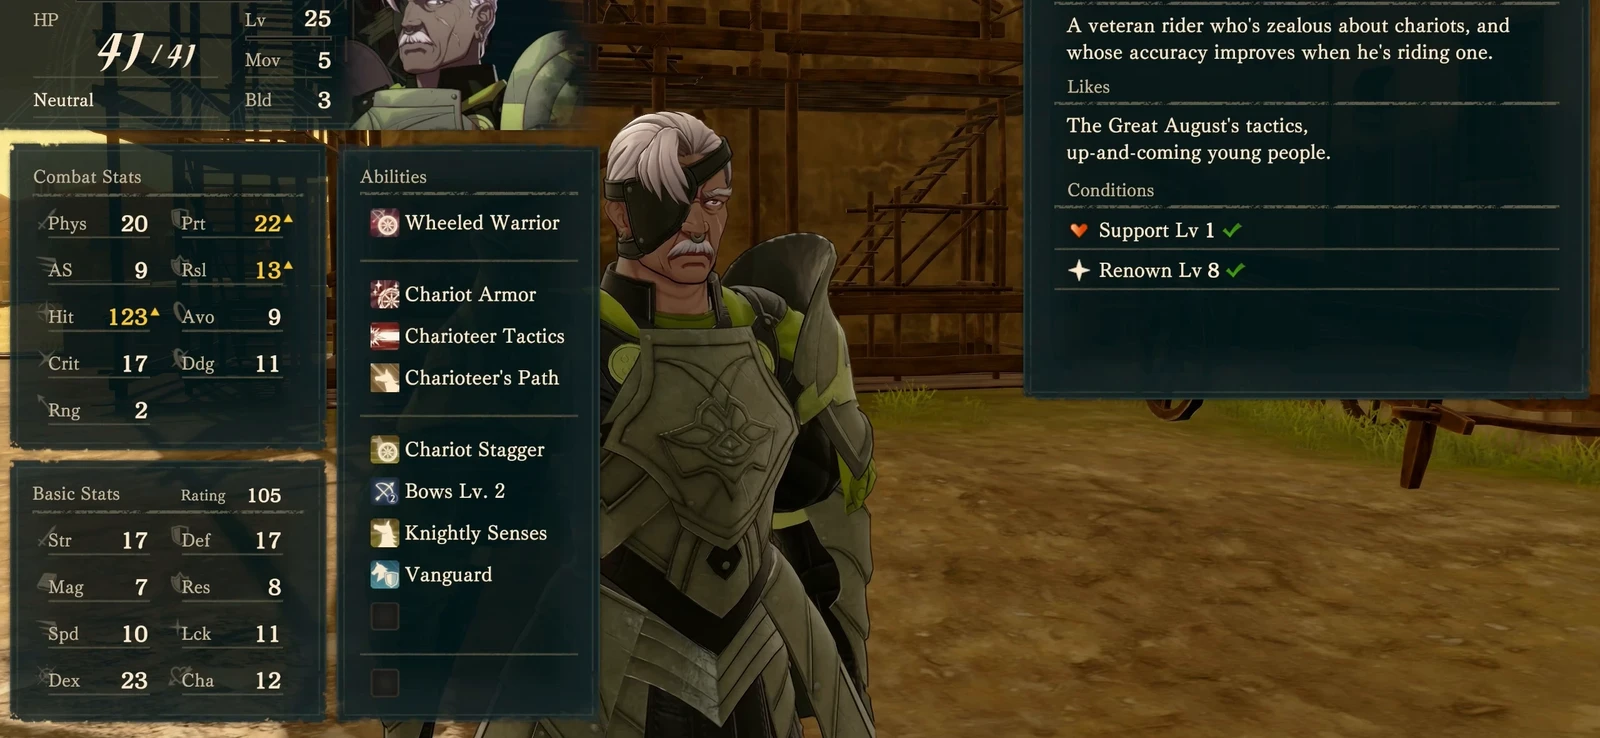
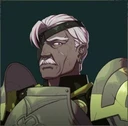 Benditz stays in town after losing the qualifiers. His starting
 Charioteer uses mobility and ranged bows, while his personal ability improves Charioteer Hit, fitting class and ability together.
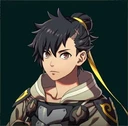 Nezha has high Speed and easily follows up along
 Gladiator and
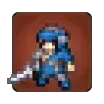 Myrmidon paths, including two-hit counters. But he cannot take repeated attacks well. Use offense to remove enemies quickly.
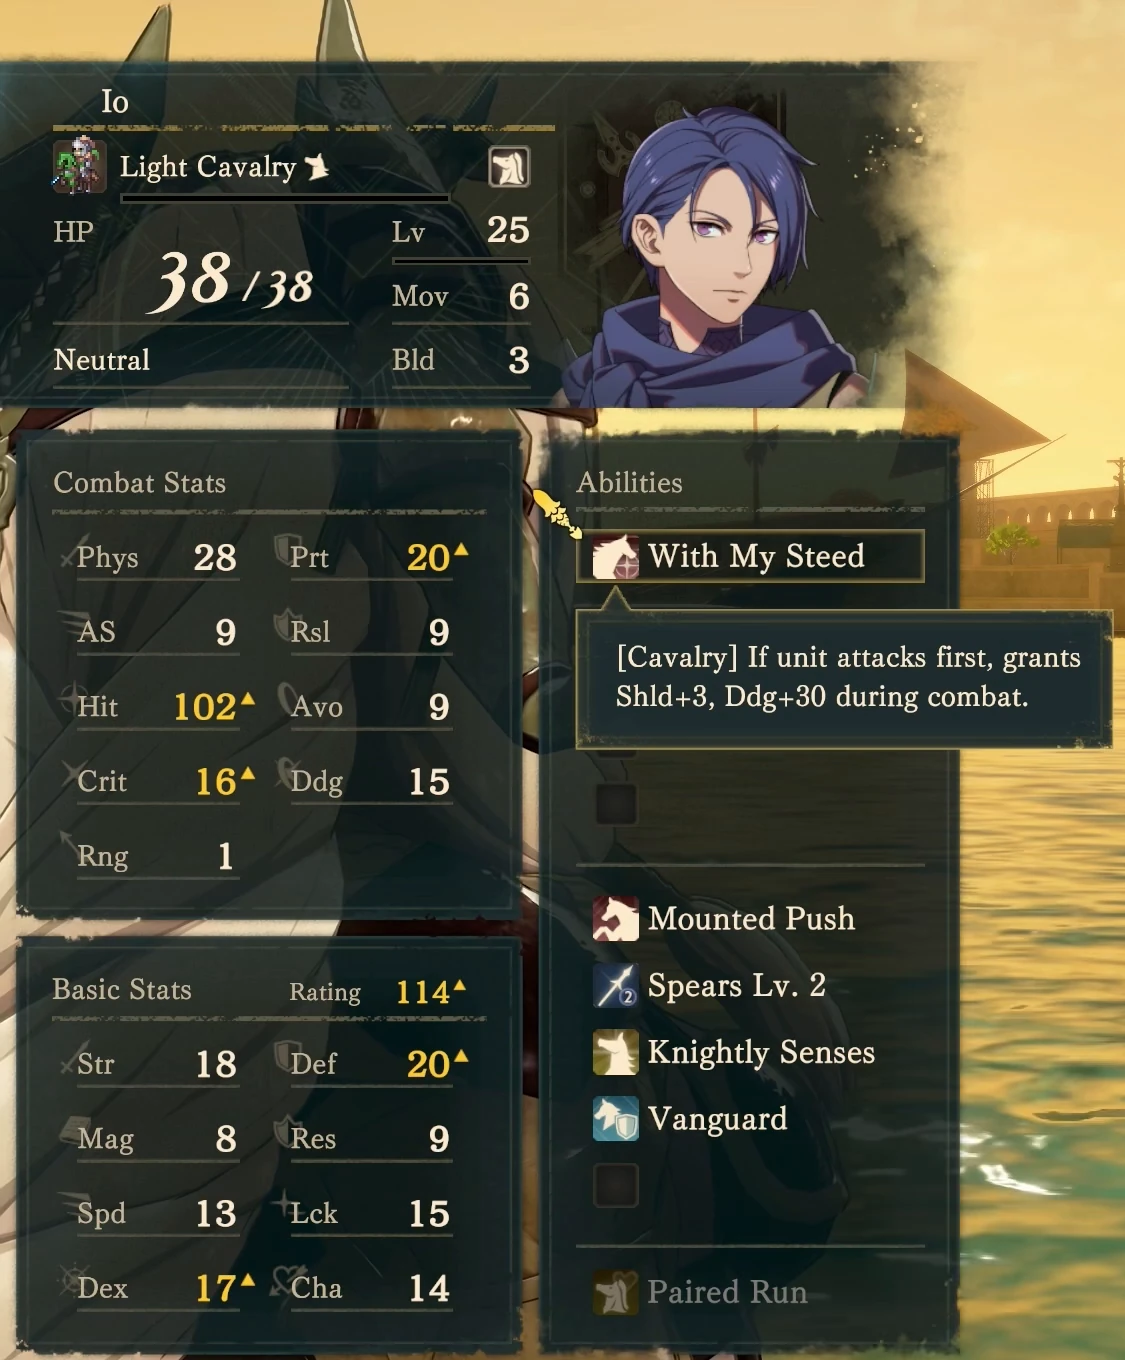
 Io starts as
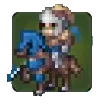 Light Cavalry with Strength and Defense. Initiating while mounted also improves Defense and Dodge. High Movement and several weapons make him useful long-term. For dedicated healing, consider
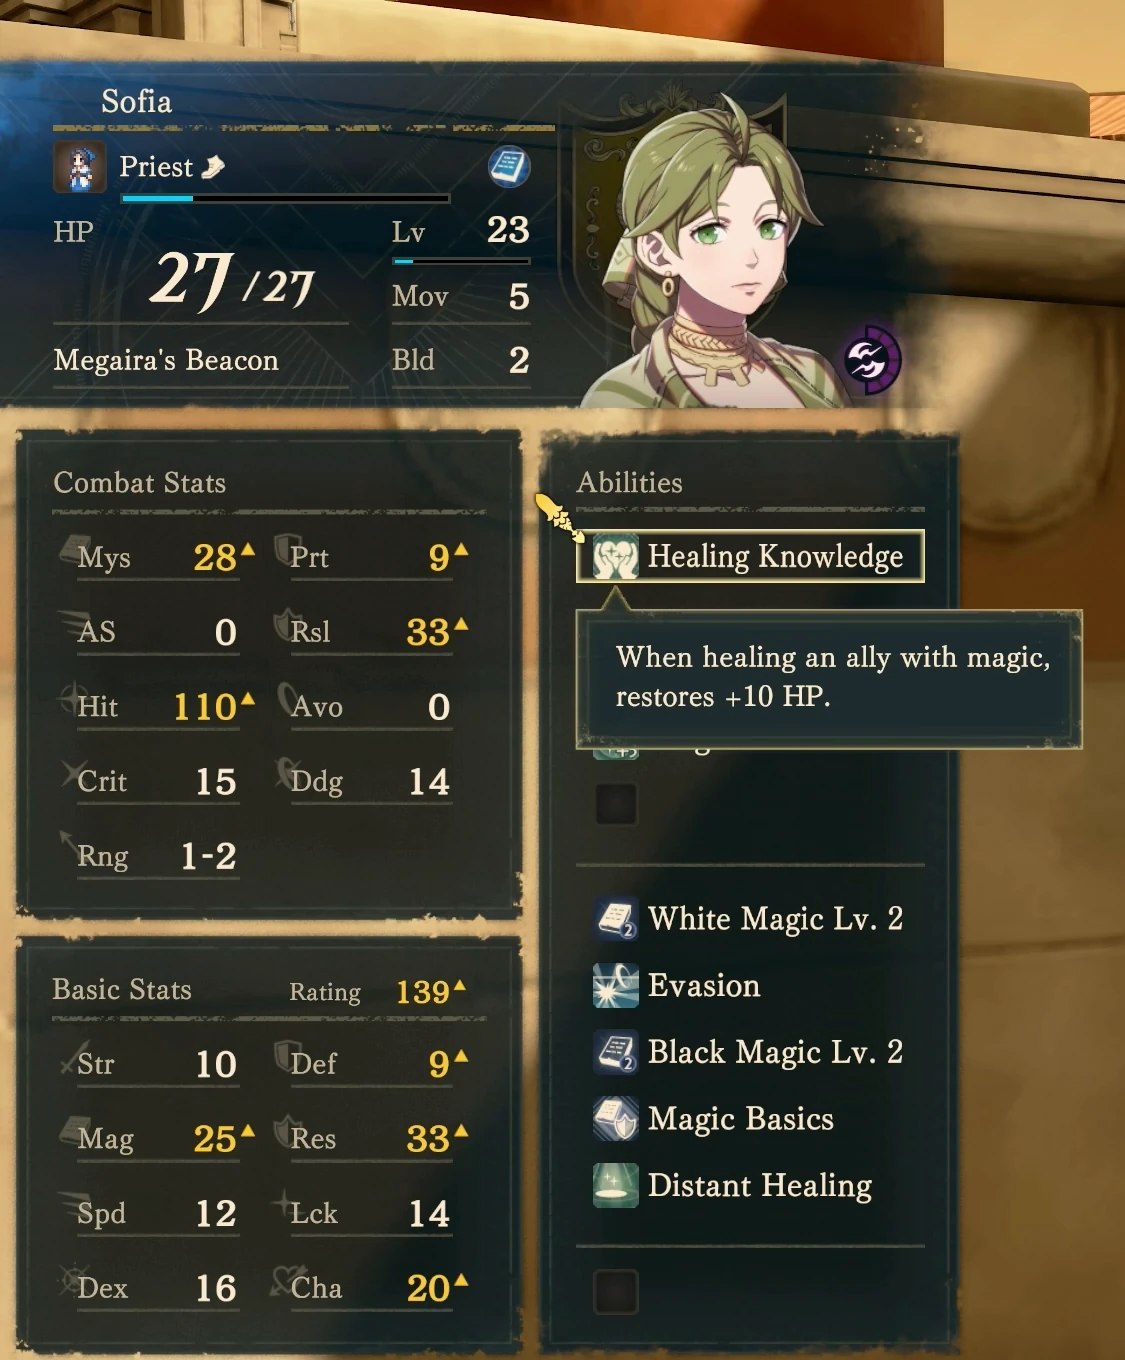
 Sofia: her personal skill adds 10 HP to healing. Combine it with
 Healing Staff to restore high-HP frontliners more easily. Her own Defense is low, so protect her casting position.
For armored durability, consider 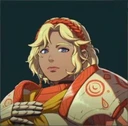 Jasmine after the match. For exploration, choose a
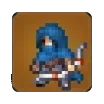 Rogue such as
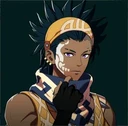 Diego,
 Ursula,
 Nuzzuo, or
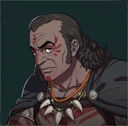 Kiroc. They can open battle chests and improve the chance of rare world-map finds.
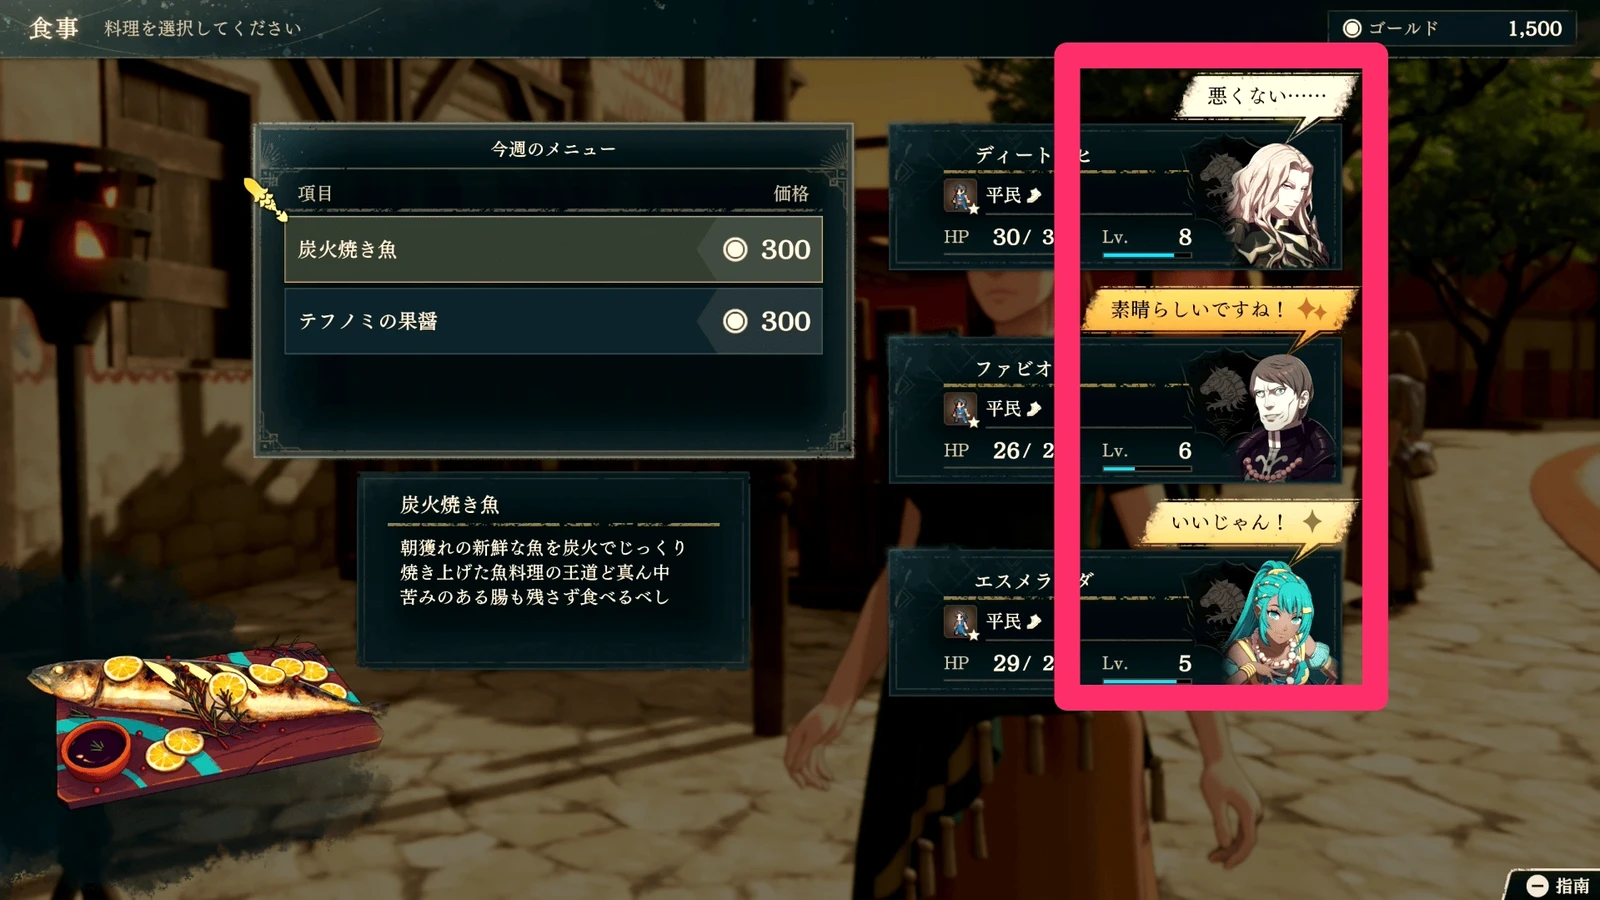
Character lists and split-force preparation
You do not need individual visits to see who is in town today. Open the world map and switch to the character list for everyone present, recruitment availability, and requirements. You can travel directly to their locations too.
Later deployment counts increase, often requiring several fronts. With only one healer, every split means deciding which group gets them. Prepare a second set of tanking, physical damage, casting, and recovery roles for branching maps. Fill current gaps first, then gradually build another group of roles to give recruitment direction.