
How many bond activities do you need? Gifts, three-person meals, and the Pale Raven
Measured gains suggest Ultand–Leda need about 4–5 Herbal Recipe Guides or 6–8 Garum gifts to go from level 1 to 2. The tables list estimated activity counts at each measured level.

Raising Ultand and Leda from an empty level-1 bar to level 2 takes about 4–5 Herbal Recipe Guides, estimated from a single gift’s gain under the same conditions.
Gifts needed to raise Bond Level
Calculate counts separately for each character, level, and activity. Gift counts have been tested through level 2; Pale Raven records cover levels 1–4. Each row starts from an empty bar at that level and assumes the same gain per use under identical conditions. Existing progress reduces the required count.
| Level increase | Activity and character conditions | Estimated count from measured gains |
|---|---|---|
| 1→2 |  Ultand–  Leda; loved, single-arrow Herbal Recipe Guide | 4–5 gifts |
| 1→2 | Same pair; loved, single-arrow Garum | 6–8 gifts |
| 2→3 |  Dietrich–Leda; loved, double-arrow Candy Crystals | 8–11 gifts |
| 2→3 | Same pair; loved, single-arrow Simple Pastries | 11–18 gifts |
| 1→2 | Each pair at the three perfect level 1 meals below | 4–7 meals |
| 2→3 |  Cai–  Ninae; Roast Goat with  Halvin, perfect rating | 9–13 meals |
| 1→2 | Cai– Eshmel; all three Pale Raven answers correct | 2–3 interactions |
| 2→3 | Same pair; two Pale Raven answers correct | 6–9 interactions |
| 3→4 | Same pair; all three Pale Raven answers correct | 5–6 interactions |
| 4→5 | Same pair; all three Pale Raven answers correct | 4–5 interactions |
Attempts remaining ≈ round up [remaining progress / gain per activity under the same conditions]. For example, if Ultand–Leda already have half a level 1 bar, about 2–3 more Herbal Recipe Guides are needed.
How much bond progress does each activity give?
Level 1 activities compared with a recipe guide
One  Herbal Recipe Guide gives Ultand–Leda about 21%–25% at level 1. Other level 1 activities compare as follows:
| Activity | Measured characters and conditions | Share of full level 1 bar | Recipe guide equivalent |
|---|---|---|---|
| Herbal Recipe Guide | Ultand–Leda; loved, single arrow, actual cost 270 gold | About 21%–25% | 1 gift |
| Garum | Same pair; loved, single arrow, actual cost 45 gold | About 13%–17% | About 0.5–0.9 gifts |
| Perfect three-person meal | Each pair at the three tables below | About 15%–29% | About 0.6–1.4 gifts |
| Good three-person meal | Cai,  Catania,  Sofia; calculated separately for each pair | About 12%–27% | About 0.4–1.3 gifts |
| All three Pale Raven answers correct | Cai–Eshmel | About 48%–52% | About 1.9–2.5 gifts |
| Two Pale Raven answers correct | Same pair | About 37%–40% | About 1.4–2.0 gifts |
| Ordinary three-person performance, good rating | All three pairs at level 1; each gains separately | About 6%–10% | About 0.2–0.5 gifts |
The recipe guide and Garum both display “loved” in this comparison, yet give different gains. Their actual prices differ by a factor of 6, while their midpoint gains differ by about 1.5. Consider the specific item as well as the character’s preferences when shopping.
Three diners’ tastes and three pairs’ bond gains
| Three-person meal and rating | Pair levels | Gain as a share of the current level bar |
|---|---|---|
| Cai, Catania, Sofia; Garum Soup or Rock Salt Ham, perfect rating | All three pairs at level 1 | Cai–Catania about 17%–21%; Catania–Sofia about 23%–27%; Cai–Sofia about 15%–19% |
 Seteth,  Jasmine,  Lysander; all three like or love it, perfect rating | All three pairs at level 1 | About 25%–29% per pair |
| Cai, Ninae, Halvin; Roast Goat, perfect rating | Cai–Ninae at level 2 | About 8%–12% for that pair |
Leda dislikes it,  Sha Lan is neutral,  Nezha loves it; good rating | All three pairs at level 2 | Leda–Sha Lan about 4%–8%; Leda–Nezha about 6%–10%; Sha Lan–Nezha about 10%–13% |
| Leda and Sha Lan like it, Nezha is neutral; good rating | All three pairs at level 2 | Leda–Sha Lan about 10%–13%; the other two pairs about 6%–10% each |
Three diners generate gains for three relationships. Even a perfect meal can give different gains to each pair. For recruitment on your current route, seat the target with that route’s protagonist. Three companions dining without the protagonist develop their relationships with one another. Plan one meal per unlocked dish each week.
Pale Raven and theater gains at different levels
| Activity and characters | Level and rating at the time | Share of current level bar | Weekly allowance |
|---|---|---|---|
| Pale Raven; Cai–Eshmel | Level 1, all three correct | About 48%–52% | 1 interaction |
| Same | Level 1, two correct | About 37%–40% | 1 interaction |
| Same | Level 2, two correct | About 12%–17% | 1 interaction |
| Same | Level 3, all three correct | About 17%–21% | 1 interaction |
| Same | Level 4, all three correct | About 23%–27% | 1 interaction |
Watch a play; Ultand– Noctula | Level 2, perfect rating | About 6%–10% | 1 shared between watching and performing |
| Ordinary three-person performance | All three pairs at level 1, good rating | About 6%–10% per pair | Choose this or watching a play |
The Pale Raven develops the chosen character’s relationship with Eshmel. Each record above uses the progress bar for its own level. Watching and performing at the theater share one weekly opportunity.
Adjacent combat, Linked Attacks, and Feasts
Fighting beside one another, healing, Linked Attacks in Clashes, and world-map Feasts also develop relationships. For recruited characters, spend one spell use in battle, then repeatedly hold Feasts with ingredients that do not restore spell uses. Feasts cost ingredients and turns, while inn meals can also include unrecruited characters. See Feast mechanics for healing, ingredients, and turn costs, and inn dining for meals before recruitment.
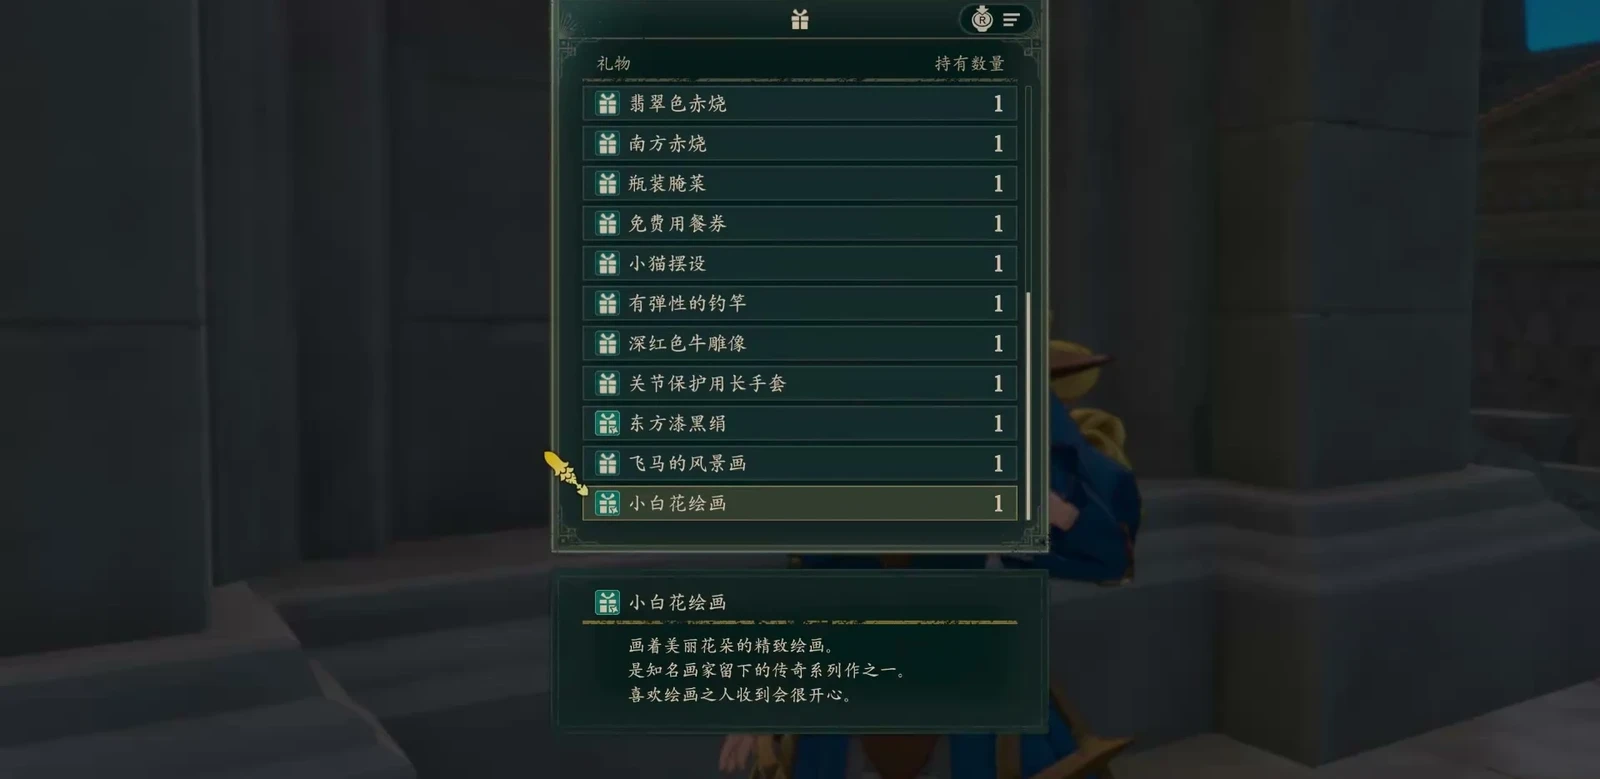
Bond Levels and conversation unlocks are separate
Bond Level describes the relationship between characters; C, B, and A describe support conversations. Reaching a numerical threshold still requires the pair’s story and event conditions. Do not force a C→B→A sequence onto pairs without a full conversation chain.
| Numeric Support level | Conversation level threshold |
|---|---|
| 1 | Below the usual C-conversation threshold |
| 2 | Meets the C-conversation level threshold |
| 3 | Meets the B-conversation level threshold |
| 4 | Meets the A-conversation level threshold |
| 5 | Numeric Support cap; conversations still need to be watched |
Use the support conversation table to find which pairs have conversations. For recruitment, check recruitment conditions for the numerical level needed between your target and the current route’s protagonist. If a conversation stays locked despite enough levels, check timing and prerequisite events before spending more on gifts.
Do expensive gifts give more progress?
Results vary by item; expensive gifts have no universal price multiplier. In the Ultand–Leda level-1 comparison, Herbal Recipe Guide costs six times as much as fish sauce but gives only 1.5 times the progress, making fish sauce better per gold. Dietrich’s Candy Crystals and Simple Pastries also differ between single- and double-arrow preferences. Price or rarity alone cannot explain the difference in progress.
For the same pair at the same level, use the percentages above and the actual purchase prices:
Progress per gold = progress per gift / purchase price
Relative efficiency of two gifts = (cheap gift’s gain / cheap gift’s price) / (expensive gift’s gain / expensive gift’s price)
Garum’s efficiency relative to Herbal Recipe Guide = (15.4% / 45) / (23.1% / 270) = 4
Choose inexpensive gifts the recipient loves and save the remaining gold for meals and recruitment costs.
When the deadline is close and only one gift opportunity remains, compare the progress from each suitable item.
For the first gift, whose purpose is unlocking invitations, keep using something cheap.
The internal formula involving preference, rarity, and price remains unsettled. Compare actual progress and the price you pay for specific items first.
Does a three-person meal need the protagonist?
For recruitment on your current route, the target and that route’s protagonist must dine together. To develop bonds among companions, three companions can dine alone. If the protagonist is absent, the meal does not advance the target’s recruitment relationship with them.
A three-person meal develops all three pairs: protagonist–target A, protagonist–target B, and target A–target B. Replace the protagonist with another companion and it develops the relationships among those three companions instead. A meal with neither the four route protagonists nor Eshmel still develops three pairs.
- Recruiting on this route: bring the current protagonist and two targets, then favor a dish several diners like. After the bond threshold, you must still meet the target’s other recruitment conditions.
- Building team bonds only: choose the three companions you want to develop.
- Preparing for the next route: seat the next route’s protagonist with the target. Having Leda dine with a target during Cai’s route develops Leda–target, not Cai–target. See New Game Plus for cross-route loading conditions.
Buy cheap gifts first to unlock invitations
- 1Check inexpensive stock near the capital’s tavern first.Money is tight on the first route. Buy what your target needs instead of spending everything on gifts at the start. Another gift shop is in the shopping street.
- 2Unlock invitations on first meeting.If you lack a suitable small gift, buySaraminian Sweets in Megaira for 100 gold with unlimited stock to establish the relationship. Check each character’s preferences separately.
- 3Check preferences, then shop by recipient.Budget by unit price and prioritize inexpensive favorites.
- 4Plan gifts and meals in the same week.Gifts are once per week; meals are once per unlocked dish. Confirm the target is seated, then check their reaction. Recruitment checks their relationship with this route’s protagonist.
| Recipient | Low-cost favorite listed in the gift table | Unit price | Purchase location |
|---|---|---|---|
| Cai | Dagda Beard Grass | 200 gold | Capital gift shop, Oriens Town market |
| Dietrich | Simple Pastries | 30 gold | Capital tavern gift merchant, Benetonash Village market |
| Leda | Volcano Ghosh | 150 gold | Capital tavern gift merchant, Basque lodging district market |
 Theodora |  Ceremonial Spear | 1000 gold | Gran Aragon market, Da Mina market in Black Smoke Valley |
For  Theodora, the top preference candidate in this shopping list is expensive. Use a cheap first gift when you only need to unlock invitations. See gift quick reference for all other characters’ preferences and purchase locations.
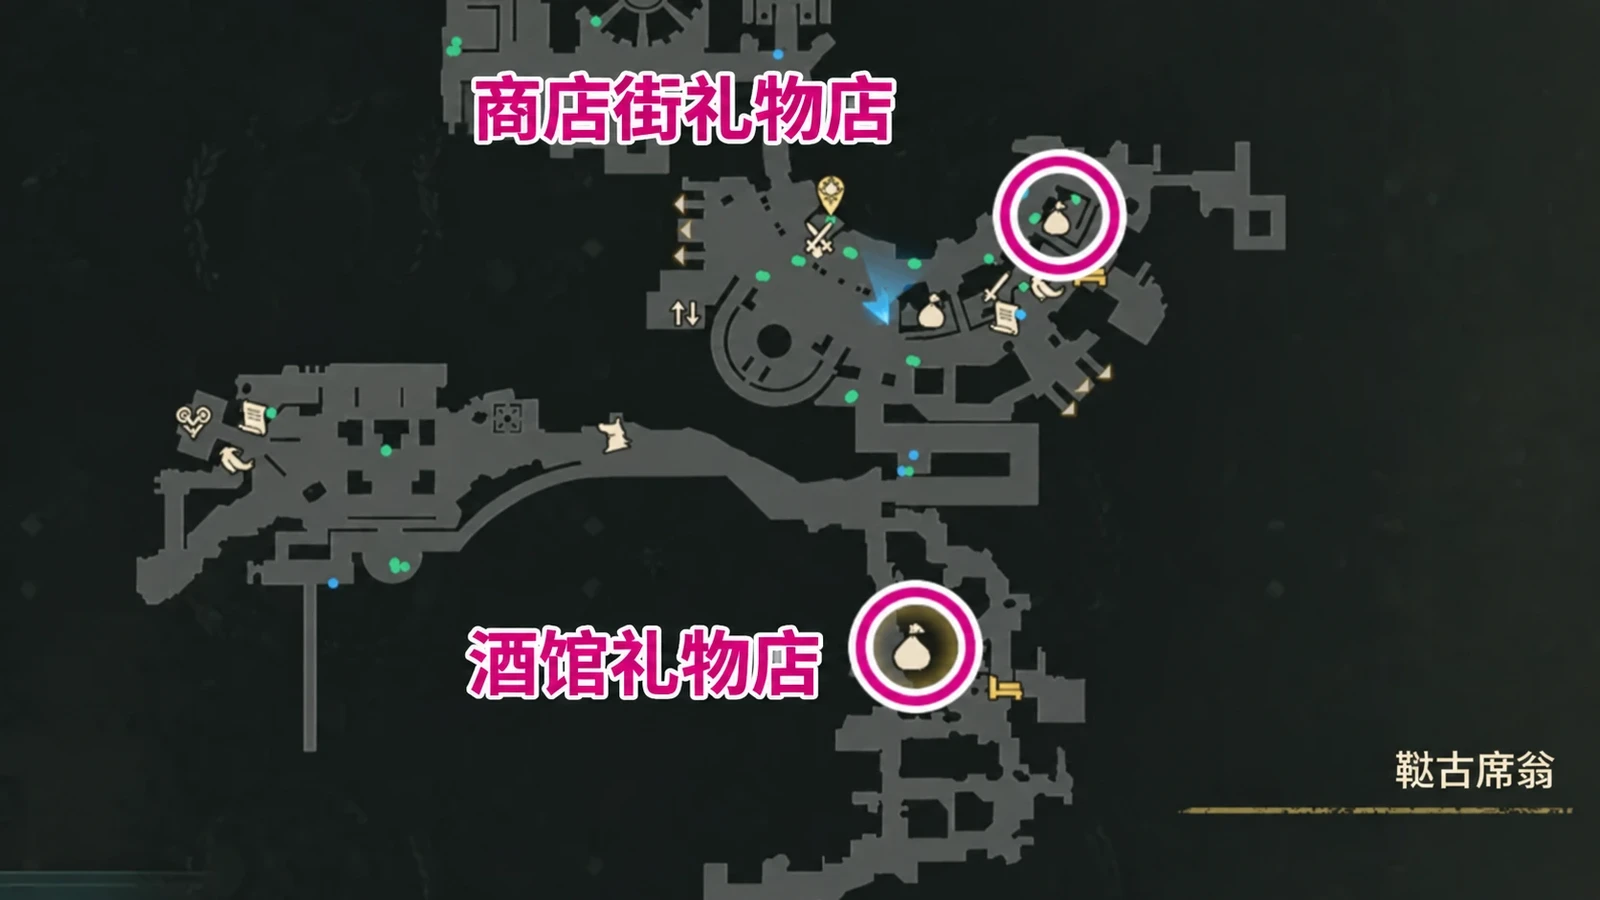
Bond activities before and after recruitment
Before recruitment, use a first gift, dining, and watching plays. After recruitment, add training, Divine Service, and combat. Recruited characters have more shared activities, so you need not divide limited invitation opportunities evenly among everyone.
See the earlier activity table for single-use gains and weekly limits.
When selecting a meal, you can check the characters’ reactions directly. For world-map Feasts, first spend a spell use, then choose ingredients that do not restore spell uses so another Feast remains available. The two activities differ in participants and costs. See Feast mechanics for ingredient recovery values and bond farming steps.
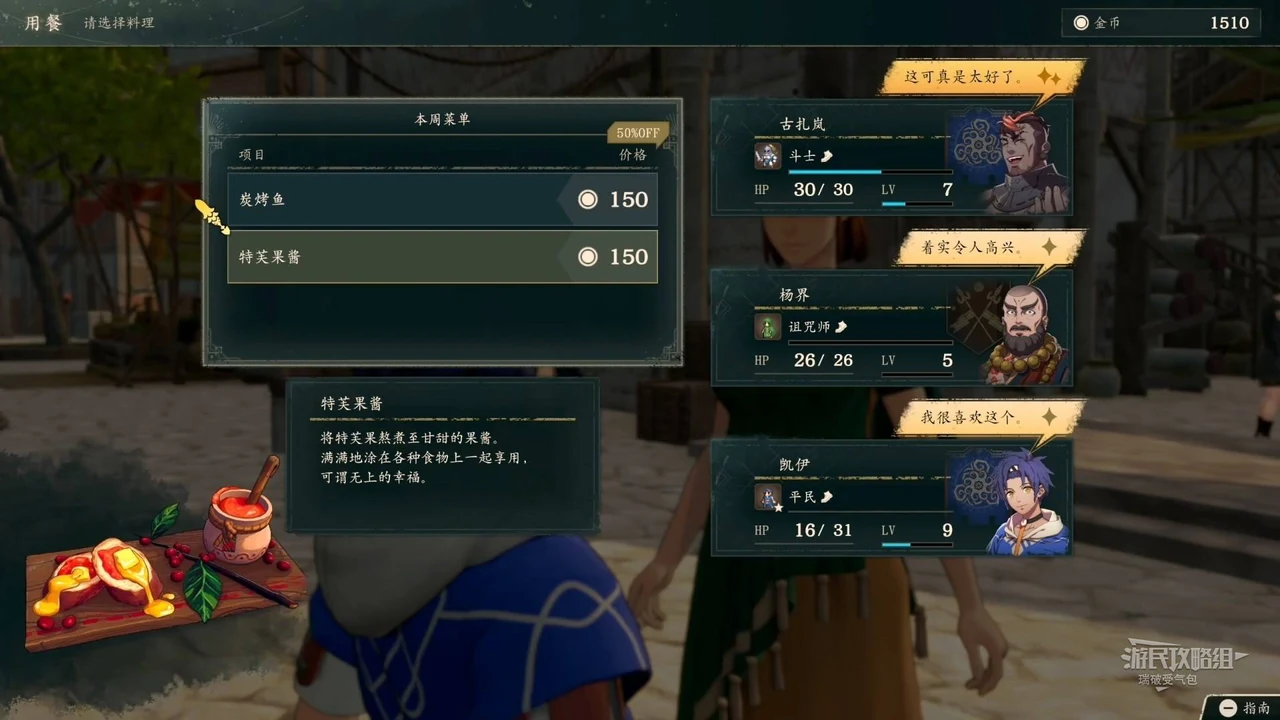
Weekly gift limits and recruitment relationships
- One gift per week, not per day. Changing the day does not refresh a gift already given that week. A free-time period may span several weeks; check the calendar.
- Raise the target’s relationship with this route’s protagonist. Dining with two other teammates does not meet their recruitment threshold with the protagonist.
- Save expensive gifts for when gain per use matters. The first gift unlocks invitations and does not need to be the most expensive.
- Check conversations promptly after reaching the level. Level thresholds, story conditions, and actual viewing records are separate. Check unlocked conversations before Part 1 ends.