

Beginner basics: plan your week, then read Attack Speed and combat forecastsMinor spoilers
Normal/Casual eases you in. Actions advance free time; return weekly for training, and check range, accuracy, and follow-ups before focusing on damage.
Original video: Fortune’s Weave beginner basics: exploration, stats, classes, and weapons | Japanese guide channel Wight’s Game Guides
For a first playthrough, choose Normal Casual and plan weekly town returns around Sunday training and Temple Service. Outside town, visit the main-story destination early. In battle, enable enemy range, then check Attack Speed, Hit, and follow-ups.
Start on Normal Casual with one save
For a first attempt, choose Normal/Casual. Hard increases enemy strength and numbers, while Classic permanently removes fallen allies, making later battles harder with fewer units. Normal/Casual reduces pressure while learning. The tower altar lowers Hard to Normal. To raise difficulty or reselect a mode, Descend Again on the title screen repeats character creation and the prologue. All four protagonists’ progress remains; continue after reaching the tower.
The four differ in daily activities as well as story.  Cai catches animals, farms, and uses area Blaze attacks.
 Dietrich finds hidden enemies and trains Combat Arts through battles.
 Theodora recruits Battalions and handles gambits and military supplies.
 Leda performs, mixes drinks, and strengthens allies with songs. If unsure, I would start with Cai for straightforward combat and development. You can later switch routes within one save, either focusing on one protagonist or rotating all four.
There is only one save, continually overwritten by manual and automatic saving. You can restart the chapter from the menu, but returning after substantial progress means repeating plenty. Check this chapter’s deadlines first.
Reserve turns to visit the main objective first
Each day has four turns. Lodging, automated activities, and world-map actions advance time. When traveling, move as far as this action allows before stopping to issue another command. Stopping halfway still spends the turn, so avoid repeated intermediate stops when covering distance.
Visit the main-story destination first. If already visited, it can advance automatically at the deadline. If never visited, you may have to replay the chapter.
Complete that prerequisite before exploring for greater peace of mind.
Arrange weekly city activities around Sunday
Shop, take exams, recruit, and handle city-only quest acceptance and deliveries before leaving. Weekly training costs Motivation and gold. Watching matches on competition days gives everyone skill EXP. Divine Service trains Blessings; a yellow temple icon means an audience is available for Renown too.
Watching theater restores Motivation and raises support. Performing earns money and Renown and raises support among actors. Both share one weekly opportunity. Choose two characters for the baths to gain a special effect lasting through the chapter, plus HP, spell-use, and Motivation recovery. Visit early in the chapter.
Sunday offers dining and arena-training discounts and bonuses at every temple; weekend baths have special bathing options too. Weekly opportunities reset Sunday, so plan returns around it. Finish city business, then explore, quest, and enter dungeons before returning next cycle. If you arrive early with spare turns, use actions such as Automated Exploration to fine-tune the schedule.
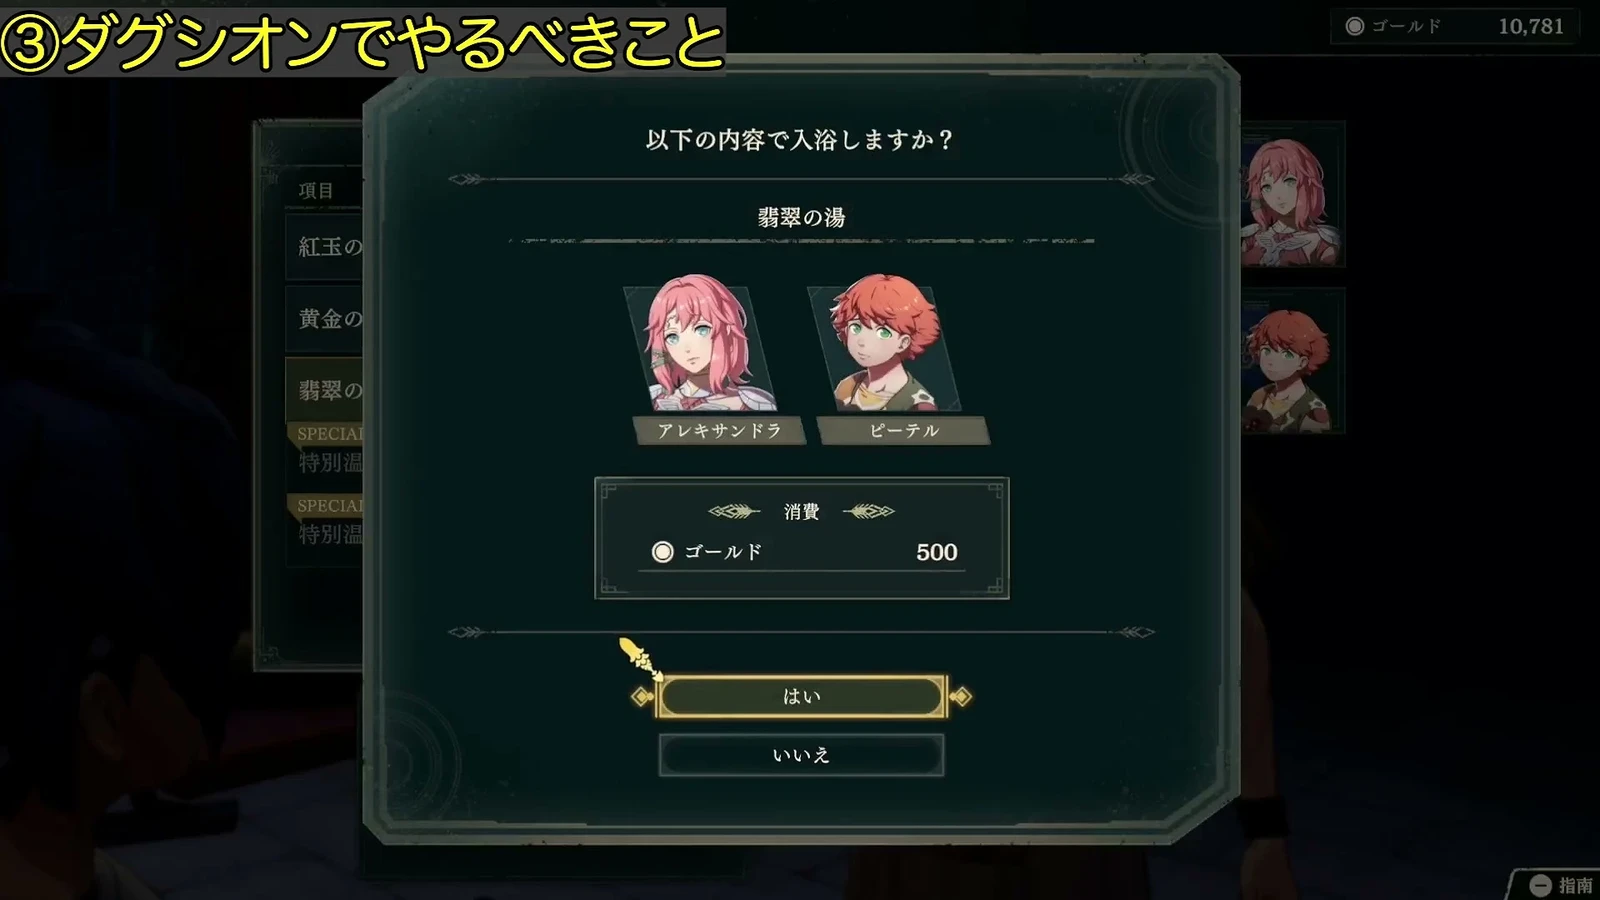
Renown requirements and Motivation recovery
Renown unlocks facilities, exams, and recruitment; check its benefits in the main menu. Specialty exams unlock at Renown 4 and advanced exams at 8. Do your route’s Renown activities: Cai helps people, Dietrich finds enemies and accepts challenges, the queen delivers military supplies, and Leda performs.
Motivation has three bars, consumed by training and Divine Service. If only one character needs it, give a liked gift. If everyone is low, lodge once to recover together. Early-chapter baths add buffs too. I prefer saving meals and theater visits for recruitment targets, restoring existing allies through gifts, baths, and lodging.
Dungeons can open new world-map paths
Check map icons first. Settlements offer shopping and information, green merchants show wares, red enemies must be defeated to pass, and checkpoints require Renown. Unlock carriage stations and temple travel. Unexplored dark tiles may reveal routes, while a dungeon’s far exit may connect outside paths.
Inside, break containers and mine ore for materials, then use the upper-right chest count to find all treasure. Material containers refresh, but treasure chests are one-time finds. After clearing enemies, a message says no presence remains; they return next chapter. Spend materials at recovery points when HP or spell uses run low.
Clashes use the team's combined HP, and Linked Attacks also train Support. Skip animations to save time. For proficiency and Support, however, do not erase weak enemies with one field strike. Initiate combat to gain linked-attack and weapon-proficiency benefits.
Check recruitment requirements before building support
Check requirements for the current protagonist. Insufficient Renown or support blocks recruitment. One gift unlocks meal and theater invitations, both good for focusing support on a target. Negotiation requirements may also demand materials, weapons, or quests. Recheck conditions after switching routes.
The same character can join and train independently on different routes. Recruiting them here does not remove them from another protagonist’s roster. Try another class approach on another route.
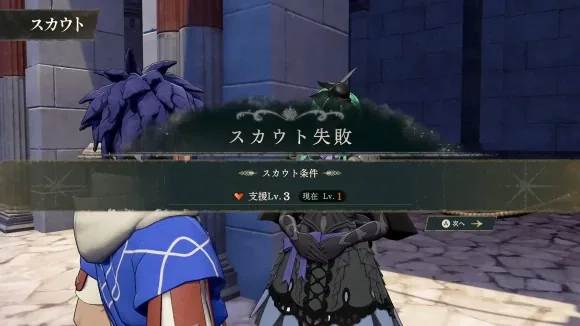
Attack Speed, follow-ups, and stat modifiers
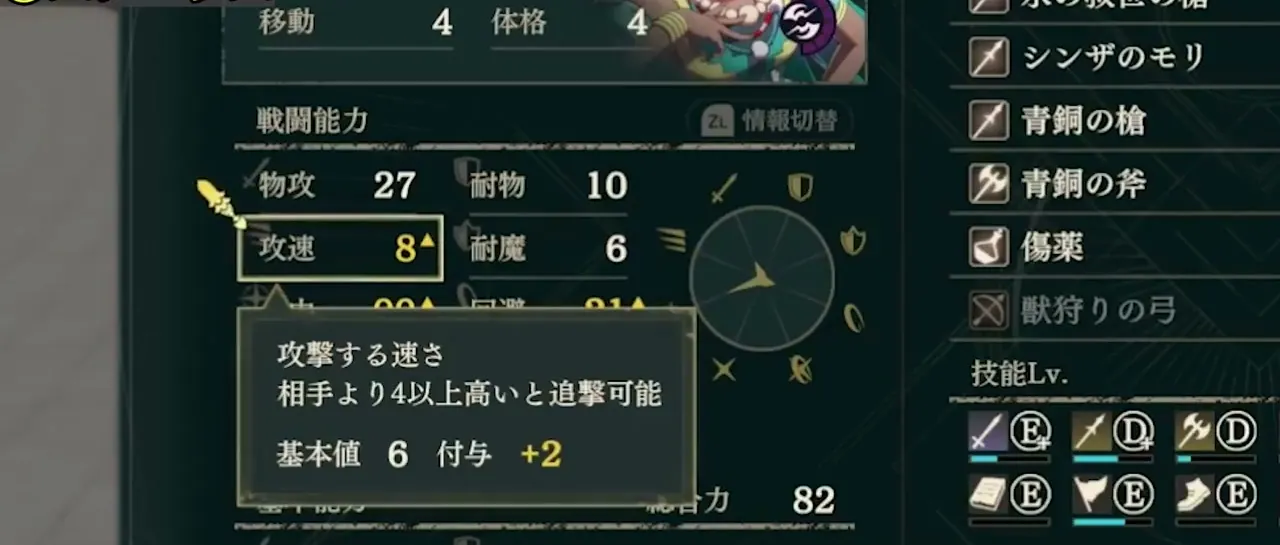
Strength and Magic determine their respective damage, Defense and Resistance their respective durability, and Dexterity affects Hit and Critical. For two attacks, focus on Attack Speed. Heavy equipment and insufficient Build reduce Speed.
Your follow-up: your Attack Speed − enemy Attack Speed ≥ 4
Enemy follow-up: enemy Attack Speed − your Attack Speed ≥ 4
Set unit assistance information to Attack Speed and Movement for easier checks in battle.
Level-up growths combine character and class. Immediate stat changes after changing classes are class modifiers. Equipment, adjacency, terrain, and Blessings add temporary values. Separate these to understand whether you are developing future stats or improving the current battle’s numbers.
Train proficiencies and equip abilities before exams
Personal abilities are fixed, while class skills change with the current class. Skills from proficiencies and class mastery must be equipped to work. Learned masteries remain after switching, but slots are limited. Match them to your current weapon, class, and role.
Proficiency ranks also determine weapons, arts, magic, and exam success. Choose the next class first, then meet its requirements through combat, weekly training, spectating, and guidebooks. Spare turns can go to automatic training for skill experience. Proficiencies matching both a character's strengths and class experience bonuses grow especially quickly.
Failed exams still consume licenses, so aim for a high pass chance early. Class tiers begin at level 10 for beginner, 20 for specialty, and 35 for advanced, with proficiency and Renown requirements too. Certified classes can be changed freely. Check weapon access and skills afterward.
Weapon traits and support development
Swords are light and accurate for fast follow-ups; lances handle mounted enemies, bows handle fliers, dark magic handles armor, and light gauntlets add Avoid when upgraded. Keep at least one white-magic healer. Carry more than one favored weapon type and switch by enemy. Normal attacks cost no durability; Combat Arts do. Performance falls when durability runs out, so repair in town. Spells track uses separately.
Support is more than story. Higher levels improve adjacency bonuses. Standing main units together, healing each other, training together, and using Linked Attacks develops relationships through normal combat. Prioritize favorite combinations instead of trying to maximize every pairing immediately.
Check enemy range and combat forecasts
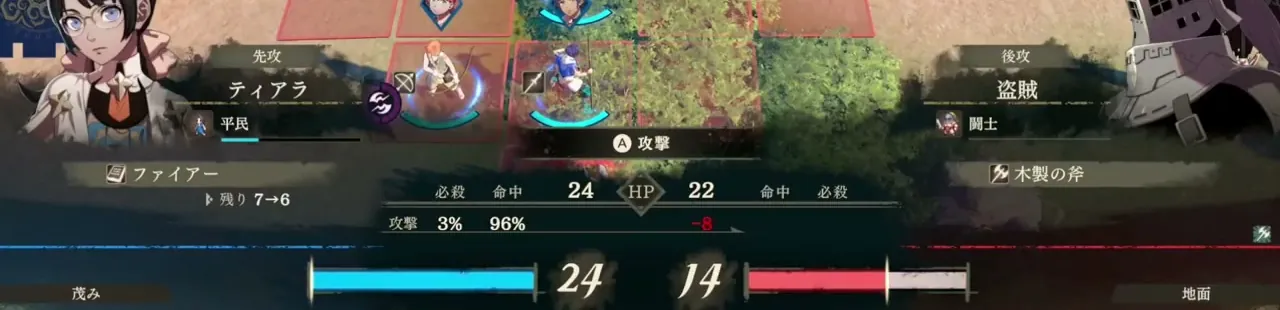
Before deploying, inspect enemy classes, the full map, and victory and defeat conditions. Adjust positions and carry varied weapons and healing items. In battle, use ZL for all enemy ranges and select an enemy with A to pin its range. Know who will attack you before advancing.
Forecast HP assumes normal hits without criticals. Imperfect accuracy can miss, and an enemy critical can kill someone who appears safe. Compare weapons and Combat Arts for reliable hits, kills, and fewer counters. Normally your first strike comes before the enemy counter, followed by your follow-up. To avoid that counter, kill on the first hit or attack outside enemy range.
Blaze Gauge management, Boons, and terrain
Blaze Arts spend HP and fill the Blaze Gauge. Above halfway, Overblaze strengthens stats and moves. Filling it triggers Burst, ends Overblaze, and reduces maximum HP during battle. Keep it between half and full. Cursed equipment also fills it through combat, so avoid repeated use that sends it out of control.
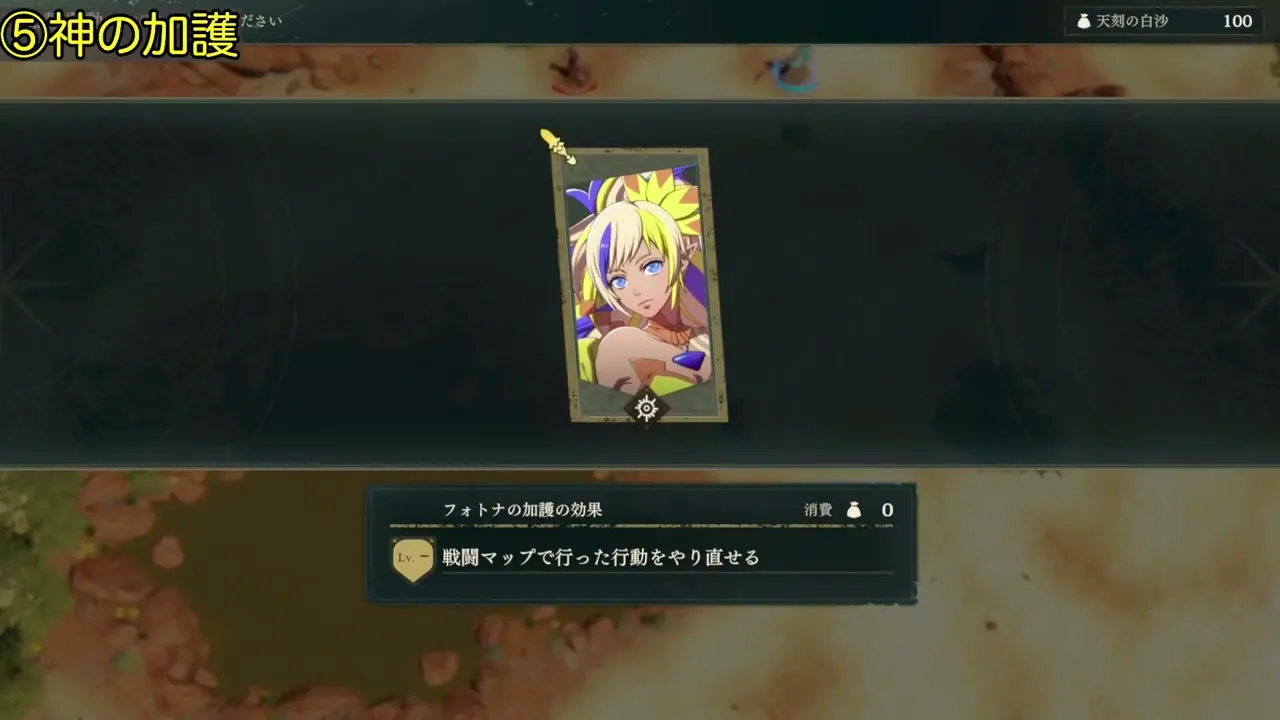
Configure Blessings in town. On Normal, Fortuna's Blessing’s Rewind costs no Divine Sand. Weekly Divine Service unlocks other Blessing effects, and main-story progress restores sand. Use it on crucial turns.
Finally, check terrain. Some grants Avoid or healing; some drains HP. Fliers cross many obstacles, while mounted units slow in forests. Enemies benefit too. If you cannot damage or hit one, check whether the ground beneath it is helping.