Seven-hour stream: Choose mounts for your final classes and check proficiency before buying weaponsMinor spoilers
Match mounts to final classes, calculate landing positions and incoming damage before Onslaught, and reserve gold for travel and exam certificates.
Original video: [Stream replay] “Fortune's Weave, countless journeys, armies, words, hardships, and ages,” October 11, 2026, 14:00 session; Bilibili creator CSZDCR. Watch the original
Choose mounts to suit your final classes
I originally wanted to prepare more horses before the routes merge, but the more I checked, the less necessary it seemed to catch everything. Earlier mounts give you more time to benefit from their growth. Later, once a unit's class and role are settled, whether they can still ride that mount and need its modifiers matters more.
Red-feathered Ornius favors Strength, but the planned later class may not be able to ride it. Black-feathered Ornius helps mages during development, but mages from other routes may already have switched to horse-riding classes by the merge. Stockpiling them wastes time. Prepare one or two for the Pegasus roles you expect to keep, and catch the rest once your map and class plans are clearer.
When checking wyverns, I initially thought none of the Bau variants had  Canto, then found it on Black Bau farther down the list. If mobility is the goal, plan around catching Black Bau later rather than locking in a route based on that first impression. My team can solve most fights by advancing slowly. One or two fliers to take shortcuts are enough; I do not plan to make everyone fly.
Train weapon proficiency early during class transitions
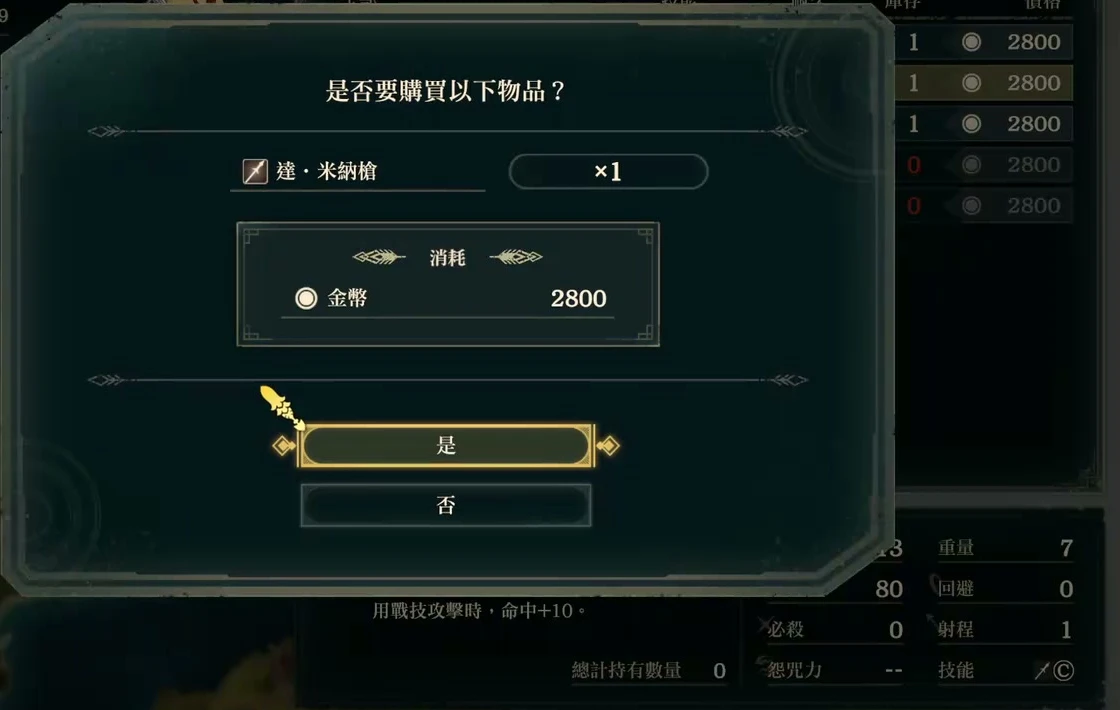
If you plan to use swords later, train proficiency early.  Levin Sword requires C, so a unit at D+ cannot equip it even after buying it. Another unit is only at E and needs to begin even sooner.
D+ still cannot equip a C-rank weapon. Plan unit development alongside weapons you can actually use soon.
Some current classes are awkward because I deliberately chose them for growth and mastery. I am even relying on items without a regular healer during this stretch, then switching to more suitable classes when I stop chasing growth. Growth is random, though. Spending ages chasing a few percentage points may be undone by one poor level-up. Detailed planning does not always produce visible returns.
I am still comparing whether to keep using chariots, change horses for Speed, or develop Speed on another route and merge the results. The current transitional setup and the final class are separate decisions that still need thought.
Rotate a large roster through battles to share EXP
The four routes eventually merge, and each lets you recruit characters, so it is easy to recruit more units than you can develop. Recruiting twelve people early means rotating both deployments and EXP so they do not sit idle. Building support also means checking who has conversations and which dishes they like. Otherwise, you select someone, discover they dislike the meal, and have to go back and choose again.
I would prefer each route to have a fixed group joining over successive chapters, naturally creating distinct teams. This free recruitment system is flexible, but recruiting everyone and arranging all their relationships does extend the playtime.
Return to report completed quests promptly
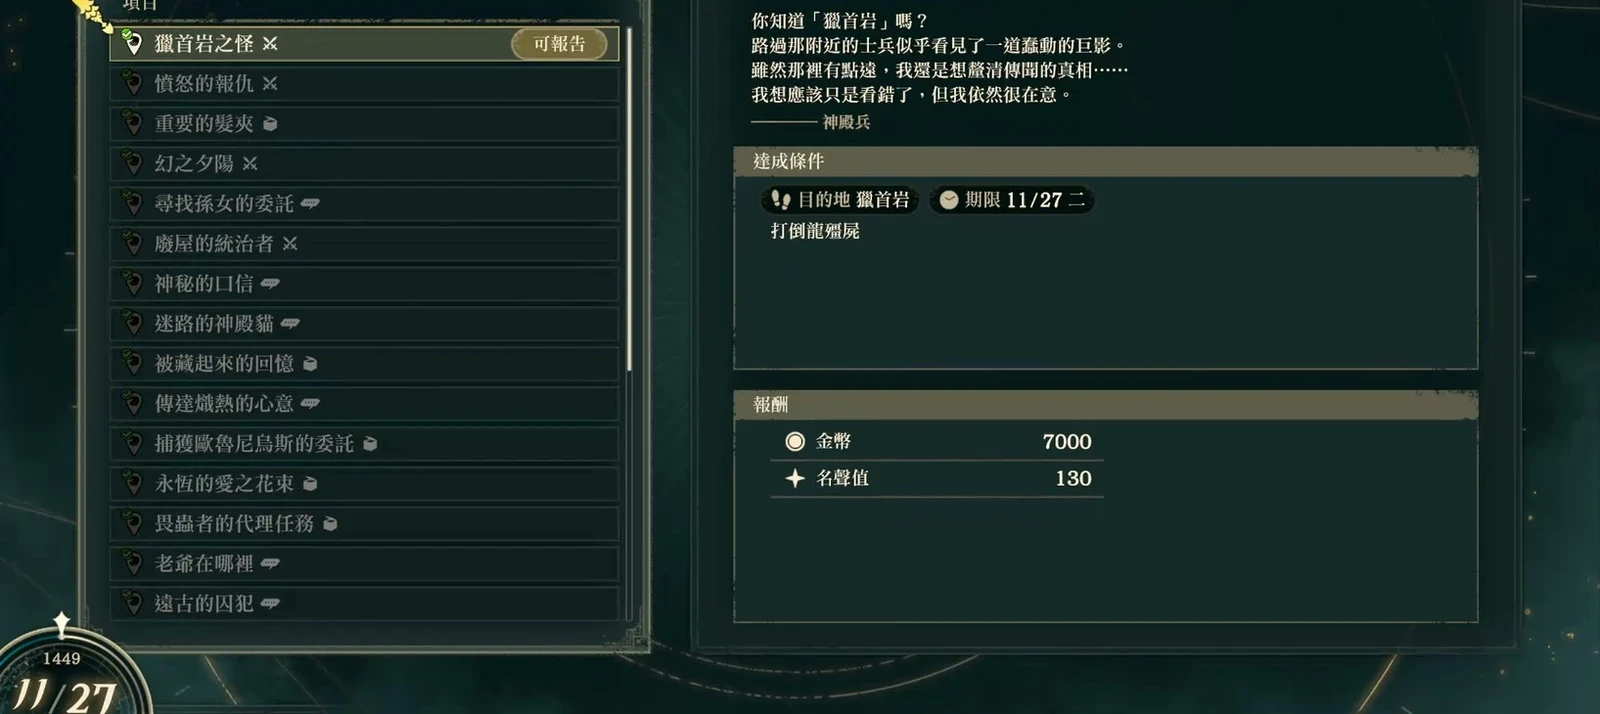
Near the end, I discovered several finished quests that I had never returned to report. Missing 7,000 gold, 5,000 gold, and gifts hurts, but I decided against replaying an entire chapter for the rewards. I had already experienced how tiring that was.
Looking back, reloading immediately after leaving town might have left enough days to return and turn them in. After advancing farther, it was too late. Report quests as soon as you finish them so you do not end up having done the work without claiming the rewards.
Calculate post-Onslaught damage before charging a chariot
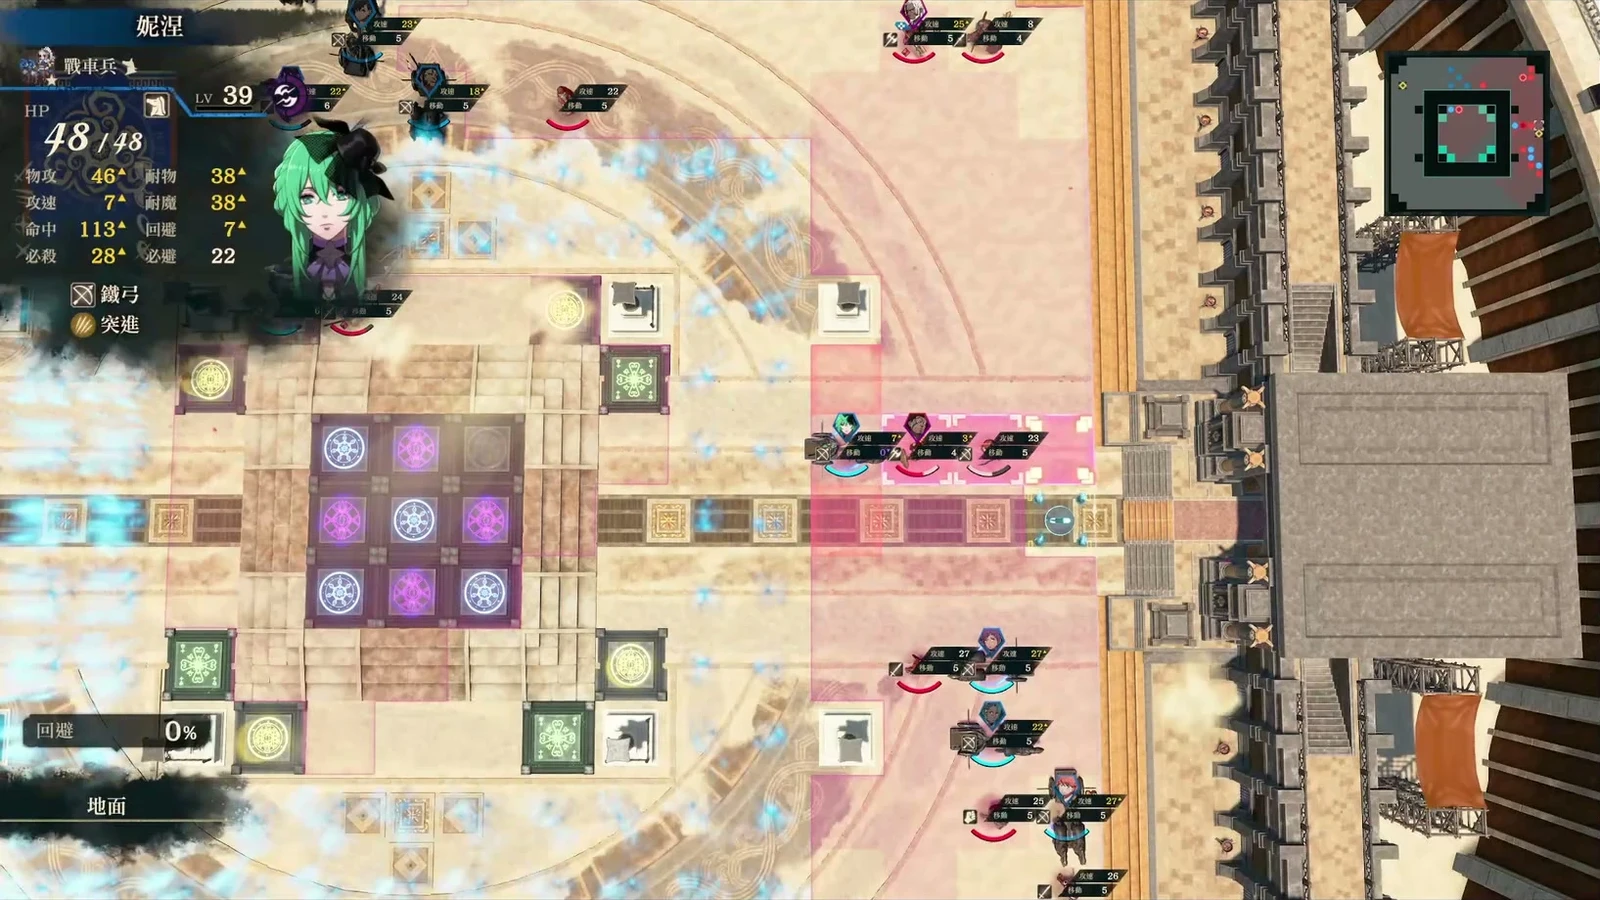
Against an enemy lance, compare taking effective damage while mounted with losing Defense when dismounted. Do not dismount just because you see the effectiveness icon. Check terrain, mechanisms, and victory conditions, too. This battle's Healing Circle disappears after activating once, but remains if a full-HP unit stands on it without triggering healing.
Calculate the landing position before using Onslaught. If charging leaves you unable to retreat, work out who enemies can attack next turn and their maximum damage. Once survival is assured, chain multiple chariots. Against  Bertrand, focus attacks while you still have enough Onslaught uses and minimize his chances to counterattack.
Reserve travel money before buying licenses and weapons
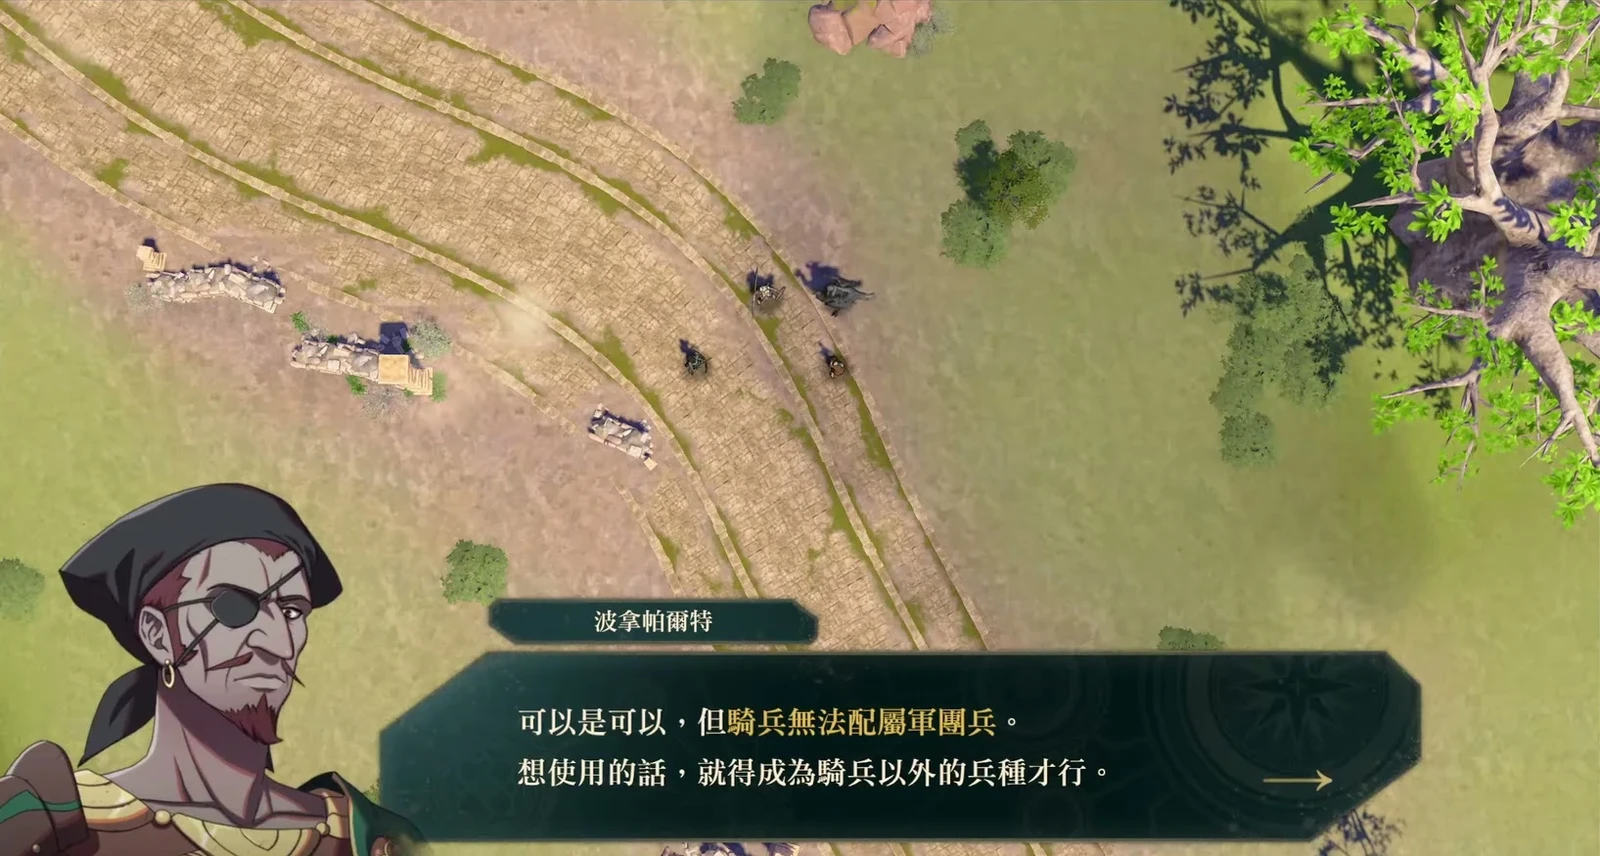
After switching to the queen's route, I first thought about advanced exam licenses so reaching the level would not leave me waiting to reclass. I also wanted Battalions alongside chariots, but dropped that combination after reading that mounted units cannot take them. Infantry can use Battalions and cavalry can develop mounts; each side has its own tools.
Shopping made the gold problem clearer. One more weapon would leave only 400 gold, enough for a single ride, so I needed a reserve for both outward and return journeys. I also discovered that  Da Mina Spear required C and was unusable at my current rank. I had bought it too early. Buying for units who can equip the weapon soon is better than tying up money in storage.