

Kalla’s Blessing and three fliers: a Normal-mode team for fast Part 1 replaysMinor spoilers
Kalla adds Avoid, Speed, and Movement. Three Dragoons split up to clear enemies through counters, supported by a Levin Sword mage and ranged healing.
Original video: “Clear Part 1 quickly with Kalla’s Blessing: a Normal-mode replay team,” Japanese gaming channel Tsuron: Conclusions-First Game Information, watch the original.
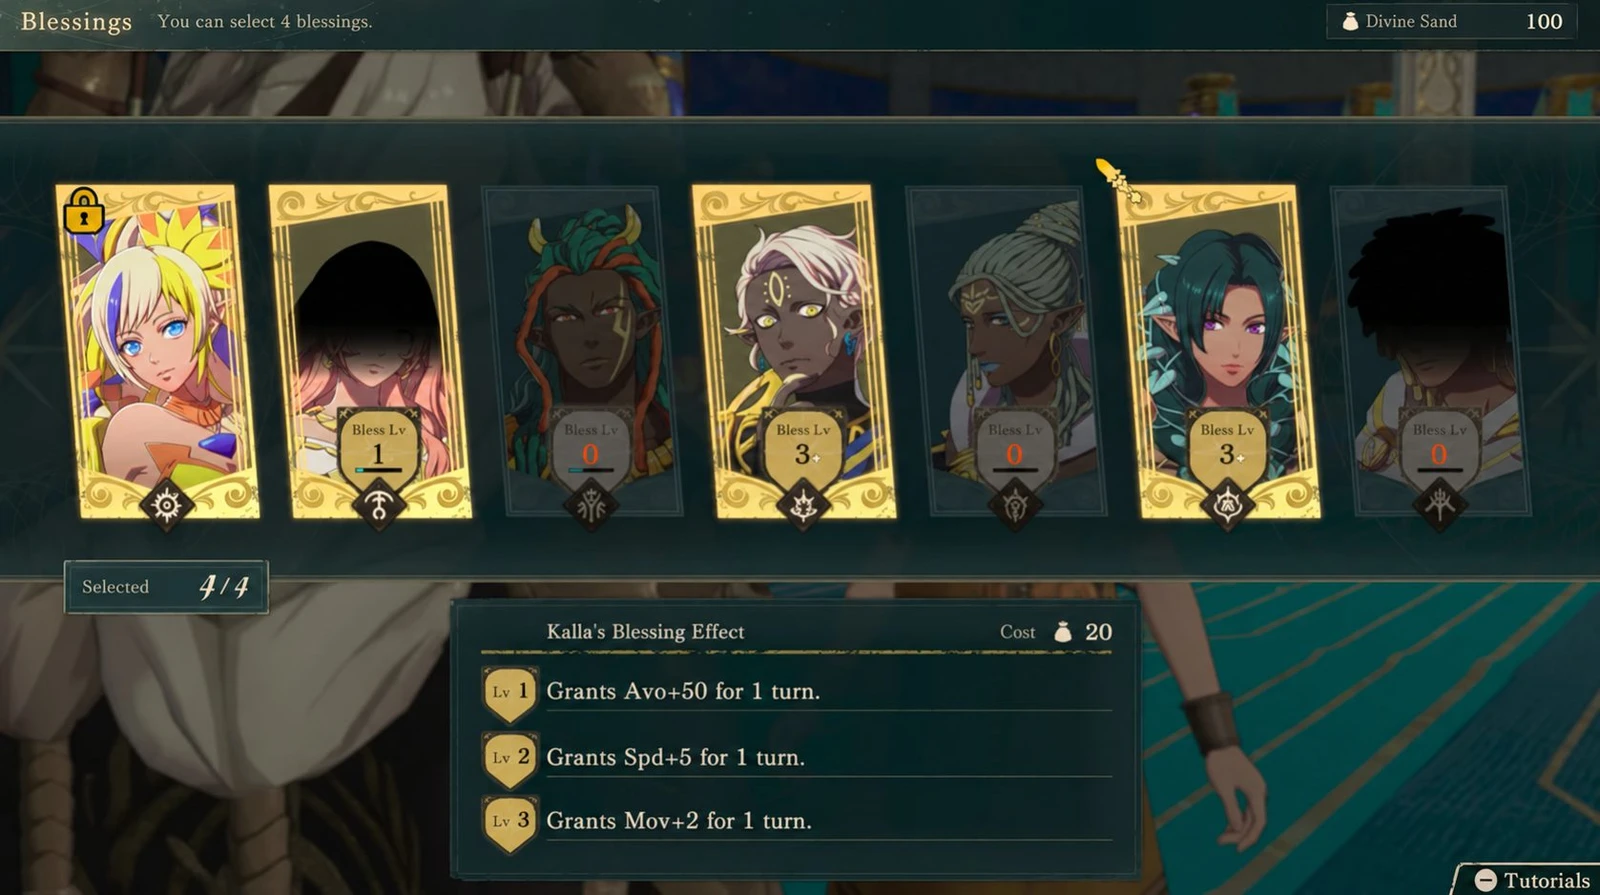
Max out and enable Kalla’s Blessing for replays
Replaying Part 1 across four routes can make battles routine. This Normal-mode team advances with Kalla's Blessing and clears enemies through enemy-phase counters:
| Bonus | Value |
|---|---|
| Avoid | +50 |
| Speed | +5 |
| Movement | +2 |
Even maps with many enemies, such as  Orchel’s paralogue, finish quickly.
Perform Divine Service weekly at Kalla’s temple to maximize the Blessing, then enable it in the list.
Switching protagonists resets the selection, so enable it again. Reducing its cost extends the available uses from 5 to 6.
Accuracy and bow protection for the first flier
Make the first unit a  Dragoon with the accurate
 Velheit.
 Mikaela and
 Guzran both fit: Mikaela improves Attack and Hit near enemies for greater reliability, while Guzran is usually recruitable earlier with balanced Strength, Speed, and Dexterity.
This axe is in a chest at the Spellseal Altar in Part 1 and requires Axe A. In the Normal-mode demonstration, a party around level 15 challenges enemies around level 25, gaining levels and upgrade materials along the way. Upgrading to +3 takes 6  Windstone and 4
 Umbral Steel in total; upgrade to +1 first if materials are short.
A bow hit can kill a flier outright. First master the specialty class  Armored Ornius Rider for
 Sense Threat, granting Avoid +20 against effective or super-effective attacks, then become a Dragoon. This adds another layer of bow protection.
Candidates for the second and third fliers
 Esmeralda is useful as a Dragoon, not only as armor. Her skill improves thrown attacks’ damage and accuracy, while her personal skill reduces equipment weight. She counters comfortably at one to two tiles with
 Pilum. Her exclusive weapon on
 Dietrich’s route adds reliability. Pick up Sense Threat too if you can.
Use another Dragoon as the third unit, carrying  Da Mina Spear or Pilum. Three fliers can take separate paths and cover the whole map instead of crowding one route.
Choose for combined Strength, Speed, and Dexterity.  Lysander gets
 Accelerate+ at level 35 and gains more Speed after kills.
 Catania has low Strength but good Speed and Dexterity, with a level-35 skill adding damage and Avoid.
 Jasmine suits entering enemy formations and waiting for counters; her enemy-initiated combat skill fits this plan.
Trade for the mage’s Levin Sword first
 Levin Sword is a magic weapon with one-to-two-tile range, offering convenient damage and reach. Train a magic user’s sword proficiency to C, usually over several sessions, then keep upgrading the sword.
Trading at Wandal Trading Company after Chapter 8 is easiest. You can try  Luxury Weapon Crate, but this run needed around 50 attempts for one sword, taking considerable time. Crate contents are fixed when obtained. Save before buying if you want retries; reopening an already acquired crate does nothing.
Check recruits’ equipment too. Their starting weapons change with recruitment timing, and later chapters may offer Levin Sword or Damina weapons. For extra copies, inspect their inventory at the inn before deciding when to recruit.
Prefer  Caladrius, unlocked first on
 Cai’s route. Otherwise use
 Ovate. Recommended candidates are
 Sirocco,
 Dante, and
 Fabio, mainly for Magic, Speed, and Dexterity. Sirocco also heals after combat, easing repeated counters.
Keep ranged healing with the blessing-led advance
Keep two ranged healers to cover scattered fliers. Prioritize  Sofia: her healing bonus and extended healing range can support fliers even after they move far ahead.
Use Kalla’s Blessing immediately. Movement +2 sends fliers into enemy formations, Avoid +50 reduces hits, and Speed +5 helps follow-ups. One-to-two-range weapons handle both melee and ranged enemies. Most demonstrated maps finish within six turns. On boss-kill maps, head straight for the target; sometimes you can reach them on turn two. The finals demonstration took four turns.
Spend the Blessing’s active window advancing: split the three fliers, add damage with the mage, keep healers positioned to cover them, and finish the map objective quickly.