Critical-hit lifesteal buildMinor spoilers
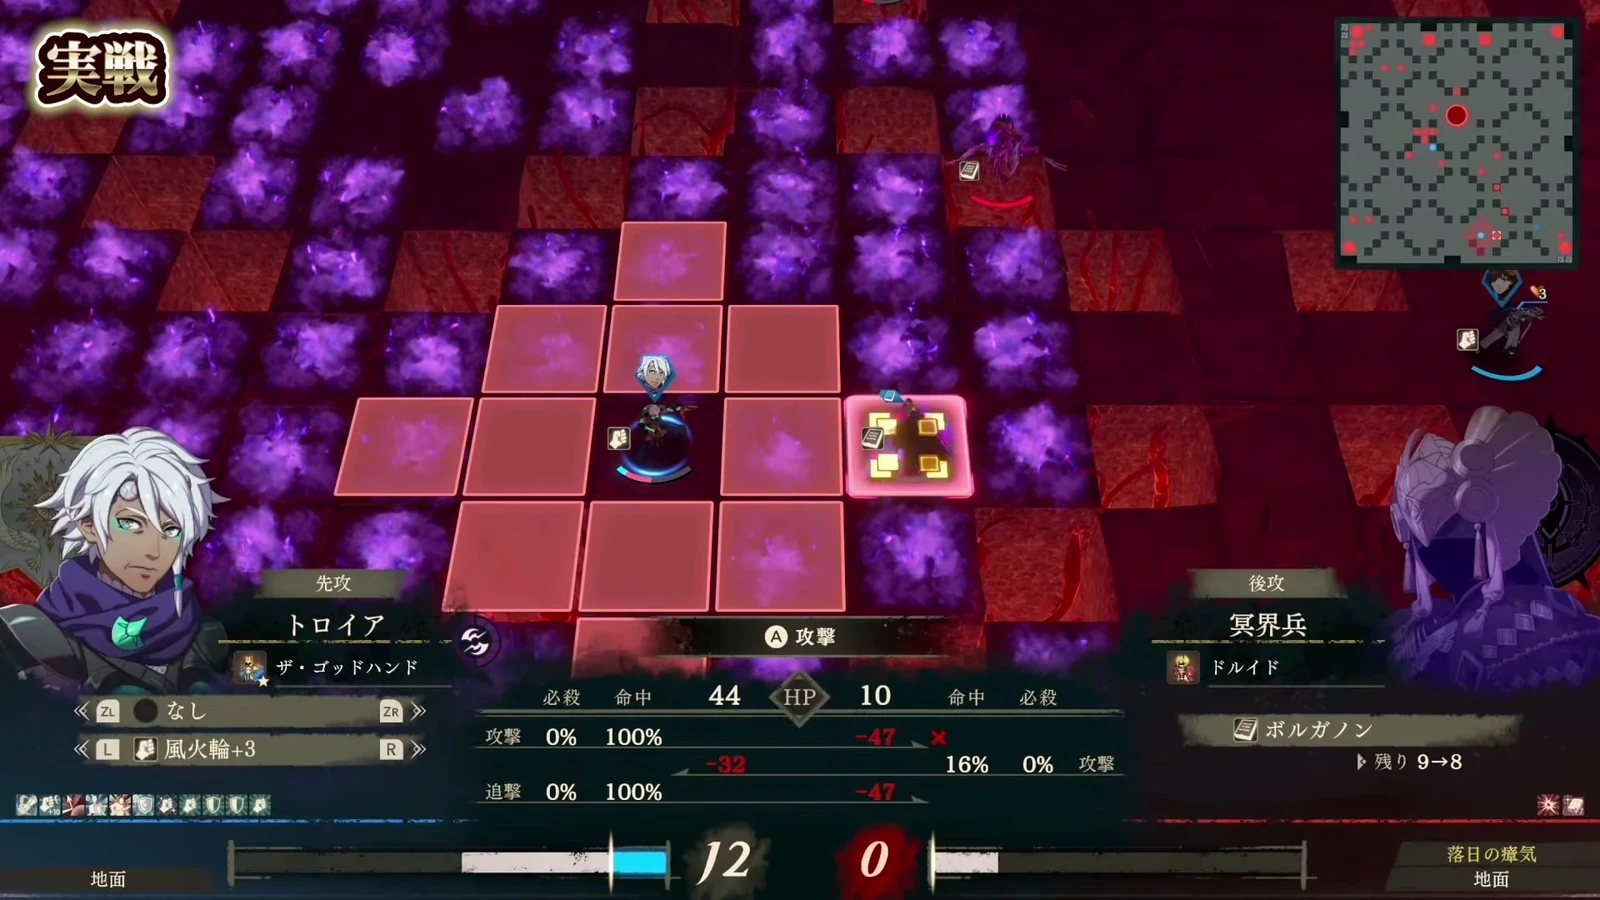
Master Myrmidon and Shido with Dietrich, improving Strength first if needed. Even with Sacred Gem, check Hit, counterattack range, and survival; solo setups lose the critical bonuses from nearby allies.

First train a sword user who can hit and kill, then use critical-hit healing to sustain consecutive fights. If you cannot counterattack or die in one hit, the healing never comes.
First train a sword user who can hit and kill, then add Ever Vigilant and Sacred Gem for healing. Dietrich suits a sword-focused progression, and Sirocco can also follow a critical-hit healing route. Follow-ups and critical hits increase damage, while healing keeps you going through consecutive fights.
Ever Vigilant requires a critical-hit kill, while Sacred Gem restores one-third of the damage dealt by a critical hit. Their conditions differ. Neither heals you without a critical hit. Until you obtain the gem, keep a healer with the unit as you would for a regular sword user.

Part 1: sword-class mastery and Strength training
| Stage | Class, requirements, and goal | Equipment and reasoning |
|---|---|---|
| Beginner, recommended from level 5 | Gladiator: D in any of Sword, Axe, or Gauntlet, Renown 1, and a Beginner License; train Sword | The starting point for this route; use a light sword and healing items, and start with safe kills |
| Specialty, recommended level 20 | Myrmidon: Sword C, Renown 4, and a Specialty License; master Ravaging Arts | Adds +6 critical-hit bonus damage. Earn class EXP while in this class, then equip the mastery ability in the ability menu once you have learned it; see Borrowing skills |
| Optional branch if Strength is low | Brigand: Sword or Axe C, Renown 4; if Strength is still low after the recommended level of 35, consider Warrior, which requires B in any of Sword, Axe, or Gauntlet and Renown 8 | Improve Strength first; you can return after mastering Myrmidon/Shido, without mastering every class |
| Advanced, recommended level 35 | Shido: Sword B, Renown 8, and an Advanced License; master Ever Vigilant | Healing requires a critical-hit kill. After mastering Myrmidon, stay in your current class if you do not yet meet the requirements. You can also master Rogue for In Shadow, but this detour is optional |
If you have resources to spare, master Myrmidon at level 20, then switch to Brigand to improve Strength. Stay on the sword path to save training. Check your actual damage: if you cannot secure kills, improve Strength first.
Part 2: use Ever Vigilant while working toward Sacred Gem
Keep using Shido or your Strength-building class, your current main sword, and a healer. Start by testing against two or three enemies. On September 12 in Chapter 10 of Theodora's route, you can exchange  Red Kimbai ×1,
 Redflicker ×3, and
 Roca ×10 for
 Sacred Gem at the Wandal Trading Company at Lake Zoto. In Part 3, you can also obtain it from a dungeon chest in Giant's Footprint Fortress. Plan how to obtain the gem around your route and progress before putting together the finished loadout.
Decide whether you are fighting solo or grouped up, then check the current critical-hit forecast.
Three adjacent Myrmidon-line allies at Bond Level 5 provide +30 Critical, with another +5 from Esmeralda's linked bonus.
Leaving those adjacent tiles removes the corresponding bonuses. Move your allies away and check the forecast again; you cannot carry over the grouped critical-hit value.
Murderous Intent only works when you initiate combat, and the Killing Edge combat art only boosts the first hit. Do not count either when taking attacks on enemy phase. Bestial Impulse adds 2 to Critical after each combat and resets when you land a critical hit.
Part 3: final sword classes and counterattack range
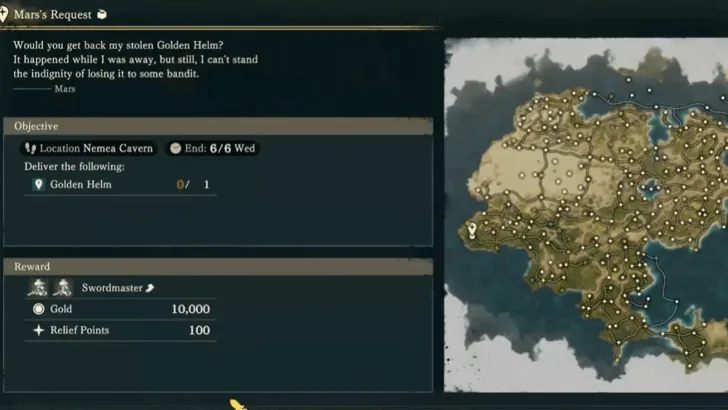
At the recommended level of 45, with Sword A and a Master License, you can become a Swordmaster after restoring Mars's temple and completing the side quest. Stay in Shido until you unlock it. With Sword S, the Demonic Swordguard from Heaven's Crown Temple, and a 100% success rate, you can become The Blade. Its mastery ability, Divine Insight, adds 10 Speed. You can borrow Divine Might from The Eternal to improve Strength, but the extra qualification and mastery costs are high, so it is not essential to the build.
| Loadout option | Purpose and limits |
|---|---|
| Cleansing Blade | Counters the Underworld Boon; do not drop it just for higher raw damage |
| Levin Sword, range 1–2 | Uses Magic to counter enemies 2 spaces away; low Magic or high enemy Resistance means less healing |
| Pilum and other range 1–2 weapons | Only equip these if your current class allows them and you meet the weapon proficiency requirement; classes without lance access cannot use them |
| Whirlwind Blade and other light swords | Choose based on Avoid, Weight, and damage; these are still mainly for close combat and cannot replace a weapon that counters at 2 spaces |
| Sacred Gem and healing items | The gem relies on critical-hit damage; items and healers cover the gap when it does not activate |
Keep up with healing, and have your Dancer grant an extra action to whoever needs it most. Use Mars if physical Hit is too low, or Aurora level 3 to counter Underworld effects. Choose one based on the levels you have unlocked; neither gives you a permanent increase to Critical.
Do not copy the Gladiator route for Sirocco
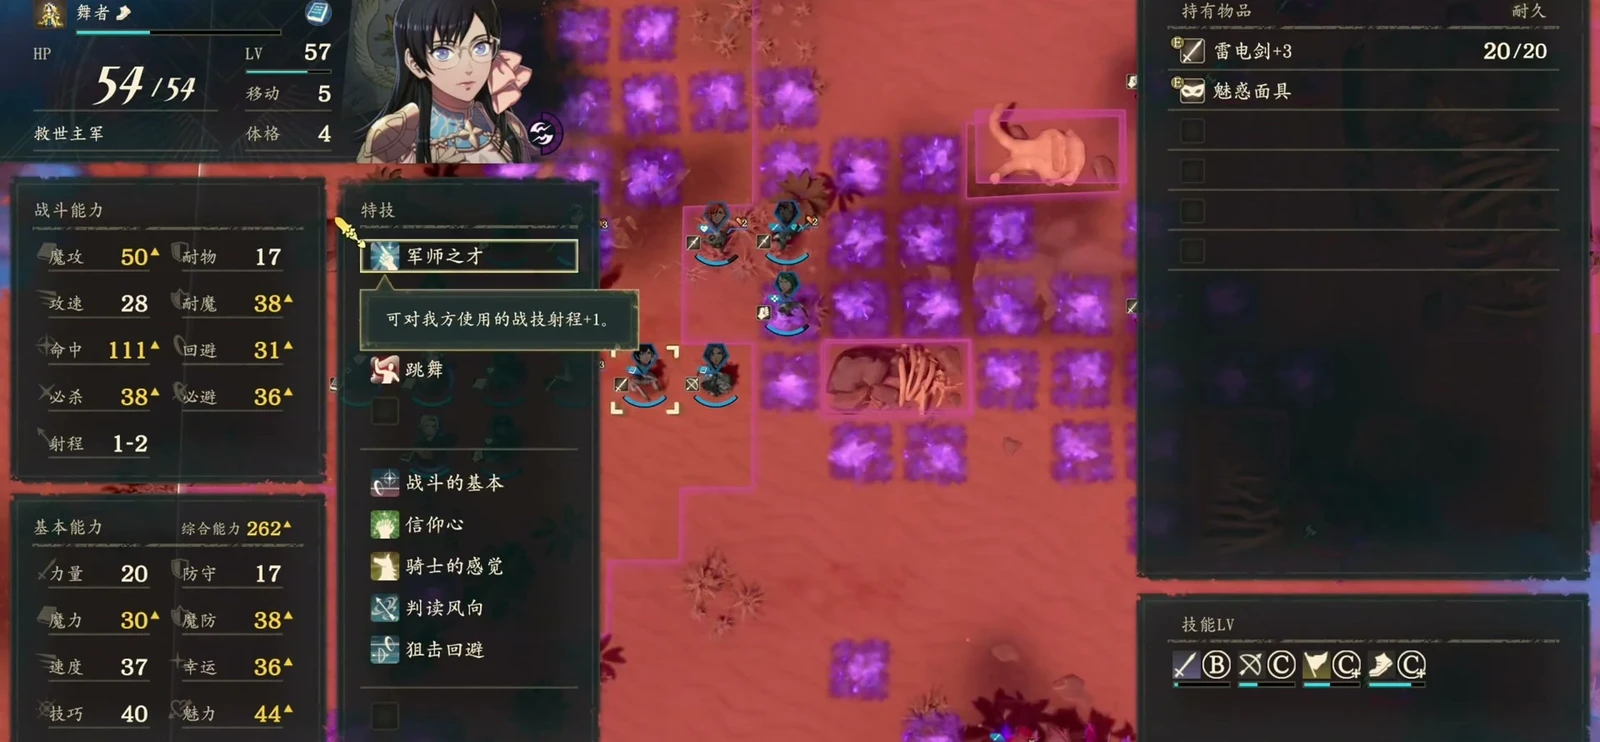
Sirocco can start with Diviner → Shaman → Ovate and focus on spells. Training both physical and magical offense early stretches your training resources. If your single-route team lacks a mage, stay on the magic path.
If you are willing to invest across two routes, train Black Magic to S on one Leda route, and take Hunter → Myrmidon → Shido on another for Speed and mastery abilities. Use magic swords after merging. Finish each route's training first, update the records in Part 2, then merge in Part 3. Sirocco's 5 HP recovery after each combat is separate from critical-hit healing and does not require a successful dodge first.
No critical hit or counterattack means no healing