
Blaze Art artillery: the queen’s stone throwsMinor spoilers
The queen throws stones while a healer restores the HP cost. Range solves targets in Parts 1 and 2. Separate Overblaze bonuses from Burst penalties; in Part 3, shift toward finishing enemies, Guardian support, or flying mobility.

Have the queen throw stones at range while Sofia restores HP, safely weakening enemies through reach. If damage falls short on Hard in Part 3, switch to finishing or support.
The queen is durable early, stone throwing costs little HP, and Sofia can restore it. Part 2’s large maps make unlocked flying classes useful for more destination choices. On Hard in Part 3, stone throws often cannot finish enemies, so use her for finishes, tanking, or healing instead.
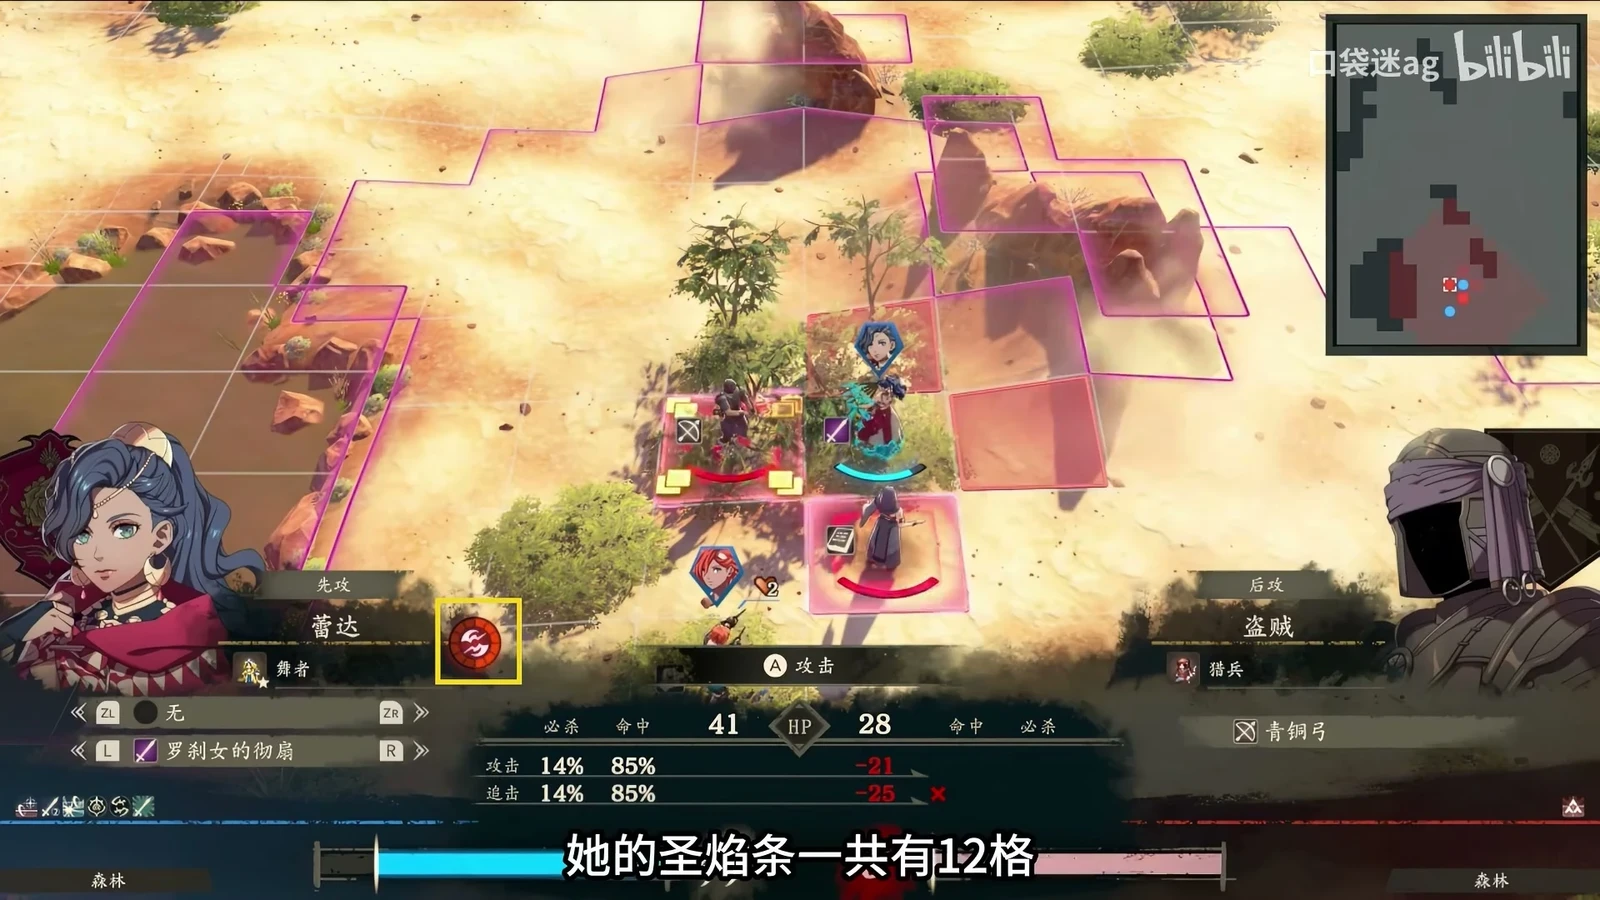
Prepare Earthen Throw and healing in Part 1
Earthen Throw is learned through Chapter 1’s story, costs 6 HP, and initially has 1–5 range. The long-distance throwing art learned at level 20 has 1–7 range.
Before Sofia learns Physic, use Heal beside the queen from a safe position. Spread out after learning Physic at White Magic B. Distant Healing adds healing Range +1 at level 20 and improves to +2 at level 35. Train the corresponding level and White Magic first, and plan Heal and Physic positions separately.
| Stage | Main route and target | Current equipment and reasoning |
|---|---|---|
| Beginner, recommended from level 5 | Queen as Soldier: Spear D, Renown 1, Beginner permit; keep  Sofia in a White Magic-capable class and train White Magic first | Keep using spears, with healing to supply HP; carry items as backup if healing cannot reach |
| Specialty, recommended level 20 | Queen as Armored Knight: Heavy Armor E+, Spear or Axe C, Renown 4, Specialty permit | Improves survival margin; Earthen Throw does not require heavy armor. Carry spears and range 1–2 throwing weapons as class access allows |
| Recommended level 35 | Sofia as Bishop: White Magic B, Renown 8, Advanced permit; assign the queen’s role using the next section | Bishop preserves White Magic uses; Healing Staff improves recovery. Plan Blaze Art uses around actual remaining spell uses |
Another accuracy fix: Briefly become Archer (recommended level 20, Bow C, Renown 4) for Crescendo. The older card’s alternate Chinese label refers to the same skill. It adds Hit +3 only after each kill, up to 30, rather than granting the full amount without kills. You do not need every class detour.
Add mobility in Part 2 and act according to the gauge
The queen can remain armored or become Dragoon: recommended level 35, Flying C, Spear or Axe B, Renown 8, and an Advanced License, with the relevant class unlocked on Cai’s route. Stay in the existing class until unlocked.
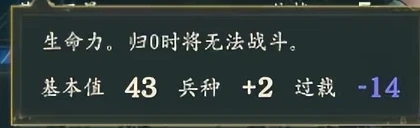
Gauge buildup → Overblaze buffs → Burst penalties are three stages. Overblaze strengthens her; Burst removes the buffs and lowers maximum HP. Ordinary allies’ gauge rules do not directly apply to the queen.
After stopping, finish the turn with normal attacks, healing, or positioning.
Give the queen and Eshmel different Part 3 roles
- Continue existing Dragoon qualifications first. Prepare higher flying classes requirement by requirement, carrying spears or swords allowed by the current class and ranged weapons.
- High mobility offers destination choices. Use a normal attack if it kills rather than paying HP for a stone throw.
- Watch bows and effective attacks.
- Recommended level 35, Spear B, Renown 8, and the class unlock. White Magic B provides Physic.
- Train White Magic first. Pure armor without movement skills easily falls behind.
- Stay in the existing class until qualification unlocks. Even learned White Magic needs a class that permits casting.
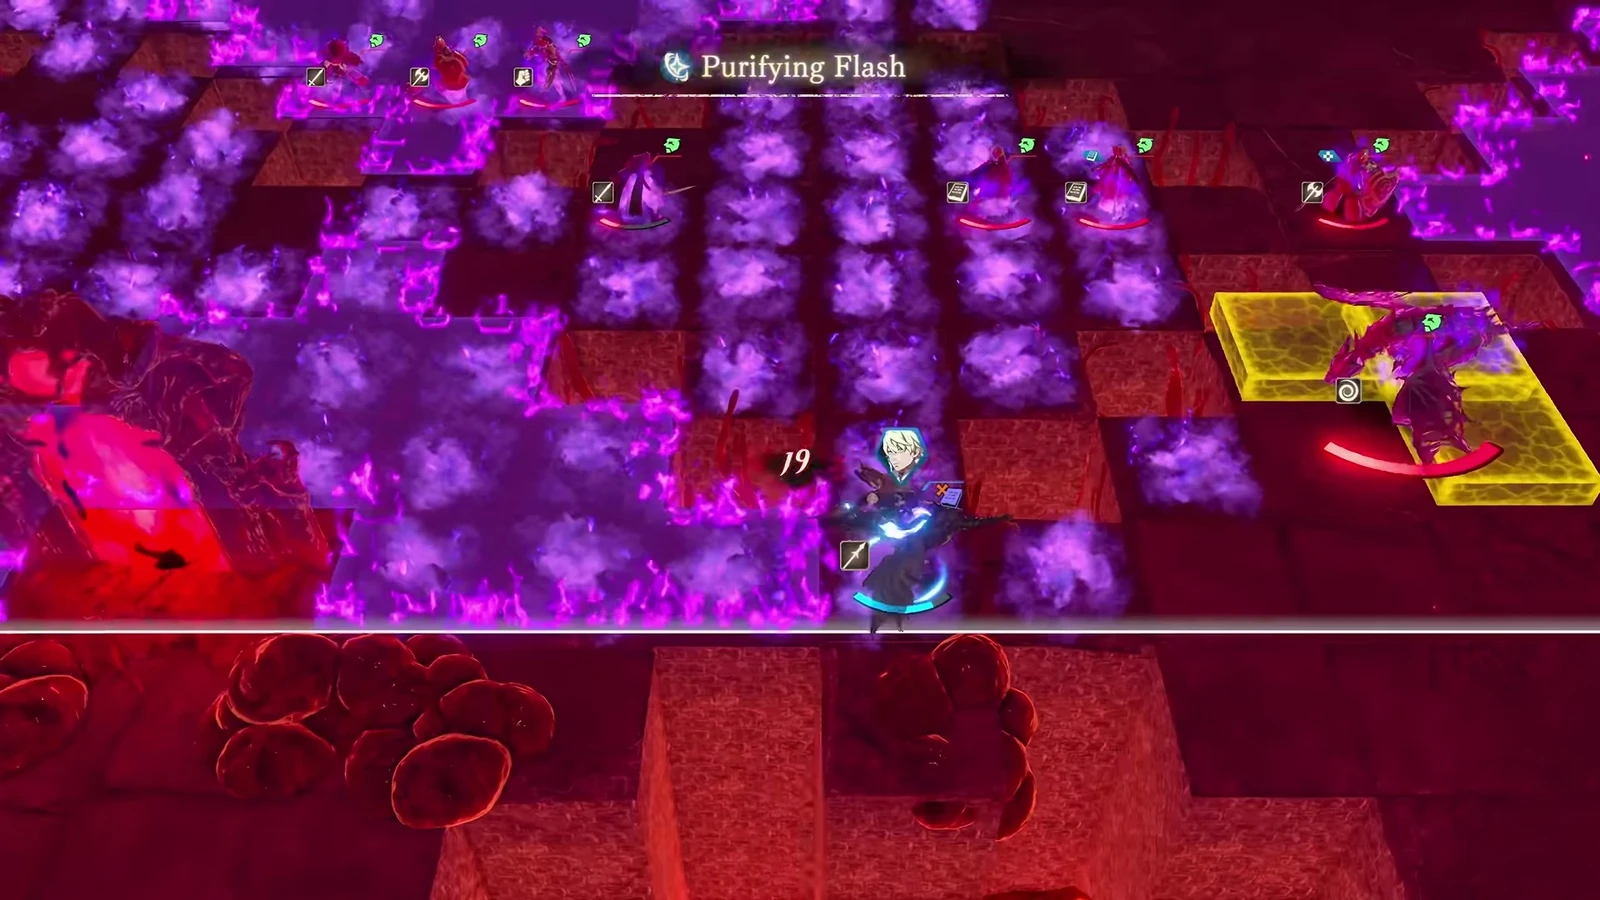
Eshmel’s personal aura affects enemies only within two tiles. Ranged purifying Blaze Arts attack and clear miasma, but coverage depends on the art. A frontline Sentinel carrying the aura is another positioning role. For army-wide anti-Underworld coverage, choose unlocked Aurora level 3.
Mounts provide benefits only after assignment to a compatible current class. A Dancer’s extra action can go to ordinary damage dealers or healers.
Recheck the Blaze Gauge and throwing area after healing
Earthen Throw costs 6 HP; check other Blaze Arts individually. After healing, check the gauge too. Actual range determines throwing direction and whether enemies in front block the target. Change roles if Part 3 stone throws cannot kill, and check the queen’s gauge rules separately.