

Retraining Leda: limit Commoner levels, then build a DancerMinor spoilers
Limit level-ups for four chapters, then enable bonus EXP after switching to Specialty classes in Chapter 5. Learn Ever Vigilant through Shido before training as a Dancer, while preparing weapons and Part 2 leveling for the whole team.
Original video: Building the strongest Leda! Training preparations to finish in Parts 1 and 2 | Joker's Game Guide Channel
When retraining  Leda, save your level-ups for classes with better growth modifiers. Turn off bonus EXP for the first four chapters and avoid unnecessary battles. Once you can switch to Specialty classes in Chapter 5, turn the bonus back on and start leveling. At the Advanced tier, master
 Shido to learn
 Ever Vigilant, then train mainly as a
 Dancer. This run raised Leda's total stats from 265 to 287. The key change was which classes she leveled up in.
Plan your teammates, shopping, and leveling together on Leda's route. The  Mini Bow lets archers counter at close range. Buy
 Cleansing Blade each chapter when it is restocked. Later, cycle between songs that consume HP and healing from teammates to make use of the EXP still available in Part 2.

Save your level-ups in the first four chapters
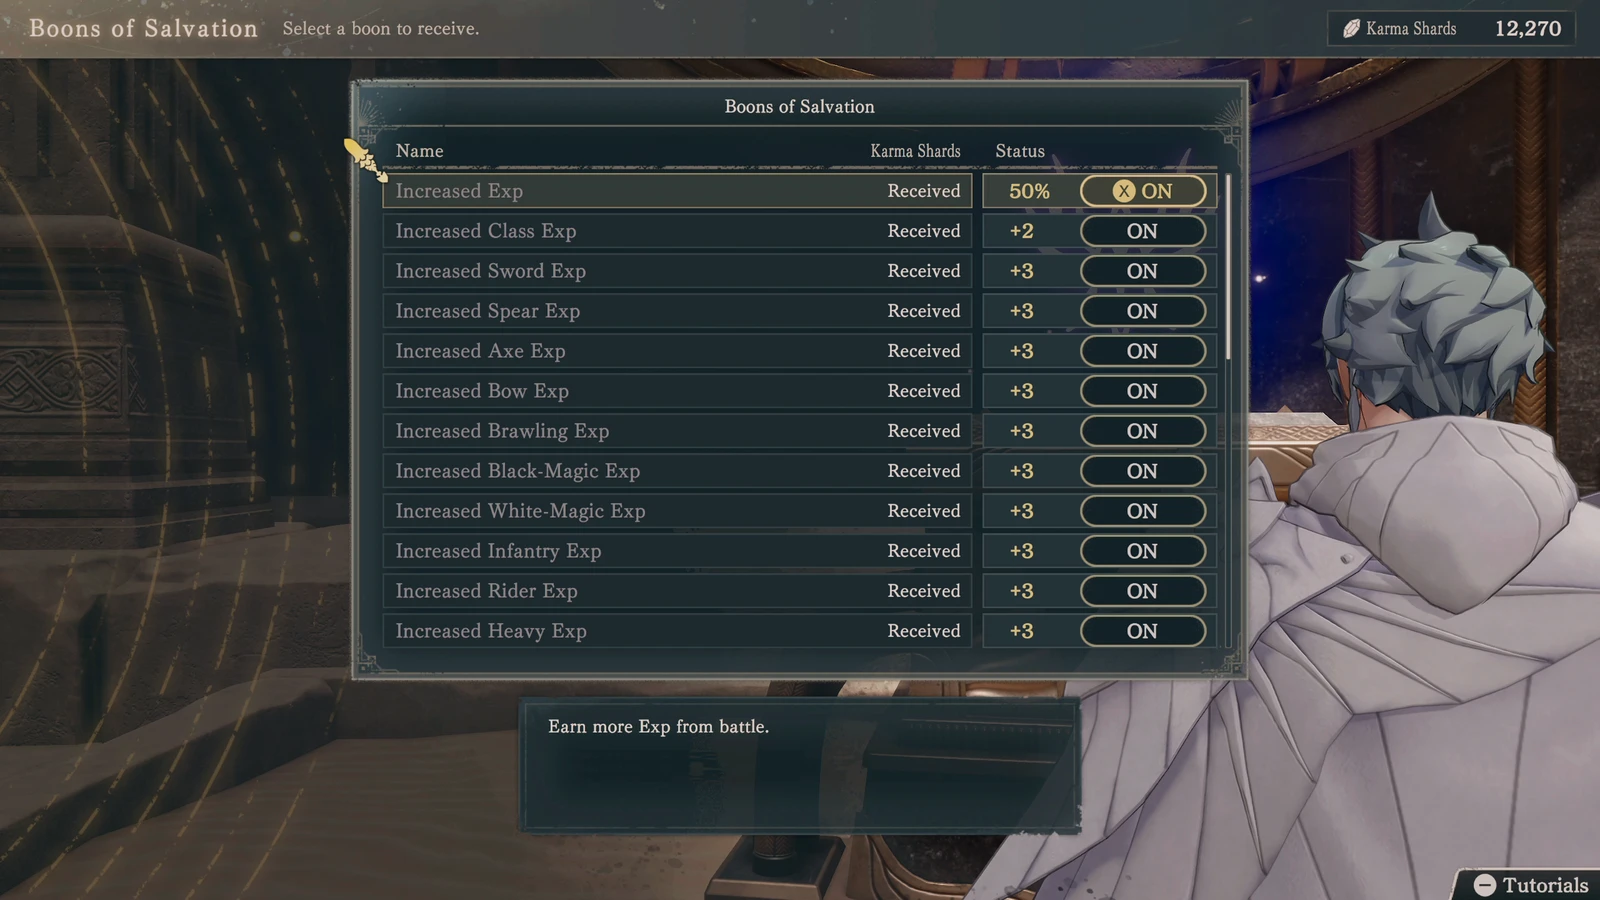
Before starting Chapter 1, check the Increased EXP Gain option in Boons of Salvation. If you enabled the 10% or 50% bonus on another route, turn it off for this run and leave it off until Chapter 4 is over. Commoner offers few growth modifiers. Grinding levels in that class leaves you fewer level-ups to use after switching to a better one.
Early on, fight only the battles the main story requires and leave nearby dungeons alone. Avoid enemies when traveling for supplies in Chapter 4, too. If an enemy group blocks the road, let time pass and wait for it to move away. When you have nothing else to do, earn income or train in town to advance time.
Use the same approach in Chapter 4's main battle. Let other teammates handle the necessary fighting instead of sending Leda into enemy groups. Move her toward the escape objective in the upper right and finish as soon as you meet the victory condition, keeping further Commoner level-ups to a minimum.
Save before buying weapon crates
In Chapter 4, visit Megaira to buy  Quality Weapon Crate and Luxury Weapon Crate. Prioritize useful weapons such as Mini Bows and
 Levin Sword. A crate's contents are fixed when you buy it, so save before the purchase. Saving afterward and repeatedly opening the same crate will not change the result.
Save as soon as you enter town, buy the crates, then open them and check the contents. If you do not get the weapon you want, return to the title screen, reload, and buy the crates again. Keep several Mini Bows for your archers in Part 3 so they are less likely to be left unable to counter enemies that close in.
Buy the Cleansing Blade in Osiris as well; it cost 2100G on this run. In Alecto, pick up gauntlets with 1–2 range for  Mu so he can counter ranged attacks more easily after switching to
 Pugilist. When passing through the Port of Pandora, you can also stock up on
 Ji. Get
 Hammer for axe users to handle armored enemies later. Once you have your weapons, exchange materials, and travel supplies, continue the story rather than detouring into early dungeons to grind.
Start leveling after switching to Specialty classes in Chapter 5
In Chapter 5, first recruit easy additions such as  Guzran,
 Catania,
 Jasmine, and
 Kiroc. Renown is relatively easy to build on Leda's route. Once you unlock Specialty classes, switch everyone who is eligible before turning the 50% EXP bonus back on. From there until level 35, you can level freely and clear the dungeons you skipped earlier.
Once forging unlocks in Chapter 6, Mini Bows, Longbow, and Mu's ranged gauntlets are all worth upgrading. They consume a fair amount of  Cullet; the gauntlets shown here require 5. You do not need to grind materials as soon as forging opens up. First, switch more teammates to
 Rogue. Stacking their exploration abilities makes Perfect exploration results easier to get and gathering less work.
The gathering spot used here is to the right of Ulka Station. It has only three resource slots, making it convenient for repeated material runs. The nearby level 26 animal group also provides a chance to level up. Gather materials when you have spare time, then keep upgrading Mini Bows and Longbows so your supply runs support your training plan.
Pick up Ever Vigilant through Shido in Chapter 7
After recruiting  Io in Chapter 7, you can use his Rocinan to gain steed growth modifiers outside Cai's route. Build his Bow proficiency at the training grounds first, then switch him to
 Charioteer at level 20 and spend some time training him in that class. This is a growth plan; it does not mean he is ready to charge into enemy groups alone.
Once Renown reaches 8 and Advanced classes become available, put Leda into Shido first to master Ever Vigilant. Speed helps her make follow-up attacks, while Dexterity helps her land critical hits. More attacks also mean more chances to finish enemies with a critical, and Ever Vigilant restores a little HP after a critical-hit kill. Once she learns it, return to training mainly as a Dancer, or compare options such as Sniper to suit your needs. Dancer has good growth modifiers of its own; it is more than a class for dancing.
If you can reach Renown 8 early, you can also head to Giant's Footprint Fortress in the lower right of the world map. Its level 35 enemies, including skeletons and Silver Mummies, offer substantial leveling opportunities and help the team reach Advanced classes sooner. Levels come quickly here, though. Stop when you reach your training target instead of using up all your remaining level-ups in one grinding session.
Stockpile Cleansing Blades from Chapter 8 onward
Start preparing to exchange materials for Levin Swords at the merchants' guild in Chapter 8. You will accumulate  Thry Fruit through repeated dungeon runs, but
 Yuna Mei needs a separate trip. Once you have more Rogues in the party, travel northwest from Eochaid Posthouse to gather at Cape Damasen, then return to make the exchange.
You have little free time this chapter, but you can visit Osiris along the way. Cleansing Blade stock refreshes each chapter. Buying one in Chapters 8, 9, and 10 is easier than waiting until Part 2 to start looking. This run kept buying them through Part 2 and ended up with 8, enough to equip several teammates.
Complete Chapter 9's Dancer quest on the same trip. Buy Hingosh at Baina Oasis, then return to turn in the quest and unlock Dancer. Combine this errand with your trips to buy Cleansing Blades and give performances. Performances also reveal secret locations. Later, level 35 animal groups or Silver Mummy groups at those locations can help underleveled teammates catch up before Part 2.
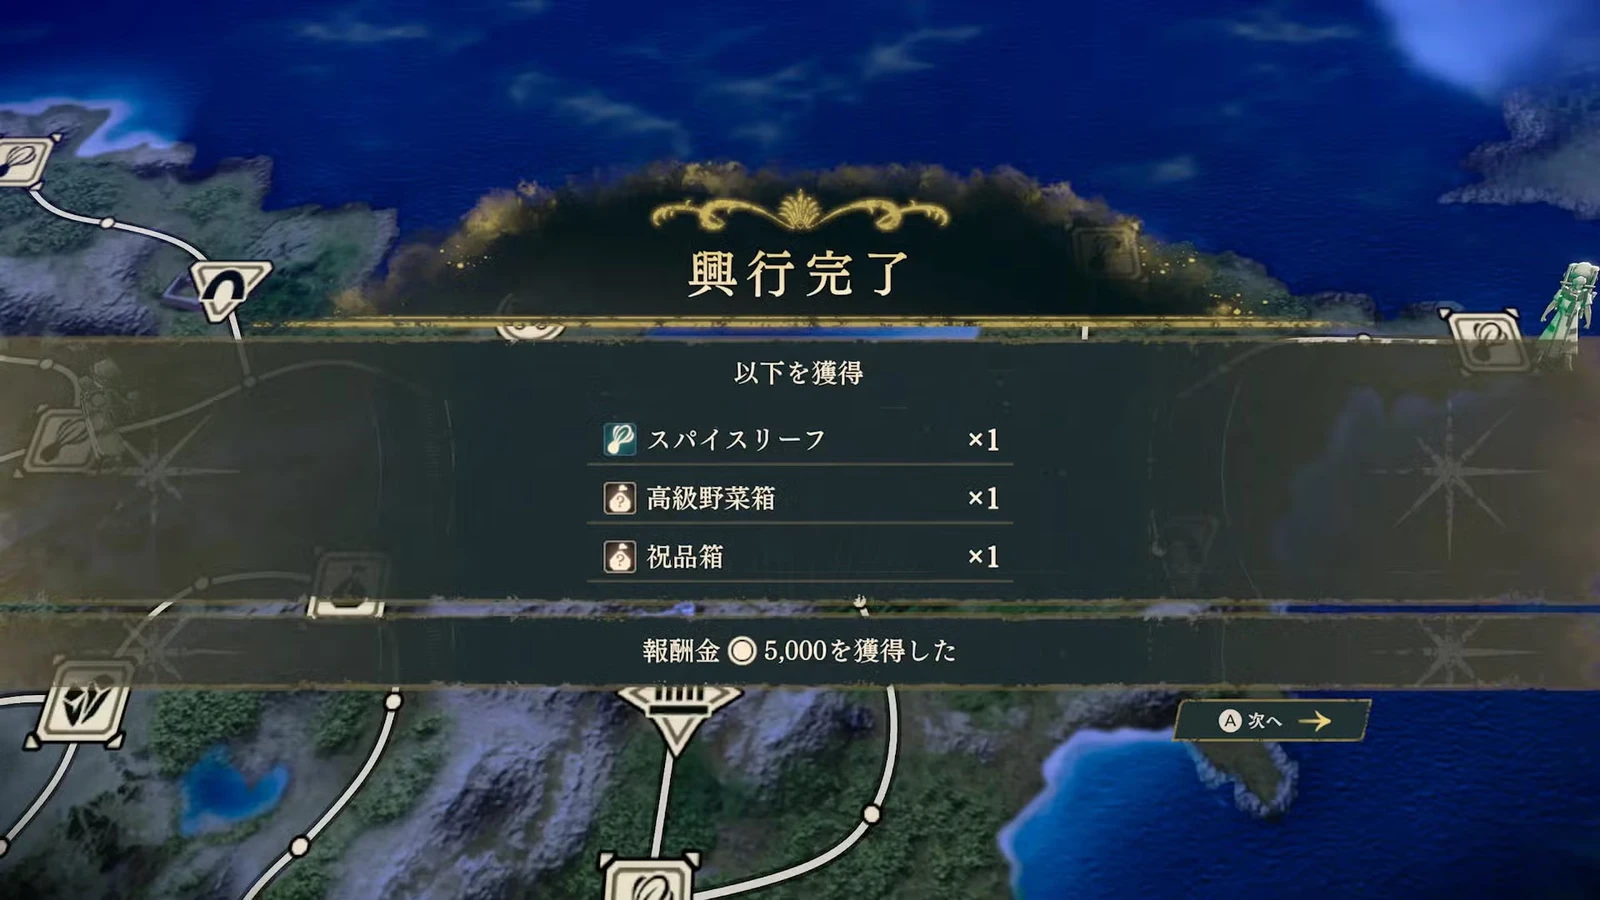
Do not miss Creek's quest in Chapter 9
Accept and complete My Late Sister's Accessory in Chapter 9 to meet the prerequisite for recruiting  Creek in Part 2. To recruit
 Nathan afterward, Creek must already be in your party and defeat him personally. Another teammate cannot land the finishing blow. Do not focus only on fighting Nathan in Part 2 and overlook the Part 1 quest.
Chapter 10 also has the trial for Kalla's Bow, which you complete at Kalla's Temple. If this run is purely for training, you can skip some paralogues. They are still worth doing on a first playthrough; do not discard every side story just to maximize EXP efficiency.
Recruiting certain characters late can net you weapons. This run waited until around Chapters 11 and 12 to recruit  Noctula and obtain
 Ursa's Right Claw. Recruiting
 Nuzzuo and
 Jester late also brought in a Levin Sword each, adding two more weapons to distribute.
Prepare anti-armor weapons for the end of Part 2
Hammers work very well against the armored enemies in the final dungeon. Give them to Guzran and  Buccar for high damage per hit. The enemy shown here has two HP bars: one attack removes a bar, so it still needs another attack. Cleansing Blades also help teammates deal with enemies such as Rangers more quickly, without everyone relying on one damage dealer to finish them off.
 Fianna uses
 Ovate on this run. Her powerful fire magic still deals substantial damage to armored enemies with decent Resistance, even defeating one in a single hit when Olympia could not finish it. Her HP is low, so strong damage is no reason to leave her exposed at the front. Even without consistent training this run,
 Esmeralda has good accuracy and anti-armor performance with a Hammer and can help finish fights.
Turn songs' HP costs into leveling opportunities
If you still want more levels near the end, have Leda use Blaze Arts for a fixed amount of EXP. Songs consume HP, which teammates can restore with healing magic to earn EXP themselves.  Bertrand can also use Blaze Arts to create a need for healing. Rotate actions with healers such as
 Ninae so everyone does not have to compete for enemies.
Reinforcements keep arriving on the battlefield shown here. Put Mu on terrain with high Avoid and give him a Cleansing Blade to intercept the enemies approaching from above. Keep everyone else where they can continue singing and healing. The front line holds while the back line repeats Blaze Arts and healing, earning as much of the remaining EXP as possible before Part 2 ends.
Not everyone gains much from a second run
Leda still trains mainly as a Dancer, with a stint in Shido along the way. The class plan has not changed completely. The biggest difference is turning off bonus EXP early, switching to Advanced classes as soon as possible, and leveling there. Her total stats rose from 265 to 287. Her already high Speed and Dexterity improved further on the second run, and those stats can then be merged into Leda in the Promised One's story.
Other teammates' second-run results
| Character | Classes and results this run |
|---|---|
 Catania | Trained through classes such as Warrior and Shido. Speed rose from 40 to 44 and total stats from 255 to 259, with little change elsewhere. |
 Esmeralda | Used mainly from Part 2 onward, but her overall stats still improved over the first run. |
 Mu | Trained mainly as a Pugilist, with a stint as a Warrior to try to raise Strength, which stayed unchanged. Shido improved his Speed and Dexterity. |
 Buccar | Switched from the previous run's armored classes to options such as Shido, improving Speed and Dexterity. Defense also rose despite leaving armored classes. |
 Alexandra | Used heavily only in Part 2. Trained as a Brigand and Warrior for Strength, but gained just 1. Defense and Dexterity also improved. |
 Olympia | Trained mainly in magic, yet Strength rose by 9 to reach 26. Magic increased too. |
 Sirocco | Speed and Dexterity improved substantially after training as a Shido, with a small Strength increase as well. |
 Io | Charioteer helps his growth, but charging ahead alone in battle still leaves him vulnerable. Switched to Forest Knight for the final battles. |
 Fianna,  Ninae | Their stats did not change this time. Ninae was only used from midway through the run. |
 Guzran | Trained from level 29 to 50 this run, unlike his previous usage. His stat total was not especially high either. |